

Settings
English screenshots coming: some of the pictures below still show the receiver and the web interface in Romanian. The rows, keys and steps described on this page are the English ones.
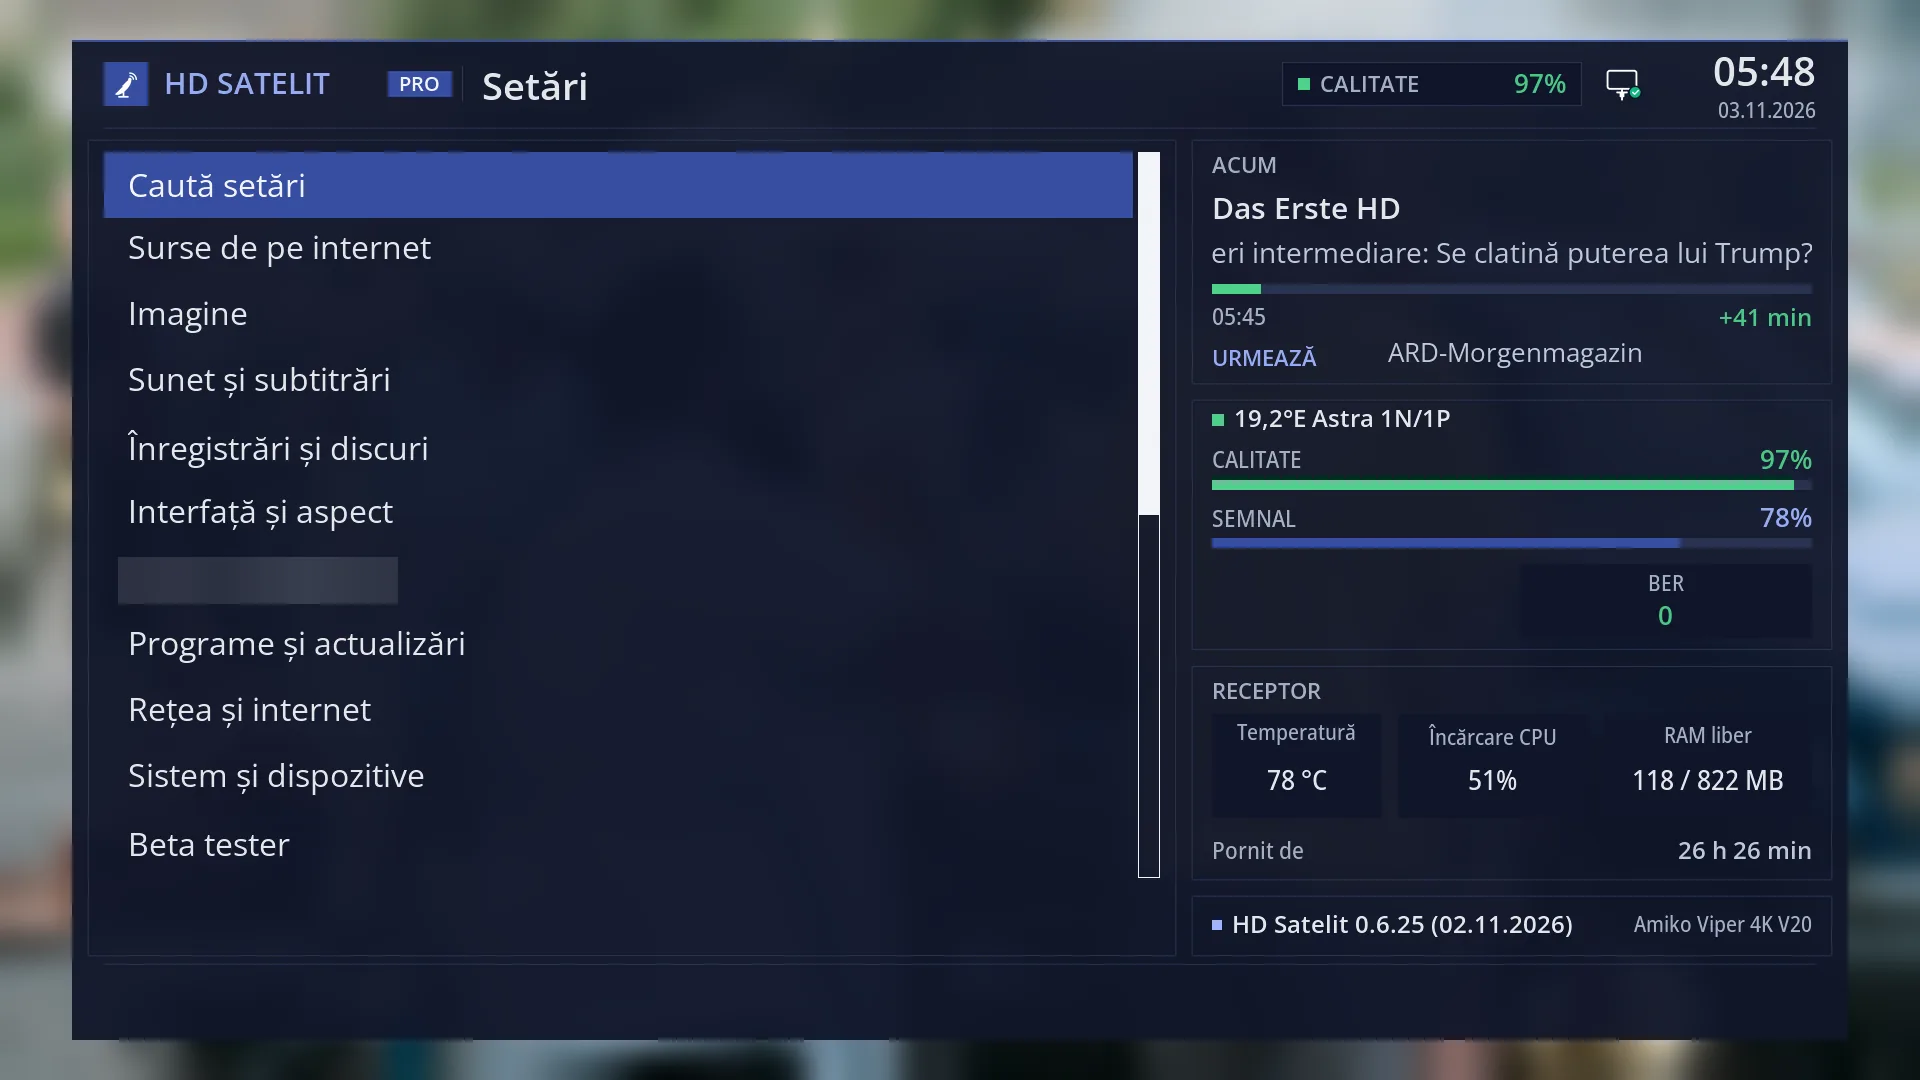
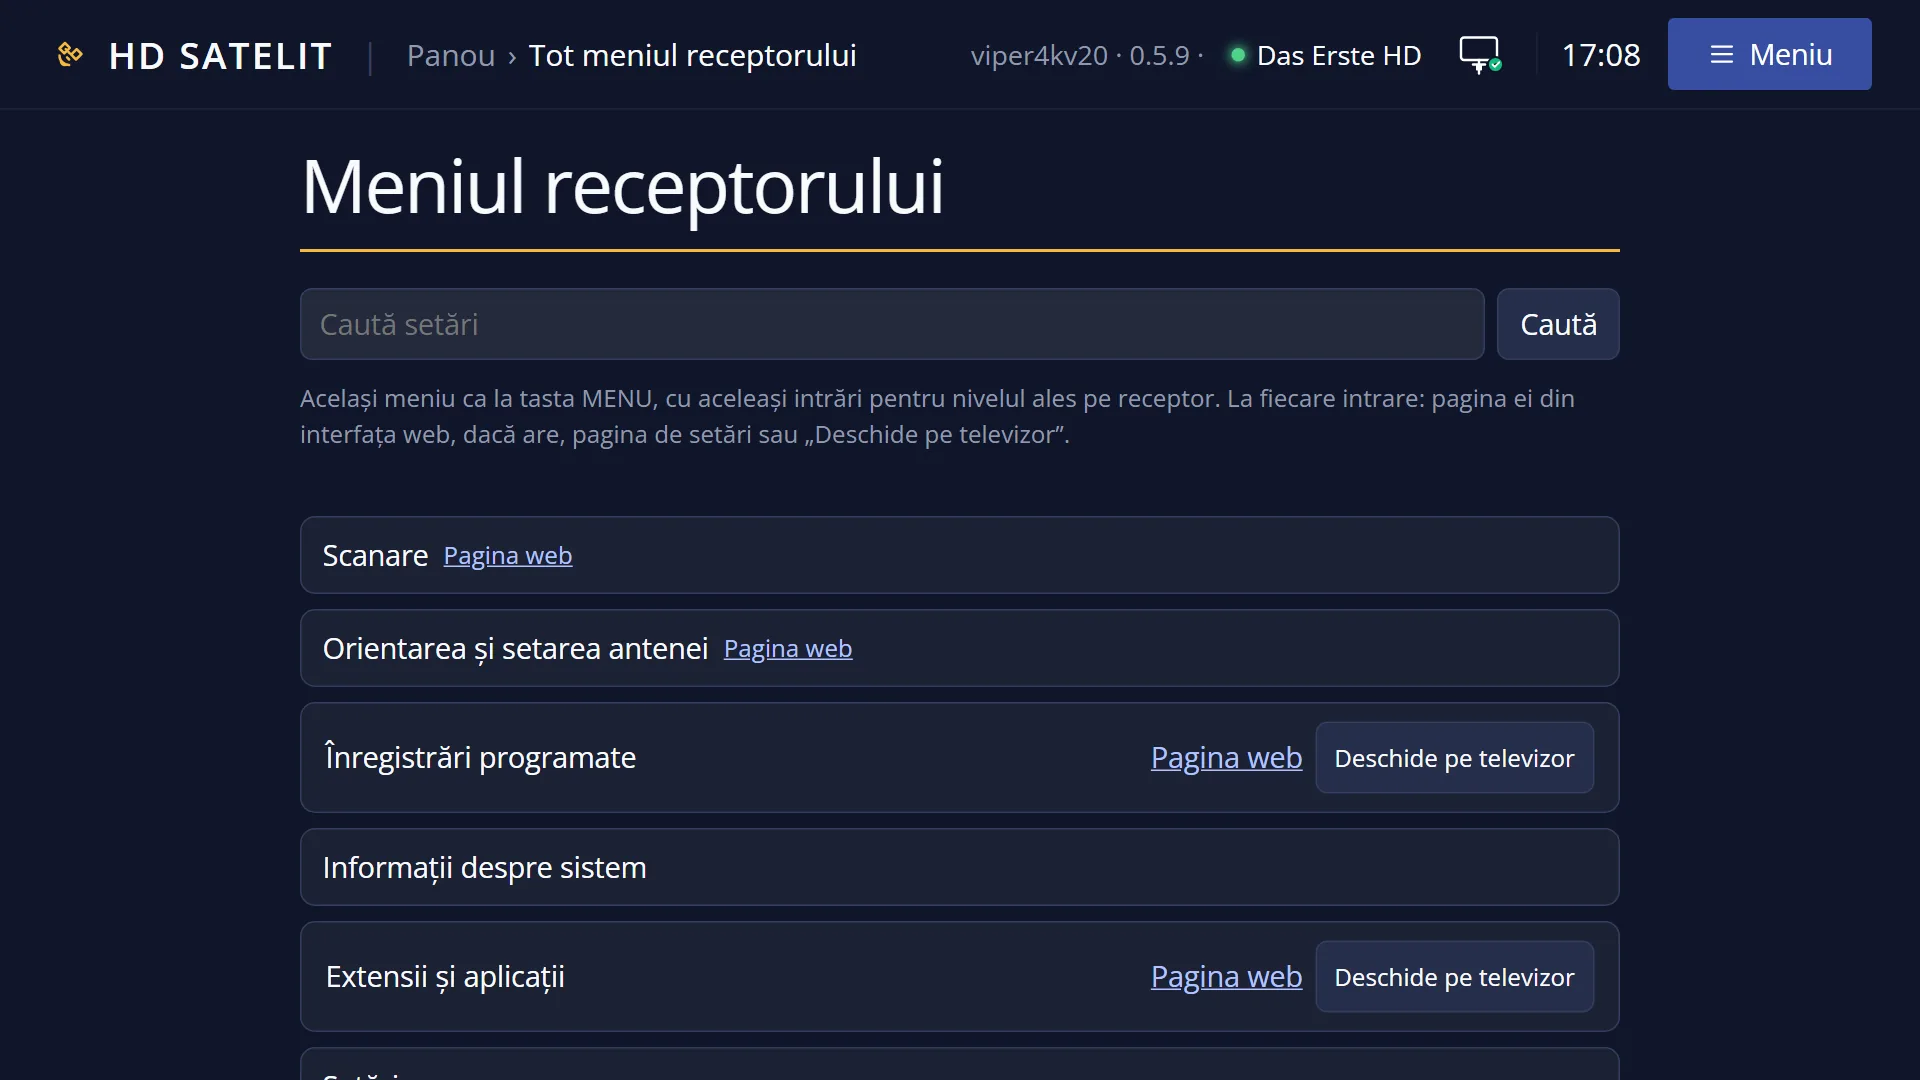
- 1 Menu title: “Settings”.
- 2 1 Search settings: searches the whole menu.
- 3 Groups 2-6: internet, picture, sound, recordings, appearance.
- 4 8 Software, 9 Network. System & Devices is the 10th, with no number (UP).
- 5 Pro theme: the current channel, the signal, the receiver and the version.
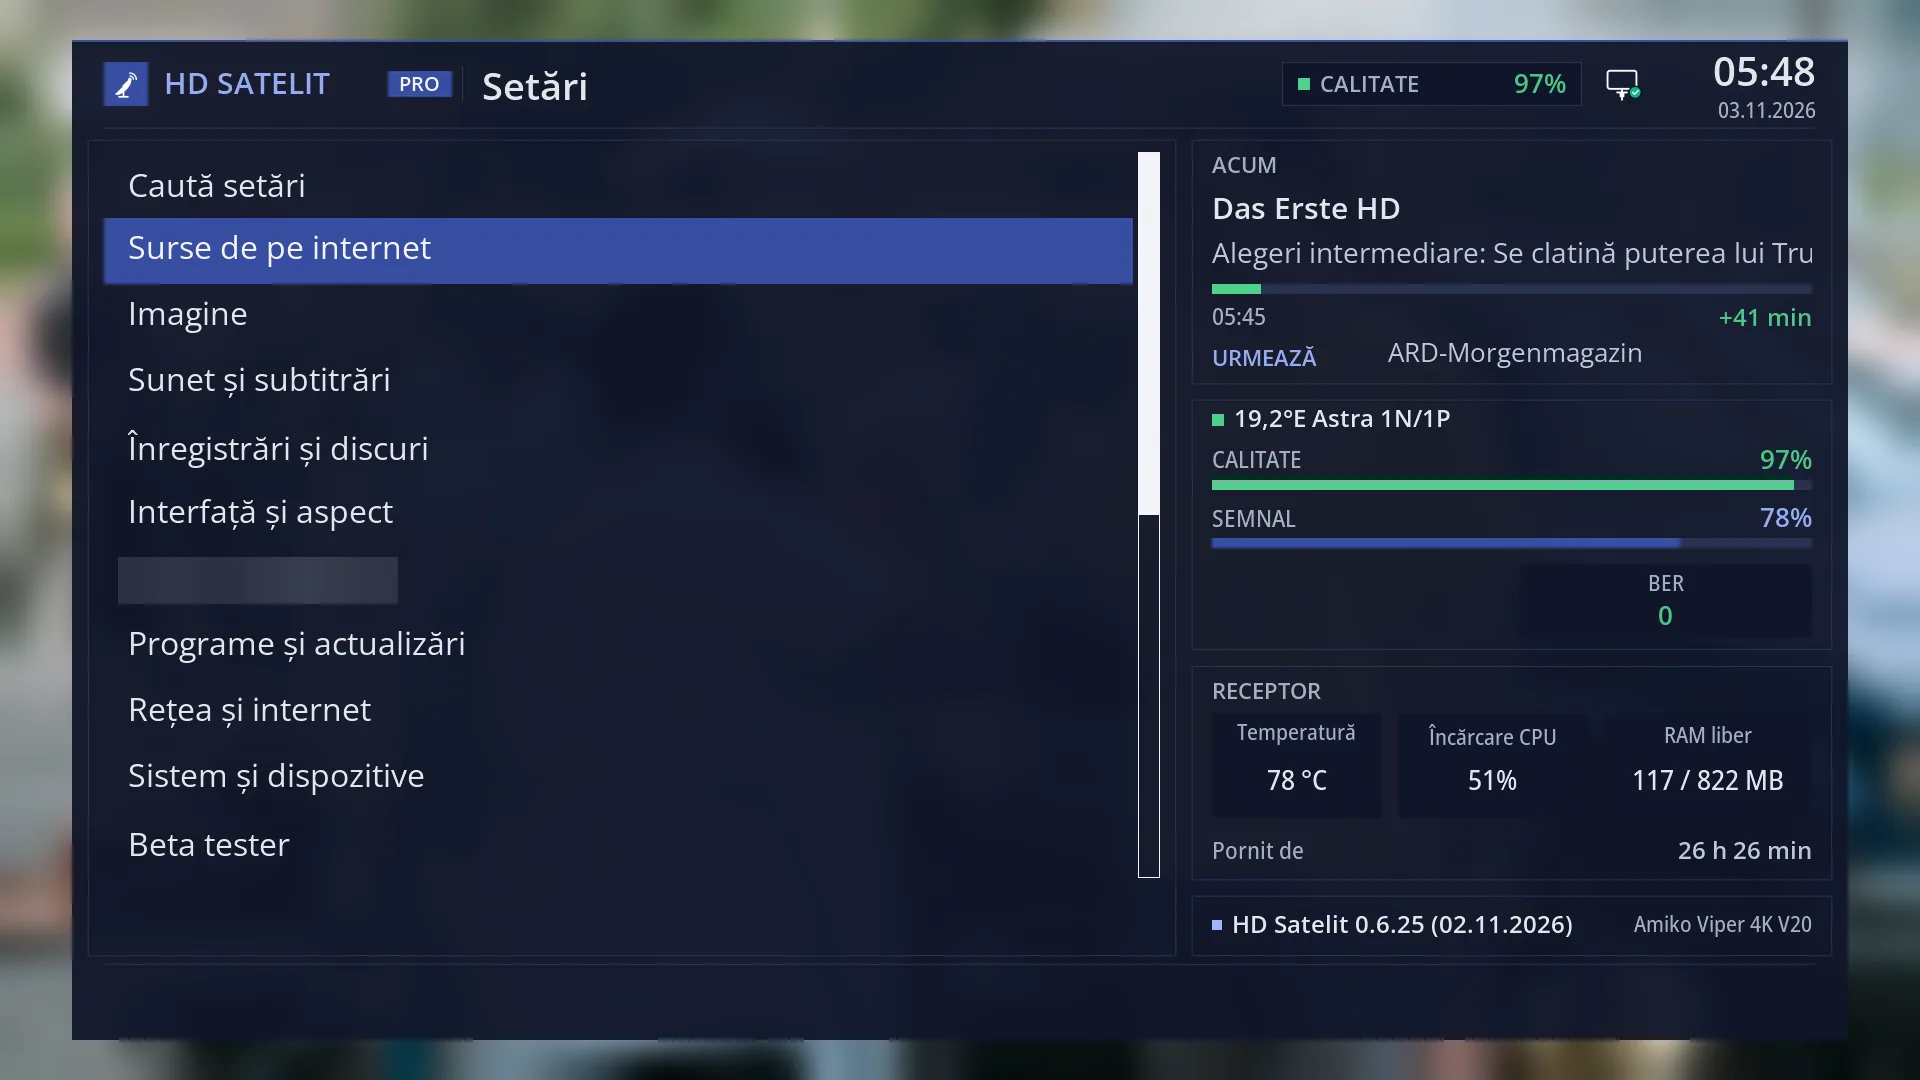
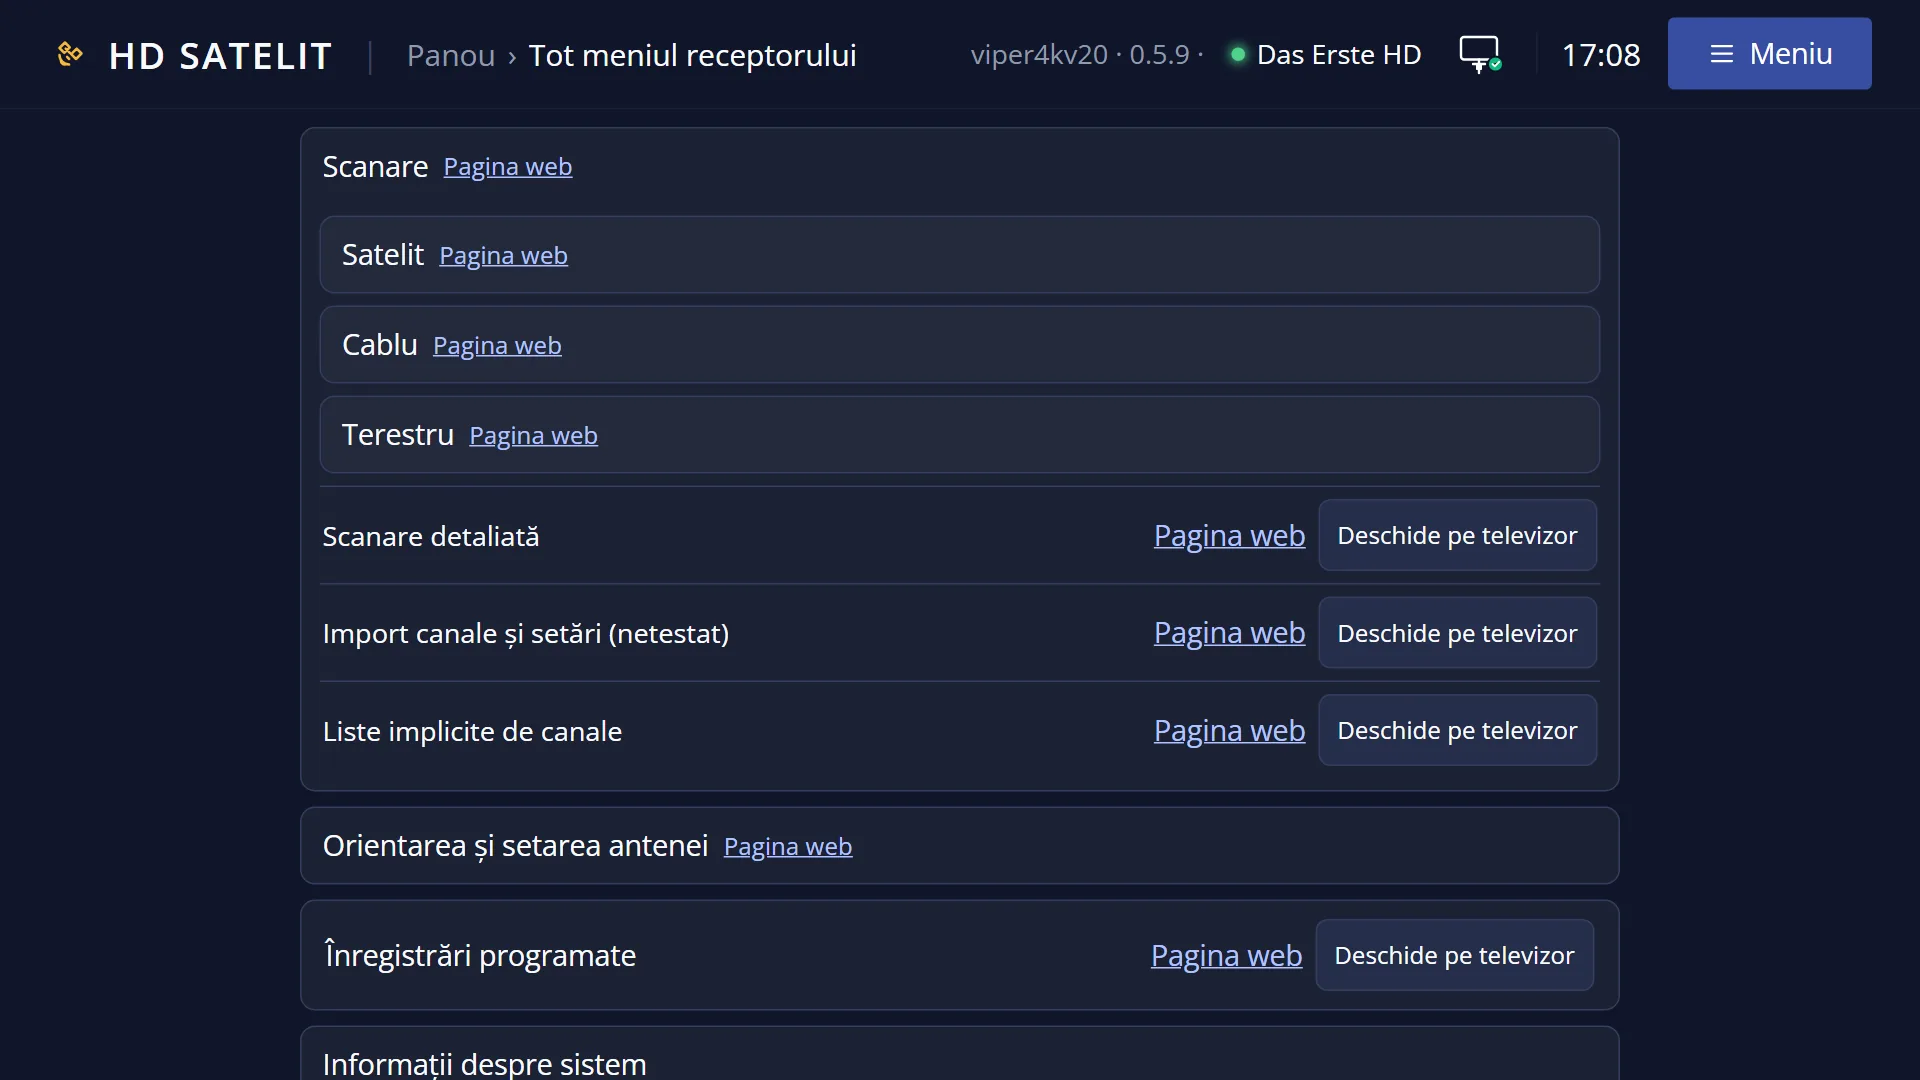
- 1 Selected row: “Internet Sources”.
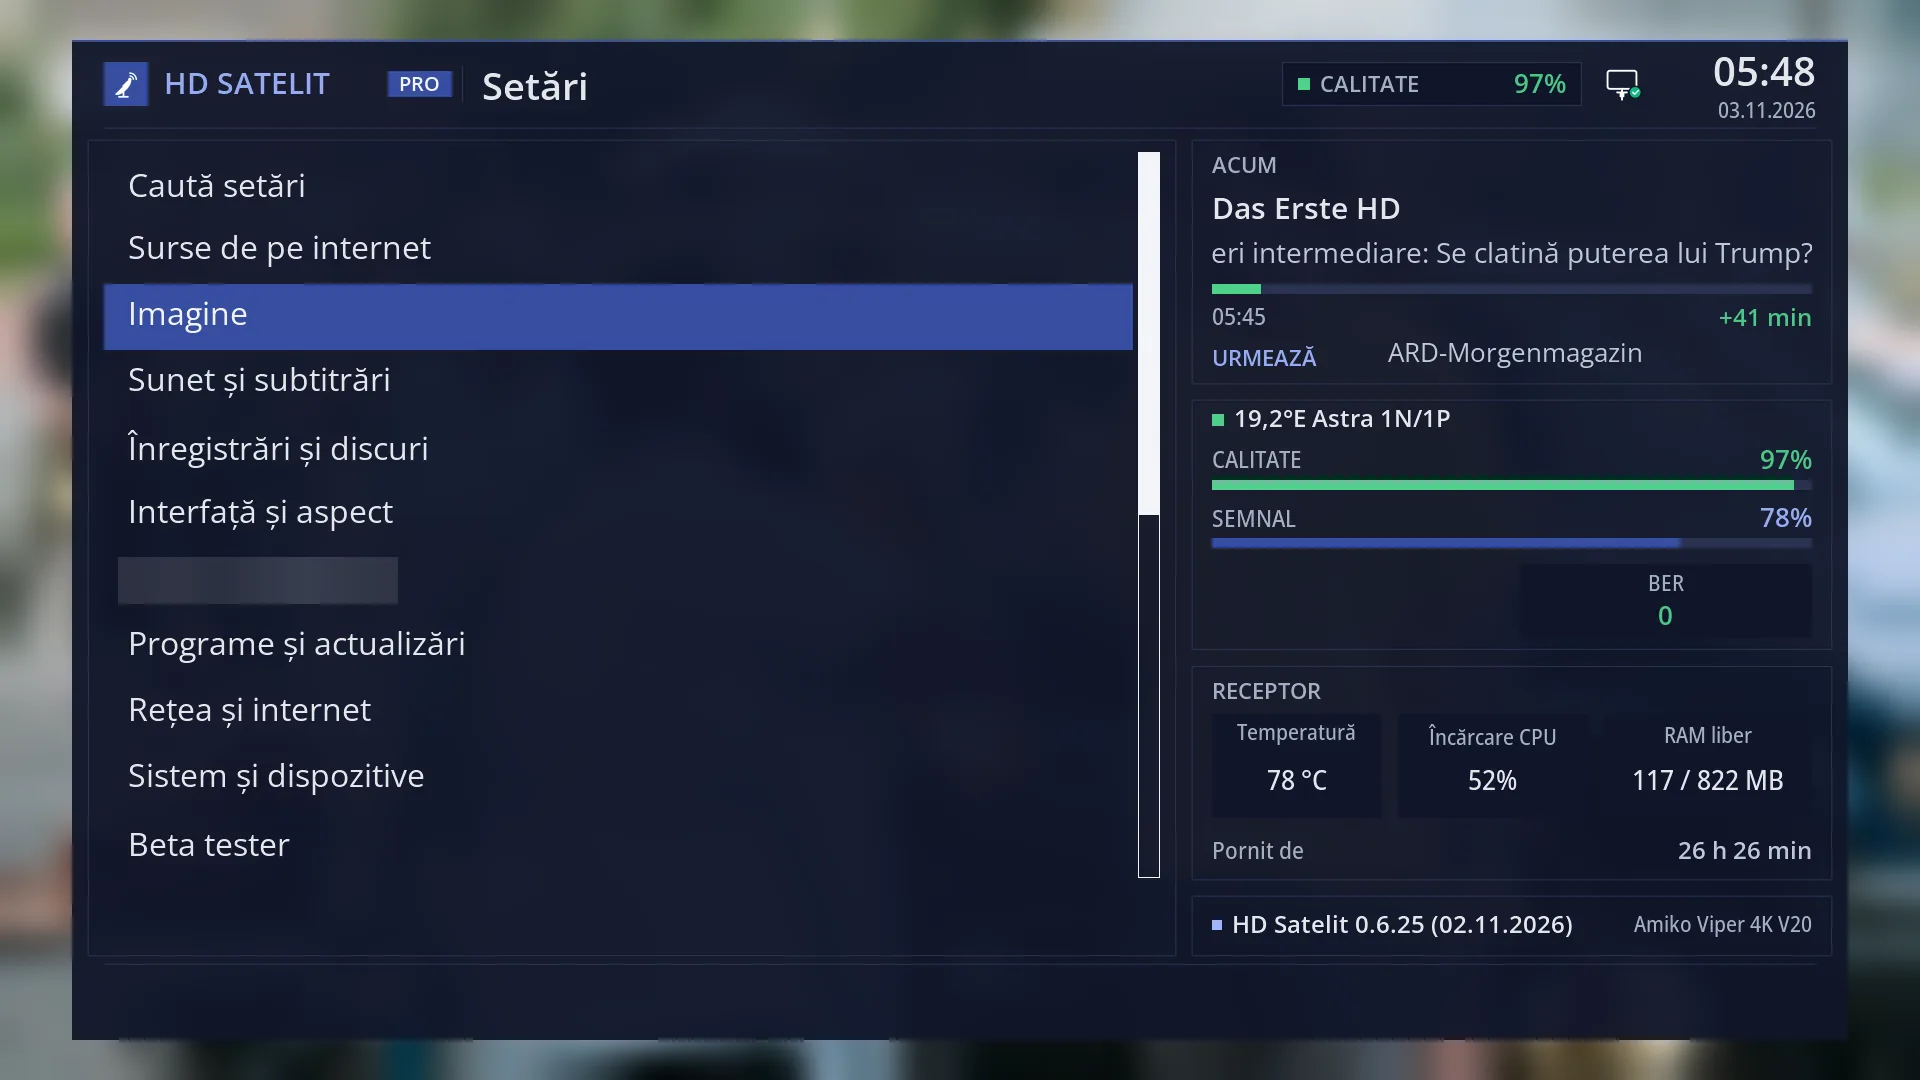
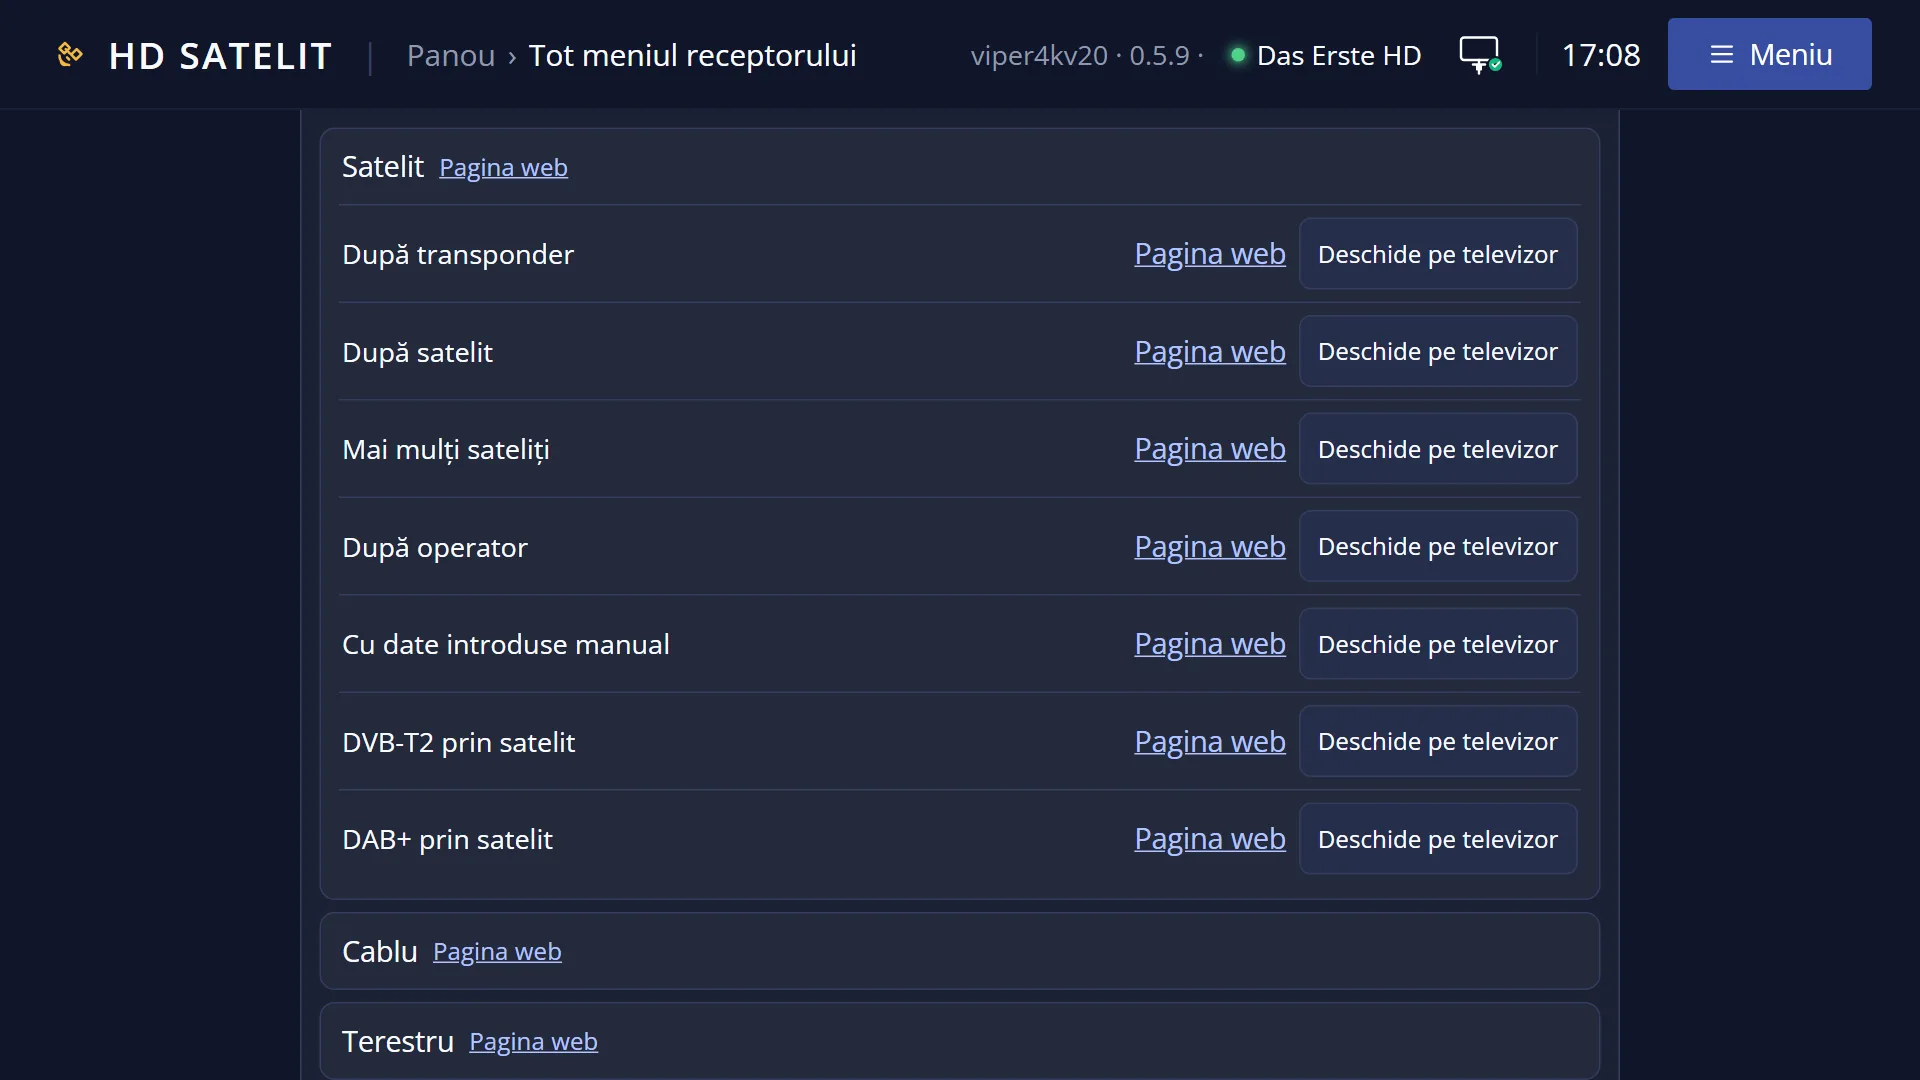
- 1 Selected row: “Video & Display Settings”.
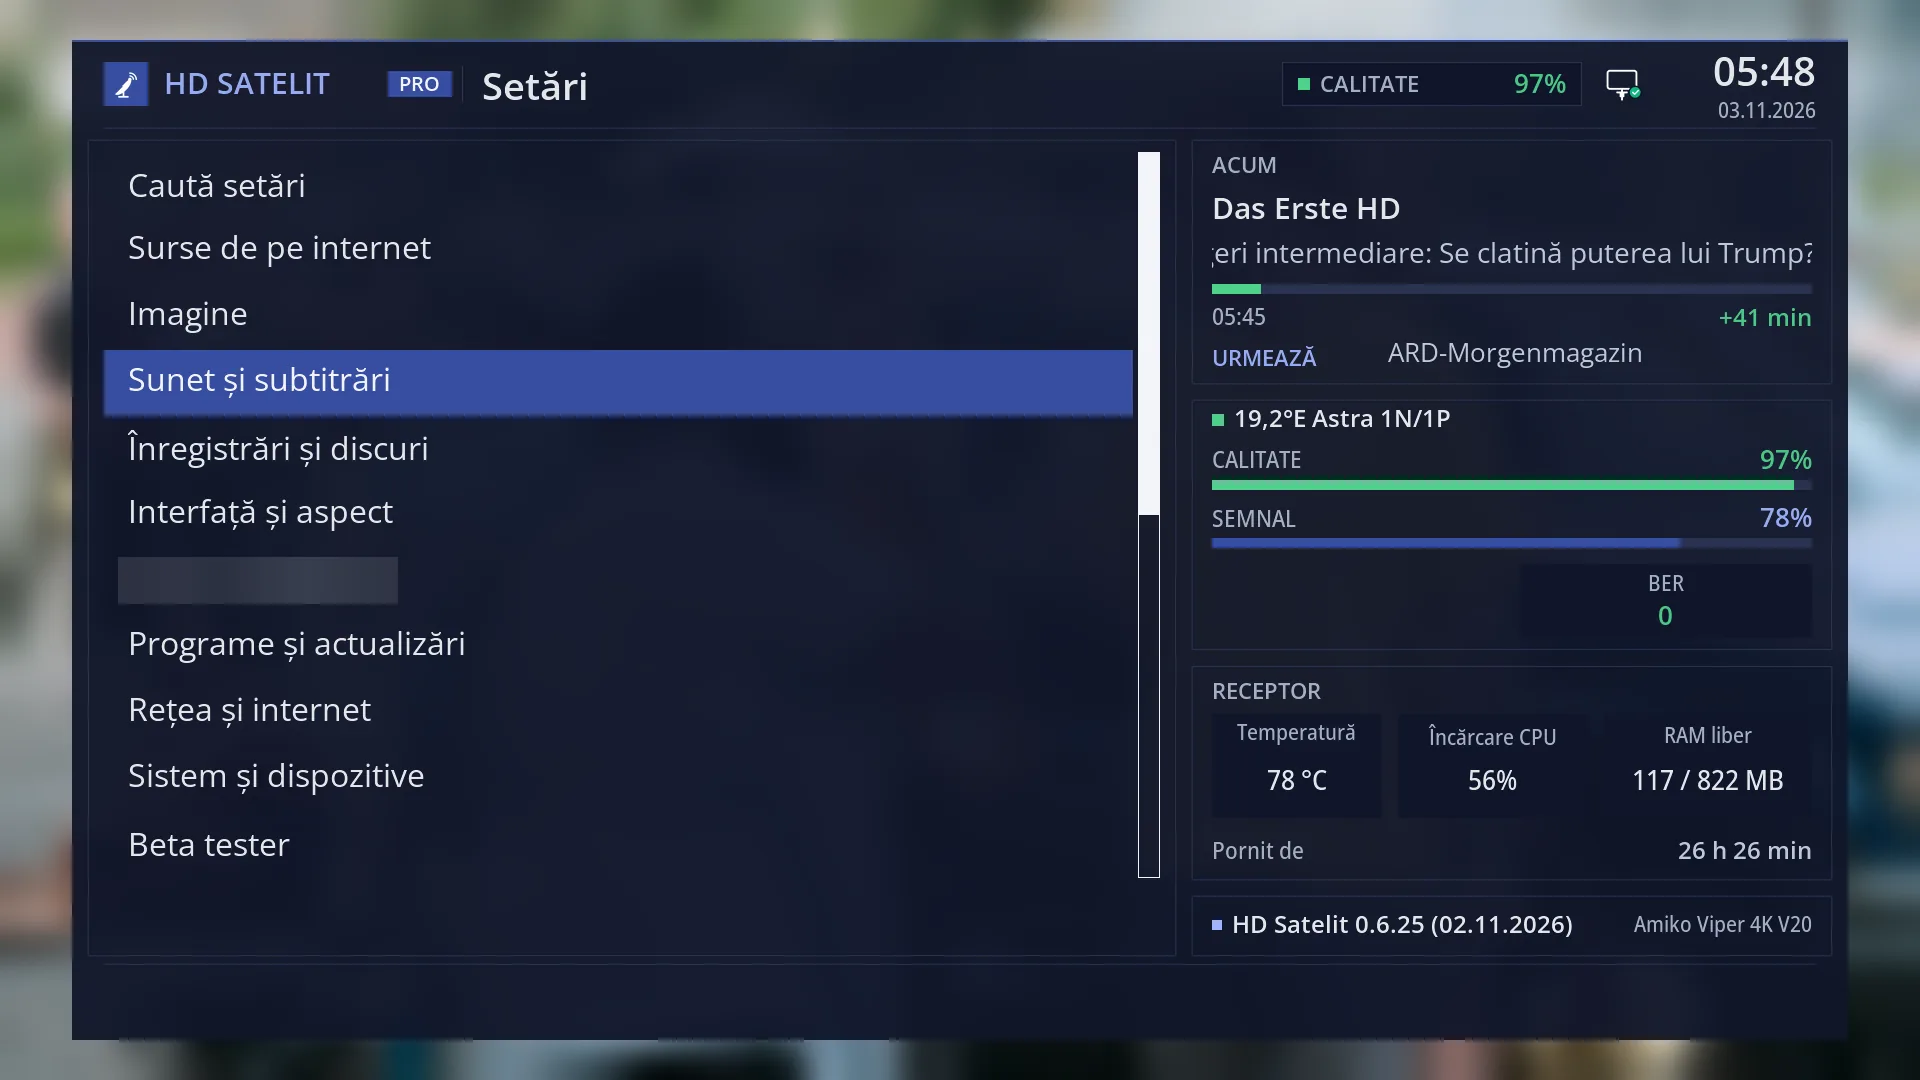
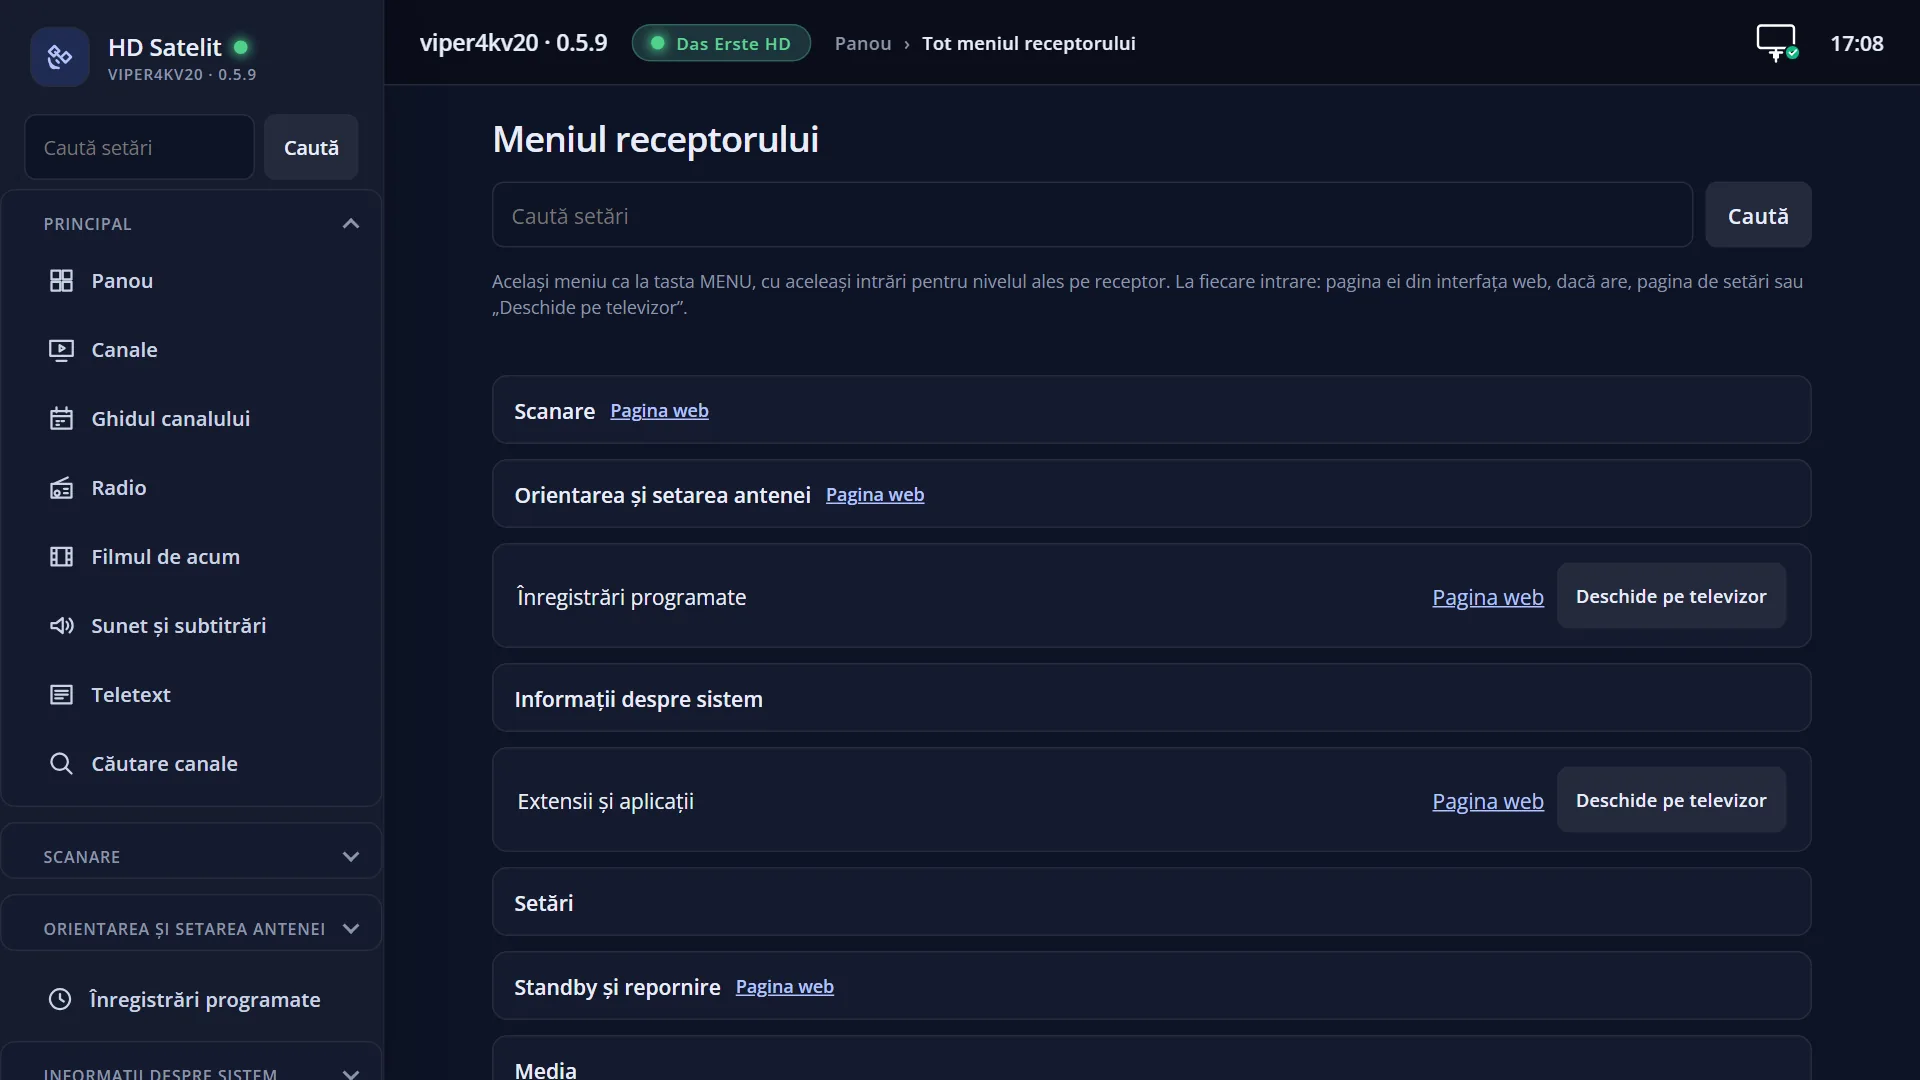
- 1 Selected row: “Audio & Sound Tracks”.
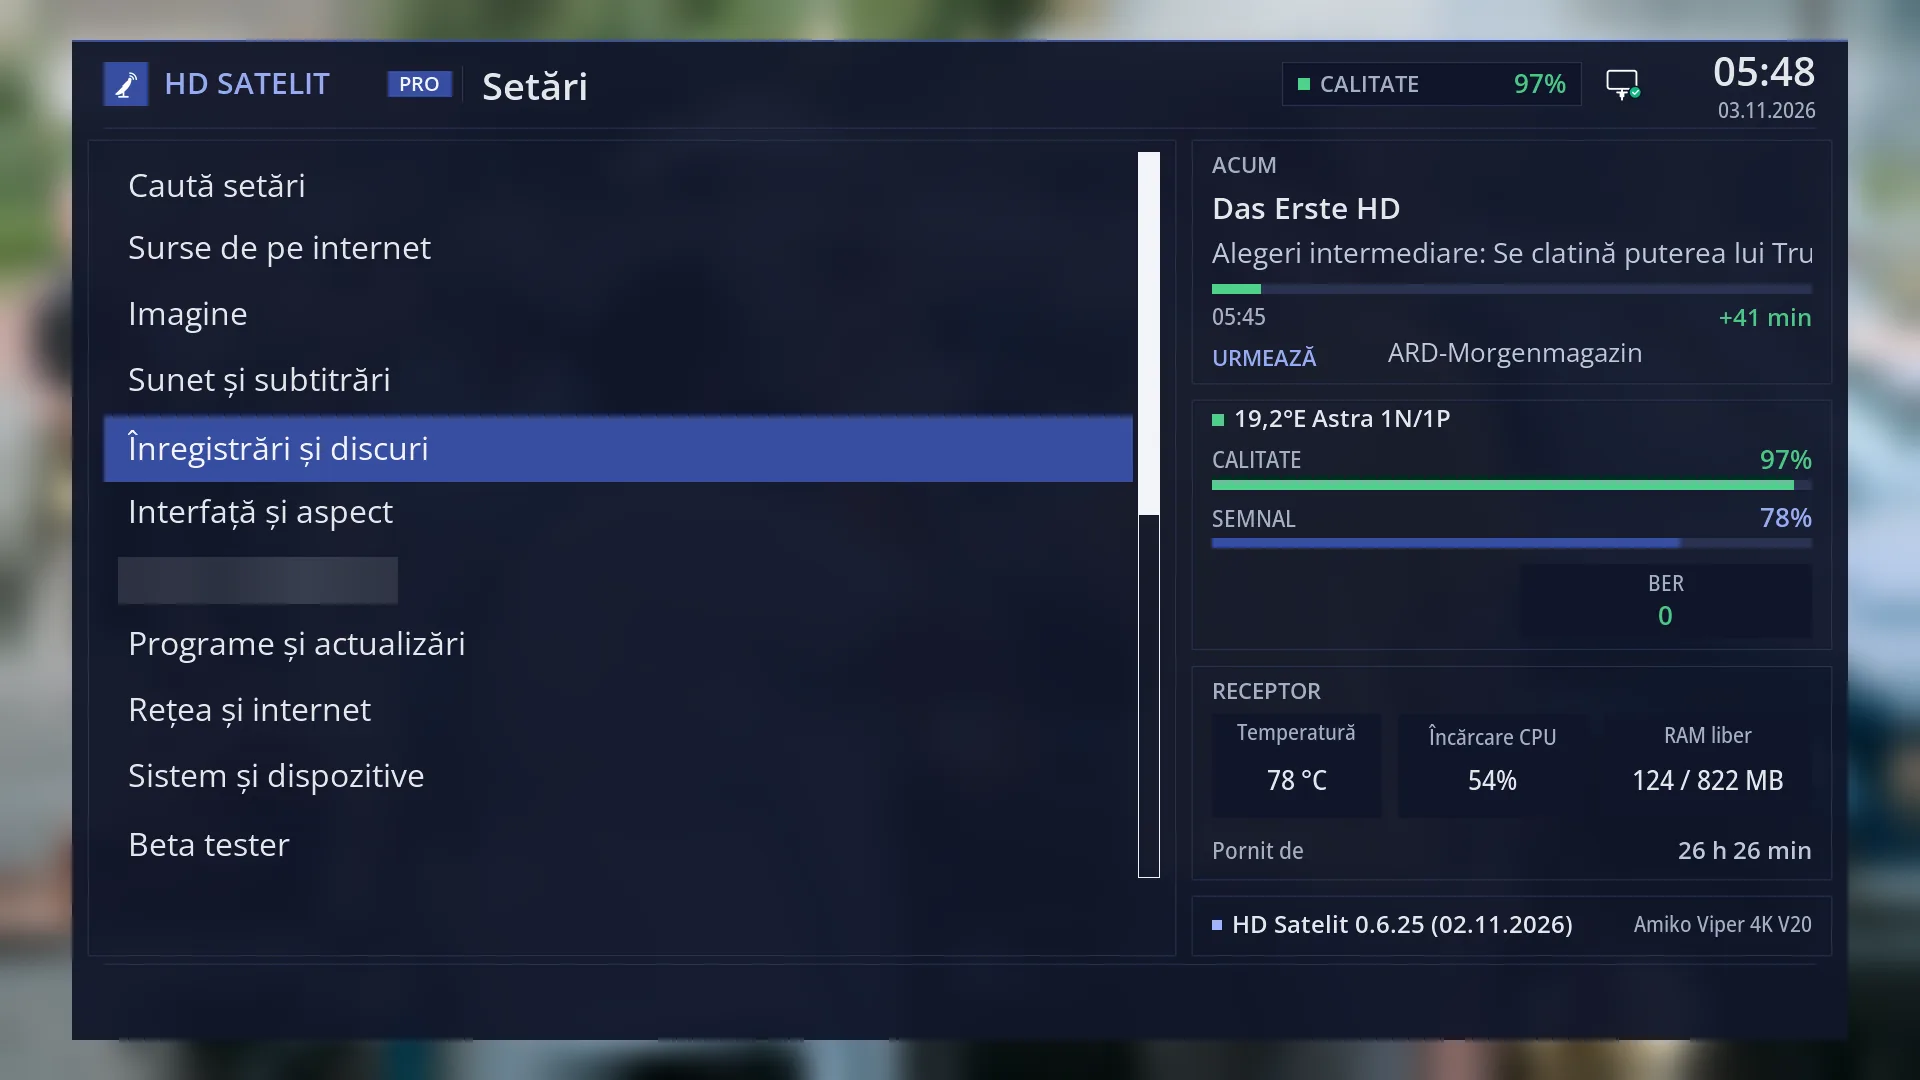
- 1 Selected row: “Recording & Storage Setup”.
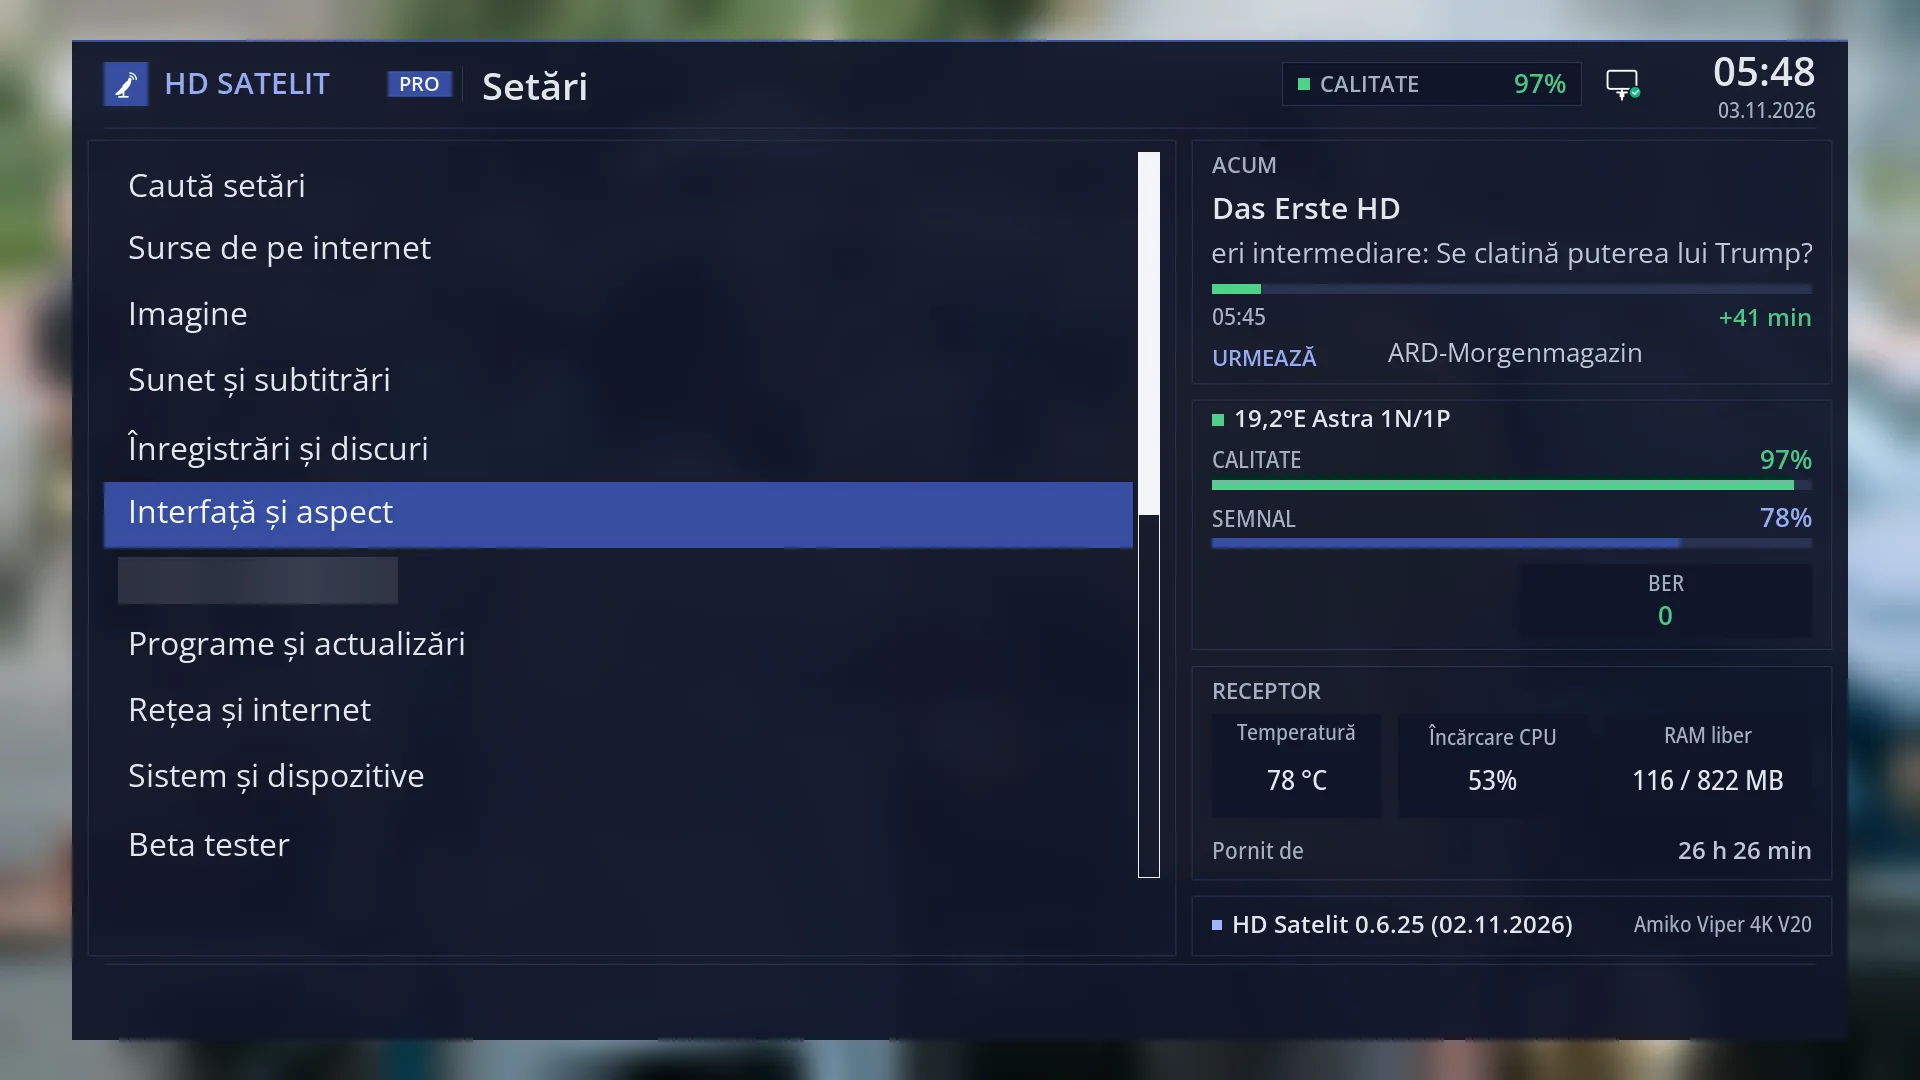
- 1 Selected row: “Interface & Appearance”.
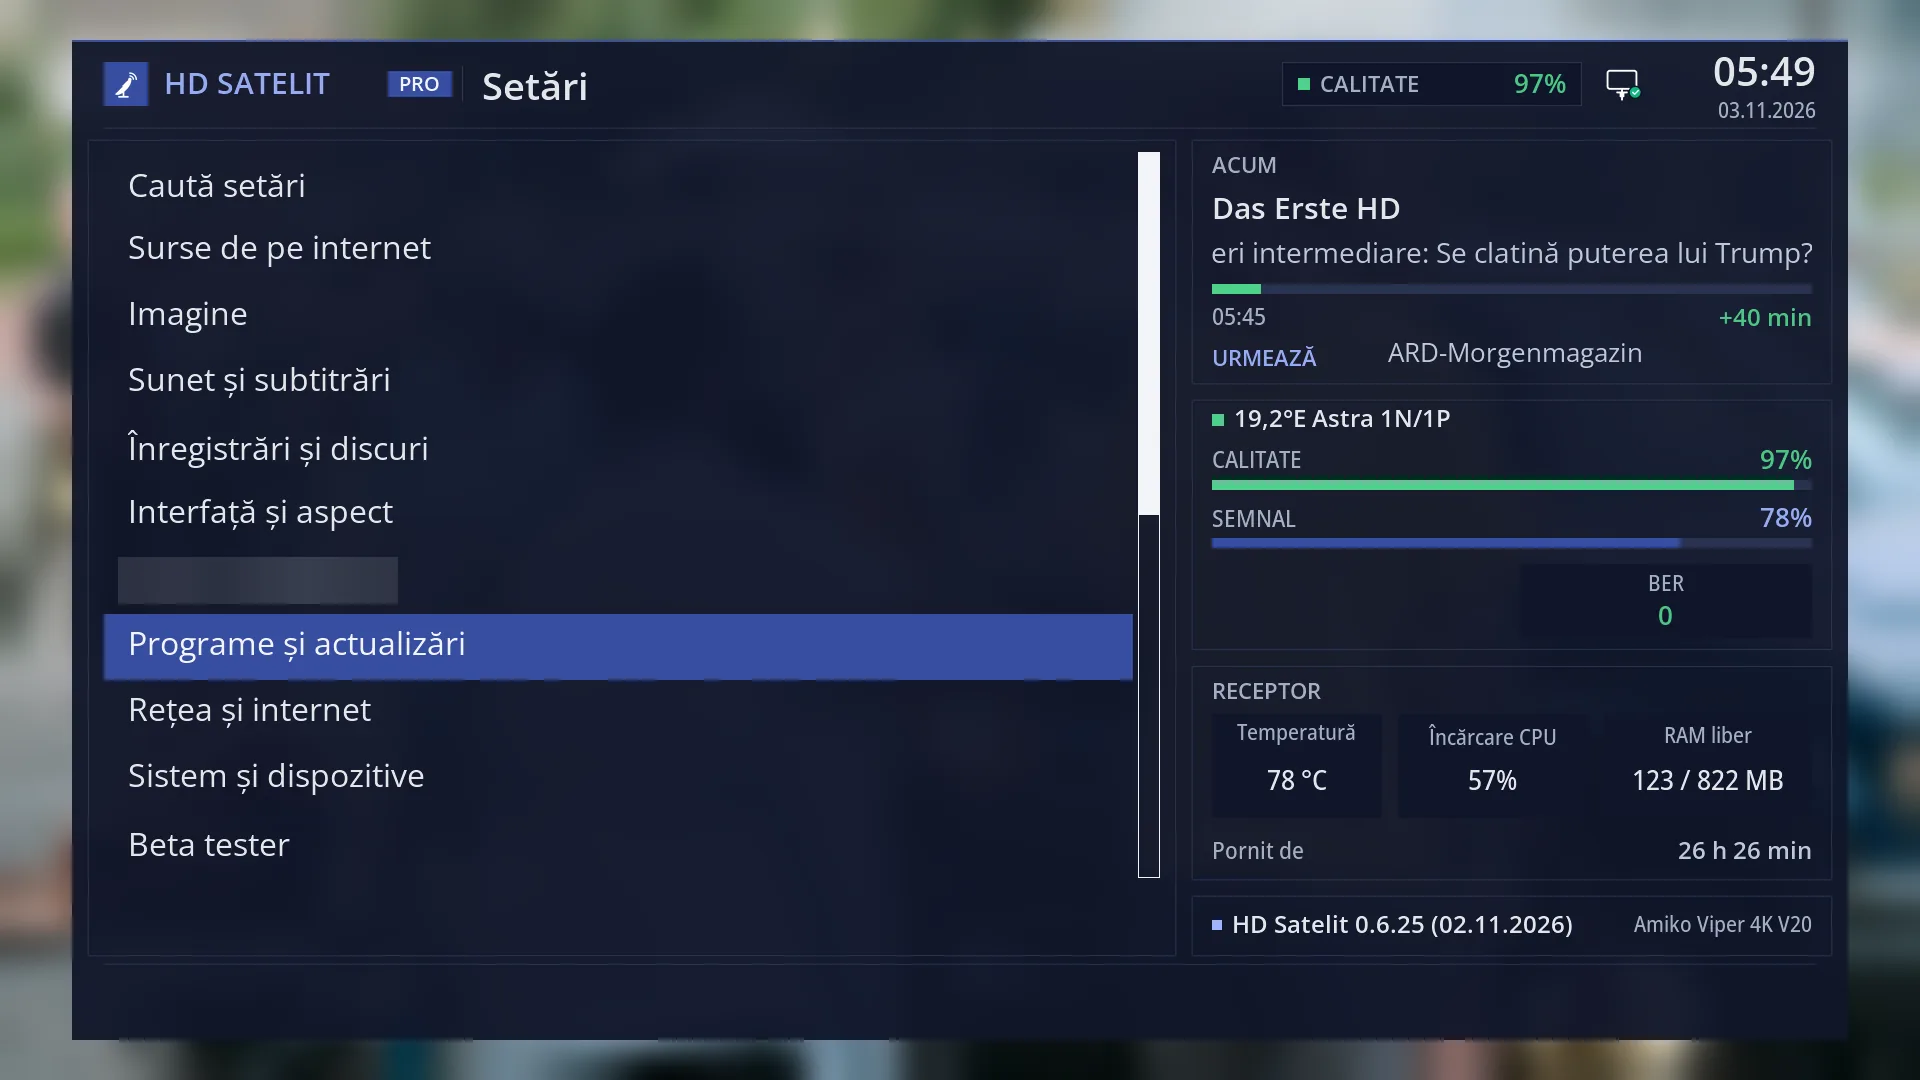
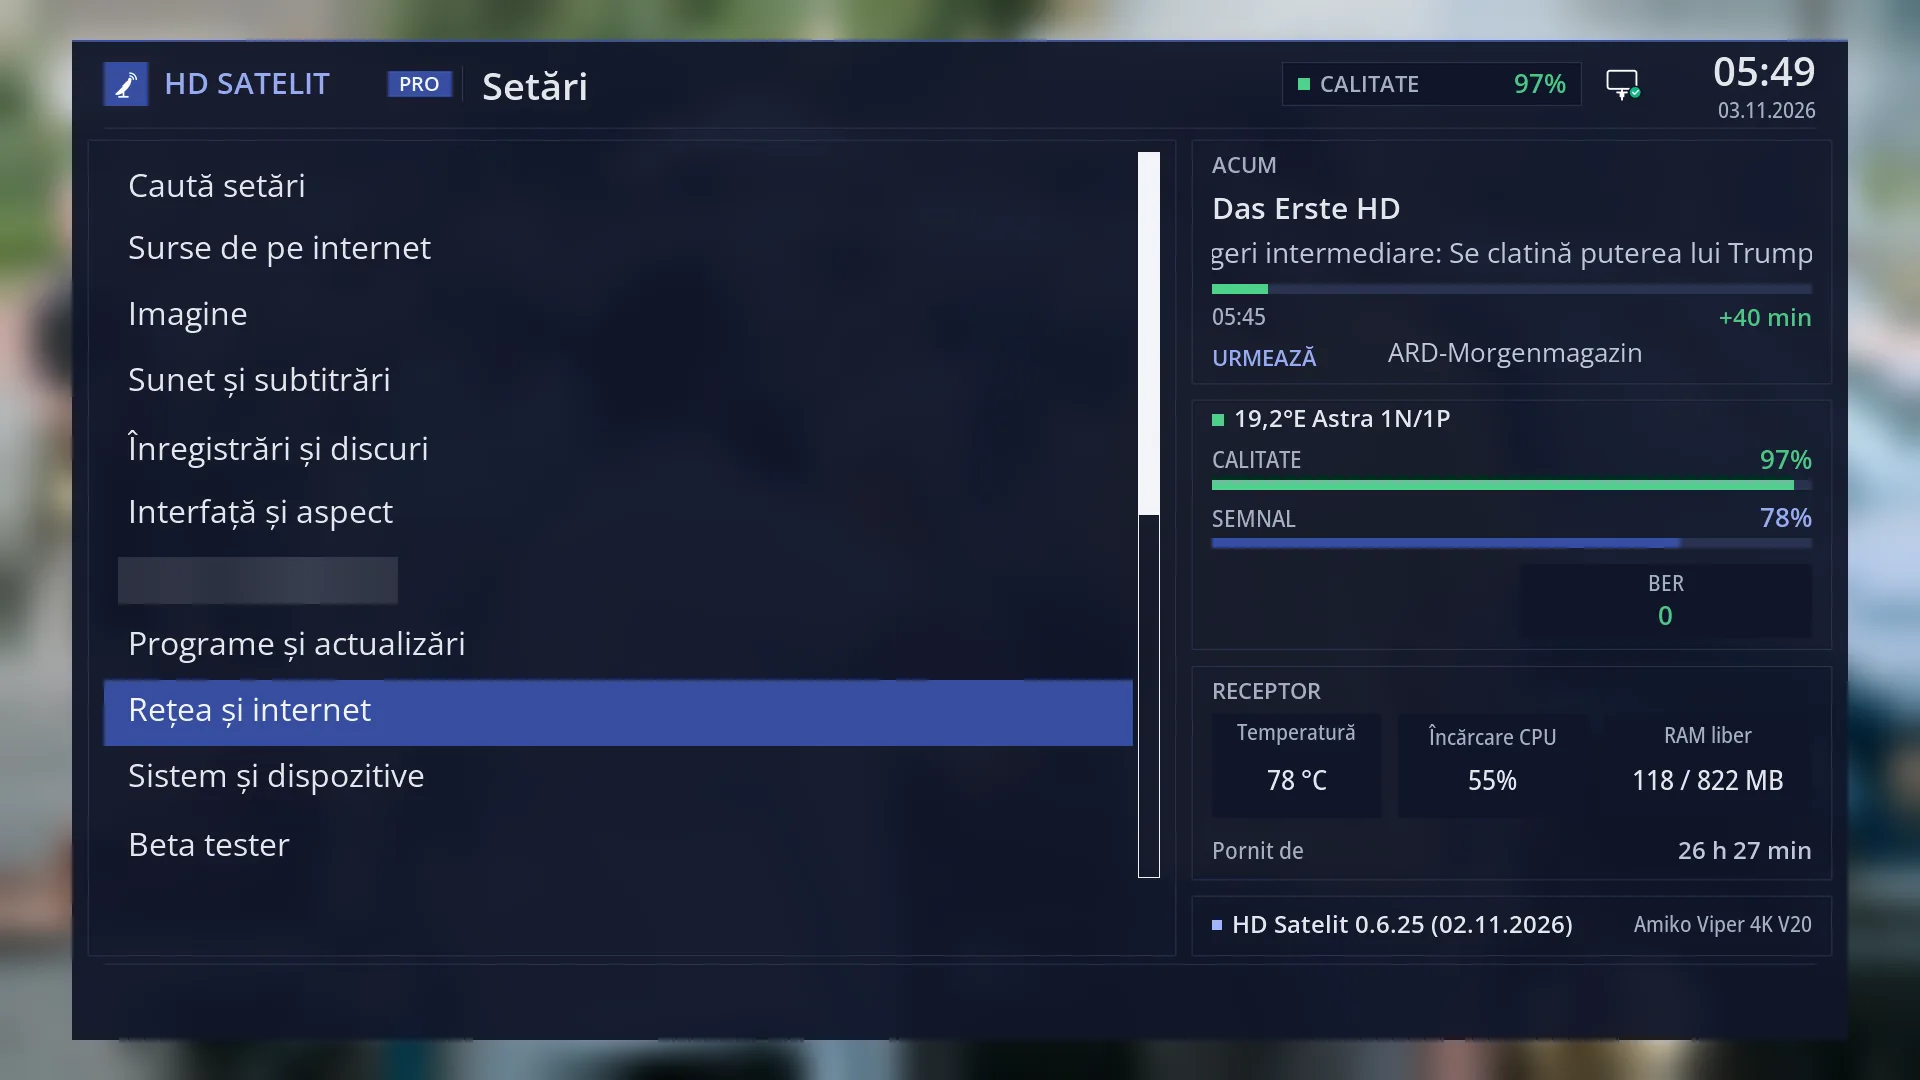
- 1 Selected row: “Software & Firmware”.
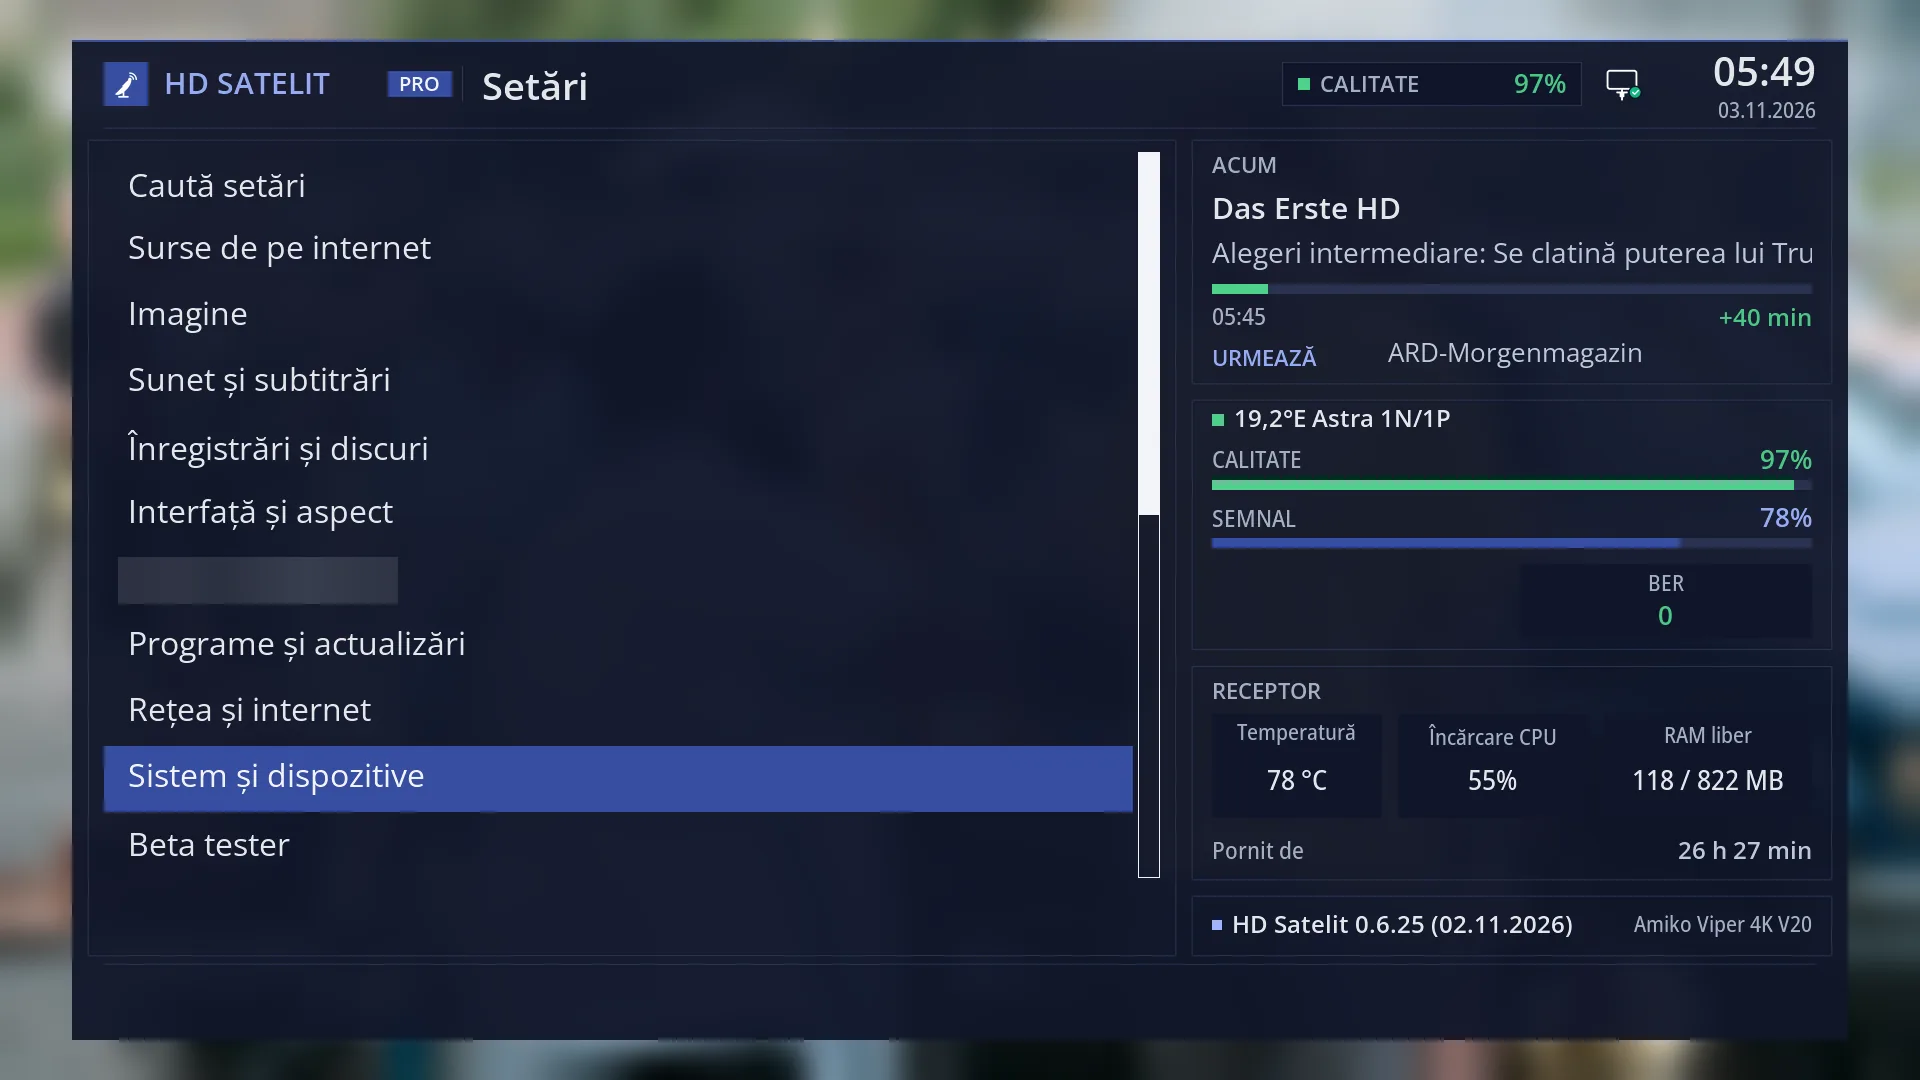
- 1 Selected row: “Network & Internet”.
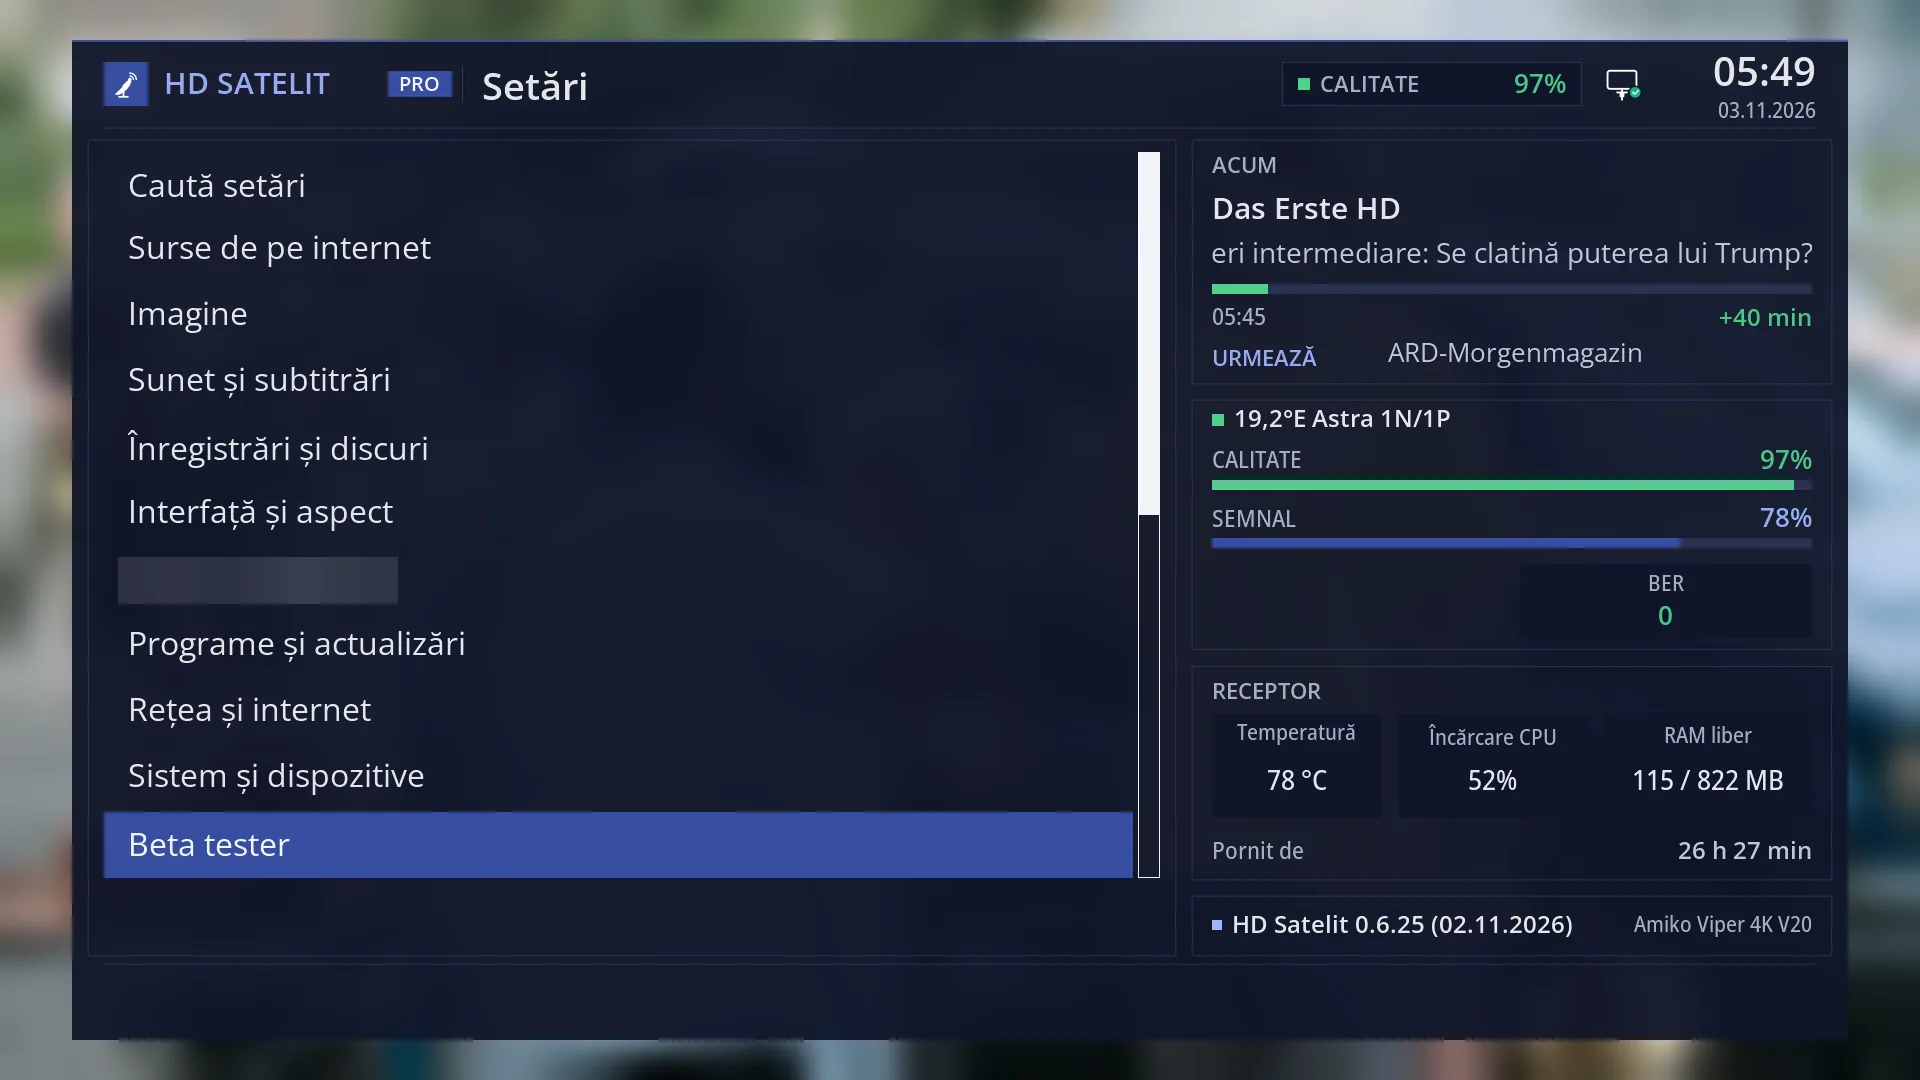
- 1 The 10th row, with no number: UP from the first row, then OK.
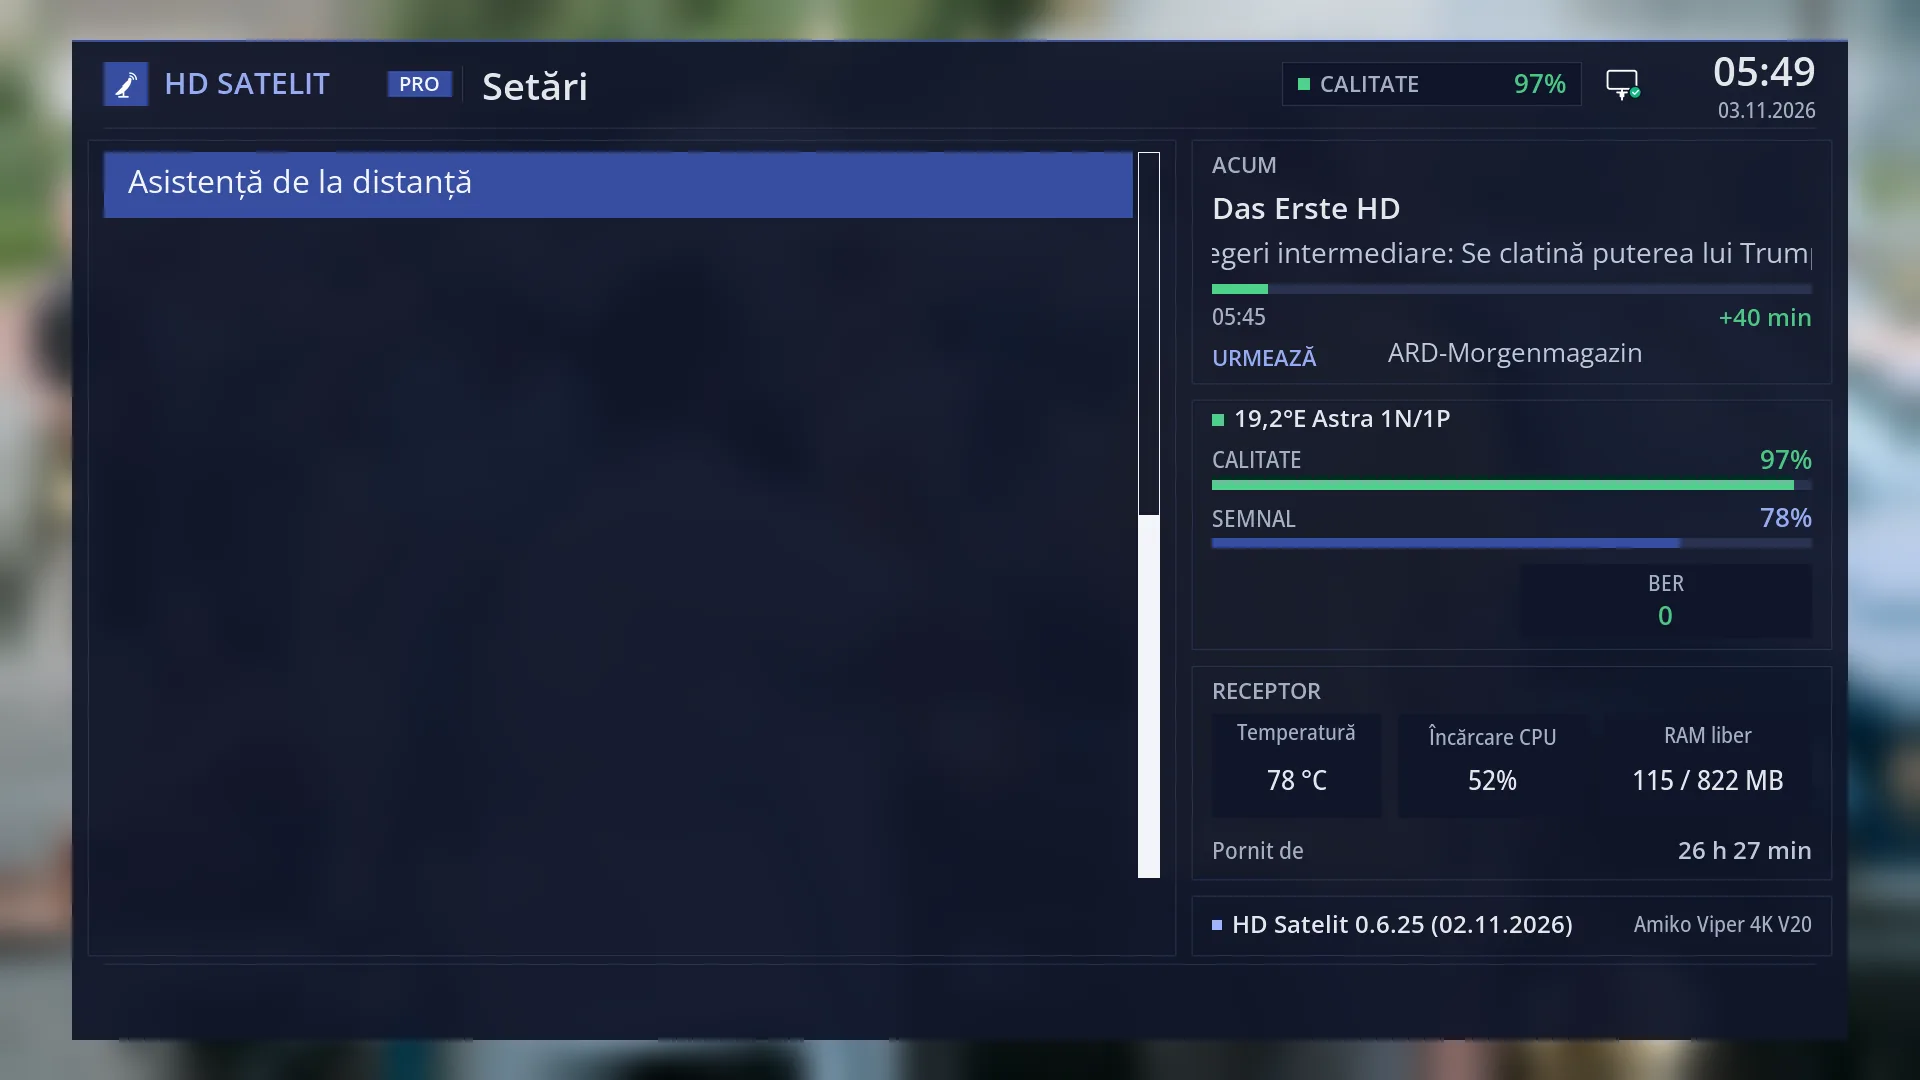
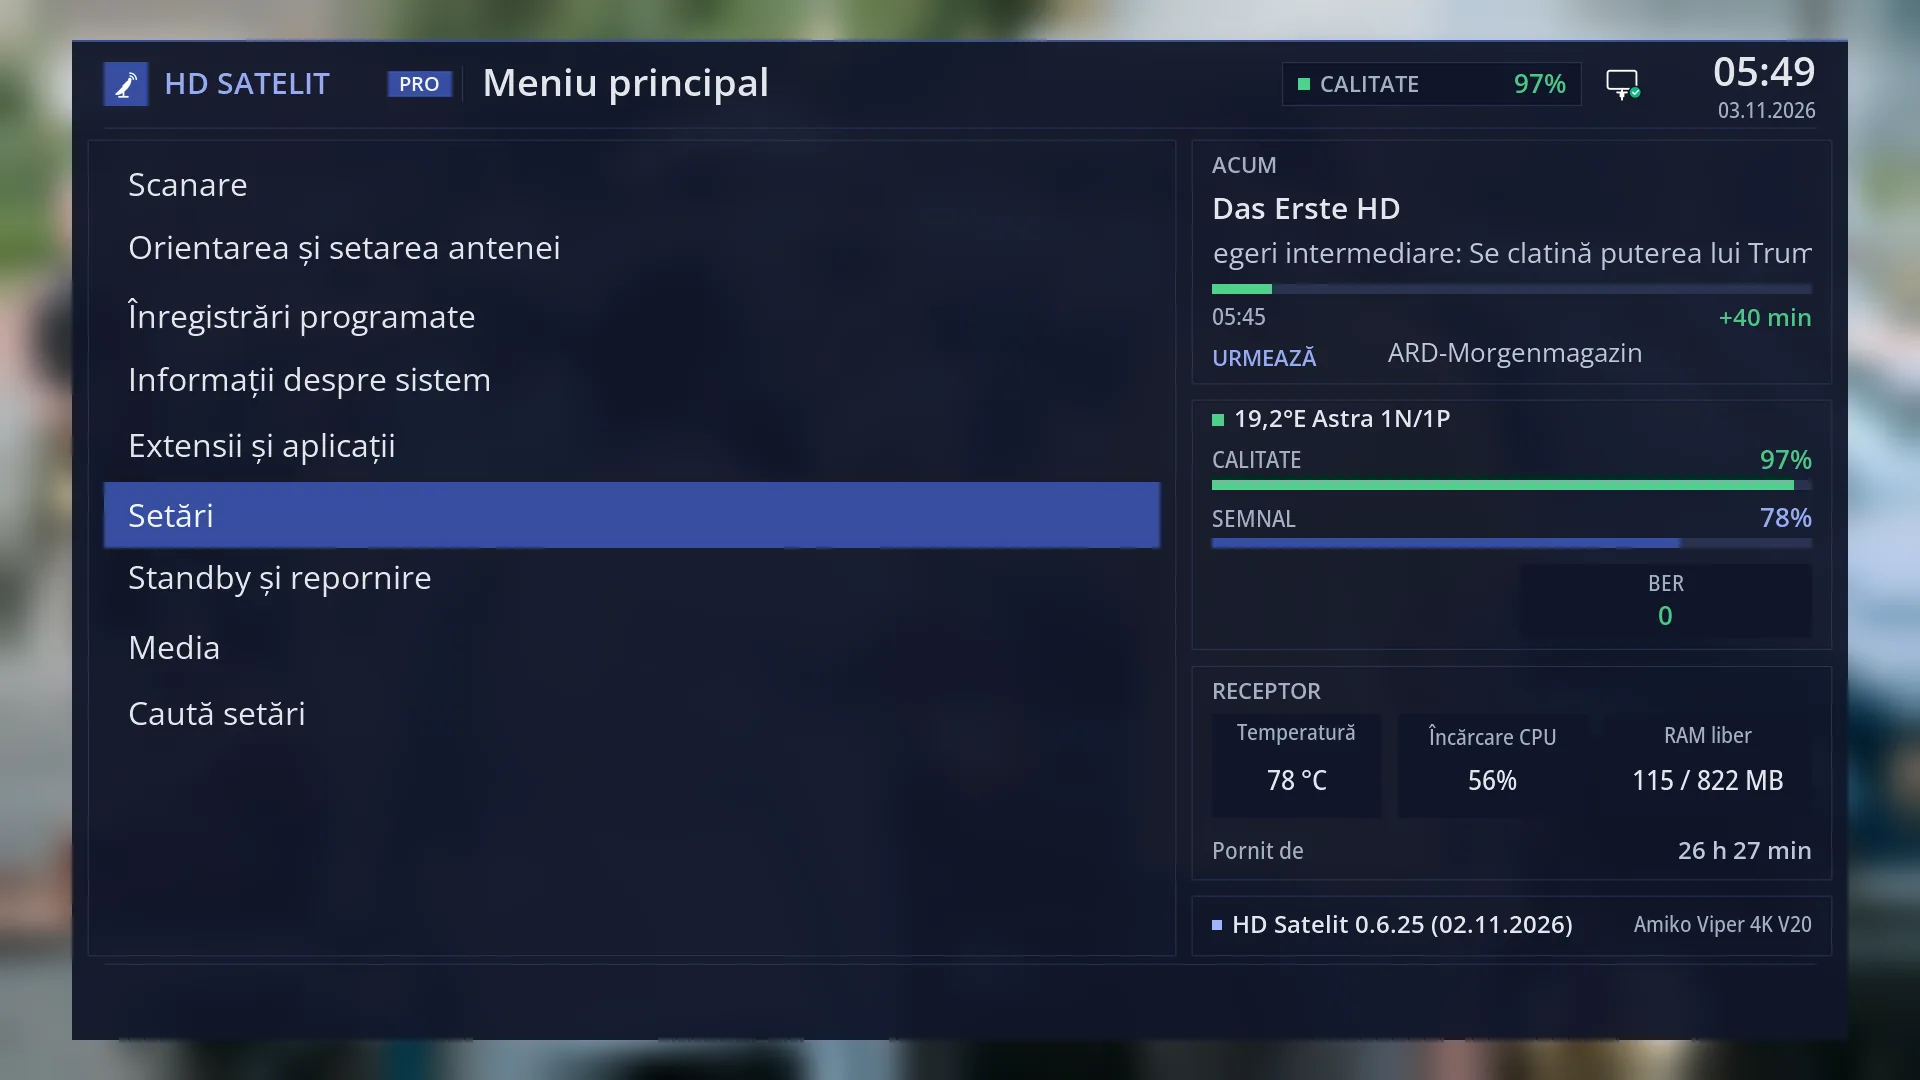
What it is for
“Settings” is the menu with all the receiver's settings, sorted into groups: picture, sound and subtitles, recordings and disks, how the menus look, software and updates, the network, the clock and the devices connected to the receiver.
Each row opens a group (another menu, with its own screens). The first row opens a search across all settings. If you do not know which group a setting is in, use “Search settings”: type a few letters of its name and the receiver shows you where it is.
Channel scanning and the dish are not here. They are the first two rows of the main menu.
When you leave Settings, the receiver saves to disk all the settings you changed in the screens below it.
How to get here
Path: Main menu > Settings.
Keys on the TV: MENU 6.
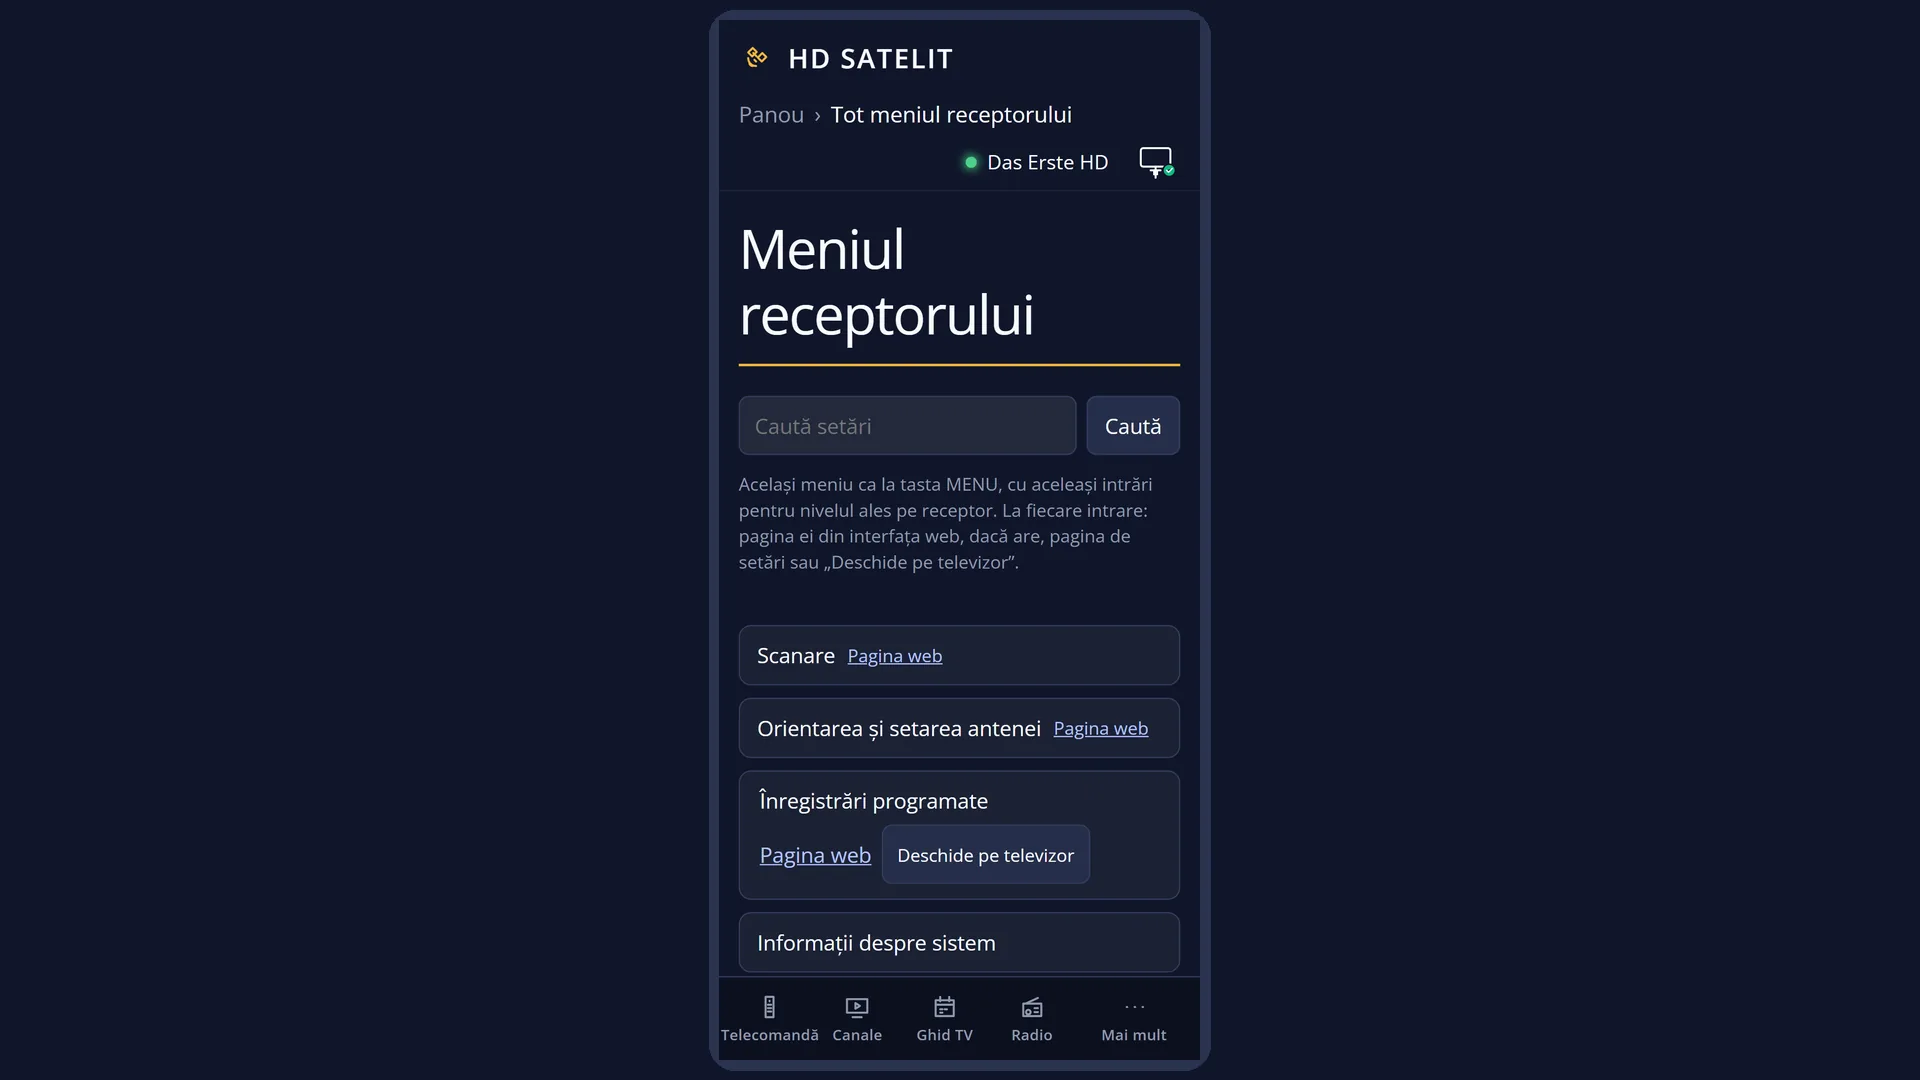
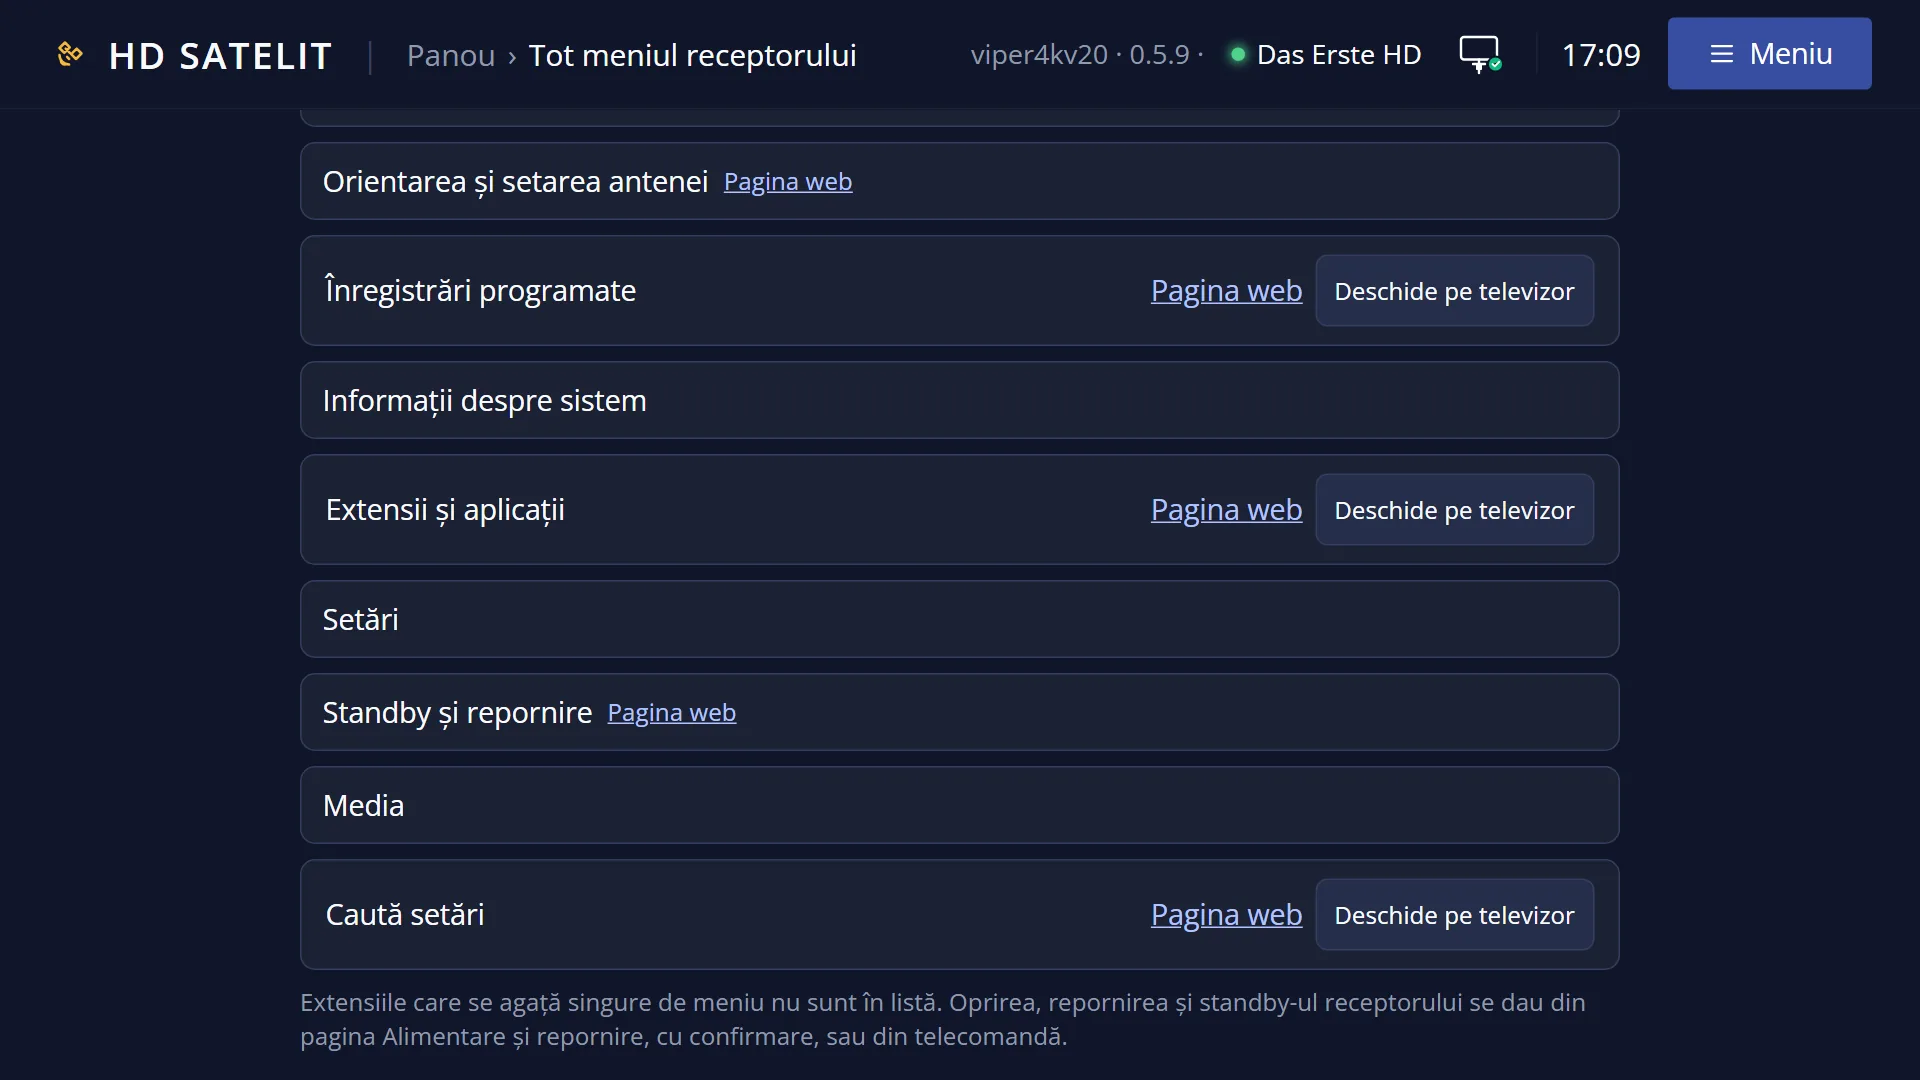
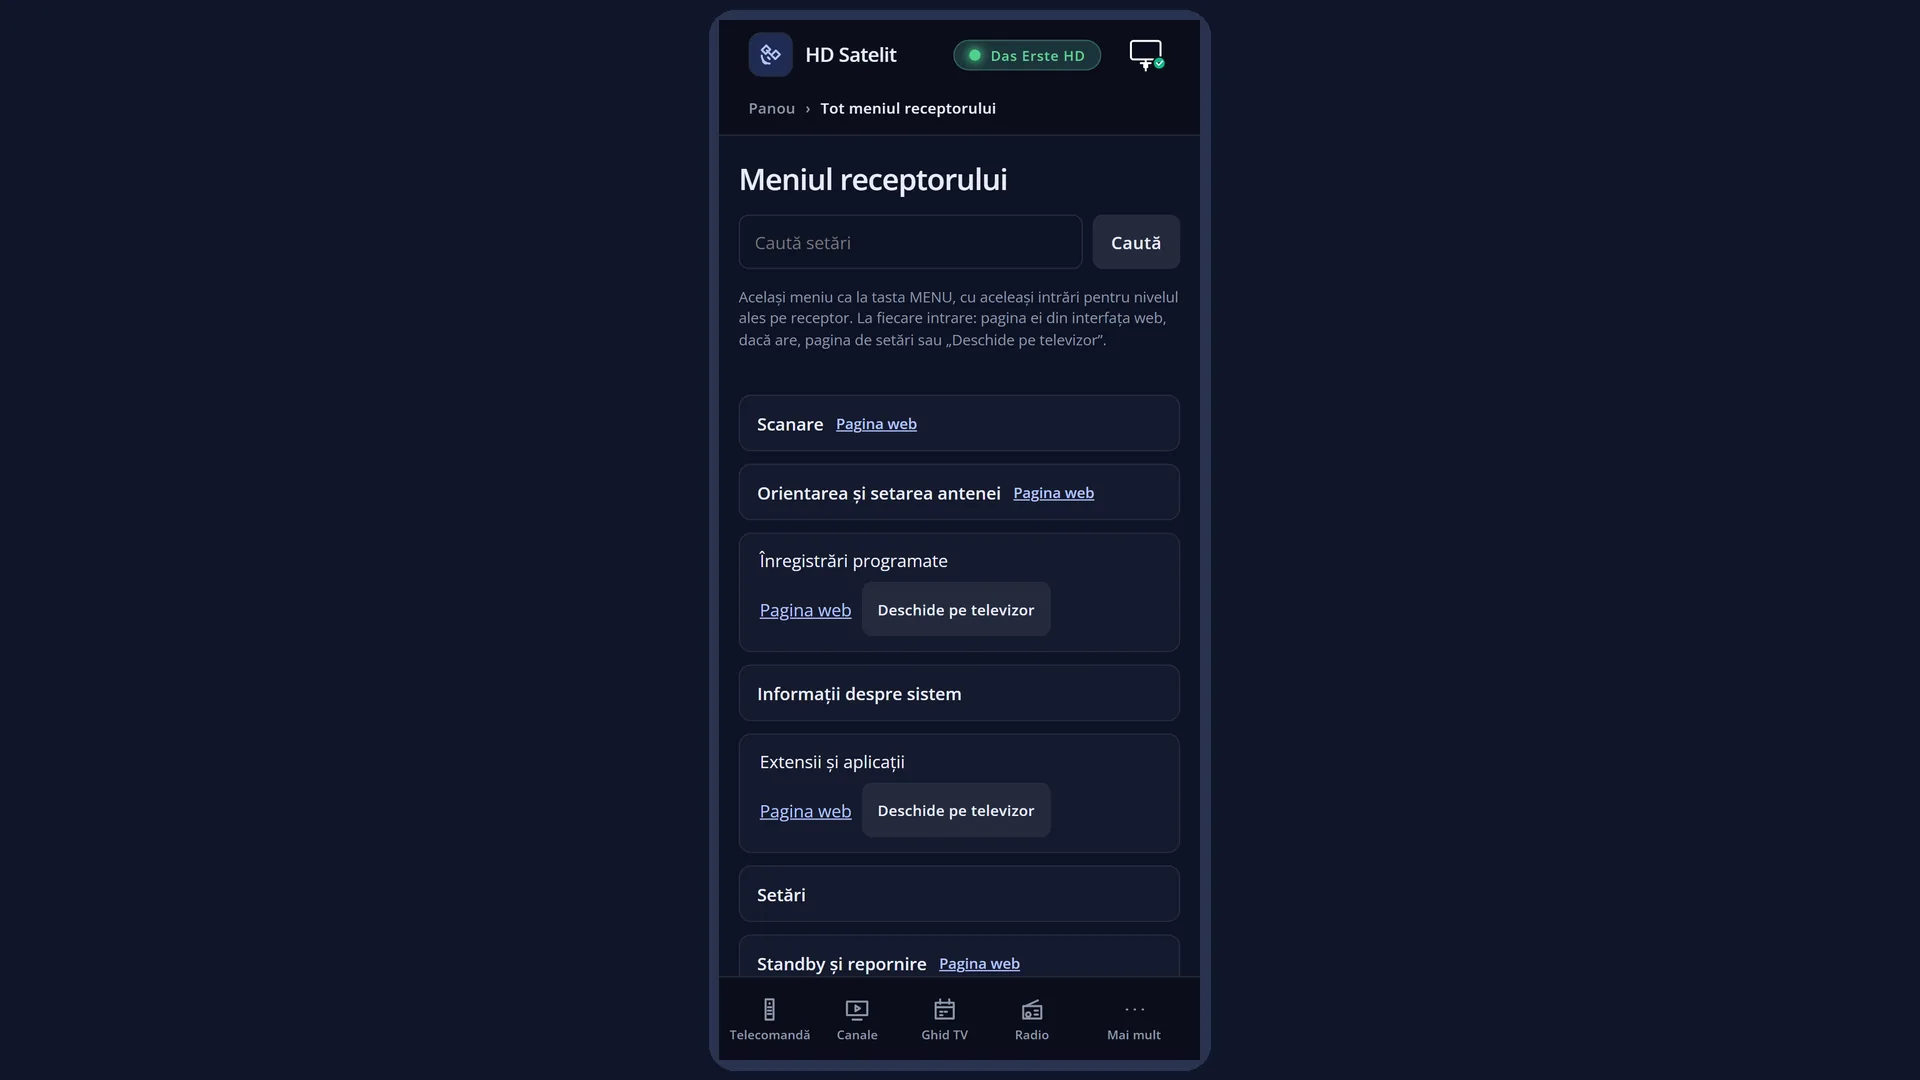
In the web interface: the /meniu page shows the same menu, with the groups and the buttons for each entry. /setari has the list of settings screens.
What you see on the screen
At the top: the title “Settings”, the clock and the date. In the Pro theme, “HD SATELIT” with the “PRO” label appears next to the title, and on the right you see the signal quality of the current channel and the network icon.
On the left is the list of groups, one row per group: Search settings, Internet Sources, Video & Display Settings, Audio & Sound Tracks, Recording & Storage Setup, Interface & Appearance, then another technical group (the 7th row, not described in this help), Software & Firmware, Network & Internet, System & Devices, Beta tester, Remote assistance. The selected row has a blue background.
In the Pro theme, the right side shows the same four boxes as the main menu: “NOW” with the channel and programme, the satellite with “Quality”, “Signal” and “BER”, “Receiver” with the temperature, processor load, free memory and “Uptime”, and at the bottom the image version with the receiver name.
The list has 12 rows and does not fit on one page: “Remote assistance” is alone on the second one. Rows 10, 11 and 12 have no number: UP on the first row takes you to the last one (Remote assistance), and “System & Devices” is three rows higher, so press UP three times.
YELLOW switches the menu to large tiles with icons. The groups are the same, in the same order.
Rows and settings
| Row | Values | Default | What it does |
|---|---|---|---|
| 1 Search settings | Searches the whole menu: type a few letters and you see the menus, screens and setting rows that contain them in their name, with their path and current value. OK opens the screen with the row found. When you do not know which group a setting is in. | ||
| 2 Internet Sources | TV over the internet (DVB-I, IPTV), the receiver's web interface and the web browser settings. When you add channels from the internet or change how you reach the receiver from your phone. | ||
| 3 Video & Display Settings | Resolution, refresh rate and colours on HDMI (Advanced Video Setup) and picture quality by profile. When the picture does not fit the screen, has strange colours, or you want 4K. | ||
| 4 Audio & Sound Tracks | Sound output, volume and delay, the equaliser, languages, subtitle appearance and translation, film subtitles and the radio screen. When the sound or subtitles are not the way you want. | ||
| 5 Recording & Storage Setup | Where recordings are saved, their folders, formatting and checking the disk, automatic disk standby and the swap file. When you connect a new disk or recordings have nowhere to be saved. | ||
| 6 Interface & Appearance | Screen appearance, the Classic or Pro theme, colours, language, general settings, text size and font, screen margins and the startup screen. When you want the menus to look different or the text to be larger. | ||
| 8 Software & Firmware | Updating the image, a new image from a USB stick and the settings copy. When a new version is out or you want a copy of your settings. | ||
| 9 Network & Internet | The network connection (cable or Wi-Fi), the internet check, DNS servers, VPN, SSH access and streaming channels over the network. When the receiver has no internet or you change your router. | ||
| System & Devices (10th row, no number) | Date and time, the receiver watchdog, the processor, the front display, remote controls and keyboard, standby and the TV, logs, parental lock and resetting to factory defaults. When you set the clock, the remote, or what the TV does in standby. | ||
| Beta tester (11th row, no number) | The beta tester programme: with your consent, the receiver sends the team anonymous data about crashes, freezes and logs, and you can post on the receiver's forum. When you want to help us find what does not work on your receiver. | ||
| Remote assistance (12th row, the last one) | You start the assistance yourself: the HD Satelit team connects to your receiver to see what is wrong. You are told when they connect, you can use the receiver meanwhile, and you stop the assistance yourself. When something does not work and you want us to look at the receiver directly. |
Keys
| UP / DOWN | Moves the cursor to the row above or below. From the first row, UP goes to the last one (Remote assistance), and the other way round. |
| LEFT / RIGHT | In the list, they jump one page: the list has two pages, and the second one holds only “Remote assistance”. In tile view, they move the cursor to the tile on the left or right. |
| OK | Opens the selected group. |
| 1 ... 9 | Open the row with that number directly, without OK: 1 Search settings, 2 Internet Sources, 3 Video & Display Settings, 4 Audio & Sound Tracks, 5 Recording & Storage Setup, 6 Interface & Appearance, 8 Software & Firmware, 9 Network & Internet. Rows 10, 11 and 12 have no number (the 0 key does nothing here). |
| TTX (shown on screen as TEXT) | Opens “Search settings”, the same as row 1. |
| YELLOW | Switches the menu from list to tiles or back, straight away, keeping the same group selected. Your choice is remembered for all menus. |
| EXIT | Closes Settings and takes you back to the main menu. |
| MENU | Closes the whole menu and takes you back to TV. |
Step by step
Get to a group quickly
- Press MENU, then 6. Settings opens.
- Press the group's number, for example 4 for Audio & Sound Tracks.
- For System & Devices, press UP, then OK.
Find a setting by name
- In Settings, press 1 (or TTX from any menu).
- Type a few letters of the setting's name with the number keys, as when writing a text message.
- Choose the result and press OK. The screen opens with the cursor on the row found.
Problems and solutions
I cannot find the channel scan in Settings.
Channel scan and the dish are in the main menu: MENU 1 (Channel scan) and MENU 2 (Dish alignment and setup).
I pressed 0 and System & Devices did not open.
The number keys only work from 1 to 9. For the 10th row, press UP from the first row, then OK.
Some rows I see in this help are missing from a group.
Some entries only appear when “Setup Mode” is set to Intermediate or Expert (OSD Preferences, MENU 6 6 5), and others only on receivers that have the feature.
The menu is suddenly full of large tiles.
You pressed YELLOW. Press YELLOW again to go back to the list.
There are no boxes on the right of the menu, I see the channel picture instead.
This is how the menu looks in the Classic theme. The boxes appear in the Pro theme (Settings > Interface & Appearance > Interface theme).