

Picture quality
English screenshots coming: some of the pictures below still show the receiver and the web interface in Romanian. The rows, keys and steps described on this page are the English ones.
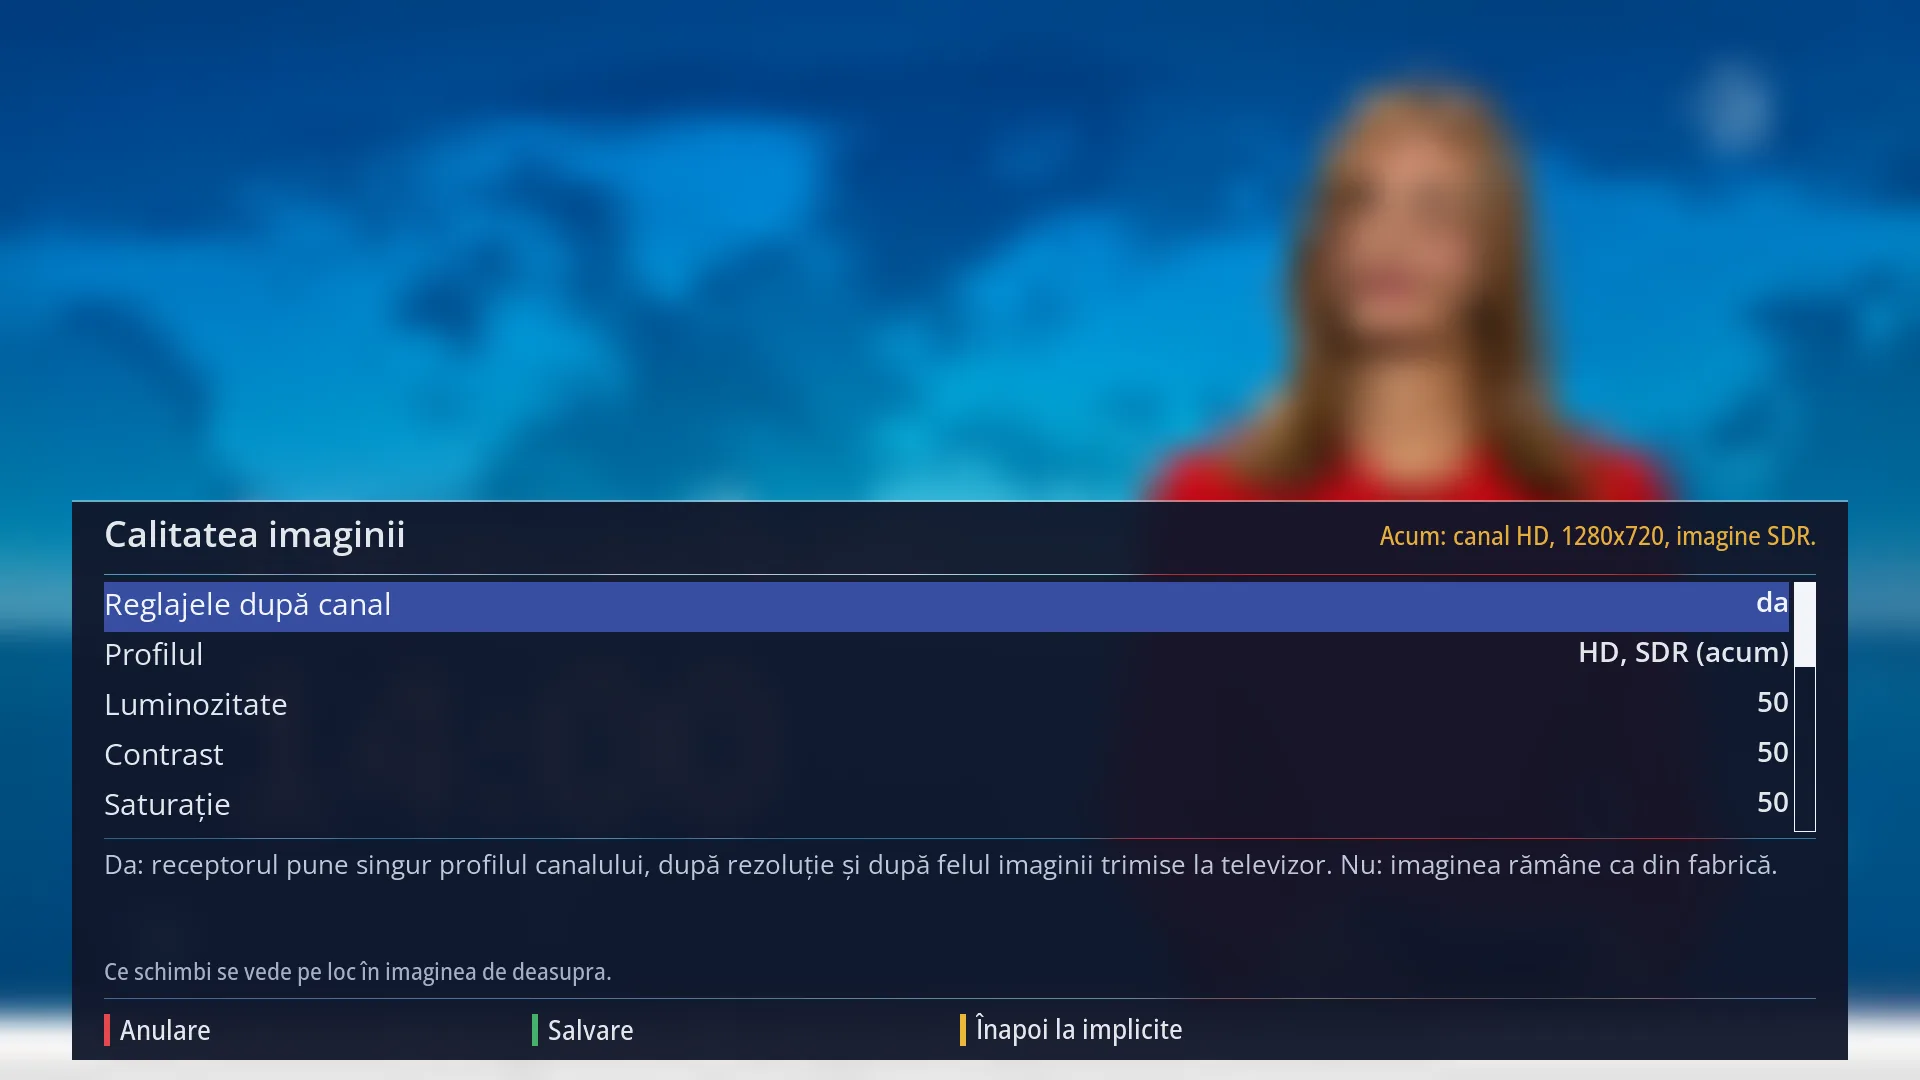
- 1 The window title.
- 2 What is on screen now: SD, HD or 4K, the resolution and SDR or HDR.
- 3 “Settings by channel”: Yes applies the profiles, No leaves the picture at factory settings.
- 4 “Profile”: the one with “(now)” belongs to the current channel and shows at once.
- 5 The profile's settings; press DOWN for the rest.
- 6 The explanation of the selected row and the note: what shows at once, or why not.
- 7 RED Cancel, GREEN Save, YELLOW Back to defaults, BLUE Comparison.
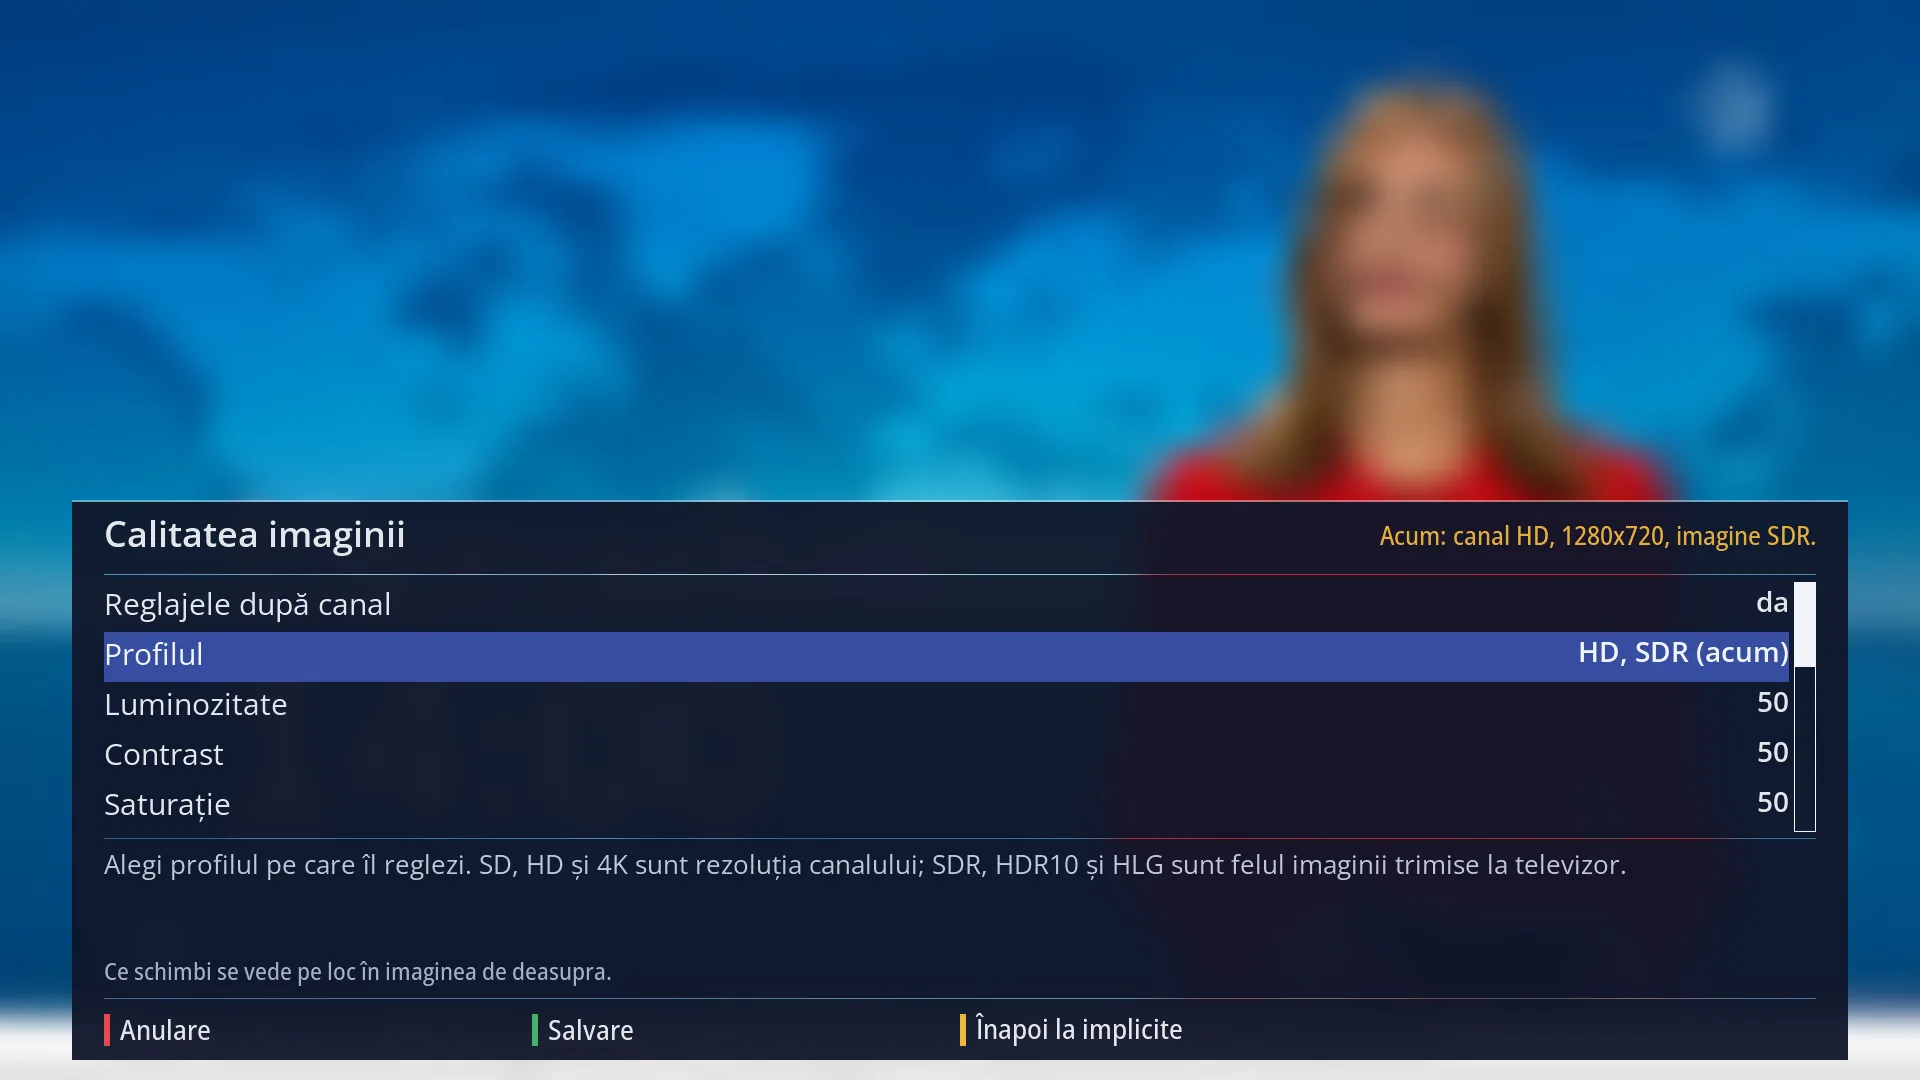
- 1 The selected row: “Profile: HD, SDR (now)”.
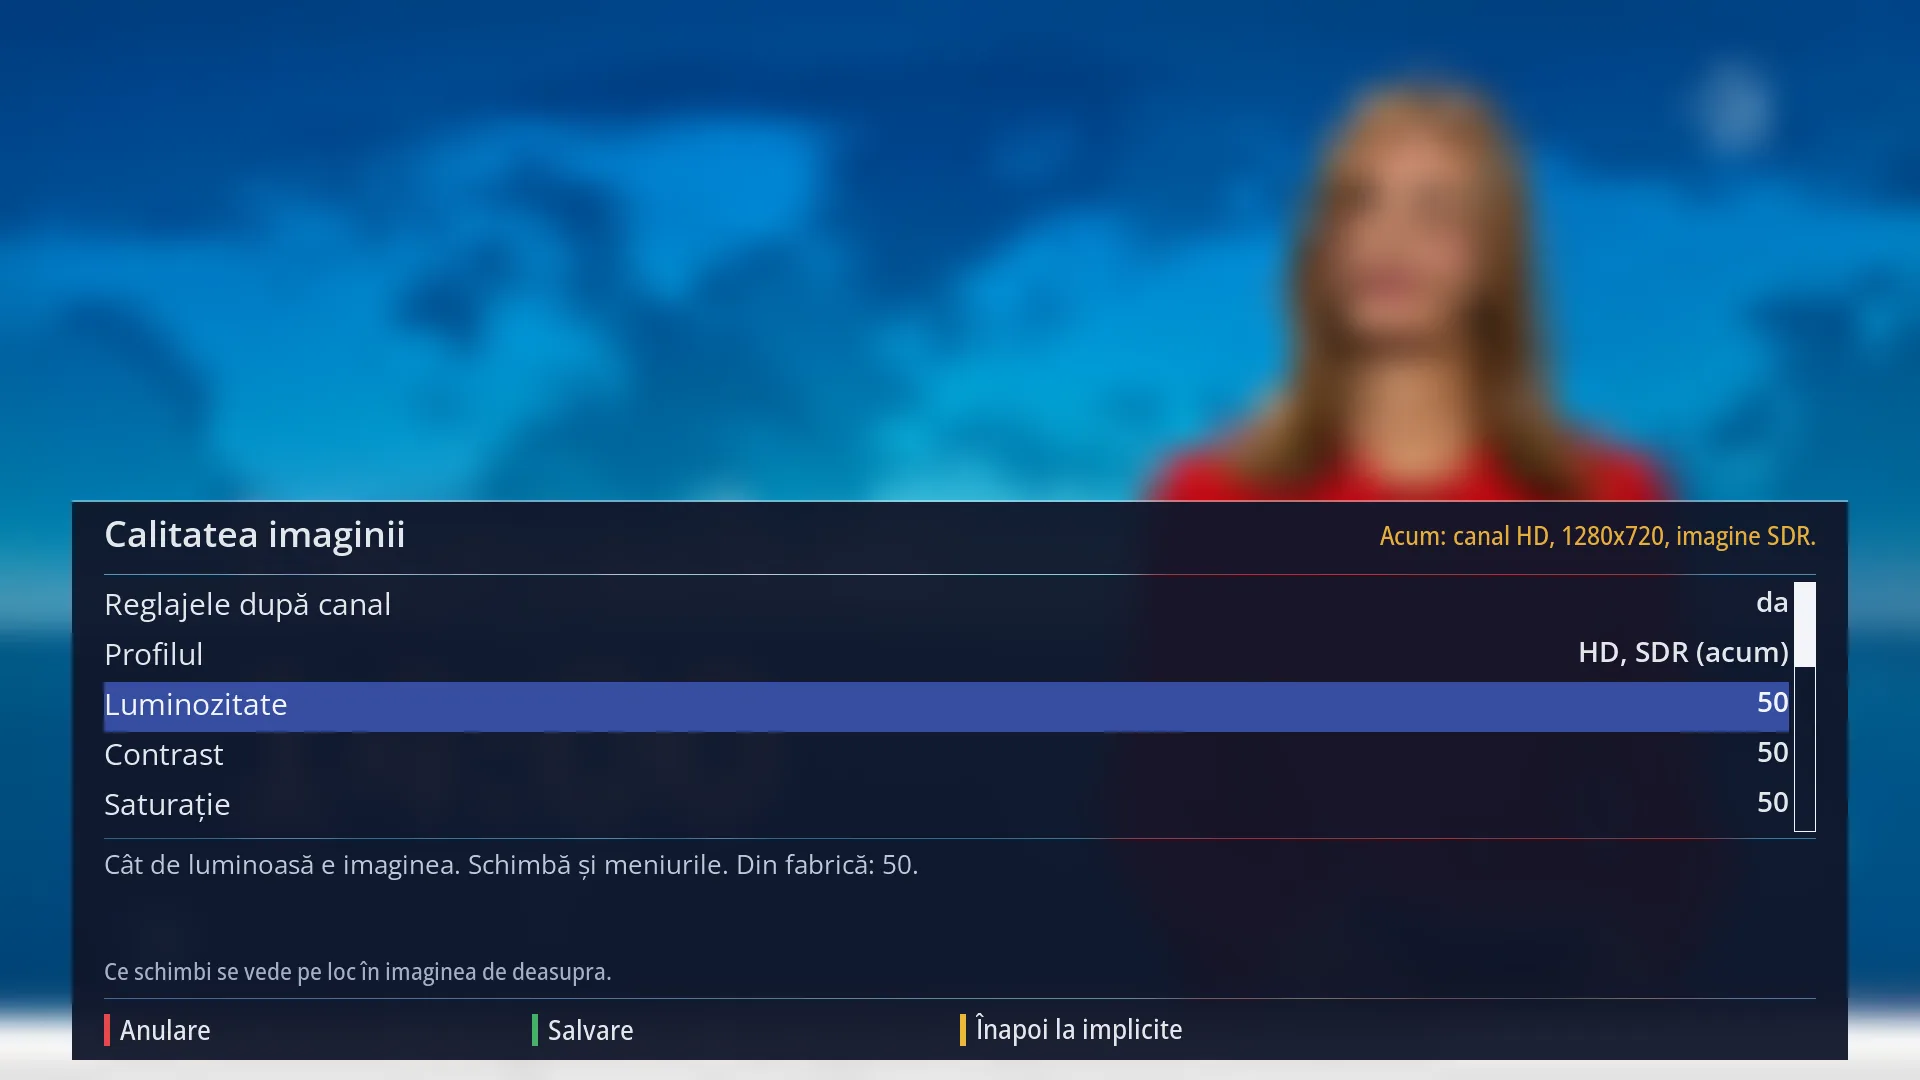
- 1 The selected row: “Brightness: 50”.
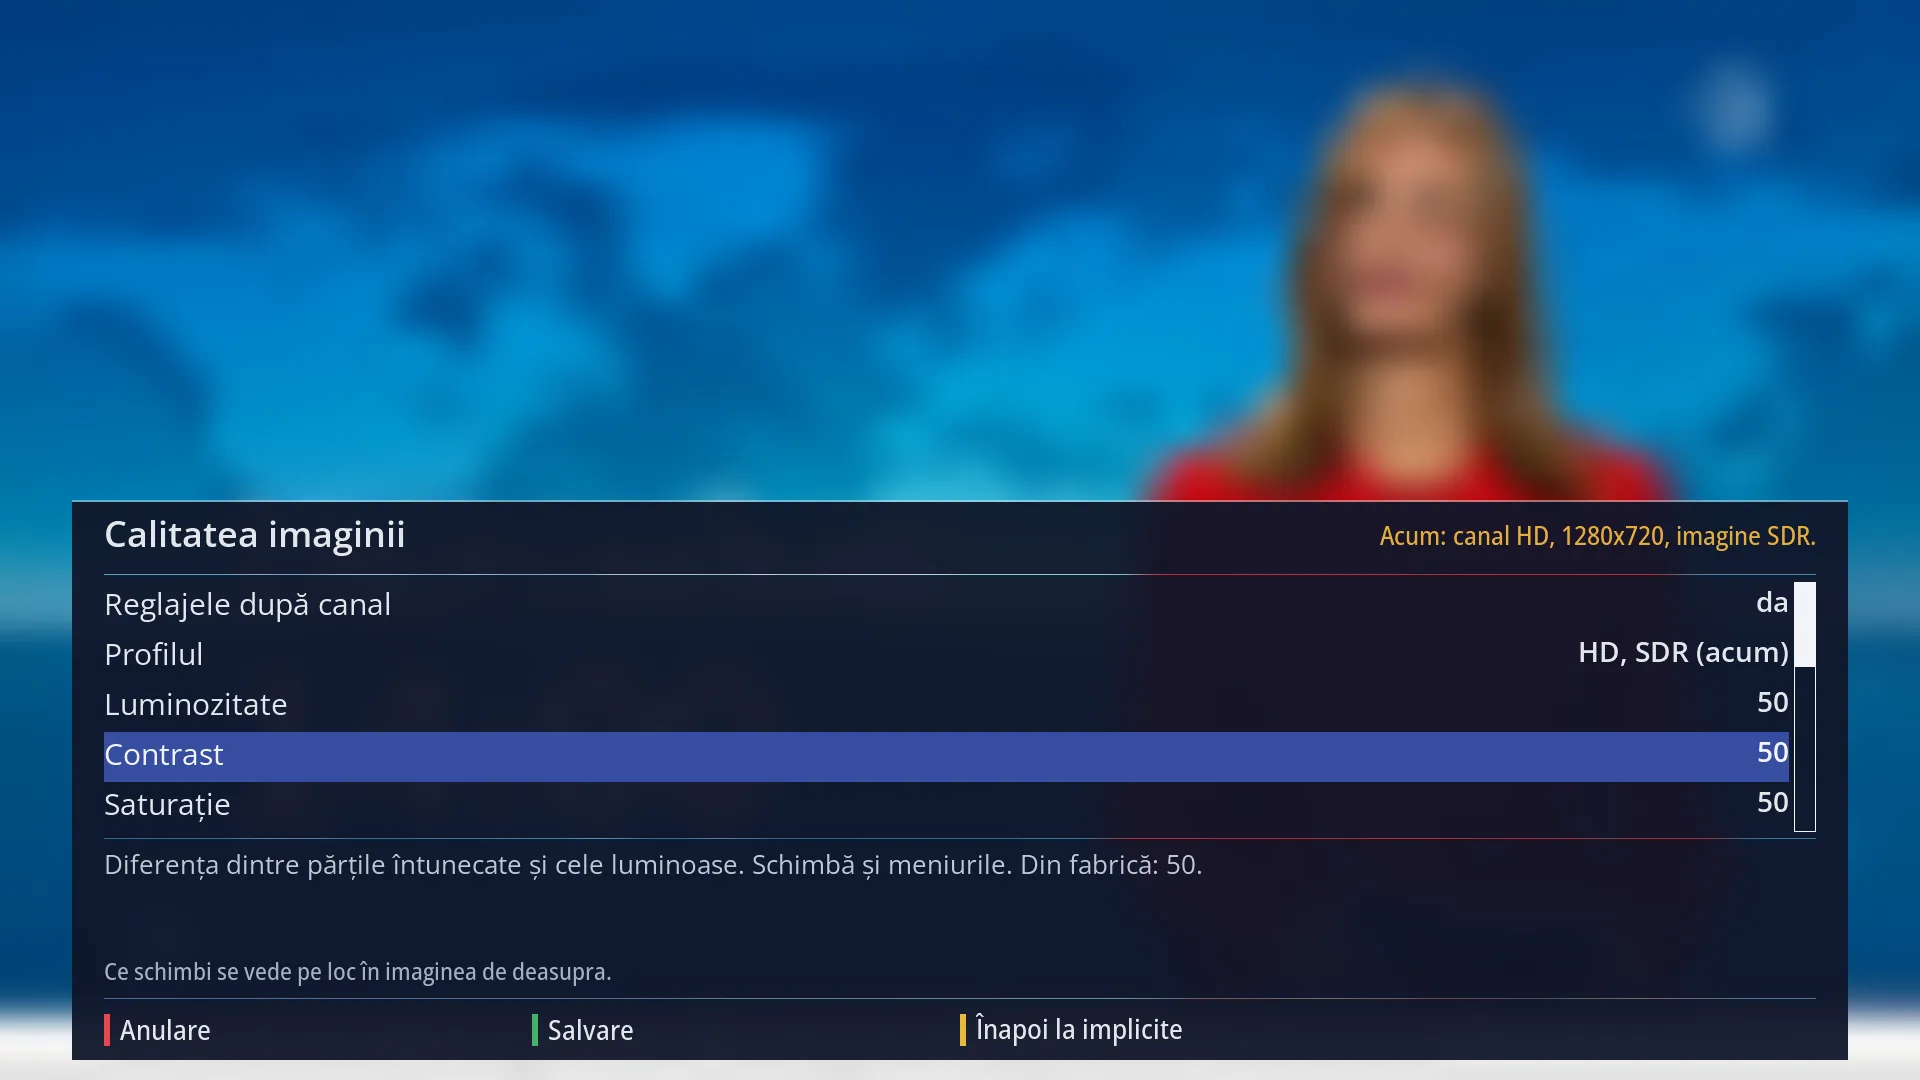
- 1 The selected row: “Contrast: 50”.
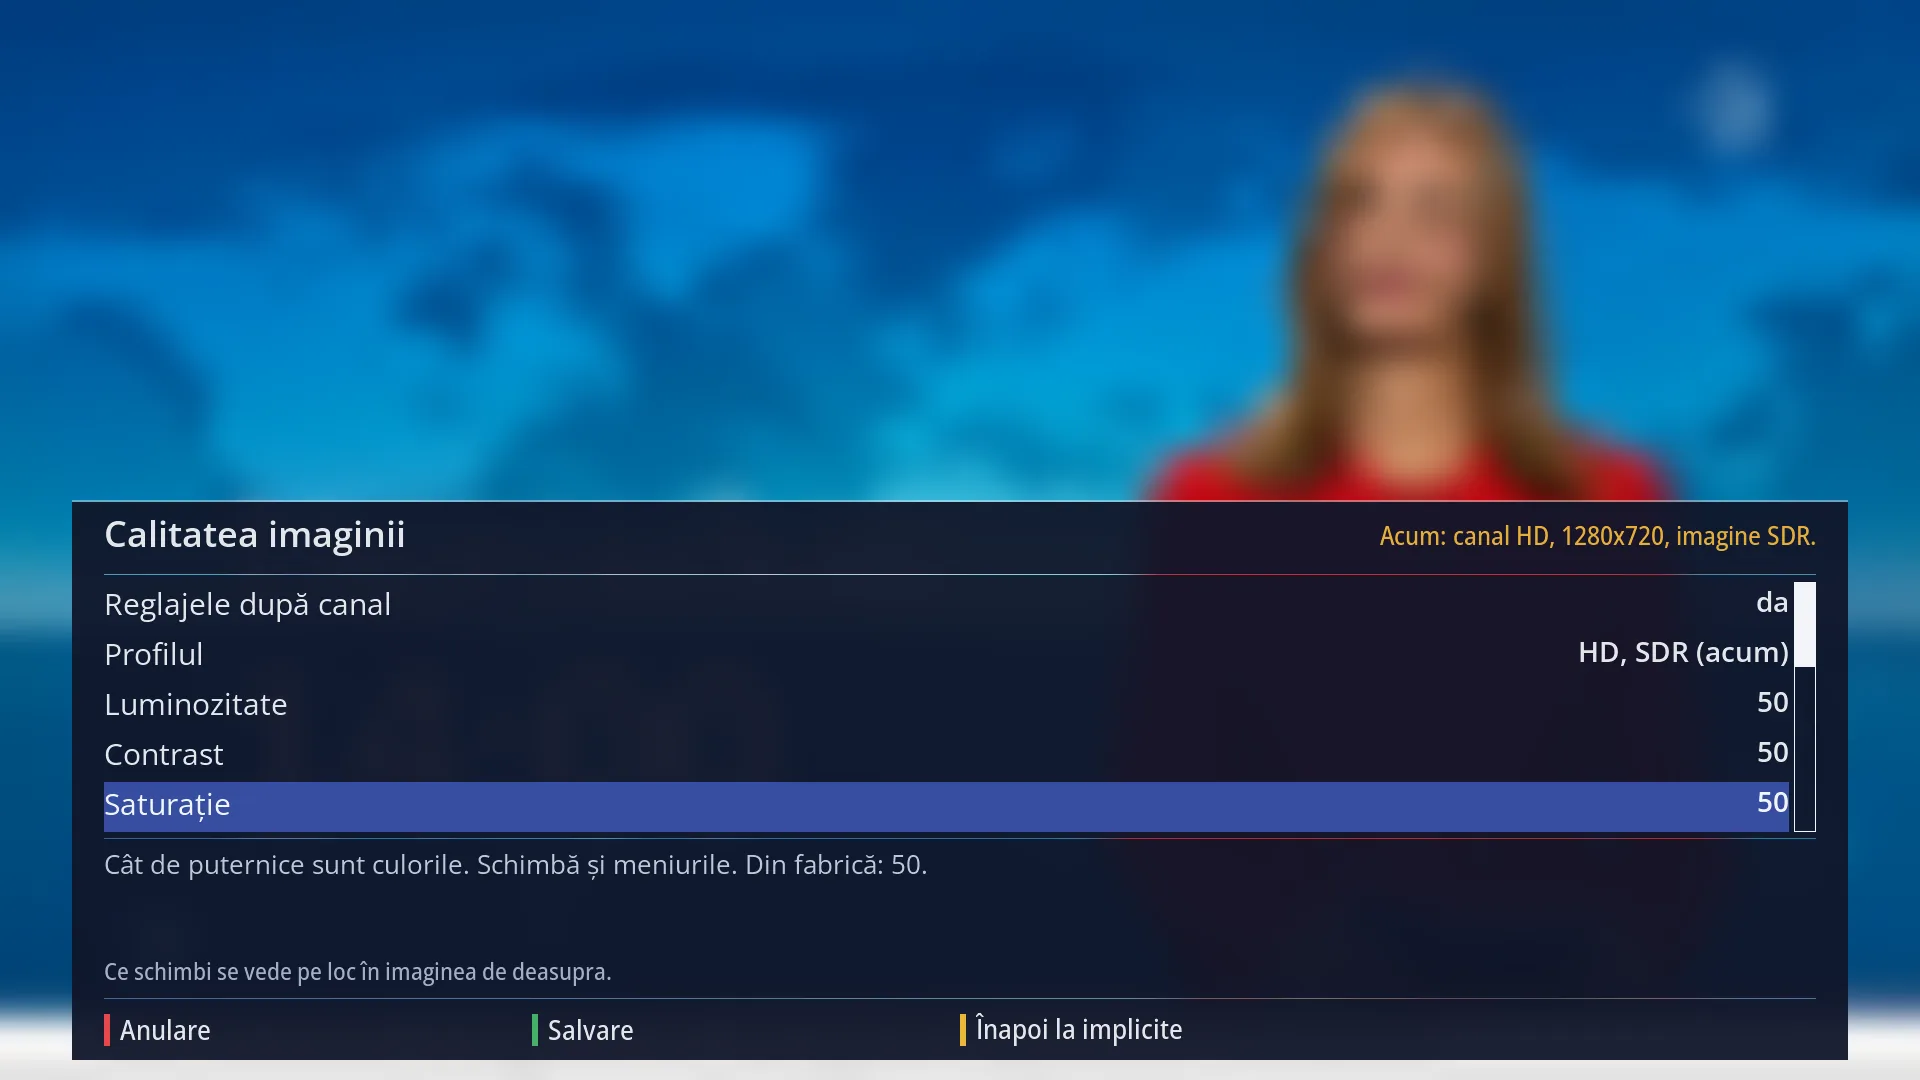
- 1 The selected row: “Saturation: 50”.
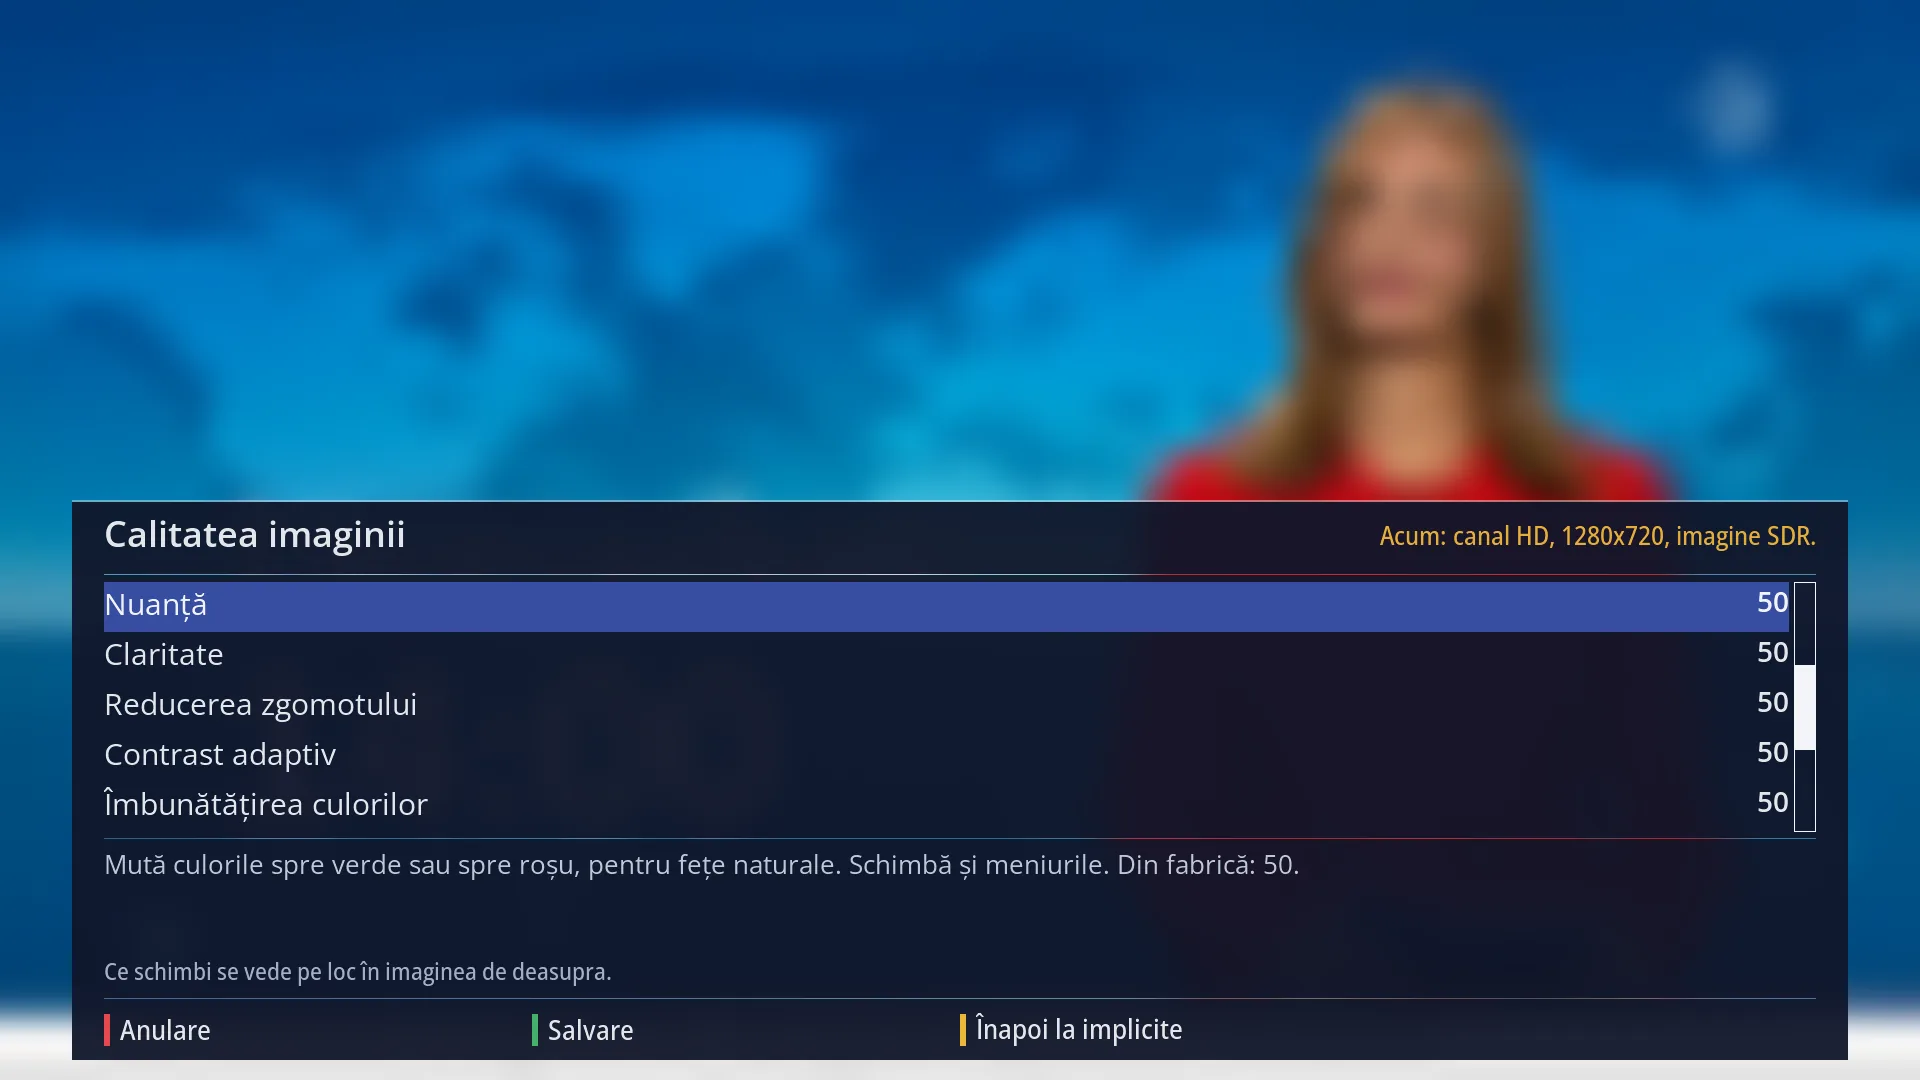
- 1 The selected row: “Hue: 50”.
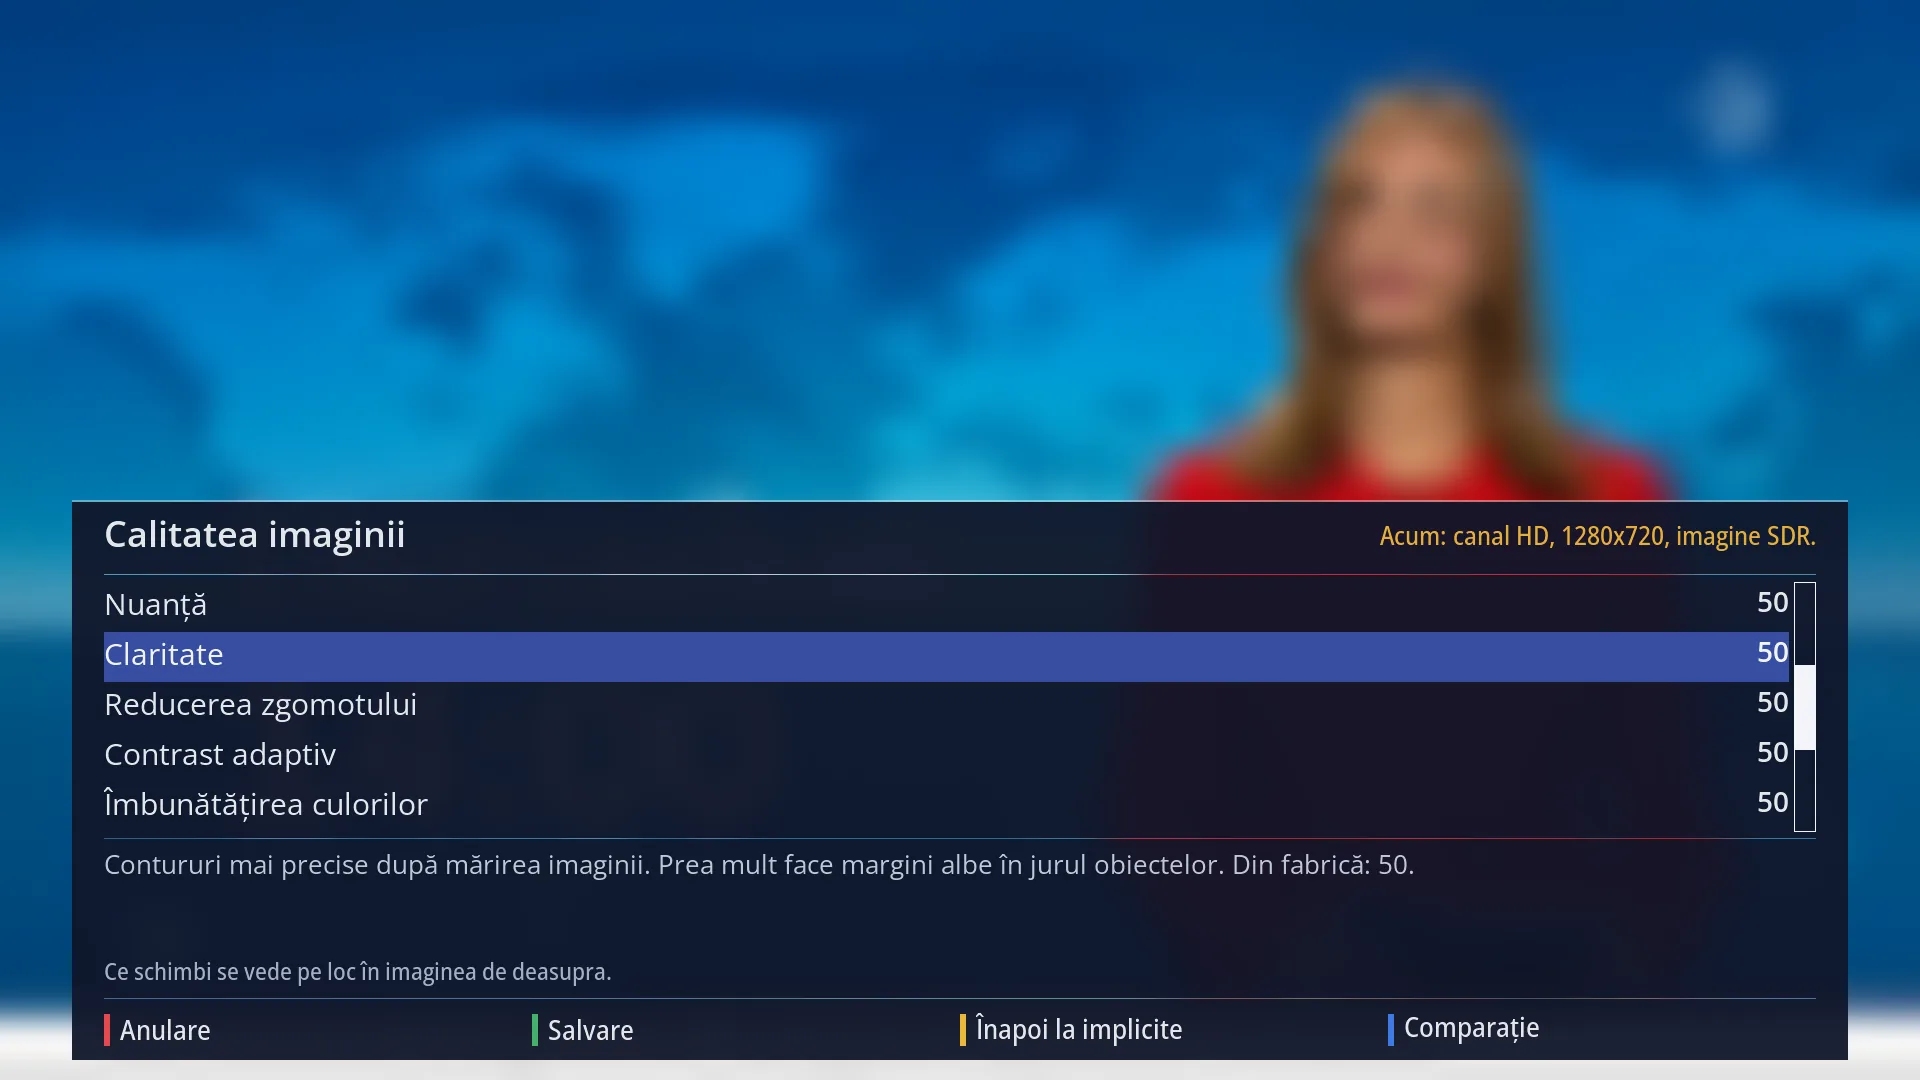
- 1 The selected row: “Sharpness: 50”.
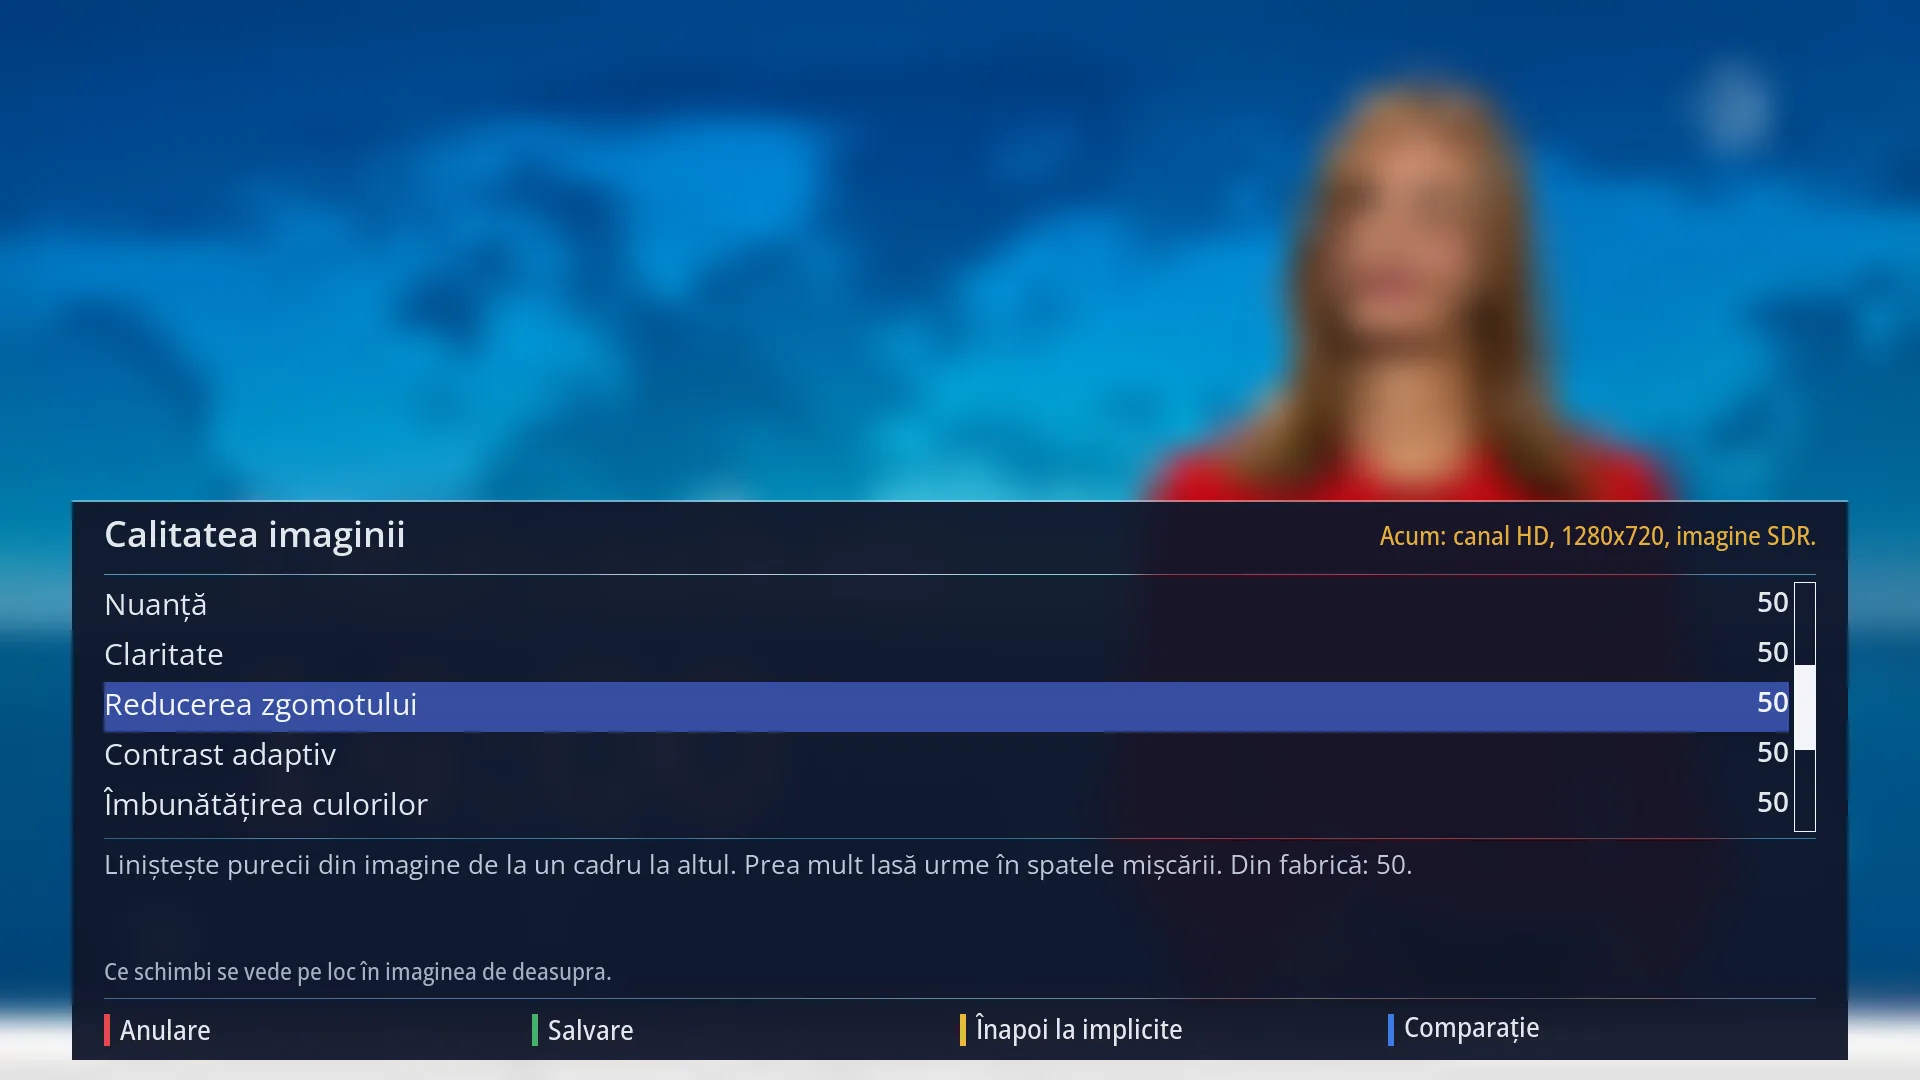
- 1 The selected row: “Noise reduction: 50”.
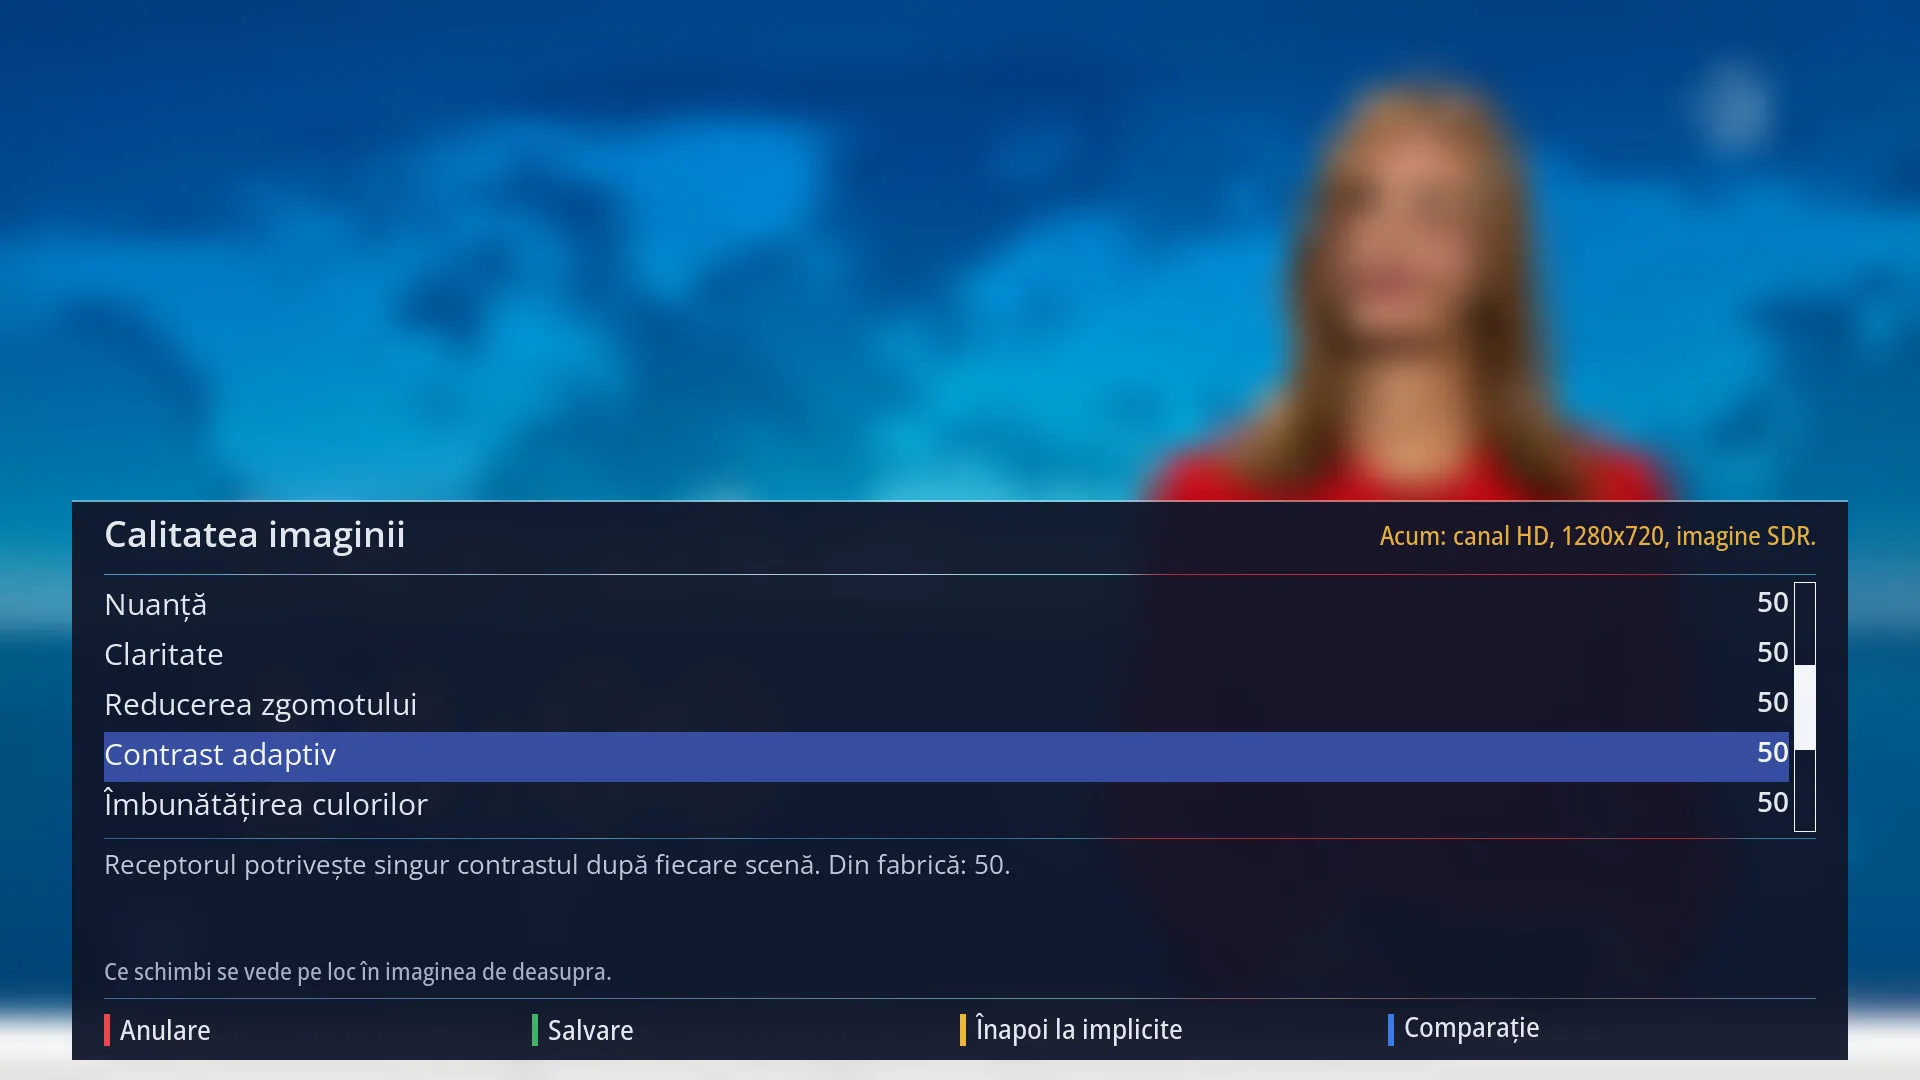
- 1 The selected row: “Adaptive contrast: 50”.
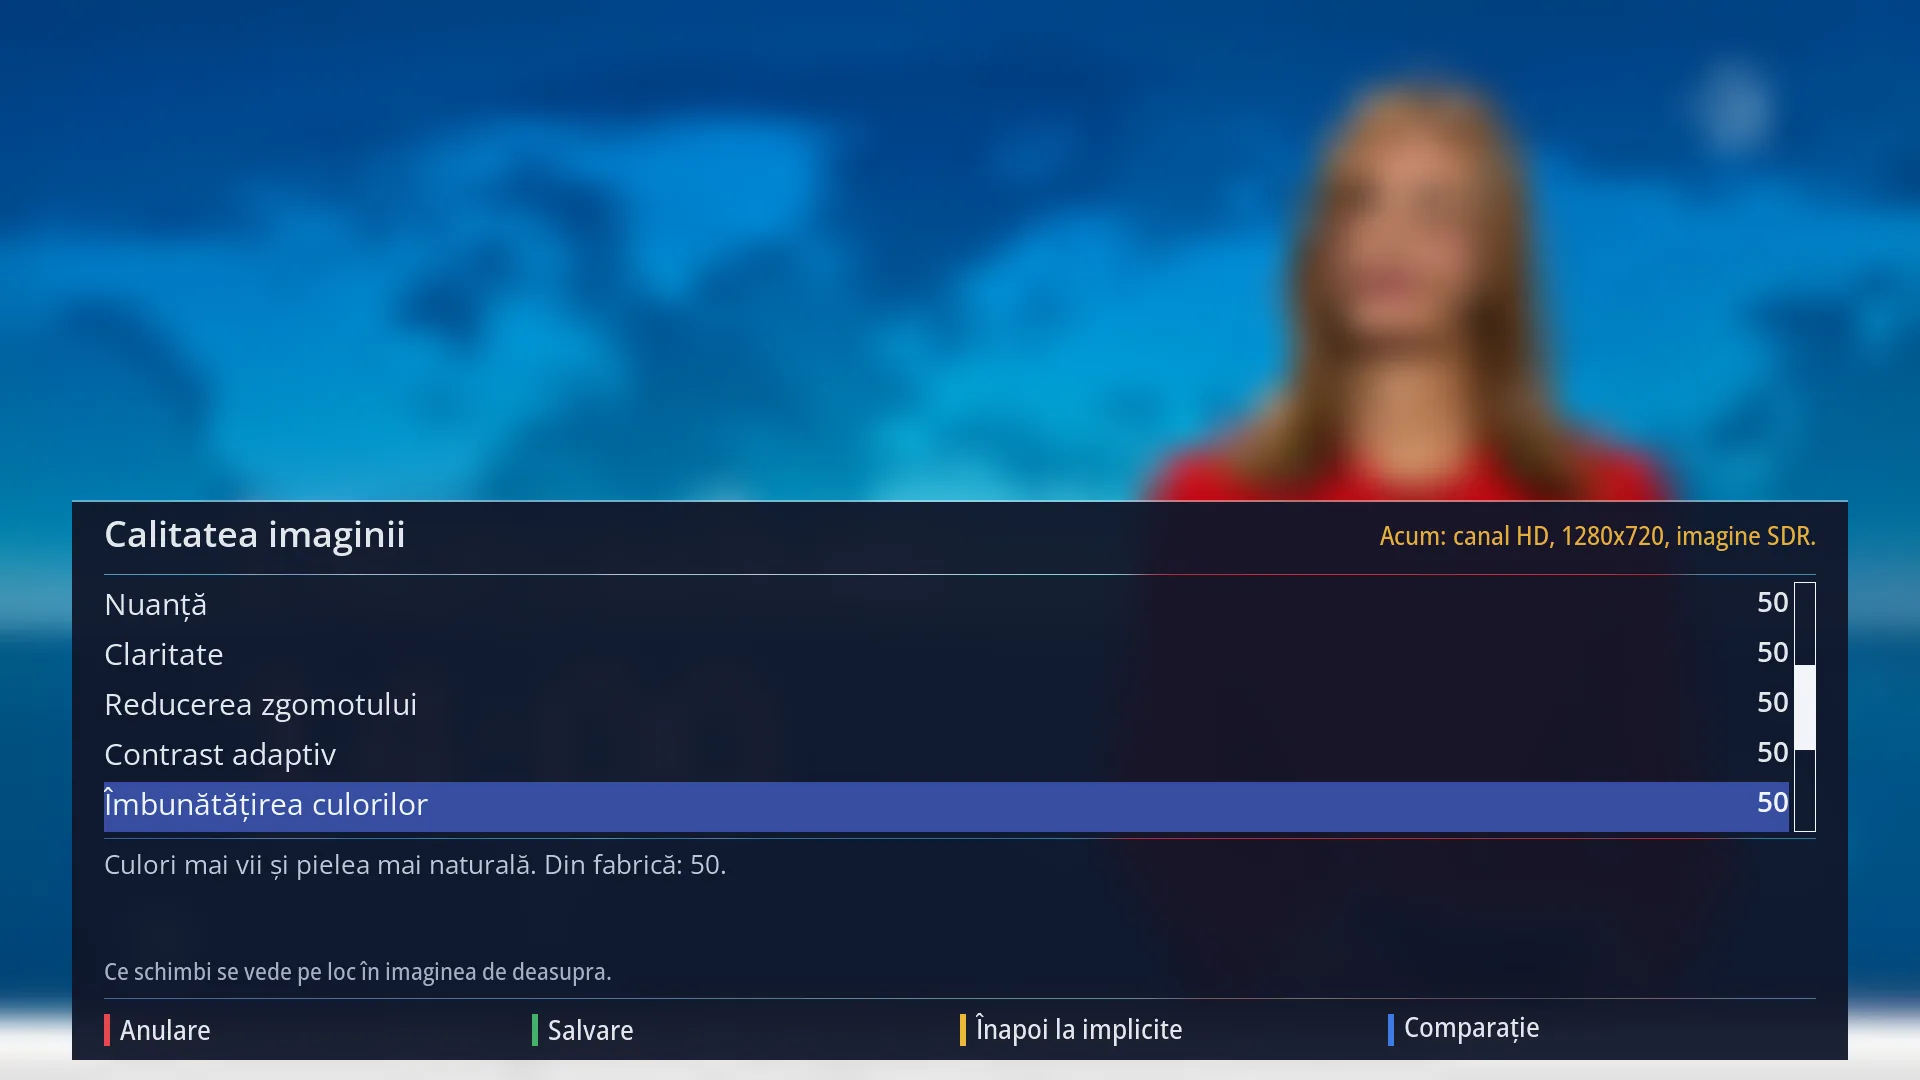
- 1 The selected row: “Colour enhancement: 50”.
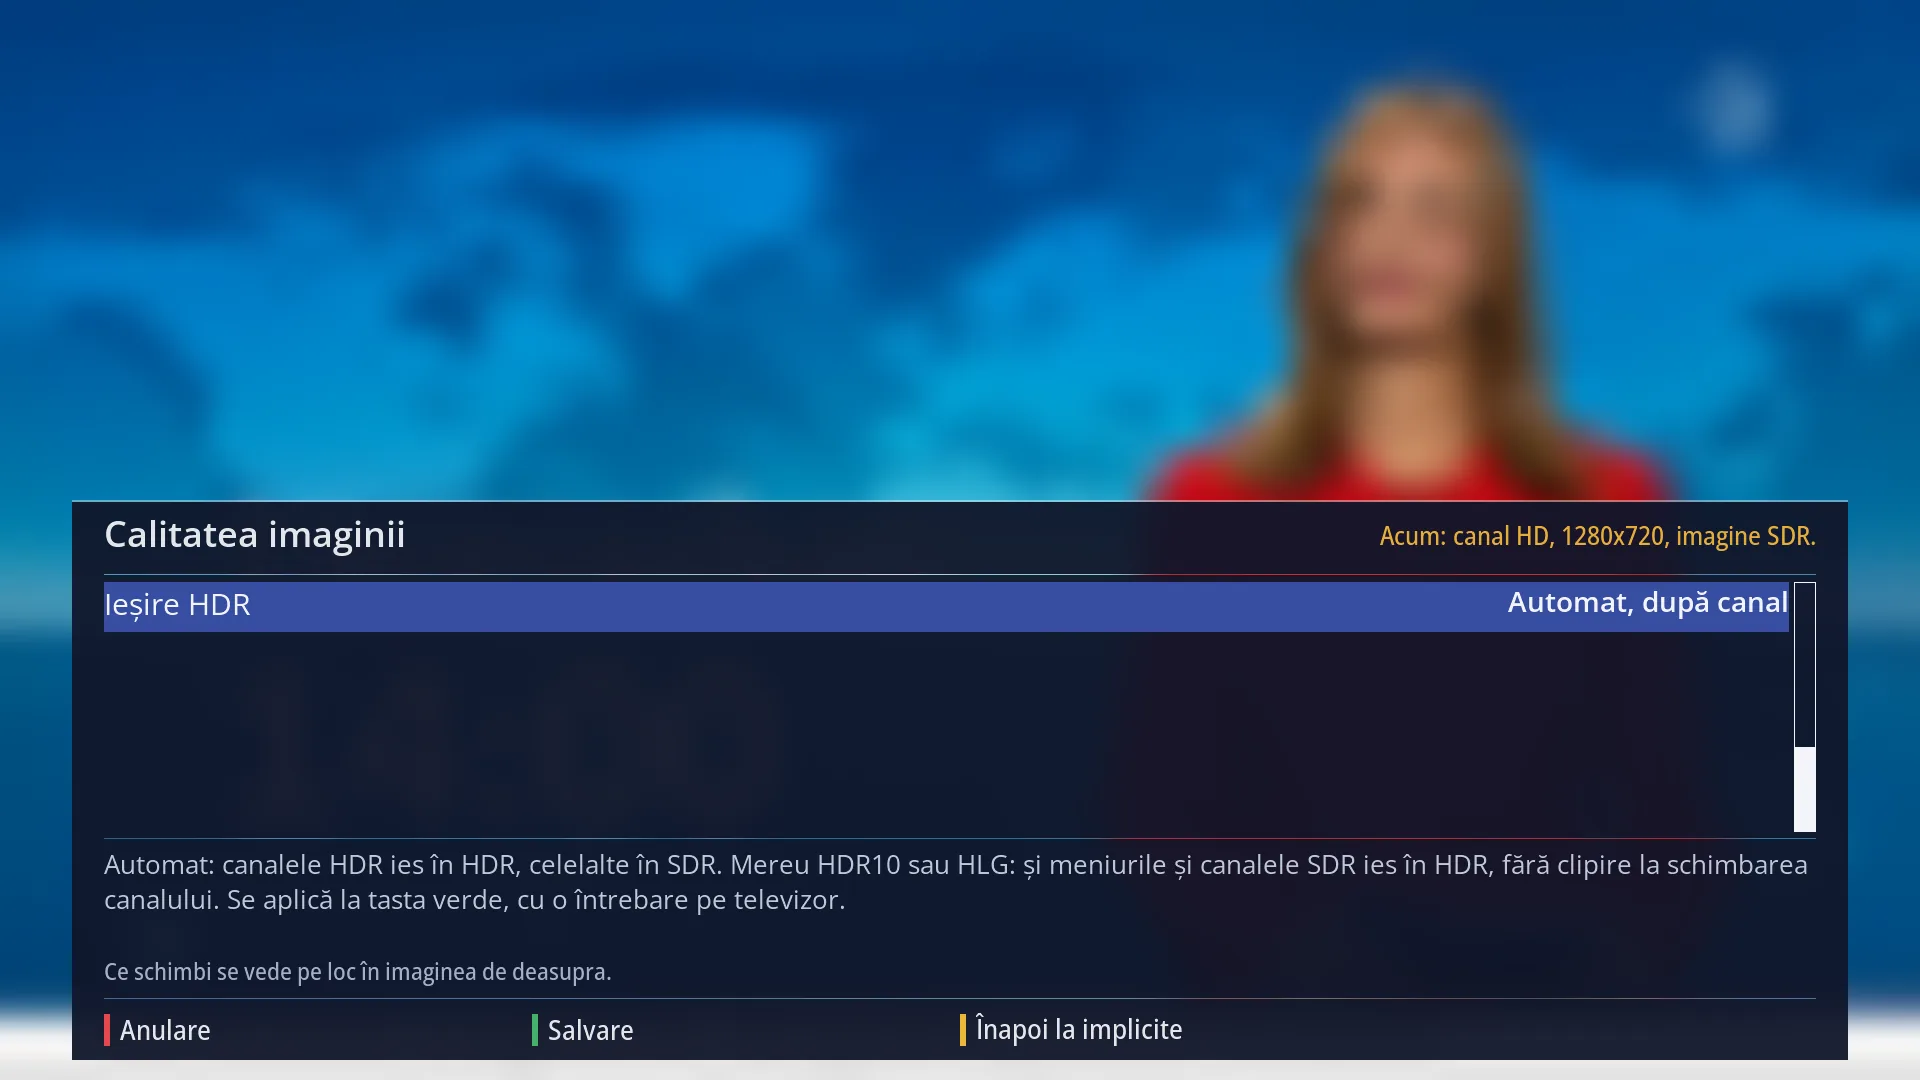
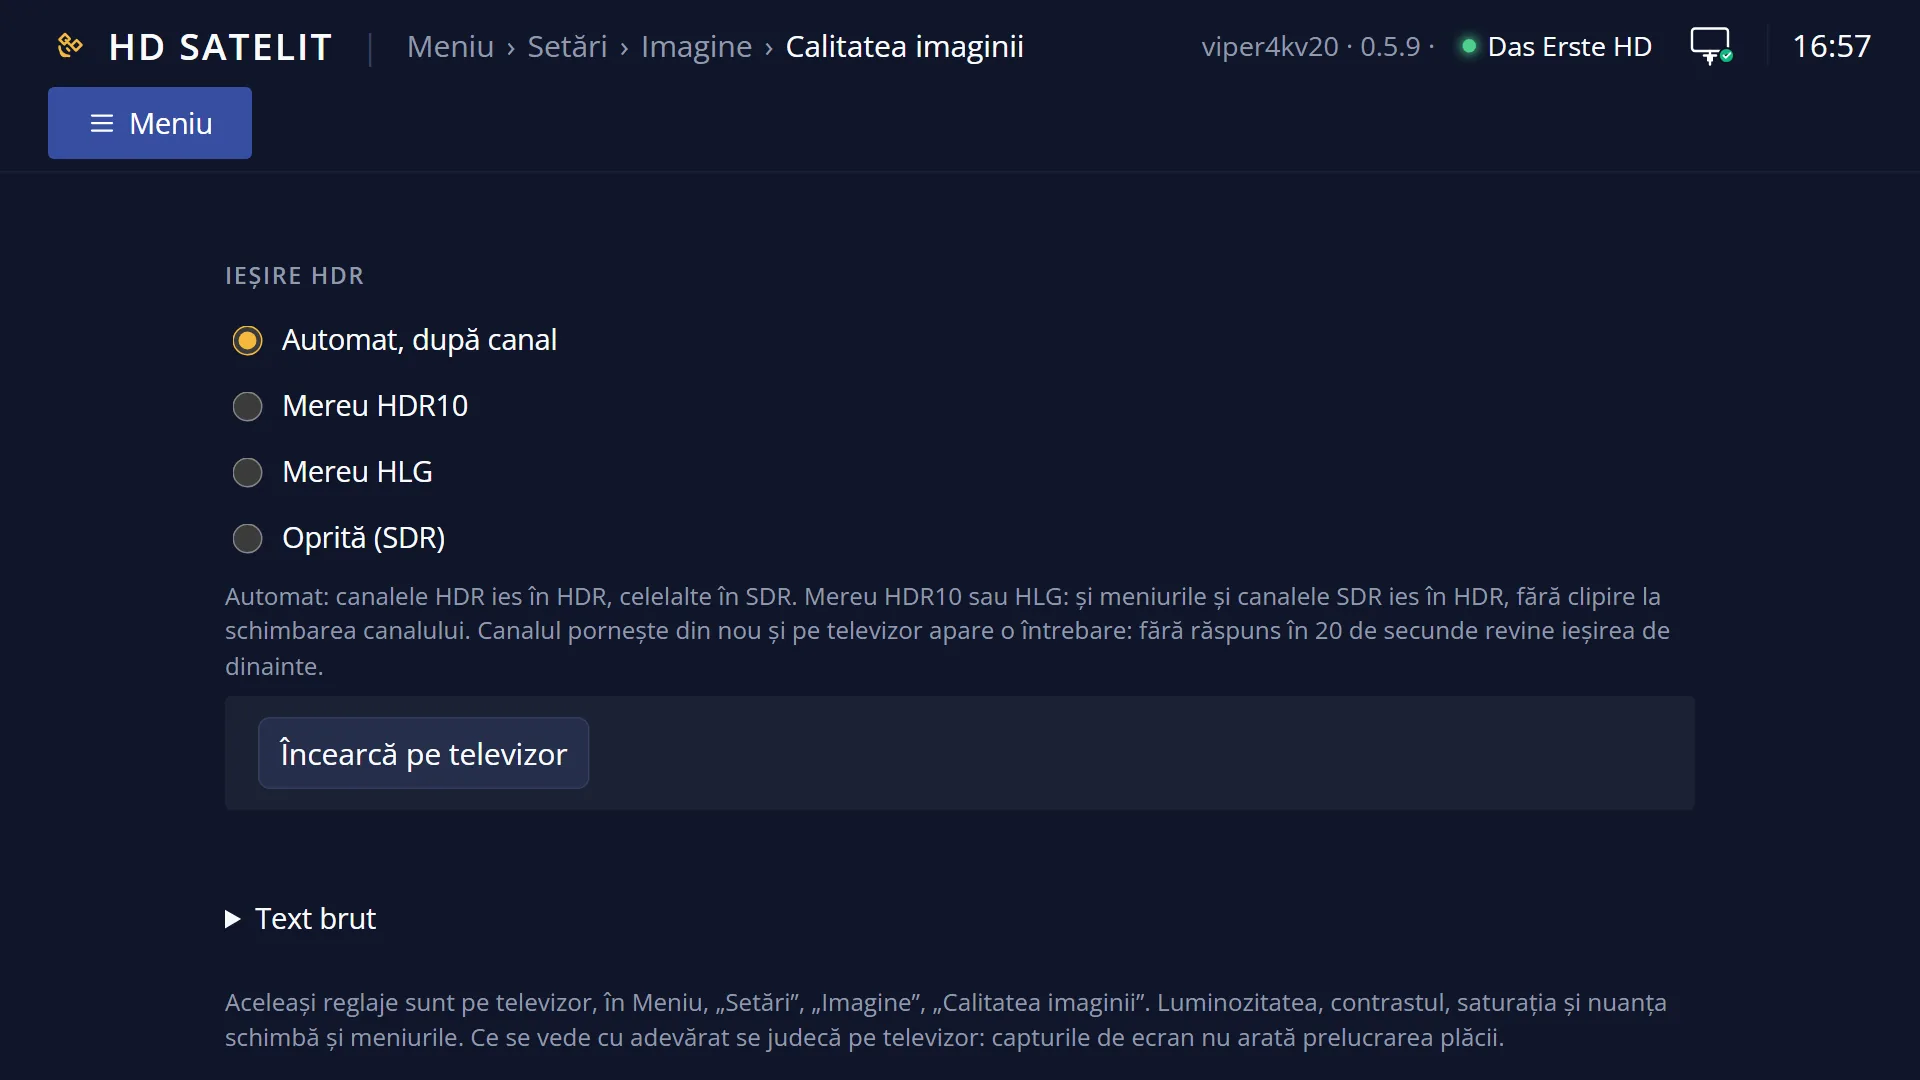
- 1 The selected row: “HDR output: Automatic, by channel”.
What it is for
“Picture quality” sets how the picture looks: brightness, contrast, colours, sharpness, noise reduction and other processing done by the receiver's chip before the picture goes to the TV.
The settings are kept in nine profiles: one each for SD, HD and 4K channels, each in SDR, HDR10 and HLG. The receiver picks the right profile for each channel by itself, based on the resolution and the type of picture sent to the TV. This way you can have, for example, more sharpness on SD channels and an untouched picture on HD ones.
The screen sits at the bottom of the TV, so you can see the picture above it while you adjust: changes to the current channel's profile show at once, but they are kept only after GREEN.
For some settings you can start a half-screen comparison: on the right the picture with the setting, on the left without it.
“HDR output” is also here: whether the receiver sends the picture in HDR only on HDR channels or always.
How to get here
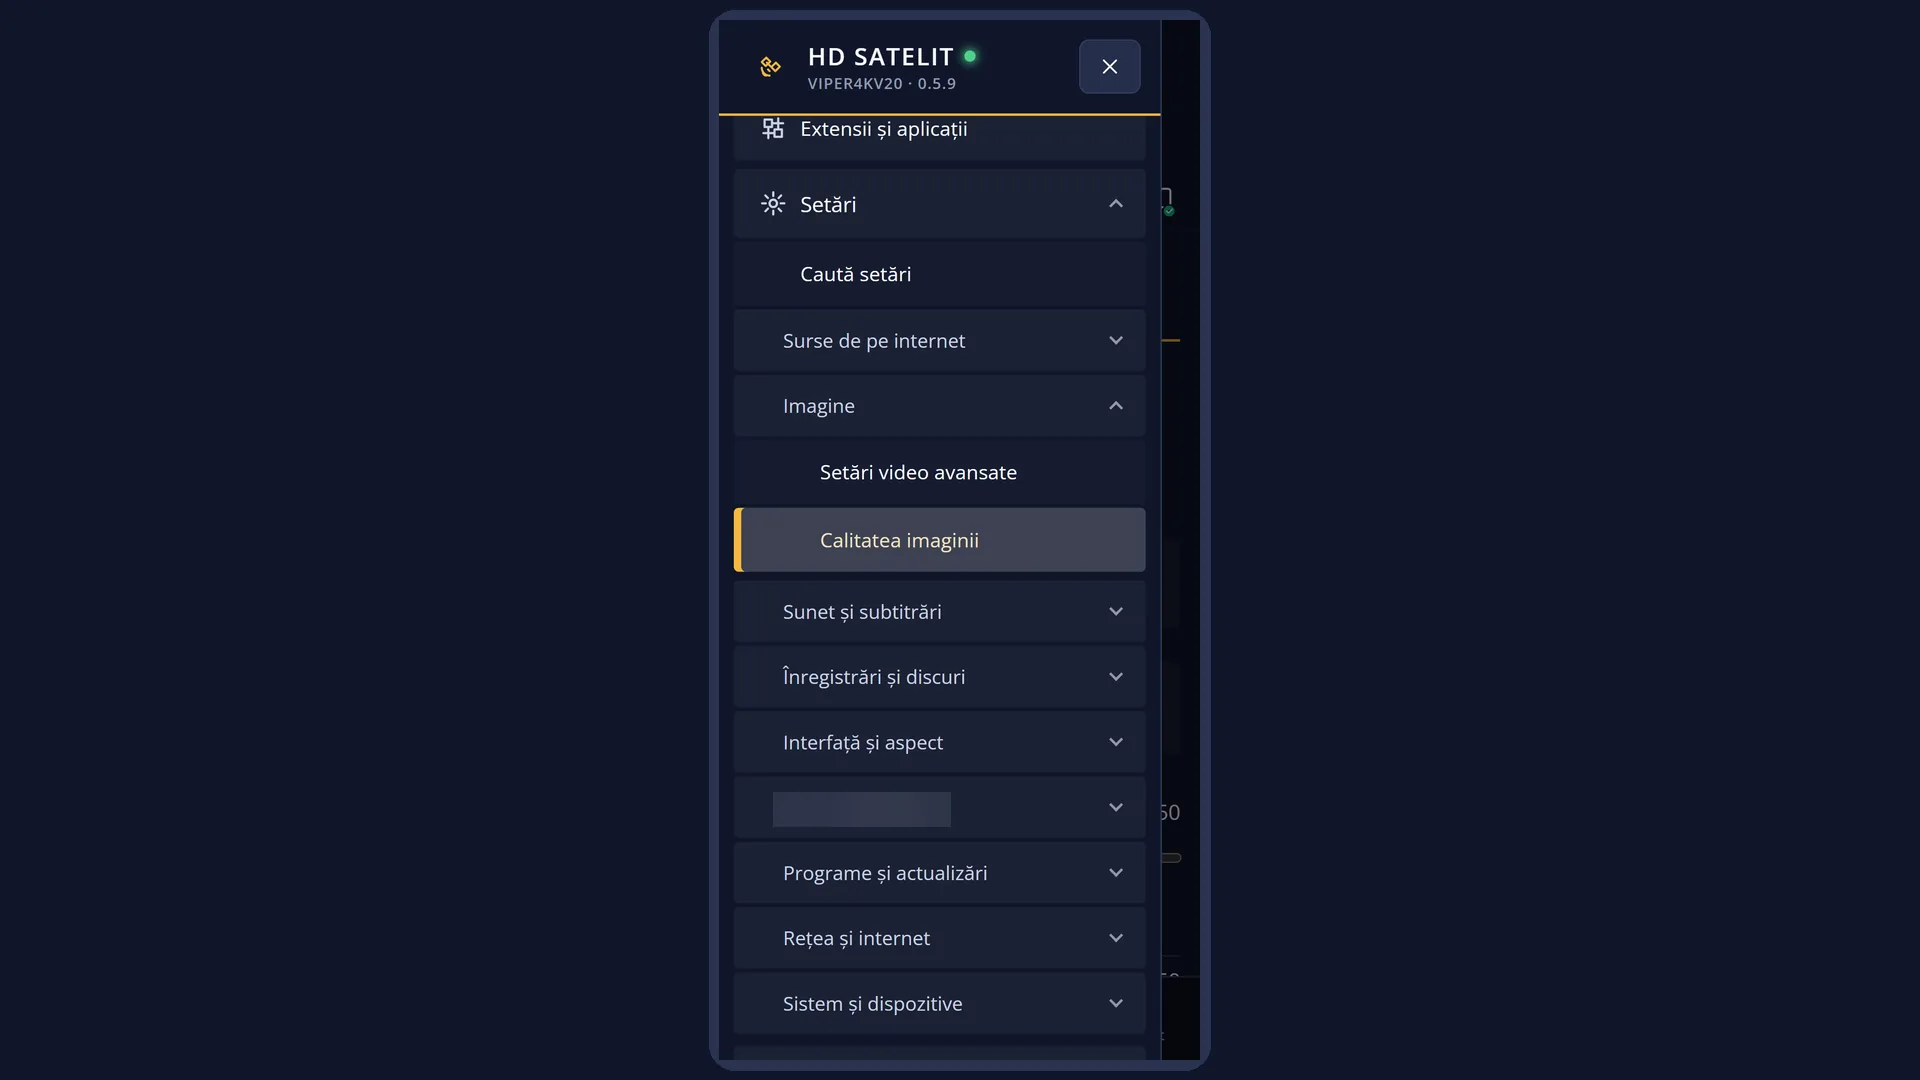
Path: Main menu > Settings > Video & Display Settings > Picture quality.
Remote keys: MENU 6 3 2.
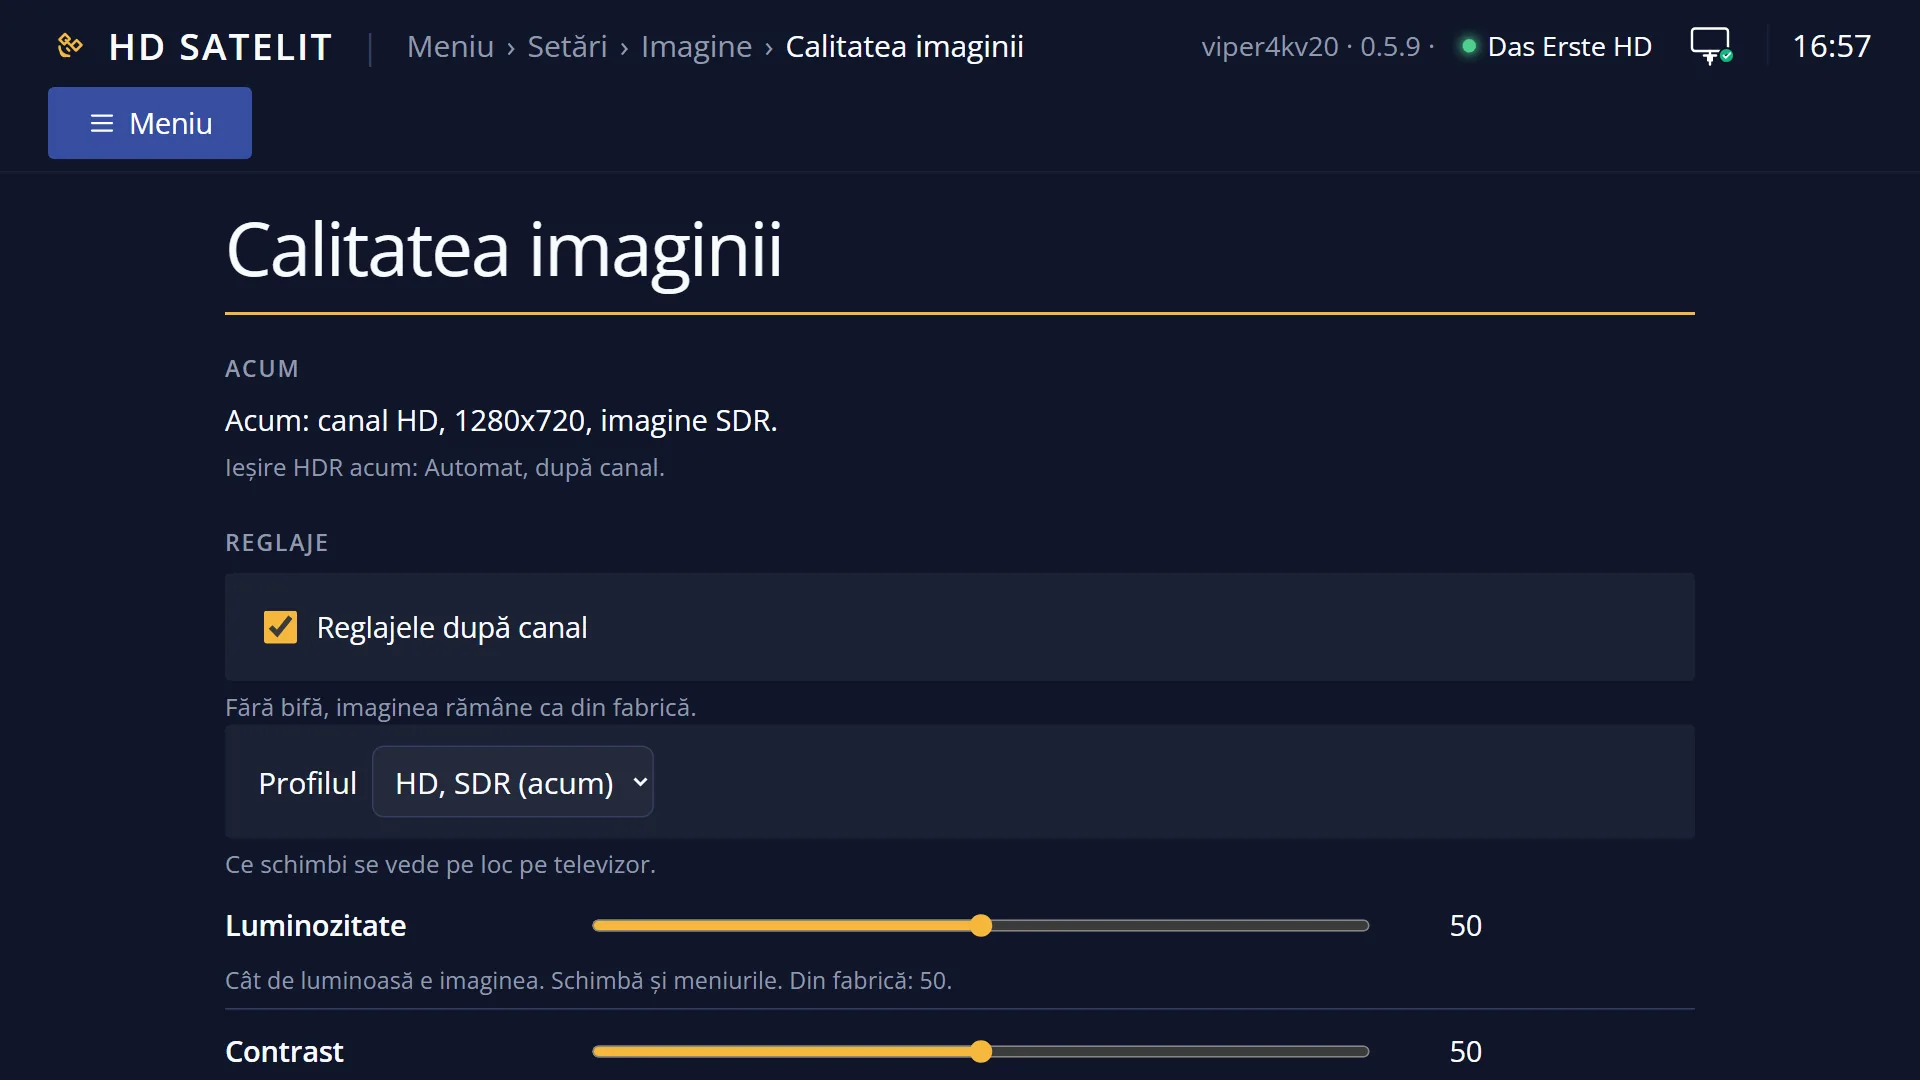
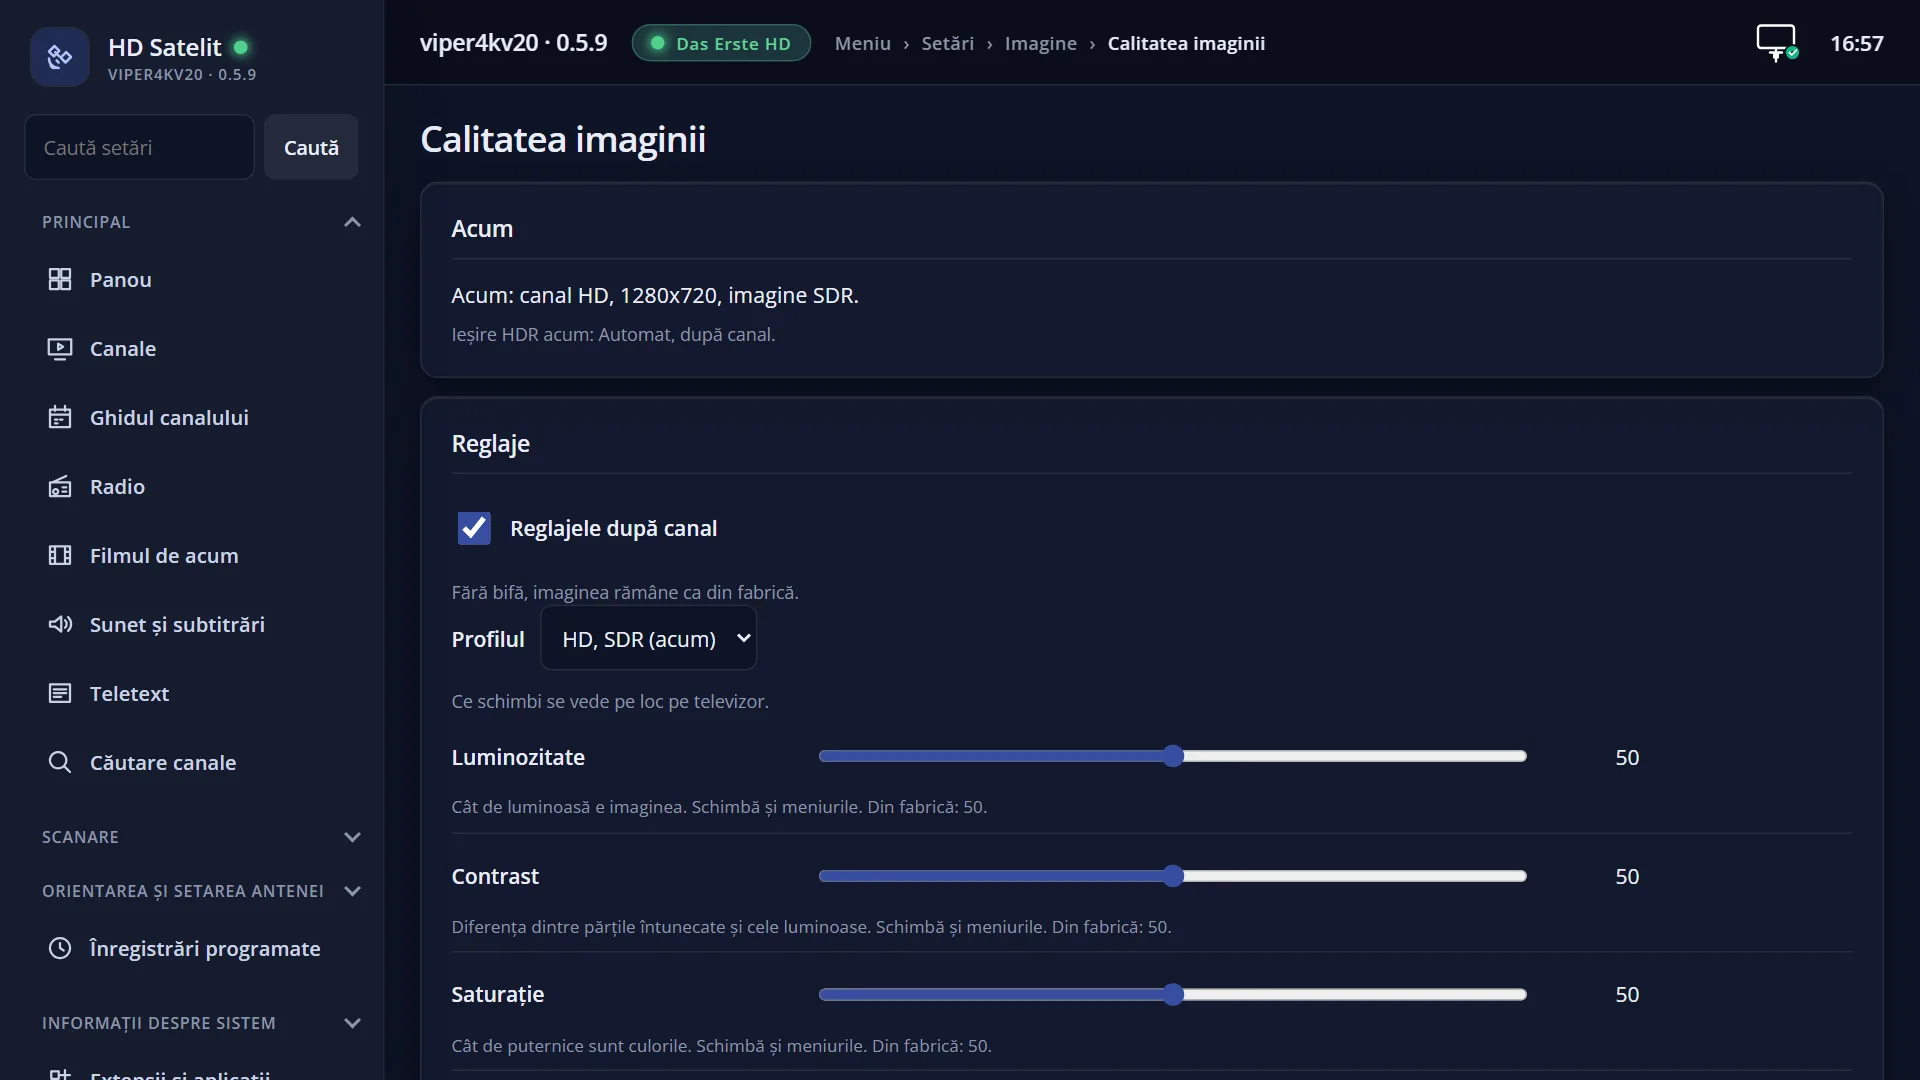
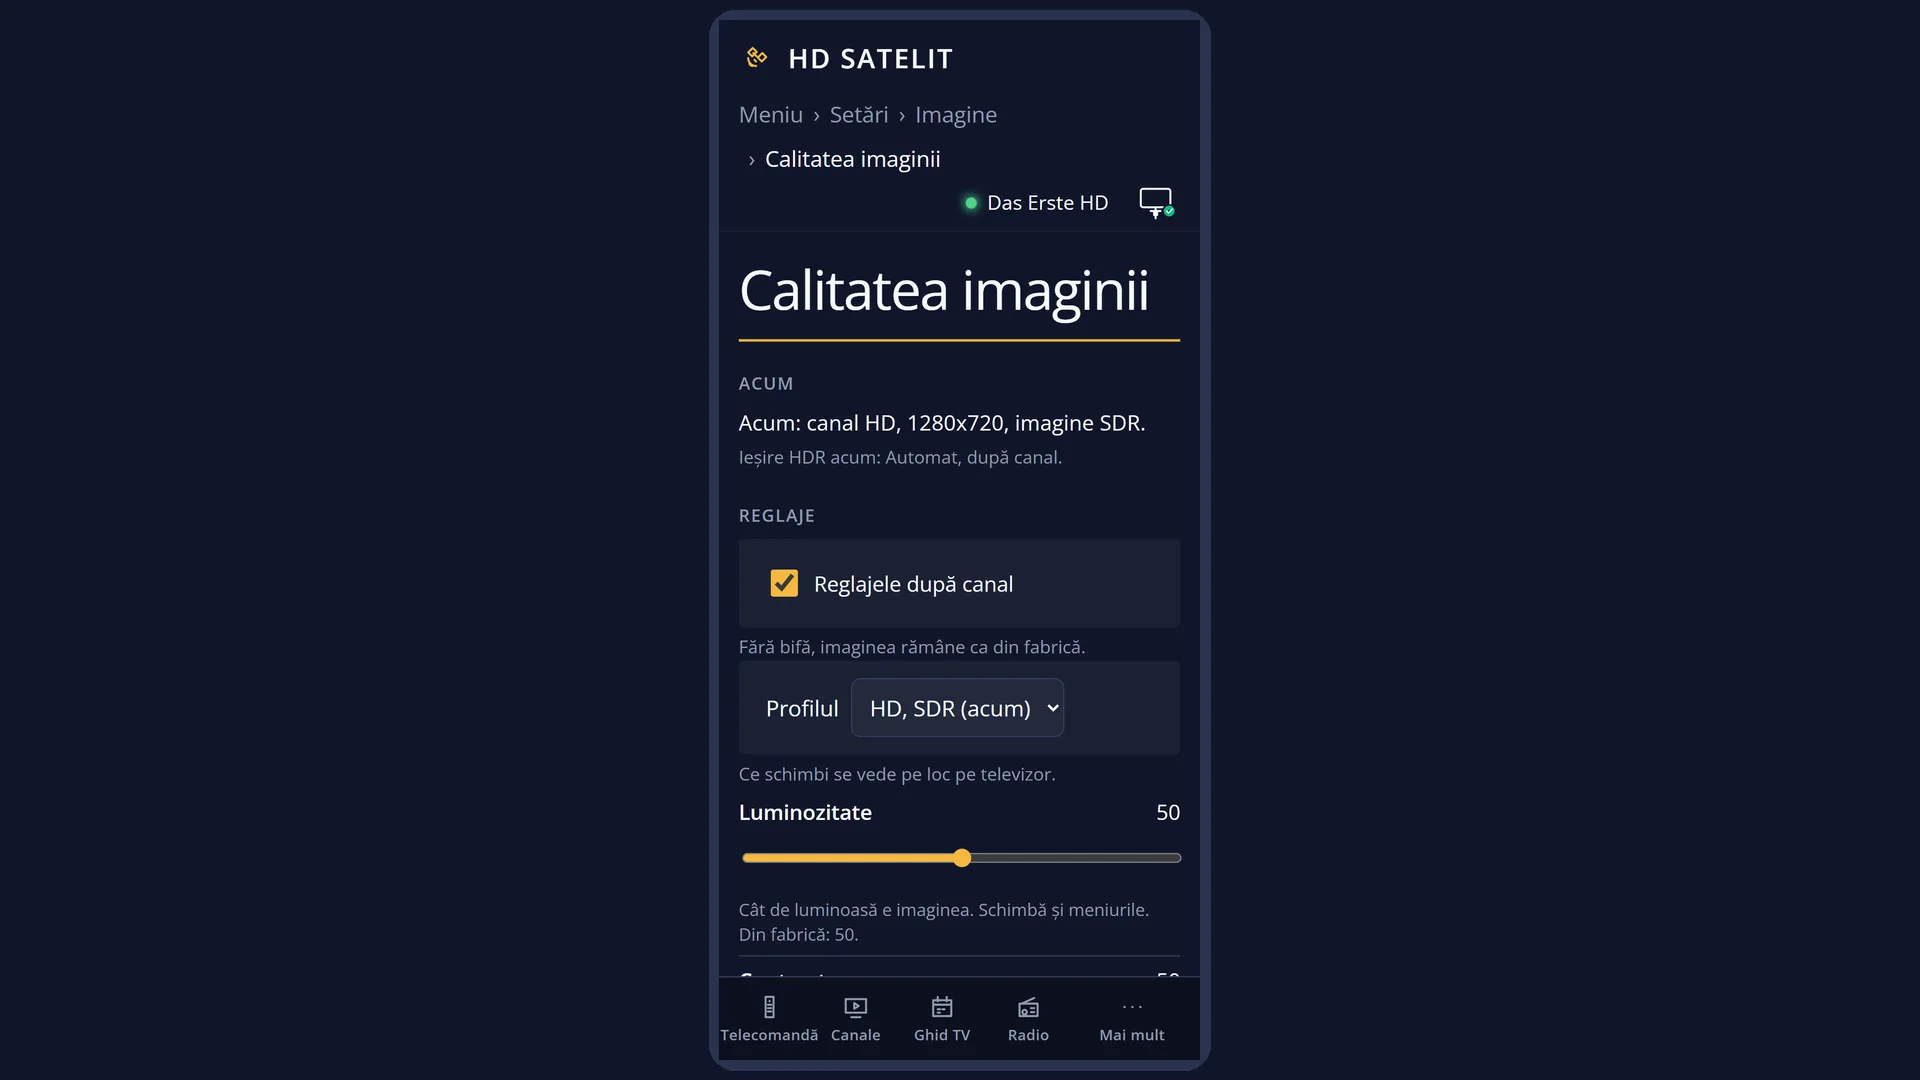
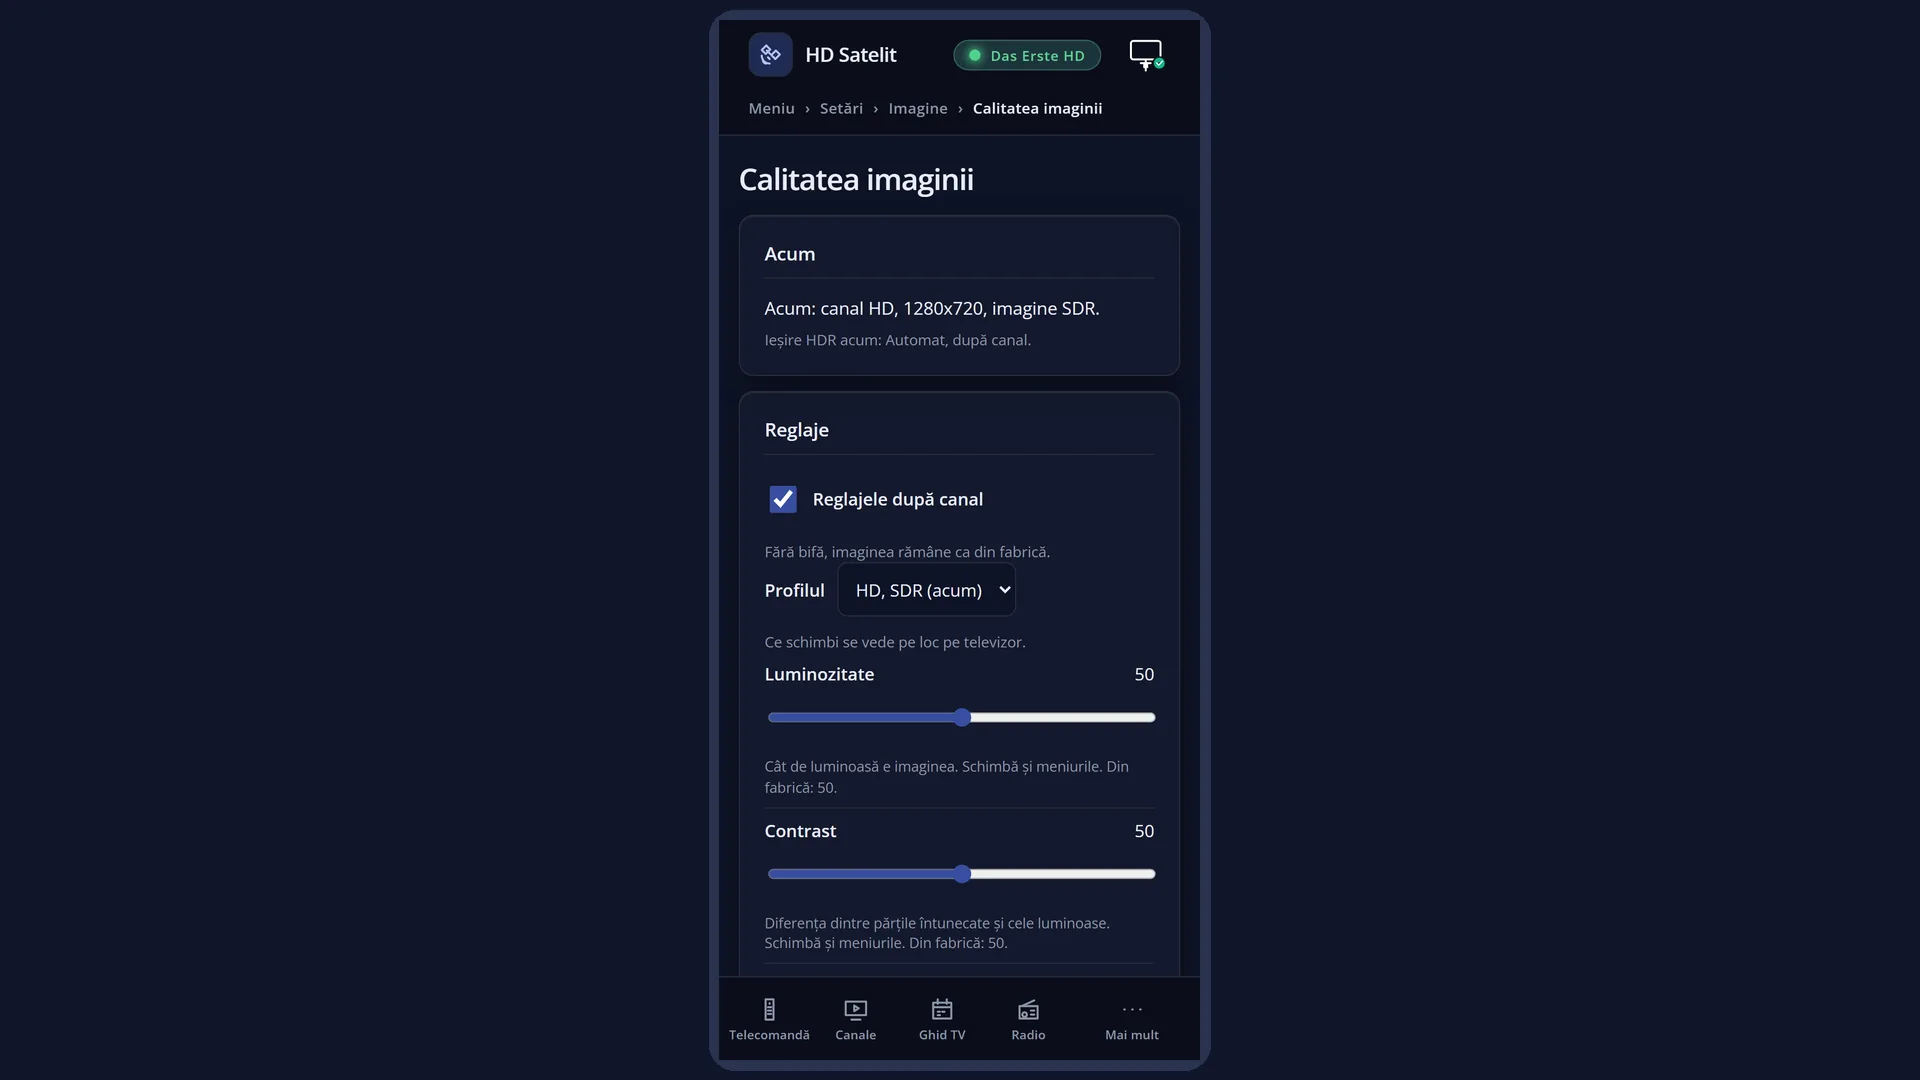
In the web interface: the /calitate-imagine page, with the same profiles and settings. There, a change you do not keep reverts by itself after 3 minutes, and the comparison stops by itself after one minute.
First open the channel you want to adjust: the screen opens on its profile.
What you see on the screen
The window sits at the bottom, across the full width. Above it you see the current channel.
At the top of the window is the title “Picture quality” and, on the right in yellow, what is on screen now, for example “Now: HD channel, 1280x720, SDR picture.”. On radio or with no channel it says “There is no picture now (radio, or no channel playing).”.
Below that is the list: “Settings by channel”, “Profile” (with “(now)” next to the current channel's profile), the settings of the chosen profile and, at the end, “HDR output”. Five rows fit on screen; press DOWN for the rest.
Under the list is the explanation of the selected row. For a setting it ends with “Factory value: 50.”.
Further down is a short note: “What you change shows at once in the picture above.”, “This profile is not the one of the current channel: you see it when you start a ... channel.” or, with the comparison on, “The comparison is on: on the right the picture has the setting ..., on the left it does not. Blue turns it off.”.
At the bottom are the keys: RED “Cancel”, GREEN “Save”, YELLOW “Back to defaults” and, only on rows that have it, BLUE “Comparison”.
Rows and settings
| Row | Values | Default | What it does |
|---|---|---|---|
| Settings by channel | yes, no | yes | Yes: the receiver applies the channel's profile by itself, based on the resolution and the type of picture sent to the TV. No: the picture stays at factory settings and the profile rows are hidden. Set it to No if you want the picture exactly as the broadcaster sends it, with no processing. |
| Profile | SD, SDR, SD, HDR10, SD, HLG, HD, SDR, HD, HDR10, HD, HLG, 4K, SDR, 4K, HDR10, 4K, HLG | the current channel's profile, with “(now)” | Chooses the profile you are adjusting. SD, HD and 4K are the channel's resolution (up to 720, up to 1920 and over 1920 pixels wide); SDR, HDR10 and HLG are the type of picture sent to the TV. Only the profile with “(now)” shows at once. When you want to adjust a different kind of channel from the one playing now. |
| Brightness | 0, 5, ..., 100 (in steps of 5) | 50 | How bright the picture is. It also changes the menus. When the picture is too dark or too washed out. |
| Contrast | 0, 5, ..., 100 (in steps of 5) | 50 | The difference between the dark and the bright parts. It also changes the menus. When the picture looks grey or, on the contrary, too harsh. |
| Saturation | 0, 5, ..., 100 (in steps of 5) | 50 | How strong the colours are. It also changes the menus. When the colours look faded or too loud. |
| Hue | 0, 5, ..., 100 (in steps of 5) | 50 | Shifts the colours towards green or towards red, for natural faces. It also changes the menus. When faces look too green or too red. |
| Sharpness | Off, 5, ..., 100 (in steps of 5) | 50 | Crisper outlines after the picture is scaled up. Too much creates white edges around objects. Has a comparison. Increase it on SD channels, which look soft on a large TV. Lower it if you see white edges. |
| Noise reduction | Off, 5, ..., 100 (in steps of 5) | 50 | Calms the specks in the picture from one frame to the next. Too much leaves trails behind movement. Not shown on 4K profiles. Has a comparison. When the picture has specks or shimmer, especially on SD channels. |
| Noise in the frame (SD only) | Off, 5, ..., 100 (in steps of 5) | 50 | Smooths the flat areas of each frame. Too much makes faces and grass look like plastic. Has a comparison. On SD channels with a grainy picture. |
| Compression blocks (SD only) | Off, 5, ..., 100 (in steps of 5) | 50 | Removes the edges of the small blocks that appear on low bitrate channels. Has a comparison. When the picture on an SD channel breaks up into blocks. |
| Noise on outlines (SD only) | Off, 5, ..., 100 (in steps of 5) | 50 | Removes the shimmer around letters and sharp edges. When the letters on screen (for example scrolling news tickers) seem to shimmer. |
| Adaptive contrast | Off, 5, ..., 100 (in steps of 5) | 50 | The receiver adjusts the contrast by itself for each scene. Has a comparison. Turn it off if the brightness seems to pulse from one scene to the next. |
| Colour enhancement | Off, 5, ..., 100 (in steps of 5) | 50 | Livelier colours and more natural skin. Has a comparison. When you want livelier colours without touching the saturation. |
| HDR output | Automatic, by channel, Always HDR10, Always HLG, Off (SDR) | Automatic, by channel | Automatic: HDR channels go out in HDR, the others in SDR. Always HDR10 or HLG: the menus and SDR channels also go out in HDR, with no blinking when you change channel. Off: everything goes out in SDR. The row appears only when the TV reports that it accepts HDR, and only with the choices it accepts (Automatic only if it accepts both HDR10 and HLG). When the TV blinks when switching between HDR and ordinary channels, or when HDR looks too dark and you want SDR. |
Keys
| UP / DOWN | Move the cursor to another row; the explanation below changes. |
| LEFT / RIGHT | Change the row's value (settings go in steps of 5). On the current channel's profile, the picture changes at once. |
| GREEN (Save) / OK | Keeps all settings and closes the screen. If you chose a different HDR output, it first restarts the channel and asks whether the picture is shown correctly. |
| RED (Cancel) / EXIT | Closes without keeping anything; the picture returns to the previous settings. |
| YELLOW (Back to defaults) | Asks “Put the factory values back?” with “Only the ... profile” or “All profiles”. The factory values (50) are filled in on the screen and are kept only after GREEN. |
| BLUE (Comparison) | On a setting that has it (Sharpness, Noise reduction, Noise in the frame, Compression blocks, Adaptive contrast, Colour enhancement), and only on the current channel's profile: the right half of the picture with the setting, the left half without. Press again to turn it off; it also stops when you leave. |
Step by step
Making SD channels sharper
- Start an SD channel and press MENU 6 3 2. The profile is already “SD, SDR (now)”.
- Move the cursor to “Sharpness” and press BLUE: the right half shows the setting.
- Increase the value with RIGHT until it looks good, with no white edges, then press BLUE to turn off the comparison.
- Press GREEN.
Getting rid of specks on a channel with a weak signal
- On that channel, press MENU 6 3 2.
- Move the cursor to “Noise reduction” and increase the value. If trails appear behind movement, lower it.
- Press GREEN.
Putting everything back to factory settings
- Press MENU 6 3 2, then YELLOW.
- Choose “All profiles”.
- Press GREEN to keep it.
Problems and solutions
I change the values, but the picture does not change.
Only the current channel's profile (the one with “(now)”) shows at once. Look at the note at the bottom: if it says “This profile is not the current channel's”, choose the profile with “(now)”. On radio there is no picture to adjust.
I do not have the rows “Noise in the frame”, “Compression blocks” and “Noise on outlines”.
They work only on SD channels. On HD and 4K the chip keeps them off, so they appear only on SD profiles. On 4K, “Noise reduction” is also missing.
The BLUE “Comparison” key does not appear.
The comparison exists only for some settings (not for brightness, contrast, saturation, hue and noise on outlines) and only on the current channel's profile.
I changed the brightness and the menus changed too.
Brightness, contrast, saturation and hue work on the whole picture going to the TV, so on the menus too. This is normal.
I do not have the “HDR output” row.
The row appears only when the TV reports over HDMI that it accepts HDR10 or HLG. With a TV without HDR, the row is missing.
After choosing a new HDR output, the TV stayed black.
Do not press anything: without “Yes” within 20 seconds, the previous output comes back by itself.
I cannot find the “Picture quality” screen at all.
The screen appears only on receivers whose chip has the picture quality block.
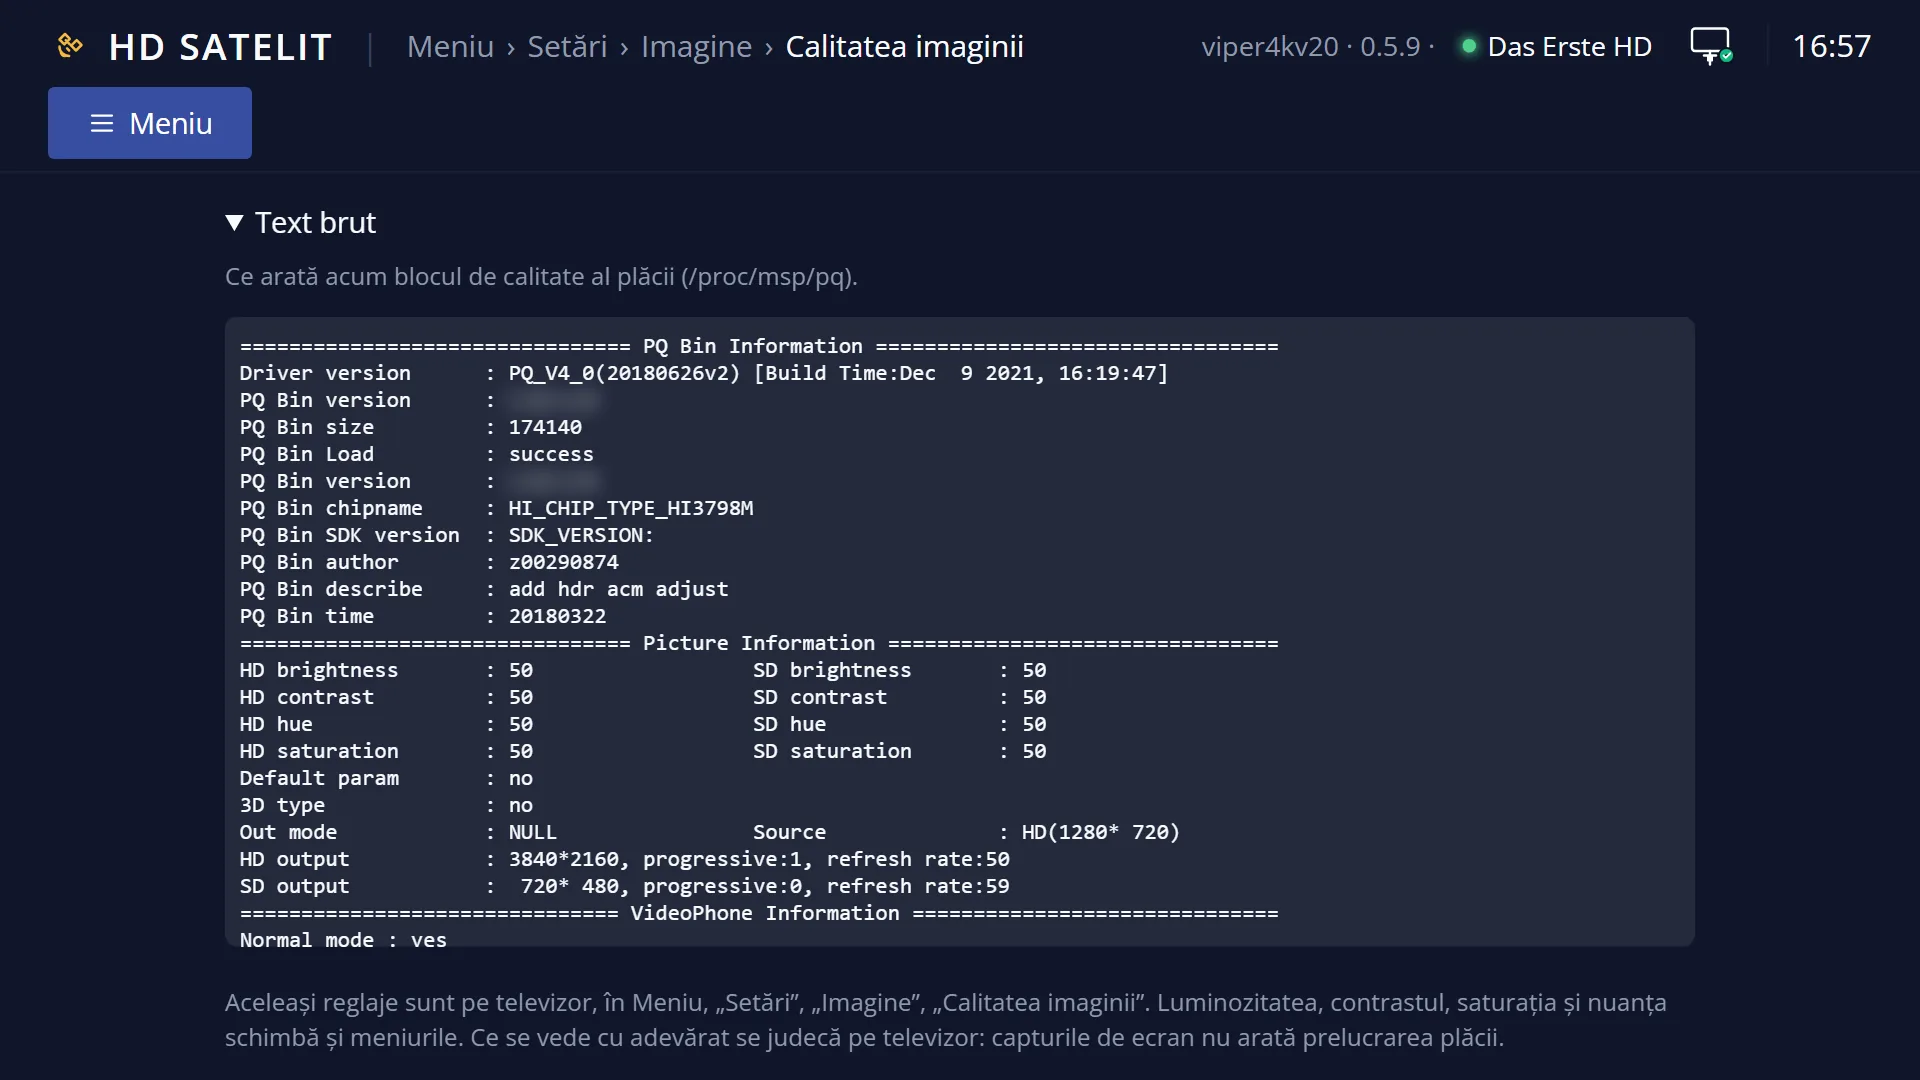
A screenshot does not show the difference.
The chip's processing is visible only on the TV; screenshots do not show it.
Related topics
- Video & Display Settings (the submenu)
- Advanced Video Setup (resolution, colours over HDMI)
- Video (screen key 1)
- Matching web page: /calitate-imagine.
Differences between receivers
The screen exists only on receivers whose chip has the picture quality block; the Amiko Viper 4K V20 has it. The “HDR output” row appears only on receivers where the HDR output is chosen here; on the others, HDR is in “Advanced Video Setup”.