

Interface & Appearance
English screenshots coming: some of the pictures below still show the receiver and the web interface in Romanian. The rows, keys and steps described on this page are the English ones.
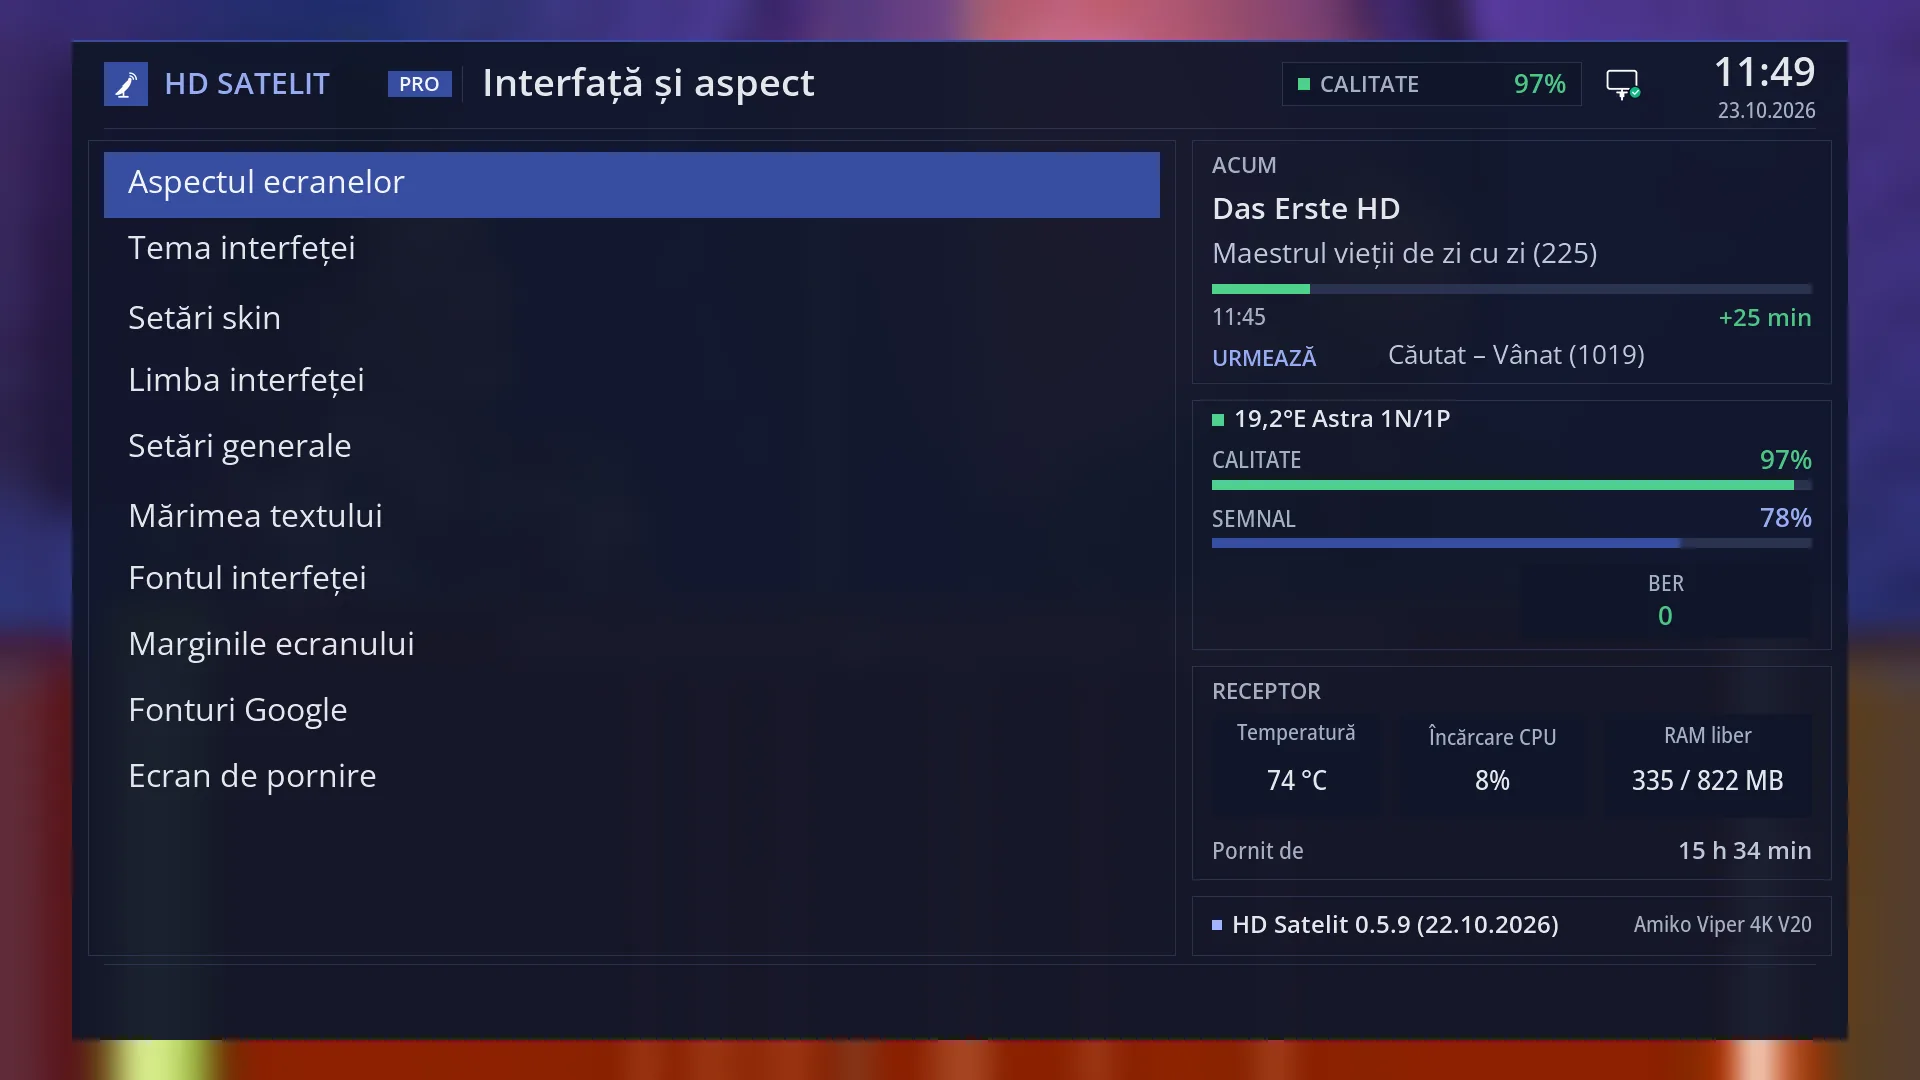
- 1 Screen appearance, theme, skin colours, language and OSD preferences (rows 1-5).
- 2 Text size and shape, margins, Google Fonts (6-9).
- 3 The 10th row, “Startup screen”: no digit, reached with UP from the first row.
- 4 The title: the name of the submenu.
- 5 The Pro theme boxes: the current programme, the signal, the receiver and the version.
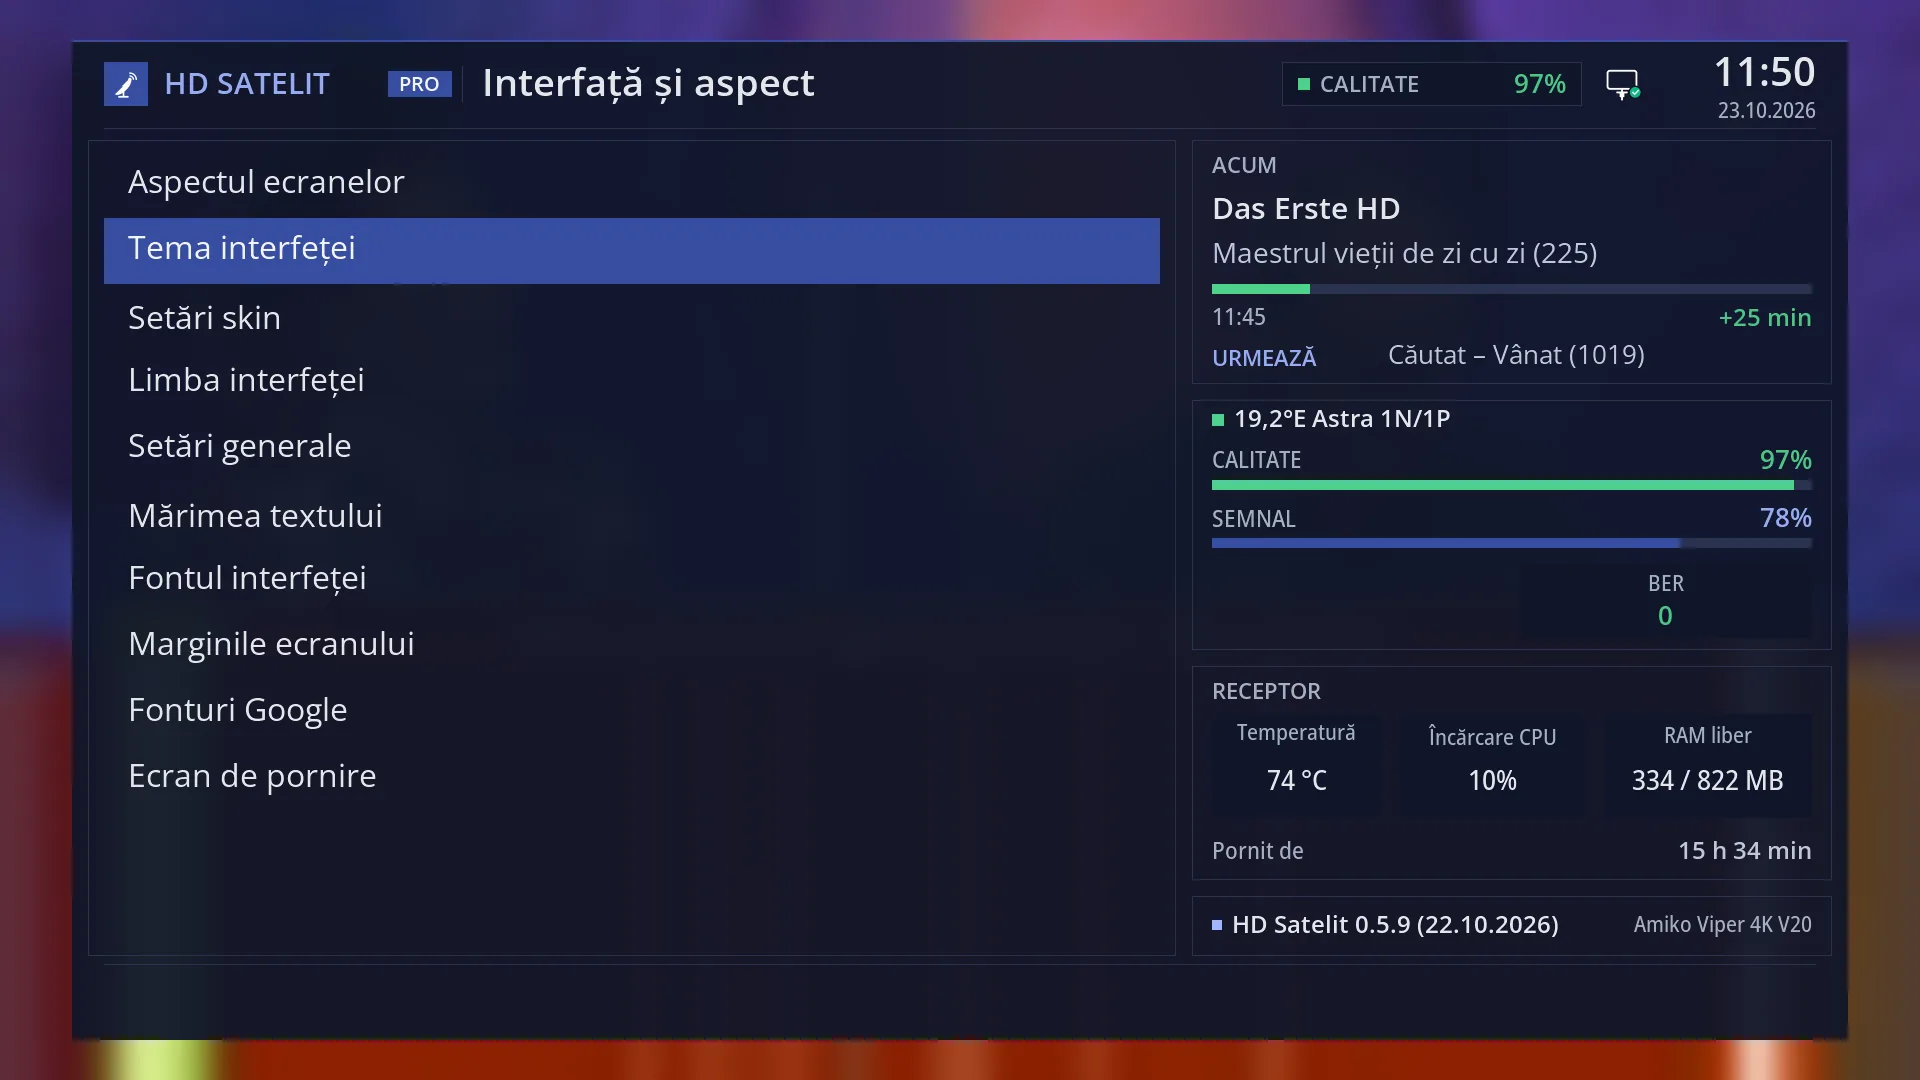
- 1 Row 2, “Interface theme”. Digit 2 opens it directly.
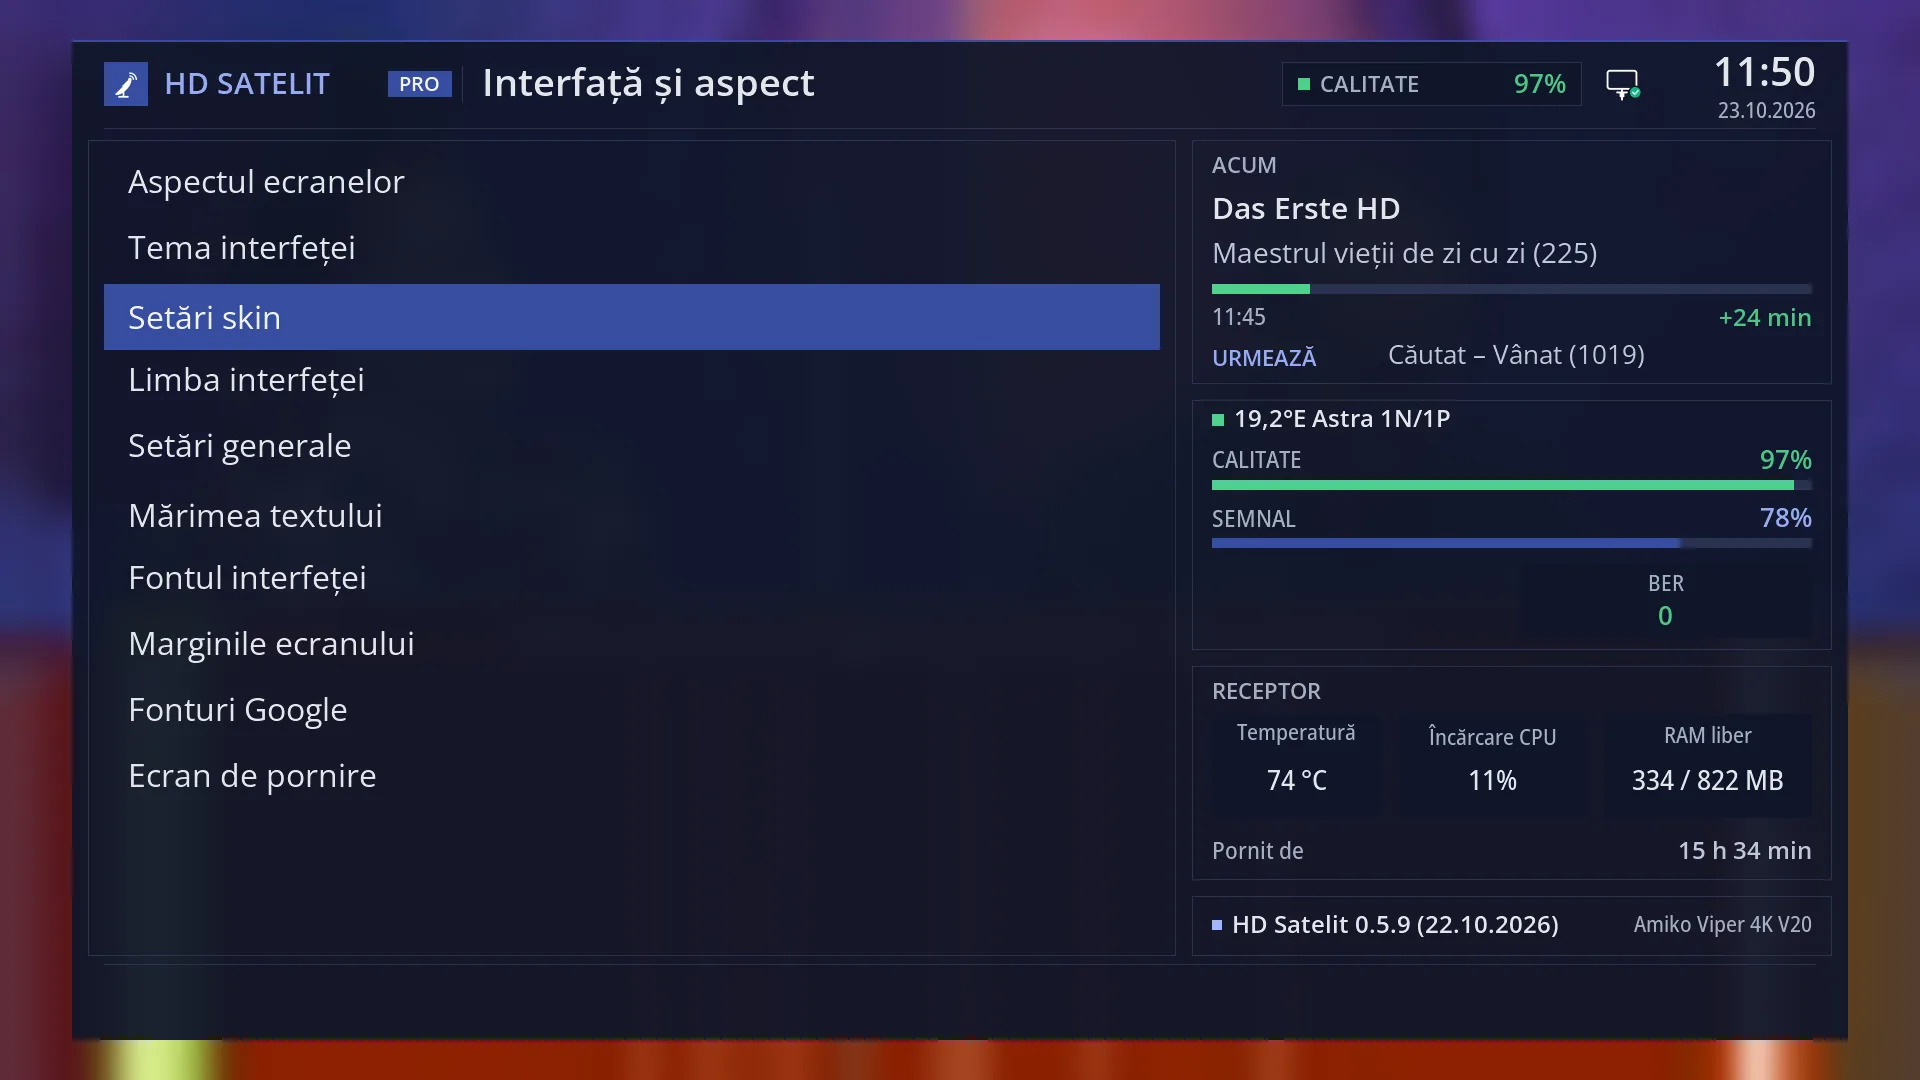
- 1 Row 3, “Skin settings”. Digit 3 opens it directly.
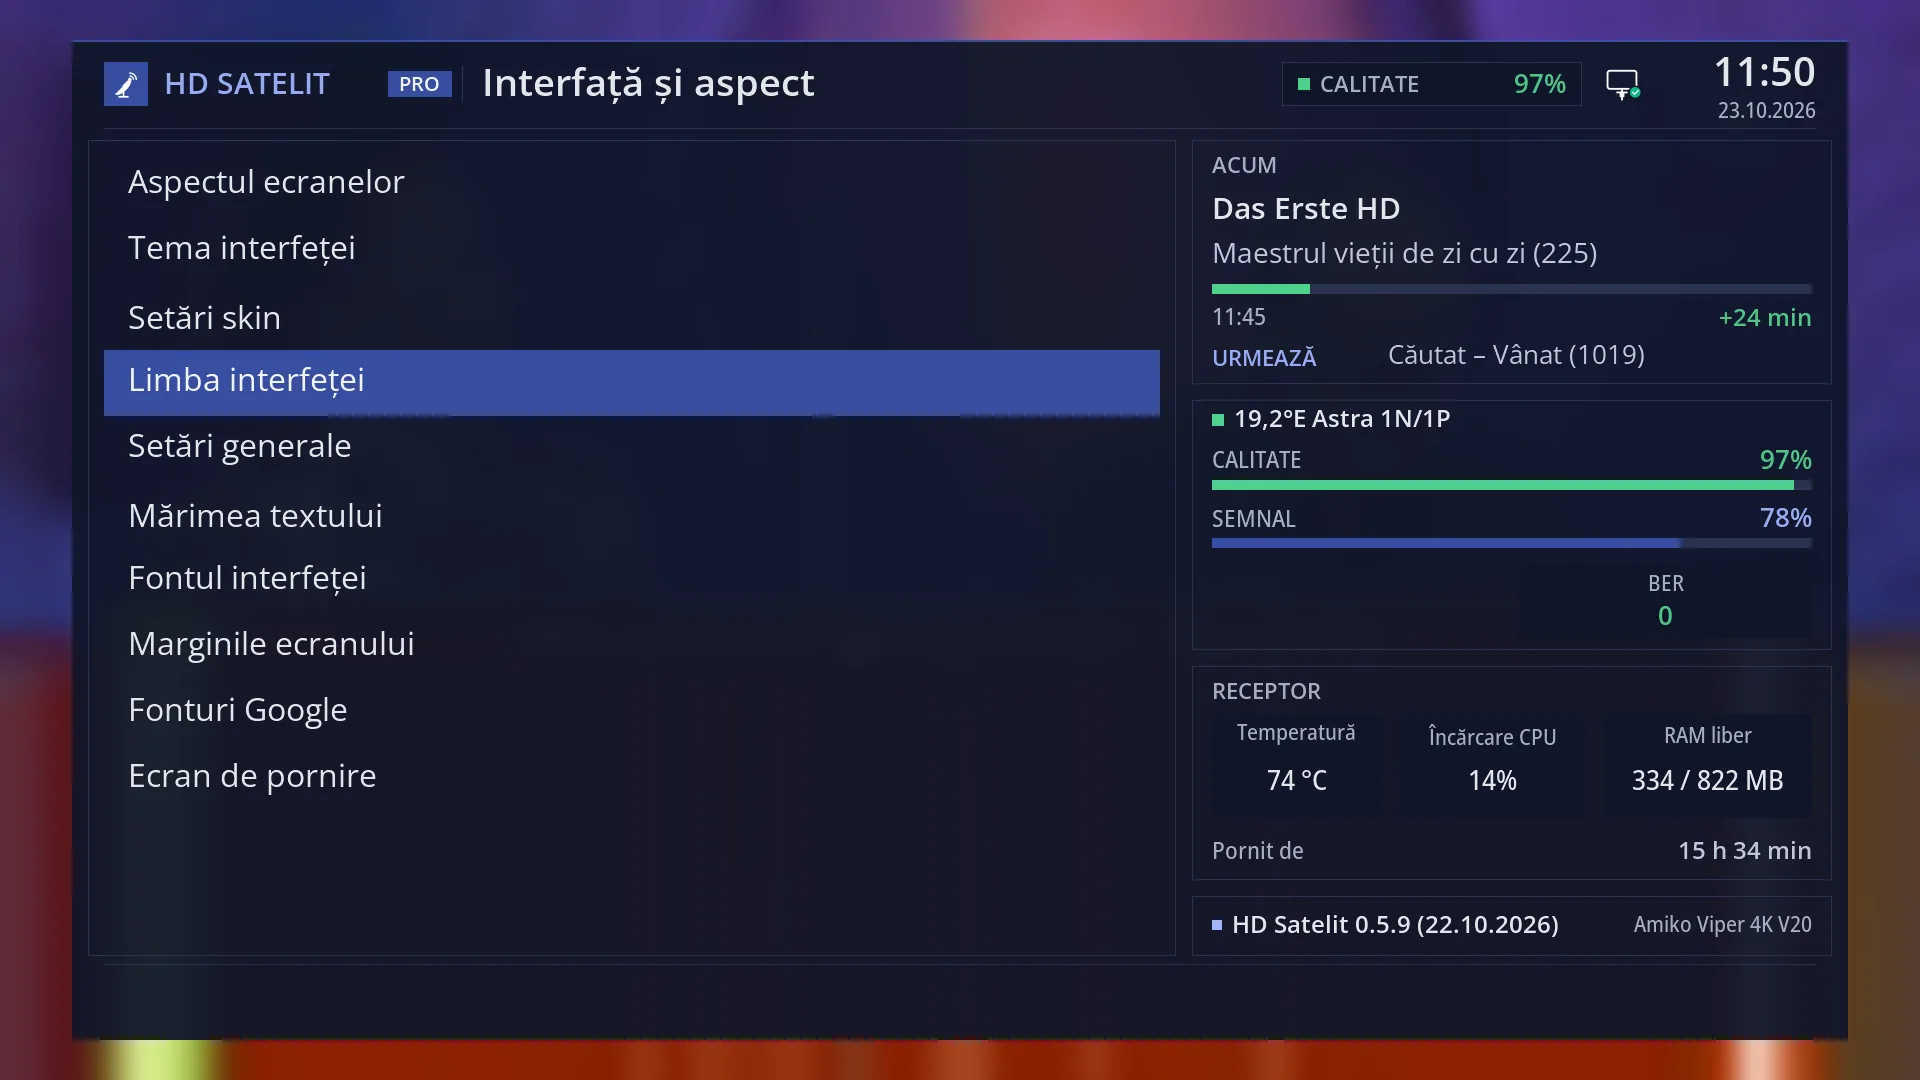
- 1 Row 4, “System Language”. Digit 4 opens it directly.
- 1 Row 5, “OSD Preferences”. Digit 5 opens it directly.
- 1 Row 6, “Font Size”. Digit 6 opens it directly.
- 1 Row 7, “Interface font”. Digit 7 opens it directly.
- 1 Row 8, “Screen Margins / Overscan”. Digit 8 opens it directly.
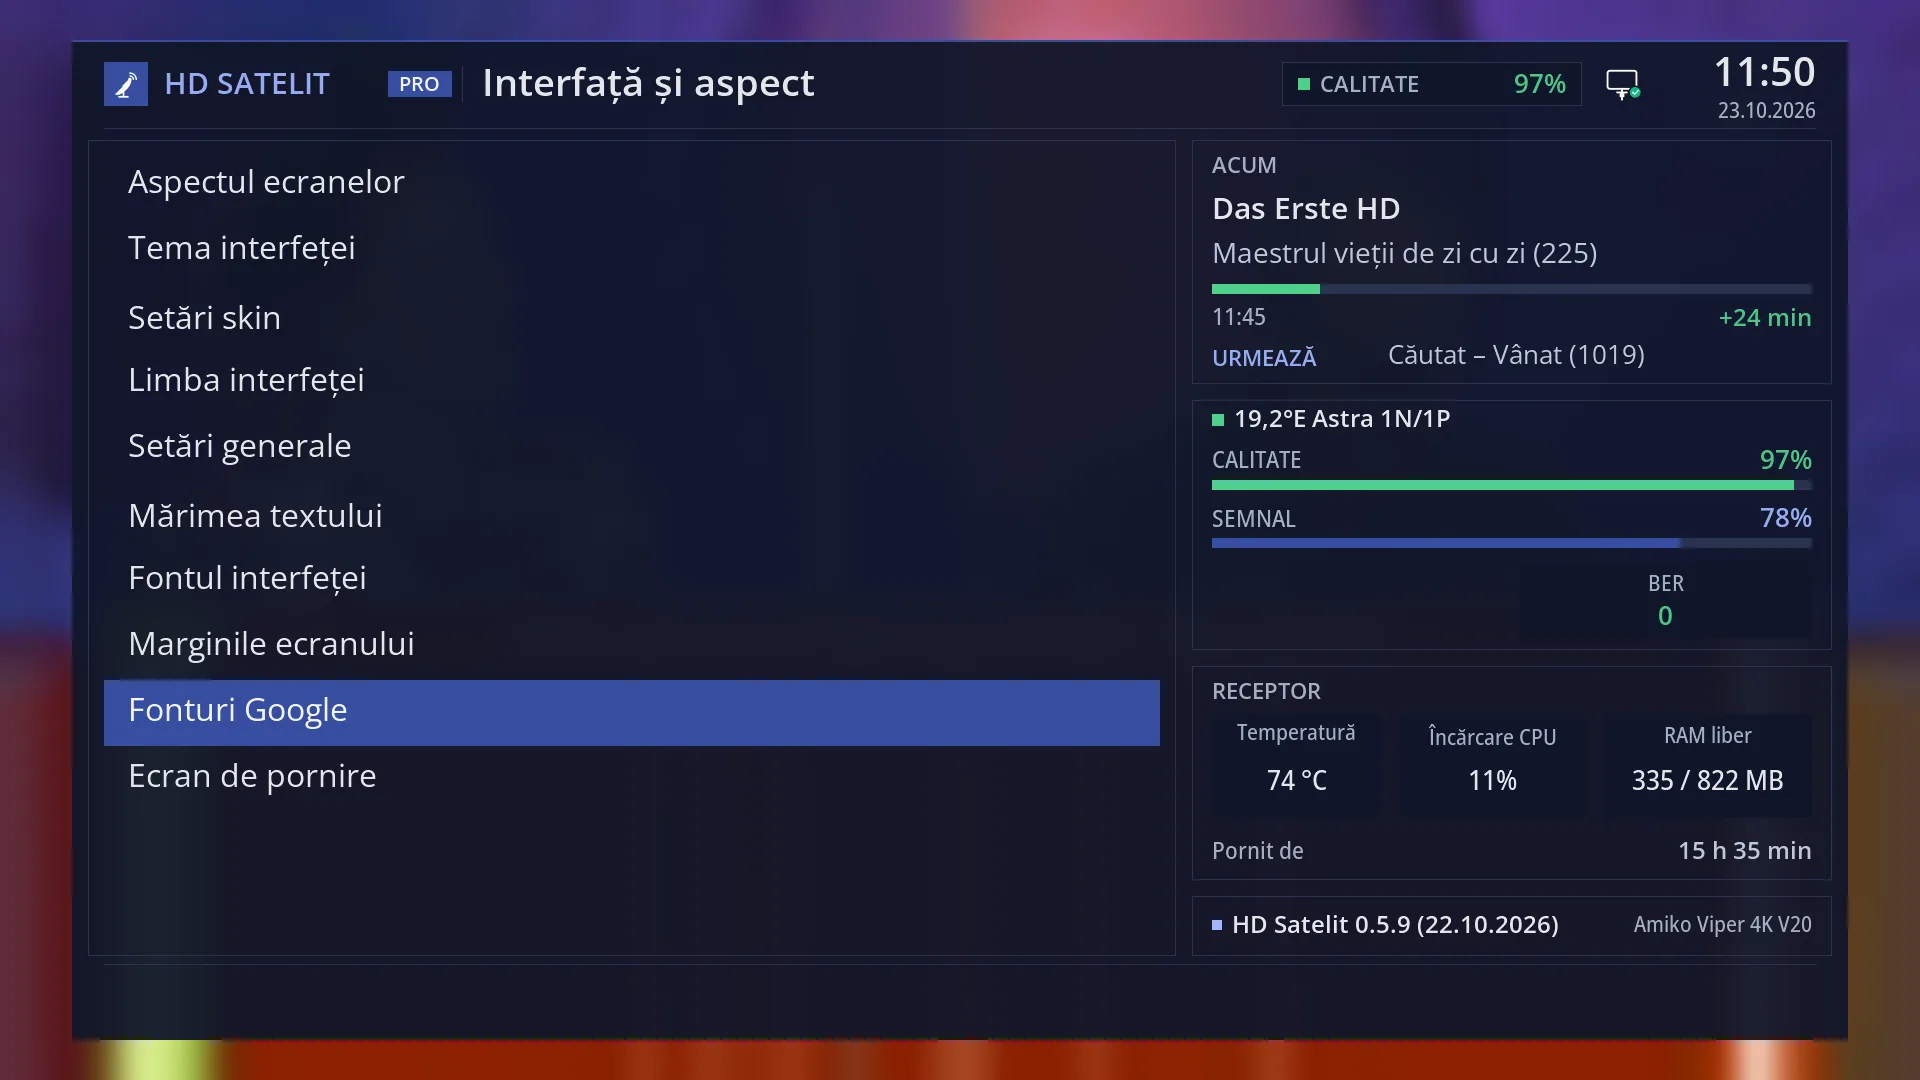
- 1 Row 9, “Google Fonts”. Digit 9 opens it directly.
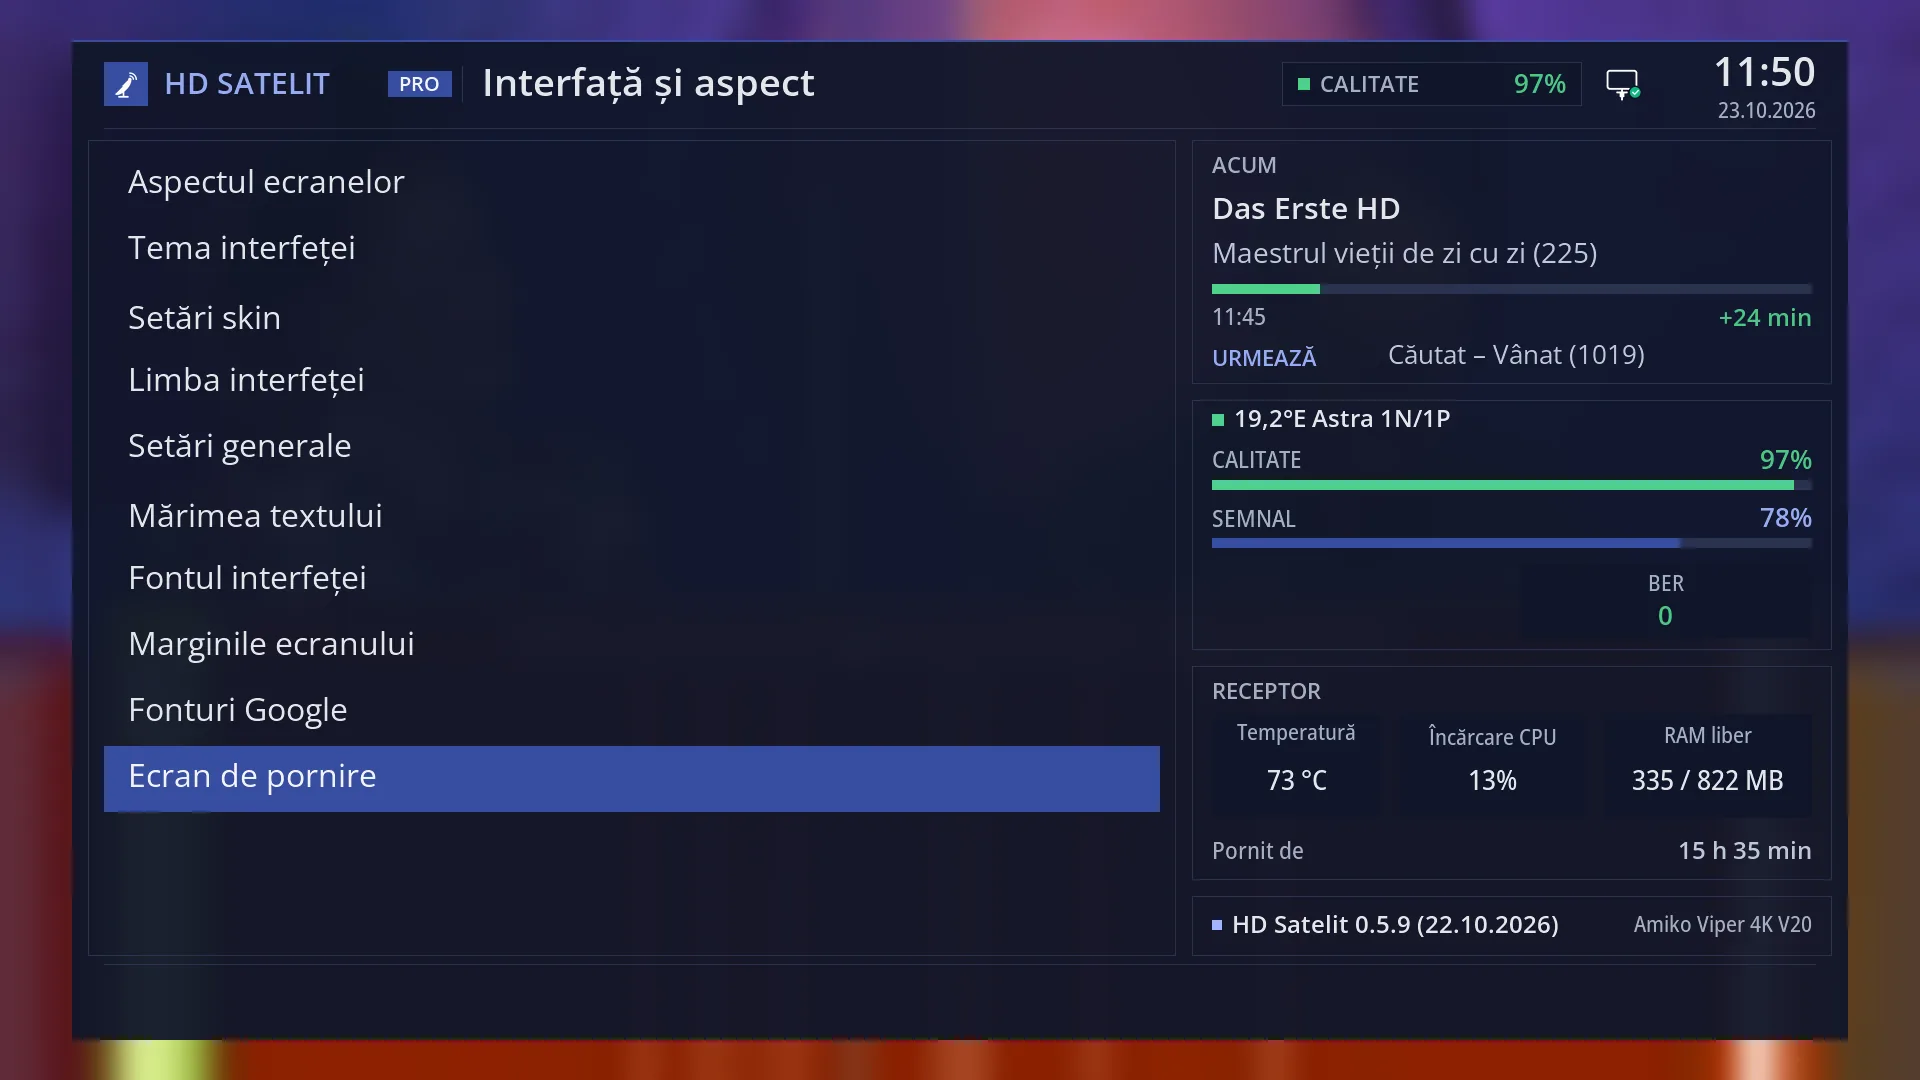
- 1 Row 10, “Startup screen”.
What it is for
The “Interface & Appearance” submenu groups everything that changes how the menus look and behave: the theme and colours, the language, everyday settings, the size and shape of the text, the screen margins and the picture shown at startup.
Open it when the menus do not fit on your TV, the text is too small, you want another language or a different look, or you want to change what the receiver does at startup and with the usual keys (in “OSD Preferences”).
On the Amiko Viper 4K V20 it has 10 rows in the Intermediate setup mode (the factory setting). In Simple mode, “Font Size” and “Screen Margins / Overscan” are hidden.
A submenu does not change anything by itself: you choose a row, and the screen that opens holds the settings.
How to get here
Path: Main menu > Settings > Interface & Appearance.
Keys while watching TV: MENU 6 6.
From there, straight to a row with its digit (Intermediate mode): 1 “Screen appearance”, 2 “Interface theme”, 3 “Skin settings”, 4 “System Language”, 5 “OSD Preferences”, 6 “Font Size”, 7 “Interface font”, 8 “Screen Margins / Overscan”, 9 “Google Fonts”. “Startup screen”, the 10th row, has no digit: press UP on the first row to reach it, then OK (MENU 6 6 UP OK).
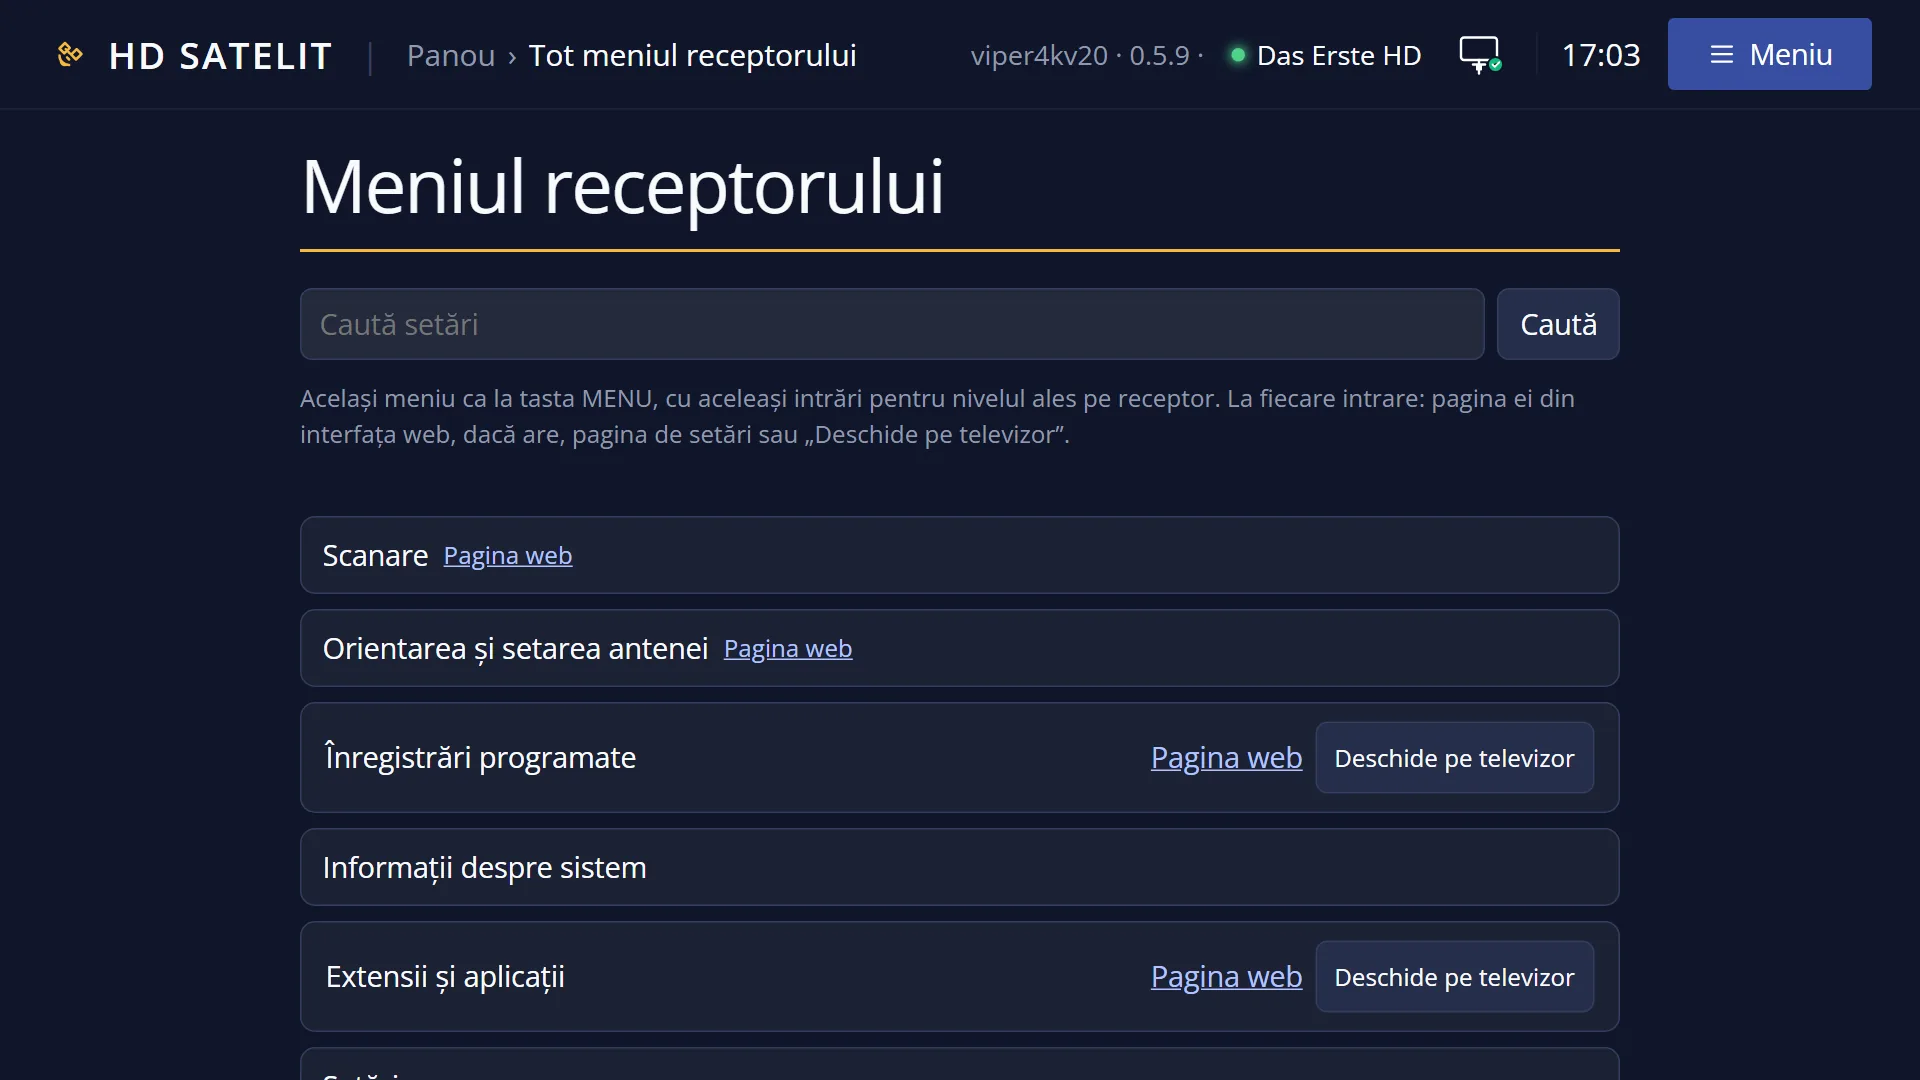
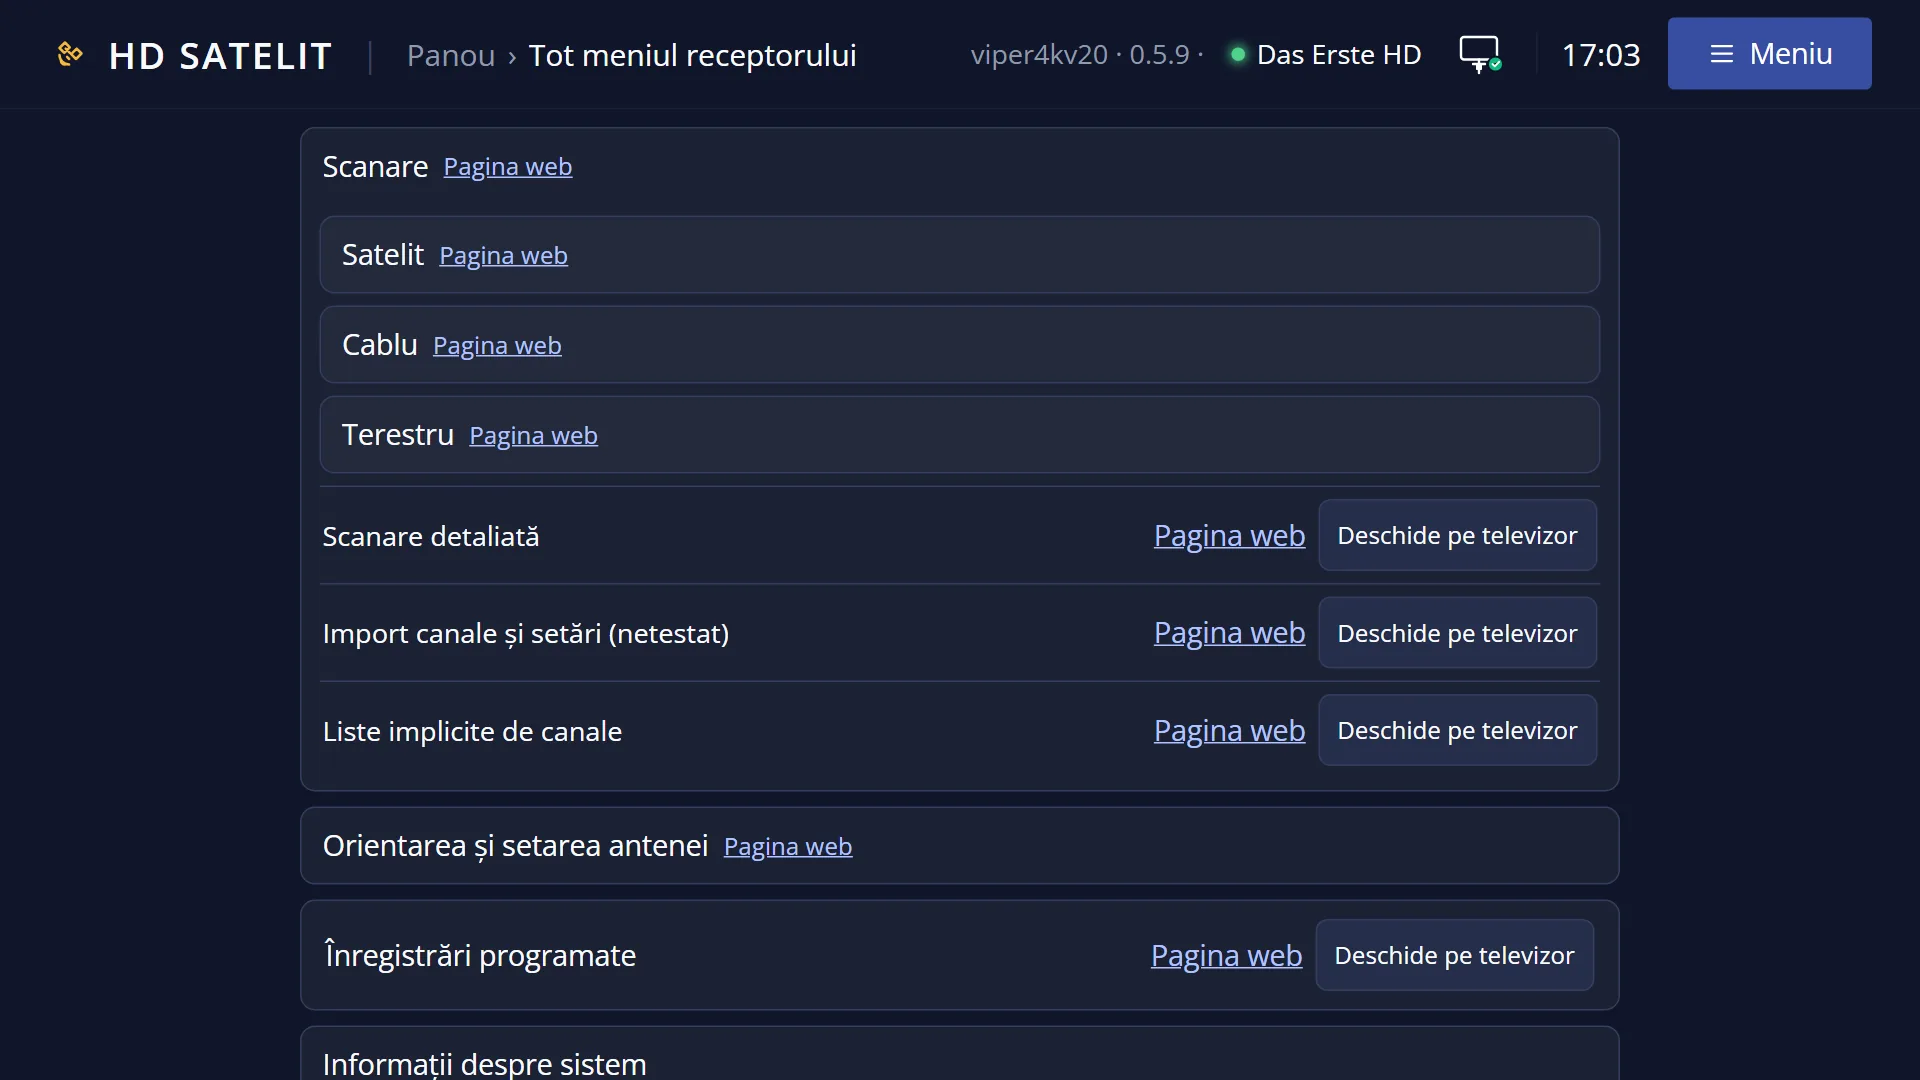
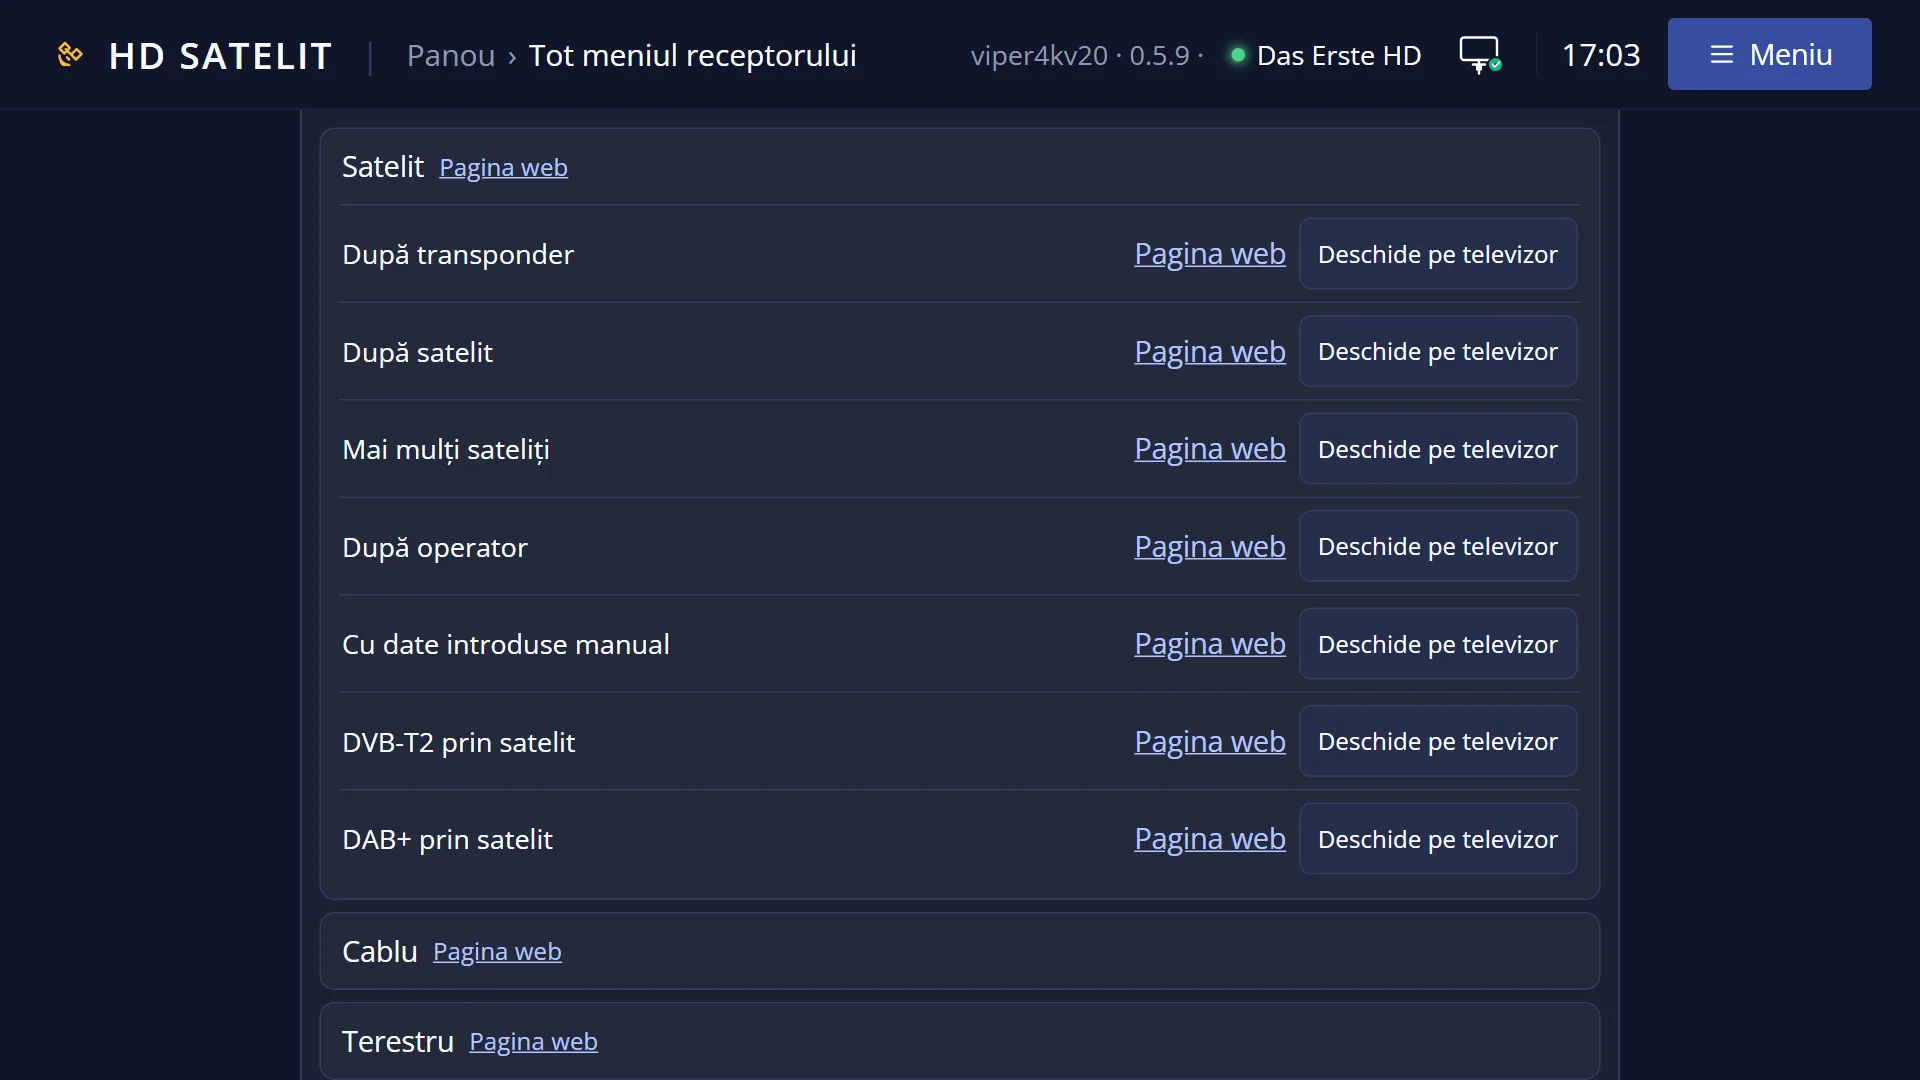
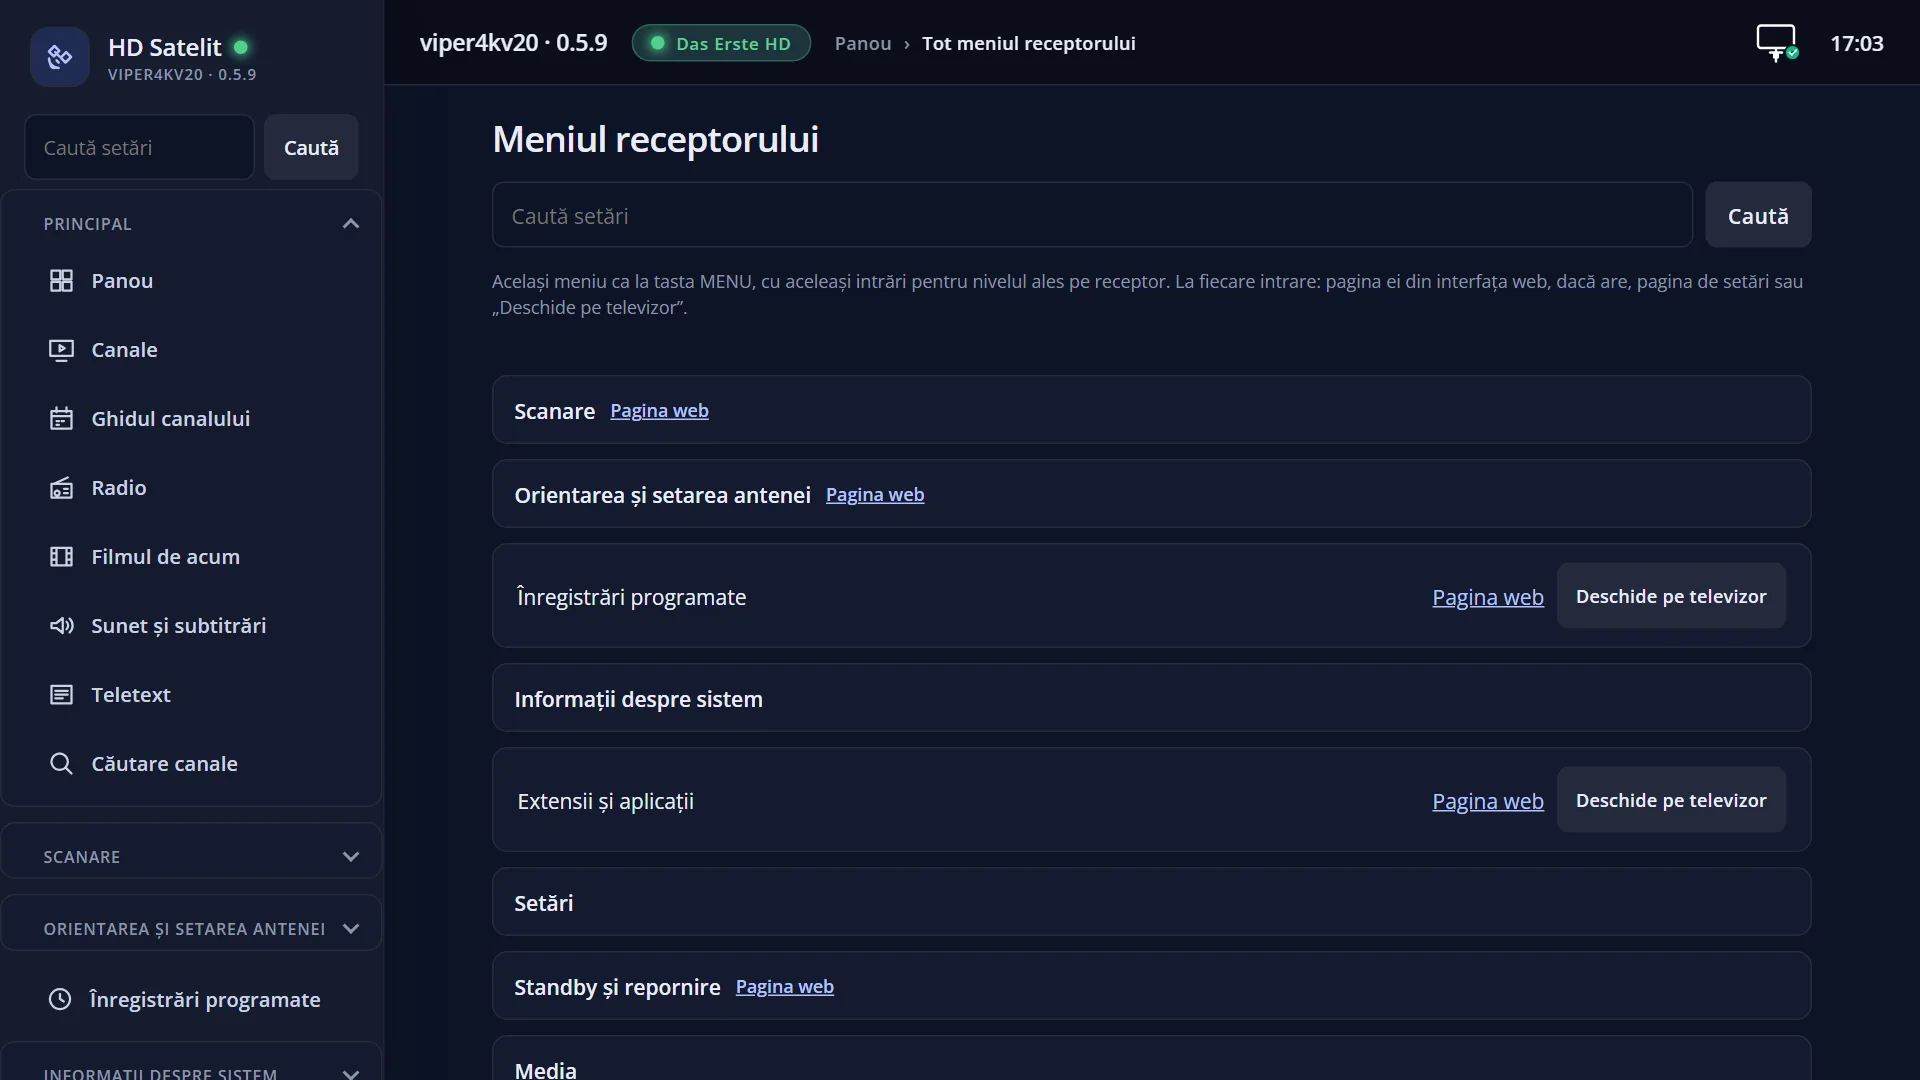
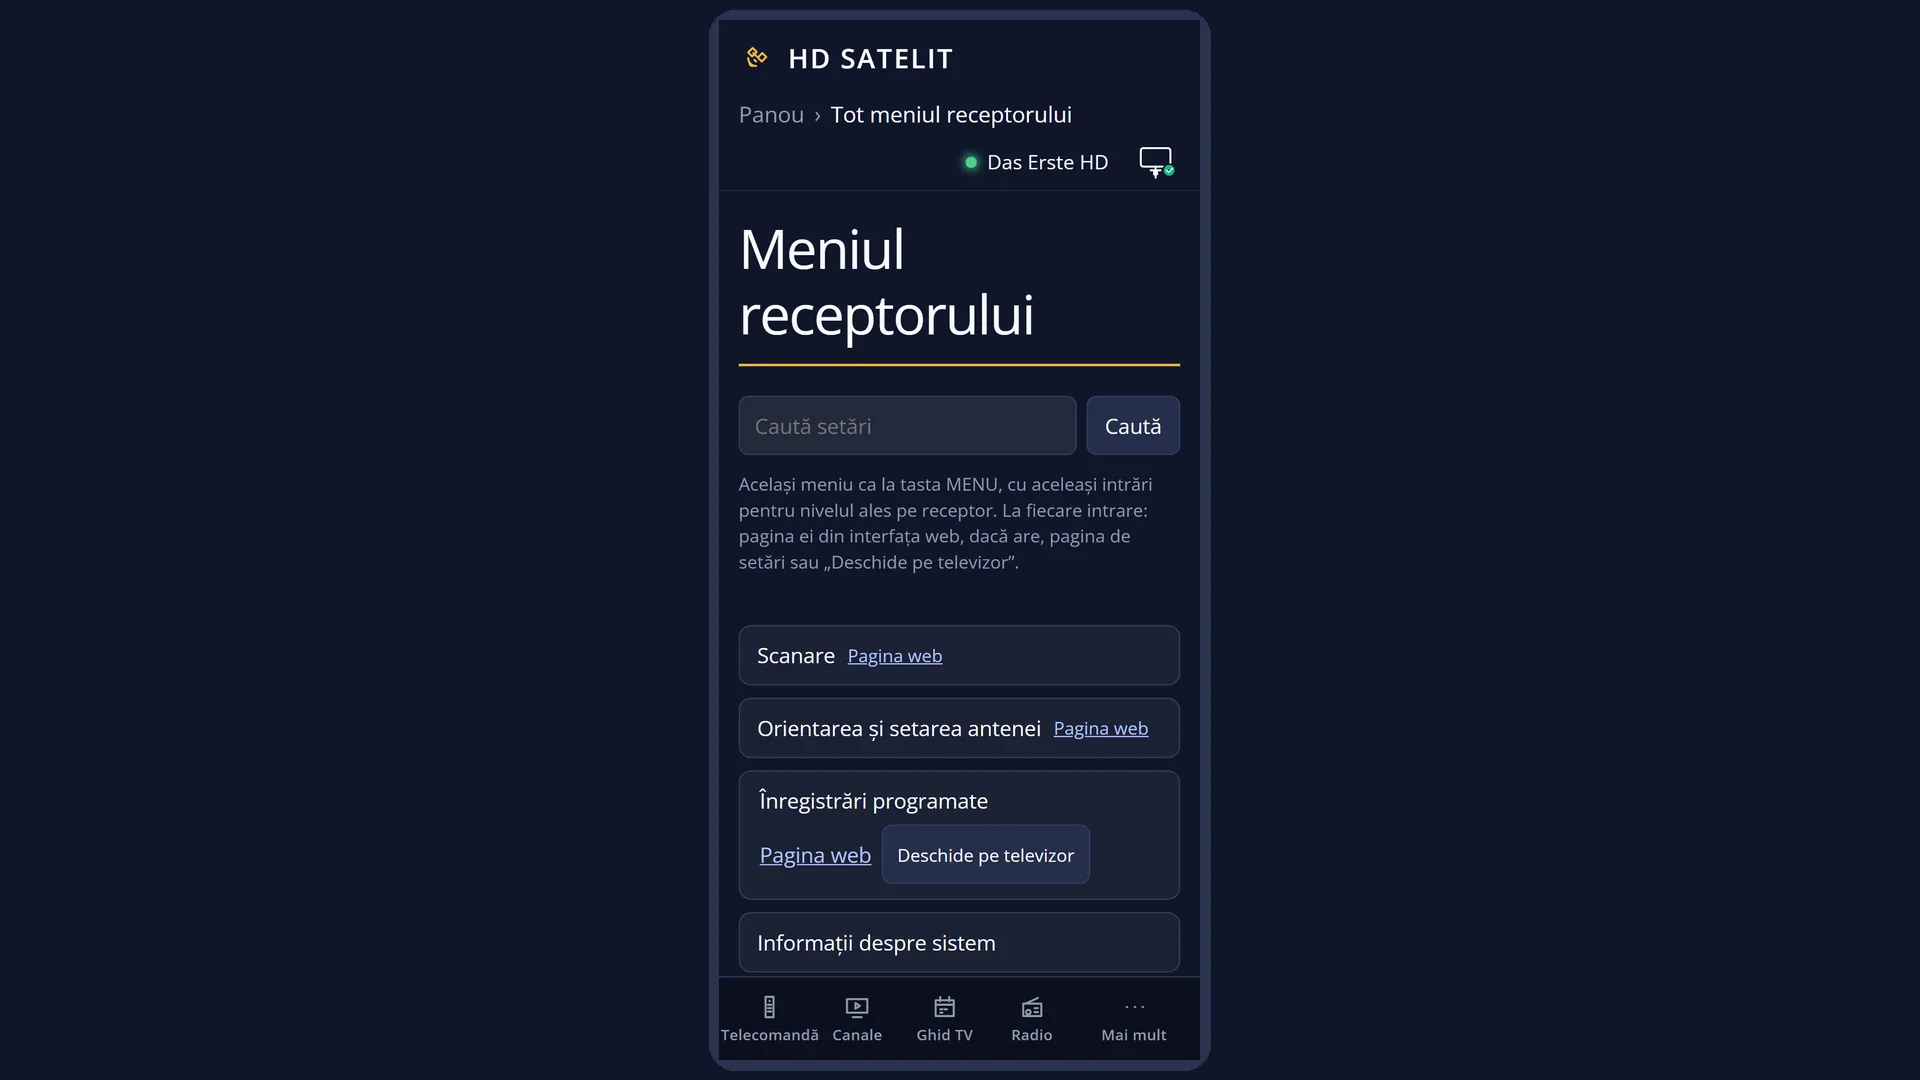
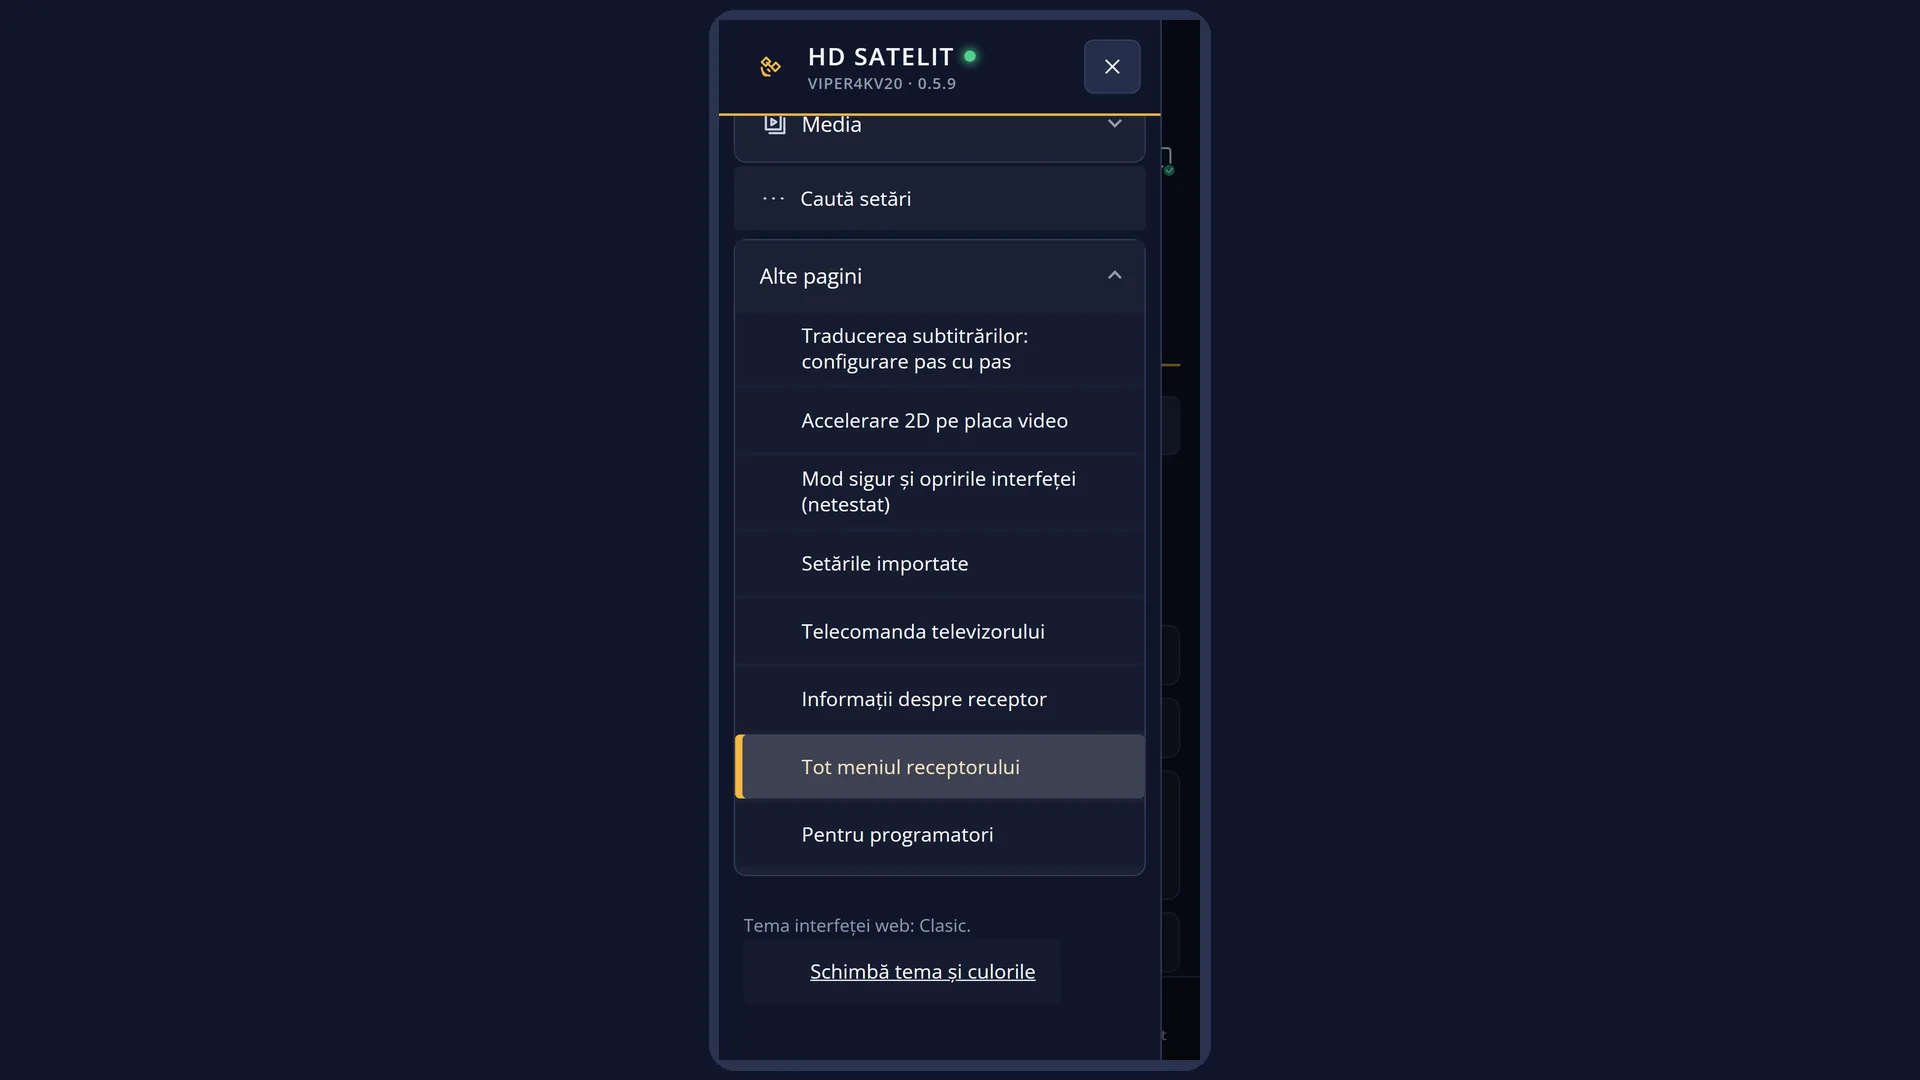
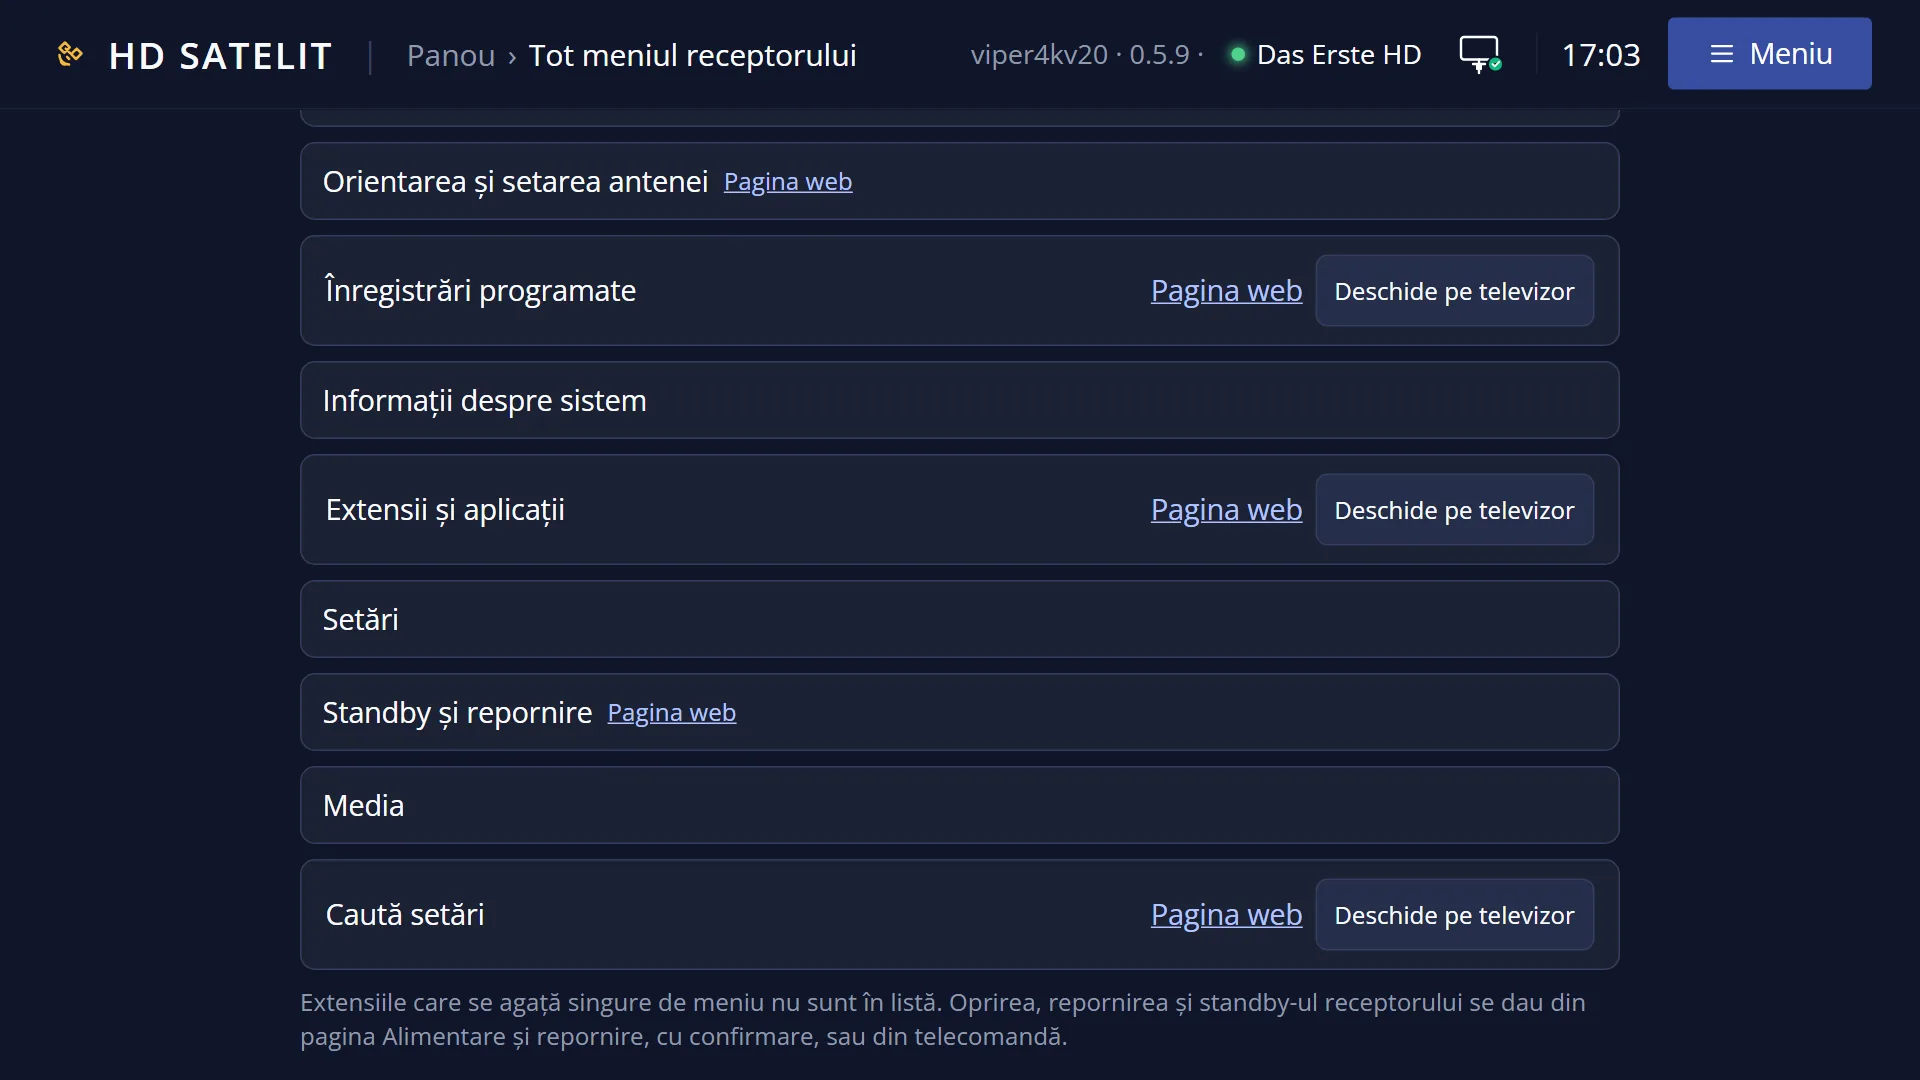
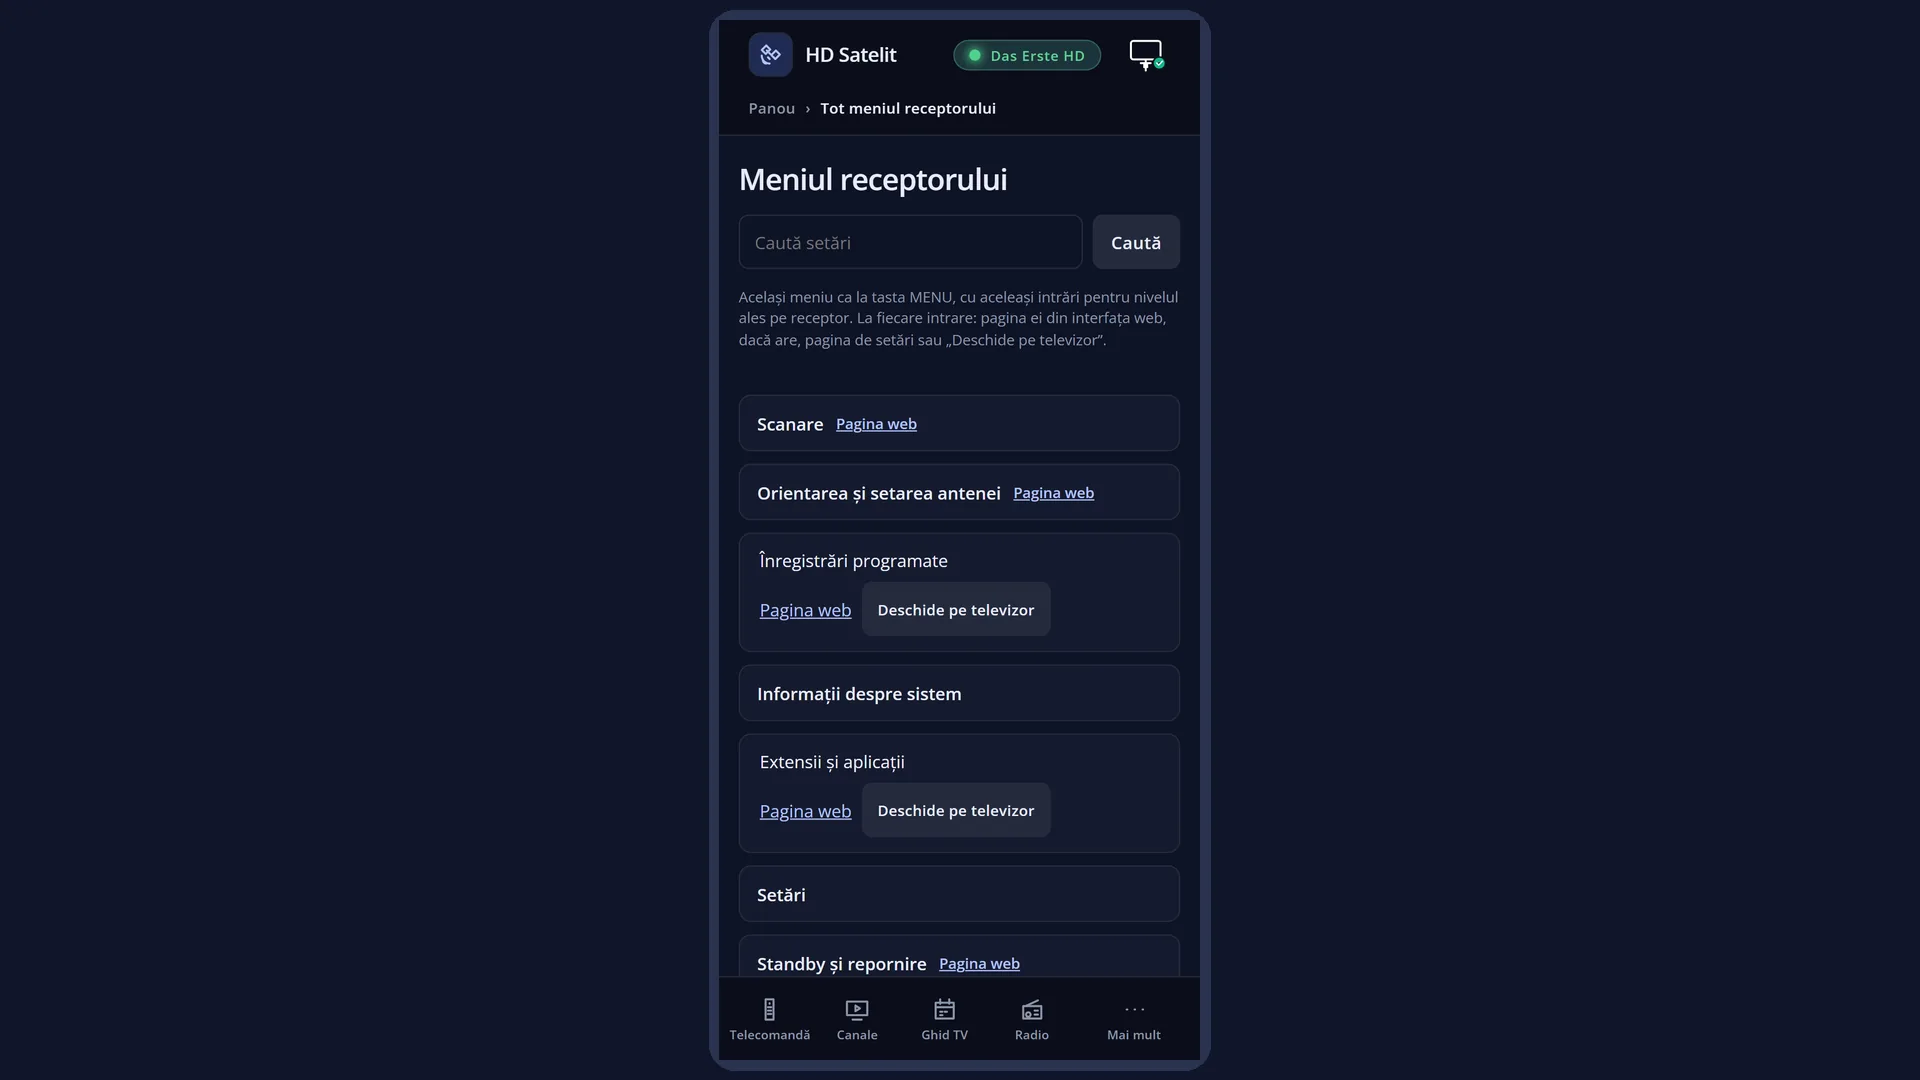
In the web interface: the /meniu page, the “Settings” group, then “Interface & Appearance”. Each row there has a “Web page” link (/skin, /tema-tv, /culori-skin, /limba-interfata, /setari?id=usage, /marime-text, /font-interfata, /margini-ecran, /fonturi, /ecrane).
What you see on the screen
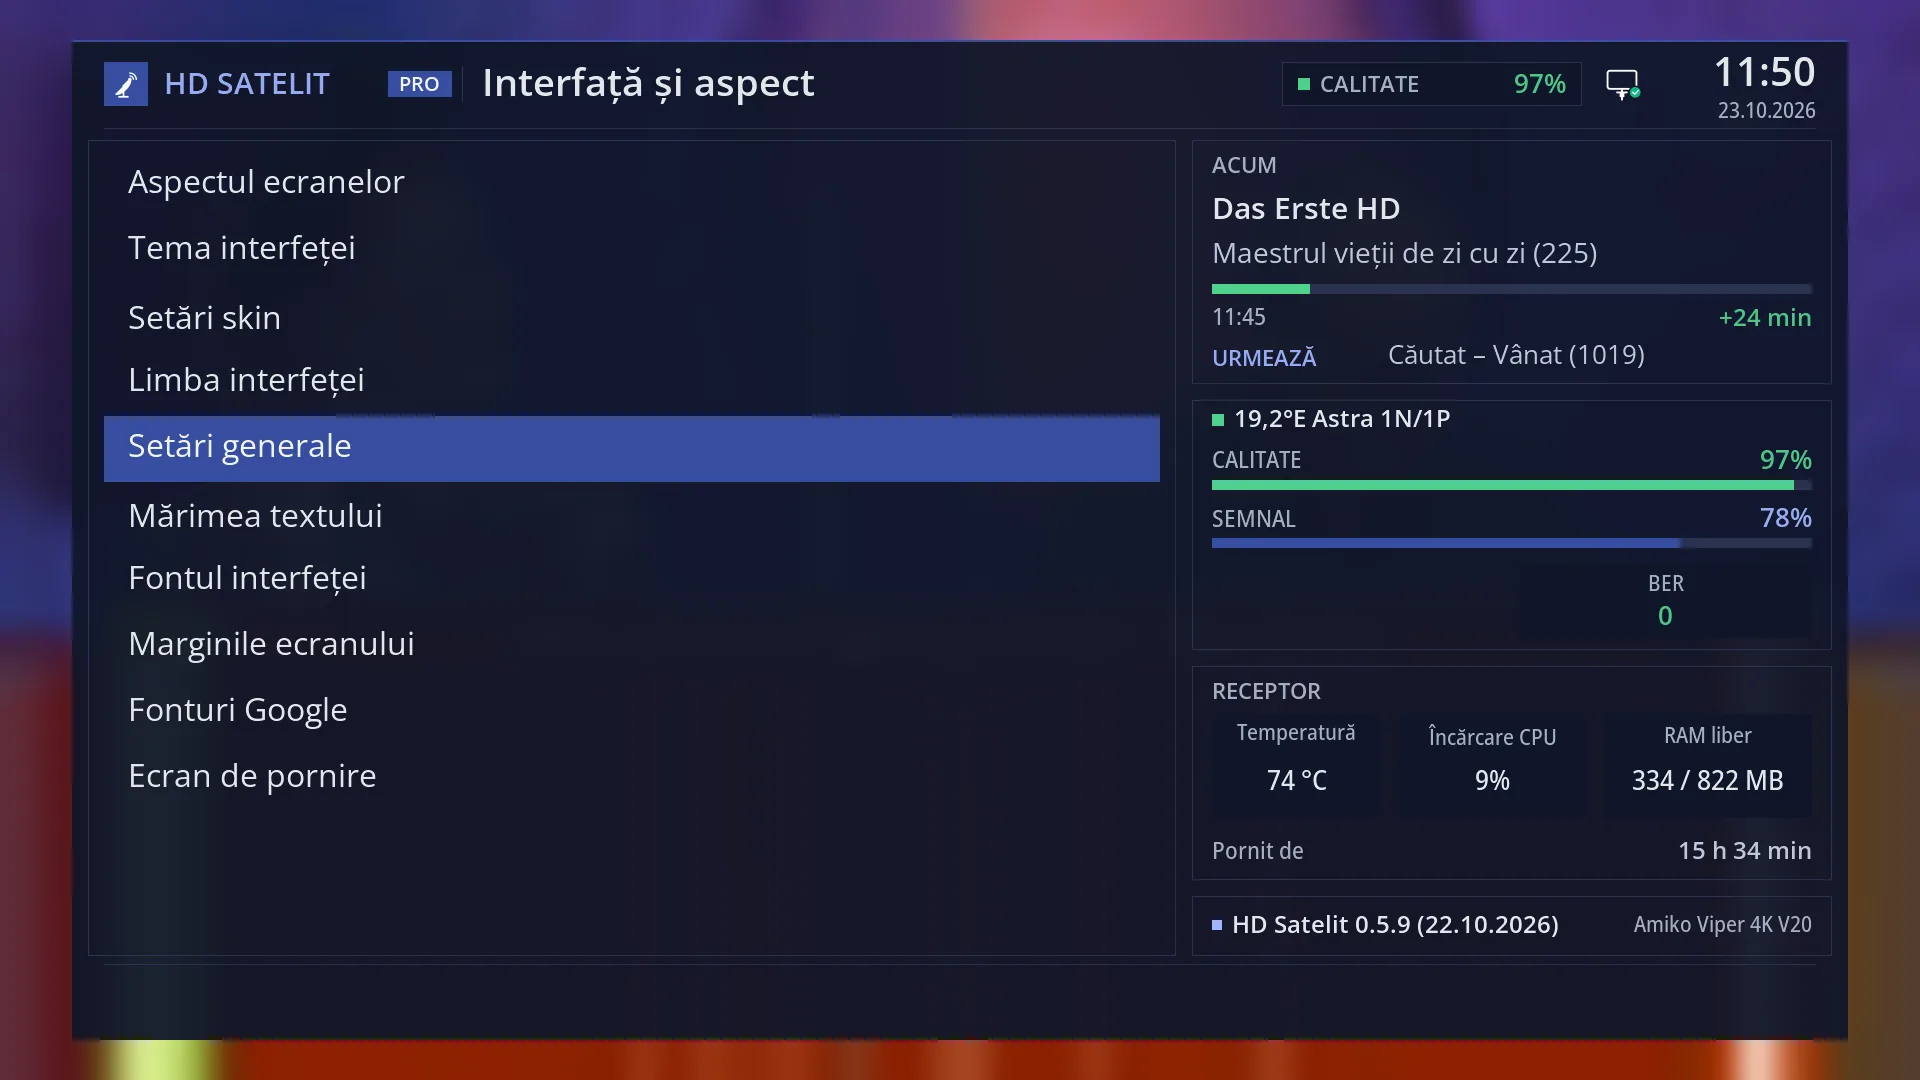
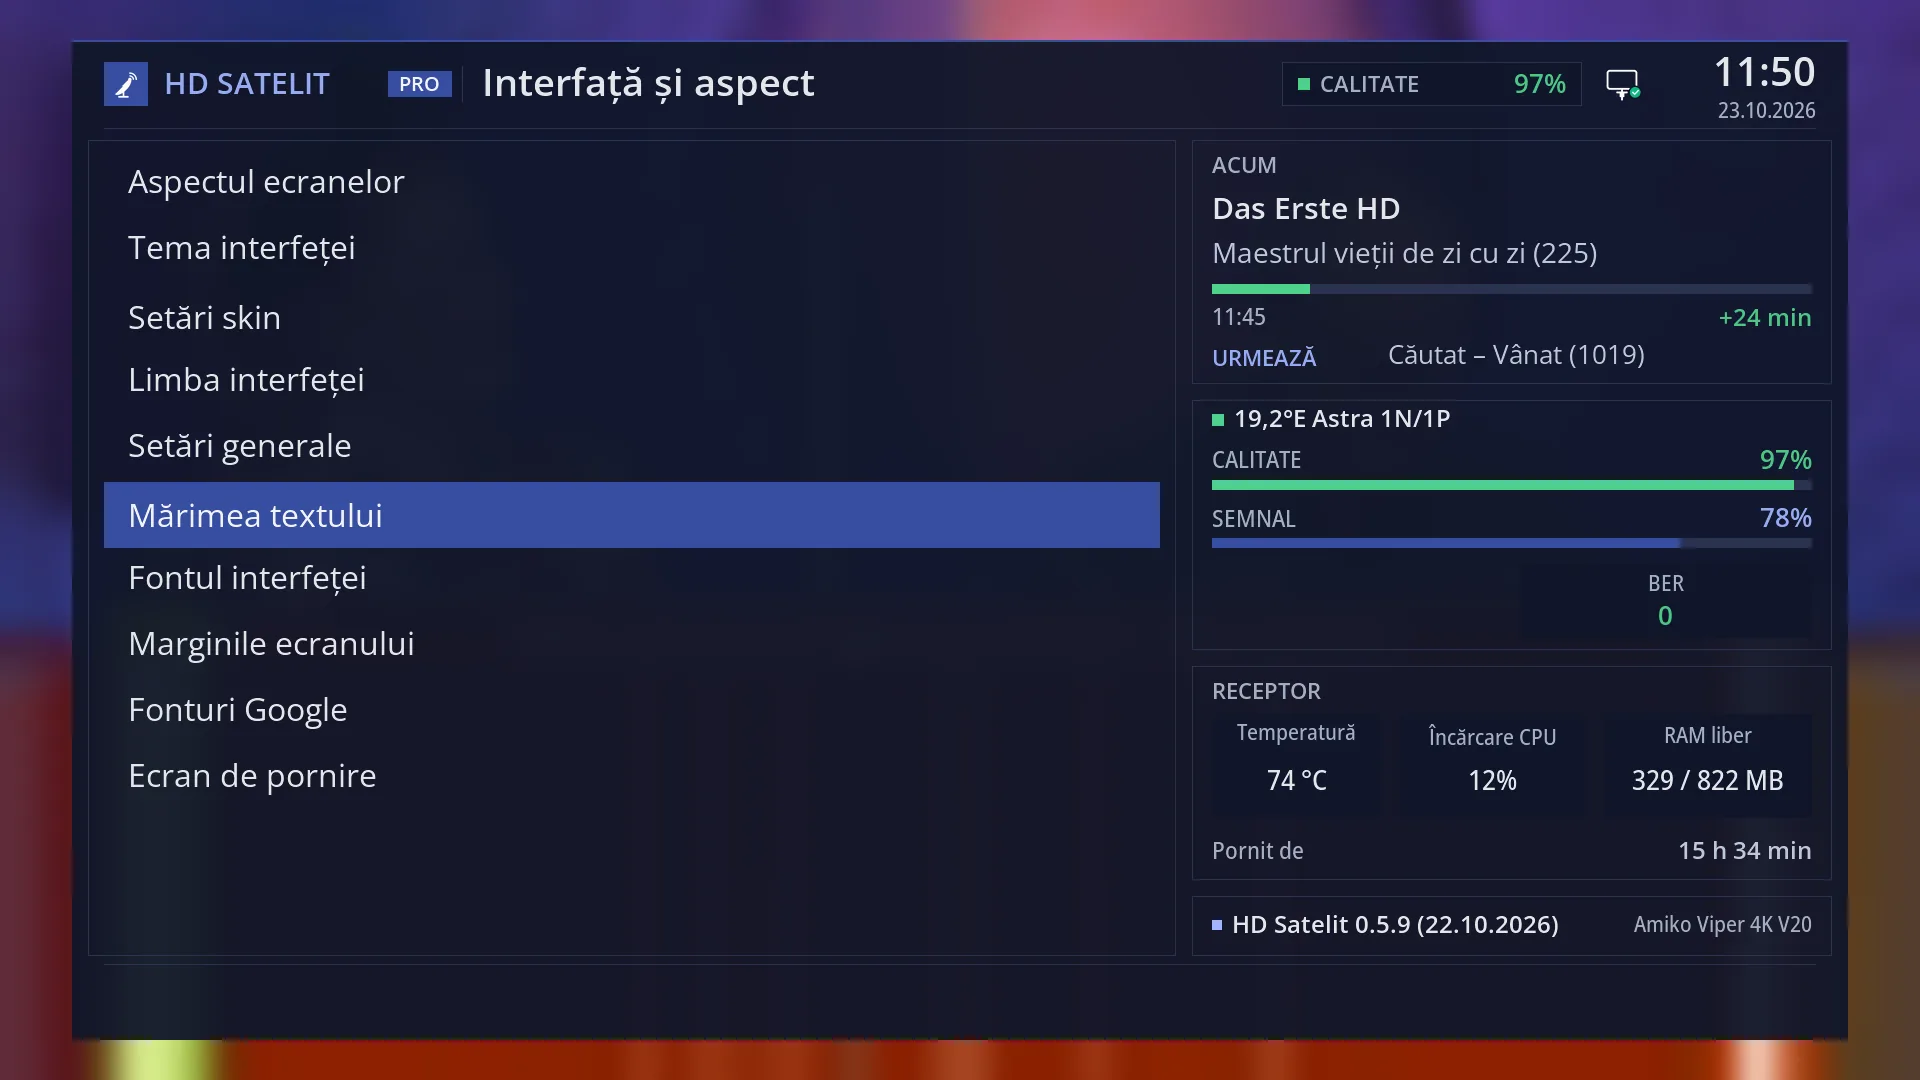
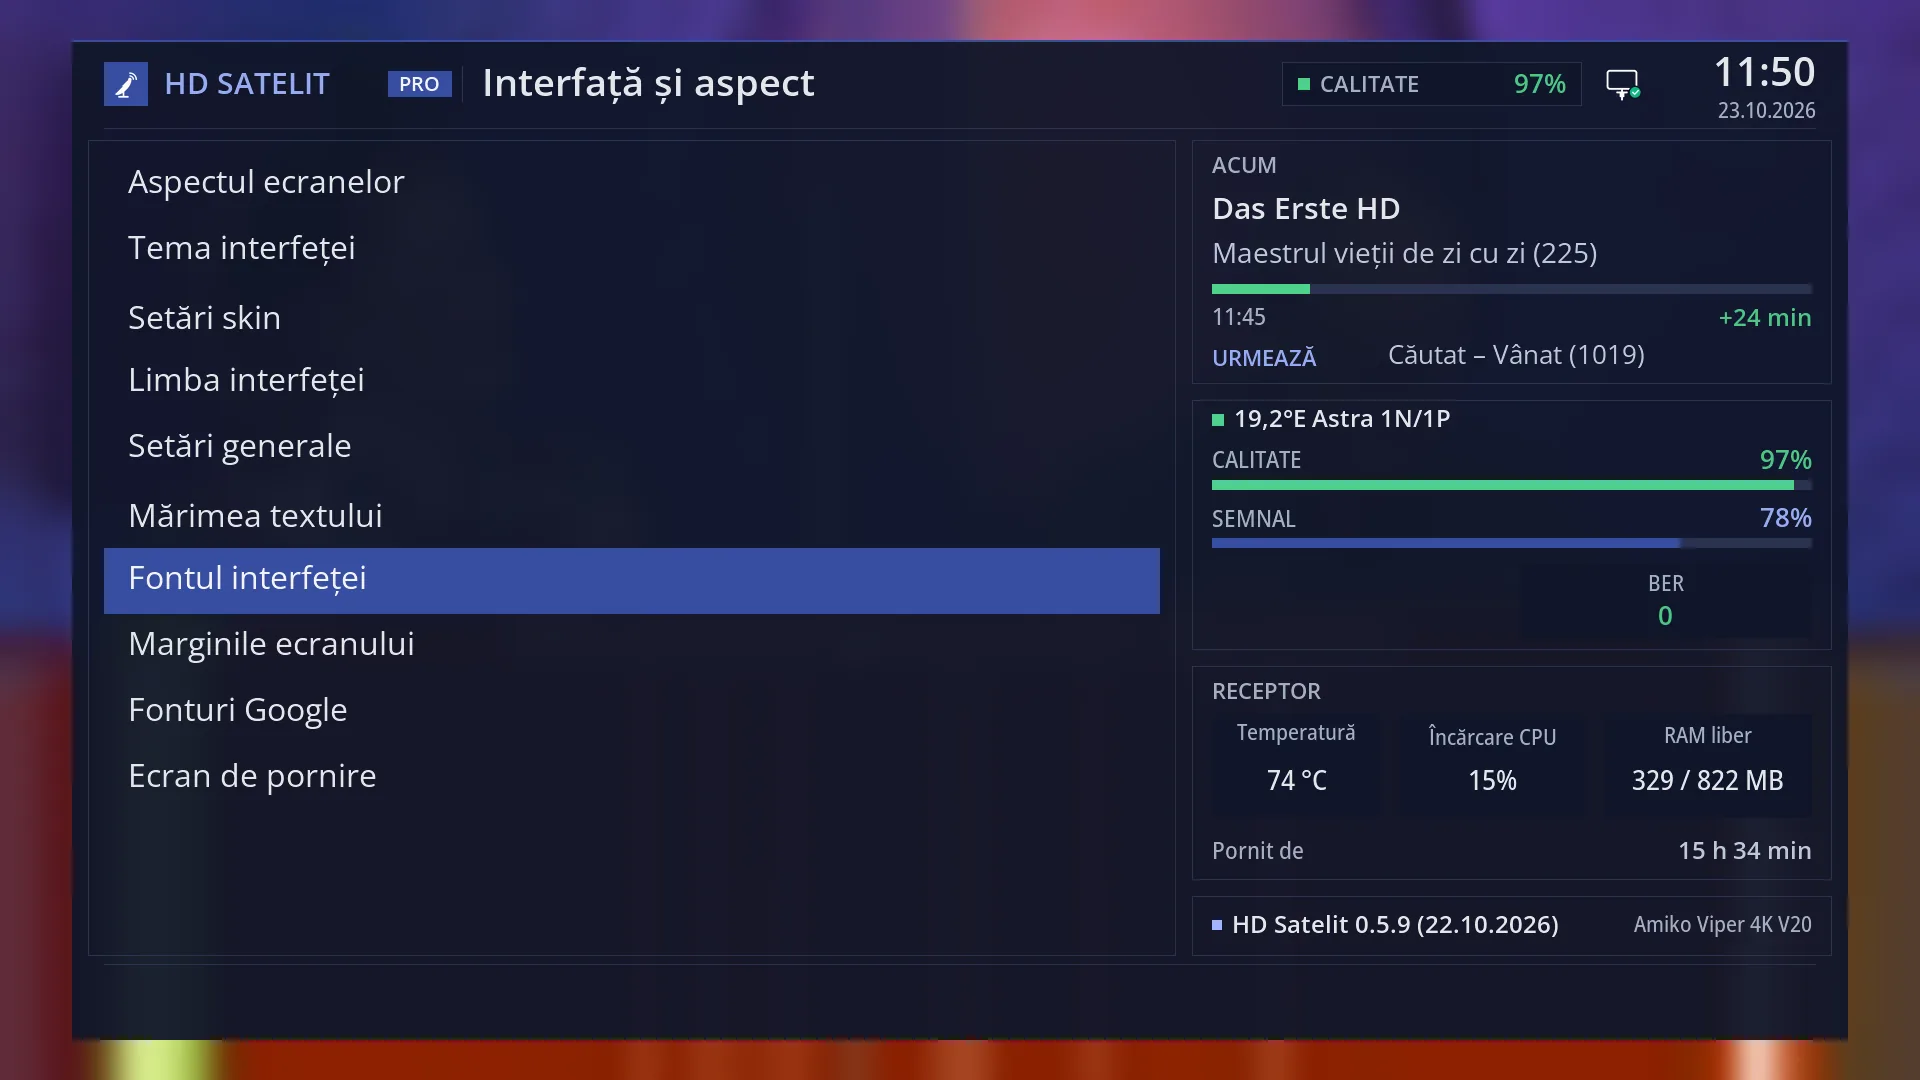
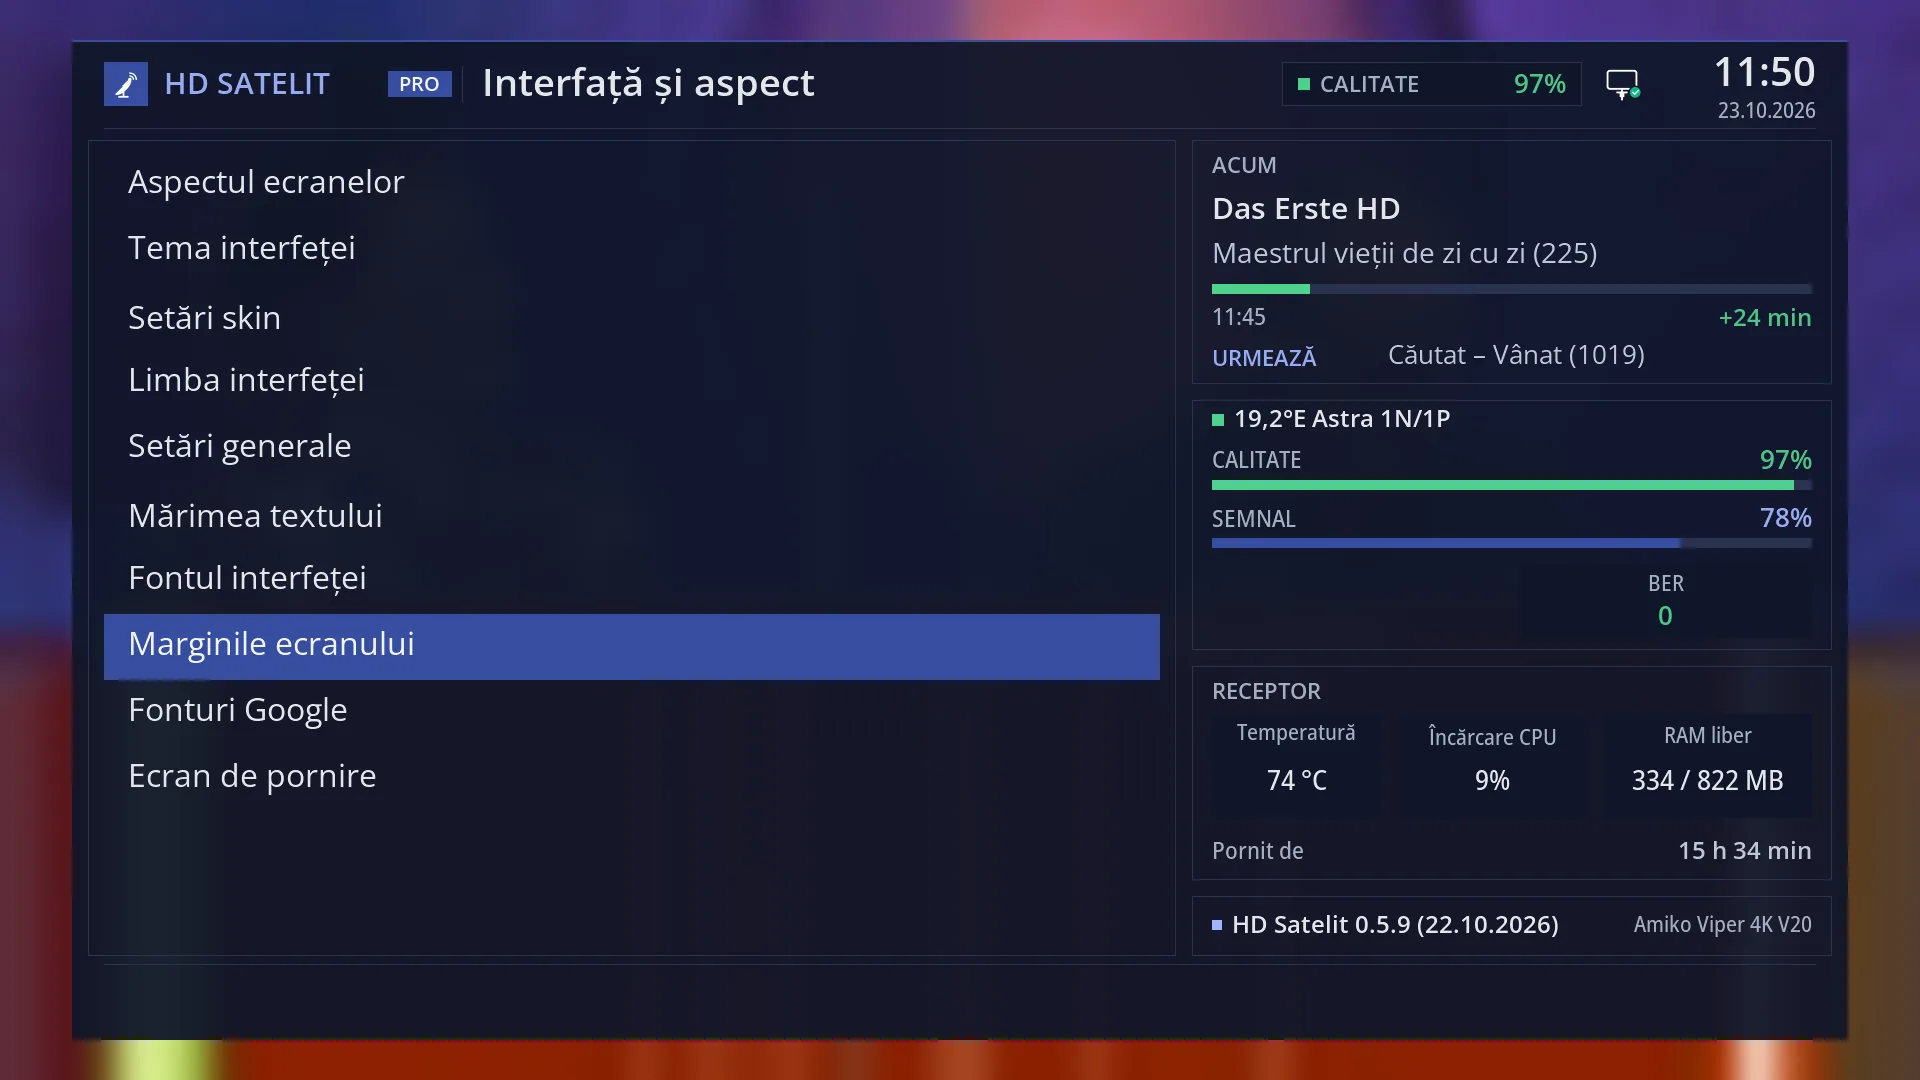
At the top: the title “Interface & Appearance”, the clock and the date. In the Pro theme, “HD SATELIT” with the “PRO” label appears to the left of the title, and the signal quality of the current channel and the network icon appear on the right.
On the left: the list of 10 rows. The selected row has a blue background. The digits are not shown next to the rows, but they work: 1 is the first row, 9 the ninth.
In the Pro theme, the right side shows the same four boxes as the main menu: “NOW”, the satellite with “Quality”, “Signal” and “BER”, “Receiver” (temperature, processor load, free memory, “Pornit de”) and the image version with the receiver name. In the Classic theme (the factory setting) you see only the list, with the channel picture on the right.
Rows and settings
| Row | Values | Default | What it does |
|---|---|---|---|
| 1 Screen appearance | Chooses the whole skin from those installed, with a preview. If a skin does not start, the receiver switches back to HD Satelit by itself. When you have installed another skin and want to try it. | ||
| 2 Interface theme | Chooses the theme of the HD Satelit skin: Classic (the factory setting, uncluttered) or Pro (more information on screen, for example the boxes on the right of the menus). It takes effect when the interface restarts. When you want more information on screen or, the other way round, simpler screens. | ||
| 3 Skin settings | The menu palette, the colours for each role and the transparency of the panels, with a preview. The row appears only when the HD Satelit skin package is installed (it is installed on the receiver at the factory). When you want different colours in the menus. | ||
| 4 System Language | The language of all menus: 13 fully translated languages, Romanian by default. When you want the menus in another language. | ||
| 5 OSD Preferences | How the receiver behaves day to day: what opens at startup, what the arrow keys and the power key do, how long the info bar stays on screen, and more. The first row, “Setup Mode” (Simple, Intermediate, Expert), decides how many rows you see in all menus. When you want to change a habit of the receiver or are looking for an entry you cannot see. | ||
| 6 Font Size | The size of all text, from 80 to 130%, with a slider and an instant preview. The row is shown in Intermediate and Expert modes. When the text is too small to read from the sofa or too large for your TV. | ||
| 7 Interface font | The shape of the letters in the menus, from four fonts supplied with the image (Open Sans by default, Atkinson Hyperlegible, Barlow, PT Sans), with a preview first. When you want text that is easier to read or a different look. | ||
| 8 Screen Margins / Overscan | Pulls the menus in from the edges, using a test frame, so that they fit completely on TVs that cut off the edges. The row is shown in Intermediate and Expert modes. When your TV cuts off the edges of the menus (the clock, the colour keys at the bottom). | ||
| 9 Google Fonts | Downloads free fonts from Google Fonts to the receiver, which are then used for subtitles. When you want a different font for subtitles. | ||
| 10 Startup screen | Chooses the picture shown while the receiver starts, from the ready-made gallery or a picture of your own. When you want a different startup picture. |
Keys
| UP / DOWN | Moves the cursor to the row above or below. On the first row, UP goes to the last row (“Startup screen”), and the other way round. |
| LEFT / RIGHT | Jump one page up or down. Here the list fits on one page, so you land on the first or last row. In the tile layout, they move the cursor to the tile on the left or right. |
| OK | Opens the screen of the selected row. |
| 1 ... 9 | Open the row with that number directly, without OK (see “How to get there”). The 10th row has no digit. |
| YELLOW | Switches the menu from a list to tiles or back, instantly, keeping the same row selected. Your choice is remembered for all menus. |
| TTX (shown on screen as TEXT) | Opens “Search settings”, so you can find a setting by typing a few letters. |
| EXIT | Closes the submenu and takes you back to “Settings”. |
| MENU | Closes the whole menu and takes you back to live TV. |
Step by step
Making the menu text larger
- Press MENU 6 6 6 (“Font Size”).
- Move the slider to the right and watch the preview.
- Keep your choice. Screens you open from now on use the new text size.
Switching to the Pro theme, with more information
- Press MENU 6 6 2 (“Interface theme”).
- Choose Pro and confirm. The theme takes effect when the interface restarts.
Fixing a menu cut off at the edges
- Press MENU 6 6 8 (“Screen Margins / Overscan”).
- Pull the margins in until you can see the whole test frame, then save.
Problems and solutions
I do not have the “Font Size” and “Screen Margins / Overscan” rows.
They are hidden in the Simple setup mode. Switch to Intermediate: row 5, “OSD Preferences”, first row, “Setup Mode”. In Simple mode the digits of the rows after them also change.
I press 10 and “Startup screen” does not open.
Only the first nine rows have a digit. For the 10th, press UP on the first row (the cursor jumps to the last row), then OK.
I changed something, but the menu I am in still looks the same as before.
Many changes (language, font, text size) show on screens you open from now on. Close the menu with MENU and open it again. The theme changes only when the interface restarts.
I do not have the “Skin settings” row.
The row appears only while the HD Satelit skin package is installed. It comes installed on the receiver at the factory. If it is missing, let us know.
I cannot see the “Front Panel Display” row that another receiver has.
The row appears only on receivers with a graphical (LCD) front display. The digit display of the Amiko Viper 4K V20 has its own screen: Settings > System & Devices > Front display.
Related topics
- Screen appearance (installed themes)
- Interface theme (Classic or Pro)
- Skin settings
- System Language
- OSD Preferences
- Font Size
- Interface font
- Screen Margins / Overscan
- Google Fonts
- Startup screen: choosing the picture
- Settings (all groups)
- Matching web page: /meniu, the “Settings” group > “Interface & Appearance”. Each row has its own page.
Differences between receivers
On receivers with a graphical (LCD) front display, there is one more row, “Front Panel Display”, after “OSD Preferences”. The digits of the rows after it then go up by one. The Amiko Viper 4K V20 does not have it.