

Recordings location
English screenshots coming: some of the pictures below still show the receiver and the web interface in Romanian. The rows, keys and steps described on this page are the English ones.
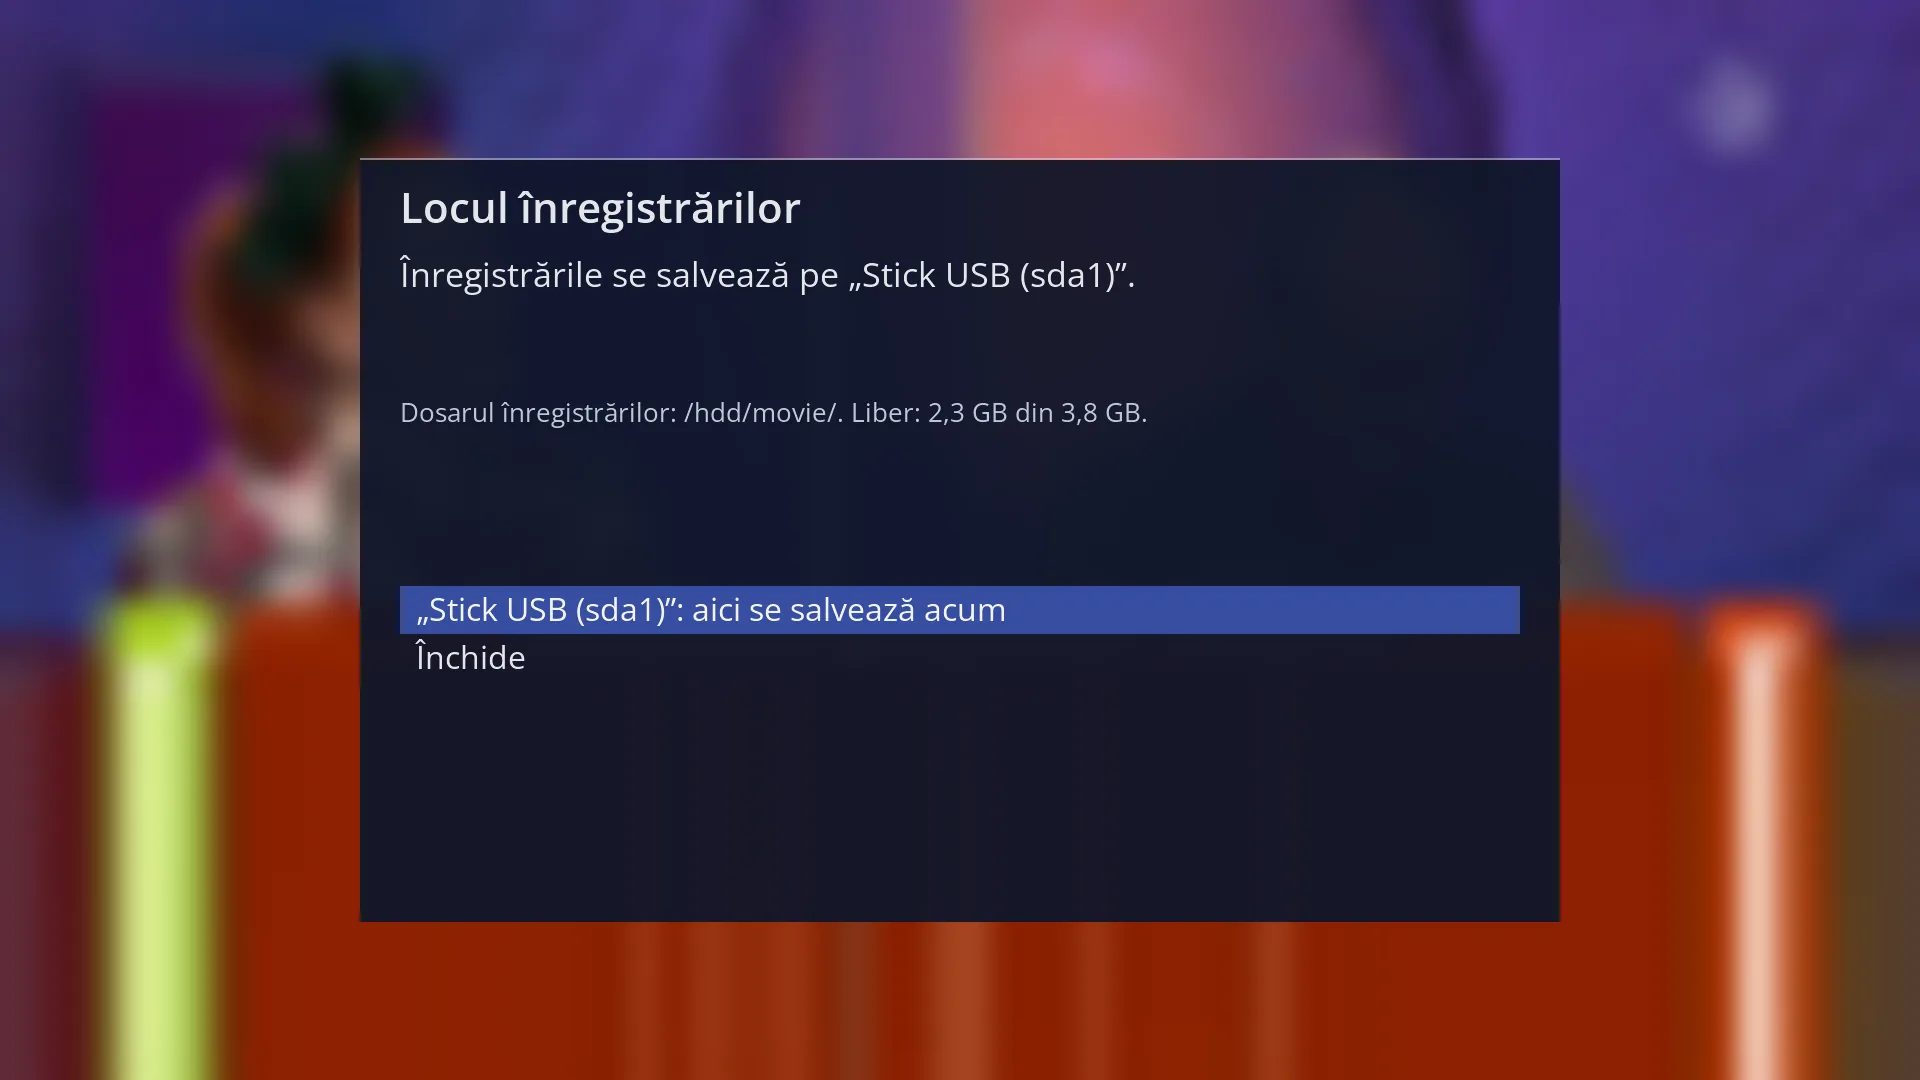
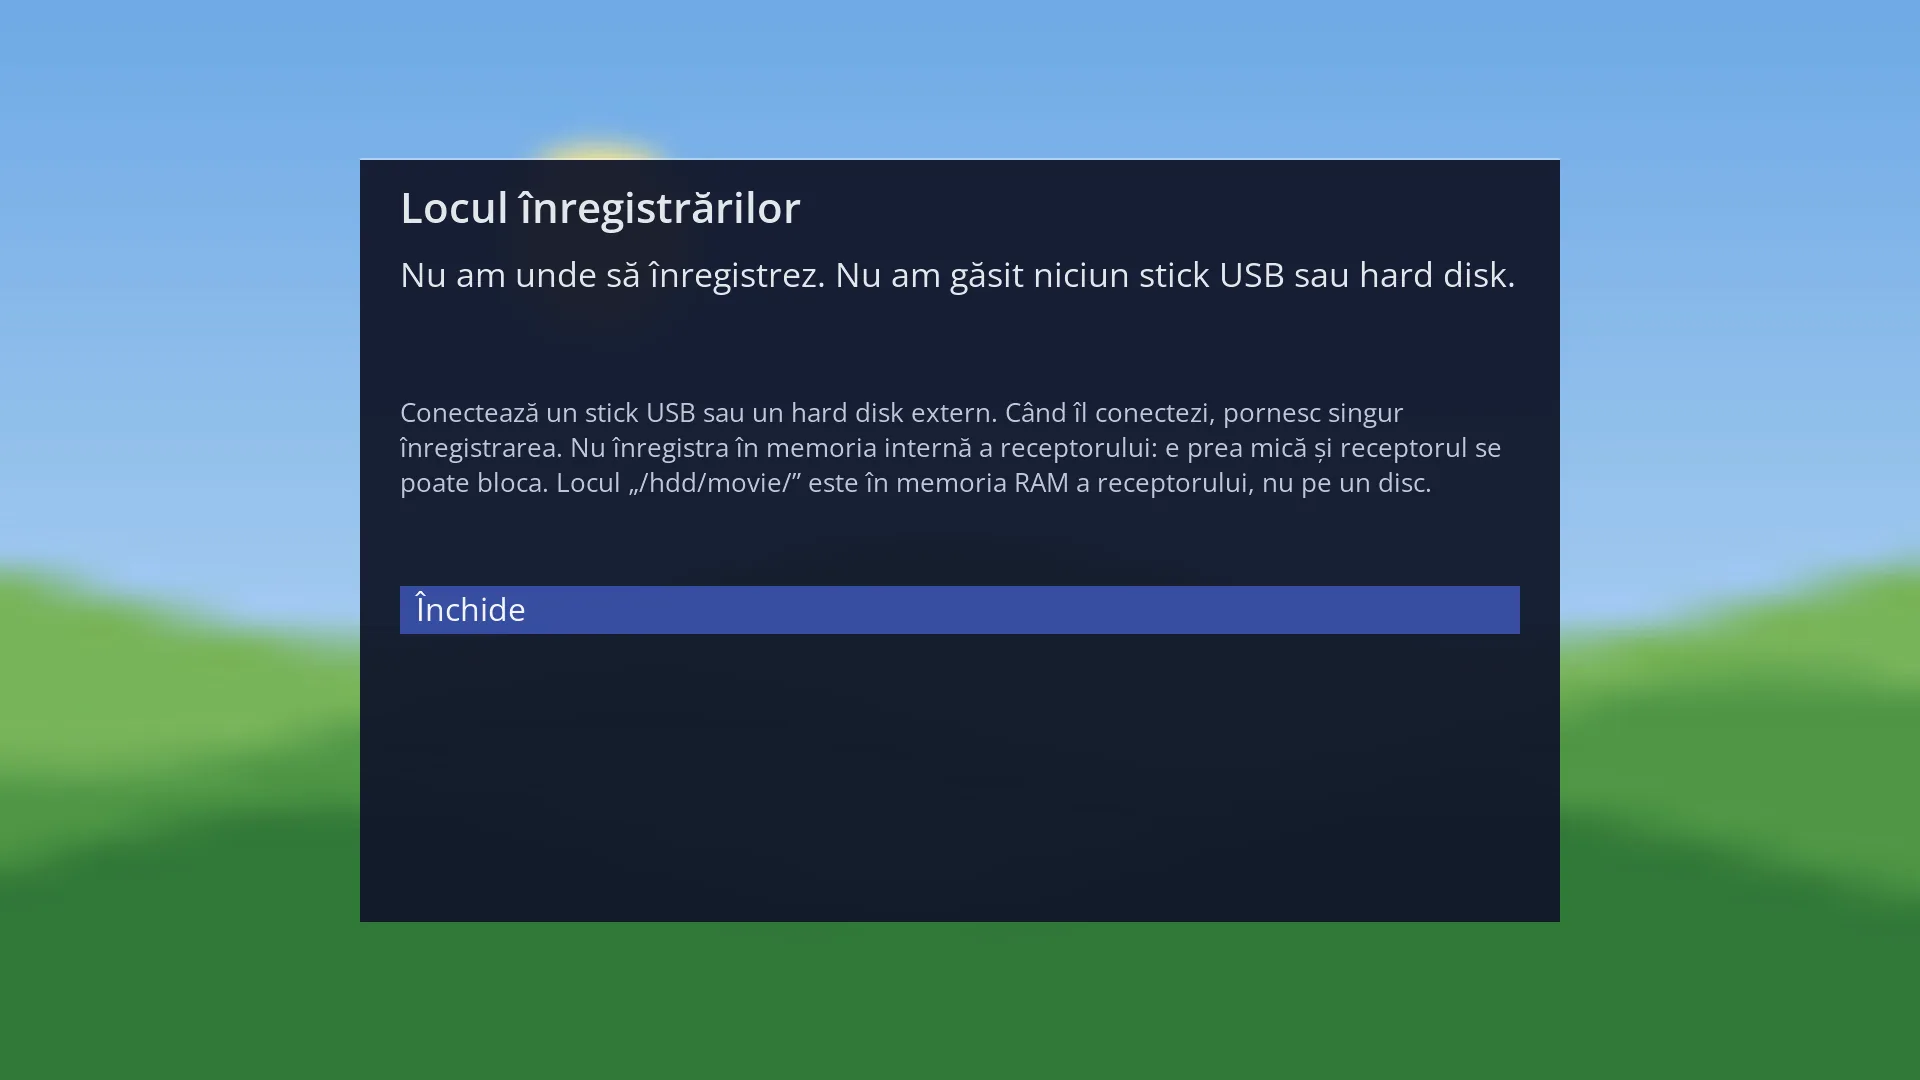
- 1 The window title.
- 2 Where recordings are saved now.
- 3 The recordings folder, the free space and what you should know about the disks.
- 4 The disks: the current one, the ones you can use, “Close”.
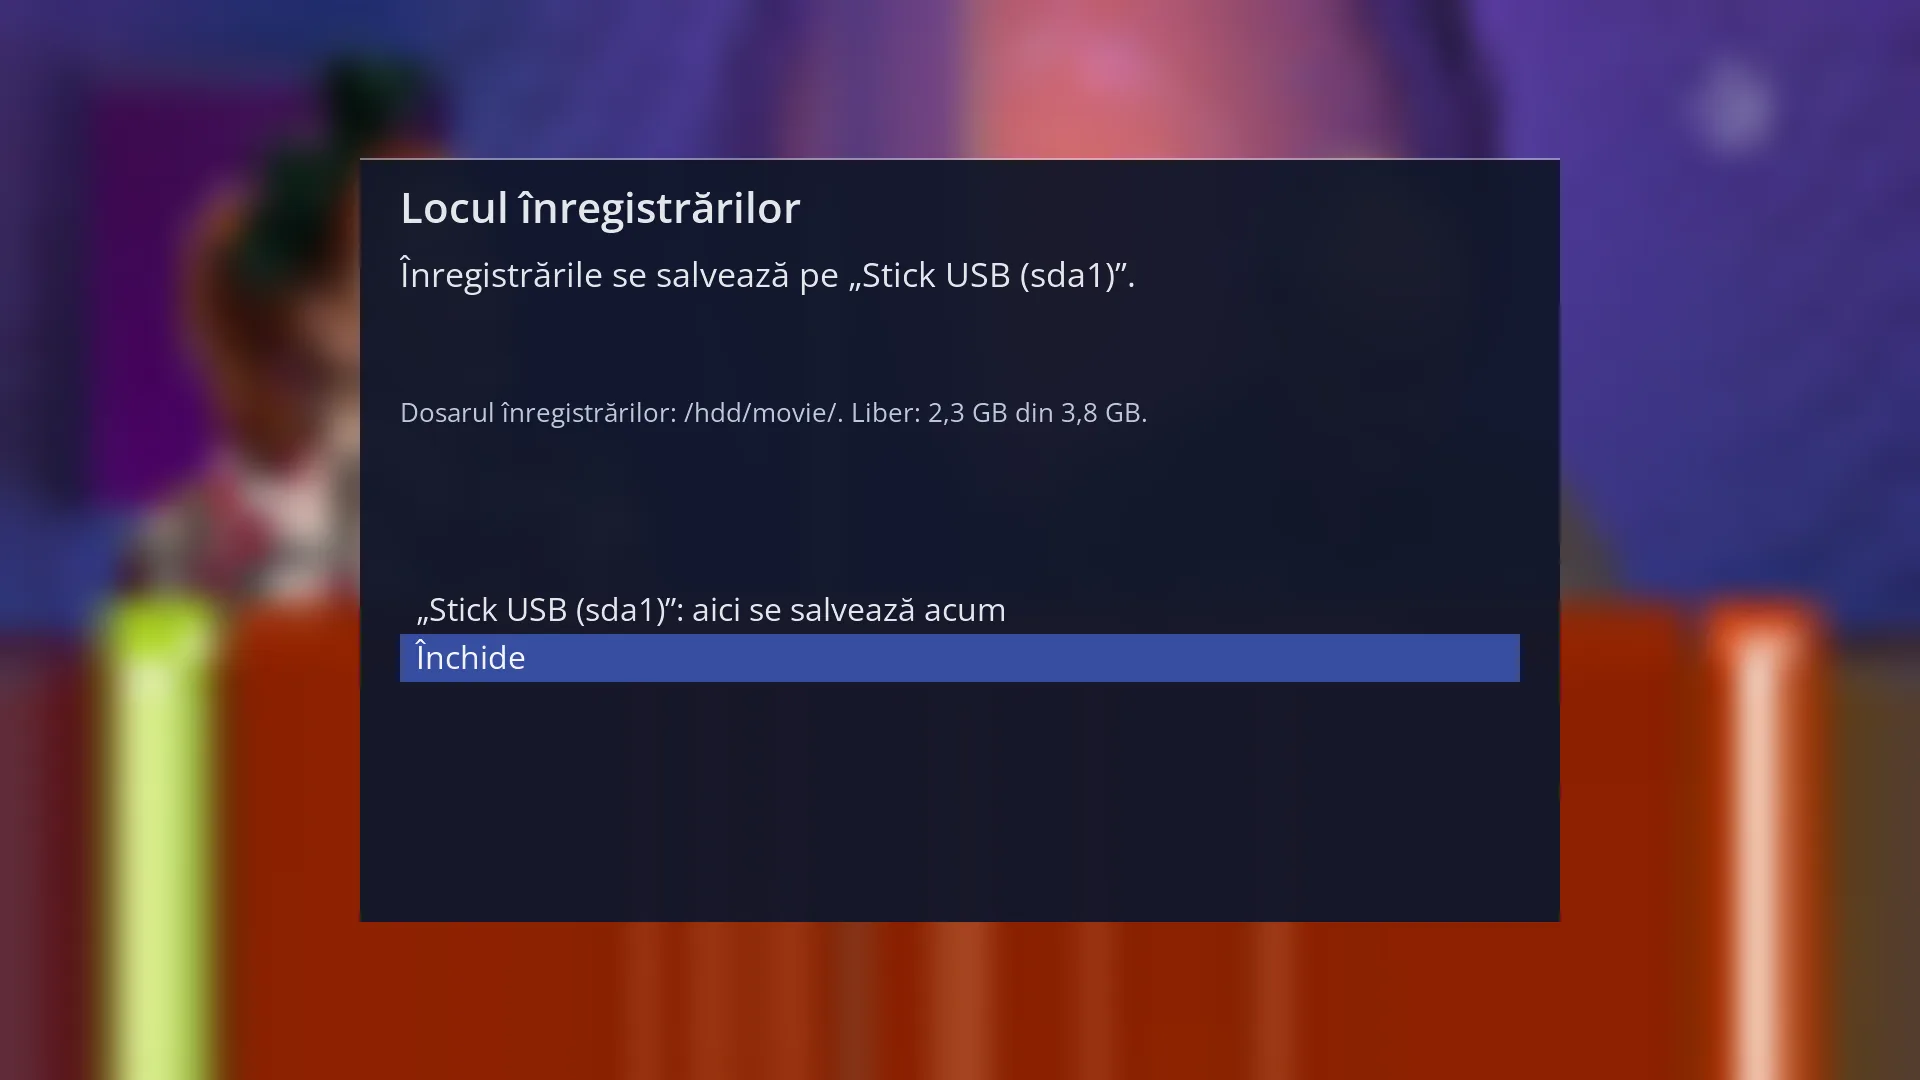
- 1 The selected row: “Close”.
What it is for
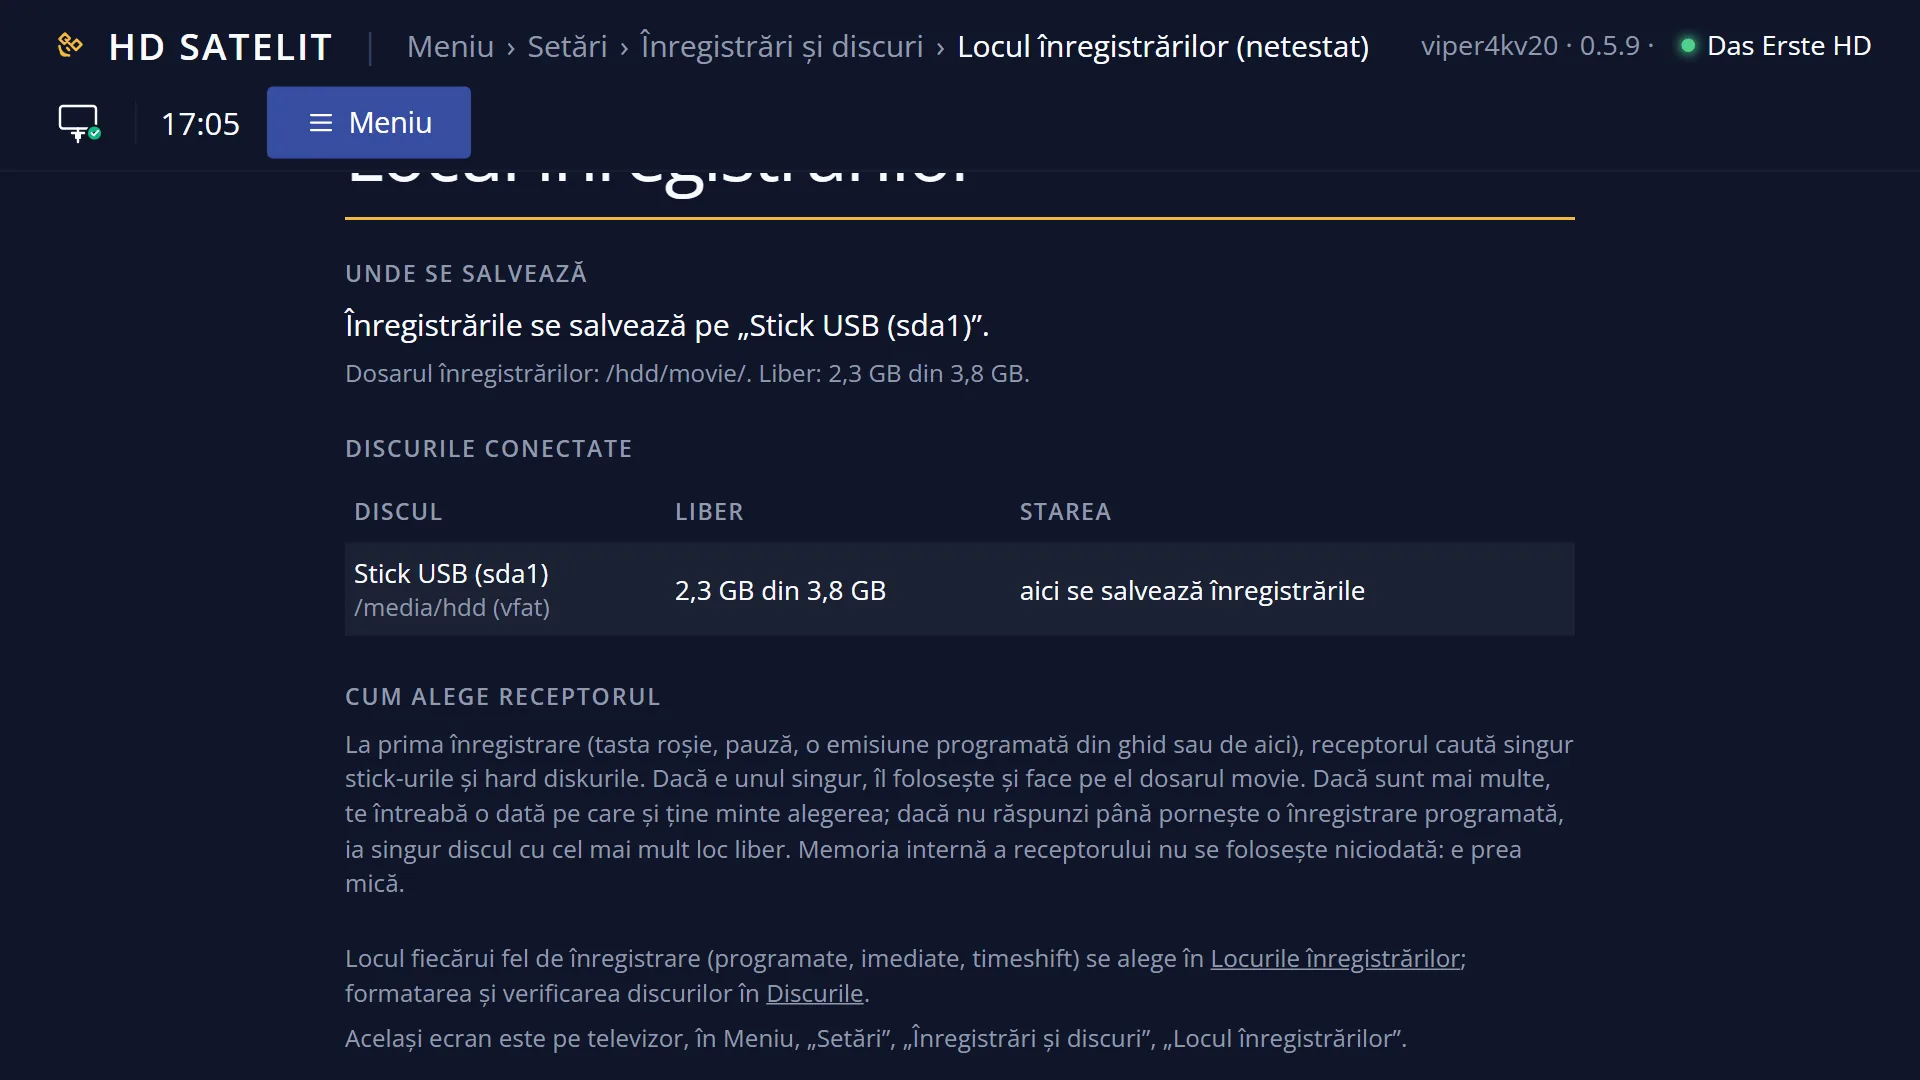
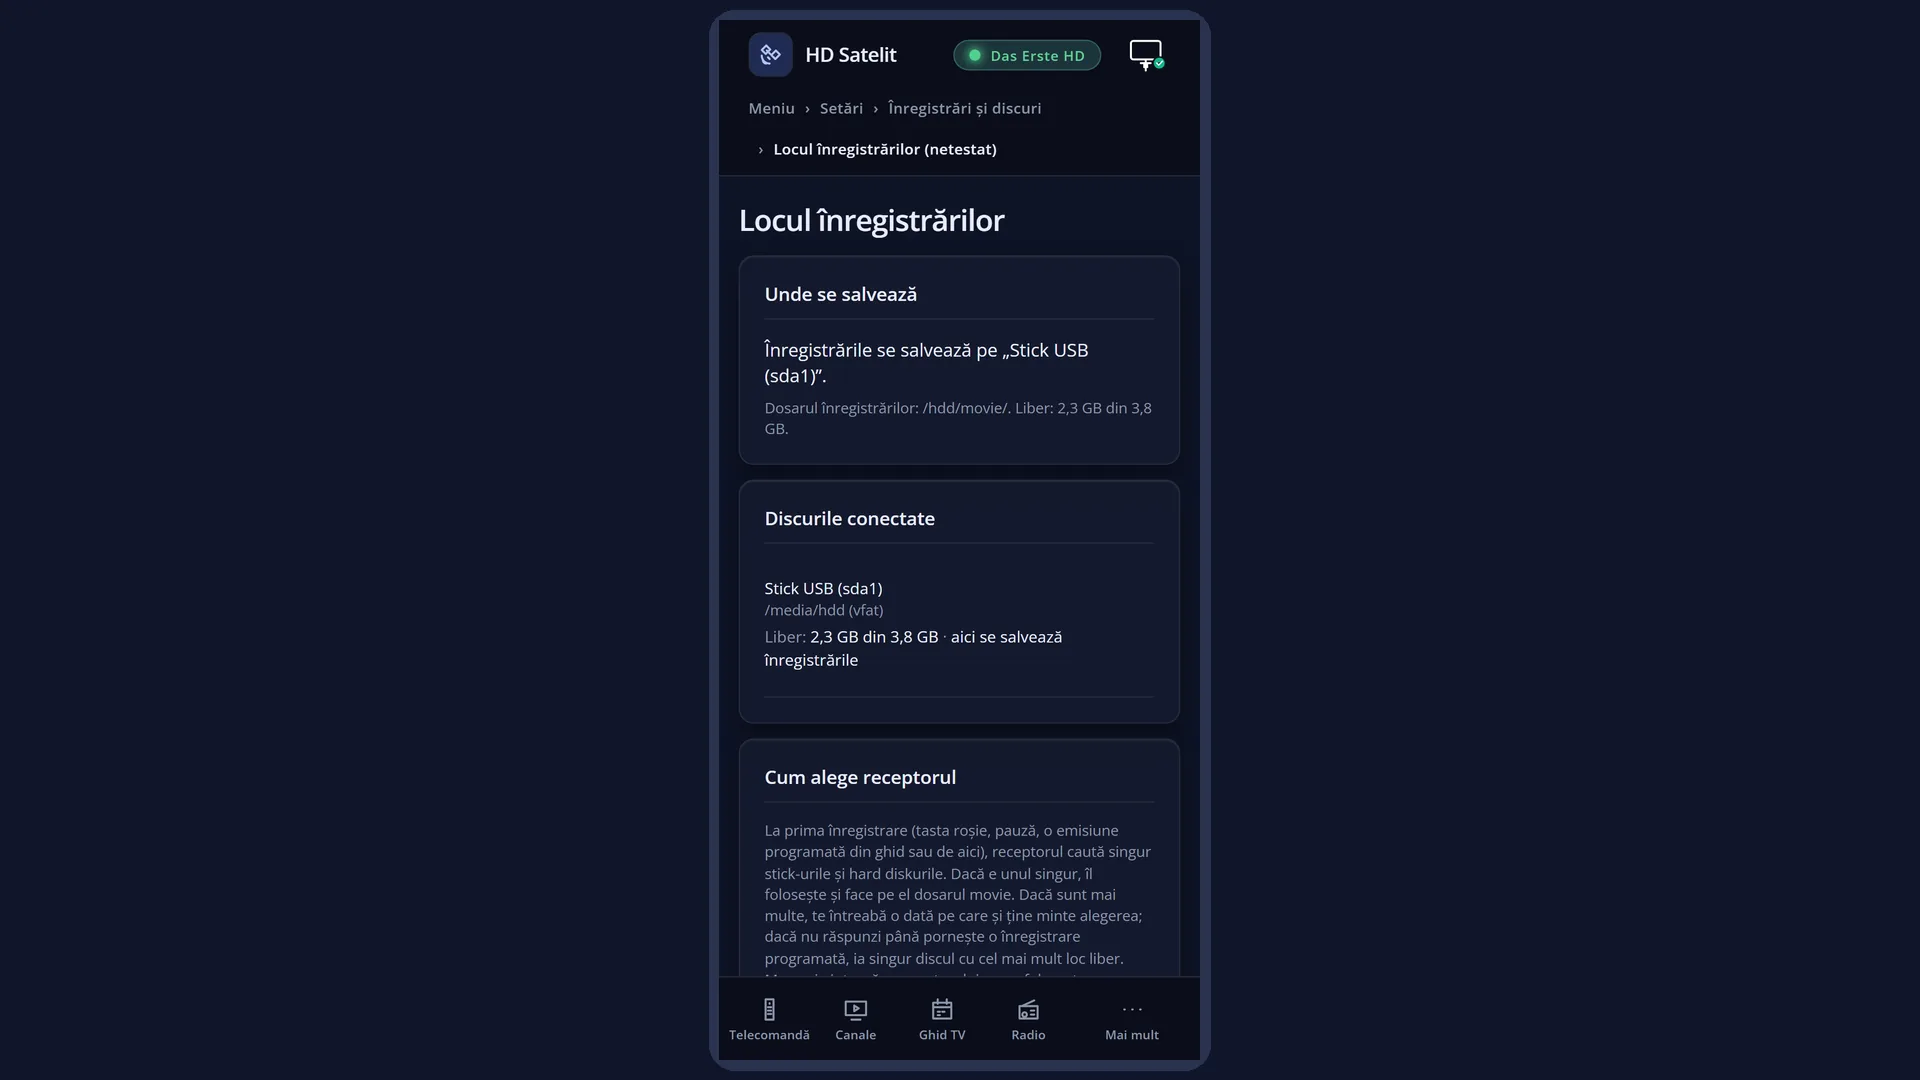
“Recordings location” shows which USB stick or hard disk your recordings are saved on, how much free space it has left and which other disks are connected. It also lets you move recordings to another disk with a single OK.
Usually you do not need to do anything. At the first recording (RED key, live pause, a timer recording), the receiver looks for disks by itself. If there is only one, it uses it. If there are several, it asks you once which one to use and remembers your choice.
When you choose a disk, the receiver creates the recordings folder on it if it does not exist. It does not format or delete anything.
The same screen opens by itself when you press the RED key or pause and the recordings location is not a usable disk. It tells you what happened and, when you connect a disk, starts the recording by itself.
How to get here
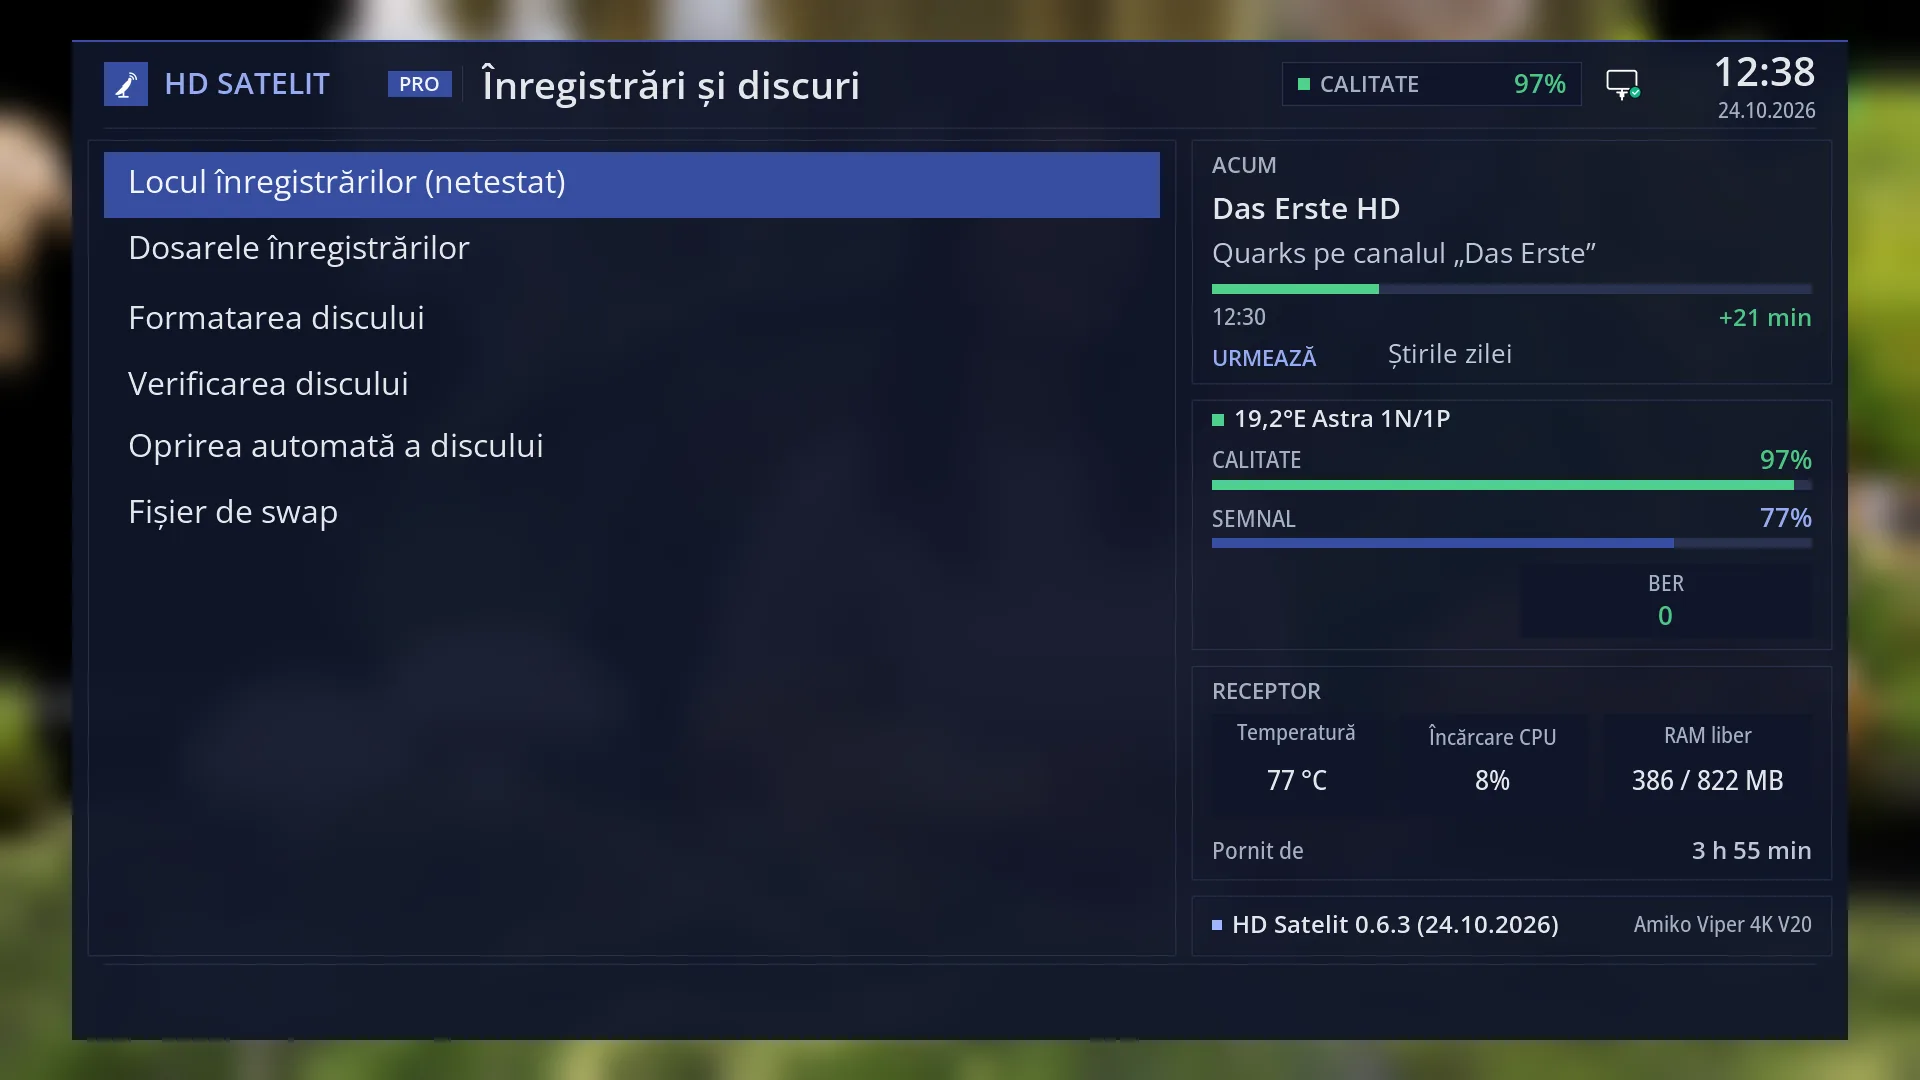
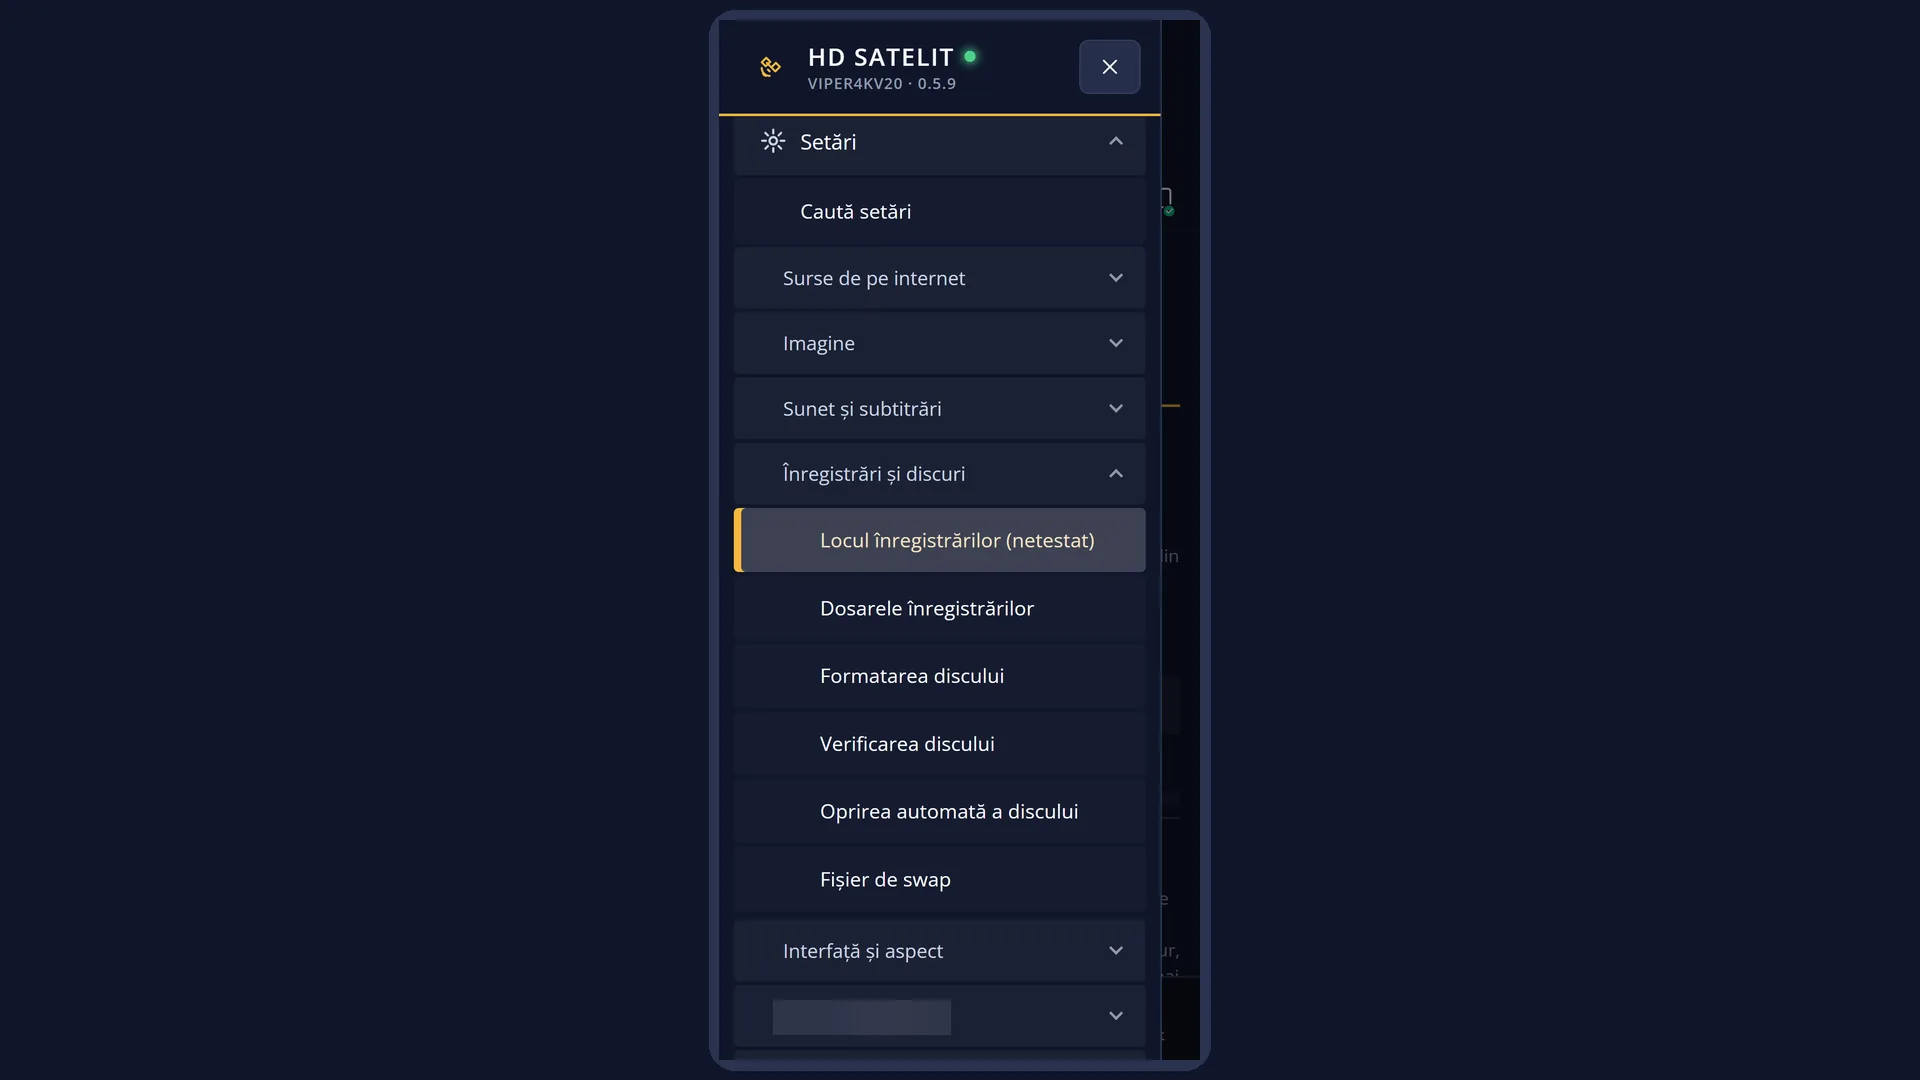
Path: Main menu > Settings > Recording & Storage Setup > Recordings location.
Keys while watching TV: MENU 6 5 1.
In the menu, the row shows as “Recordings location (not tested)”: the screen is finished but has not yet been tried on the receiver.
It also opens by itself: when you press the RED key or pause without a usable disk, and when a timer recording has nowhere to be saved.
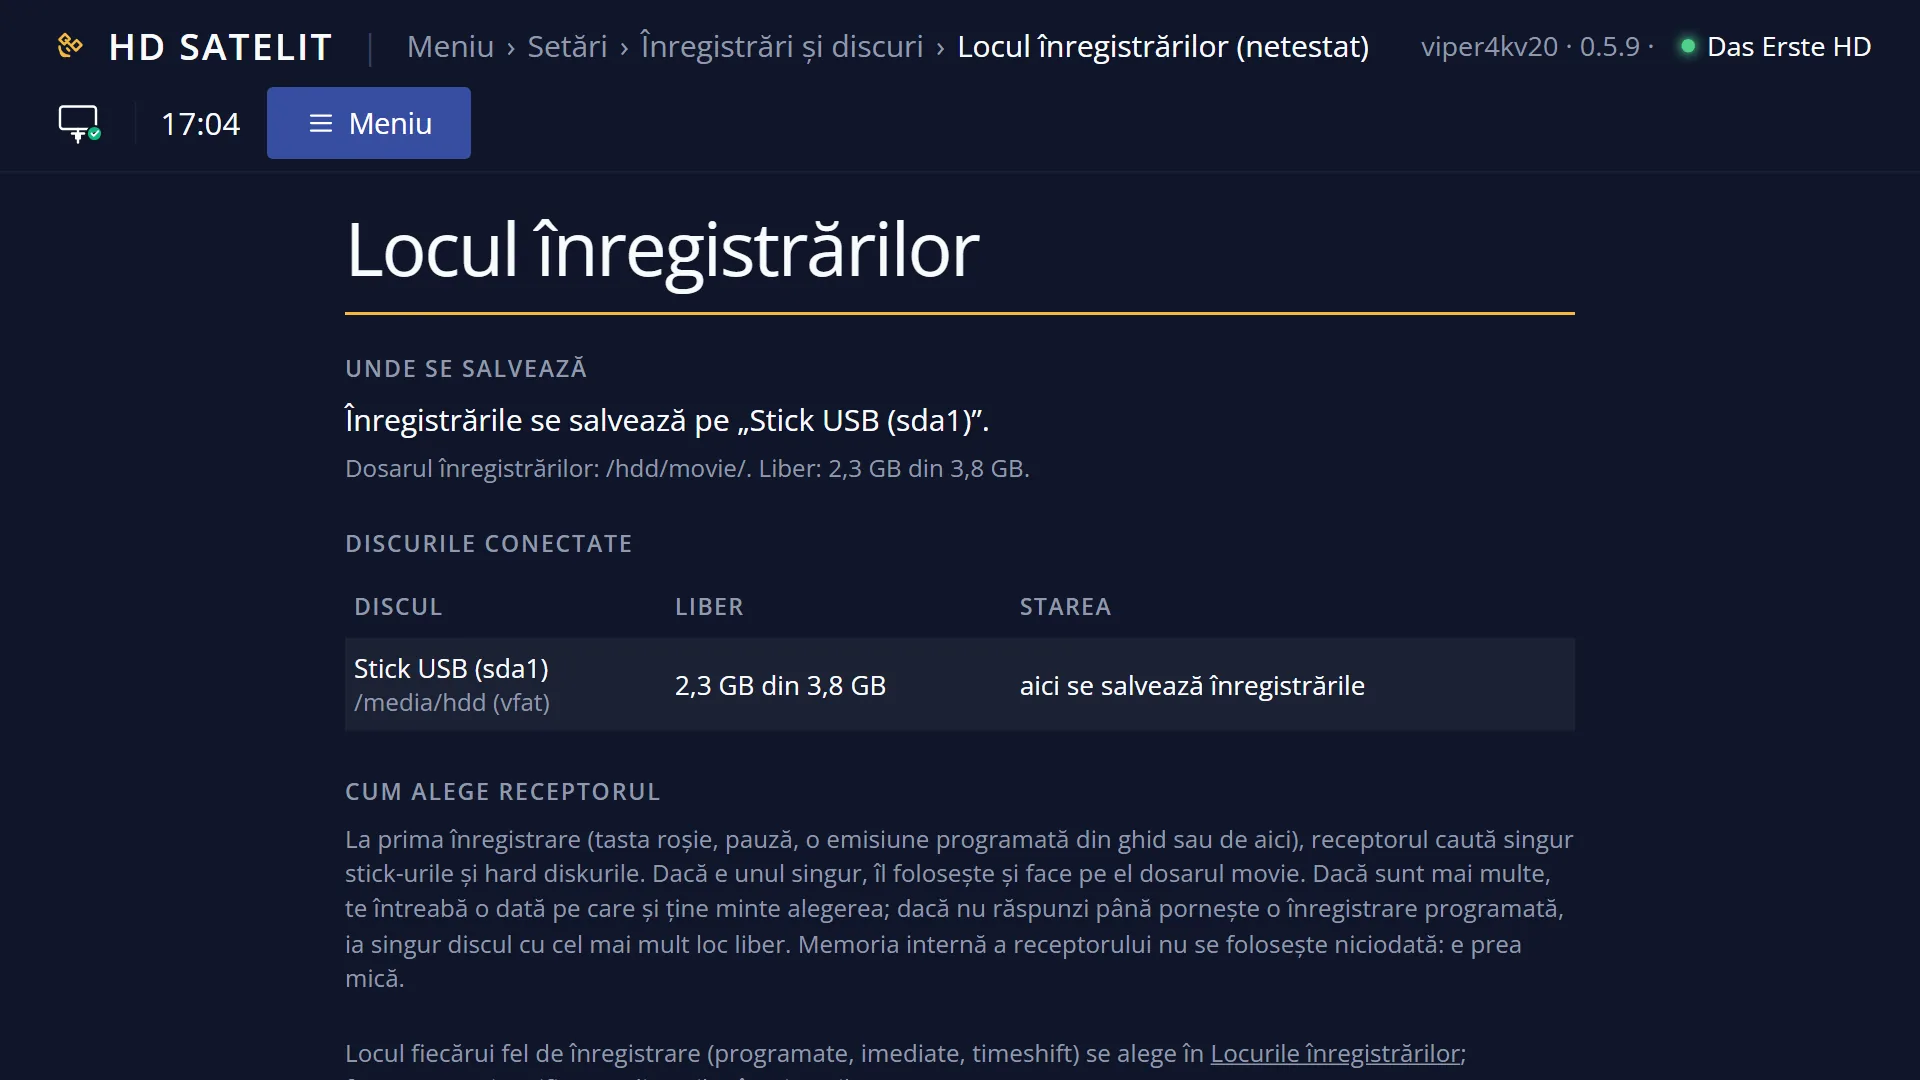
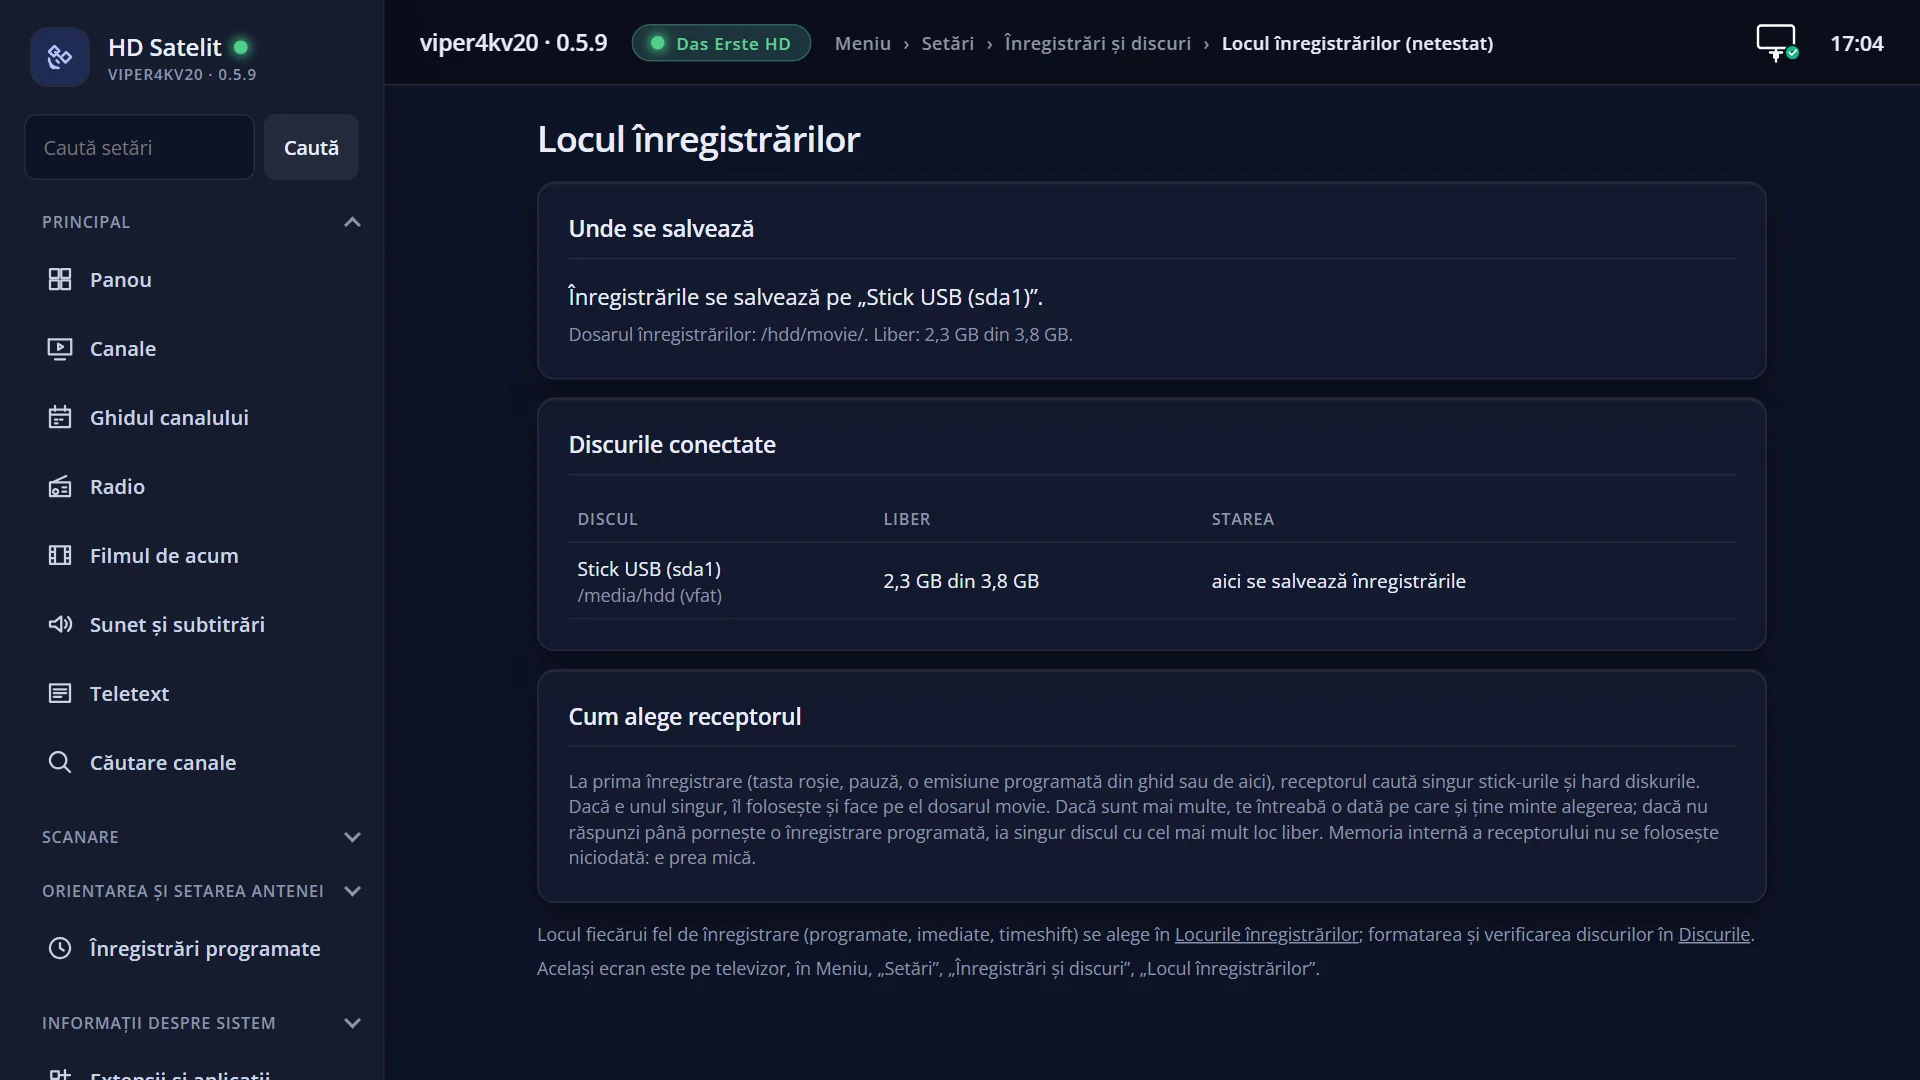
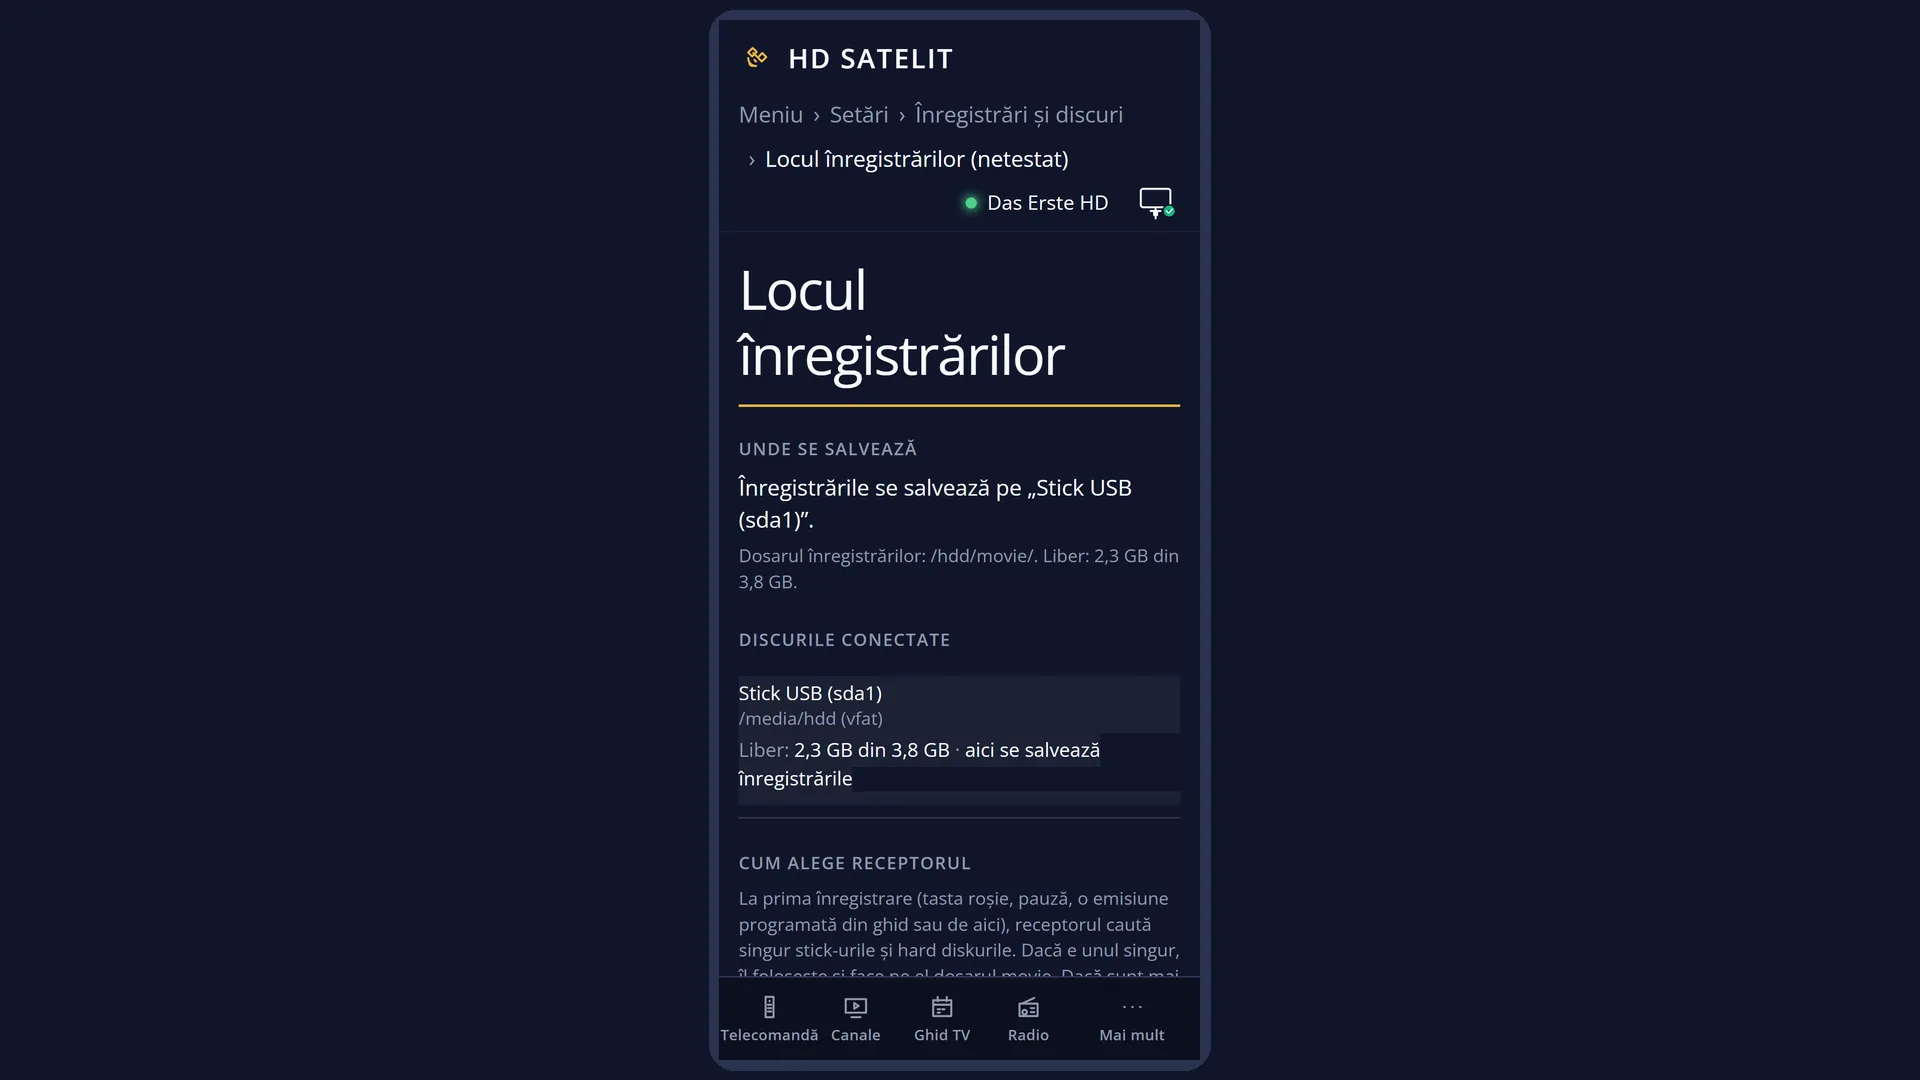
In the web interface: the /stocare page, with the current location, the table of connected disks and “How the receiver chooses”.
What you see on the screen
A window in the middle of the screen, titled “Recordings location”.
Below the title, where recordings are saved now, for example “Recordings are saved on “Stick USB (...)”.”, or “Recordings will be saved on “...”.” if the receiver will choose it by itself at the first recording.
Underneath, in smaller text, the details: the recordings folder, the free space (“Free: 2.3 GB of 3.8 GB.”) and anything you should know about the other disks (for example, that one cannot be read).
The list: the disk in use now (““...”: recordings are saved here now”), the other usable disks (“Use “...” for recordings”), unreadable disks (“Format “...””) and “Close”. When you open the screen from the menu, the cursor sits on the current disk, so pressing OK by mistake changes nothing.
At the bottom, in yellow, an explanation of the selected row: the free space, whether the recordings folder already exists or will be created, and, on a FAT32 USB stick larger than 4 GB, that a recording stops at 4 GB.
Rows and settings
| Row | Values | Default | What it does |
|---|---|---|---|
| “...”: recordings are saved here now | The disk recordings are saved on now. Pressing OK on it changes nothing. Only to see how much free space it has. | ||
| “...”: recordings will be saved here | The disk the receiver will choose by itself at the first recording. OK prepares it now. When you want the first press of the RED key to start recording without any wait. | ||
| Use “...” for recordings | Moves the recordings location to that disk. The receiver creates the recordings folder on it if it does not exist, and from then on new recordings are saved there. Old recordings stay on their disk. If live pause did not have a usable disk, it moves as well. When you have connected a larger disk or want your recordings on another USB stick. | ||
| Format “...” | Appears for a connected disk the receiver cannot read. It opens formatting; the receiver asks you before it deletes anything. Only if there is nothing on that disk you want to keep. Otherwise, format it on a computer as FAT32. | ||
| Close | Closes the screen. |
Keys
| UP / DOWN | Moves the cursor to another row; the explanation at the bottom changes to match it. |
| OK | Does what the selected row says: uses the disk, opens formatting or closes the screen. |
| EXIT | Closes the screen at any time. If the screen was opened from the RED key, it means you cancel the recording. |
Step by step
Moving recordings to another USB stick or disk
- Connect the new USB stick or hard disk to the receiver.
- Press MENU 6 5 1. Wait until “Reading the disks...” disappears.
- Select “Use “...” for recordings” on the new disk and press OK.
- When “Done. Recordings are now saved on “...”.” appears, press EXIT.
Checking how much space you have left for recordings
- Press MENU 6 5 1.
- Read the “Free: ... of ...” line below the title.
Problems and solutions
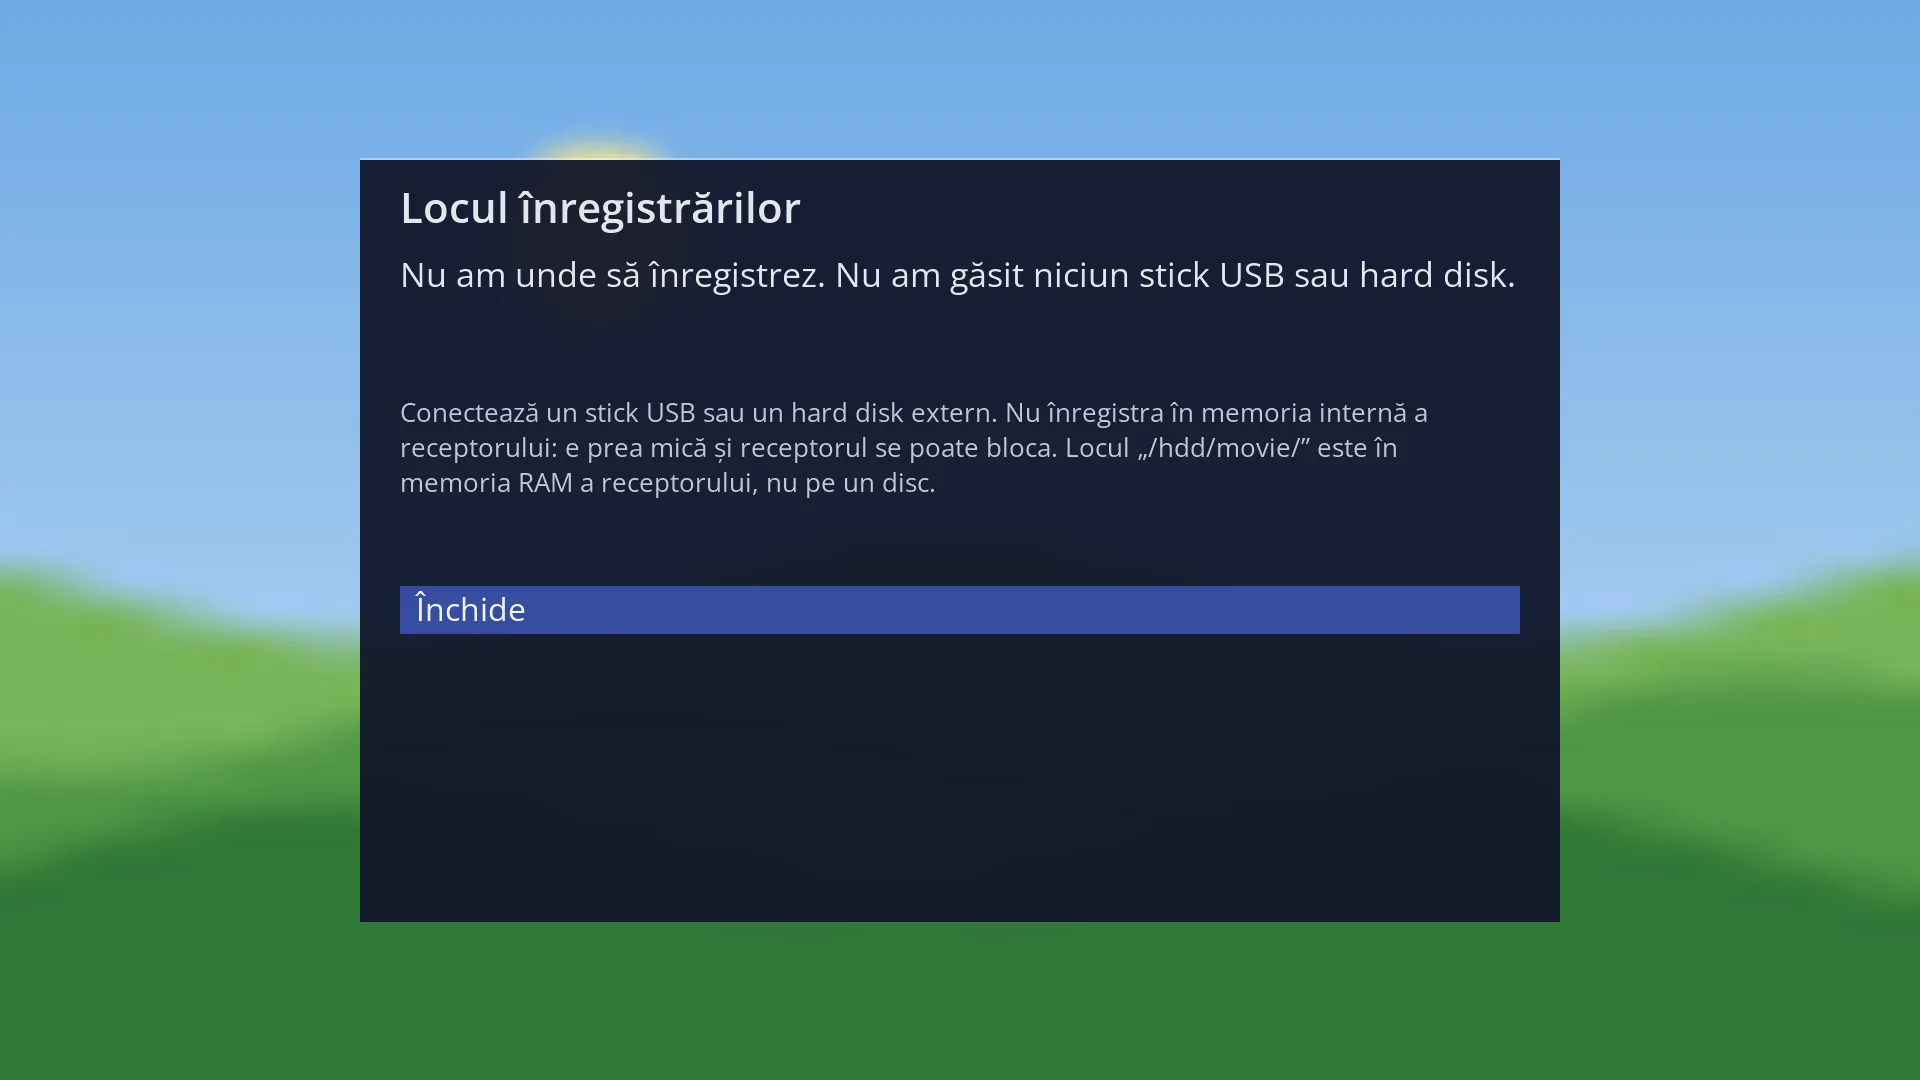
It says “No USB stick or hard disk was found.”.
Connect a USB stick or an external hard disk. The screen detects it by itself while it is open.
It says a disk “is connected, but the receiver cannot read it”.
The receiver does not recognise its file system. Format it from the “Format” row (everything on it is deleted) or on a computer as FAT32.
On a USB stick, recordings stop after about an hour.
On a FAT32 USB stick, a file cannot be larger than 4 GB, which is about an hour on an HD channel. For long recordings, format the USB stick as ext4 (from “Format Hard Drive”, after saving your files) or use a hard disk.
A disk shows “cannot be used: it is full” (or “it can only be read”).
Free up space on it by deleting old recordings, or choose another disk. A read-only disk needs to be checked (Check Disk Health) or checked on a computer.
Why can I not record to the receiver's memory?
The internal memory is too small and the receiver can freeze if it fills up. That is why the receiver does not use it for recordings.