

Video & Display Settings
English screenshots coming: some of the pictures below still show the receiver and the web interface in Romanian. The rows, keys and steps described on this page are the English ones.
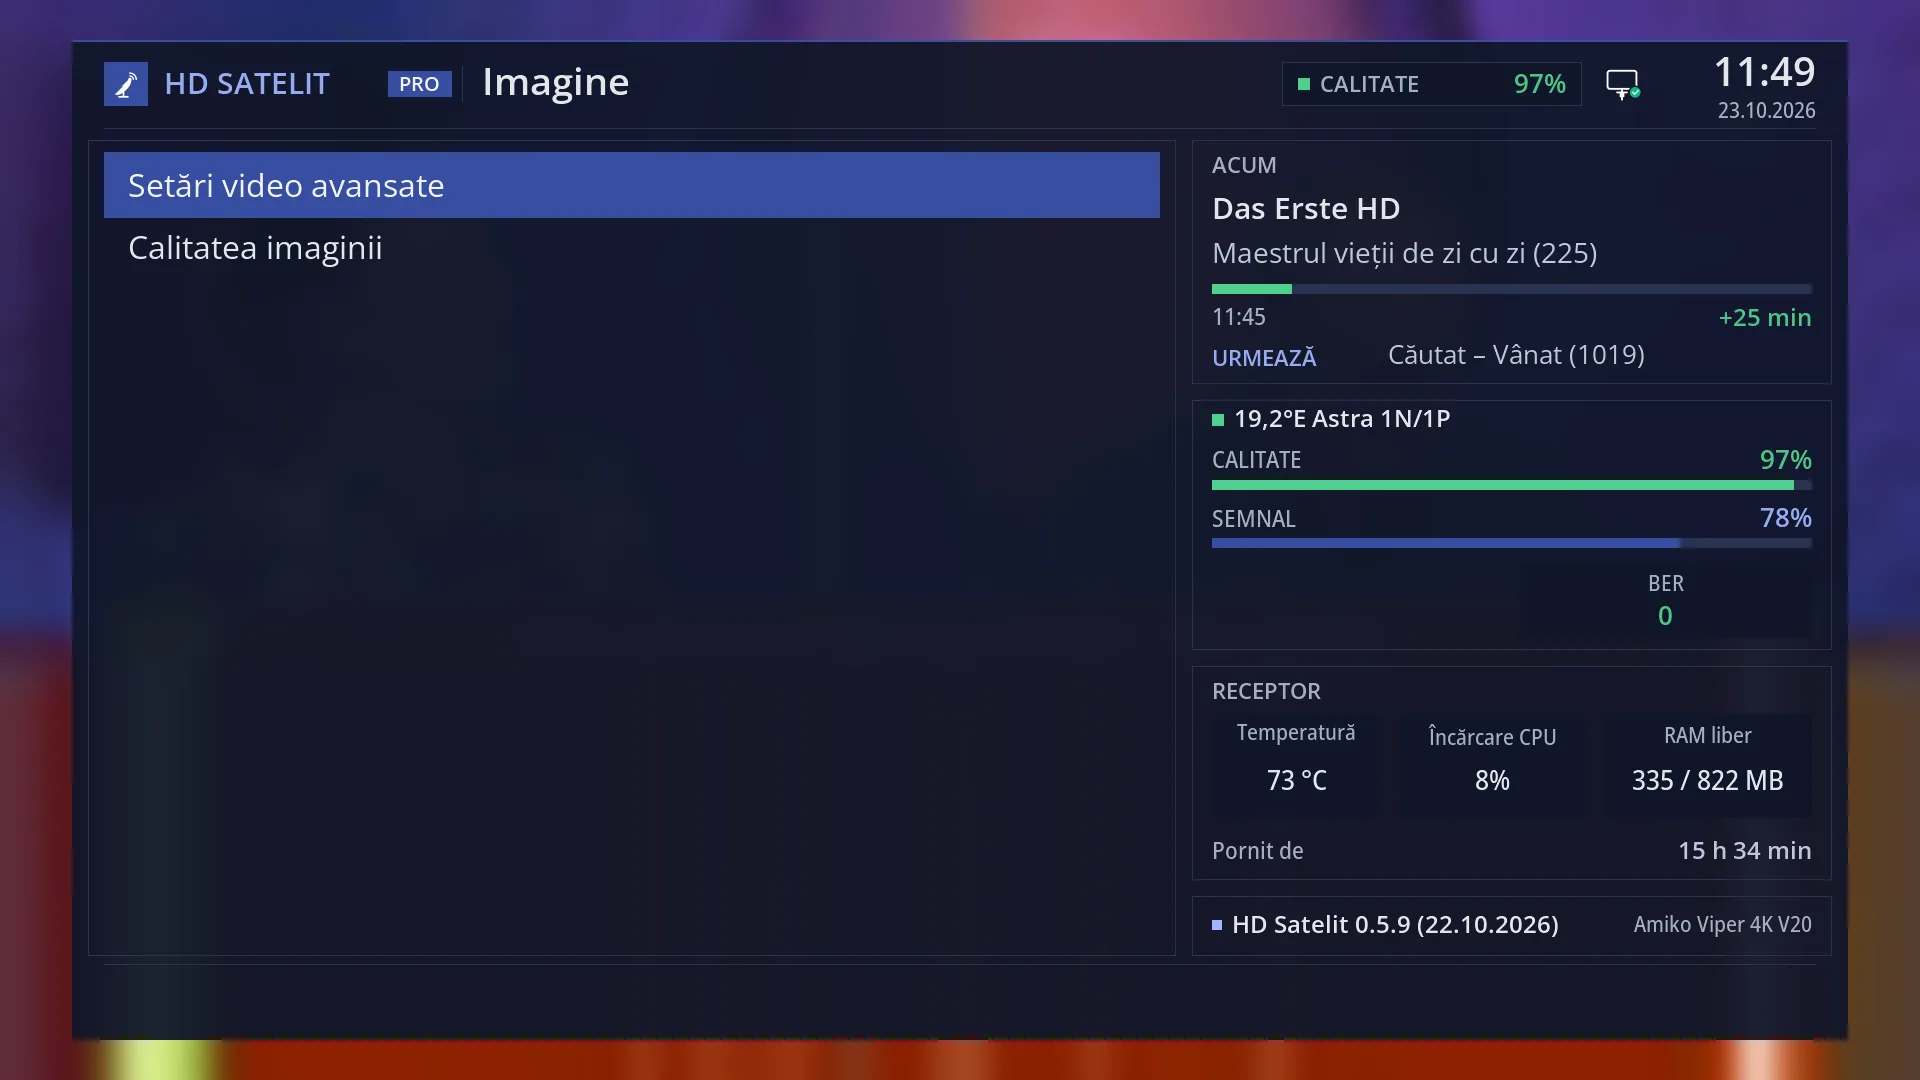
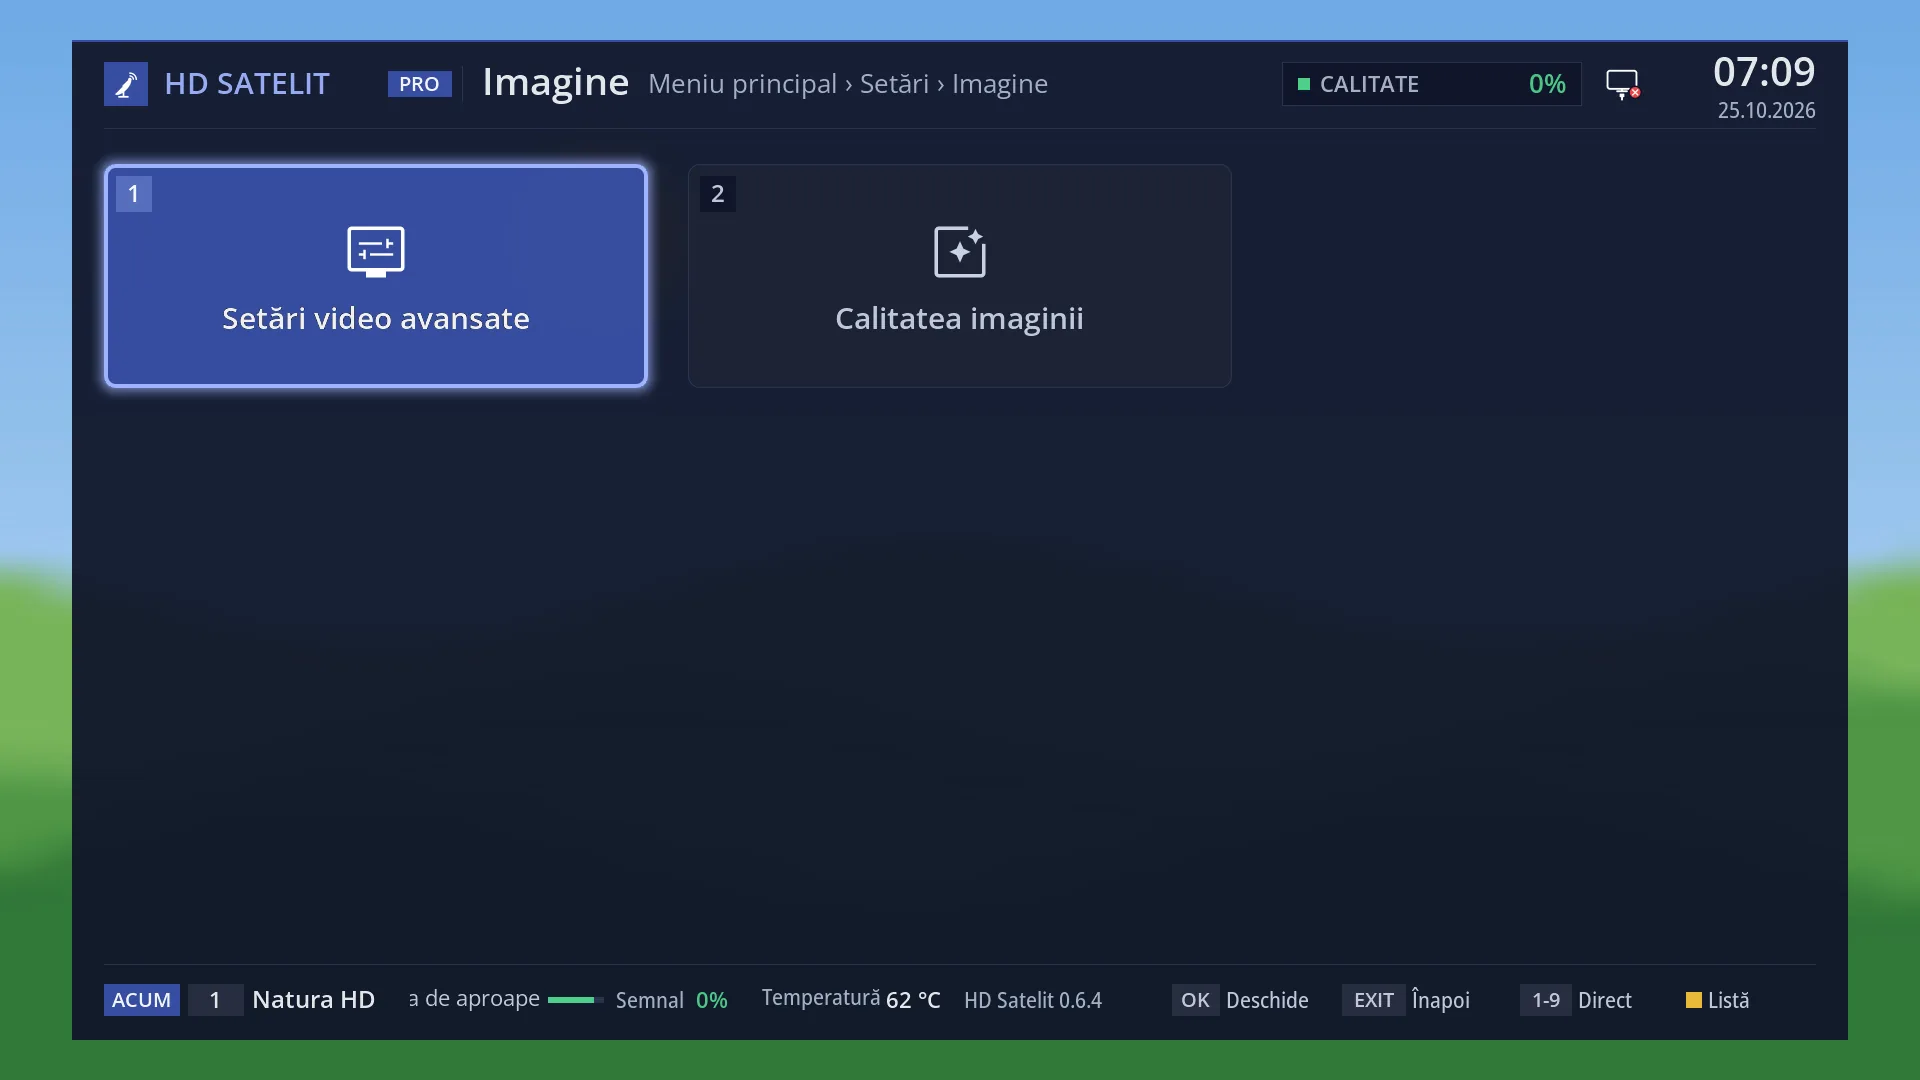
- 1 The two rows of the submenu. The selected row is on blue. The row's digit is its position: 1 or 2.
- 2 The title: the name of the submenu.
- 3 “NOW”: the channel, the programme, the progress and the minutes left, then “Next”.
- 4 The satellite, quality, signal and BER of the current channel.
- 5 “Receiver”: temperature, processor load, free memory and how long it has been on.
- 6 The image version and the receiver name.
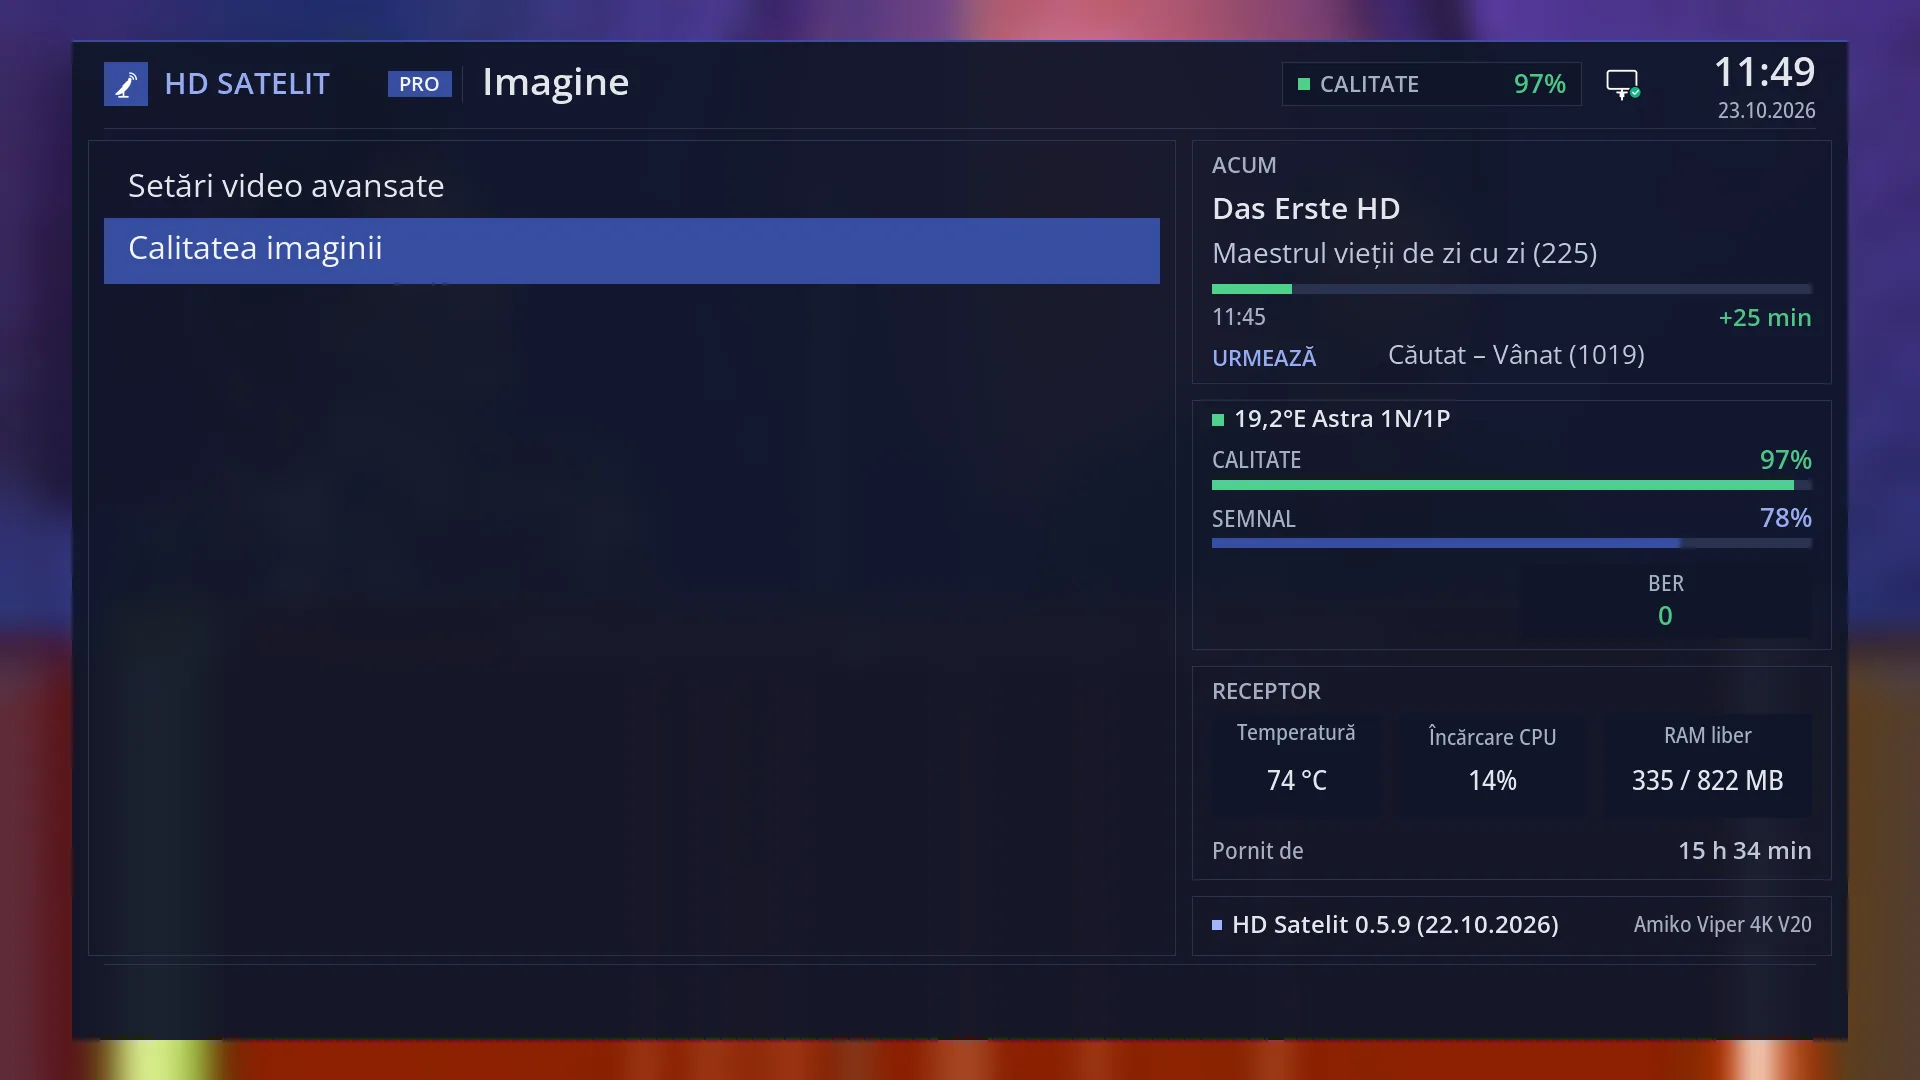
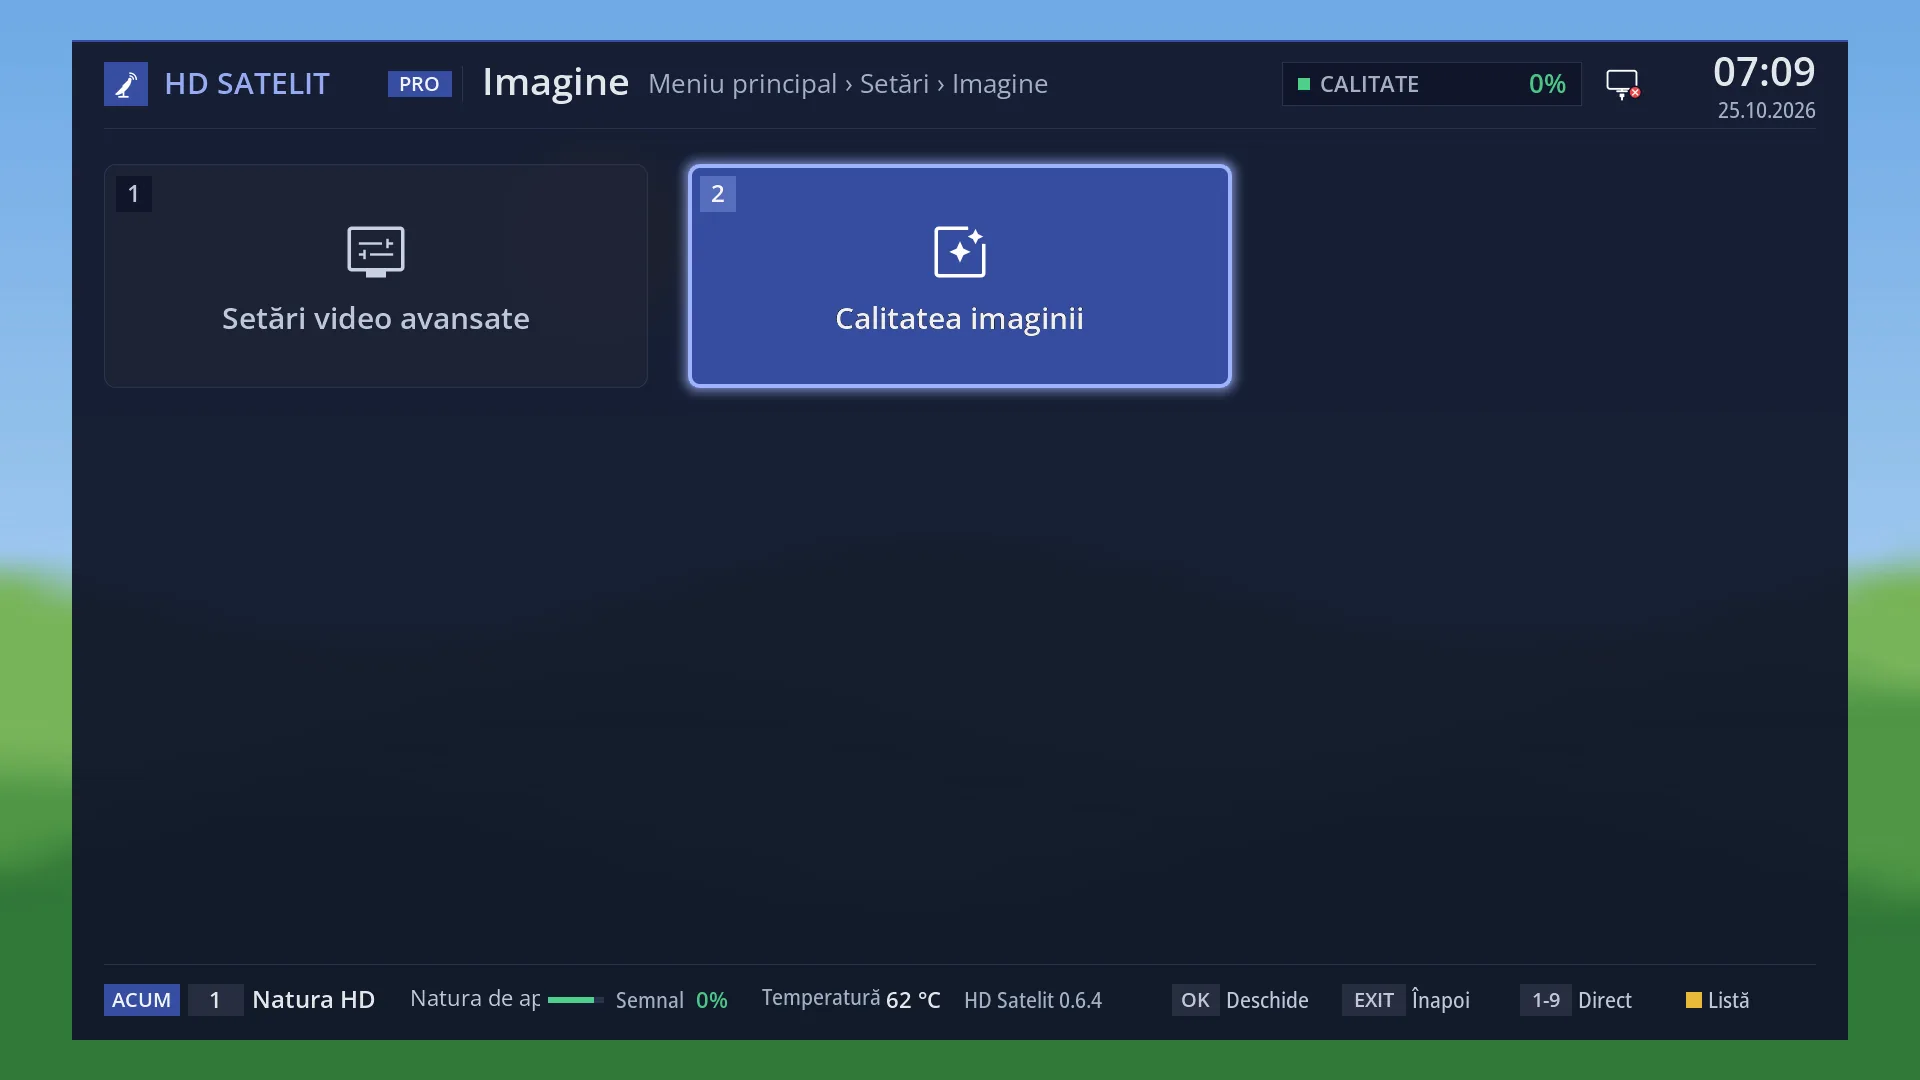
- 1 Row 2, “Picture quality”. The digit 2 opens it directly.
What it is for
The “Video & Display Settings” submenu groups the settings for the picture that the receiver sends to the TV. It has two rows: “Advanced Video Setup” and “Picture quality”.
“Advanced Video Setup” sets the form of the signal: the resolution, the refresh rate, the colours over HDMI, HDR, how 4:3 programmes are shown and what you see when you change channel. Open it when the TV shows a black screen, the picture is cut off or you want 4K.
“Picture quality” adjusts how the picture looks: brightness, contrast, colours, sharpness and noise reduction, separately for SD, HD and 4K channels, in SDR, HDR10 and HLG. The right profile is applied automatically on each channel.
A submenu does not change anything by itself: you choose a row, and the screen that opens holds the settings.
How to get here
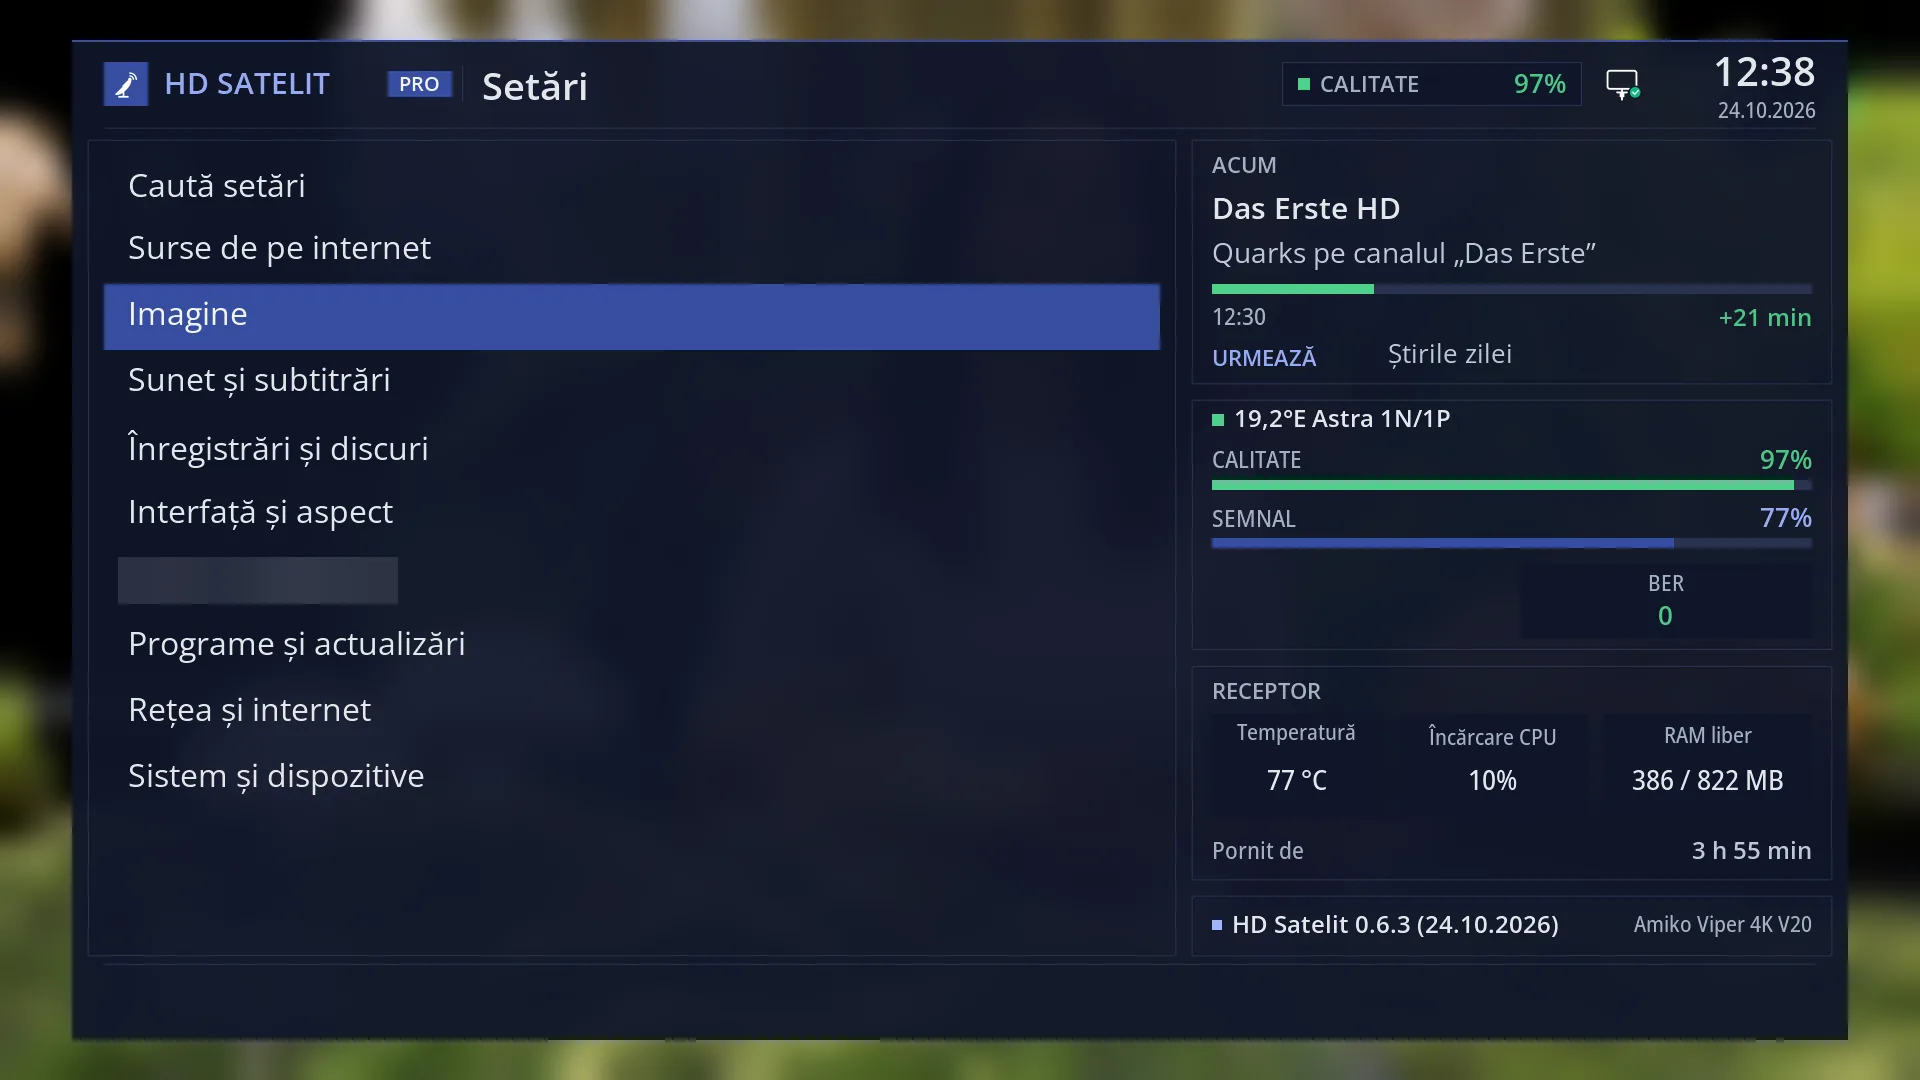
Path: Main menu > Settings > Video & Display Settings.
Keys while watching TV: MENU 6 3.
To go further directly with a digit: MENU 6 3 1 for “Advanced Video Setup”, MENU 6 3 2 for “Picture quality”. The same screen as “Advanced Video Setup” also opens while watching TV, with screen key 1.
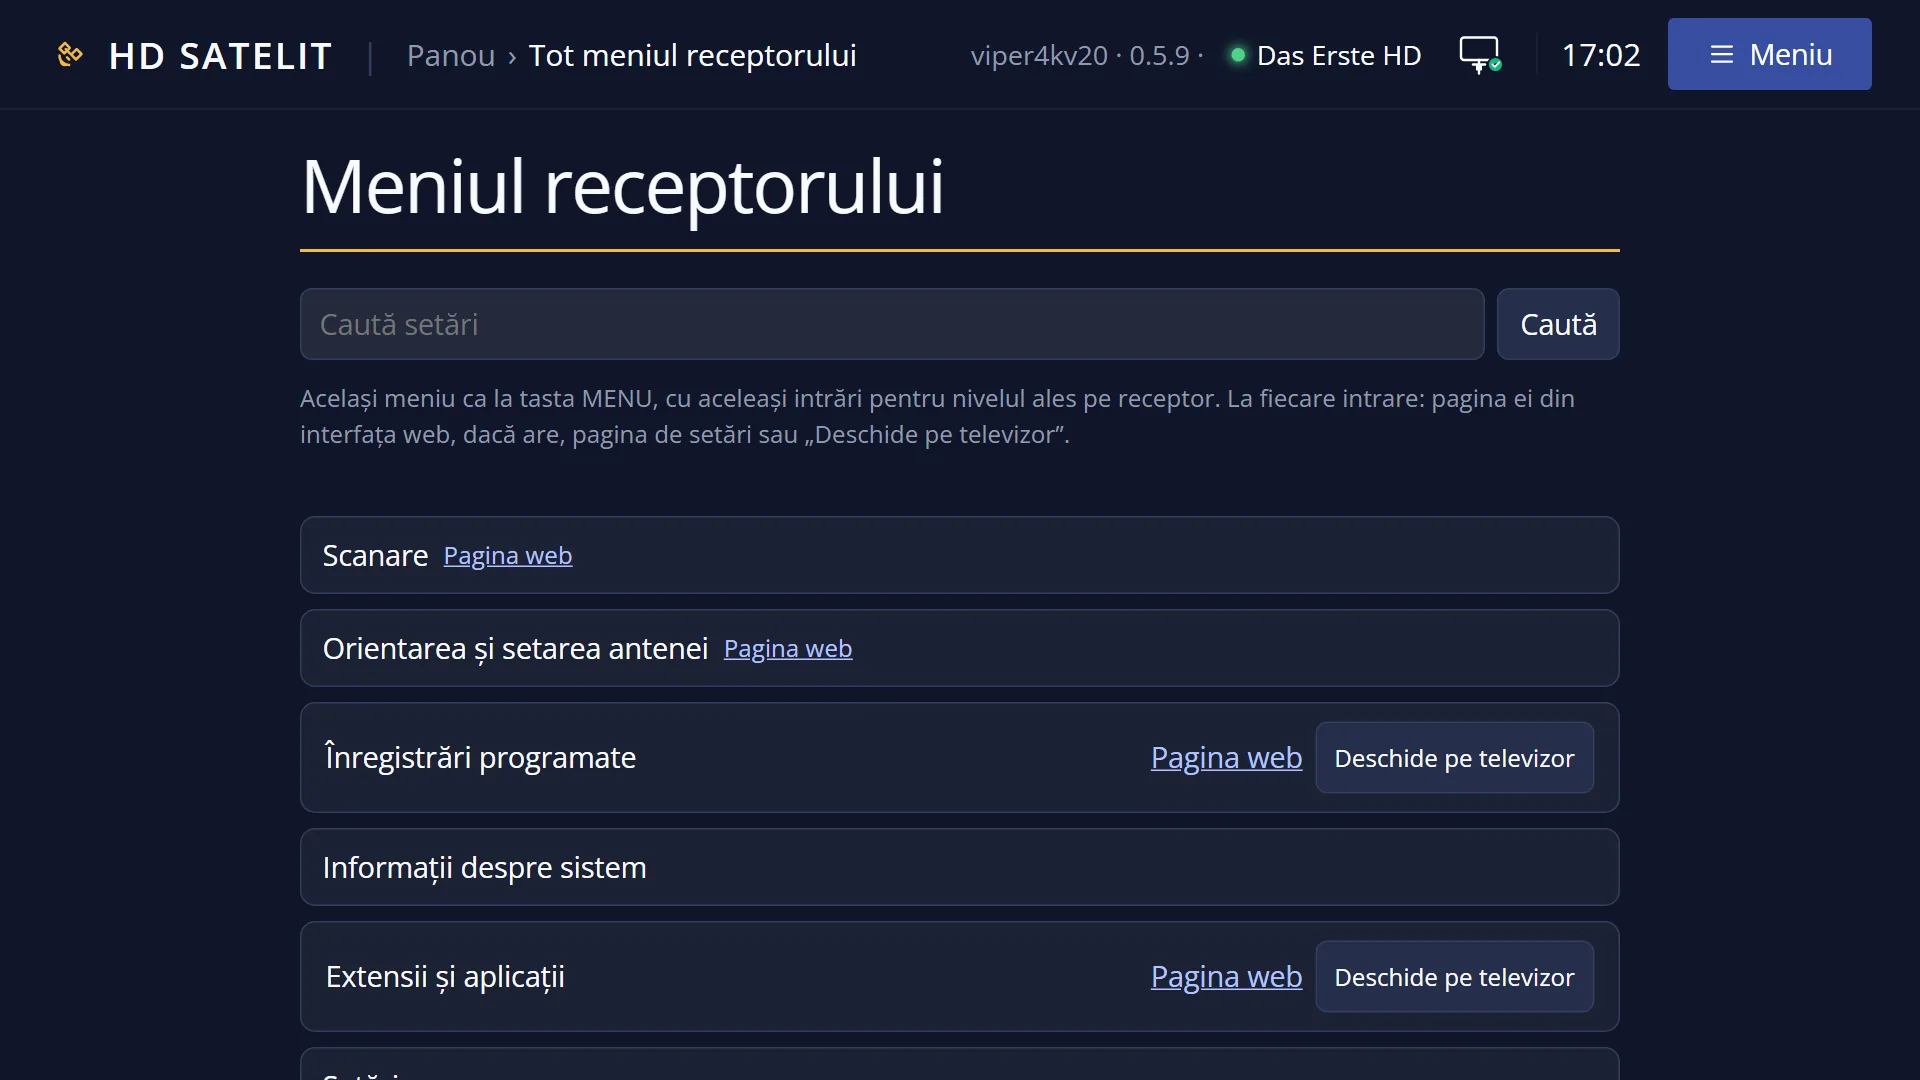
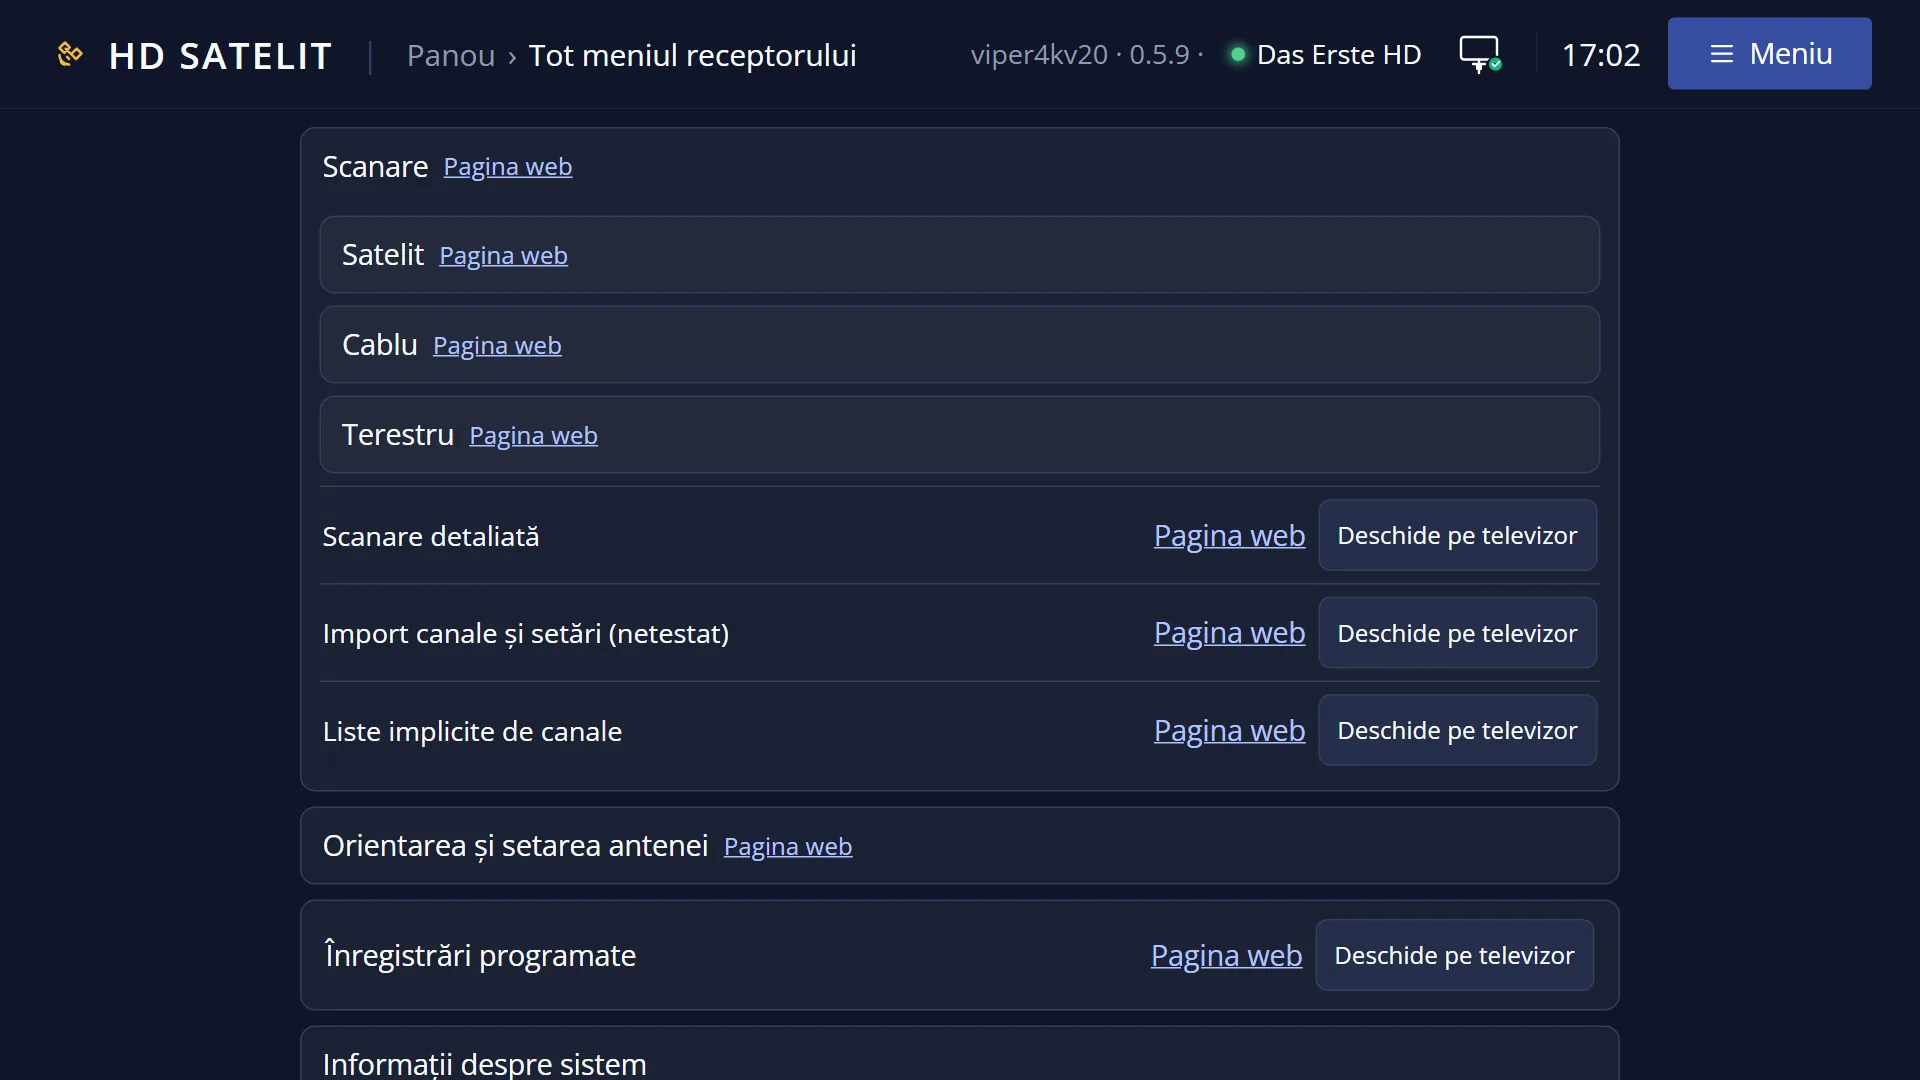
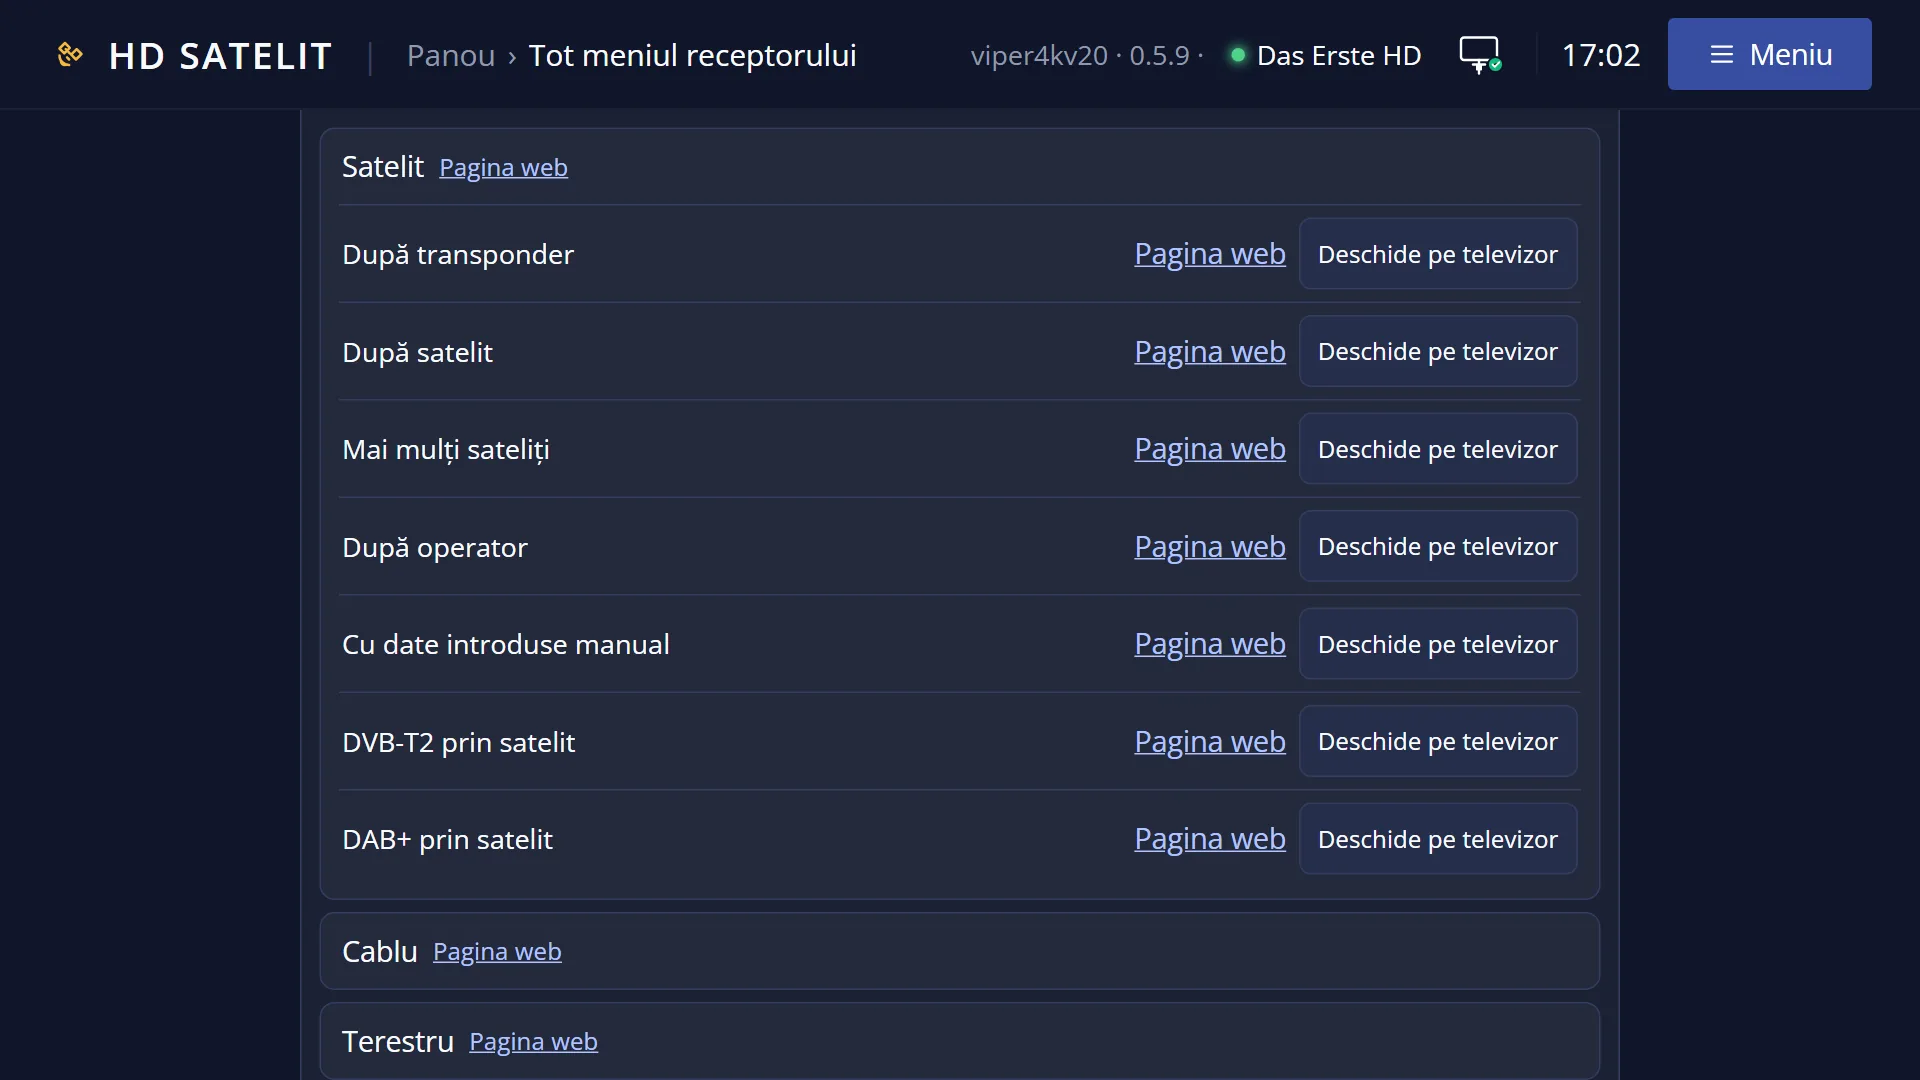
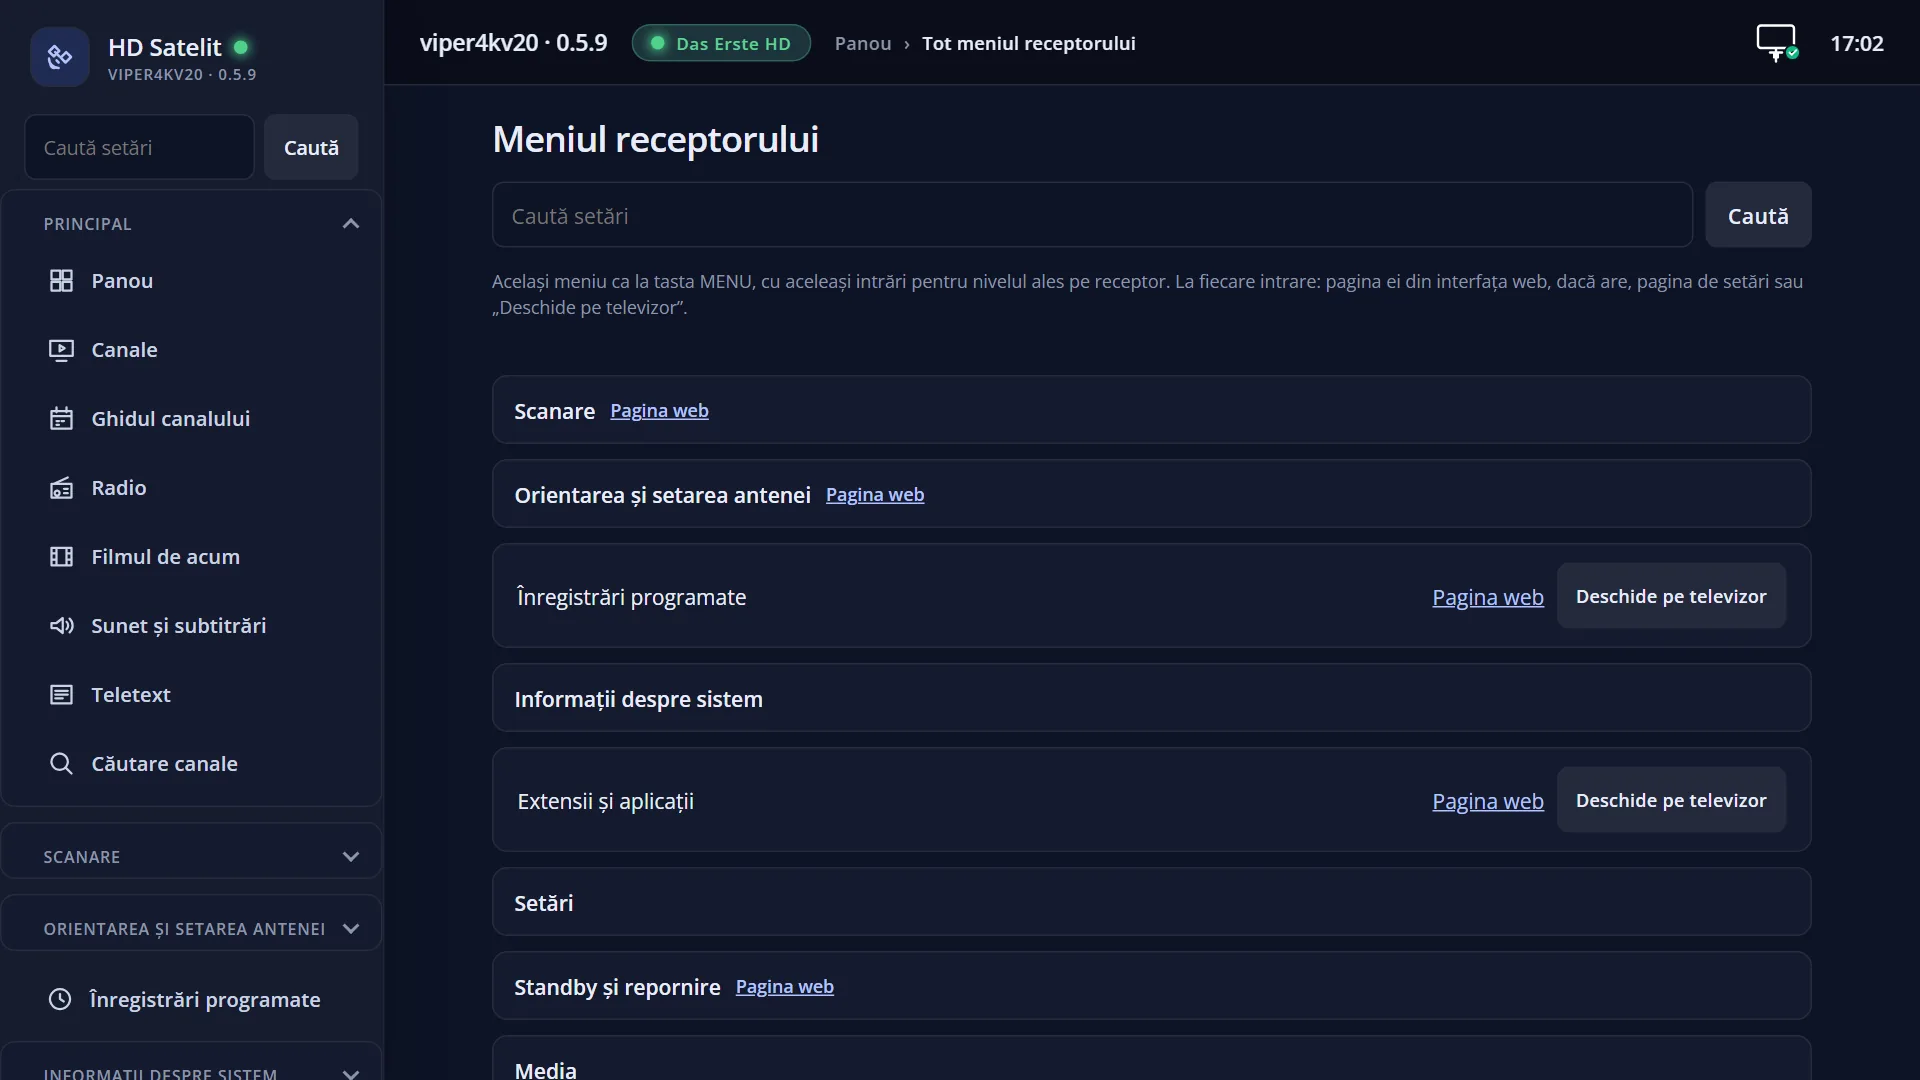
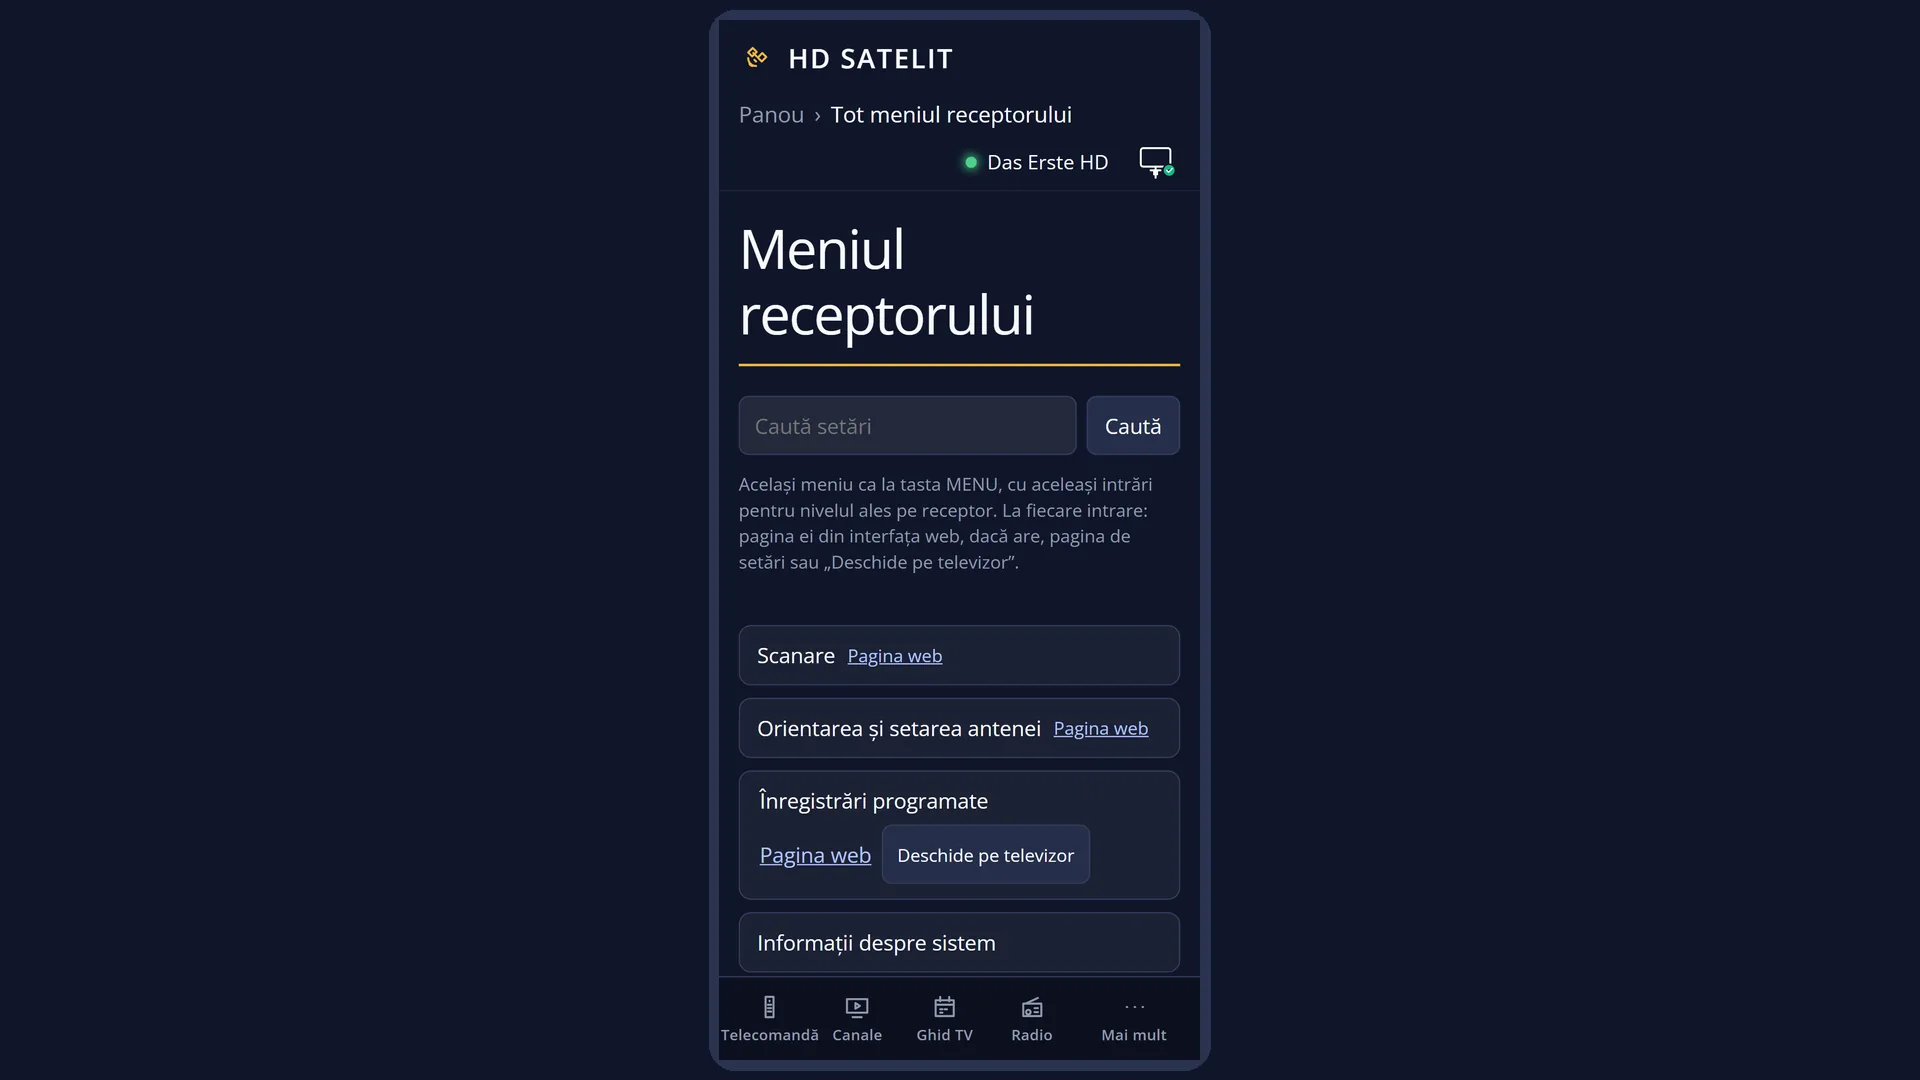
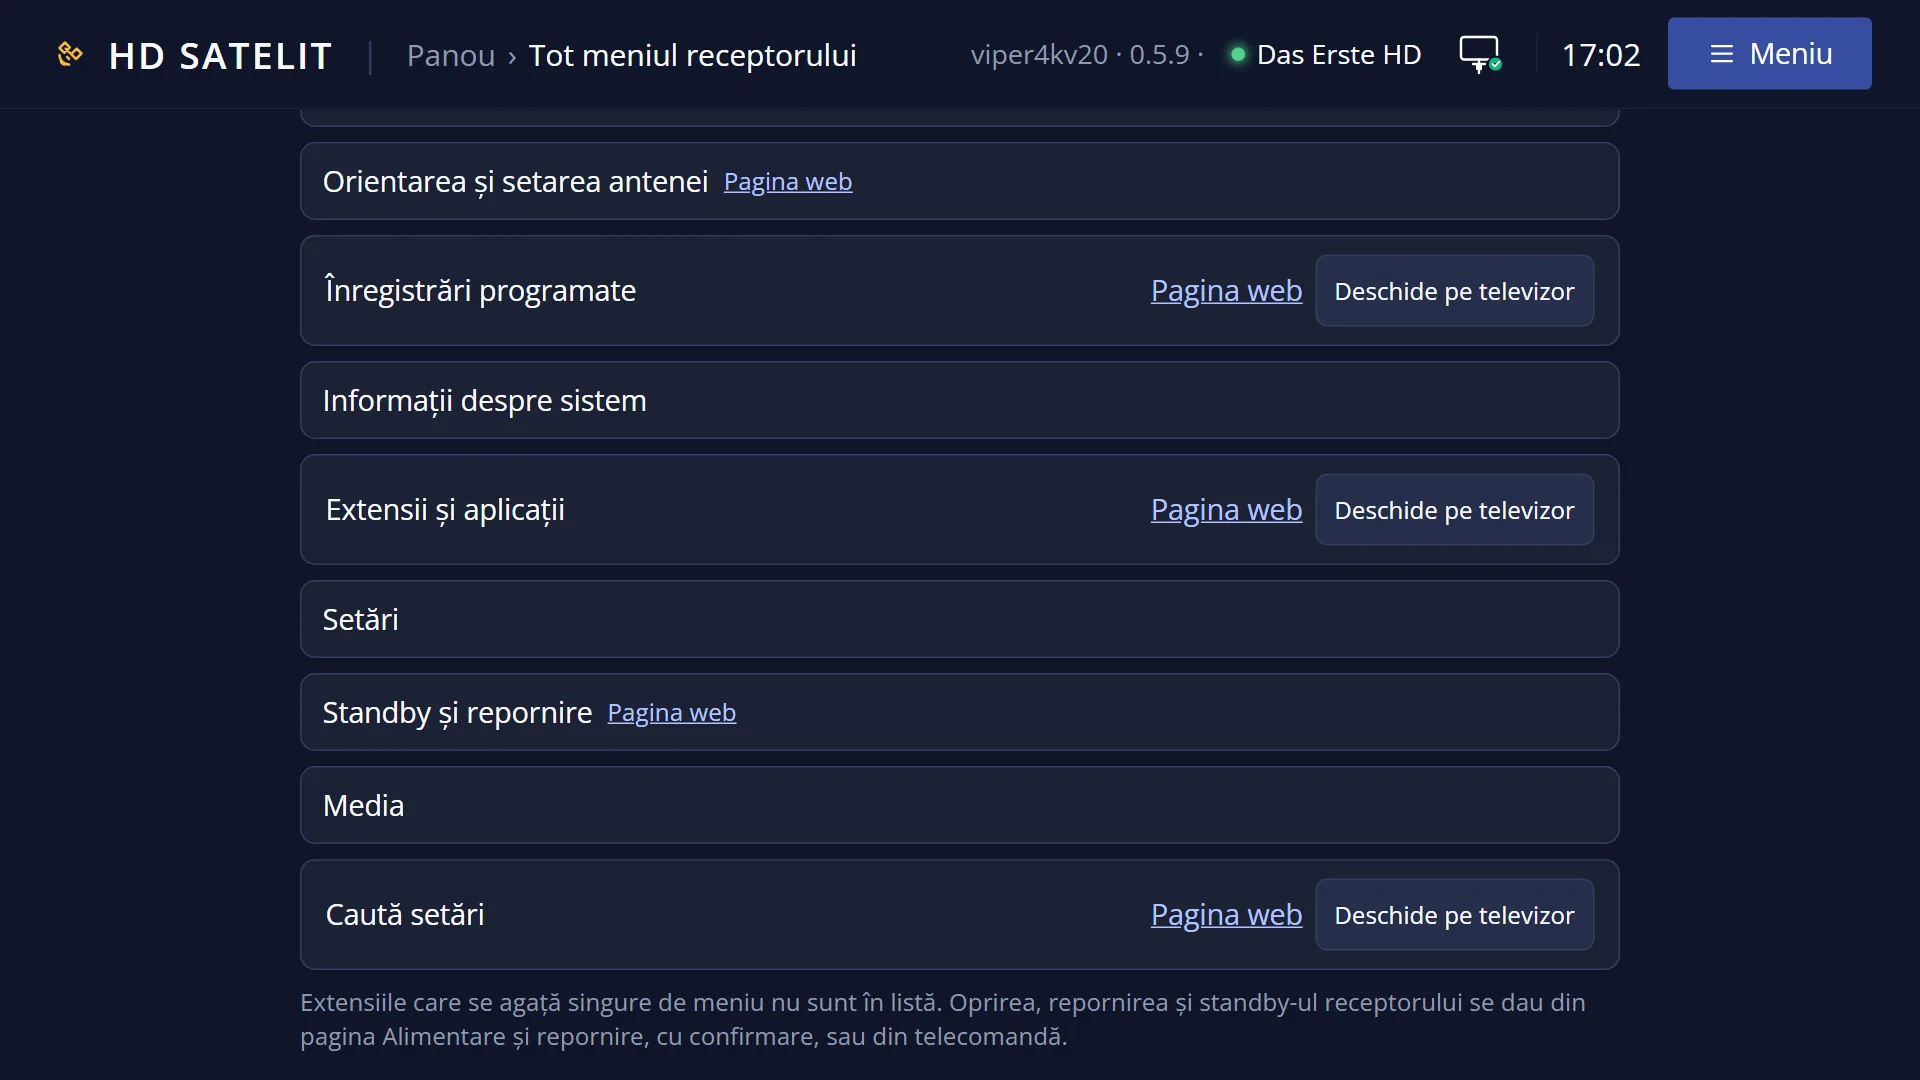
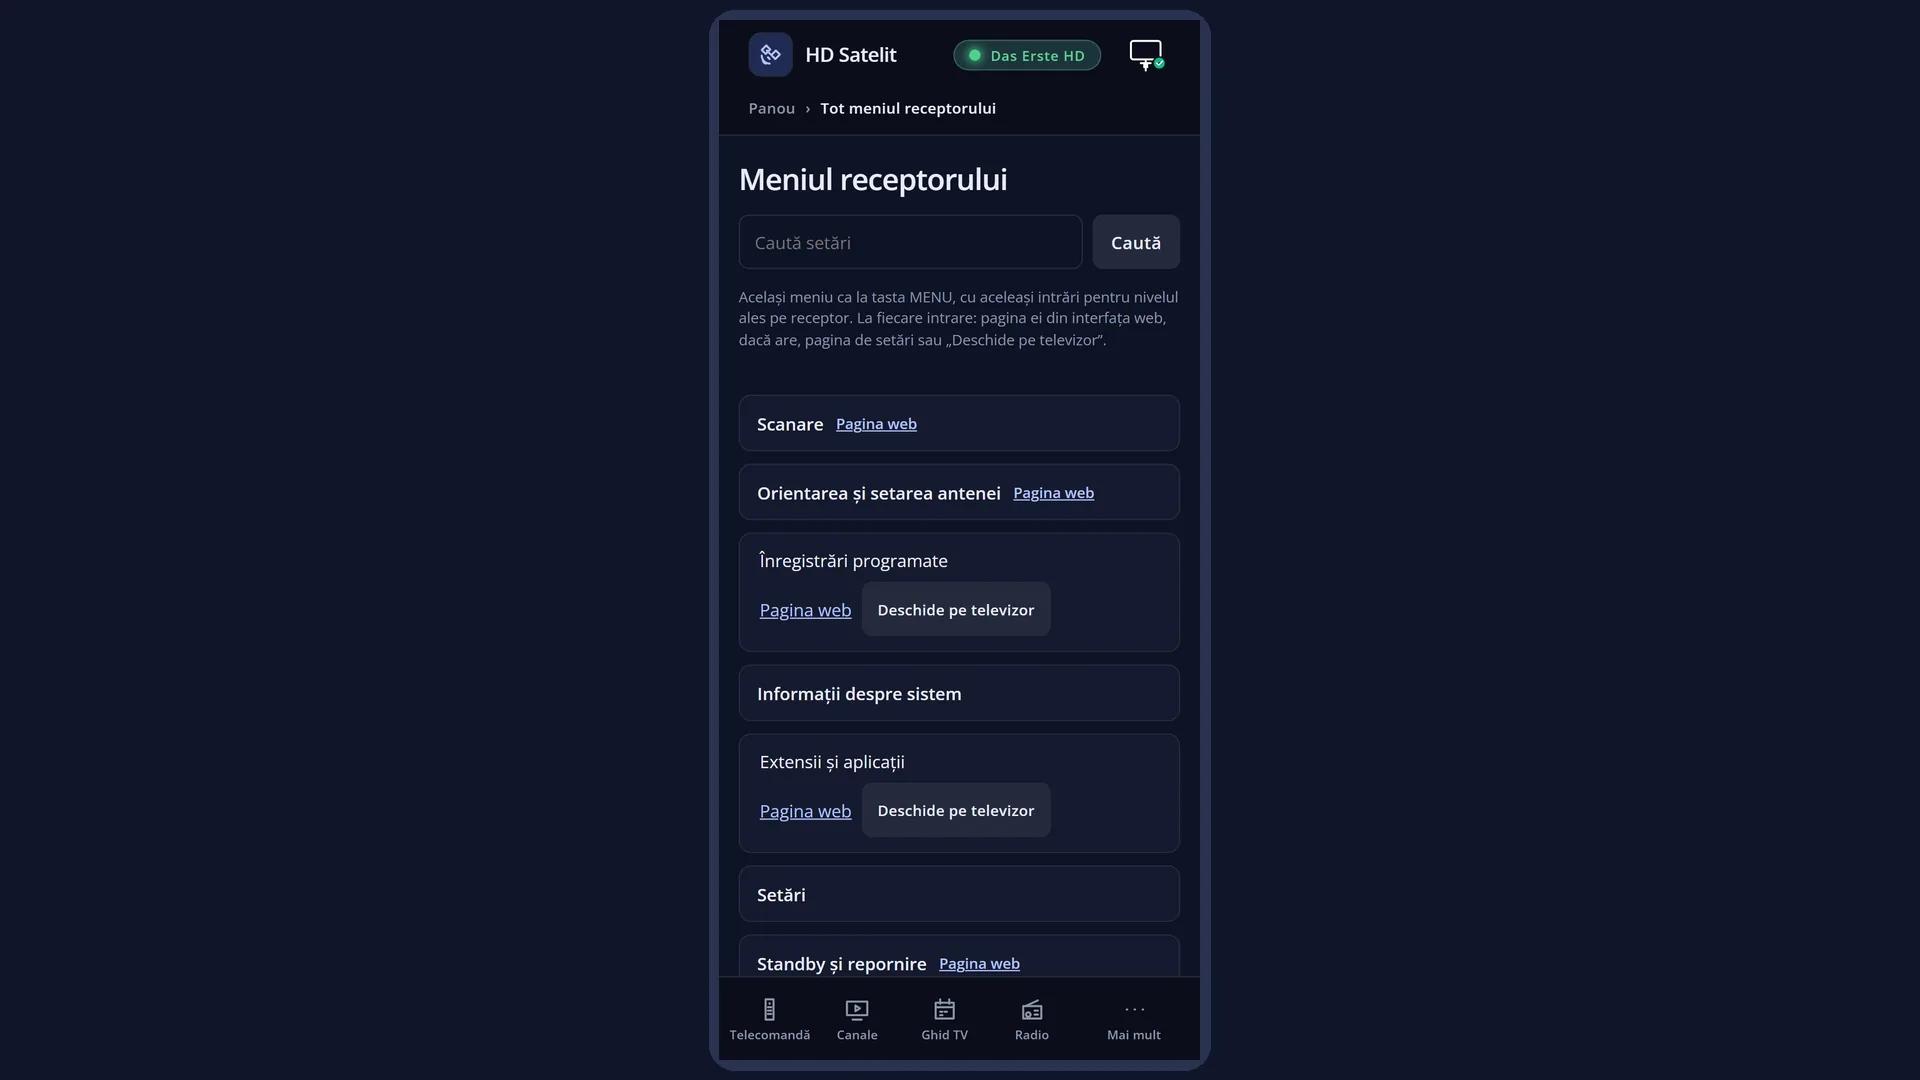
In the web interface: the /meniu page, the “Settings” group, then “Video & Display Settings”. Each row there has a “Web page” link (/video and /calitate-imagine).
What you see on the screen
At the top you see the title “Video & Display Settings”, the clock and the date. In the Pro theme, “HD SATELIT” with the “PRO” label appears to the left of the title, and on the right you see the signal quality of the current channel (for example “Quality 97%”) and the network icon.
On the left is the list with the two rows: “Advanced Video Setup” and “Picture quality”. The selected row has a blue background. The digits are not shown next to the rows, but they work: 1 is the first row, 2 the second.
In the Pro theme, the right side shows the same four boxes as in the main menu: “NOW” (the channel, the programme, the progress and “Next”), the satellite with “Quality”, “Signal” and “BER”, “Receiver” (temperature, processor load, free memory, “Up for”) and, at the bottom, the image version with the receiver name.
In the Classic theme (the factory default) you only see the panel with the list. The channel picture stays visible on the right.
In the tile view (YELLOW key), each row is a large tile with its icon and name.
Rows and settings
| Row | Values | Default | What it does |
|---|---|---|---|
| 1 Advanced Video Setup | Opens the screen with the resolution, refresh rate, HDMI colour space, colour depth, HDR type, colours over HDMI, the 4:3 picture and what you see when you change channel. You must confirm a new resolution or refresh rate. If the TV stays black and you do not respond, the receiver goes back to the previous setting by itself. When the TV gets no picture, the picture is cut off or distorted, or you have a 4K or HDR TV. | ||
| 2 Picture quality | Opens the picture adjustments (brightness, contrast, saturation, hue, sharpness, noise reduction and the others), with one profile for each type of channel: SD, HD and 4K, each in SDR, HDR10 and HLG. The screen sits at the bottom so you can see the picture while you adjust it, and it has a split-screen comparison. The row only appears on receivers whose board has the picture quality block. When the picture looks too dark, washed out, too harsh or noisy, on some channels or on all of them. |
Keys
| UP / DOWN | Move the cursor between the two rows. From the last row, DOWN goes to the first, and the other way round. |
| LEFT / RIGHT | Jump one page up or down. Here the list fits on one page, so you go to the first or the last row. In the tile view, they move the cursor to the tile on the left or on the right. |
| OK | Opens the screen of the selected row. |
| 1 / 2 | Open the row with that number directly, without OK: 1 “Advanced Video Setup”, 2 “Picture quality”. |
| YELLOW | Switches the menu from list to tiles or back, straight away, keeping the same row selected. The choice is remembered for all menus. |
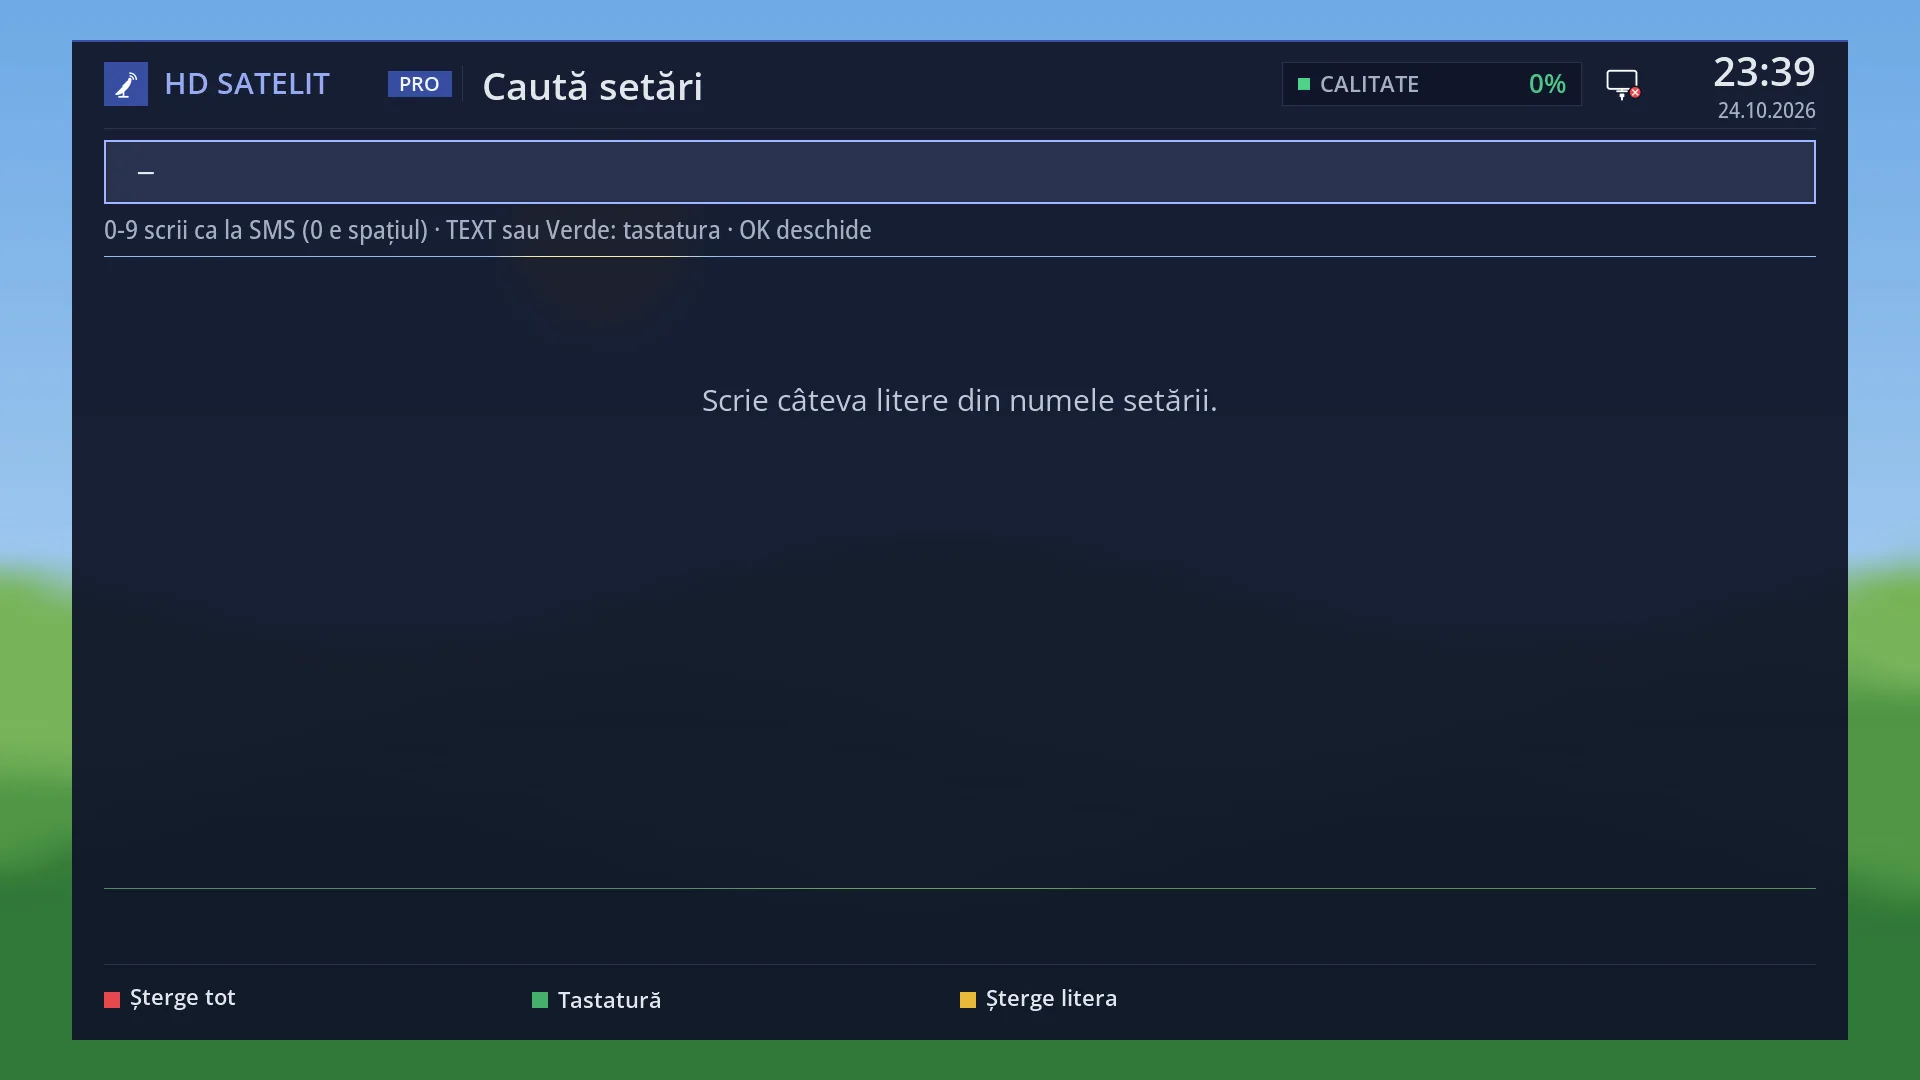
| TTX (shown on screen as TEXT) | Opens “Search settings”, so you can find a setting by typing a few letters. |
| EXIT | Closes the submenu and takes you back to “Settings”. |
| MENU | Closes the whole menu and takes you back to live TV. |
Step by step
Changing the picture resolution
- Press MENU 6 3, then 1 (or OK on “Advanced Video Setup”).
- Choose the resolution and refresh rate you want and save them.
- Confirm on the TV that the picture is visible. If the screen stays black, do not press anything: the receiver goes back to the old setting by itself.
Making the picture brighter on HD channels
- Tune to an HD channel, then press MENU 6 3 2.
- The profile of the current channel is already selected (it has “(now)” next to its name). Move the cursor to “Brightness” and change the value with LEFT and RIGHT. The picture changes straight away.
- Press GREEN to save. With “Settings by channel” set to Yes (the factory default), the profile is applied automatically whenever you watch an HD channel.
Problems and solutions
I do not have the “Picture quality” row.
The row only appears on receivers whose board has the picture quality block. On a receiver without it, the submenu only has “Advanced Video Setup”.
I pressed a digit and a different screen opened from the one I wanted.
A digit opens the row with that number straight away. Press EXIT and choose again: 1 is “Advanced Video Setup”, 2 is “Picture quality”.
After choosing a new resolution, the TV shows a black screen.
Do not press anything: if you do not confirm, the receiver goes back to the previous setting by itself. Then choose a resolution that your TV accepts.
The boxes with the channel and the signal do not appear on the right of the menu.
The boxes belong to the Pro theme. In the Classic theme (the factory default), the channel picture is shown on the right. You change the theme in Settings > Interface & Appearance > Interface theme.
Related topics
- Advanced Video Setup
- Picture quality
- Video (screen key 1), the same screen as “Advanced Video Setup”
- Settings (all groups)
- Main menu (menu keys, list or tiles)
- Matching web page: /meniu, the “Settings” group > “Video & Display Settings”. The rows have the pages /video and /calitate-imagine.
Differences between receivers
The “Picture quality” row only appears on receivers whose board has the picture quality block. The Amiko Viper 4K V20 has it.