

Skin settings
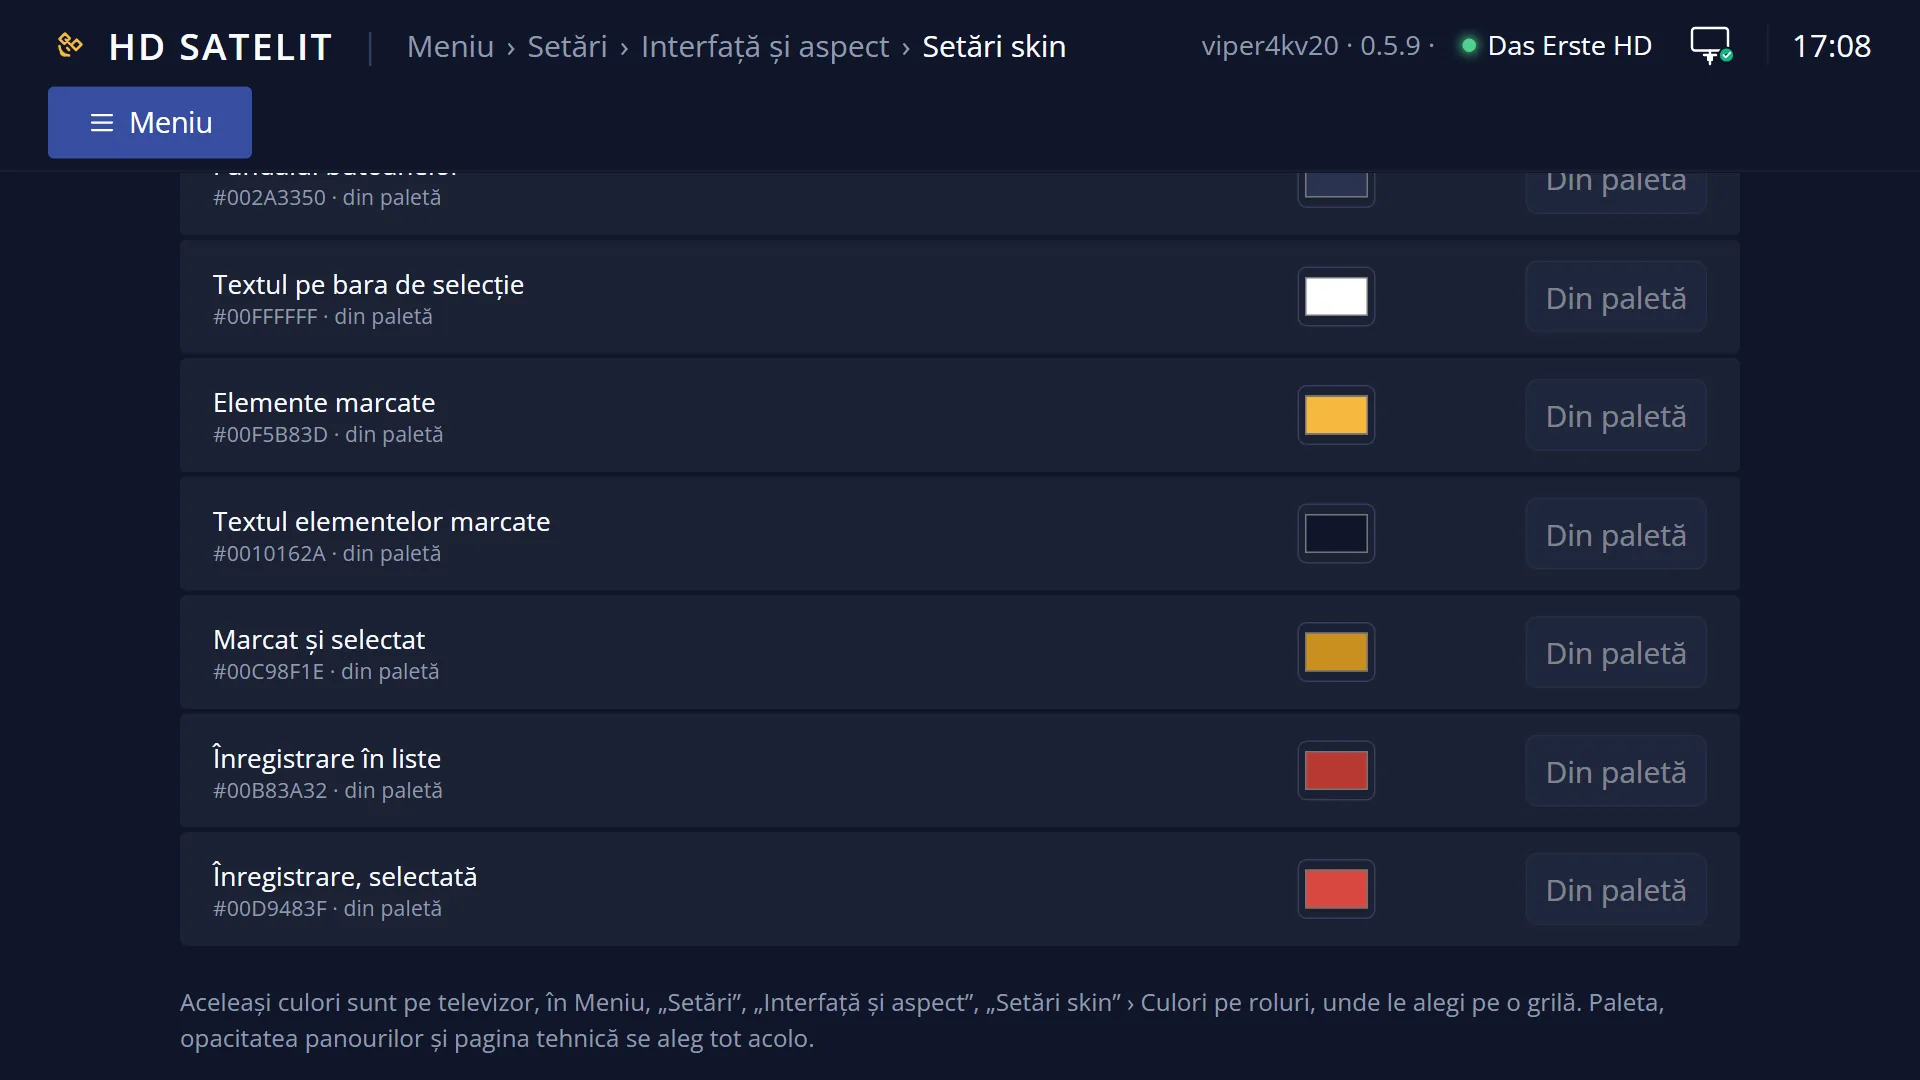
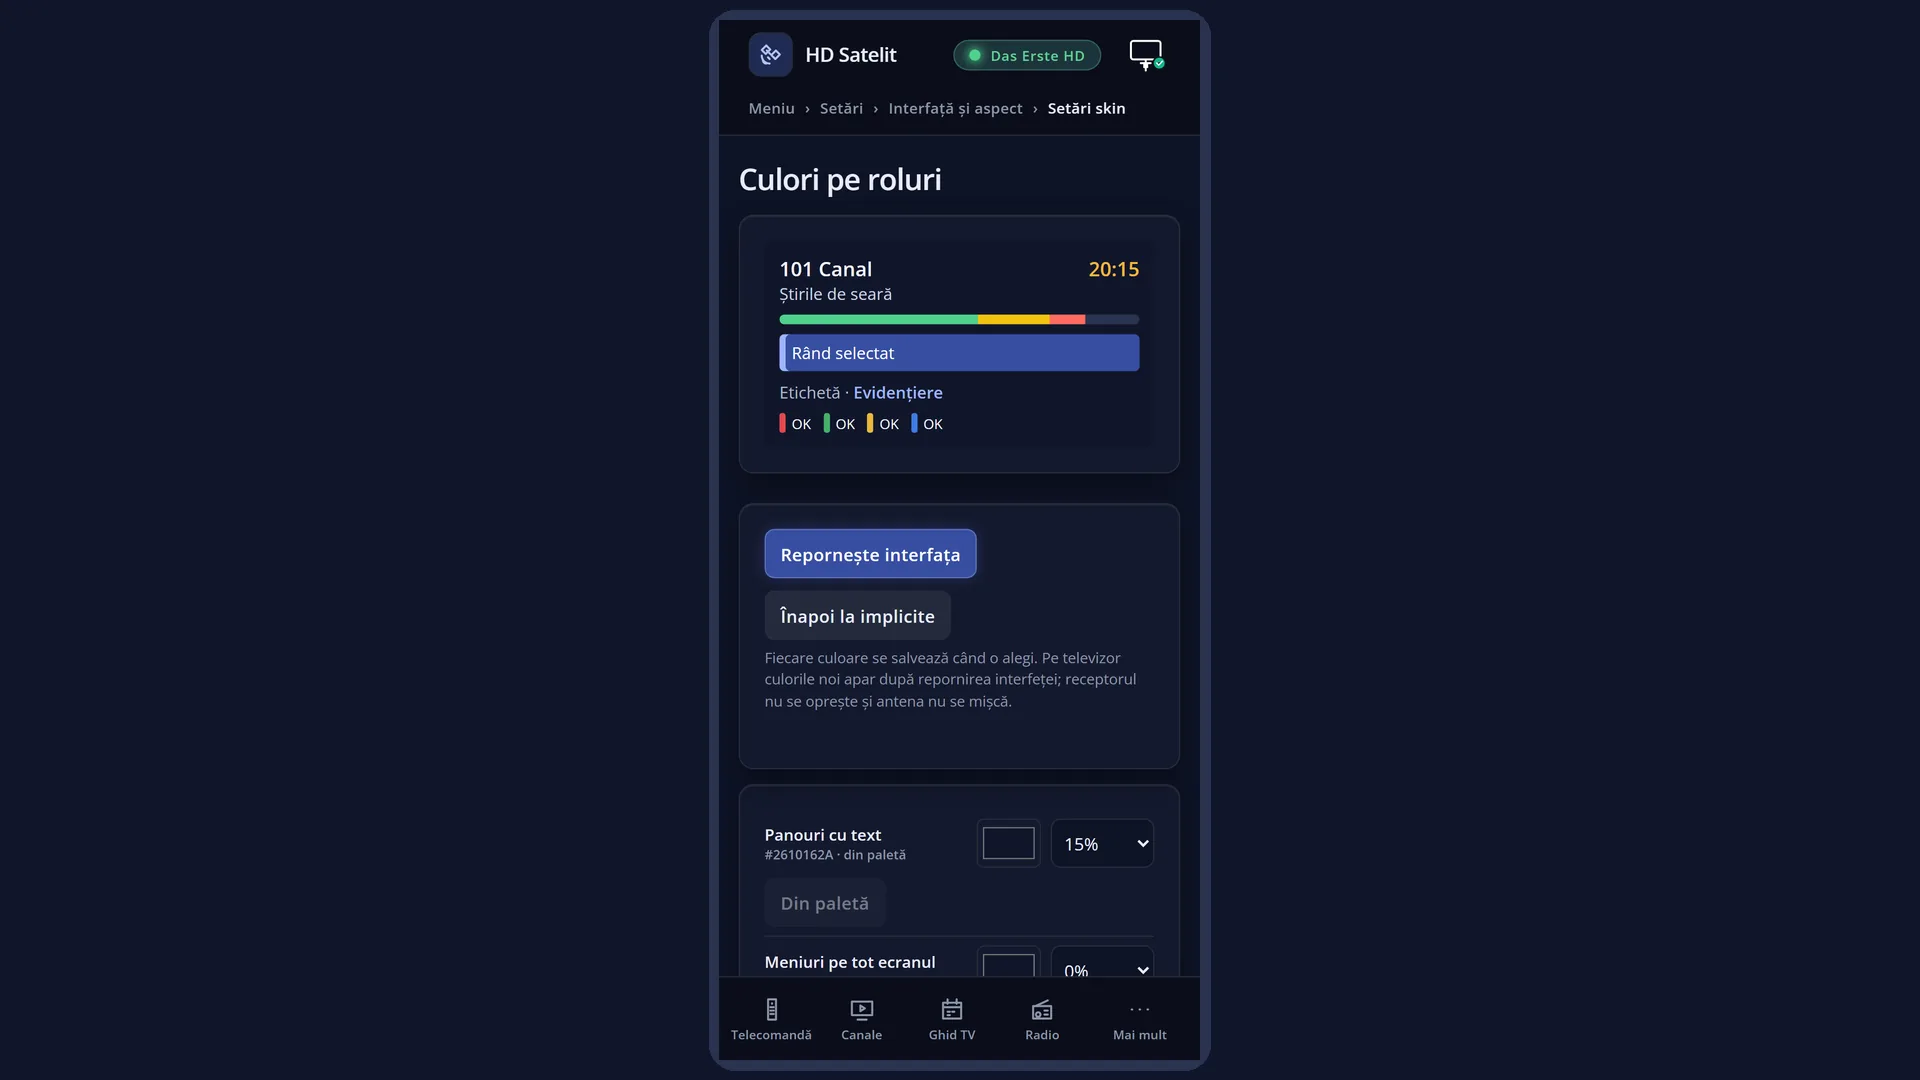
English screenshots coming: some of the pictures below still show the receiver and the web interface in Romanian. The rows, keys and steps described on this page are the English ones.
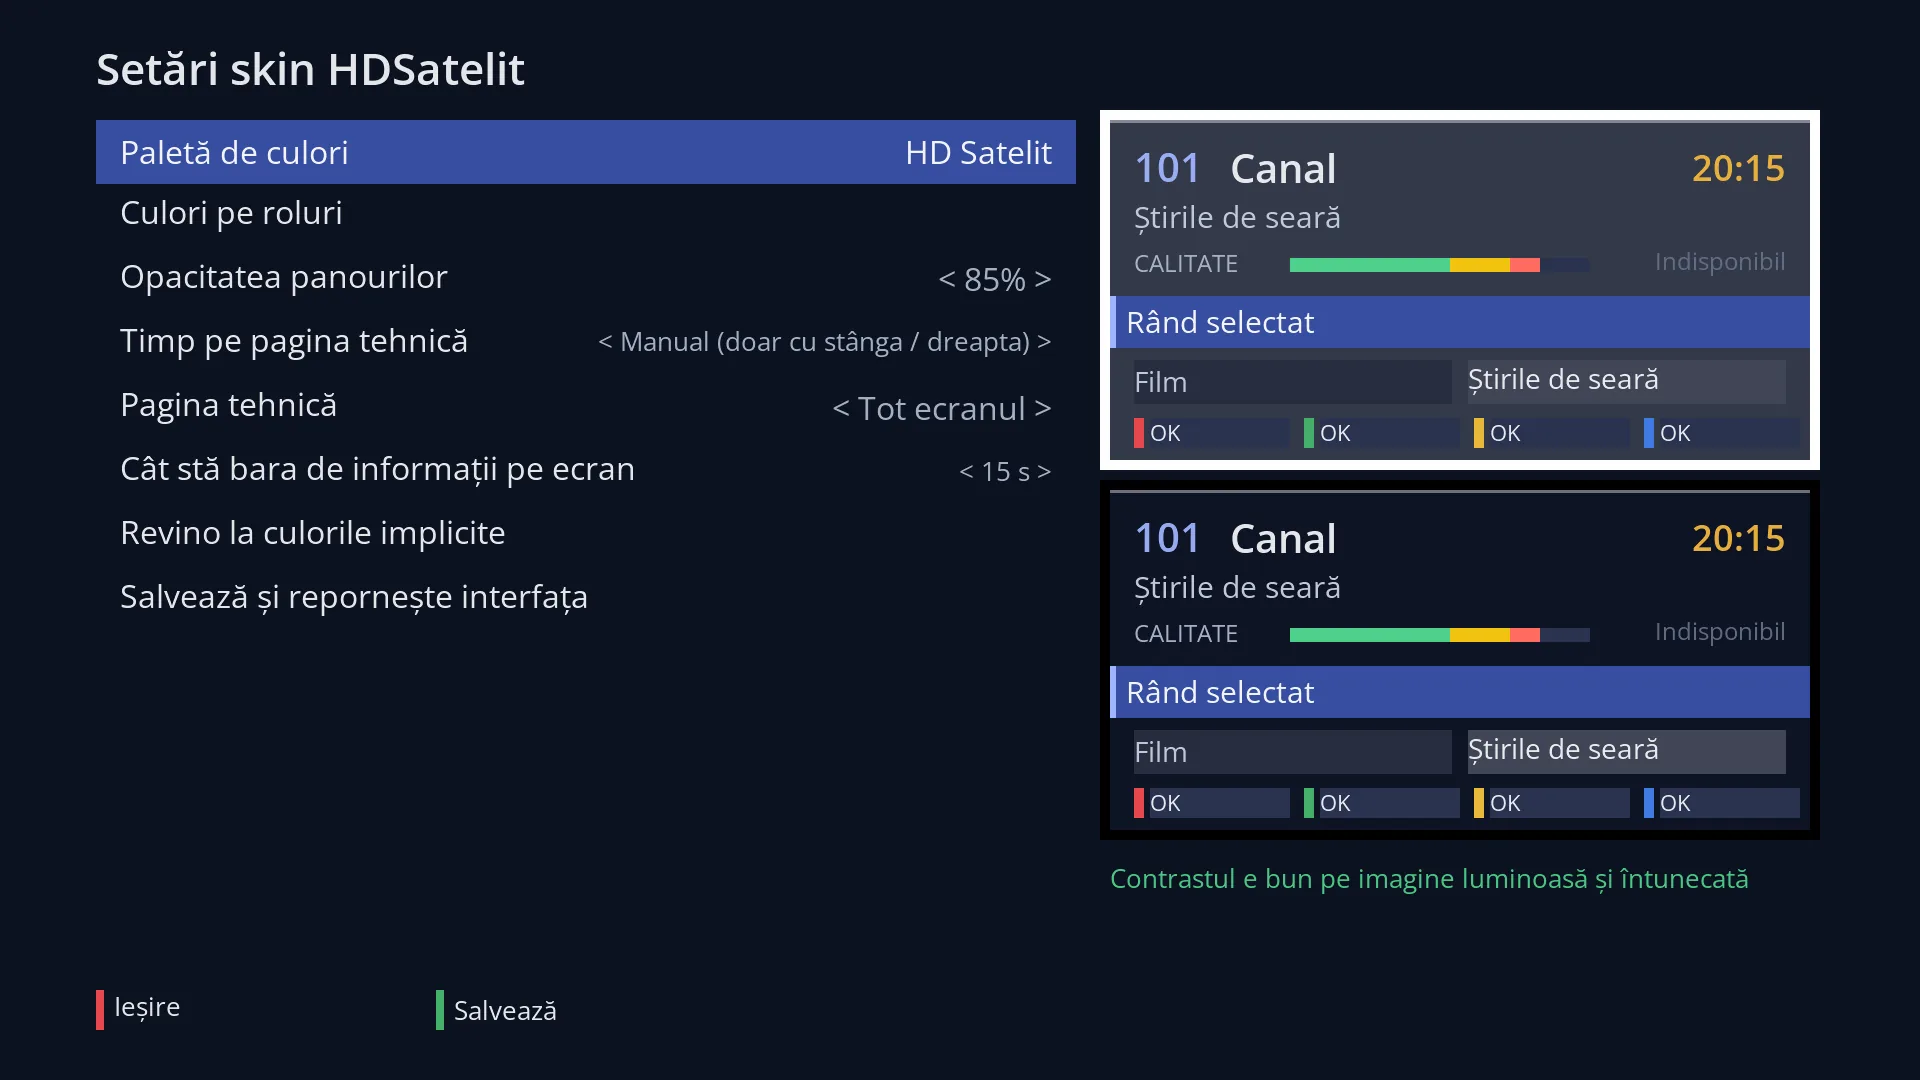
- 1 The colour palette and the colours changed by role: OK opens their list.
- 2 The opacity, the technical page and the info bar: LEFT / RIGHT.
- 3 The factory colours, and saving with an interface restart.
- 4 The preview, over a white picture and over a black picture.
- 5 The contrast check.
- 6 RED exits without saving, GREEN saves.
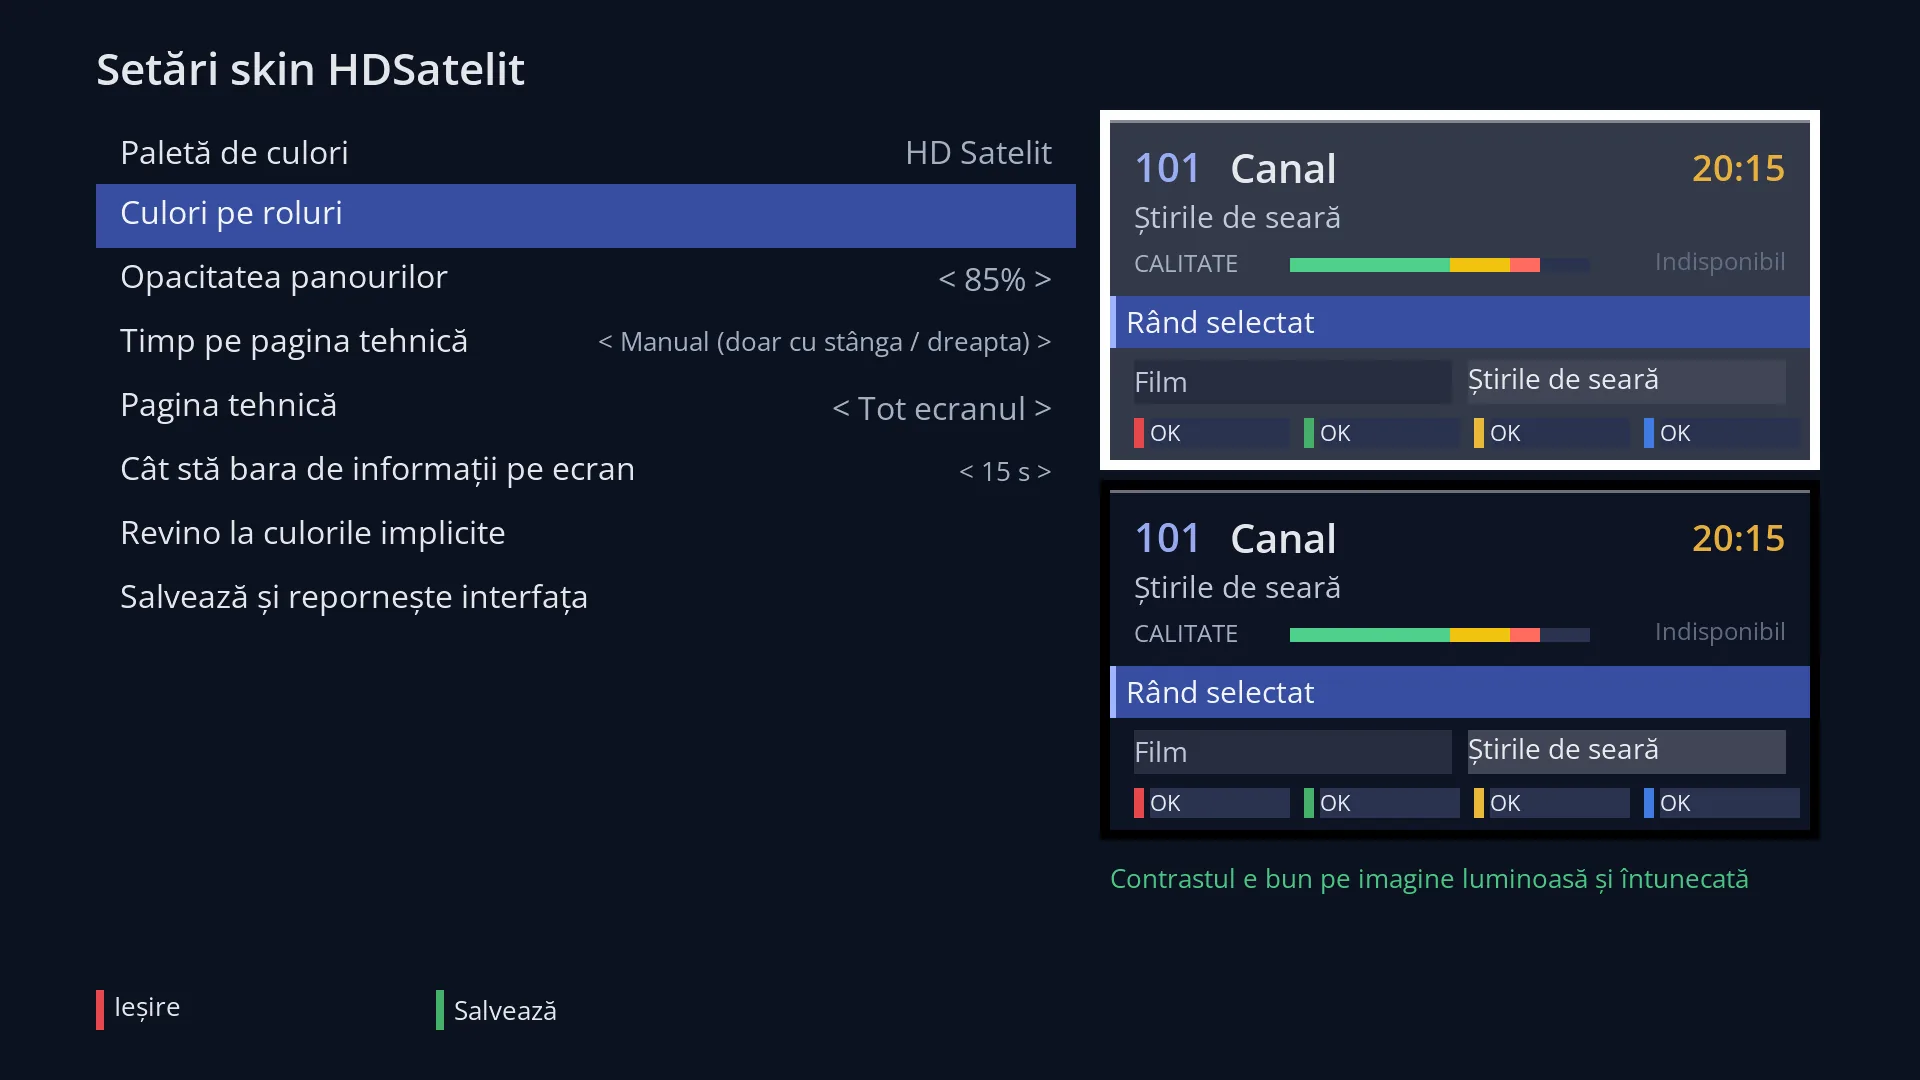
- 1 The selected row: “Colours by role”.
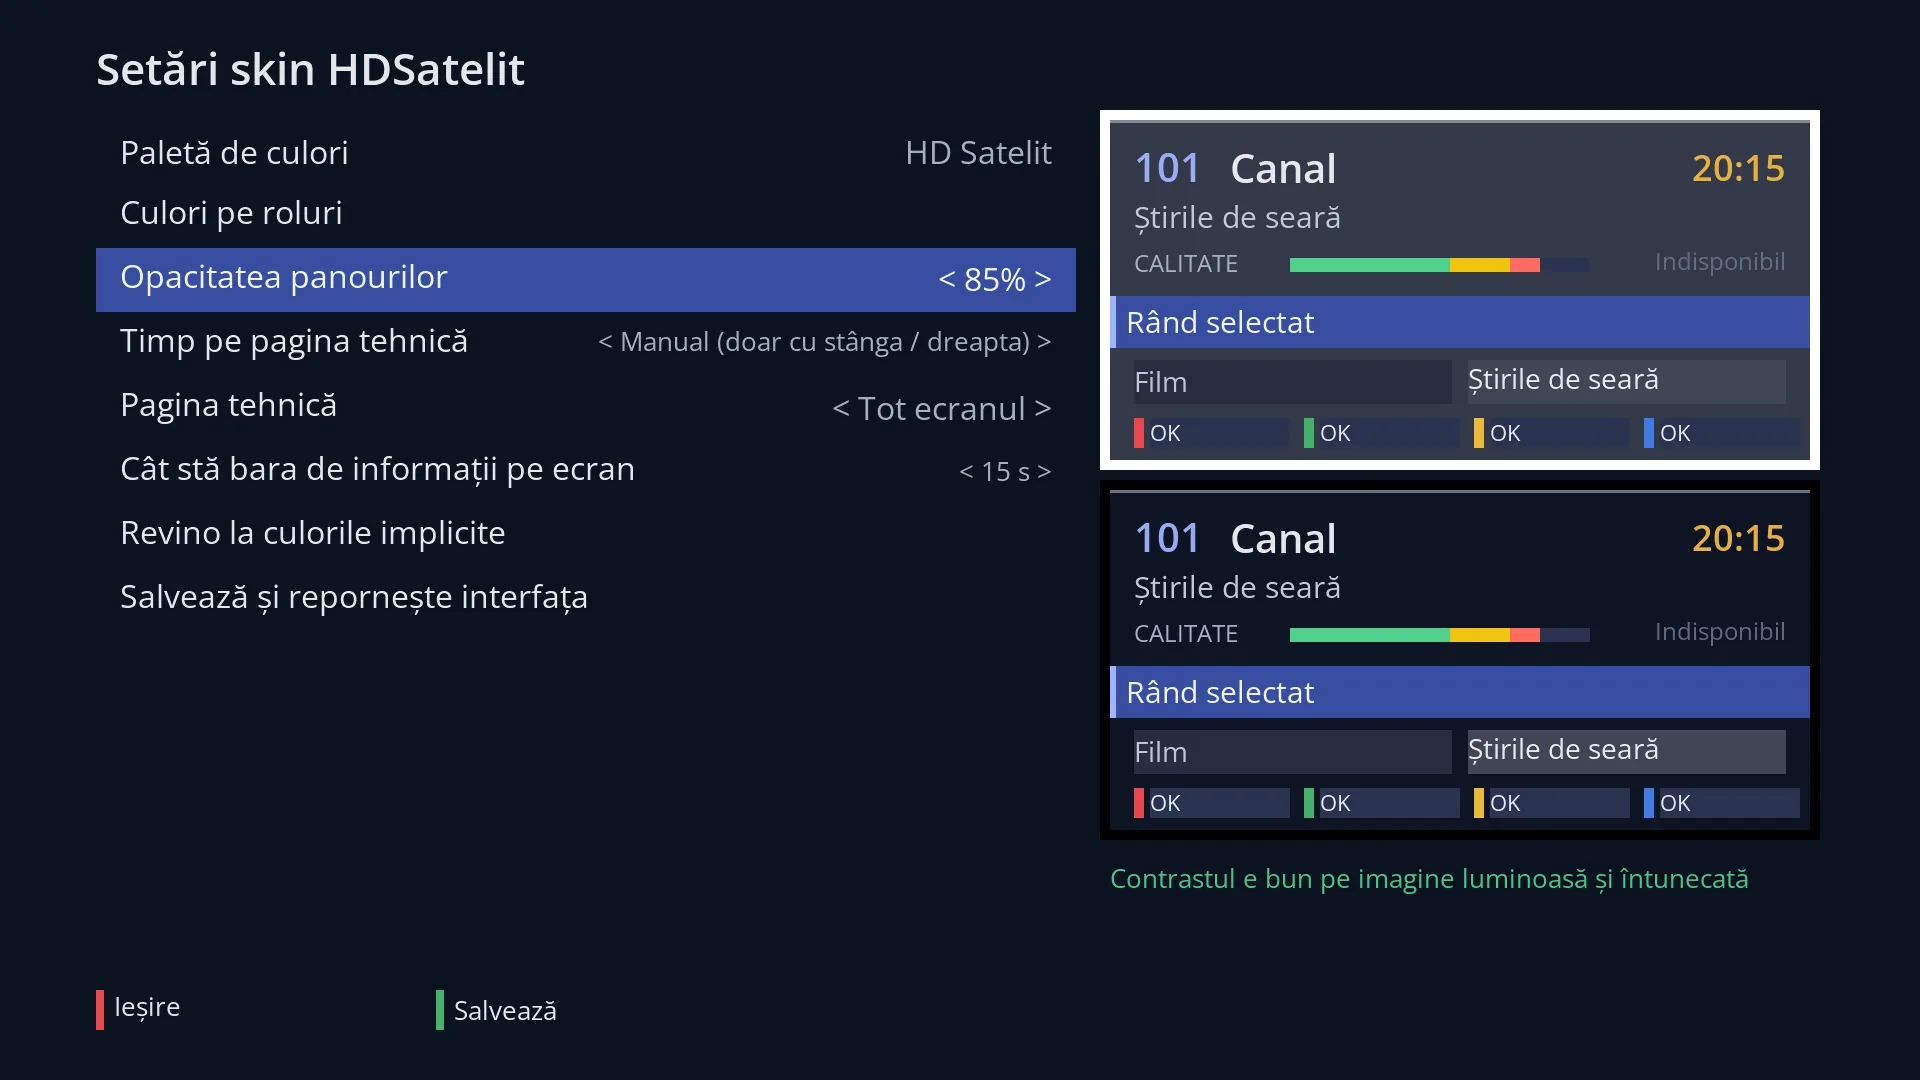
- 1 The selected row: “Panel opacity: 85%”.
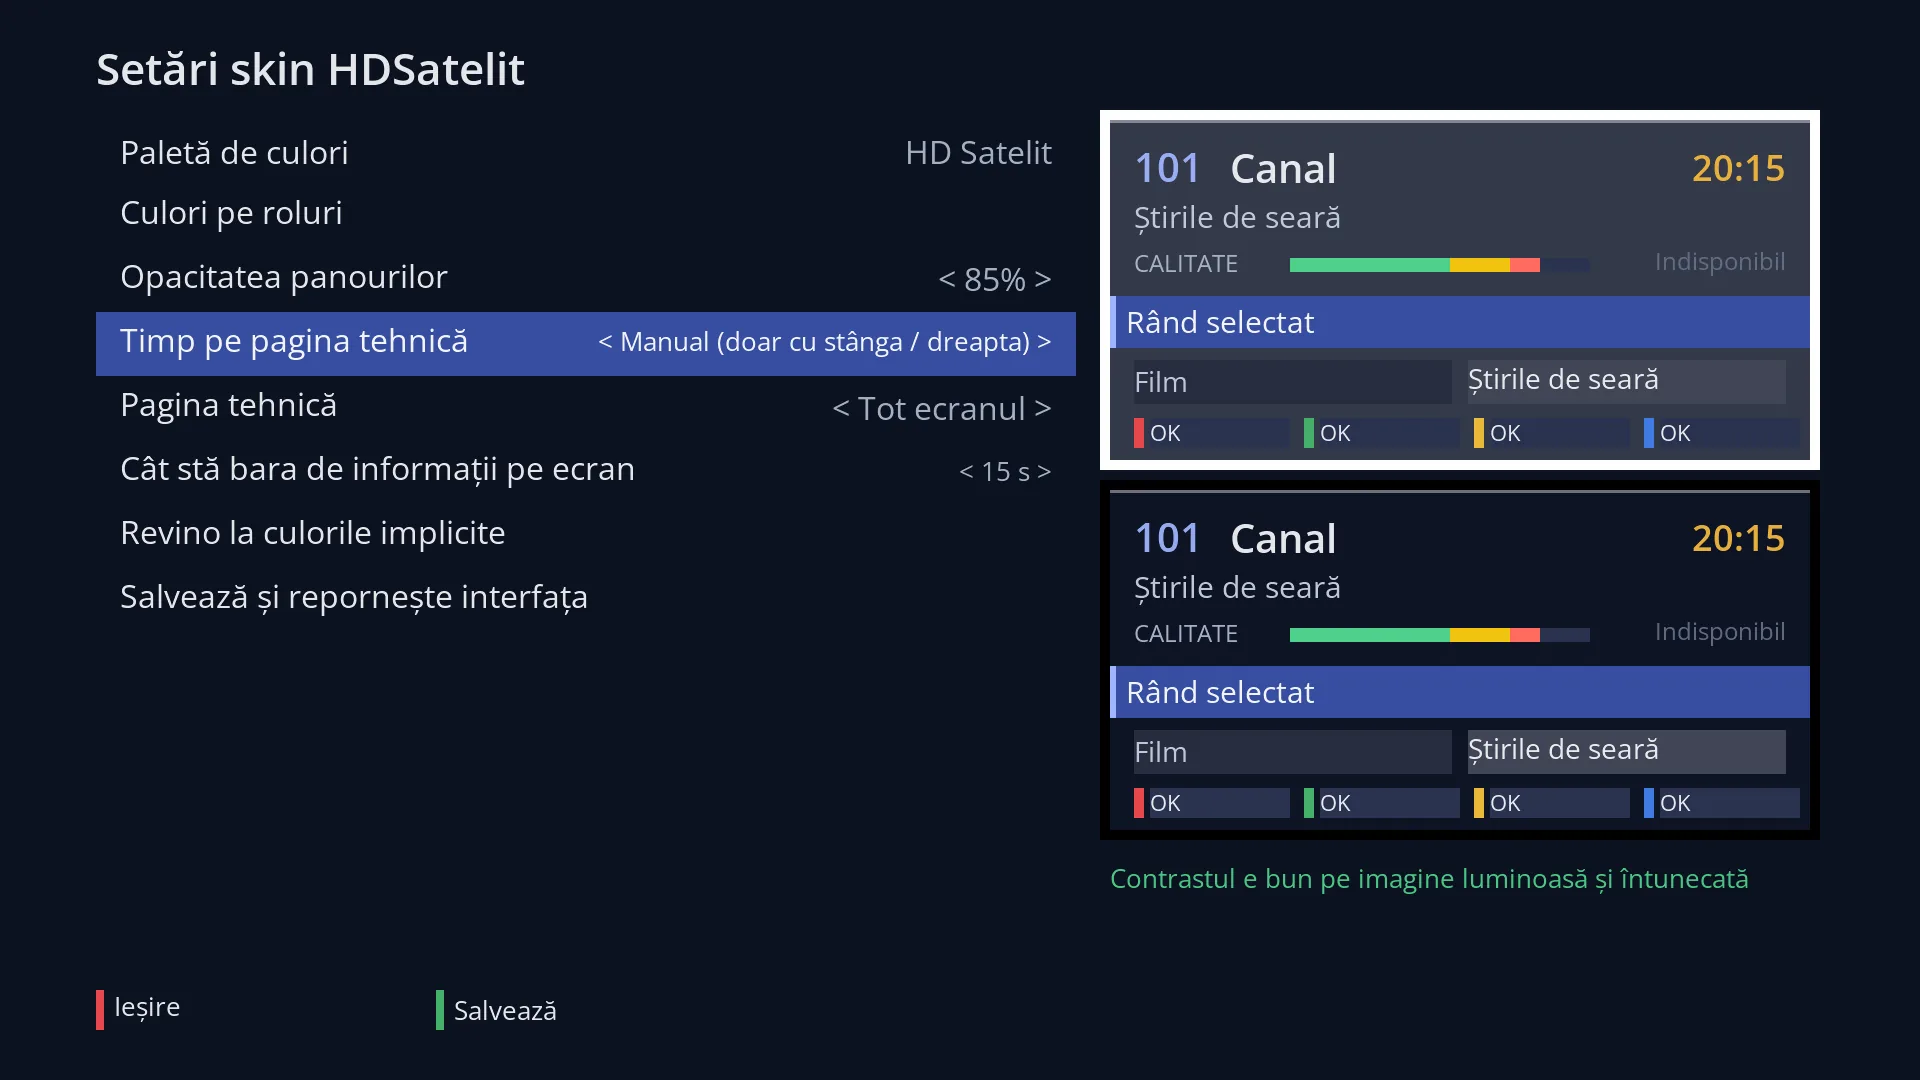
- 1 The selected row: “Time per technical page: Manual (only with left / right)”.
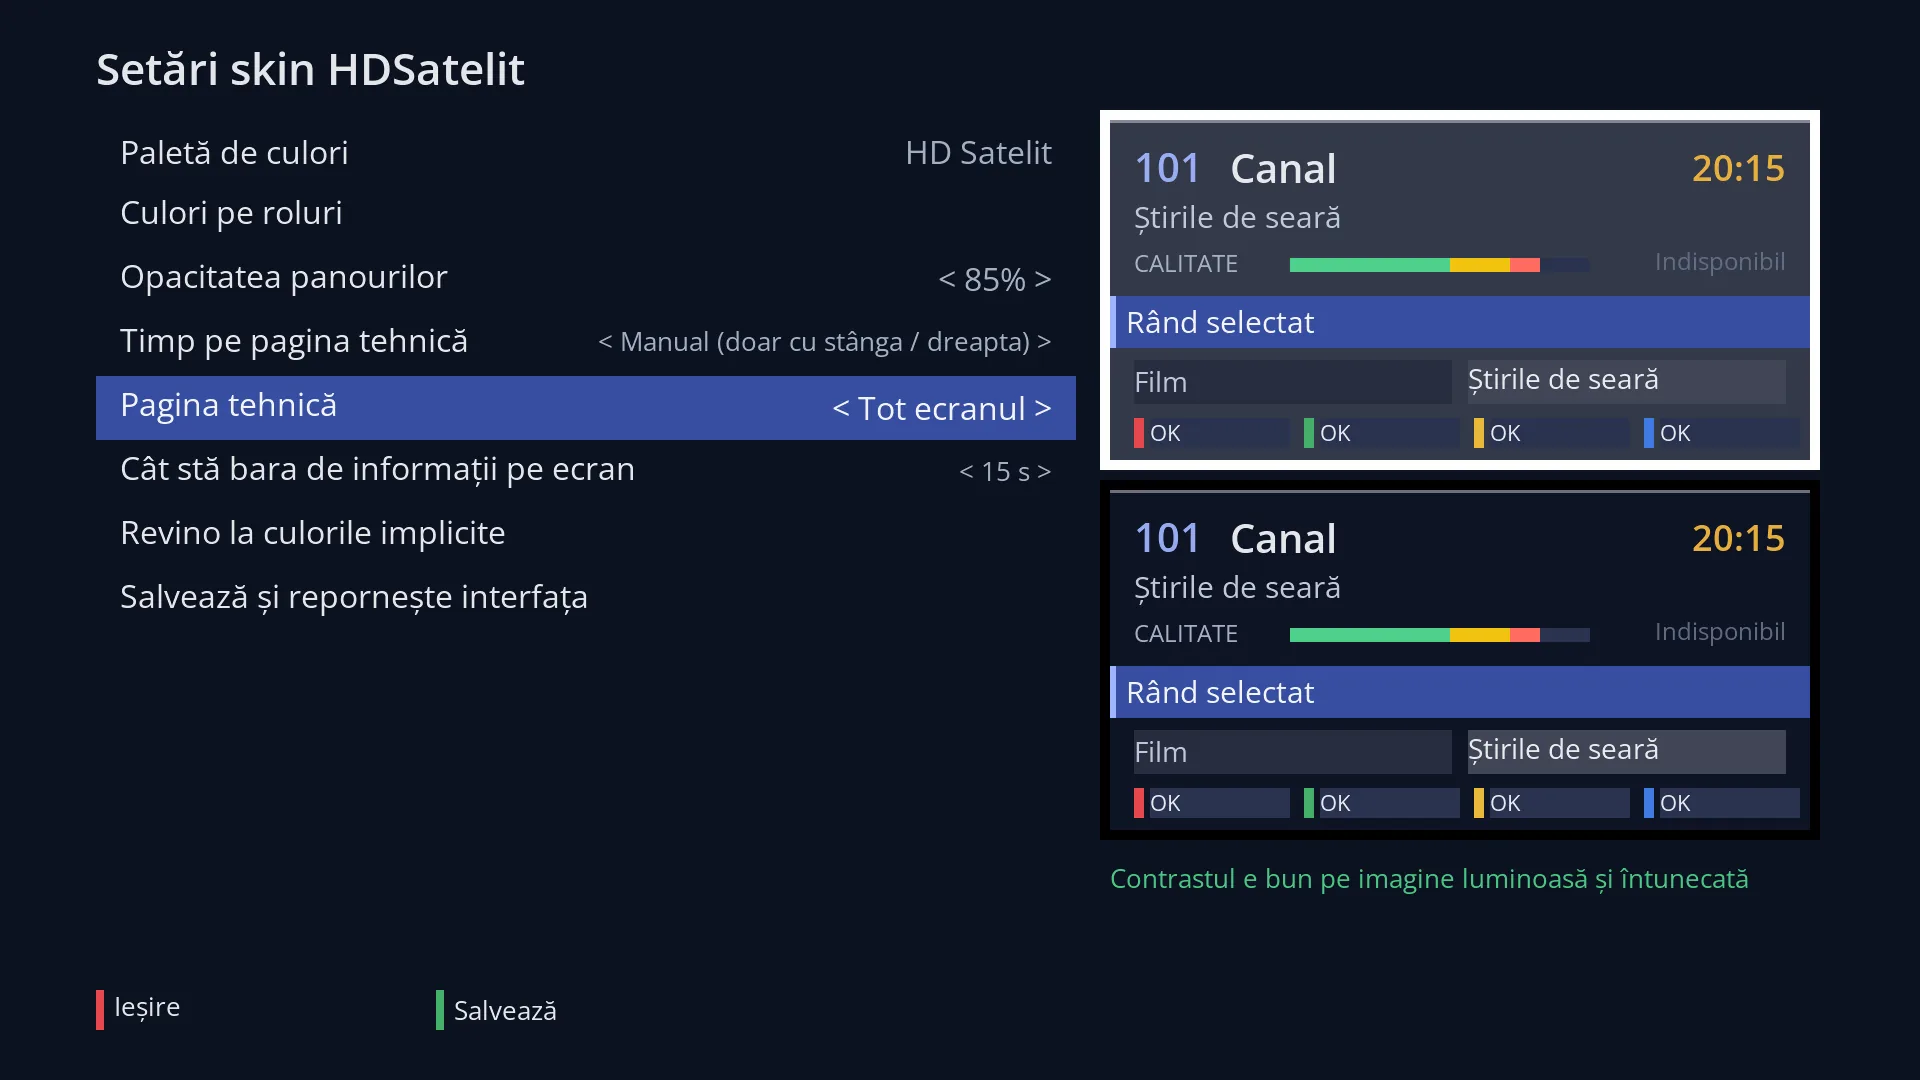
- 1 The selected row: “Technical page: Full screen”.
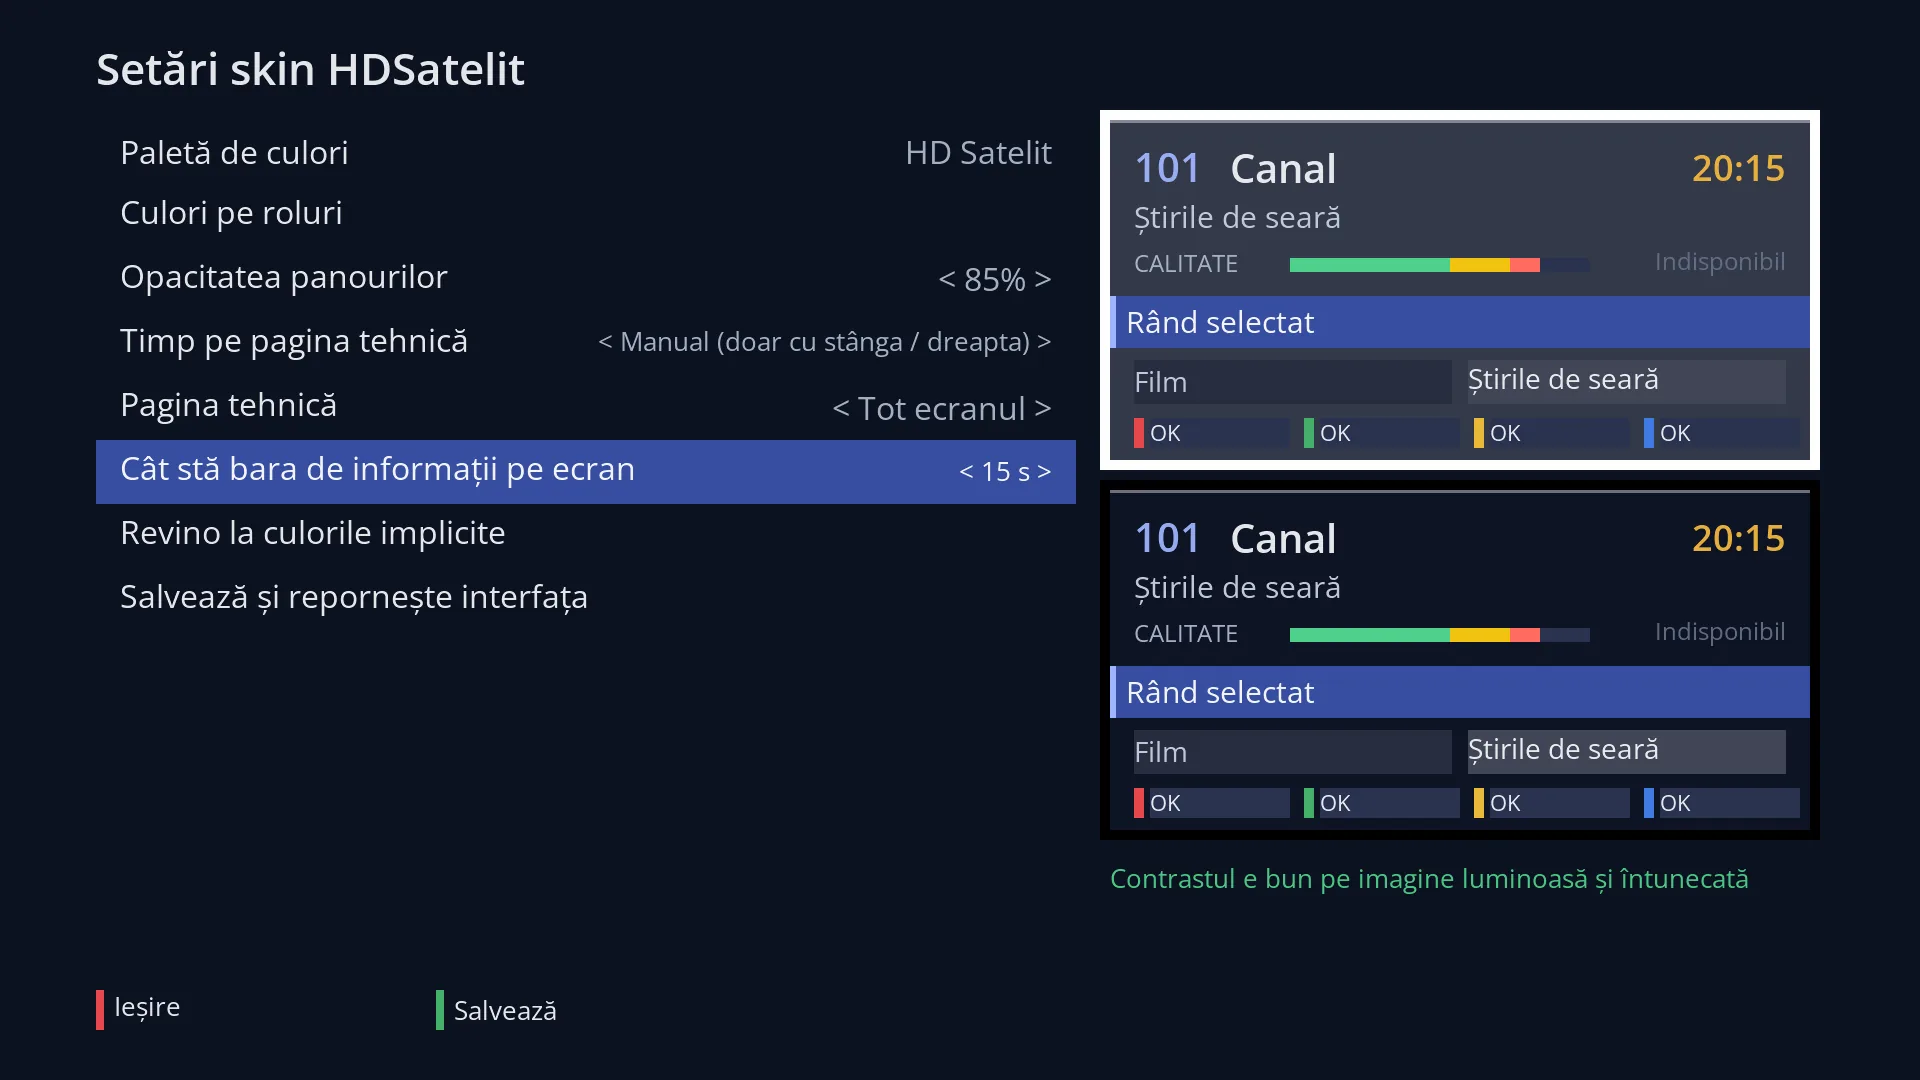
- 1 The selected row: “How long the info bar stays on screen: 15 s”.
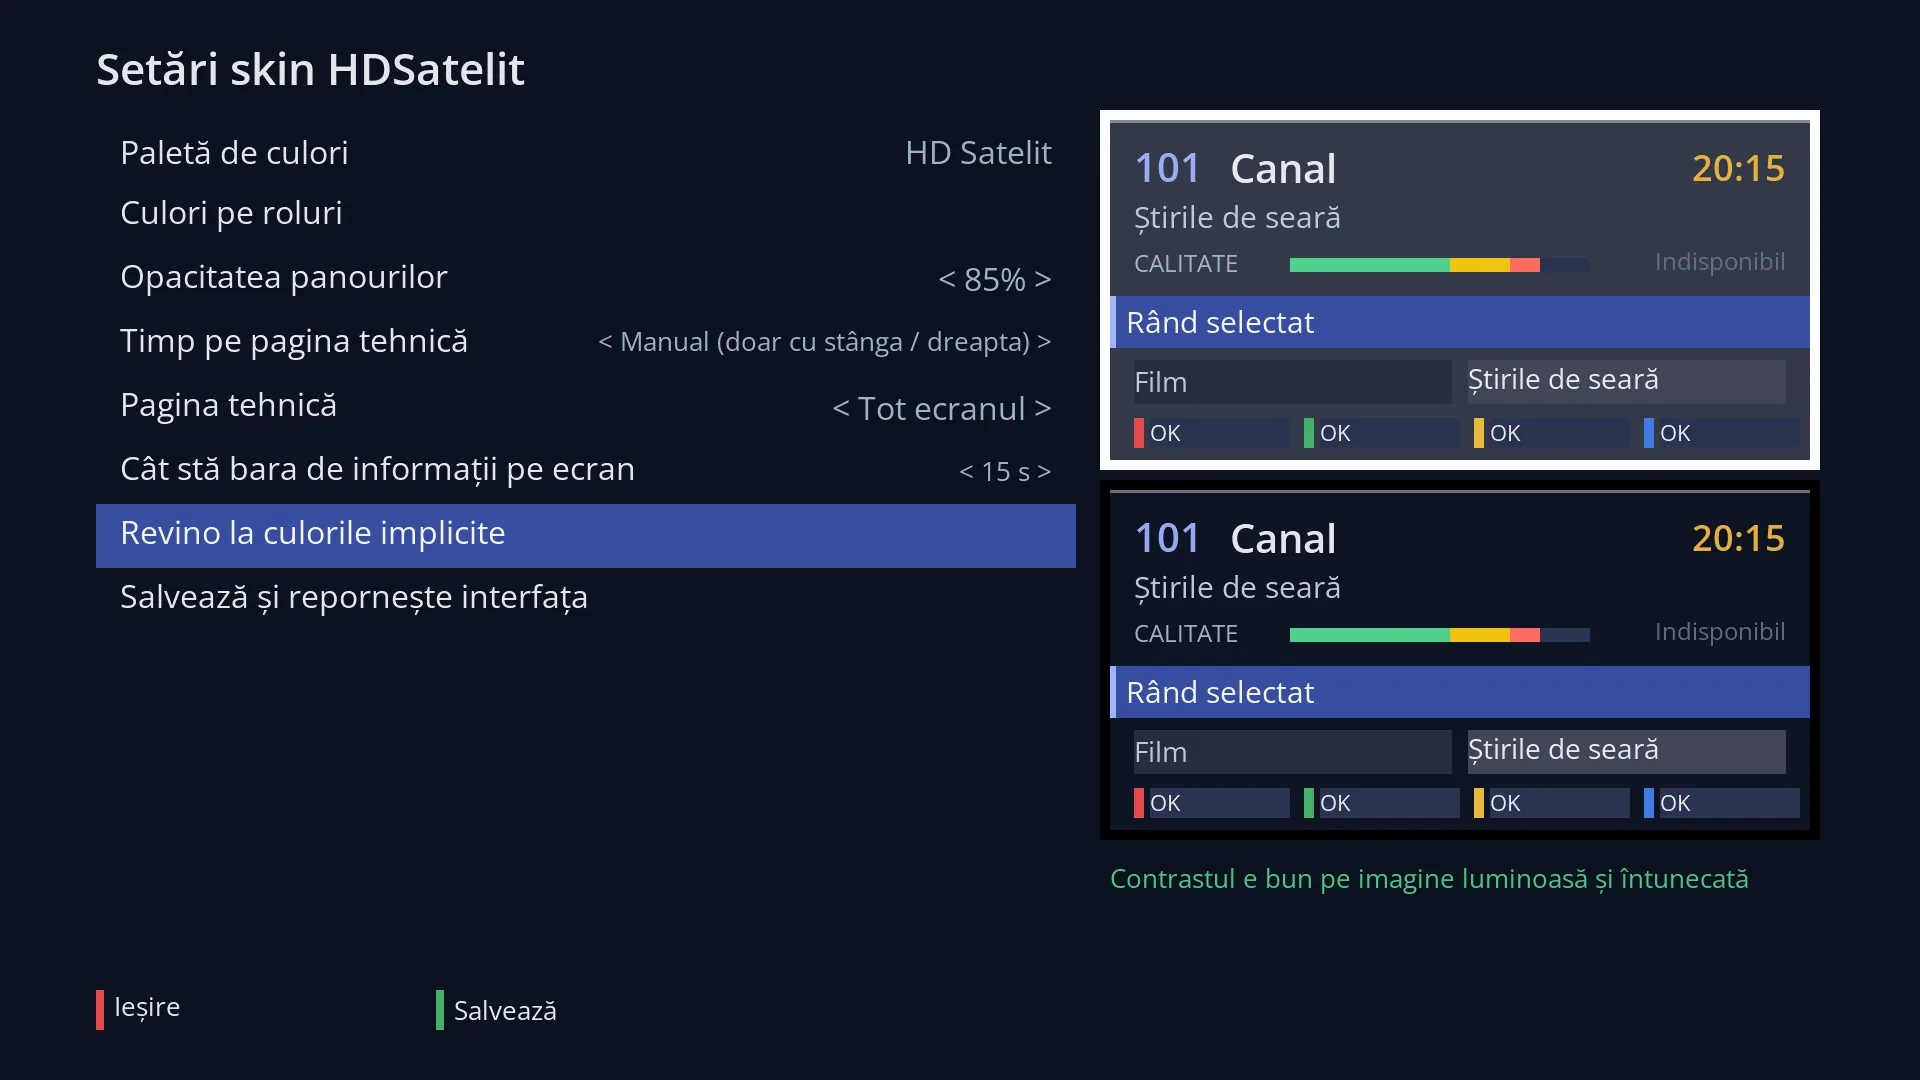
- 1 The selected row: “Back to the default colours”.
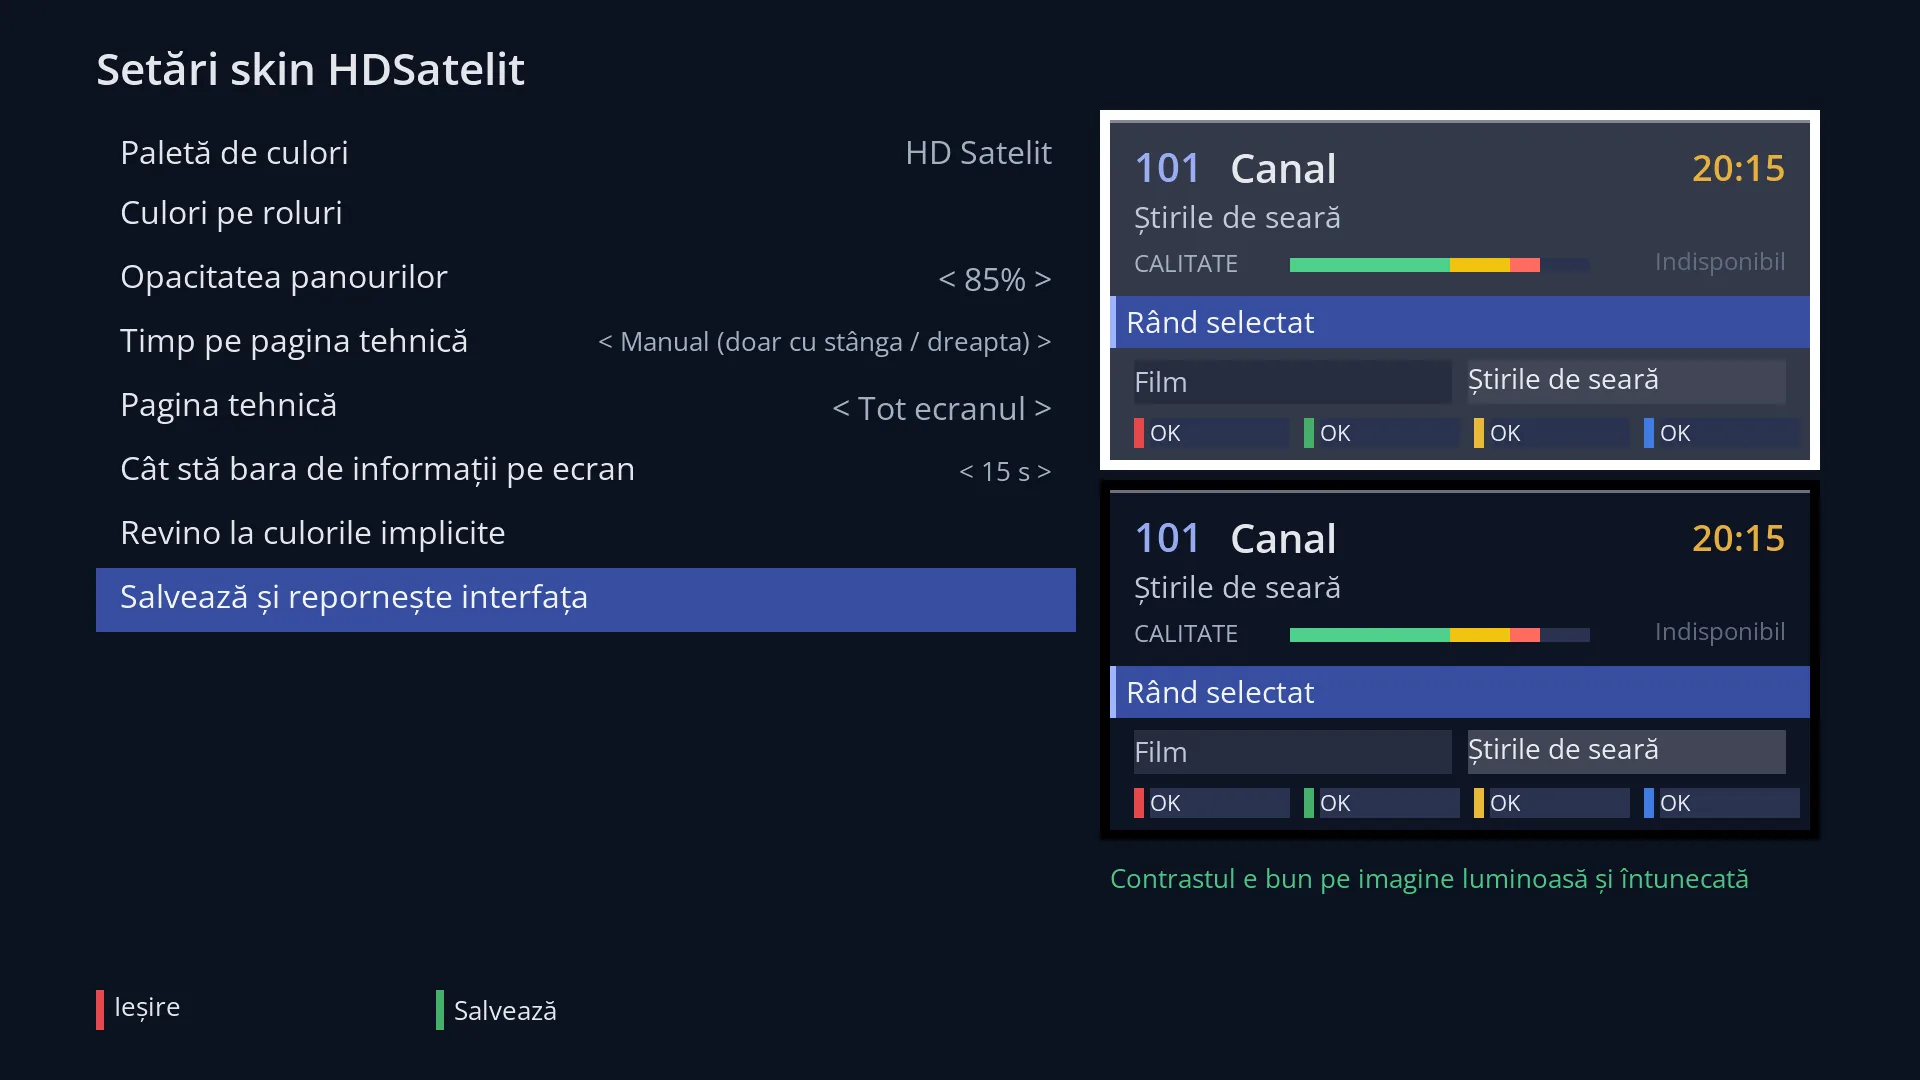
- 1 The selected row: “Save and restart the interface”.
What it is for
“Skin settings” is the colour panel of the HDSatelit skin. Here you choose a ready-made palette and change the colours one at a time (the text, the background, the selected row, good or weak signal). You also choose how opaque the panels over the picture are and how the technical page of the info bar behaves.
On the right you see a piece of the bar drawn straight away in the colours you chose, once over a white picture and once over a black one. Below it, a sentence tells you whether the text is easy to read on both.
Nothing changes until you press “Save”. The new colours appear on the whole screen after the interface restarts, which takes a few seconds. The receiver does not switch off.
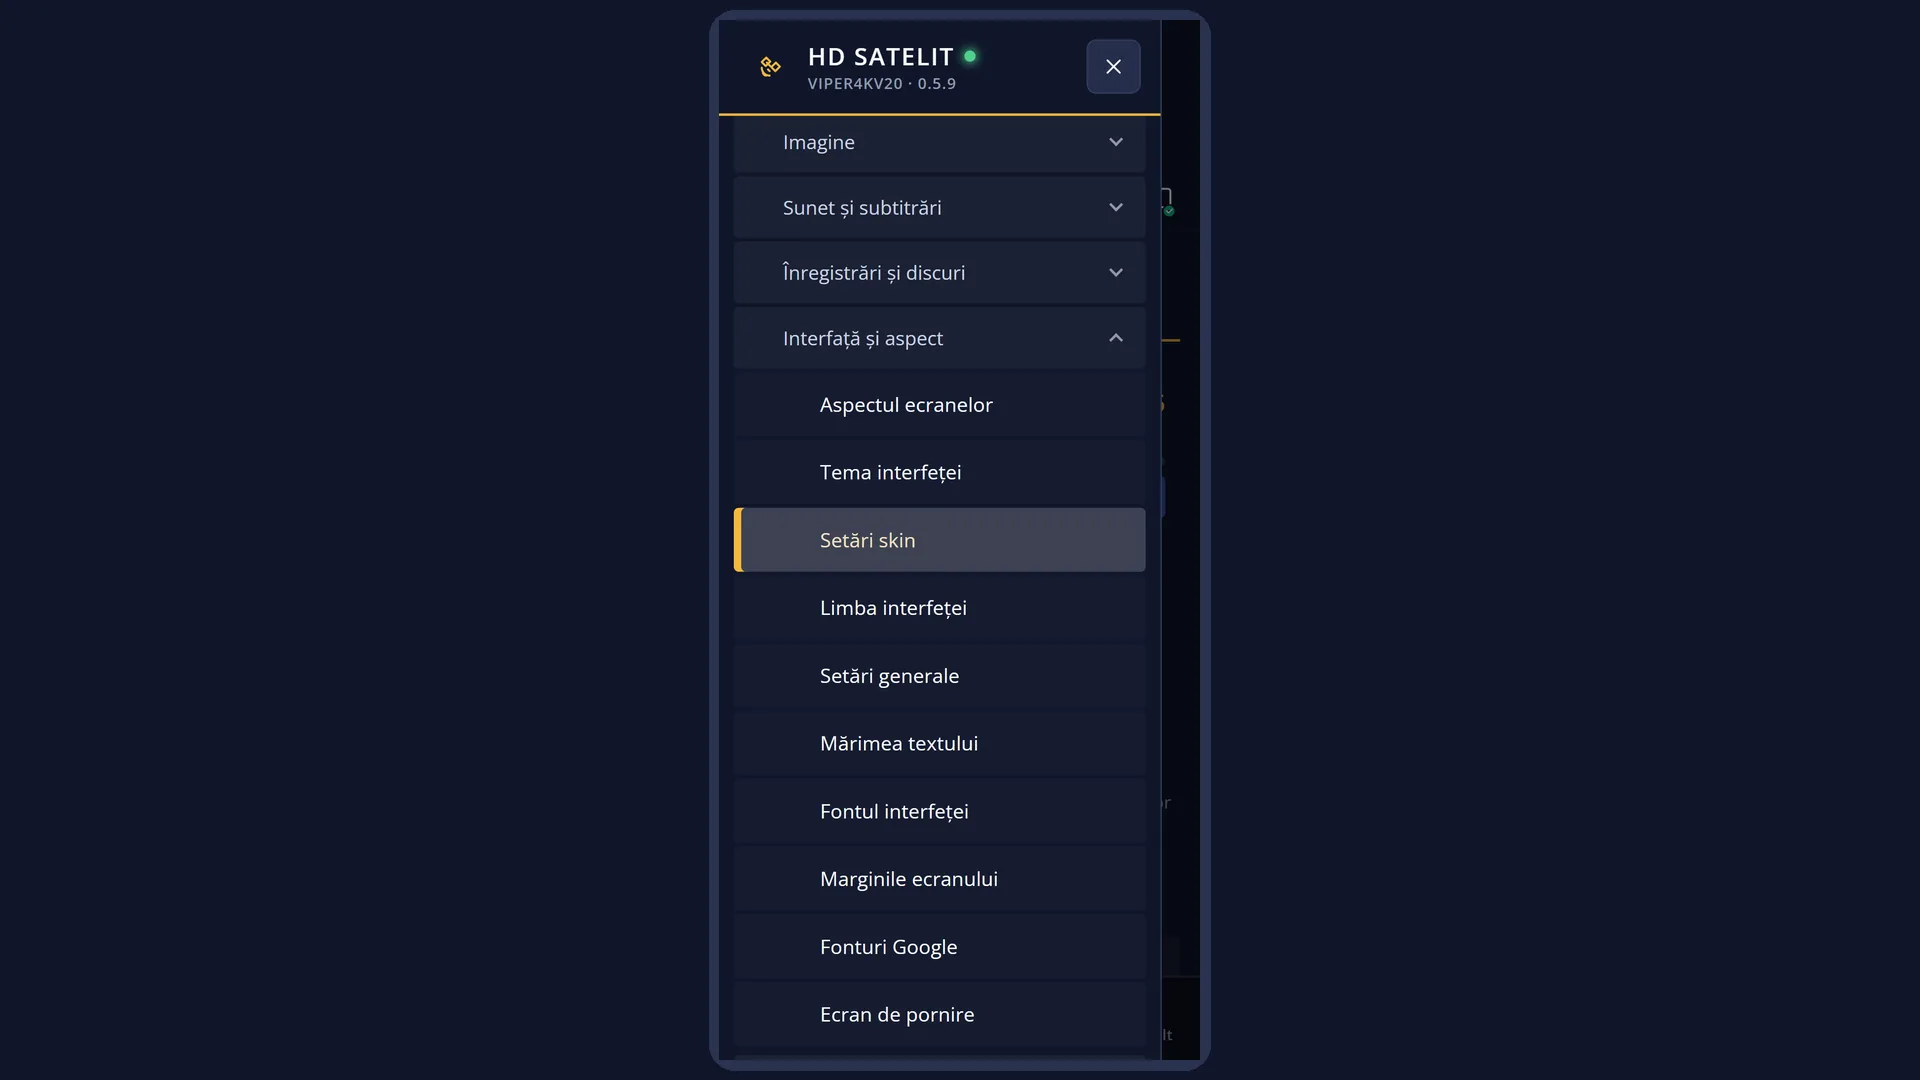
The panel belongs to the HDSatelit skin: the row appears in the menu only when the skin package is installed on the receiver.
How to get here
Path: Main menu > Settings > Interface & Appearance > Skin settings.
Keys on the TV: MENU 6 6 3.
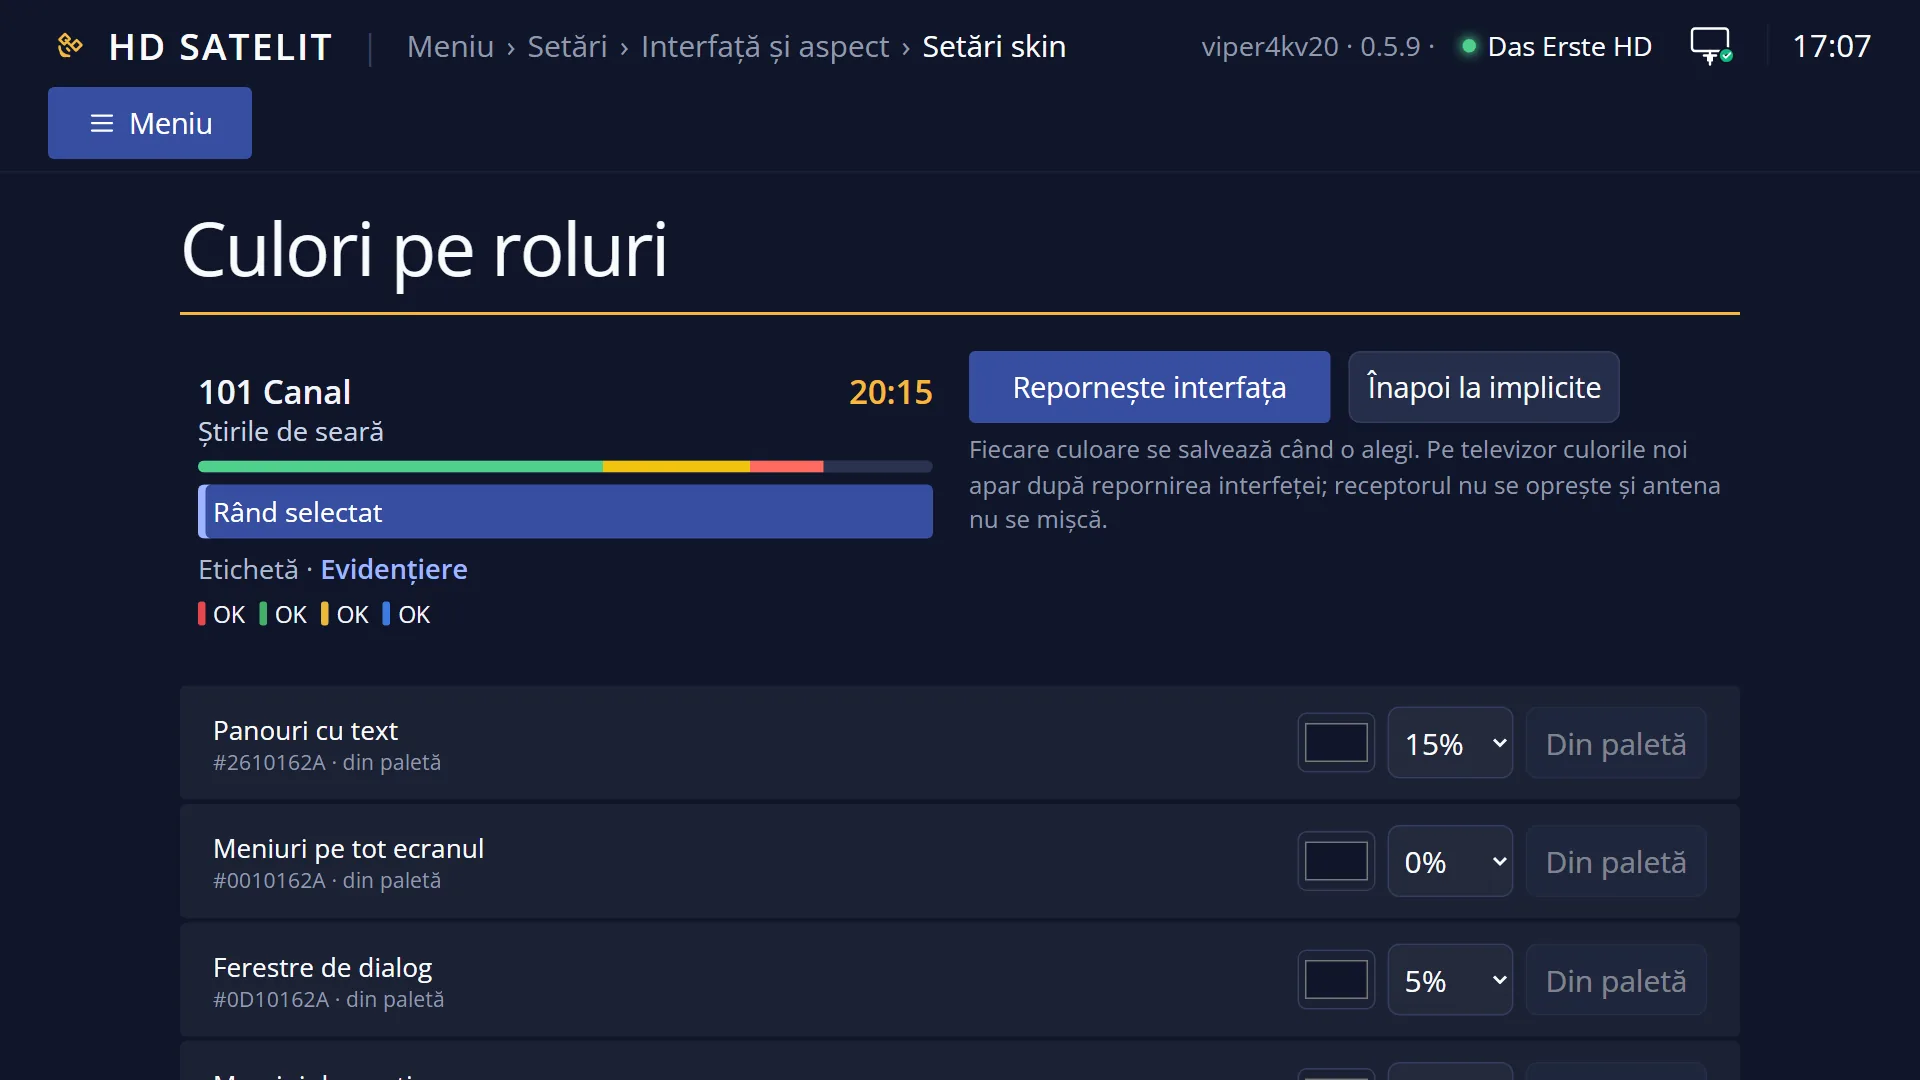
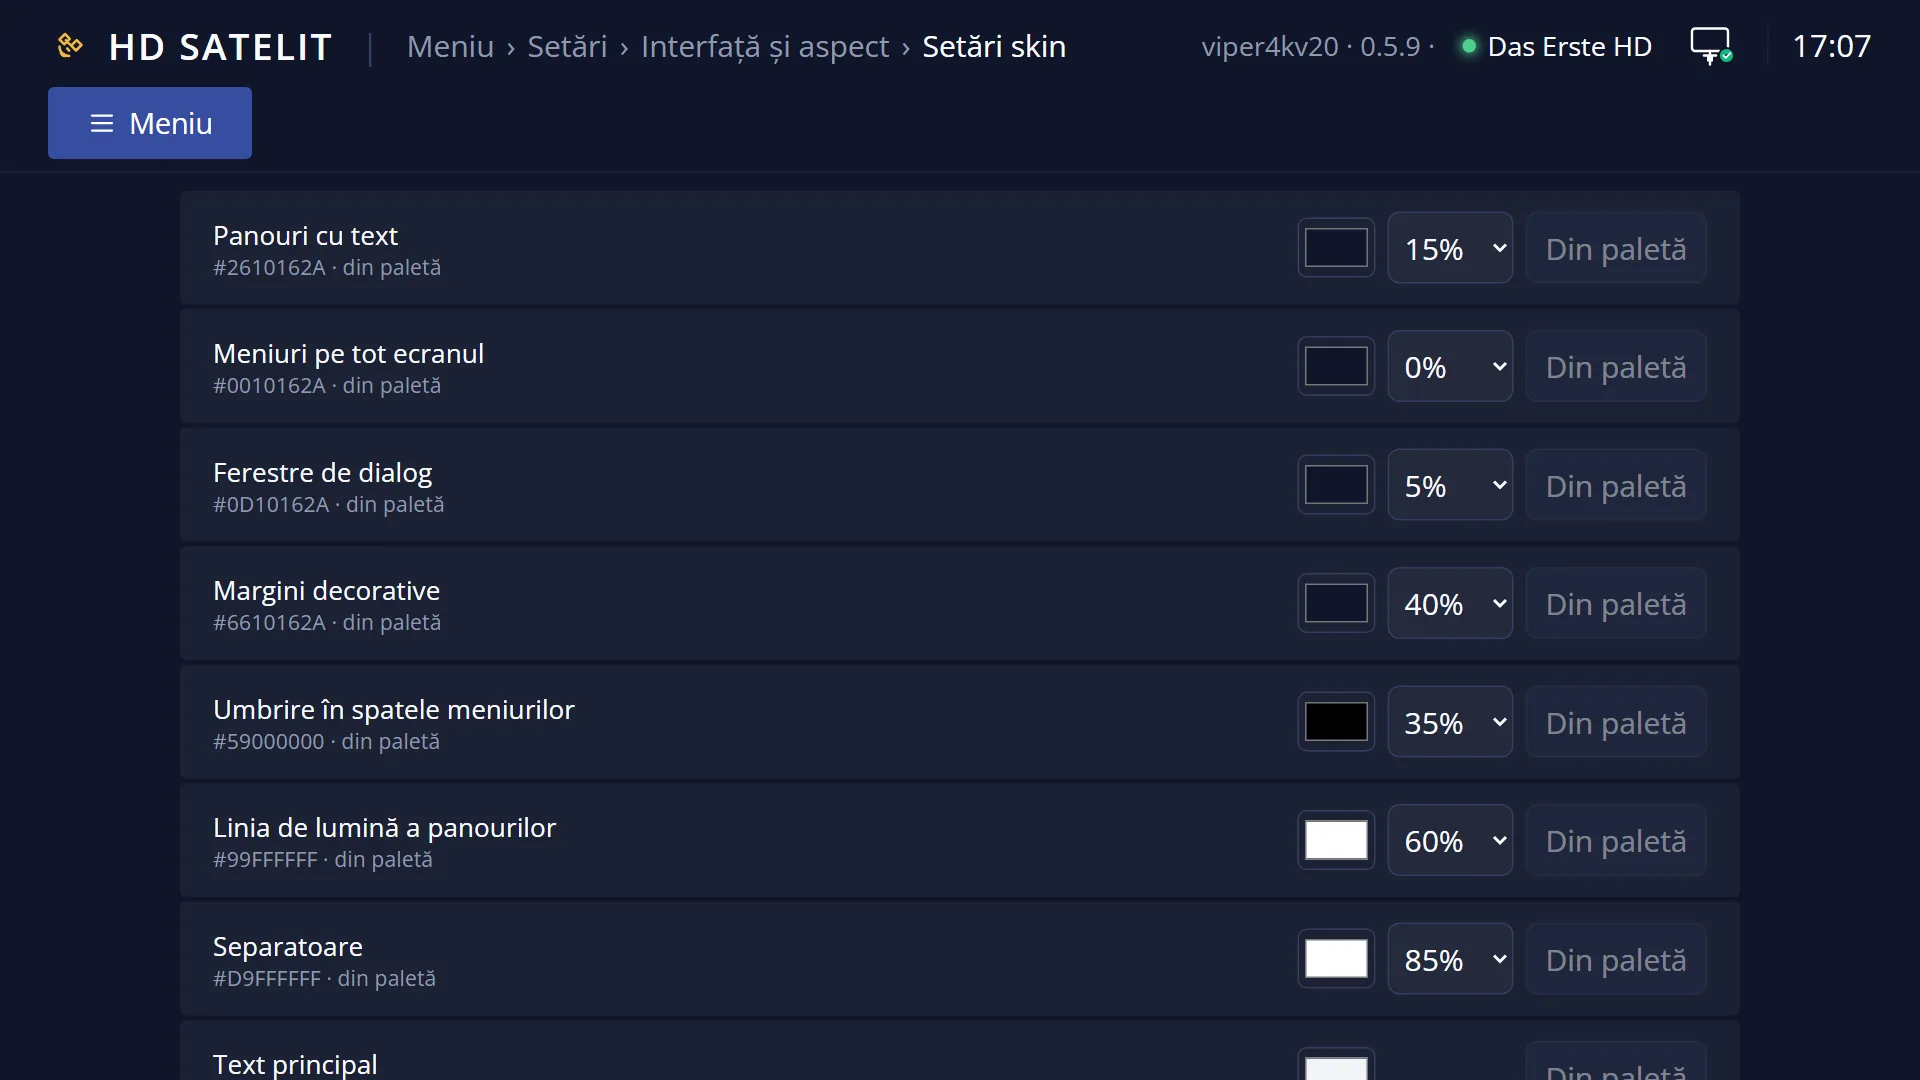
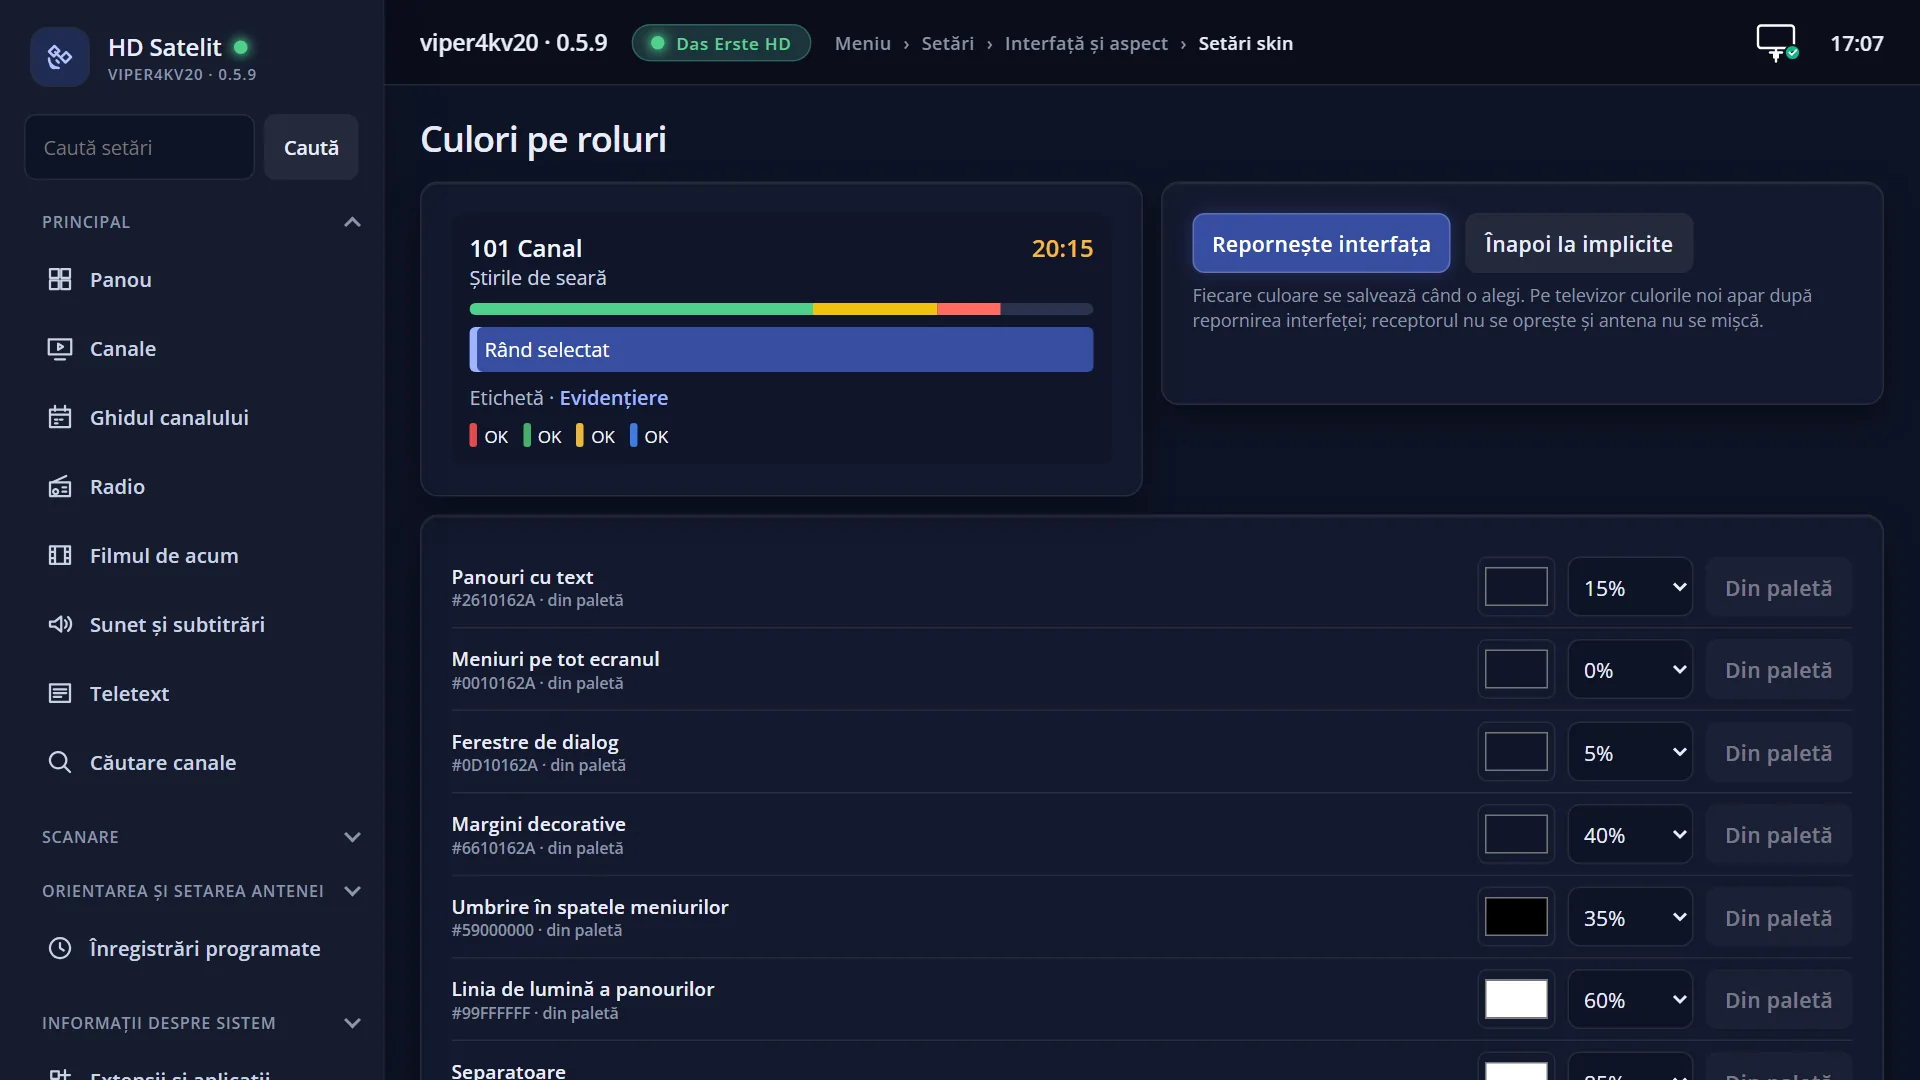
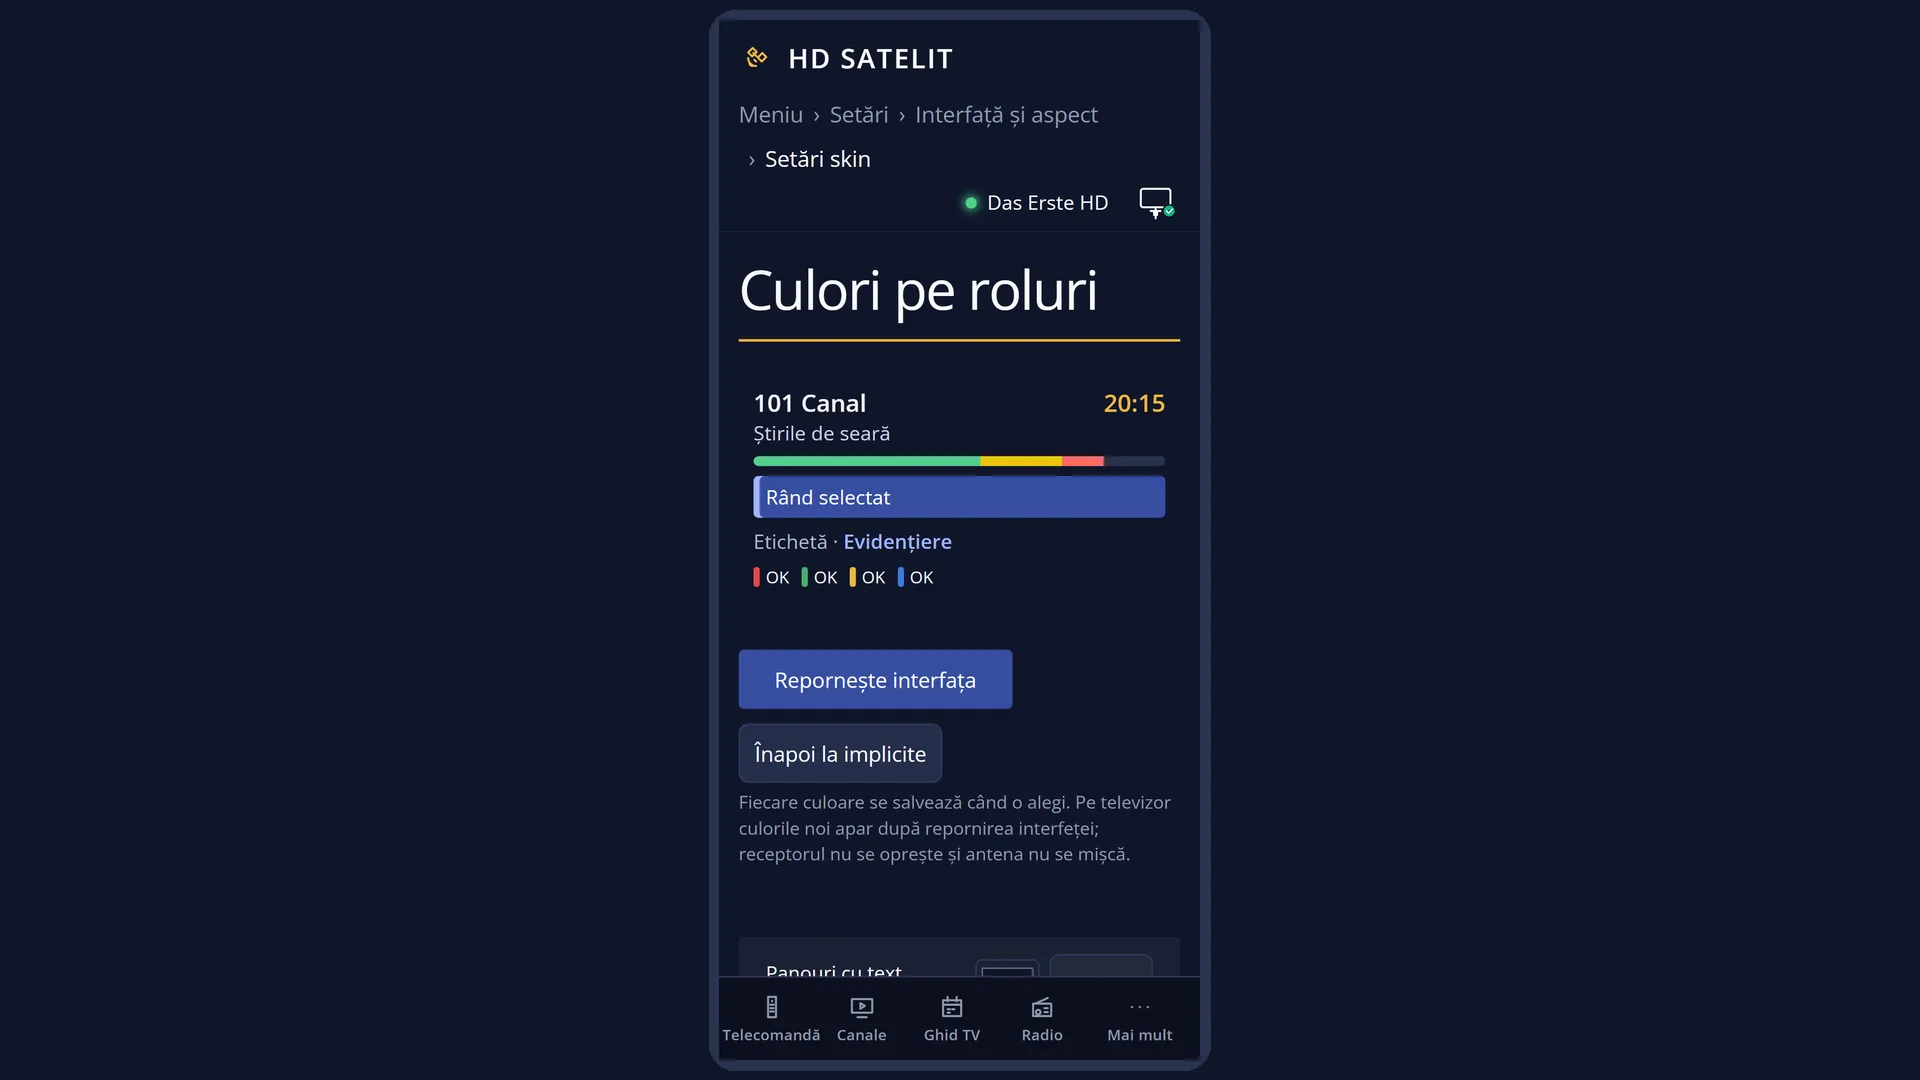
In the web interface: the /culori-skin page (“Colours by role”), with the same roles and colours. The palette, the opacity and the technical page can only be chosen on the TV.
What you see on the screen
At the top, the title “HDSatelit skin settings”.
On the left, eight rows: “Colour palette” (with the palette name, for example “HD Satelit”), “Colours by role” (with the number of colours changed by hand), “Panel opacity”, “Time per technical page”, “Technical page”, “How long the info bar stays on screen”, “Back to the default colours” and “Save and restart the interface”. Values you change with the arrow keys are shown between < and >.
On the right, two previews: a panel with the channel number and name, the time, the programme, the “Quality” bar, a selected row, two cells and the colour keys, over a white picture (top) and a black one (bottom).
Below them, the contrast check: “The contrast is good on light and dark pictures” or “Hard to read:” followed by the roles that are not easy to see.
At the bottom, the keys: RED “Exit” and GREEN “Save”.
Rows and settings
| Row | Values | Default | What it does |
|---|---|---|---|
| Colour palette | HD Satelit (default), palettes grouped in families: Navy, Black, Graphite, Blue, Teal, Green, Red, Purple, Brown, Light, High contrast, Colour-blind friendly | HD Satelit | OK opens the list of palettes. LEFT / RIGHT move from one family to another, UP / DOWN choose the palette, and the preview changes colour straight away. OK or GREEN selects it. If you have also changed colours by hand, the name shows “(modified)”. When you want a different tone for the menus. “High contrast” and “Colour-blind friendly” are for people who find it hard to tell colours apart. |
| Colours by role | no colours changed | OK opens the list of roles (the text, the panel background, the selected row, good, weak and bad signal, the colour keys and others), each with its own colour. OK or GREEN on a role opens the colour grid: the arrow keys choose the shade and the transparency, and you see the colour straight away. BLUE (advanced) opens the hex code and R, G, B. YELLOW (“From the palette”) puts back the palette colour. A role changed by hand has a “*” in front of it. When you do not like just one colour, for example the selected row is too dark. | |
| Panel opacity | 80%, 85%, 90%, 95%, 100% | 85% | How opaque the panels are over the channel picture: at 100% you cannot see the picture through them at all, at 80% you can see it a little. Increase it if the text is hard to read over very bright pictures. |
| Time per technical page | Manual (only with left / right), 4 s, 5 s, 6 s, 7 s, 8 s, 10 s, 12 s, 15 s, 20 s | Manual (only with left / right) | The technical page (the second info bar, with the channel's technical data) has several pages. Manual: you move from one to the next with LEFT / RIGHT. With a number of seconds, the pages change by themselves. When you want to follow the technical data without pressing keys. |
| Technical page | Full screen, Window at the top | Full screen | Full screen: the technical page covers the whole screen. Window at the top: a window at the top of the screen, with the channel picture visible underneath. Window at the top, if you also want to see the programme while you read the technical data. |
| How long the info bar stays on screen | does not close, 1 s, 2 s, ..., 30 s | 8 s | The same setting as the row with the same name in OSD Preferences: how many seconds the info bar stays on screen. Longer if you do not have time to read it, shorter if the bar gets in your way. |
| Back to the default colours | OK puts back the HD Satelit palette and the 85% opacity, and removes all colours changed by hand. The preview shows the result; it is kept only after Save. When you have got mixed up with the colours and want to start again. | ||
| Save and restart the interface | Like the GREEN key: it saves your choices and, if the colours have changed, asks “The colours are saved. Restart just the interface now? ...”. At the end, once you have made your choices. |
Keys
| UP / DOWN | Move the cursor to another row. |
| LEFT / RIGHT | Change the value of the rows with < >: the opacity, the time per technical page, the technical page, how long the bar stays. |
| OK | On “Colour palette” and “Colours by role” it opens their list. On the rows with < > it moves to the next value. On the last two rows it does what the row says. |
| GREEN (Save) | Saves everything. If the colours have changed, it asks whether you want to restart the interface now. If you choose No, the colours appear at the next restart. |
| RED (Exit) or EXIT | Closes without saving anything. |
Step by step
Choosing a different palette
- Press MENU 6 6 3; the cursor is on “Colour palette”. Press OK.
- Choose the family with LEFT / RIGHT and the palette with UP / DOWN. Watch the preview on the right.
- Press OK, then GREEN, and Yes when asked. The interface starts again with the new colours.
Changing a single colour
- In Skin settings, go to “Colours by role” and press OK.
- Choose the role (for example the selected row) and press OK: the colour grid opens.
- Use the arrow keys to move to the colour you want and press OK.
- Press EXIT to go back to the panel, then GREEN and Yes.
Going back to the factory colours
- In Skin settings, press DOWN to go to “Back to the default colours” and press OK.
- Press GREEN and Yes.
Problems and solutions
I changed the colours, but the menus look the same as before.
The colours appear after the interface restarts. If you answered No, restart the interface from Main menu > Power & Restart, or press GREEN again and Yes.
Below the preview it says “Hard to read:”.
The colours named there are not easy to see on light or dark pictures. Choose a different palette, increase the opacity or change the roles named.
After “Save”, the message “HDSatelit is not the active skin” appears.
You have chosen a different skin in “Screen appearance”. Your choices are kept and used when you choose the HDSatelit skin again.
I cannot find the “Skin settings” row in the menu.
The row appears only when the HDSatelit skin package is installed on the receiver. Update the receiver from Settings > Software & Firmware.
The message “The colours could not be saved:” appears.
The receiver could not write the skin files; the reason is shown after the colon. Try again after restarting the receiver.
Related topics
- Interface & Appearance (the menu it opens from)
- Interface theme: Classic or Pro
- Screen appearance (the chosen skin)
- OSD Preferences (the info bar)
- The matching web page: /culori-skin.