

Network & Internet
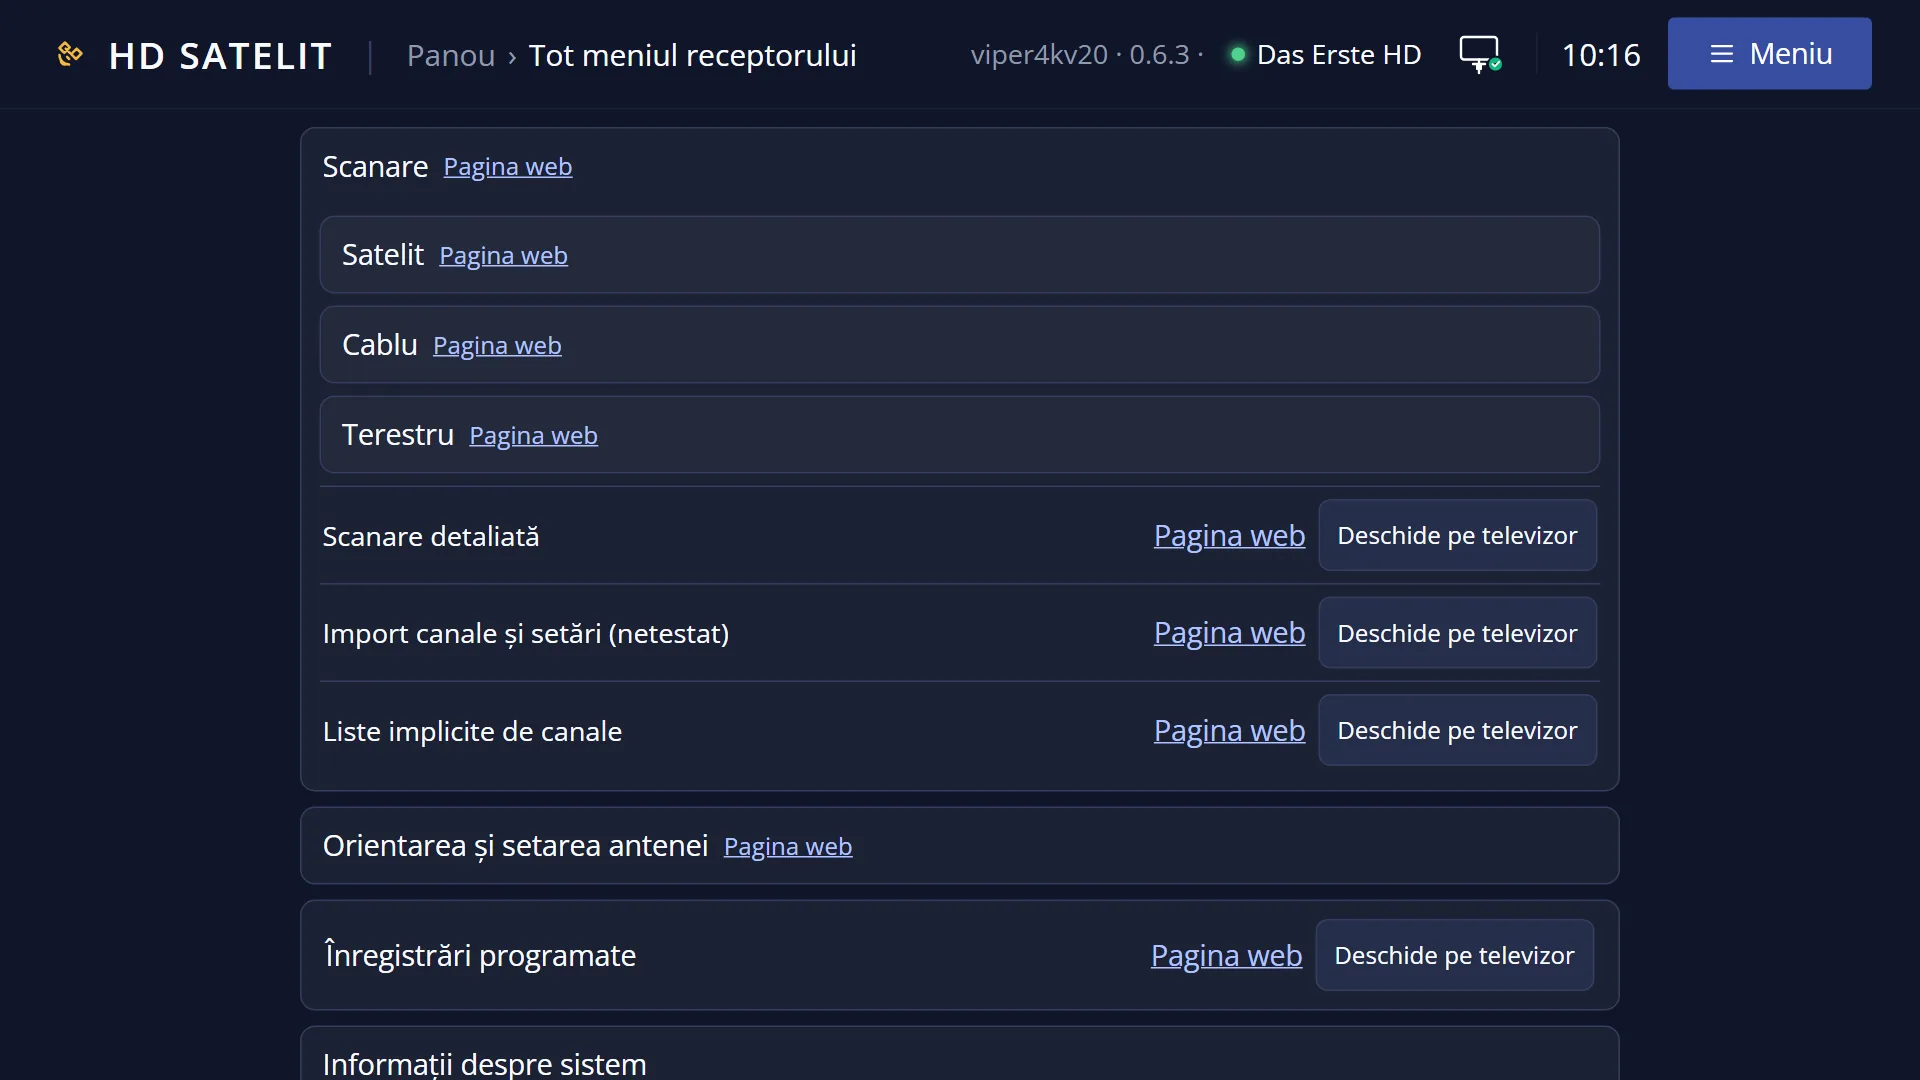
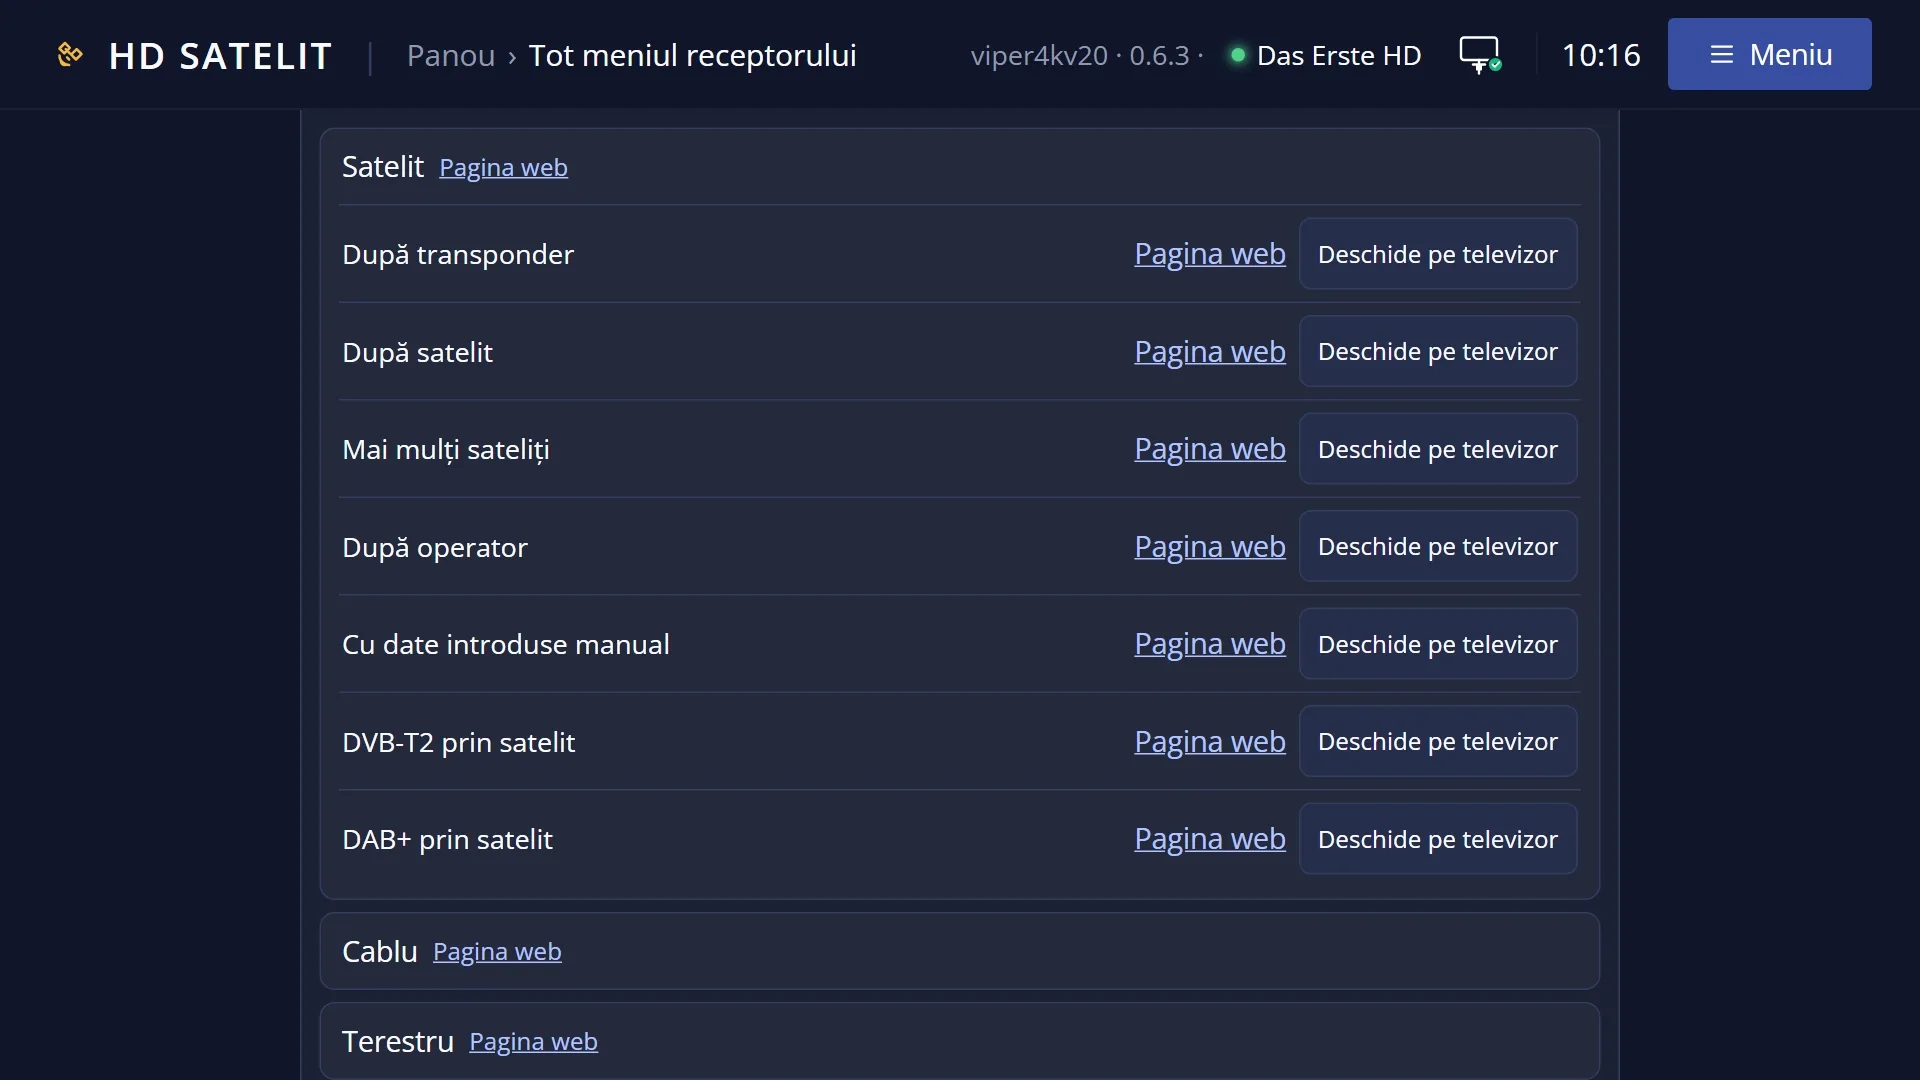
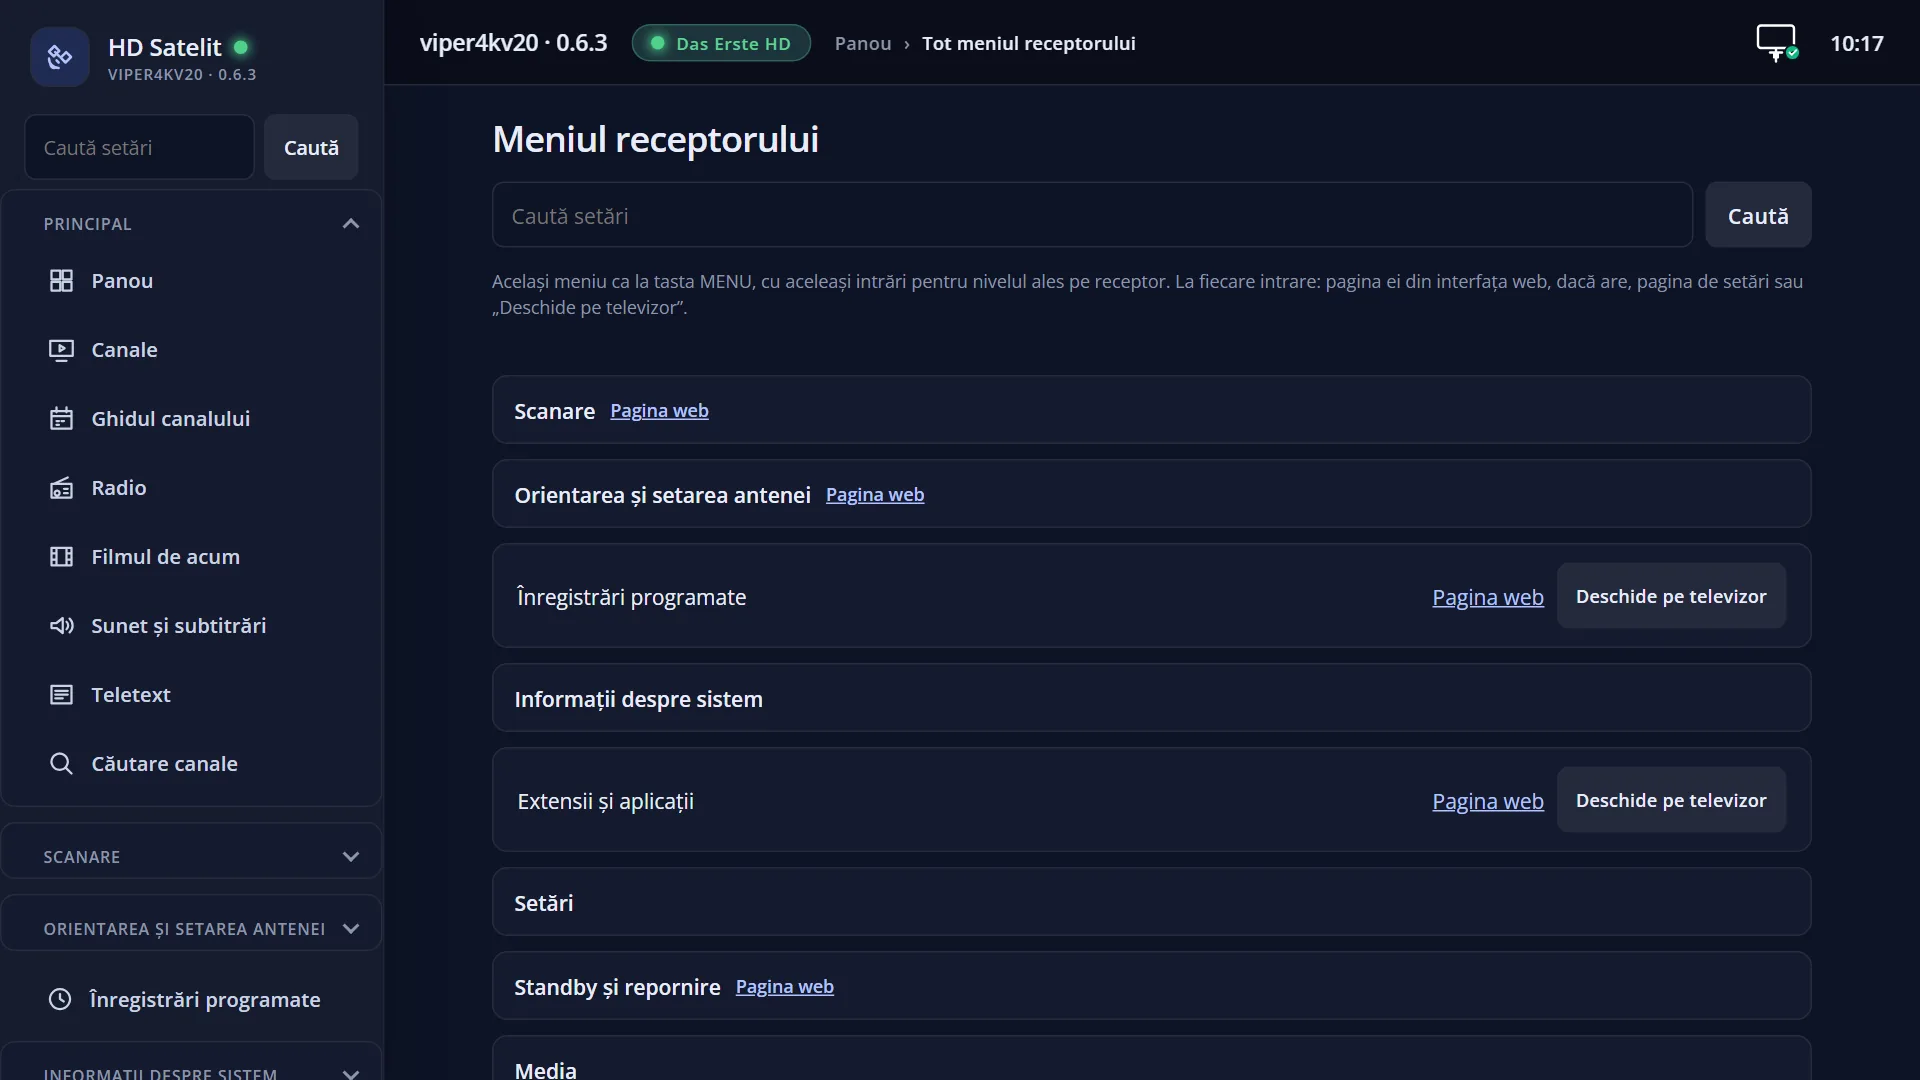
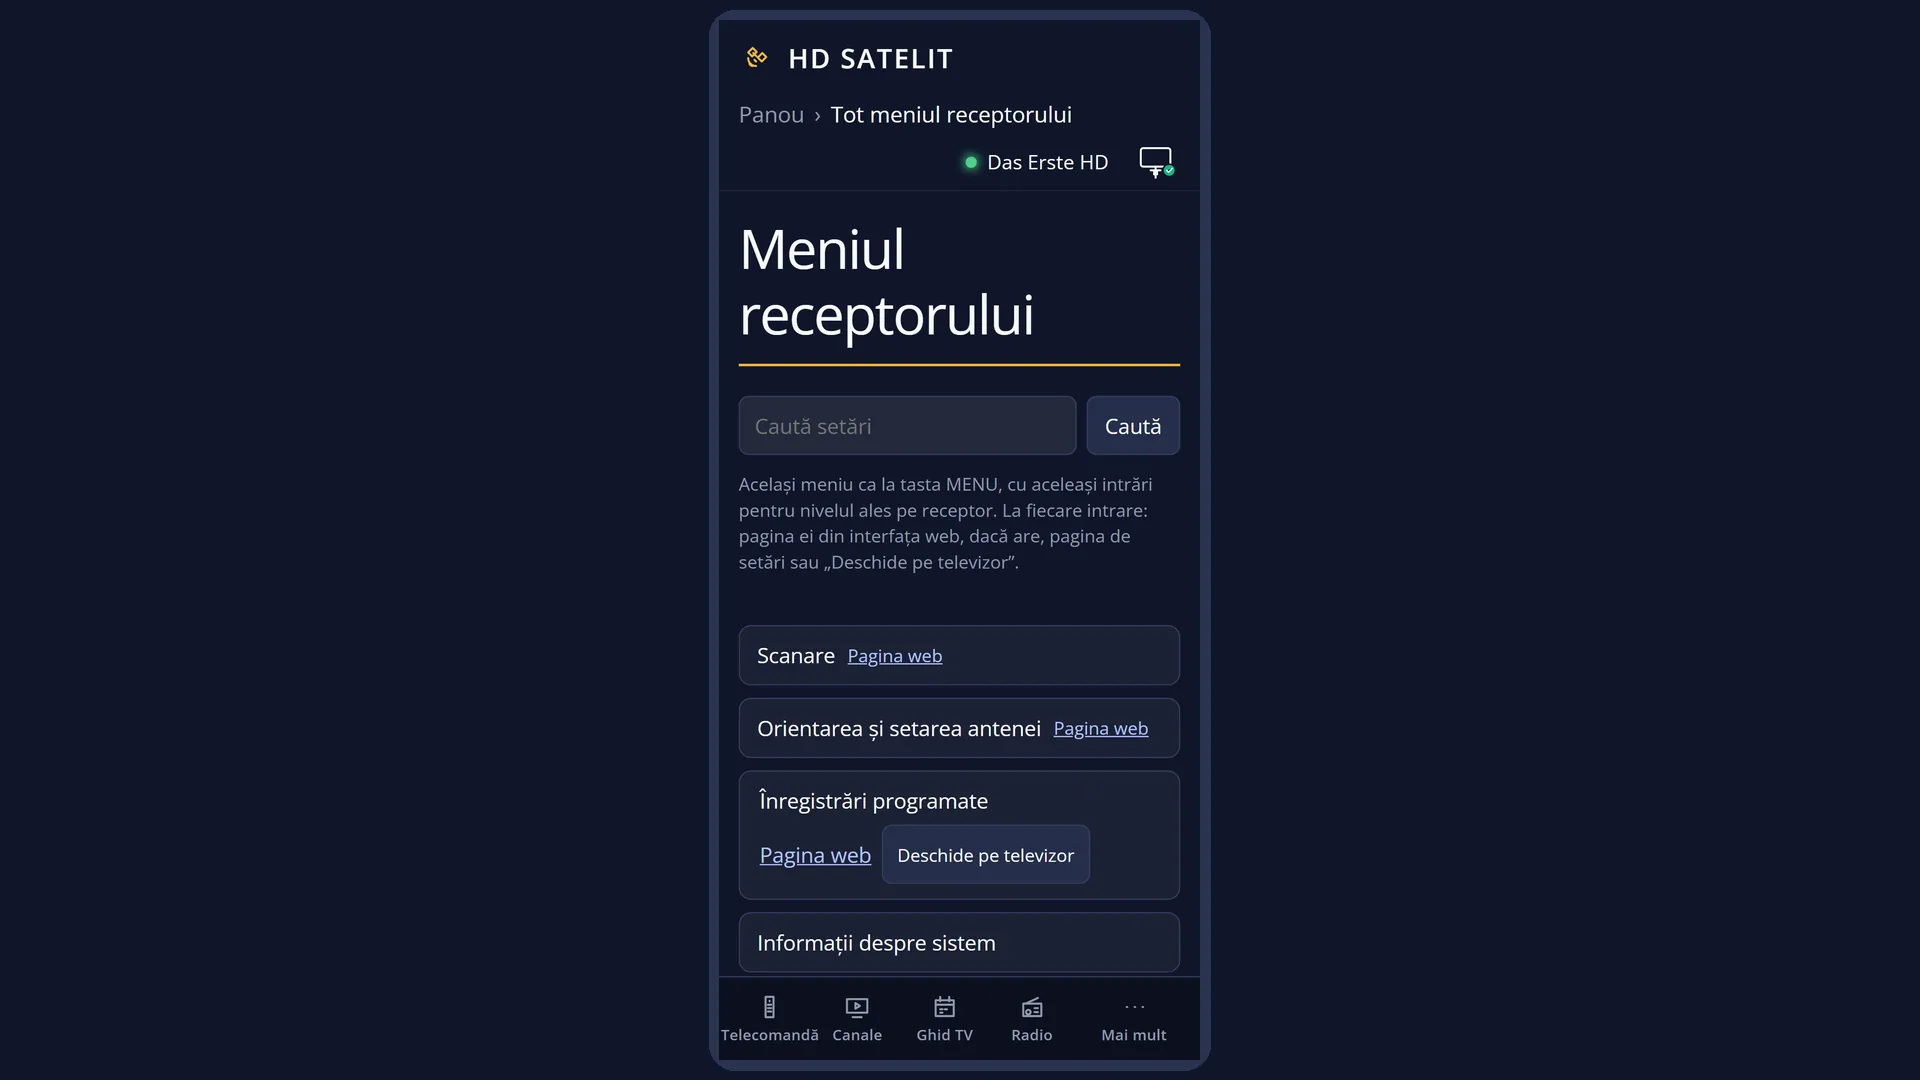
English screenshots coming: some of the pictures below still show the receiver and the web interface in Romanian. The rows, keys and steps described on this page are the English ones.
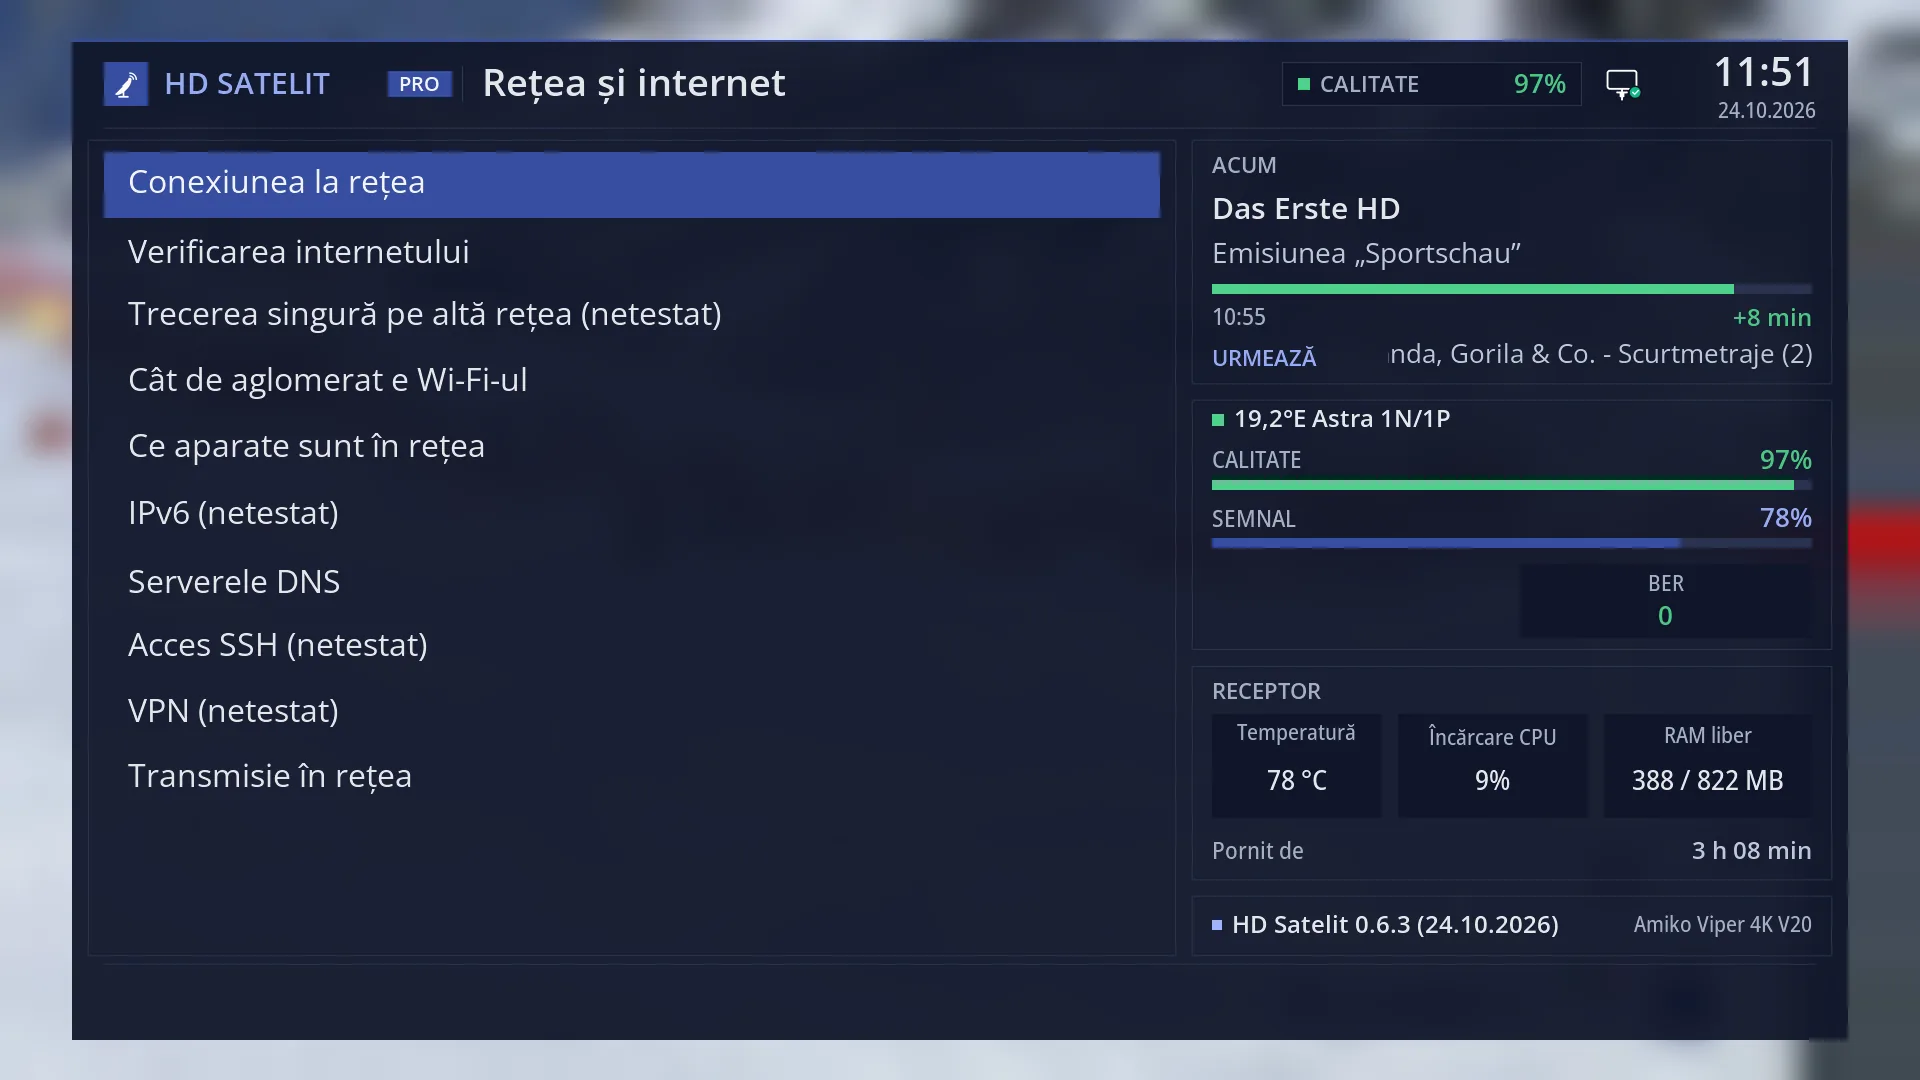
- 1 Submenu title: “Network & Internet”.
- 2 The 10 rows; the selected row has a blue background. The number keys 1 to 9 open the first nine.
- 3 Network icon: cable or Wi-Fi, and whether the internet is working.
- 4 NOW: the current channel and programme, then what comes next (Pro theme).
- 5 Channel signal: the satellite, quality, strength and BER.
- 6 Receiver: temperature, processor, memory and how long it has been on.
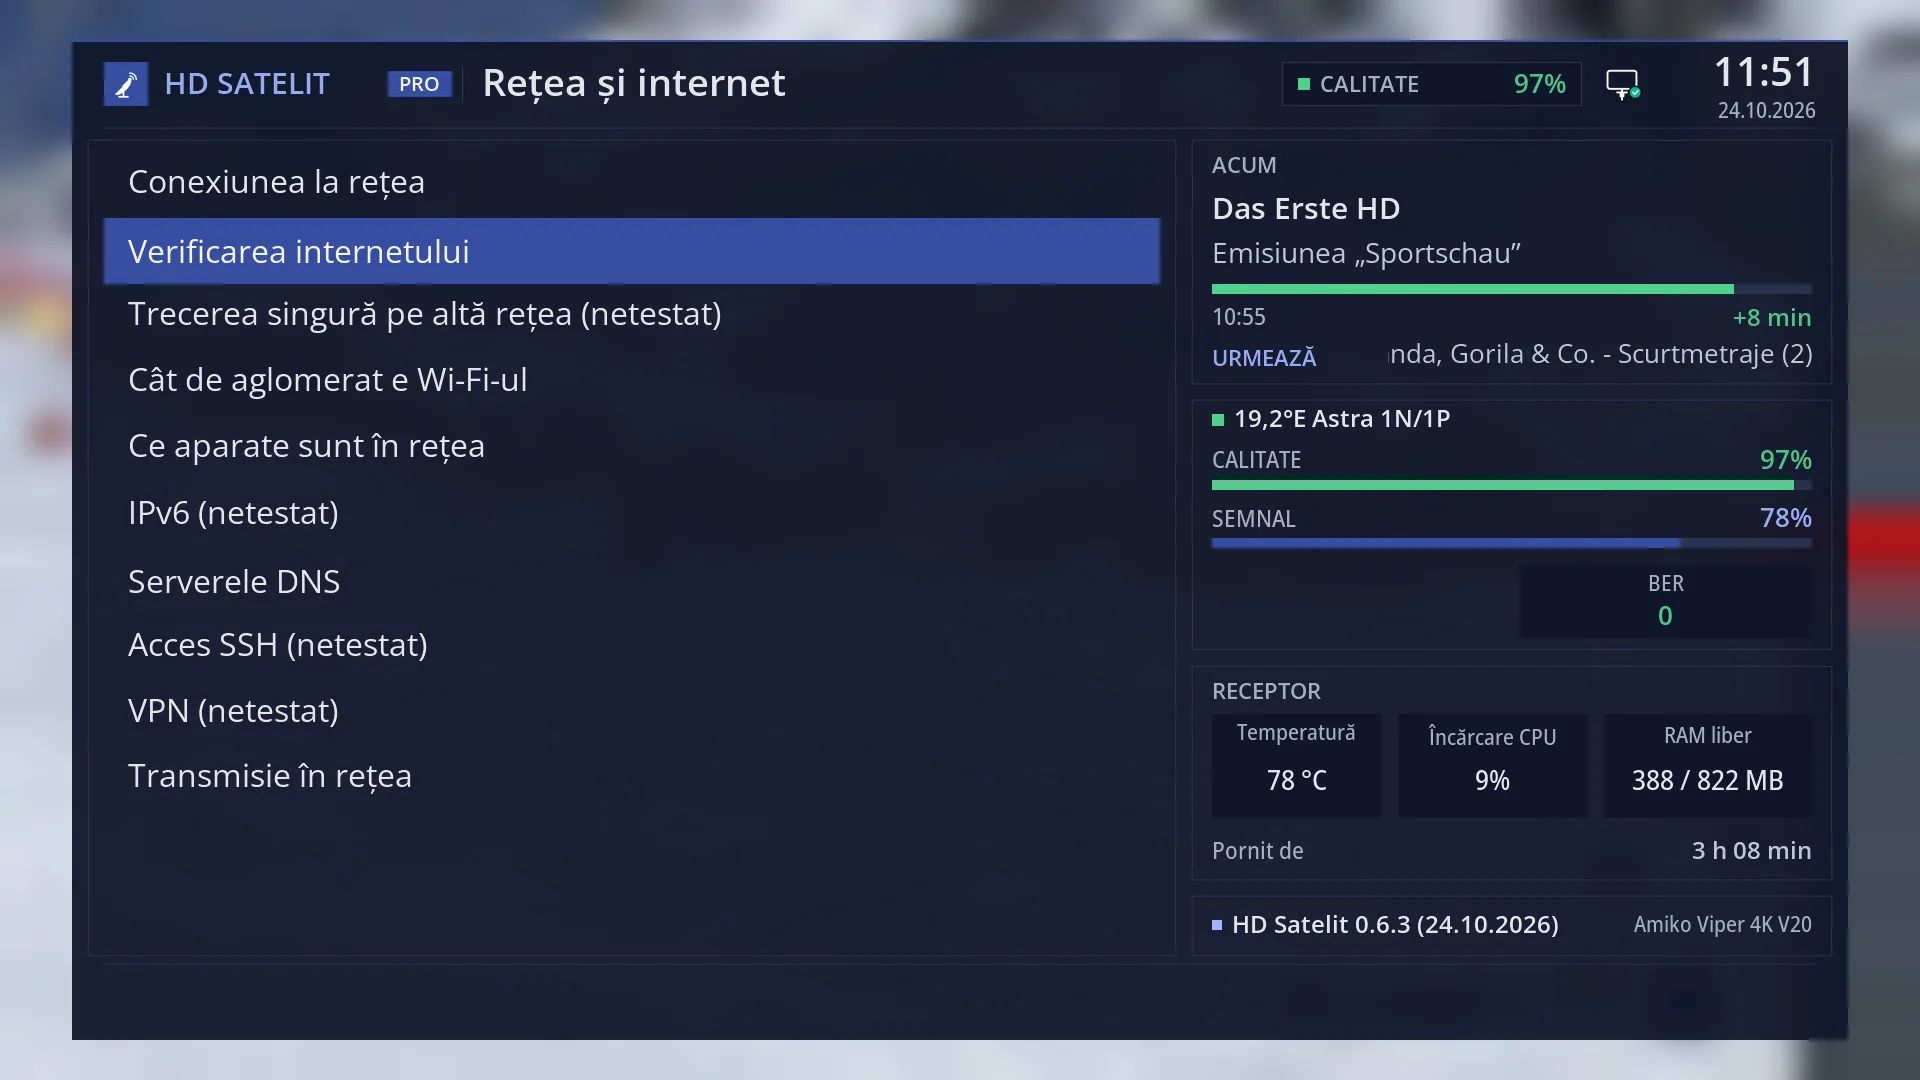
- 1 Selected row: “Internet check”.
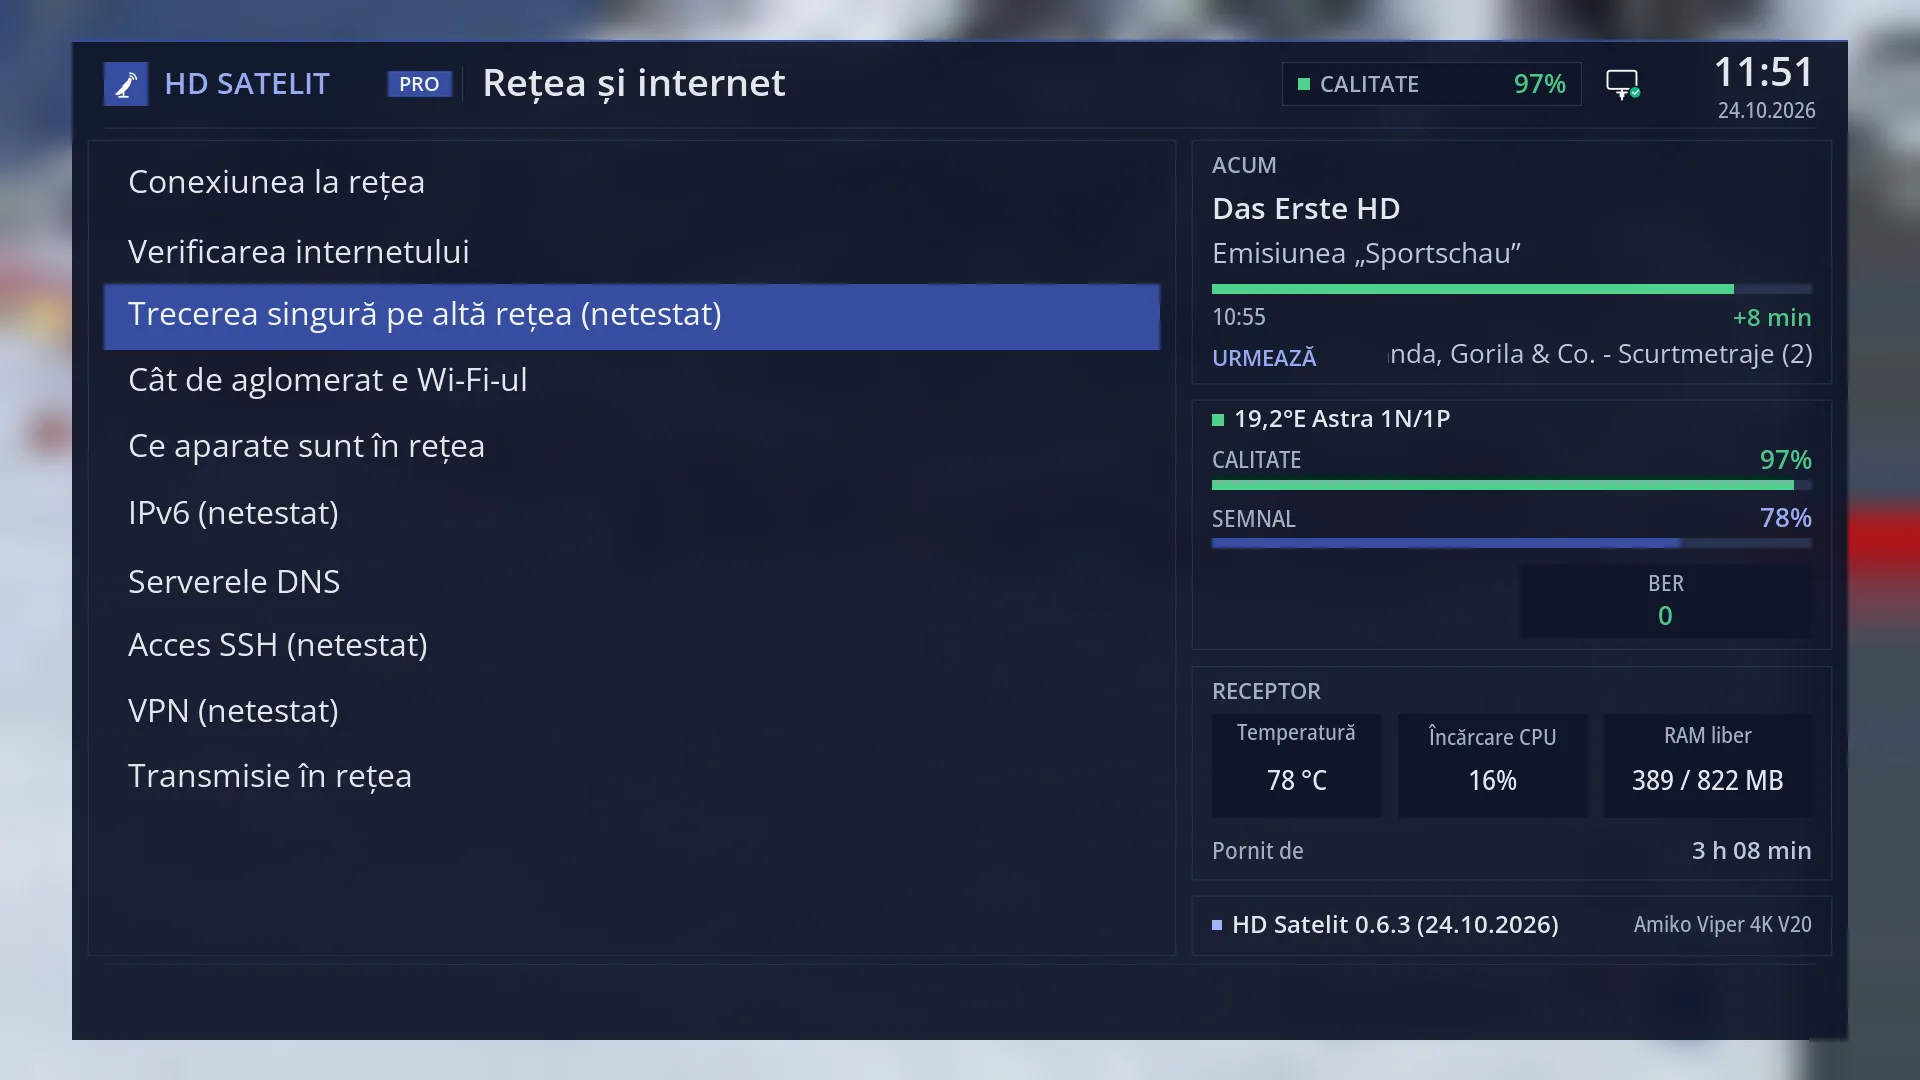
- 1 Selected row: “Switch to another network by itself (not tested)”.
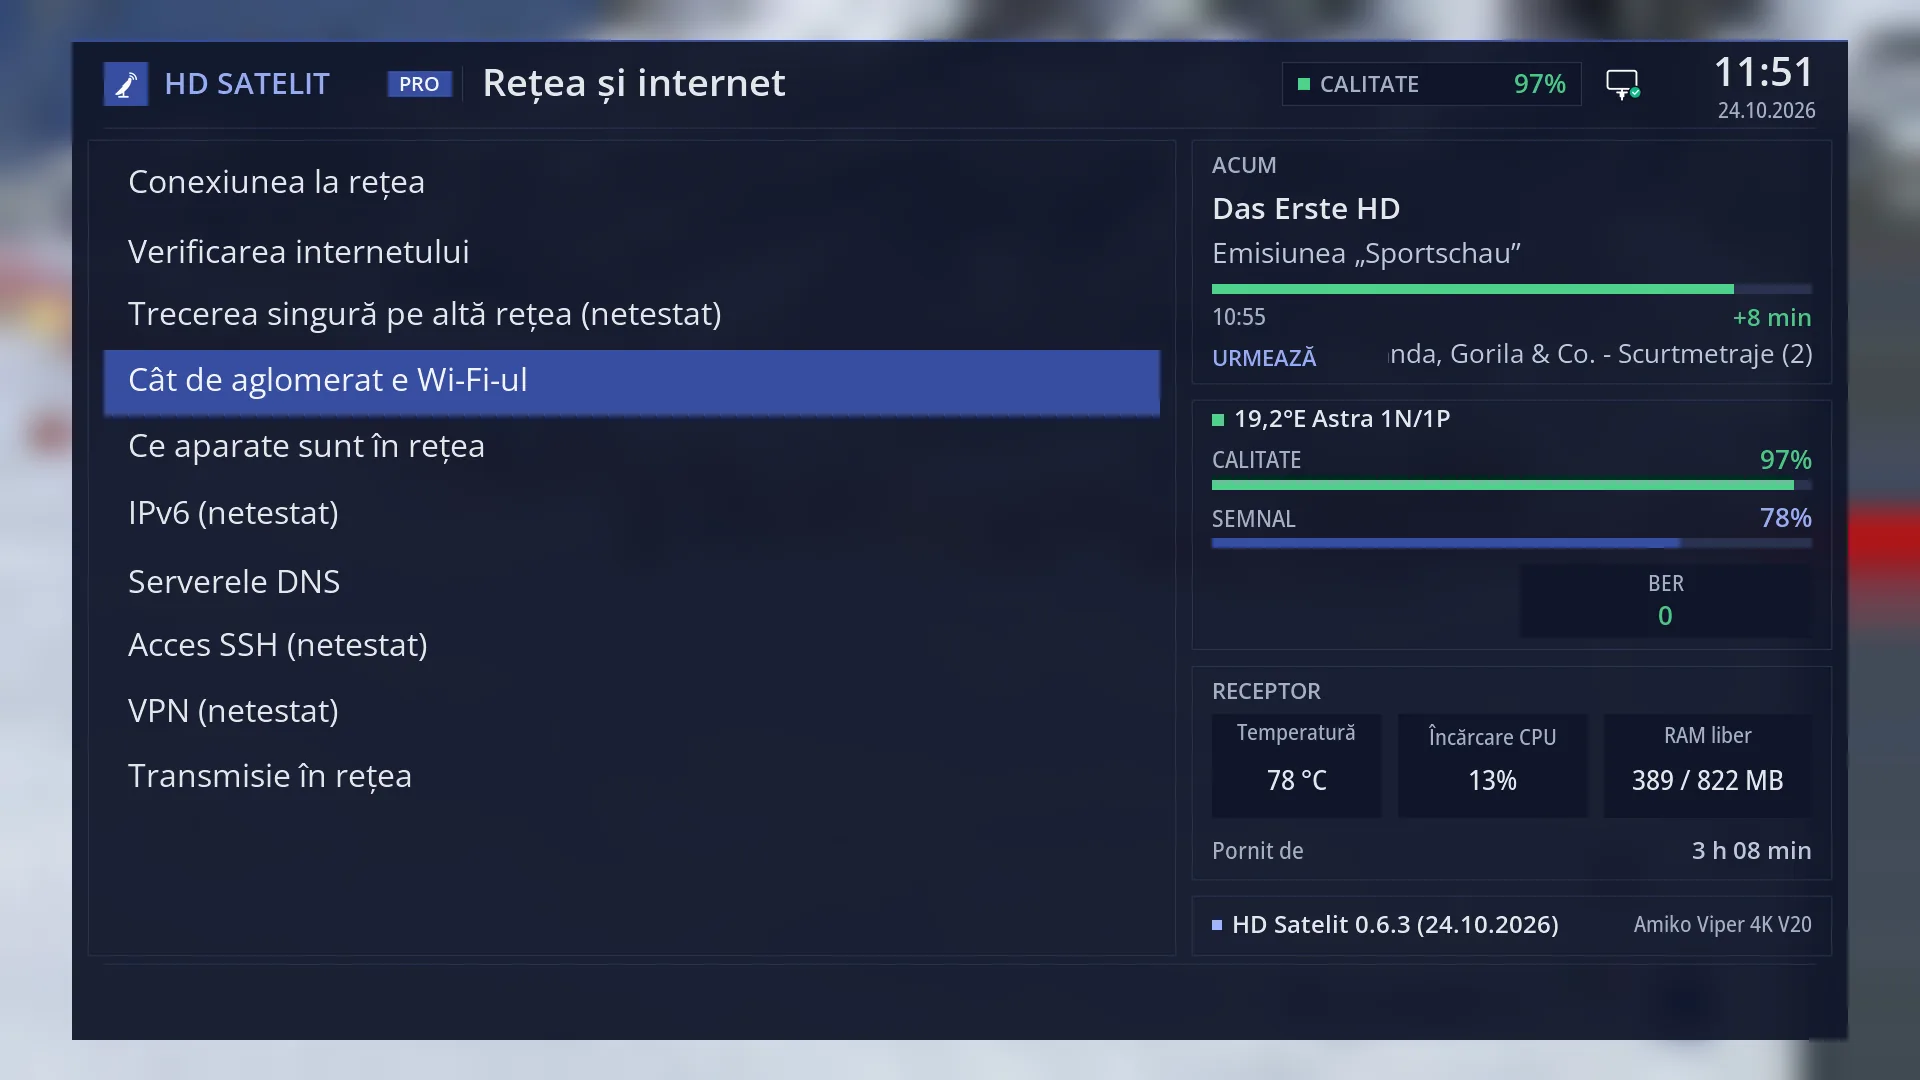
- 1 Selected row: “How busy the Wi-Fi is”.
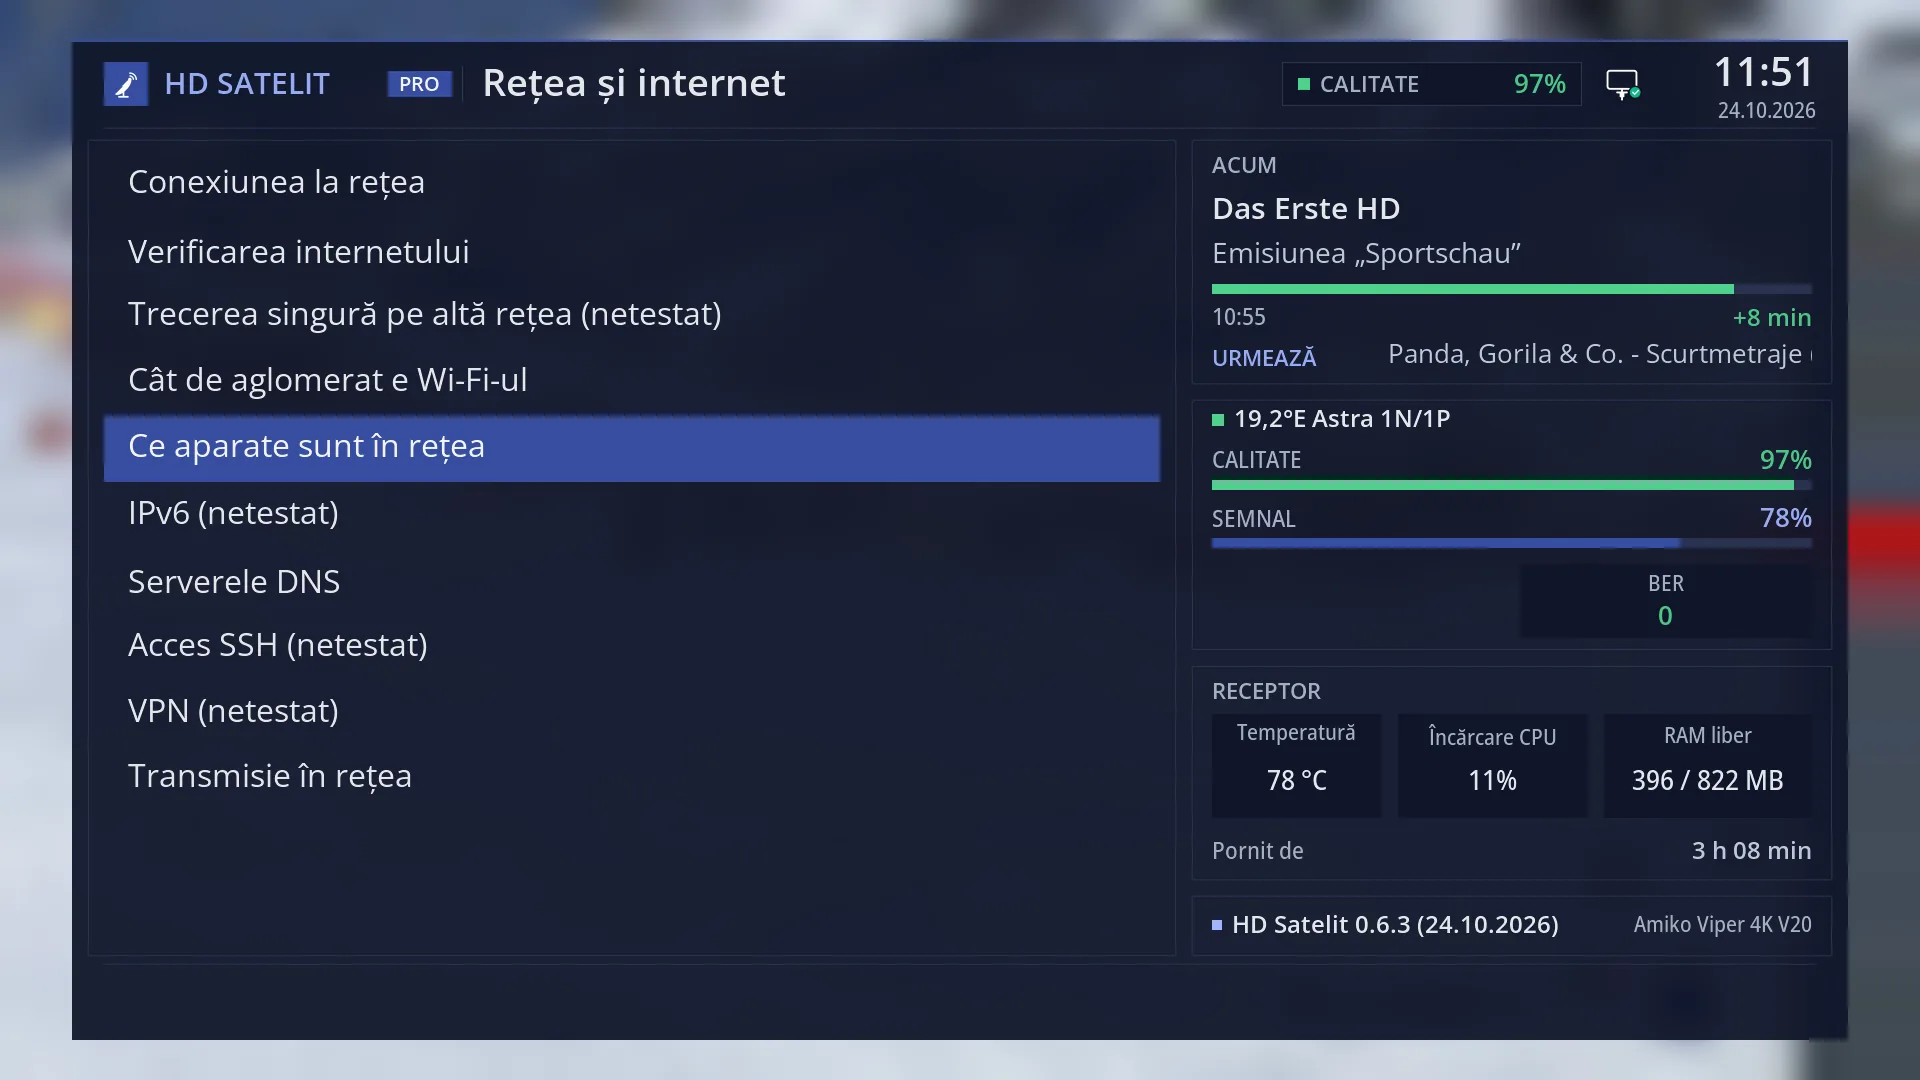
- 1 Selected row: “Which devices are on the network”.
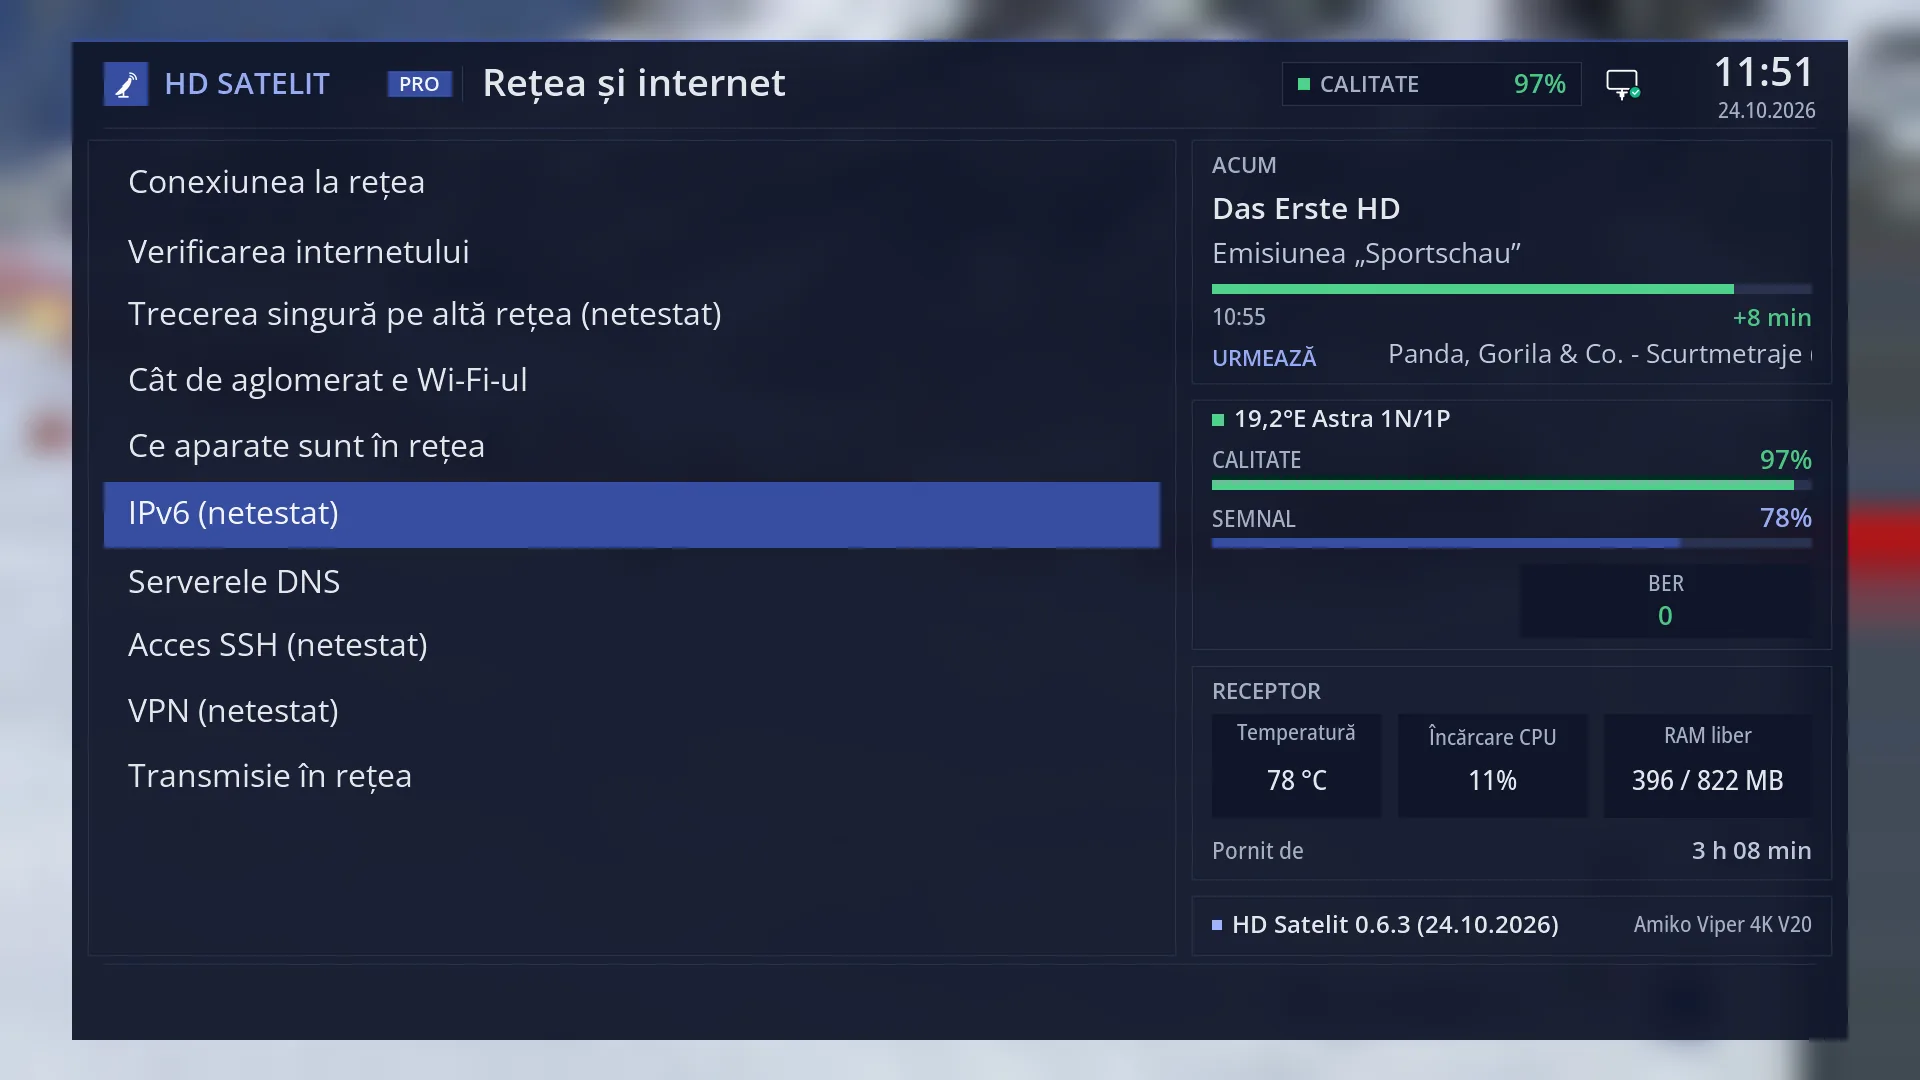
- 1 Selected row: “IPv6 (not tested)”.
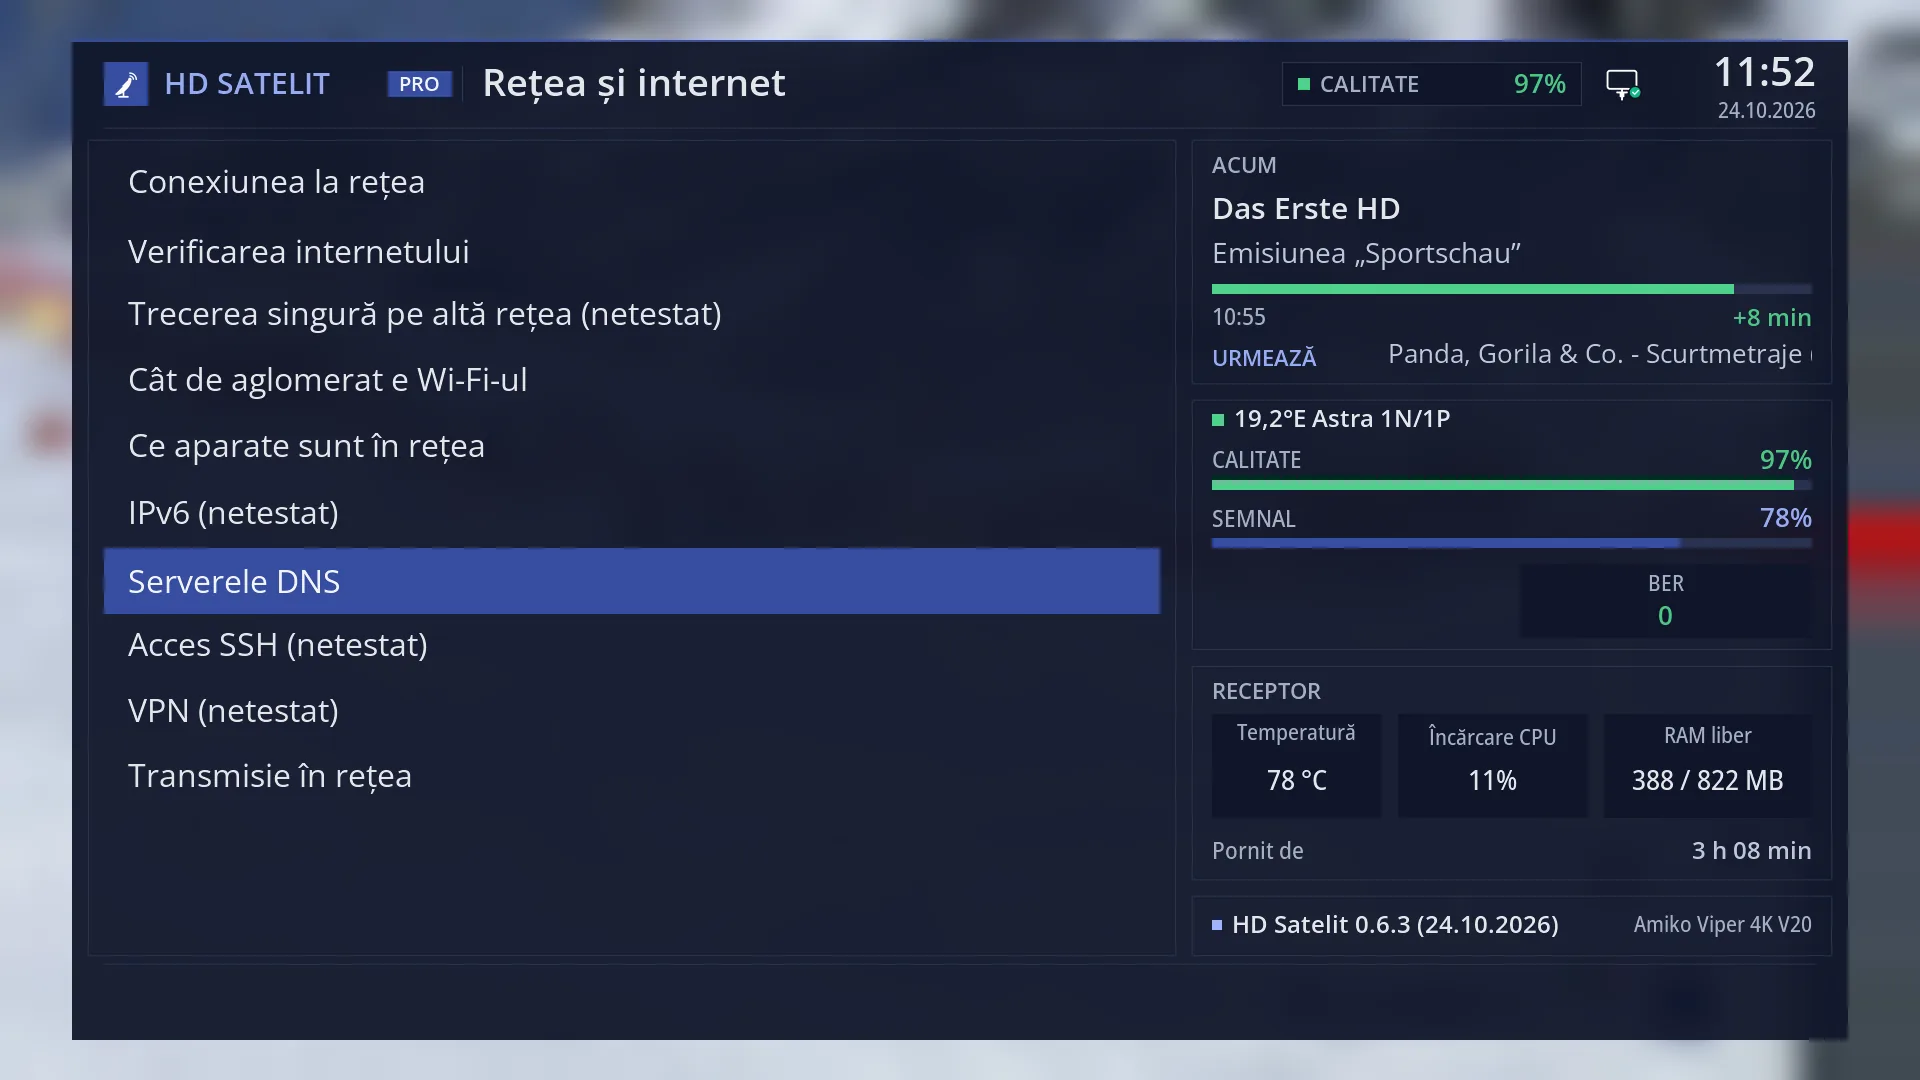
- 1 The seventh row; it is missing when “Setup Mode” is set to Simple.
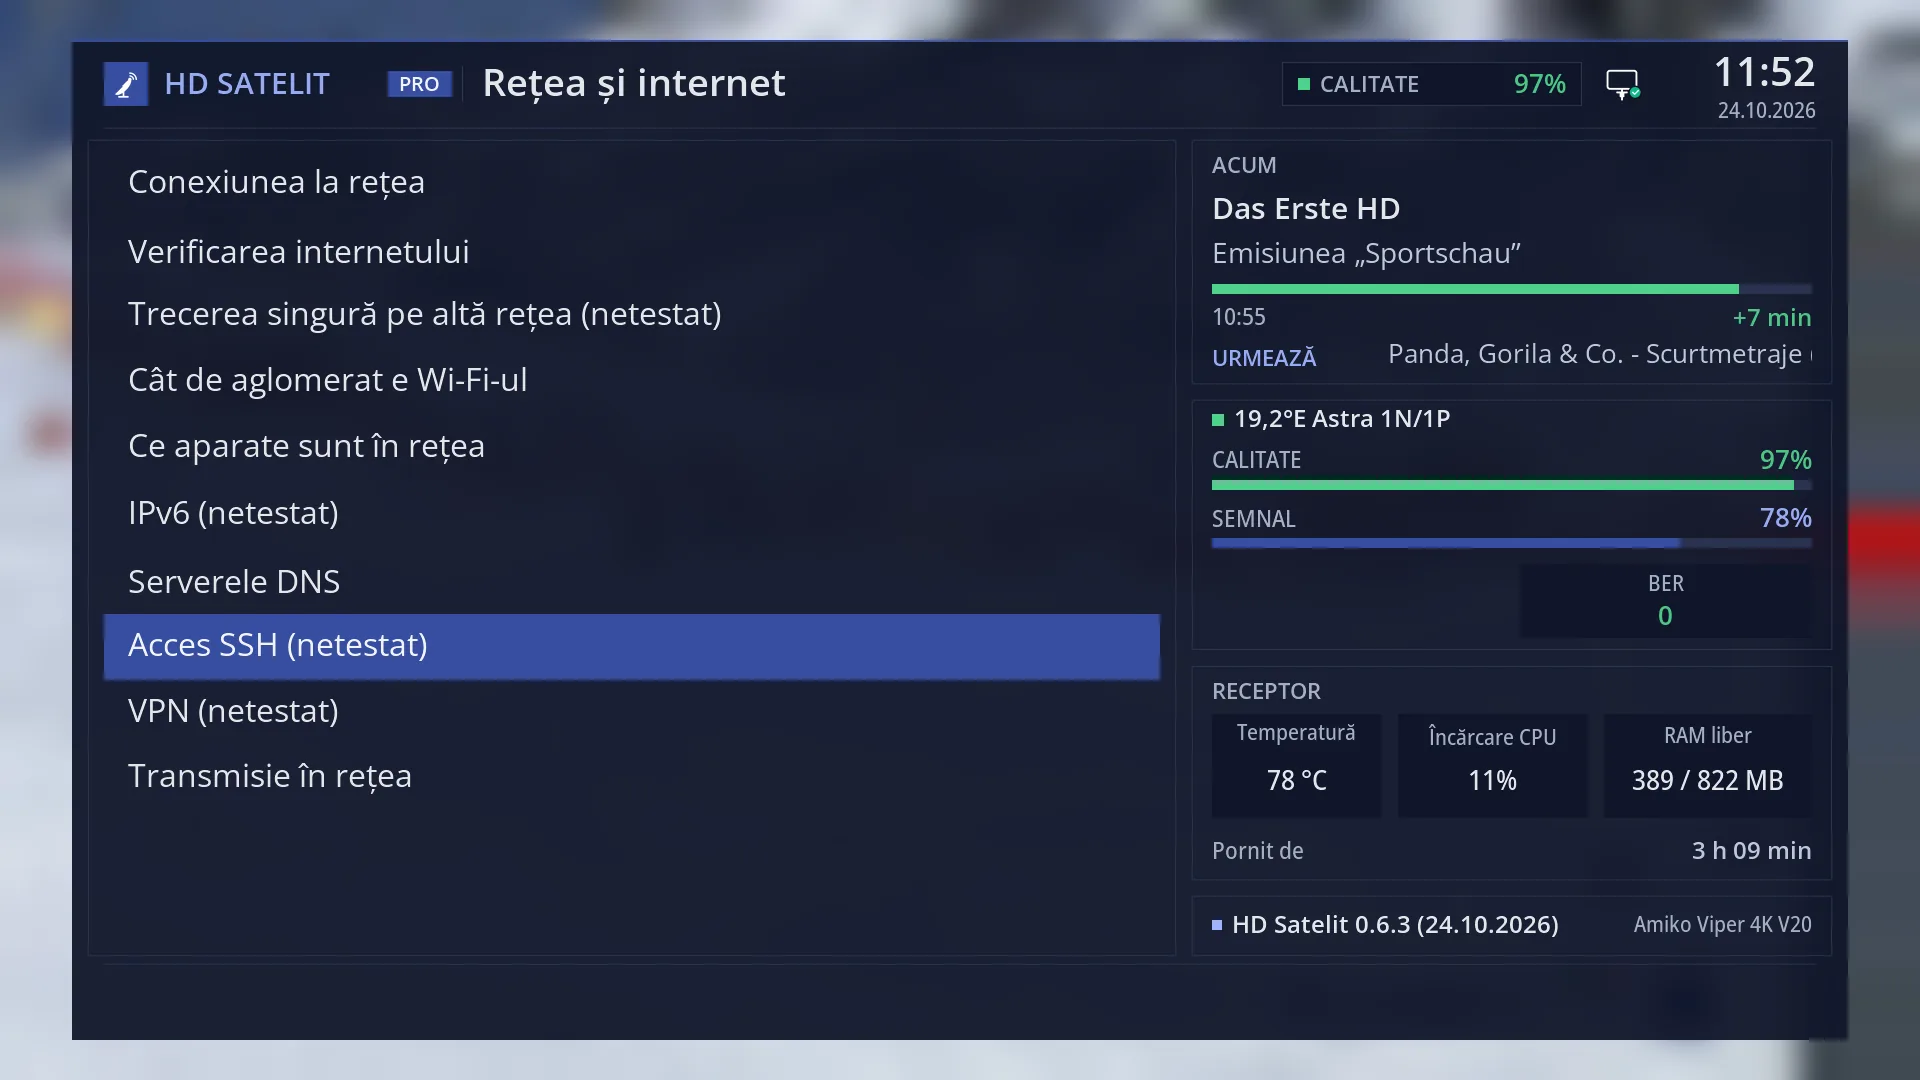
- 1 Selected row: “SSH access (not tested)”.
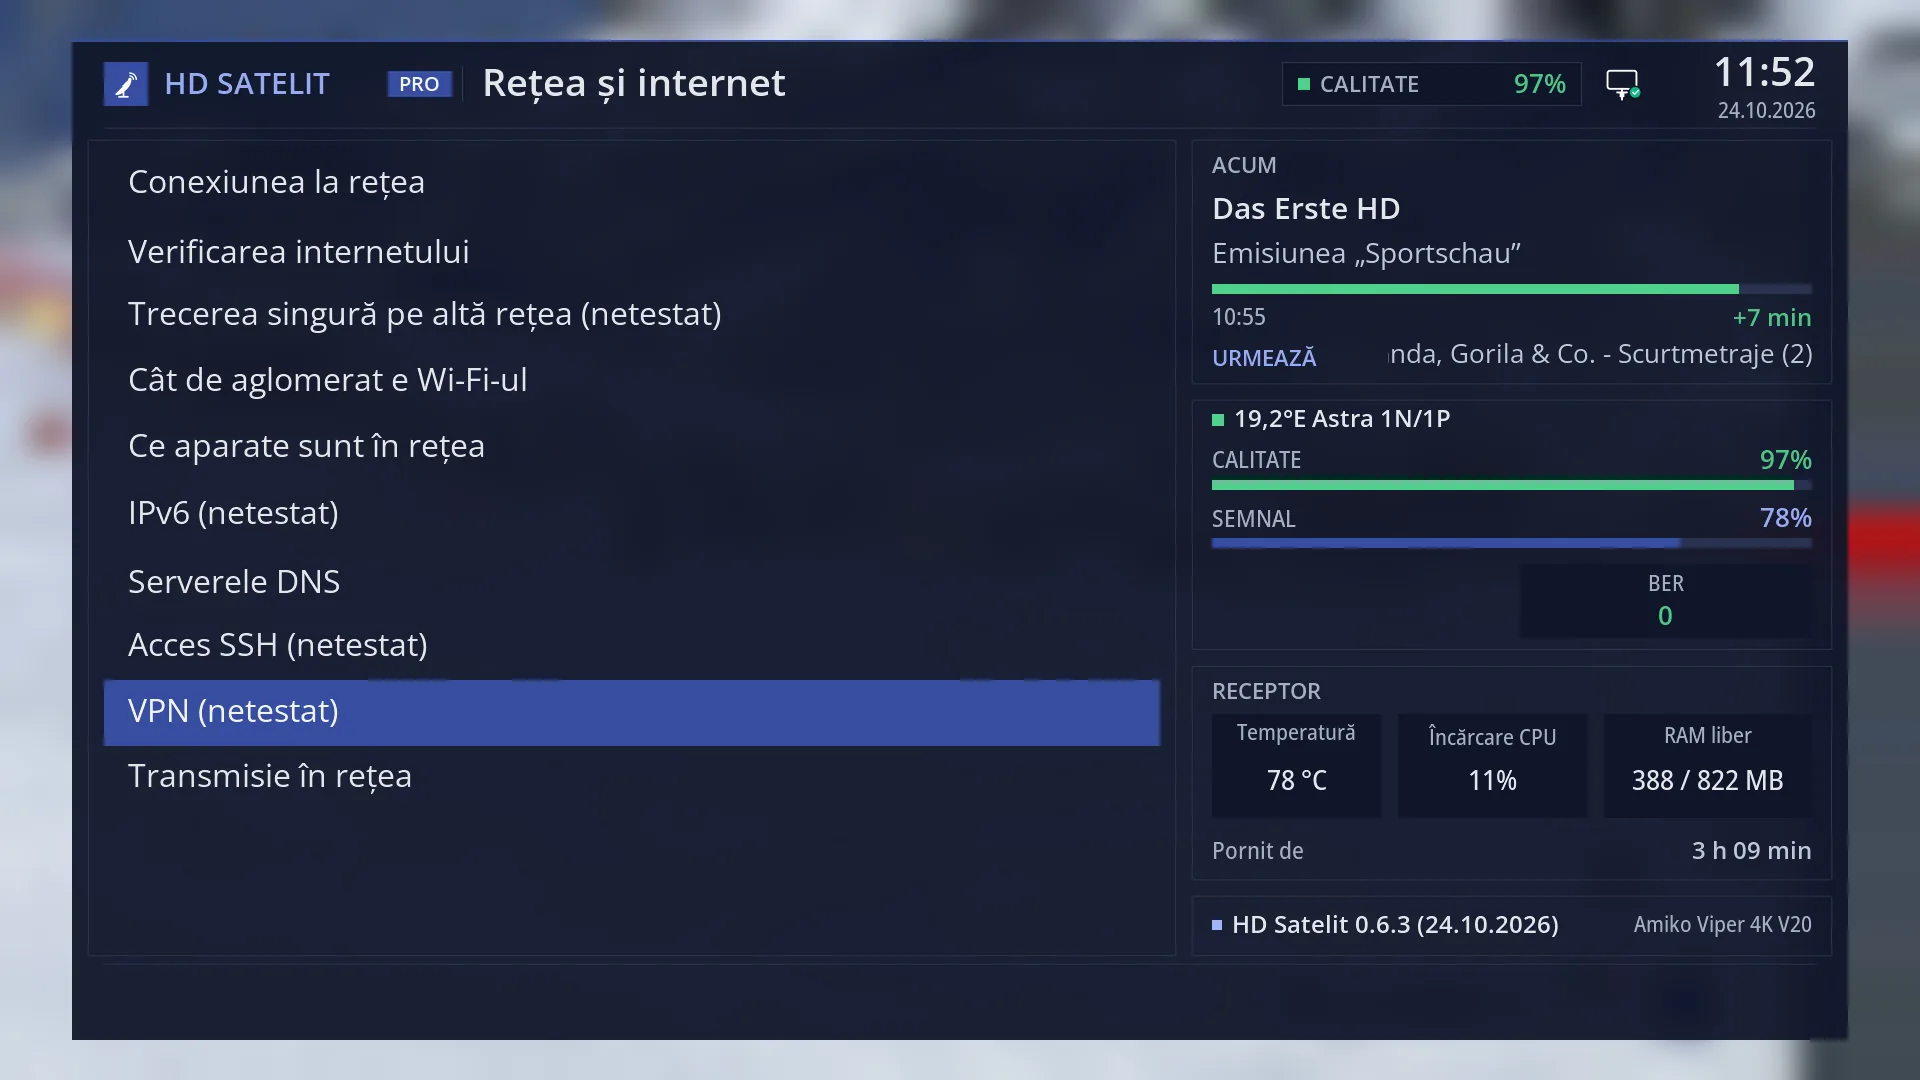
- 1 Selected row: “VPN (not tested)”.
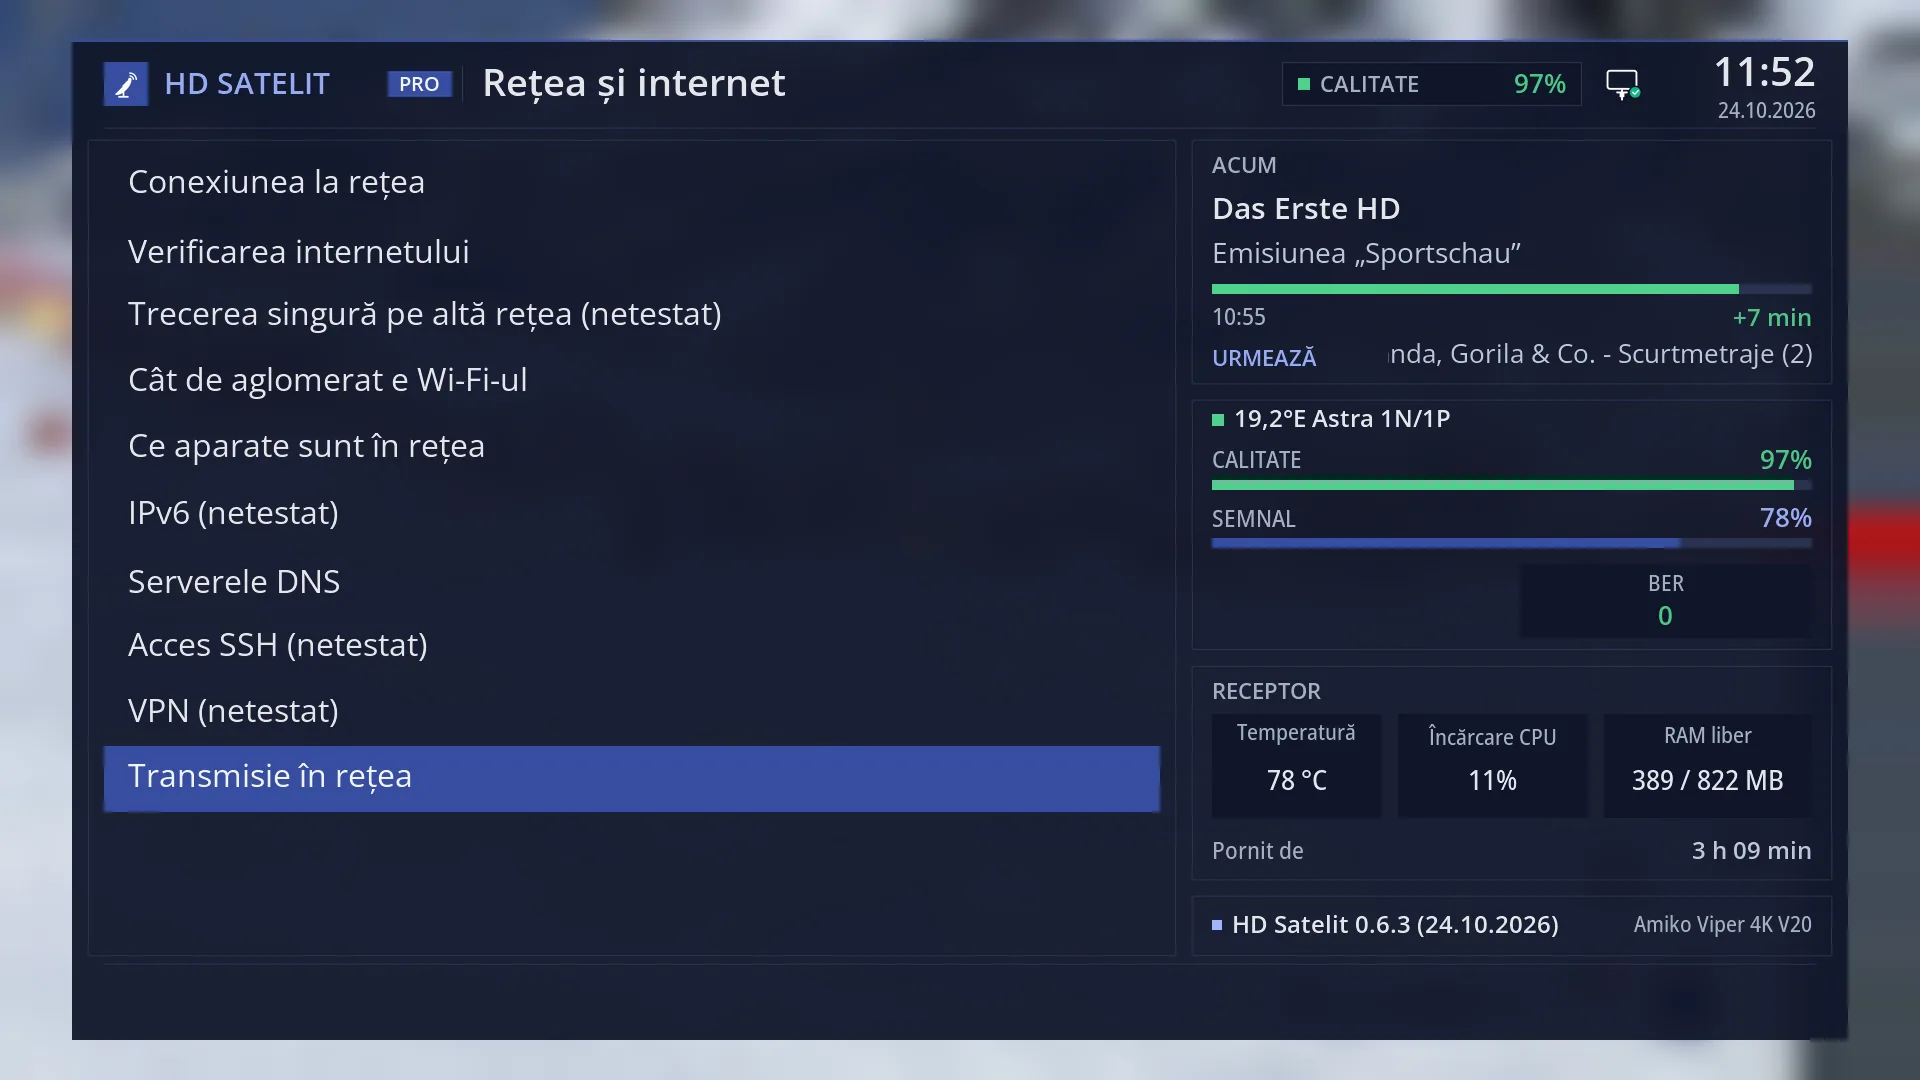
- 1 Selected row: “Network streaming”.
What it is for
“Network & Internet” is the submenu in Settings that holds everything to do with how the receiver connects to the router and the internet: cable and Wi-Fi, the internet check, switching to another network by itself when the internet drops, tools for your home network, IPv6, the DNS servers, access from a computer (SSH), the VPN and streaming channels to a browser.
Open it when the receiver has no internet, when you move it from cable to Wi-Fi (or the other way round), when you want to know which devices are in your home or how busy the Wi-Fi is, or when you want to watch channels on your phone.
Each row opens a screen with its own help (the links are further down, under “Each row”). You also find the same things in the web interface, mainly on the /retea page.
How to get here
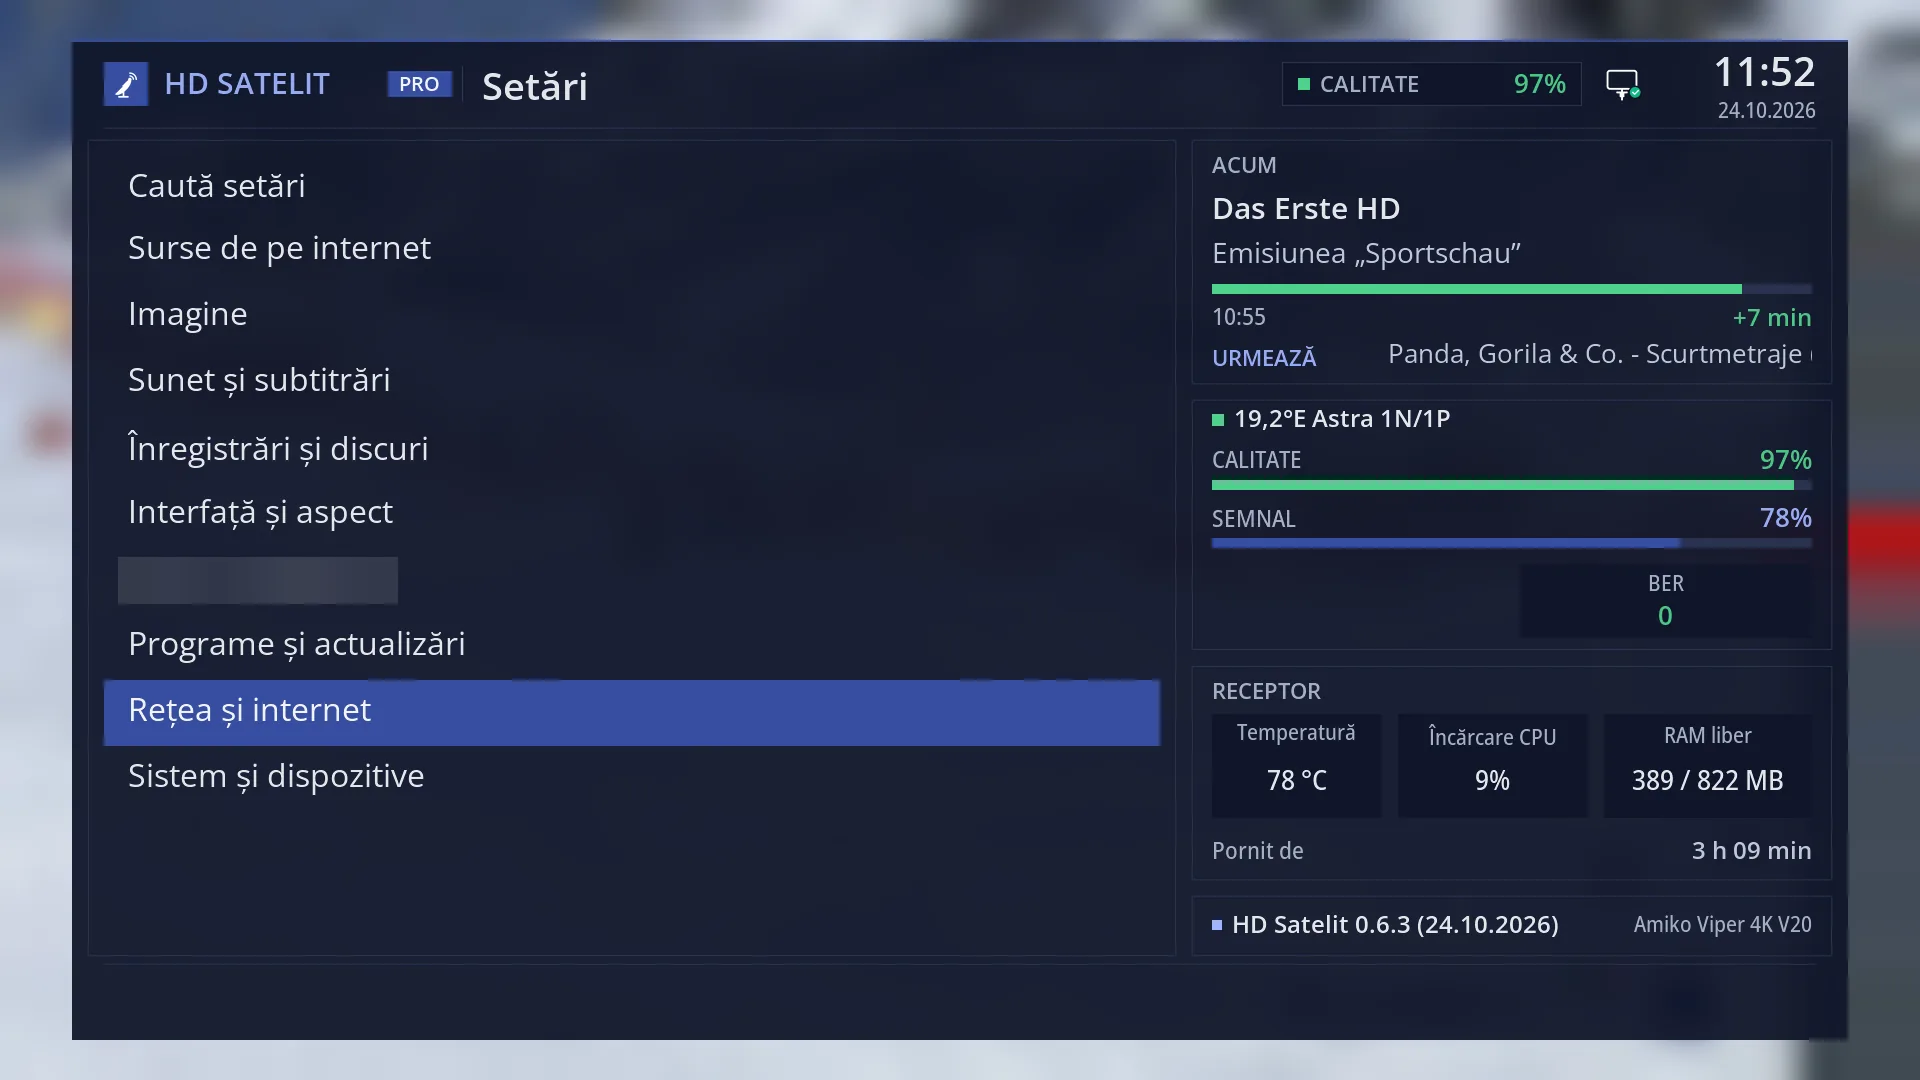
Path: Main menu > Settings > Network & Internet (the 9th row in Settings).
Keys on the remote: MENU 6 9.
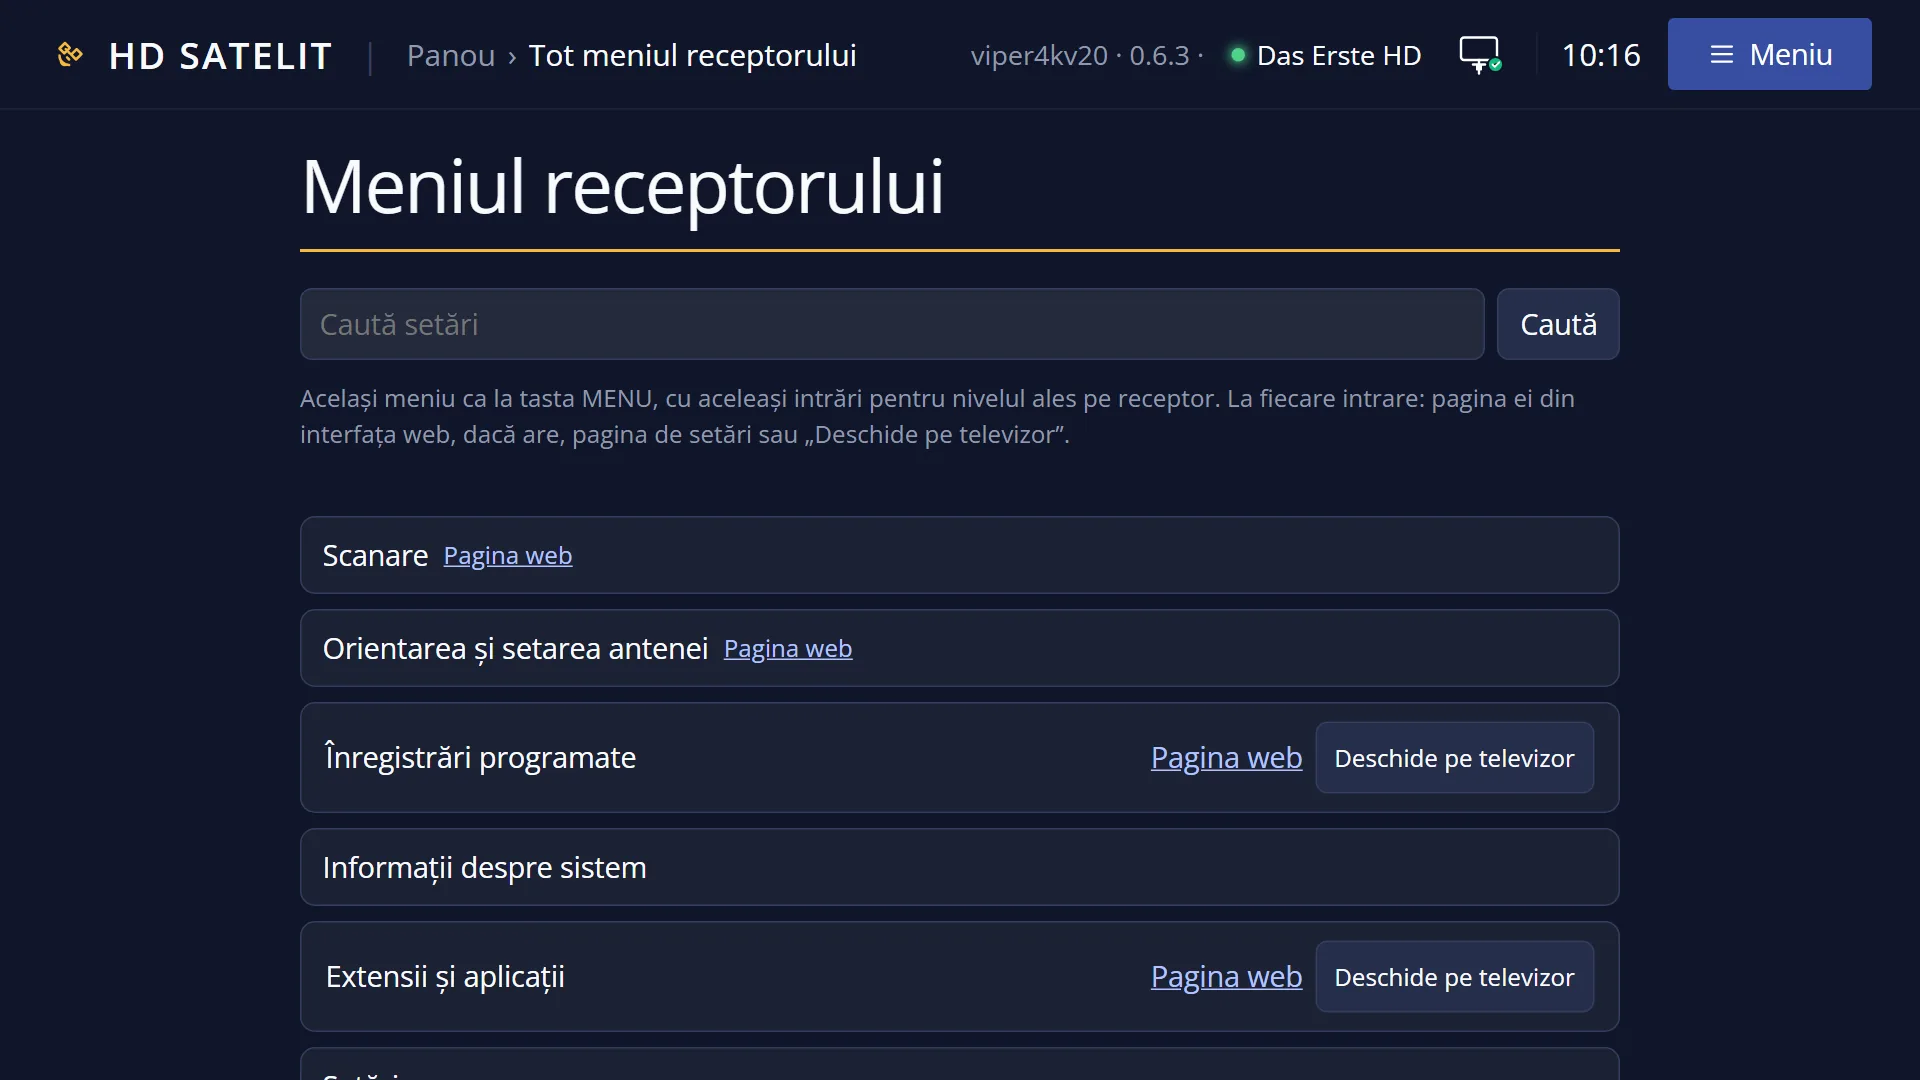
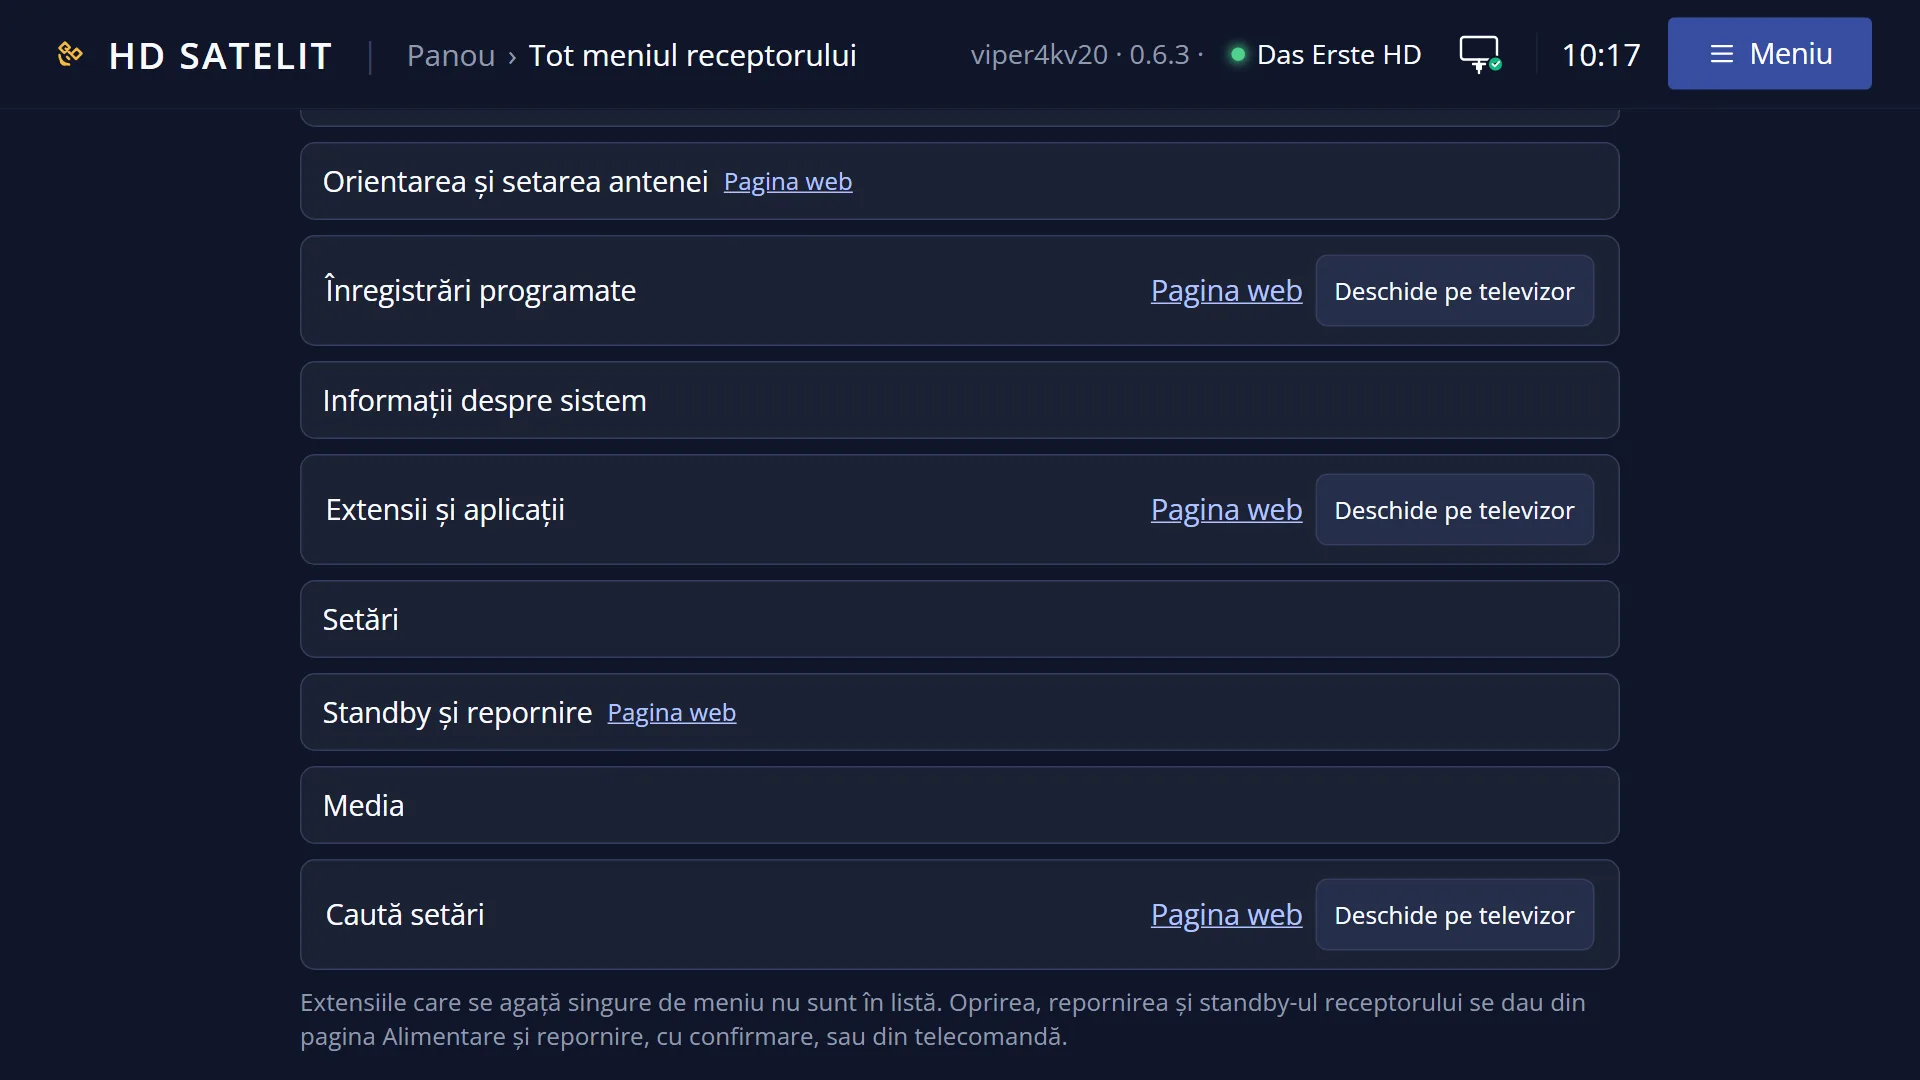
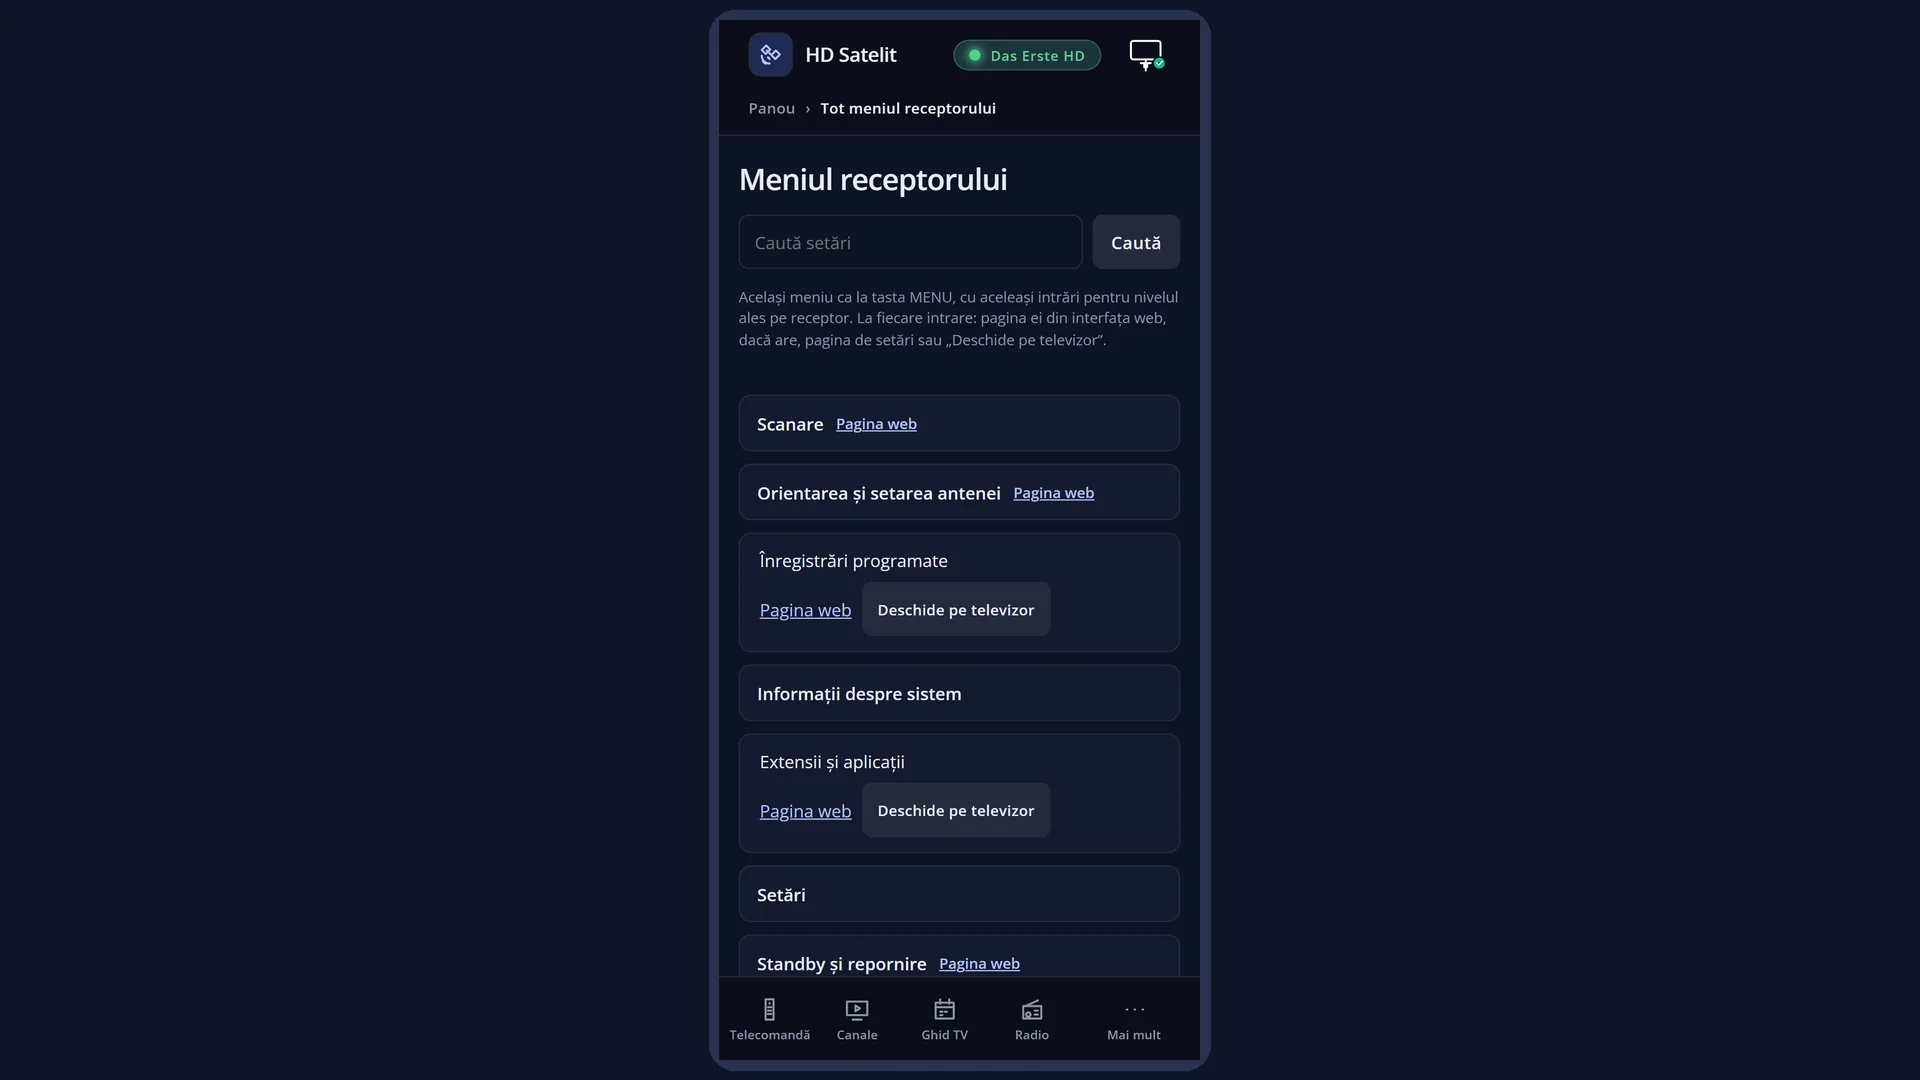
In the web interface: the /meniu page, group “Settings” > “Network & Internet”, or go straight to the /retea page (cable, Wi-Fi, internet, switching to another network, IPv6).
With “Search settings” (MENU 9 or the TTX key in any menu): type “network”, “wifi”, “dns” or “vpn”.
What you see on the screen
At the top you see the title “Network & Internet”, the clock and the date. In the Pro theme, “HD SATELIT” with the label “PRO” appears to the left of the title. On the right you see the signal quality of the current channel and the network icon: a cable or a Wi-Fi symbol, drawn according to the state of the internet (working, the router has no internet, the receiver is not connected to the router).
On the left is the list of 10 rows, in the order shown on screen: Network Connection Setup, Internet check, Switch to another network by itself, How busy the Wi-Fi is, Which devices are on the network, IPv6, DNS Server Settings, SSH access, VPN and Network streaming. The selected row has a blue background.
Some rows have “(not tested)” next to their name: the feature is ready, but it has not yet been tried on every receiver. You can use them; if you see something wrong, let us know.
In the Pro theme, the right side shows the same four boxes as the main menu: “NOW” (the current channel and programme, with “Next”), the signal (the satellite, “Quality”, “Signal”, “BER”), “Receiver” (temperature, processor load, free memory, “On for”) and, at the bottom, the image version with the receiver name.
In the Classic theme (the factory default) you only see the list, in a panel on the left, and the channel picture stays visible on the right.
In tile view (YELLOW key), each row is a tile with its icon, name and number, three tiles per row.
Rows and settings
| Row | Values | Default | What it does |
|---|---|---|---|
| 1 Network Connection Setup | LAN connection (cable), WLAN connection (Wi-Fi) | The list of the receiver's network adapters, with the status of each one (active, no cable, connected to Wi-Fi, signal, whether the internet goes through it). Here you change the adapter's address, search for Wi-Fi networks and connect with the password, test the network and restart the network. Help: /ajutor/10-reteaua-si-internetul/conexiunea-la-retea/ When you connect the receiver to the internet for the first time or move from cable to Wi-Fi. | |
| 2 Internet check | How often the internet is checked, Show the internet icon in the bars | one minute; Yes | The receiver checks by itself, in the background, whether it has internet and shows the result with the network icon in the bars. Here you choose how often it checks and whether the icon is shown. Help: /ajutor/10-reteaua-si-internetul/verificarea-internetului/ When you want an internet outage to show up sooner, or when you do not want the icon on screen. |
| 3 Switch to another network by itself (not tested) | Switch to another network by itself: Yes / No, Order of the networks: Cable, then Wi-Fi / Wi-Fi, then cable | Yes; Cable, then Wi-Fi | When the internet is not working, the receiver switches by itself to the cable or to a saved Wi-Fi network that has internet, and switches back when its own network recovers. Help: /ajutor/10-reteaua-si-internetul/trecerea-singura-pe-alta-retea/ When the receiver has both cable and Wi-Fi and you want it to choose by itself. |
| 4 How busy the Wi-Fi is | How many nearby Wi-Fi networks are on each channel and which channel is the least busy for your router. It does not change anything on the receiver. Help: /ajutor/10-reteaua-si-internetul/cat-de-aglomerat-e-wi-fi-ul/ When the Wi-Fi is slow or keeps dropping. | ||
| 5 Which devices are on the network | The devices on your home network (phones, computers, TVs, other receivers), with their names and types. Help: /ajutor/10-reteaua-si-internetul/ce-aparate-sunt-in-retea/ When you are looking for a device's address or want to know who is connected to the router. | ||
| 6 IPv6 (not tested) | No, Yes | No | Opens a screen with a single row, “IPv6”. No: the network adapters have no IPv6 addresses and the IPv6 client does not start; the network runs on IPv4, as before. Yes: the receiver also gets IPv6 addresses, if your network provides them. Above the explanation, the screen shows the current status: “Off now: the network adapters have no IPv6 addresses and the IPv6 client is not running.” or “active now”, with the IPv6 addresses received (“No IPv6 address yet.” when there are none) and where the IPv6 client is running. If the change could not be made completely, you see “The setting is off, but the receiver still has IPv6. It goes off completely at the next start.” (or the reverse). The setting is not included in the settings copy: it is the state of this receiver. In the web interface it is the “IPv6” tab on the /retea page. Choose Yes only if your internet provider gives you IPv6 and you need it; otherwise leave it on No. |
| 7 DNS Server Settings | The list of name servers (DNS) the receiver uses to find addresses on the internet: you can view, add, delete and save them. The row is only shown when “Setup Mode” is set to Intermediate (the factory default) or Expert. Help: /ajutor/10-reteaua-si-internetul/serverele-dns/ When web pages and lists from the internet do not open, even though the receiver is connected to the router. | ||
| 8 SSH access (not tested) | Access to the receiver from a computer, via SSH: the password created by the receiver, your keys and password-free access on your home network. Help: /ajutor/10-reteaua-si-internetul/acces-ssh/ Only if you work on the receiver from a computer. | ||
| 9 VPN (not tested) | off | The receiver's VPN: the provider, the server, the account and what goes through the VPN (only the browser and HbbTV, all traffic, or only IPTV and the addresses you choose). The row only appears when the image includes the VPN programs. Help: /ajutor/10-reteaua-si-internetul/vpn/ When you want the receiver to go online through a VPN. | |
| 10 Network streaming | The settings for streaming channels to the browser of a phone or computer in your home, and who is watching right now. It is the tenth row, so it has no number key: you reach it with DOWN, or with UP from the first row. Help: /ajutor/13-televizorul-in-browser/transmisie-in-retea/ When you want to watch channels on your phone or stop a stream. | ||
| Setup Mode (OSD Preferences) | Simple, Intermediate, Expert | Intermediate | Decides how many rows you see here. On Simple, “DNS Server Settings” is hidden, so the rows below it move up one place: SSH access becomes 7, VPN 8 and Network streaming 9. When you cannot find “DNS Server Settings” in the list. |
Keys
| UP / DOWN | Moves the cursor to the row above or below. From the last row, DOWN goes to the first, and the other way round. |
| LEFT / RIGHT | Jump one page up or down; all 10 rows fit on one page, so you land on the first or the last row. In tile view, they move the cursor to the tile on the left or right. |
| OK | Opens the screen of the selected row. |
| 1 ... 9 | Open the row with that number directly, without OK: 1 Network Connection Setup, 2 Internet check, 3 Switch to another network by itself, 4 How busy the Wi-Fi is, 5 Which devices are on the network, 6 IPv6, 7 DNS Server Settings, 8 SSH access, 9 VPN (with “Setup Mode” set to Intermediate or Expert). |
| YELLOW | Switches the menu from list to tiles or back, immediately, keeping the same row selected. Your choice is remembered for all menus. |
| TTX (shown on screen as TEXT) | Opens “Search settings”, so you can find a setting by typing a few letters. |
| EXIT | Takes you back to Settings. |
| MENU | Closes the whole menu and takes you back to live TV. |
Step by step
Find out why the internet is not working
- Look at the network icon at the top of the screen or in the bar; in the web interface, when you move the mouse over it, it shows for example “Internet over cable: works”.
- Press MENU 6 9 1: in the list of adapters you see whether the adapter is “Active” and which one the internet goes through (“internet goes through here”).
- If the adapter shows “On, but no cable” or “On, but not connected to any Wi-Fi network”, check the cable or connect to the Wi-Fi again.
- If the adapter is active but the internet still does not work, the problem is usually with the router or the provider; see “Internet check” (MENU 6 9 2).
Turn IPv6 on or off
- Press MENU 6 9 6.
- On the “IPv6” row, choose Yes or No with LEFT / RIGHT. The change applies immediately; the status above the explanation is read again every few seconds.
- Press GREEN (shown on screen as “OK”) to keep your choice. RED or EXIT asks “Really close without saving settings?” and, if you choose Yes, restores the previous value.
Get to Network streaming
- Press MENU 6 9.
- Press UP once: the cursor moves from the first row to the last one, “Network streaming”.
- Press OK.
Problems and solutions
I cannot see the “DNS Server Settings” row.
The row is only shown when “Setup Mode” is set to Intermediate or Expert: Menu > Settings > Interface & Appearance > OSD Preferences. On Simple it is missing, and the numbers of the rows below it go down by one.
I cannot see the “VPN” row.
The row only appears when the image includes the VPN programs. The HD Satelit image for the Amiko Viper 4K V20 includes them.
I pressed a number and a different screen opened from the one I wanted.
The number opens the row according to its position in the list. If a row is missing (for example “DNS Server Settings” on Simple), all the rows below it have a different number. Press EXIT and choose with UP / DOWN and OK.
A row has “(not tested)” next to it.
The feature is ready, but it has not yet been tried on every receiver. You can use it; if you see something wrong, let us know.
I set IPv6 to Yes, but the receiver has no IPv6 address.
The receiver only gets IPv6 addresses if the router and the provider give them. The screen shows “No IPv6 address yet.” until they arrive. If you do not need IPv6, set it back to No.
The network icon at the top of the screen is not shown.
It may be hidden in Internet check, on the “Show the internet icon in the bars” row. Set it to Yes (MENU 6 9 2).
Related topics
- Settings
- Main menu
- Network Connection Setup
- Internet check
- Network streaming
- Network Status (network information)
- The receiver menu in the web interface
- Matching web pages: /meniu and /retea.