

Remote controls
Screenshots are being added: so far 2 from the receiver and 6 from the web interface; the aim is at least 5 of each, with arrows and frames, and, where a setting changes what you see, a before and after comparison.
English screenshots coming: some of the pictures below still show the receiver and the web interface in Romanian. The rows, keys and steps described on this page are the English ones.
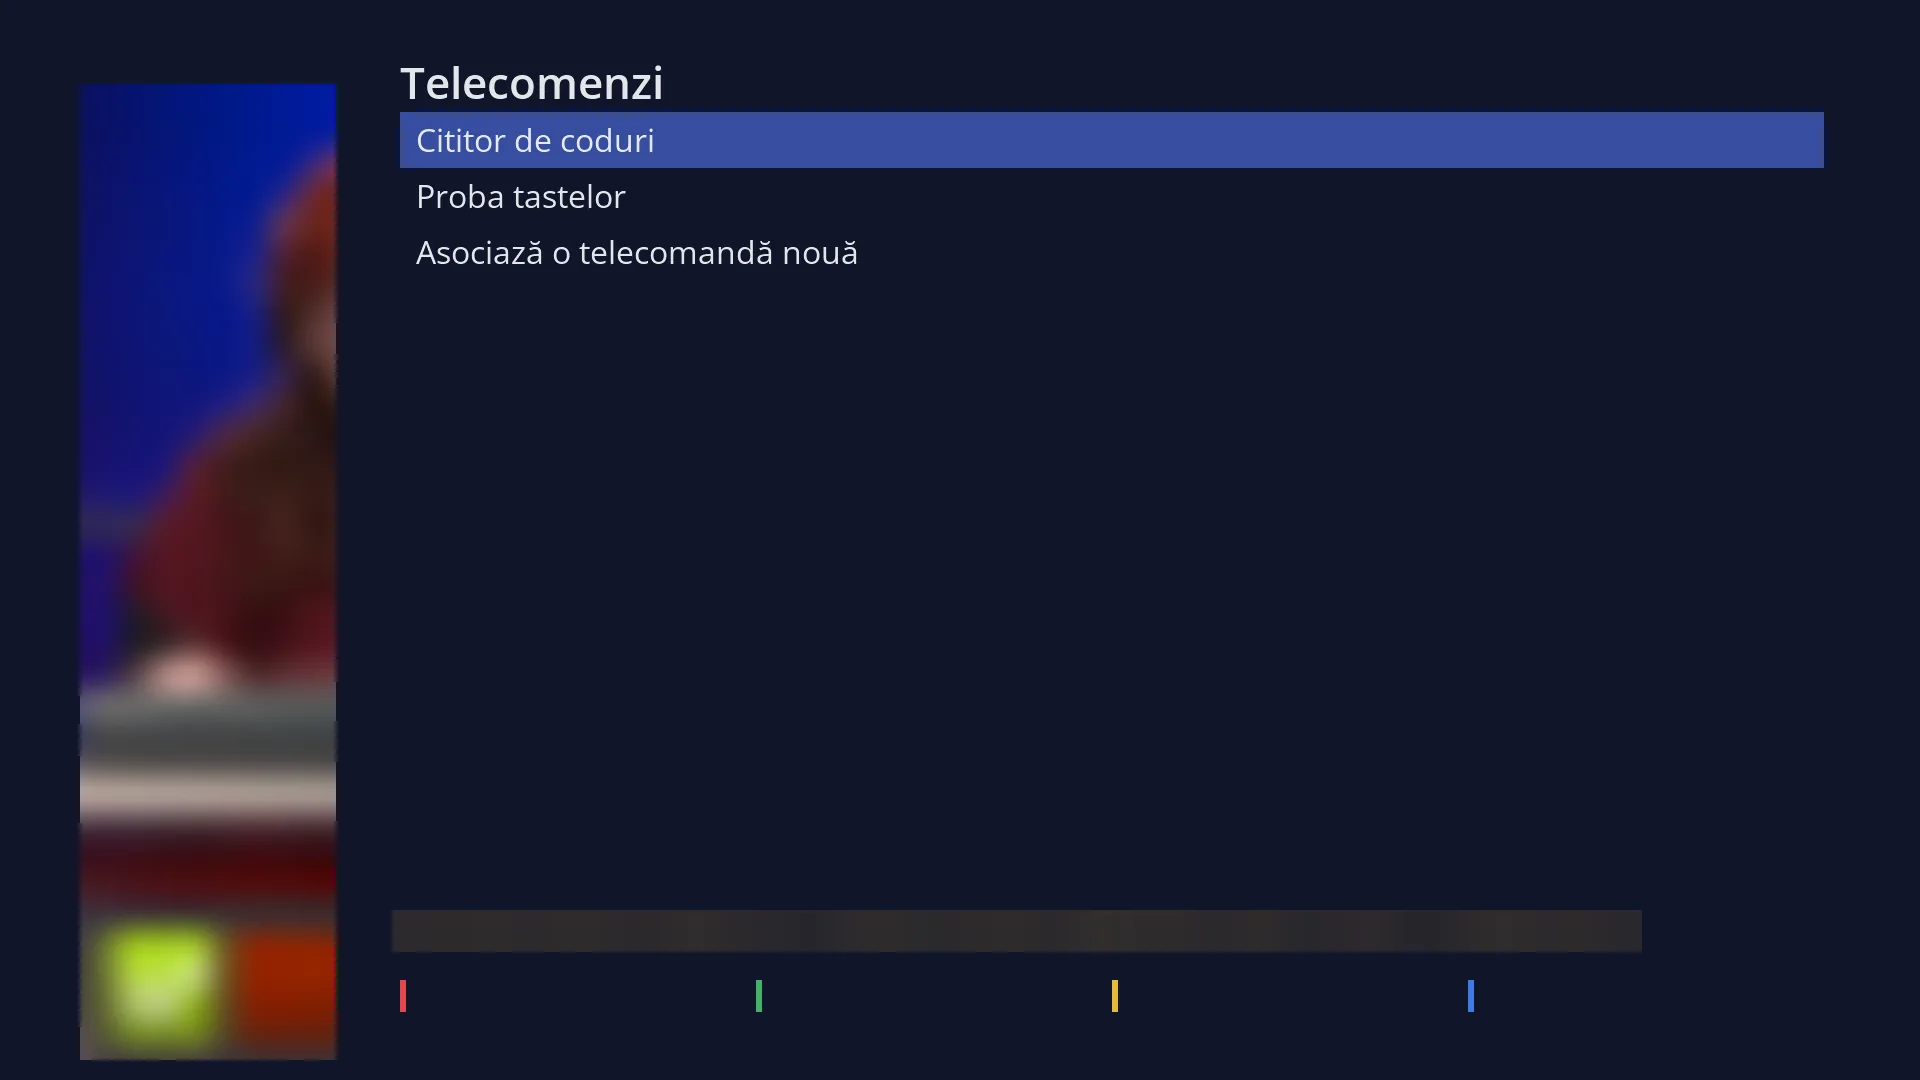
- 1 The tools: the code reader, the key test, pairing.
- 2 The help line at the bottom: for example the web page for pairing.
- 3 The colour keys only appear on a paired remote.
What it is for
“Remote controls” has three tools for remotes: the code reader, which shows what each button you press sends; the key test, which checks every button on the receiver's remote one by one on a drawing of it; and pairing another remote, button by button.
Pairing is for a USB remote or a keyboard connected to the receiver. You tell the receiver, one at a time, which of its buttons does what a button on the receiver's remote does. An infrared remote other than the receiver's own cannot be paired yet.
Paired remotes appear in the list. You can turn them off, turn them on, rename or delete them, and see which keys they have.
The receiver's remote always works: pairings do not change it. From deep standby, the receiver only starts with its own remote.
How to get here
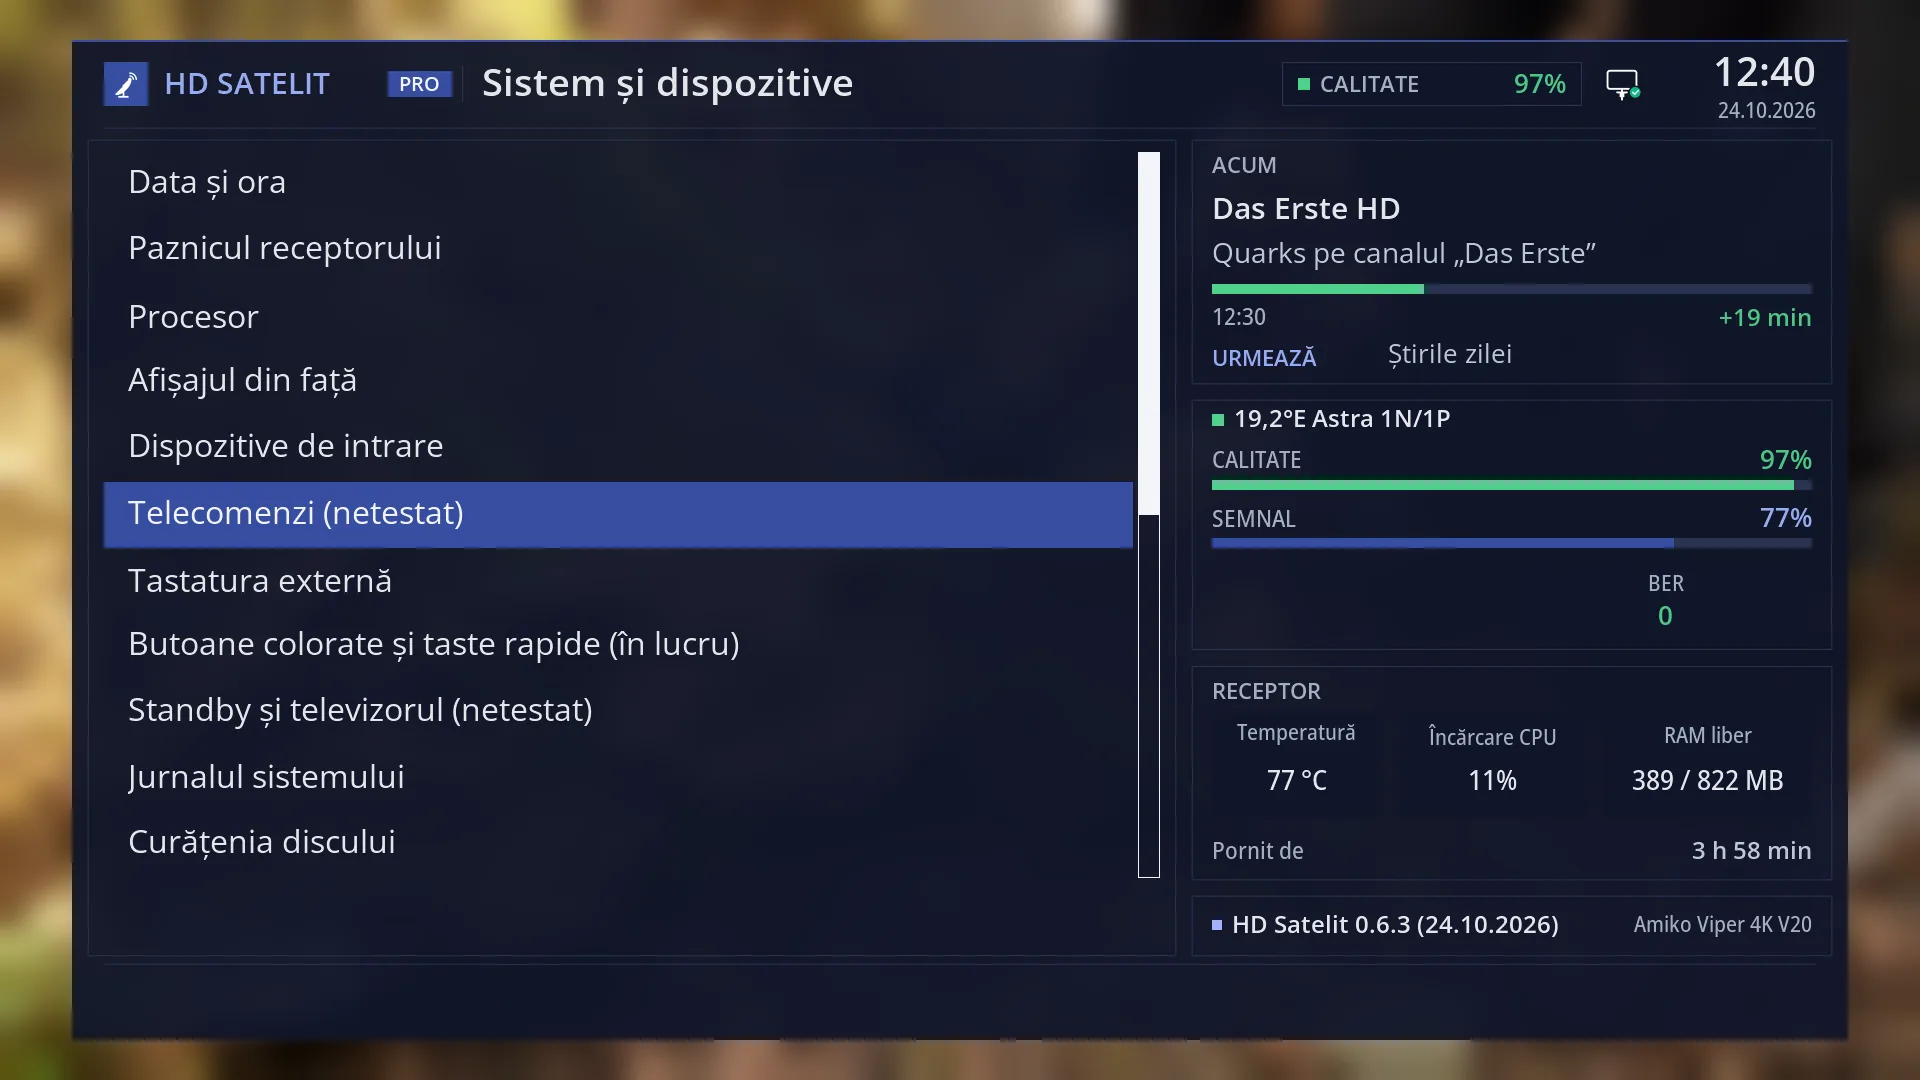
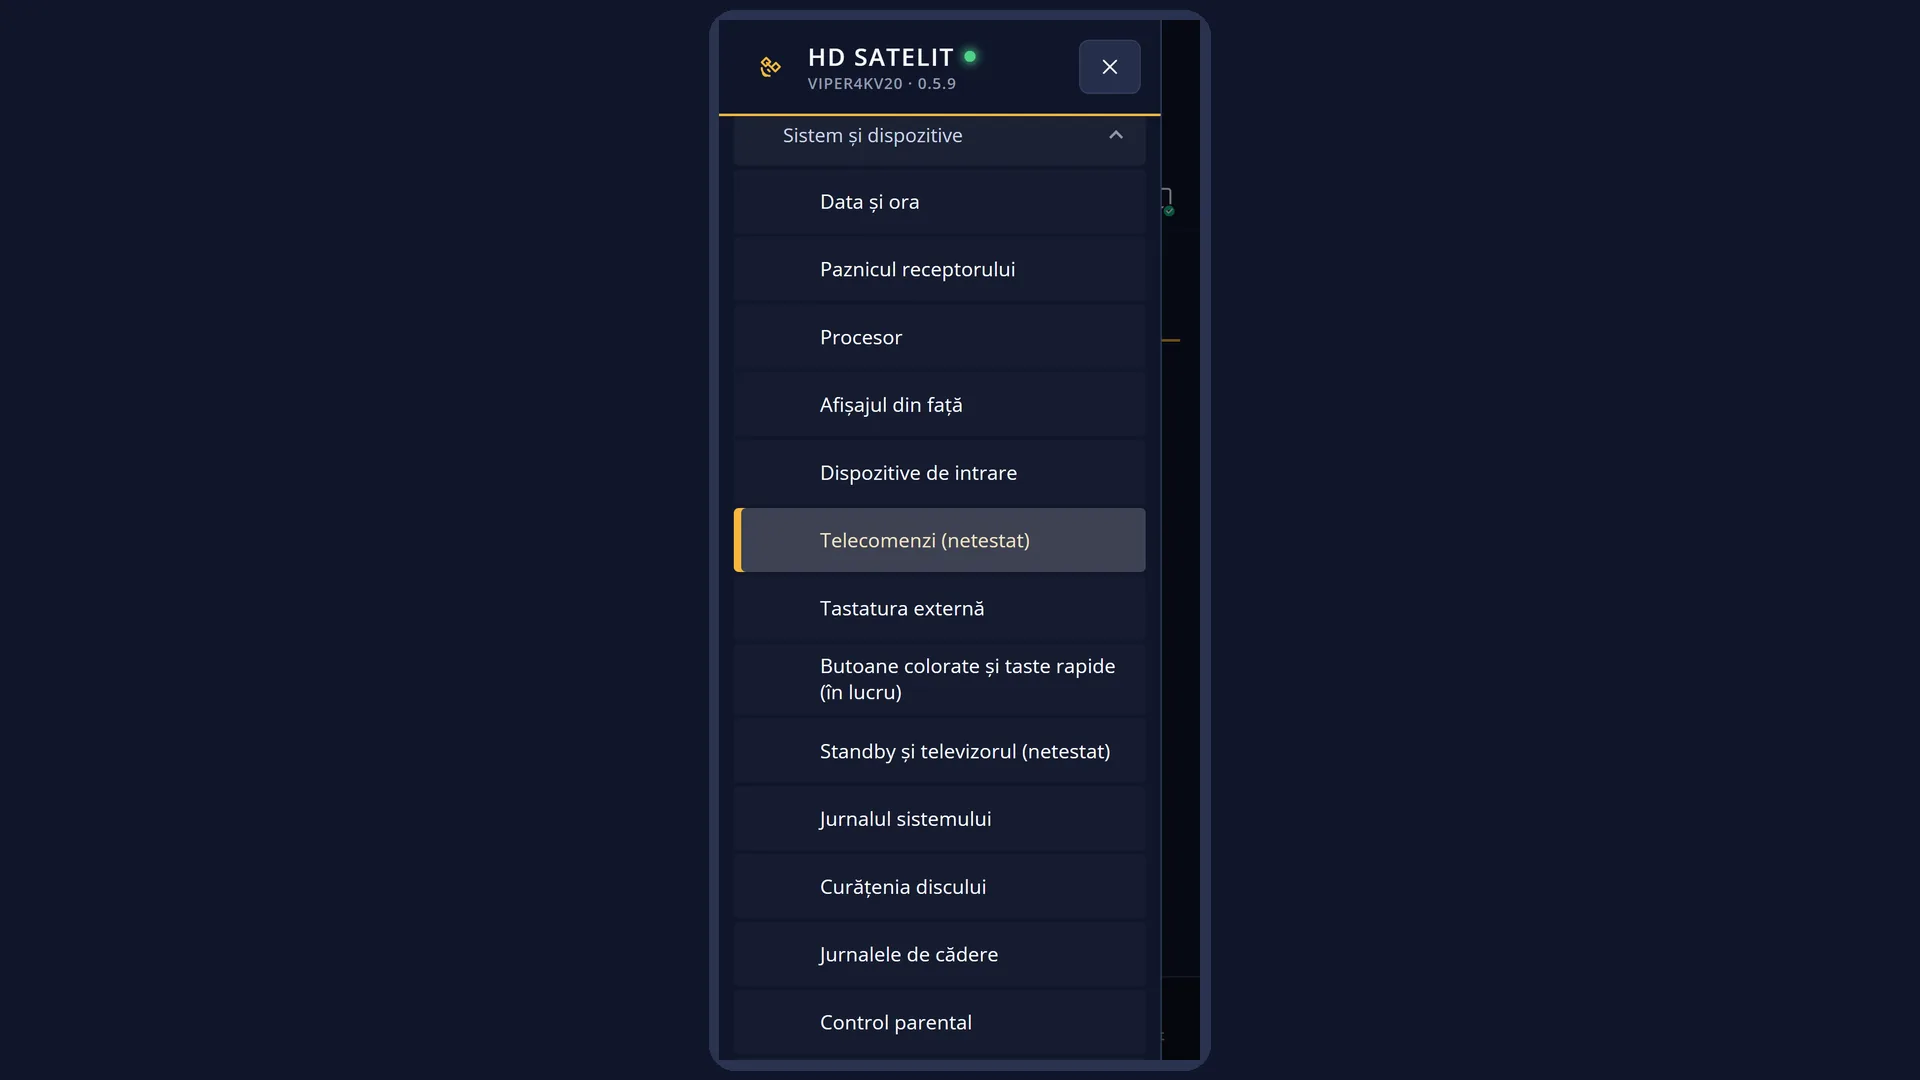
Path: Main menu > Settings > System & Devices > Remote controls.
Keys on the remote: MENU 6, then UP and OK (System & Devices), then 6.
In the menu the row shows “Telecomenzi (not tested)”: the screen is ready, but it has not yet been tried on the receiver.
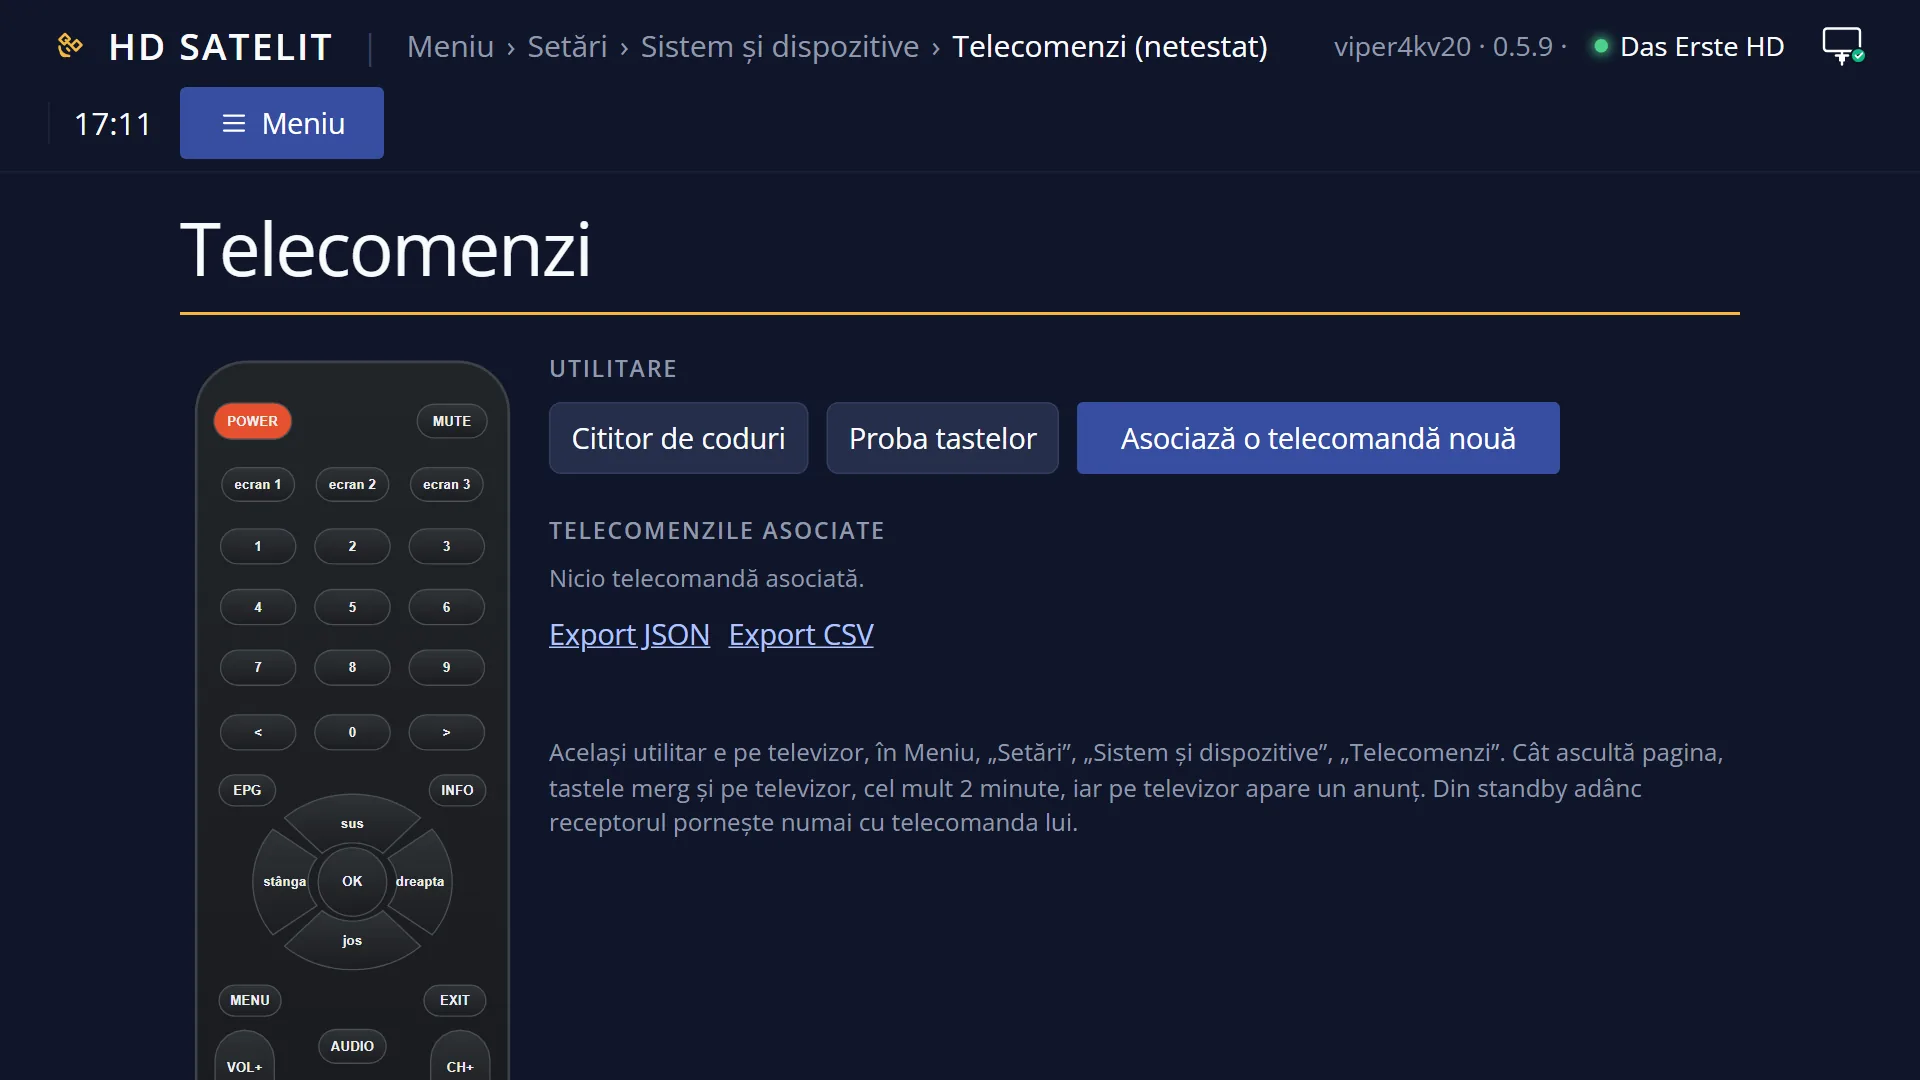
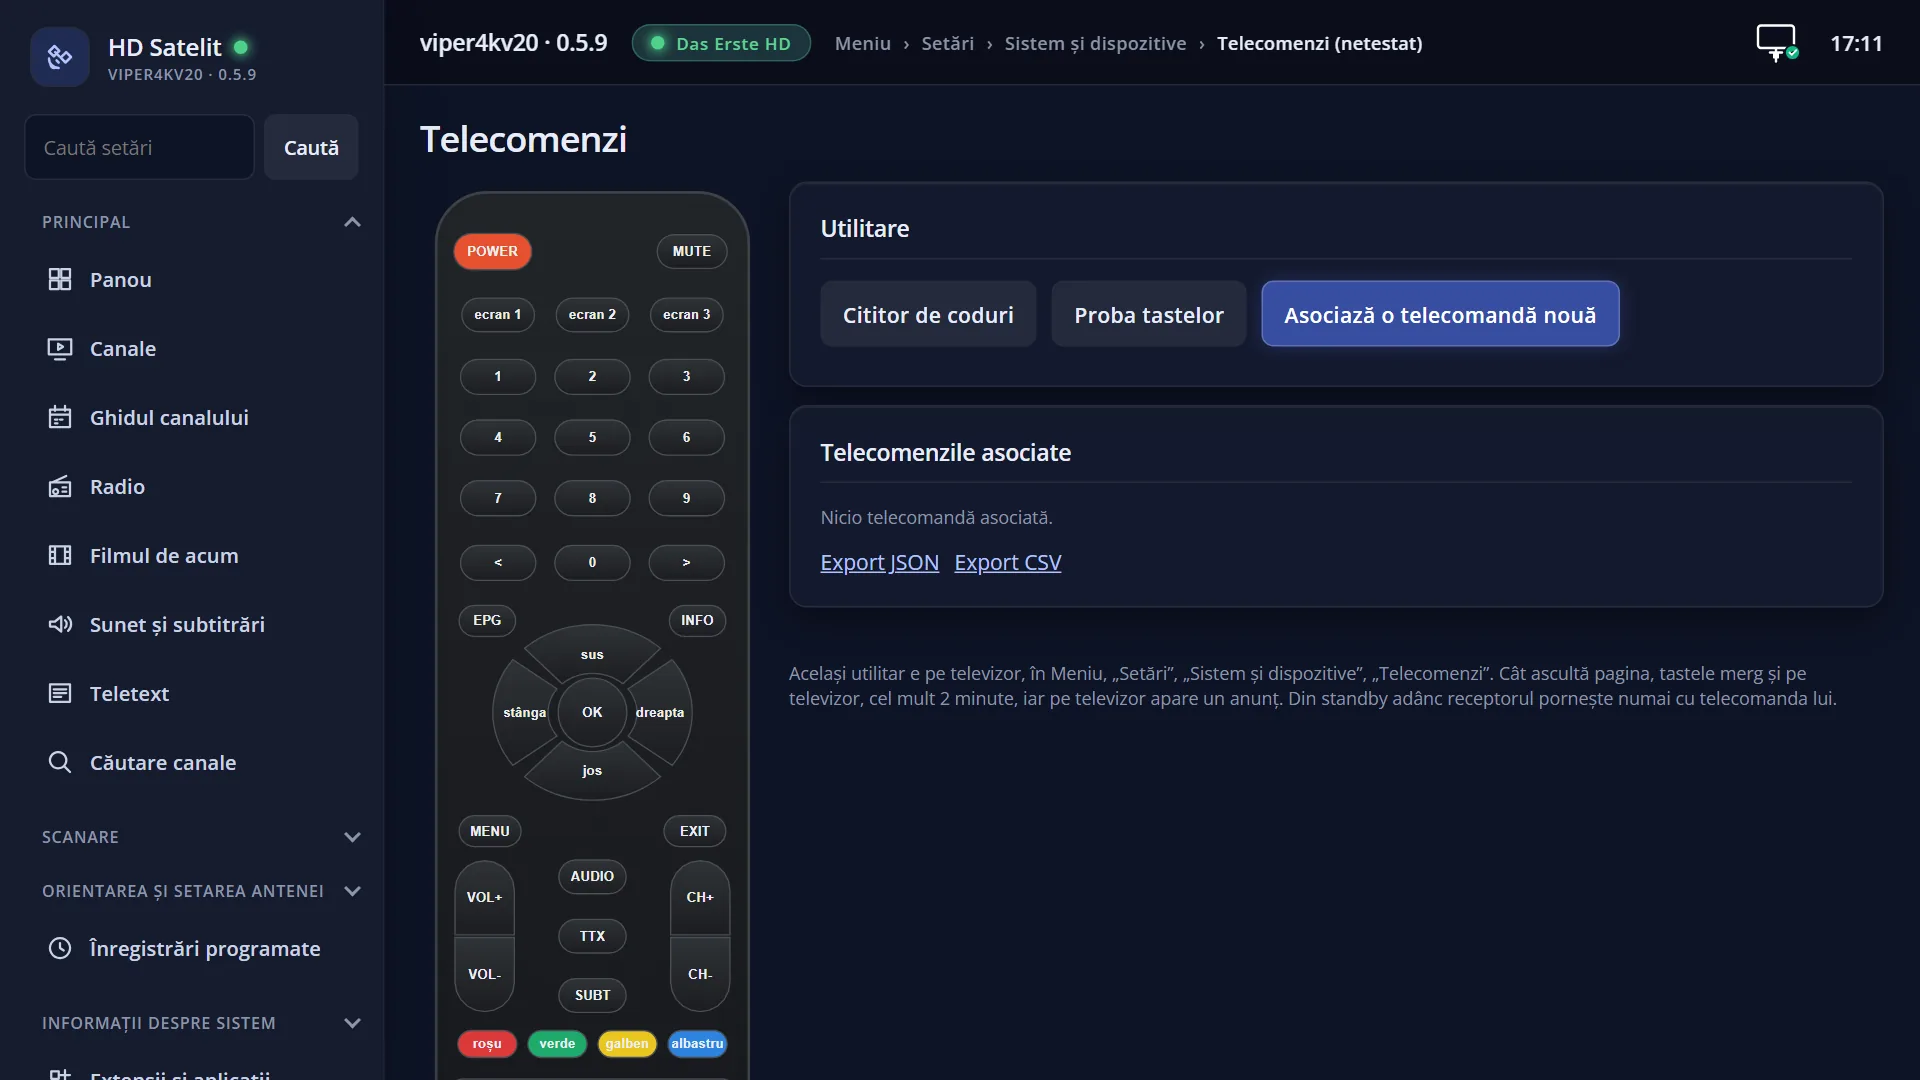
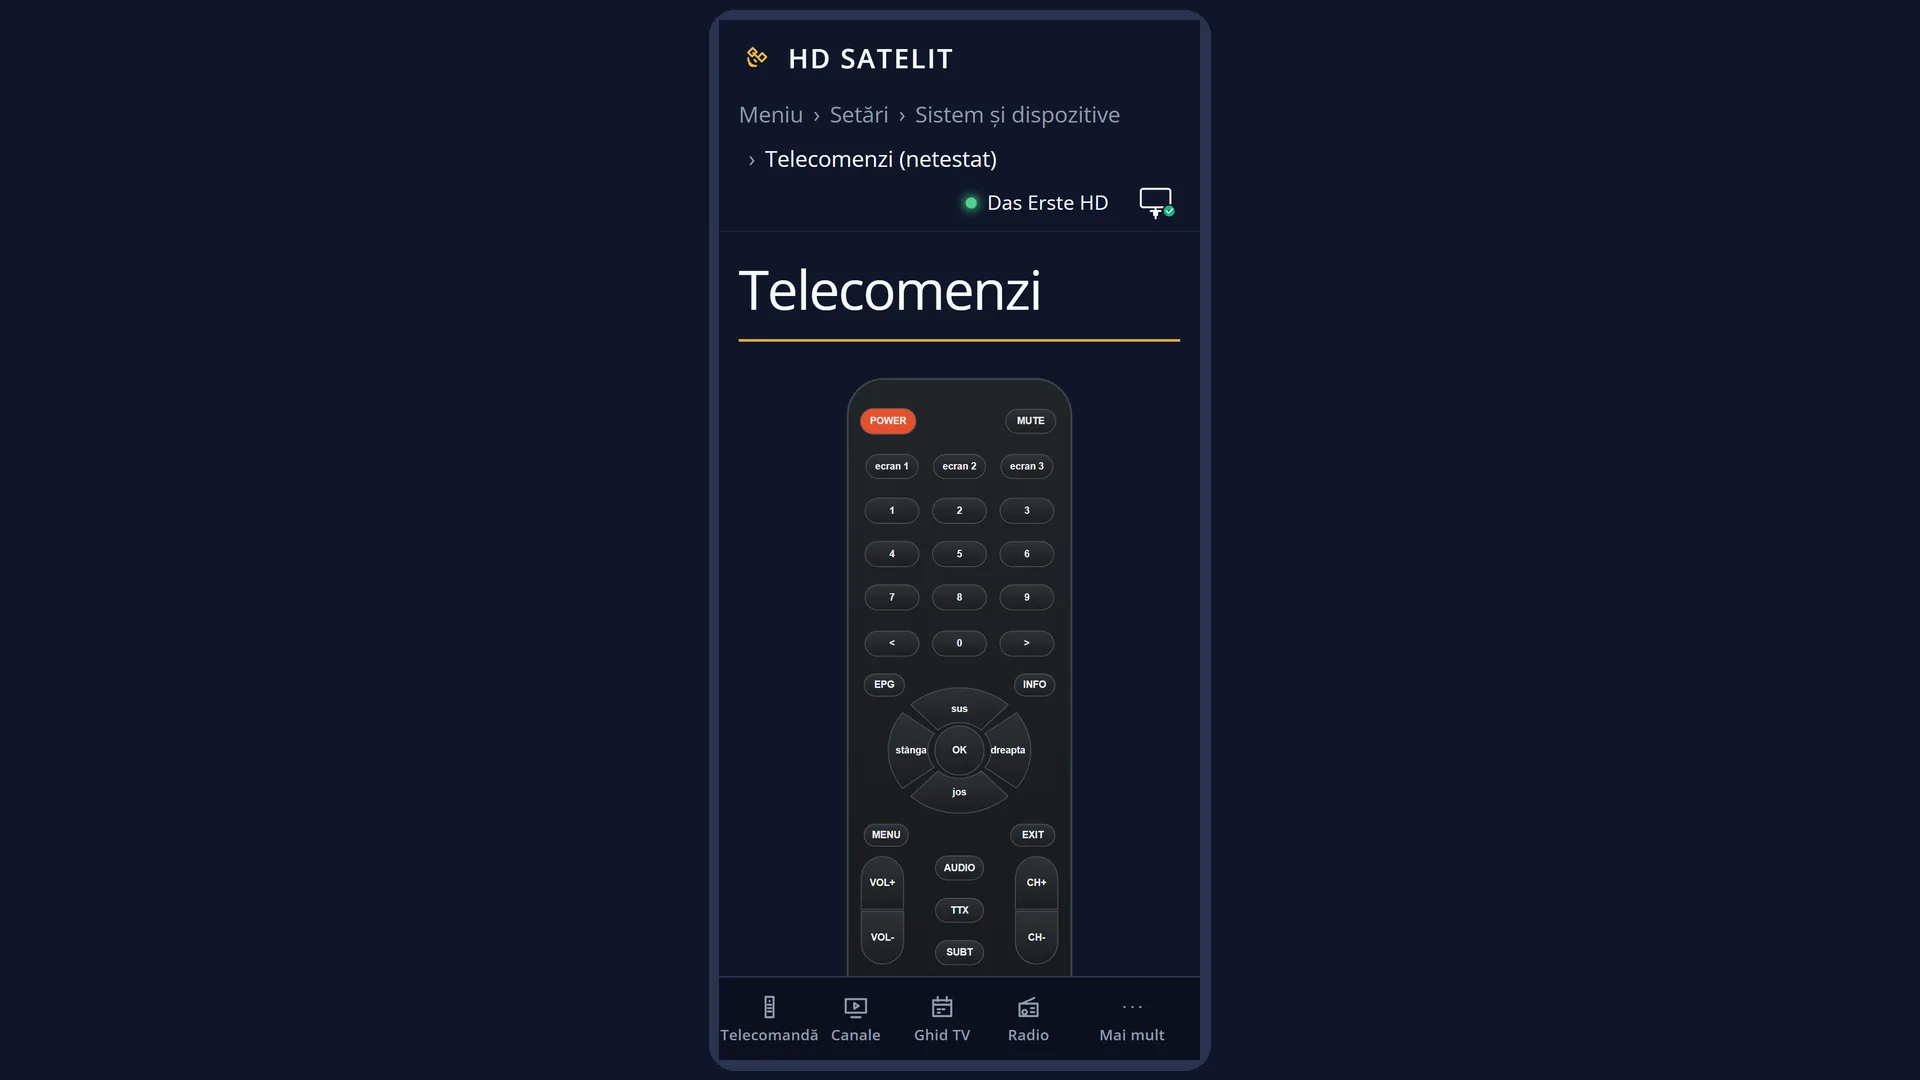
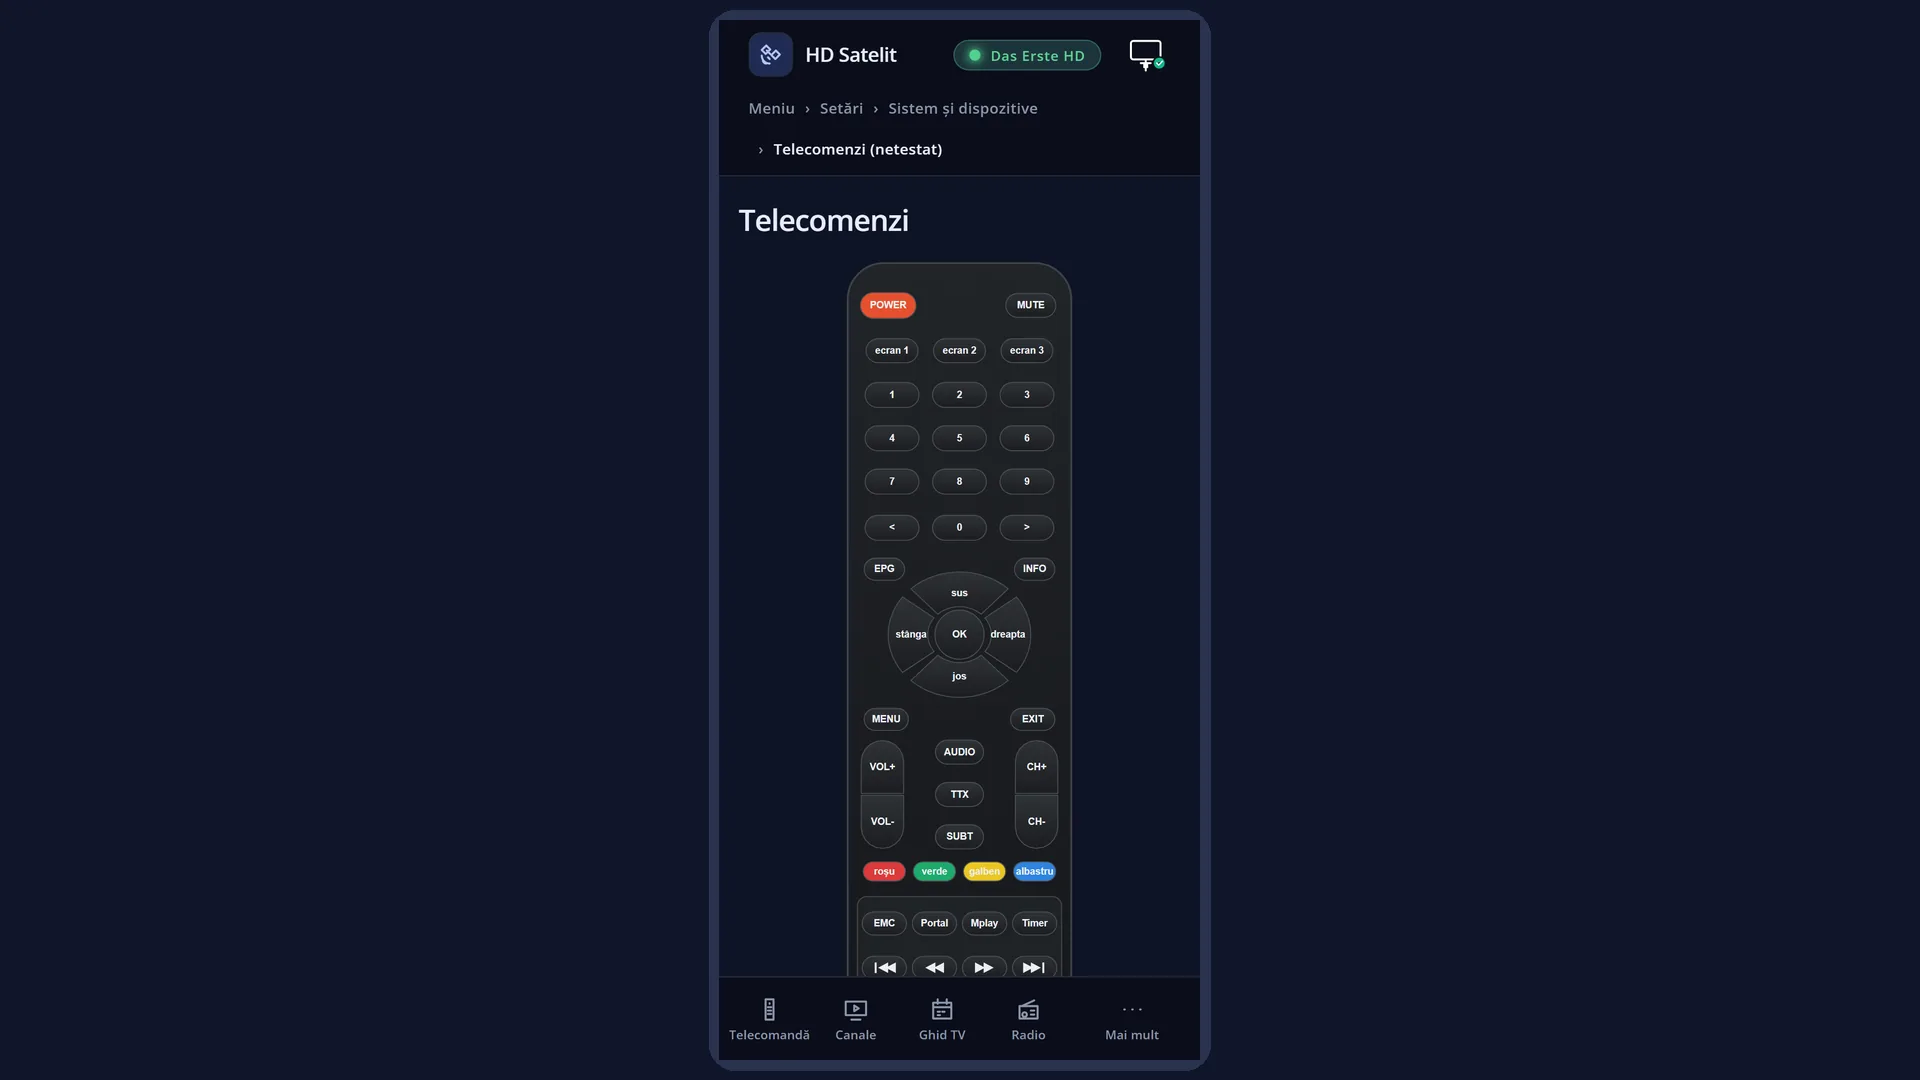
In the web interface: the /telecomenzi page, with the drawing of the remote (clicking a button sends it to the receiver), the same tools and the paired remotes. If the receiver's remote does not work, you can do the pairing from there.
What you see on the screen
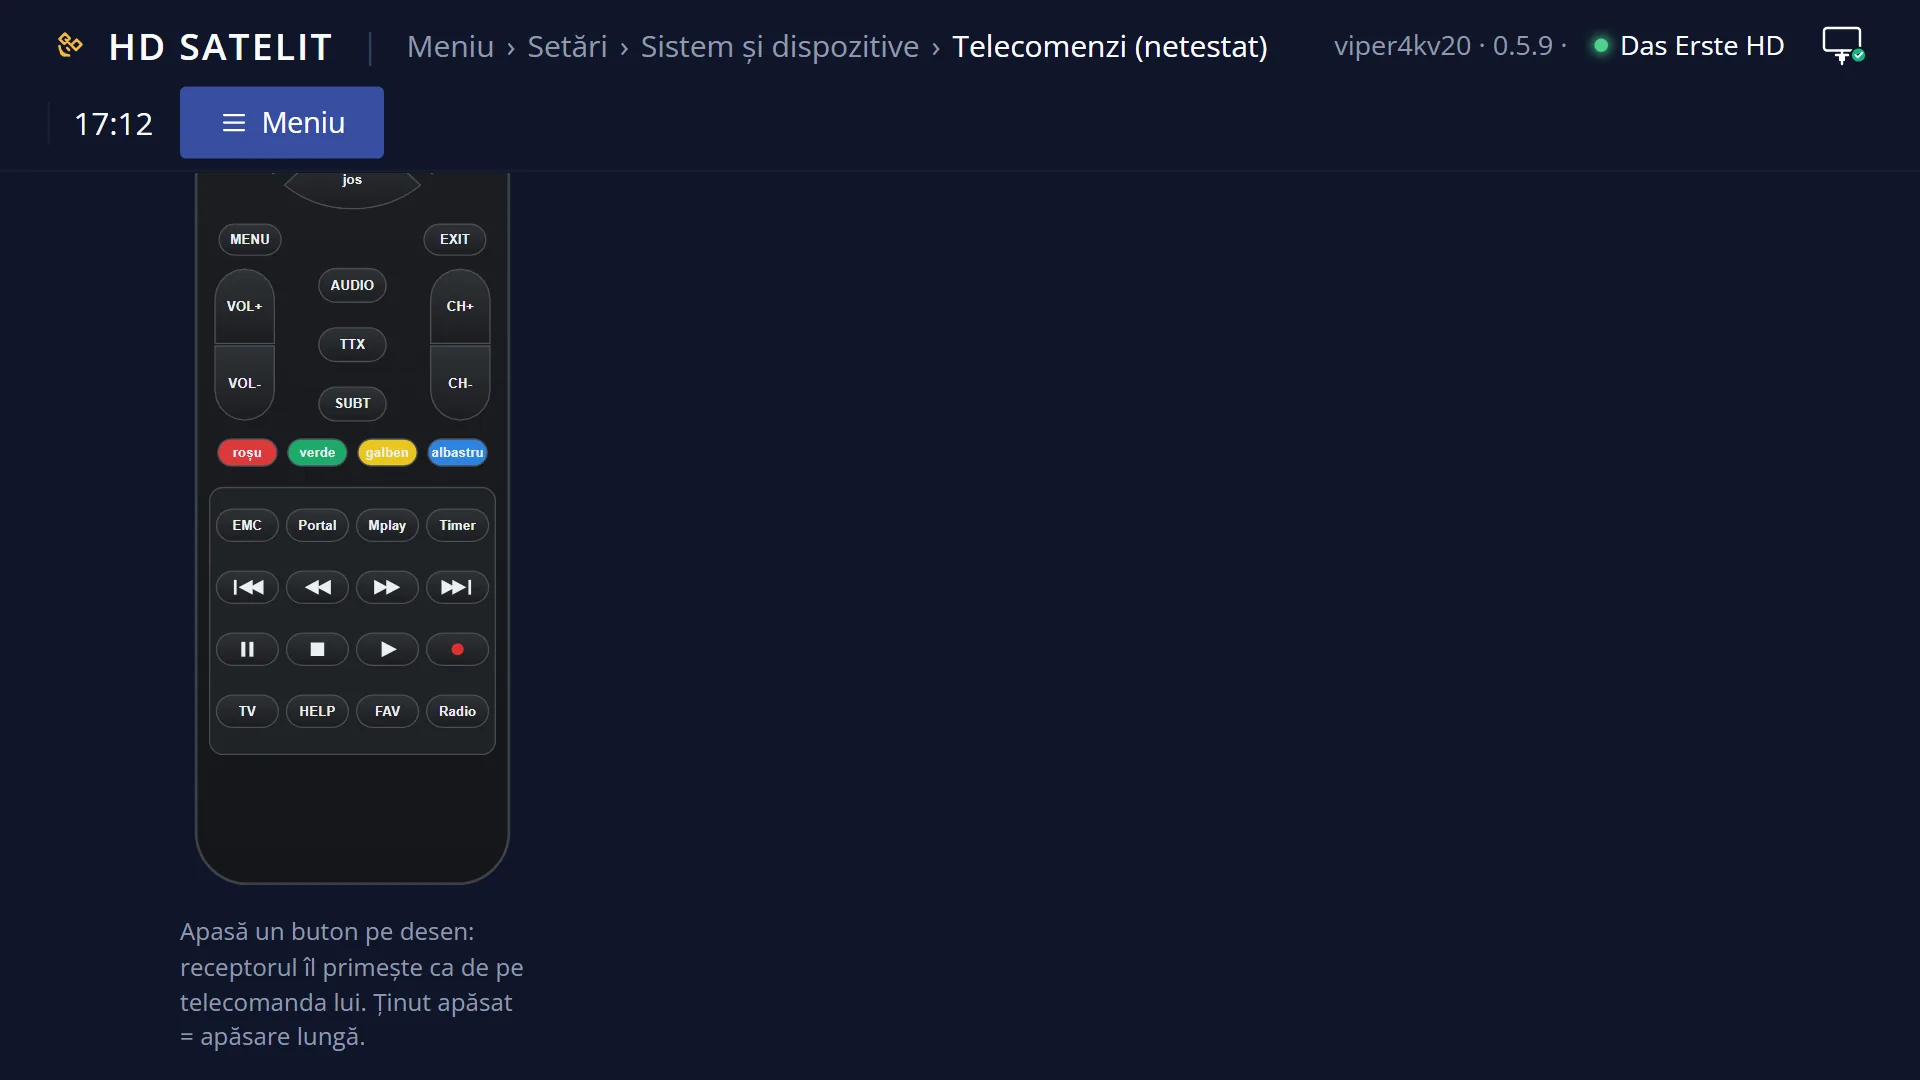
The screen fills the whole TV. On the left is a drawing of the receiver's remote. During the test and during pairing, the buttons you press light up on the drawing and get a green mark once they are checked or paired.
At the top is the title “Remote controls”, then the list: “Code reader”, “Key test” (after a test has started: with how many buttons are checked, plus “Start over”), “Pair a new remote”, each paired remote (its name, USB or IR, how many keys, “active” or “off”) and, if there are any, “Delete all pairings”.
At the bottom is a help line (for example the web page address for pairing, if the receiver's remote does not work) and the colour keys, which only appear when they are useful. On a paired remote: RED “Delete remote”, GREEN “Start” / “Stop”, YELLOW “Rename”, BLUE “Unassigned keys: blocked” / “pass”.
In the reader: the last button in large text, below it the device, the code and the type of press, and further down the history of the last keys. At the bottom: how to exit and how many seconds are left.
In pairing: the requested button pulses on the drawing and the screen shows “On the new remote, press the button for: ...”, with how many have been paired and how many skipped.
Rows and settings
| Row | Values | Default | What it does |
|---|---|---|---|
| Code reader | For each button you press on any remote or keyboard, it shows which device it comes from, its code and the type of press. While it is open, the keys do nothing else. For infrared signals the receiver does not use, it only shows how many have arrived. When you want to find out whether the receiver gets anything from a remote, or what code a button has. | ||
| Key test | Press the buttons on the receiver's remote one by one: each lights up on the drawing and gets a green mark. At the top it shows how many of the total are checked, below that the ones not yet pressed. At the end: “All buttons work.”. A test you have started carries on from where it stopped, as long as the screen is open. When you think a button on the remote has stopped working. | ||
| Pair a new remote | First press any button on the new remote, so the receiver knows which one it is. Then, for each requested button, press the button you choose on the new remote. The receiver's remote keeps working: RED Back, GREEN Done, YELLOW Skip, EXIT Cancel. On the new remote, holding a button for 2 seconds means Skip. To move a code that is already used, press it once more. At the end you can test the new remote. When you want to use a USB remote or a keyboard instead of the receiver's remote. | ||
| A paired remote (from the list) | active, off | OK shows its keys (“OK = code ...”); there, RED is “Remove key assignment”. In the list: RED deletes it (after asking), GREEN turns it on or off, YELLOW renames it, BLUE chooses what its unassigned keys do: pass (work as before) or blocked. When a remote does things you do not want (turn it off) or you no longer use it (delete it). | |
| Delete all pairings | Deletes all paired remotes, after the question “Delete all pairings?”. The receiver's remote is left untouched. When you want to start again from scratch. |
Keys
| UP / DOWN | Move the cursor in the list. |
| OK | Starts the selected tool or shows the keys of the selected paired remote. |
| EXIT | From the list, closes the screen. From a remote's keys, takes you back to the list. In pairing, asks “Keep what you have assigned so far?”. |
| EXIT or MENU twice (in the reader and in the test) | Stops the reader or the test; so does any key held for 3 seconds. While they are running, the other keys have no effect. |
| RED | On a paired remote: “Delete remote”. In its keys: “Remove key assignment”. In pairing: Back, to the previous button. |
| GREEN | On a paired remote: “Start” / “Stop”. In pairing: Done (works after the MENU step). |
| YELLOW | On a paired remote: “Rename”, with the on-screen keyboard. In pairing: Skip the requested button. |
| BLUE | On a paired remote: its unassigned keys pass or are blocked. |
Step by step
Checking all the buttons on the remote
- Press MENU 6, UP, OK, then 6.
- Select “Key test” and press OK.
- Press each button in turn: it gets a green mark on the drawing. At the top you can see how many are left.
- Exit by pressing EXIT twice.
Pairing a USB remote
- Plug the remote (or its small receiver) into a USB port on the receiver.
- Open Remote controls, select “Pair a new remote” and press OK.
- Press any button on the new remote, then the requested button each time. YELLOW skips a button the remote does not have.
- After the MENU step, press GREEN (Done). Answer OK if you want to test it.
Problems and solutions
My infrared remote cannot be paired.
This is not possible yet: the receiver gets the signal but cannot use it. The reader only shows how many signals of this kind have arrived.
The screen says “The web page is using the remote controls right now.”.
Someone is using the tools on the /telecomenzi web page. Wait until they finish or close the page.
The keys on the new remote that I did not pair no longer work.
The remote is set to “Unassigned keys: blocked”. In the list, select it and press BLUE to let them pass.
The receiver's remote does not work at all any more.
Do the pairing from the /telecomenzi web page on your phone; its address is shown at the bottom of this screen. From deep standby, the receiver only starts with its own remote.
A code is “already used” during pairing.
The button you pressed is already assigned to another button. Press it once more to move it to the button requested now, or press a different button.
Related topics
Differences between receivers
The drawing, the test and the buttons requested during pairing are those of the Amiko Viper 4K V20 remote, the only receiver at present.