

Software & Firmware
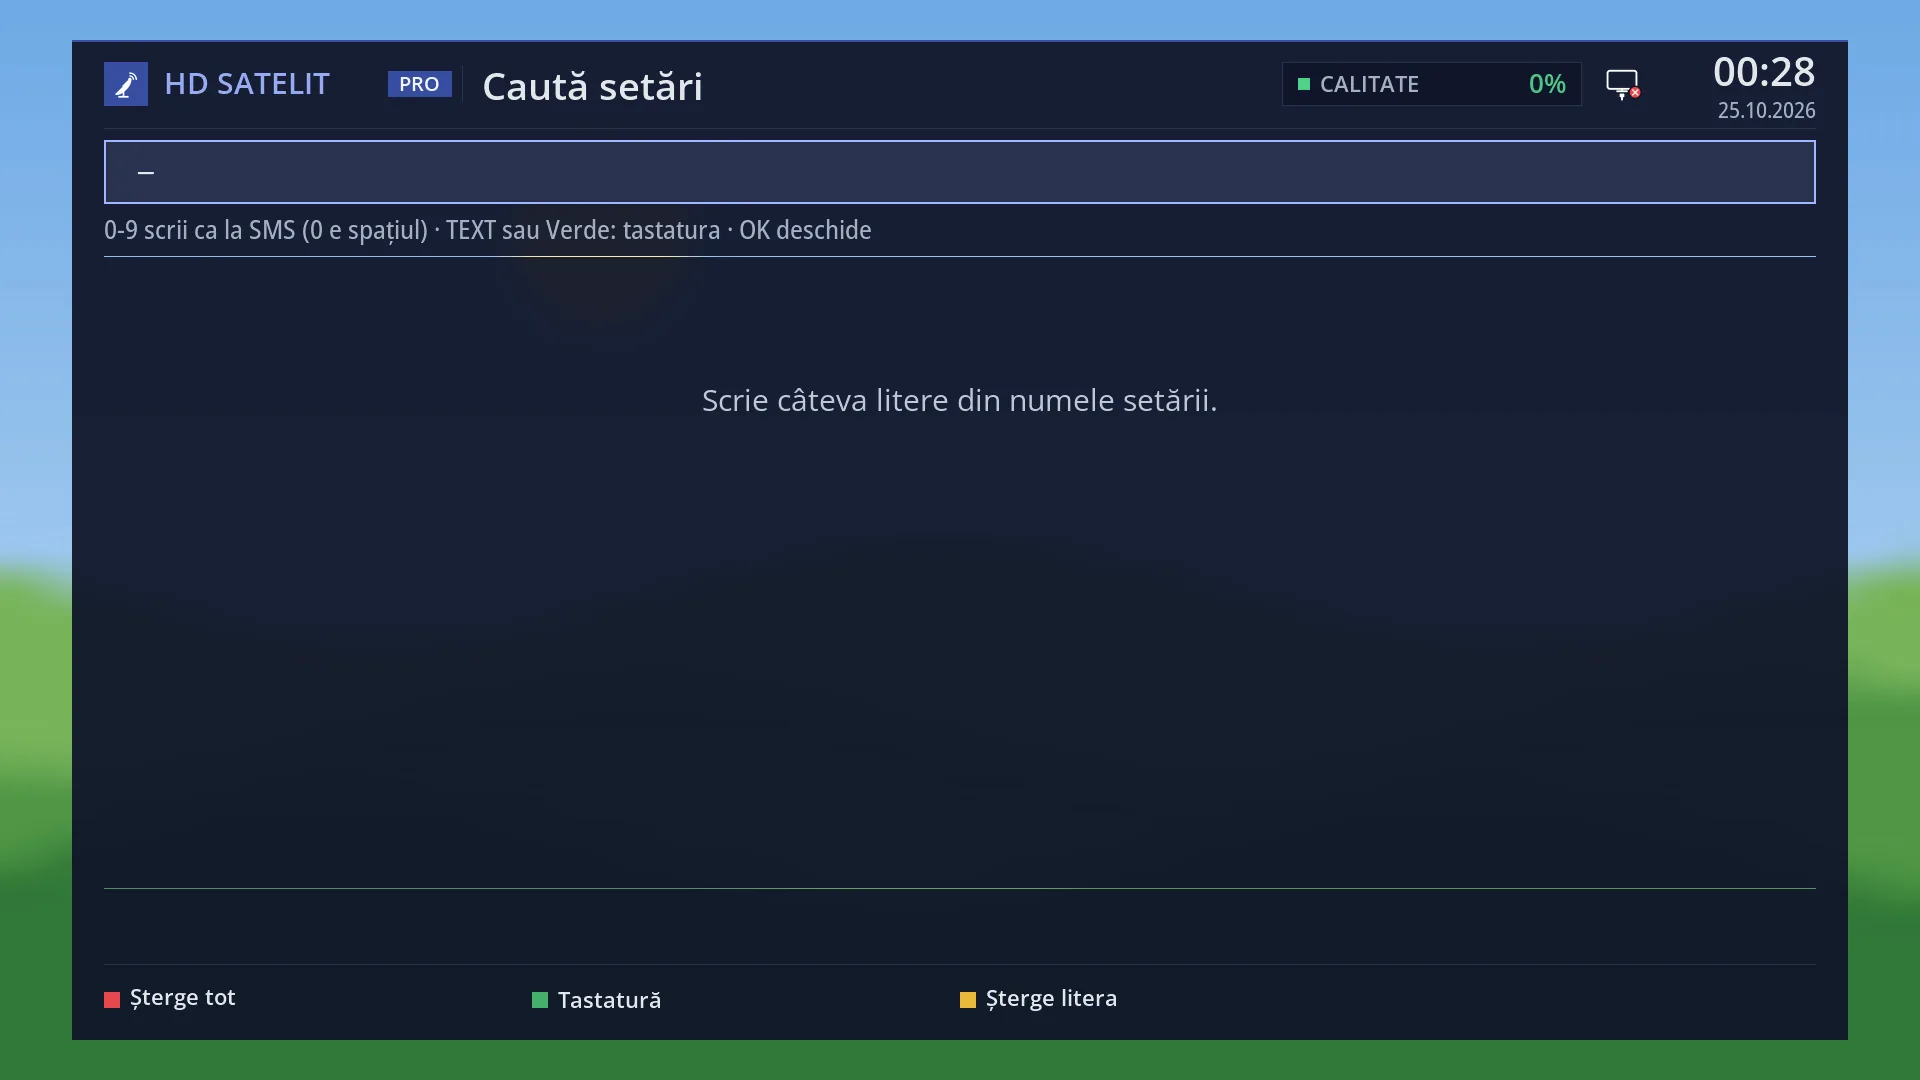
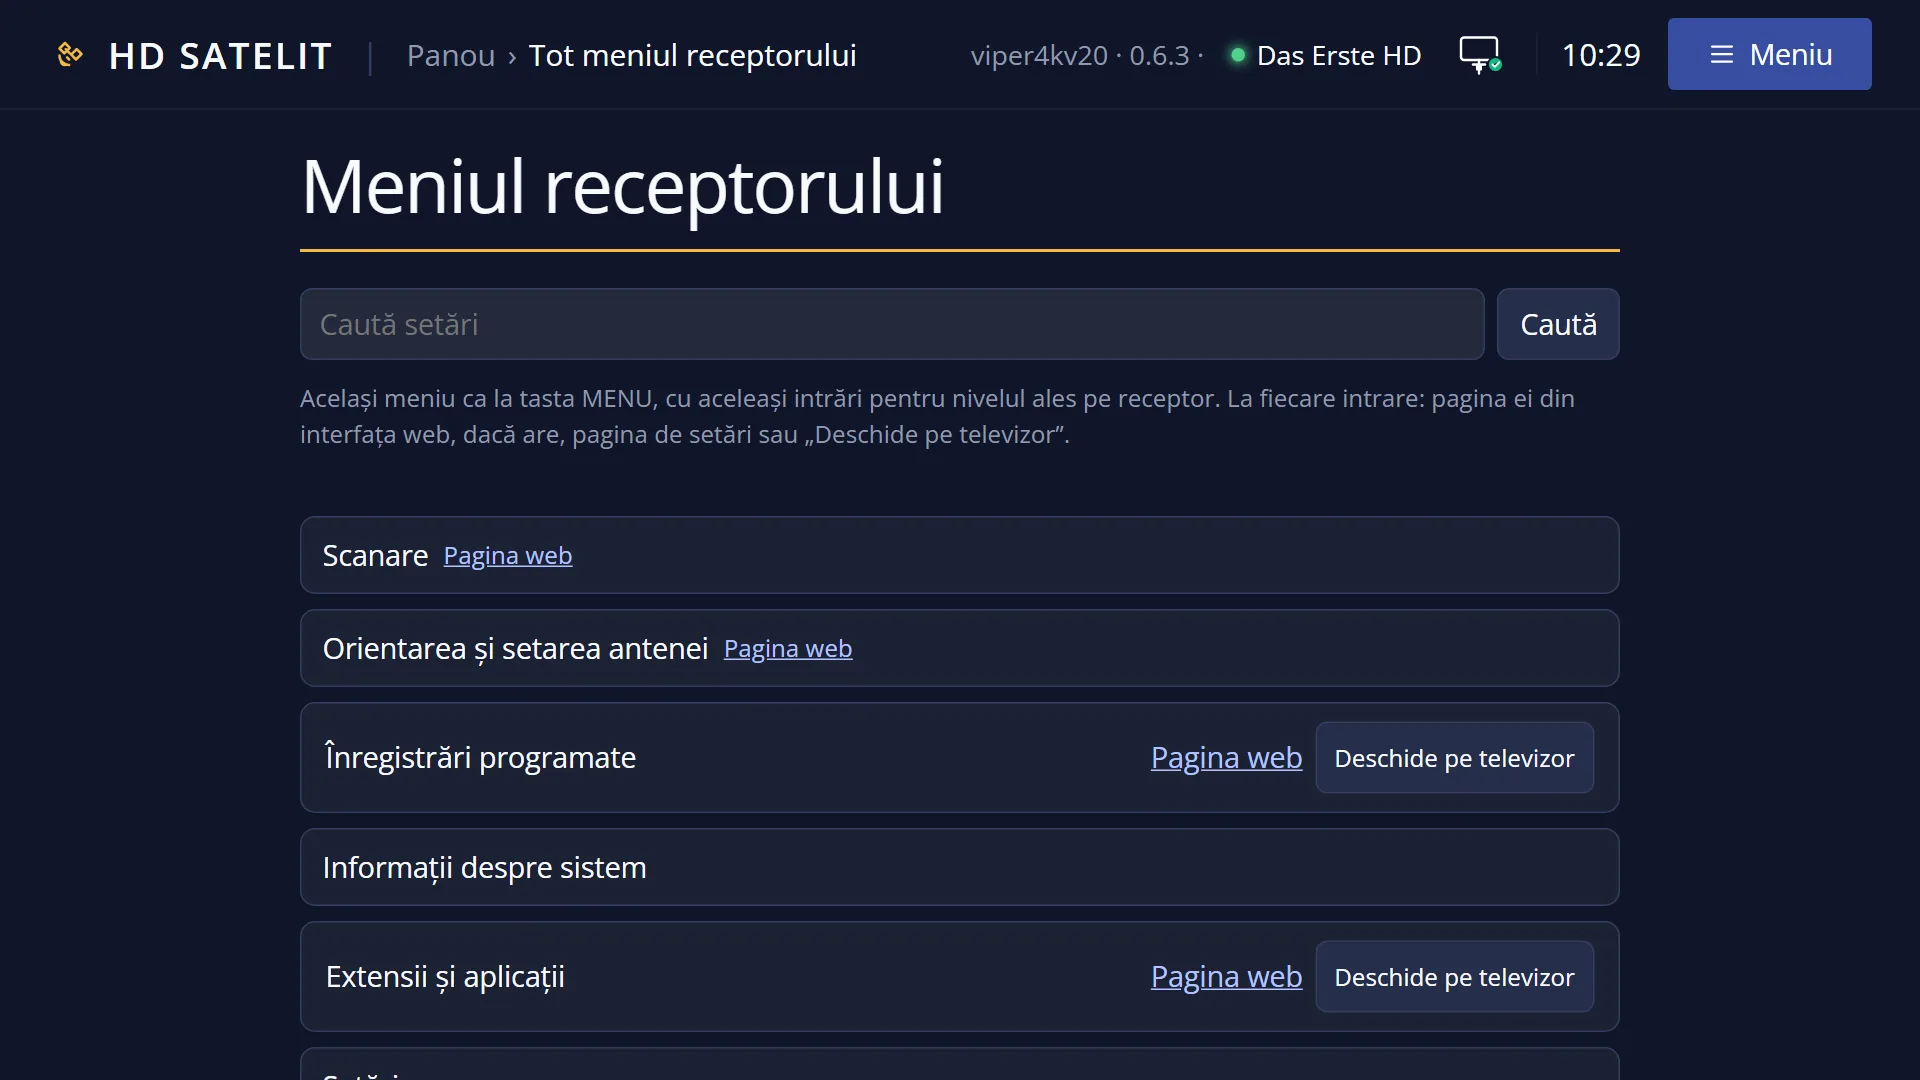
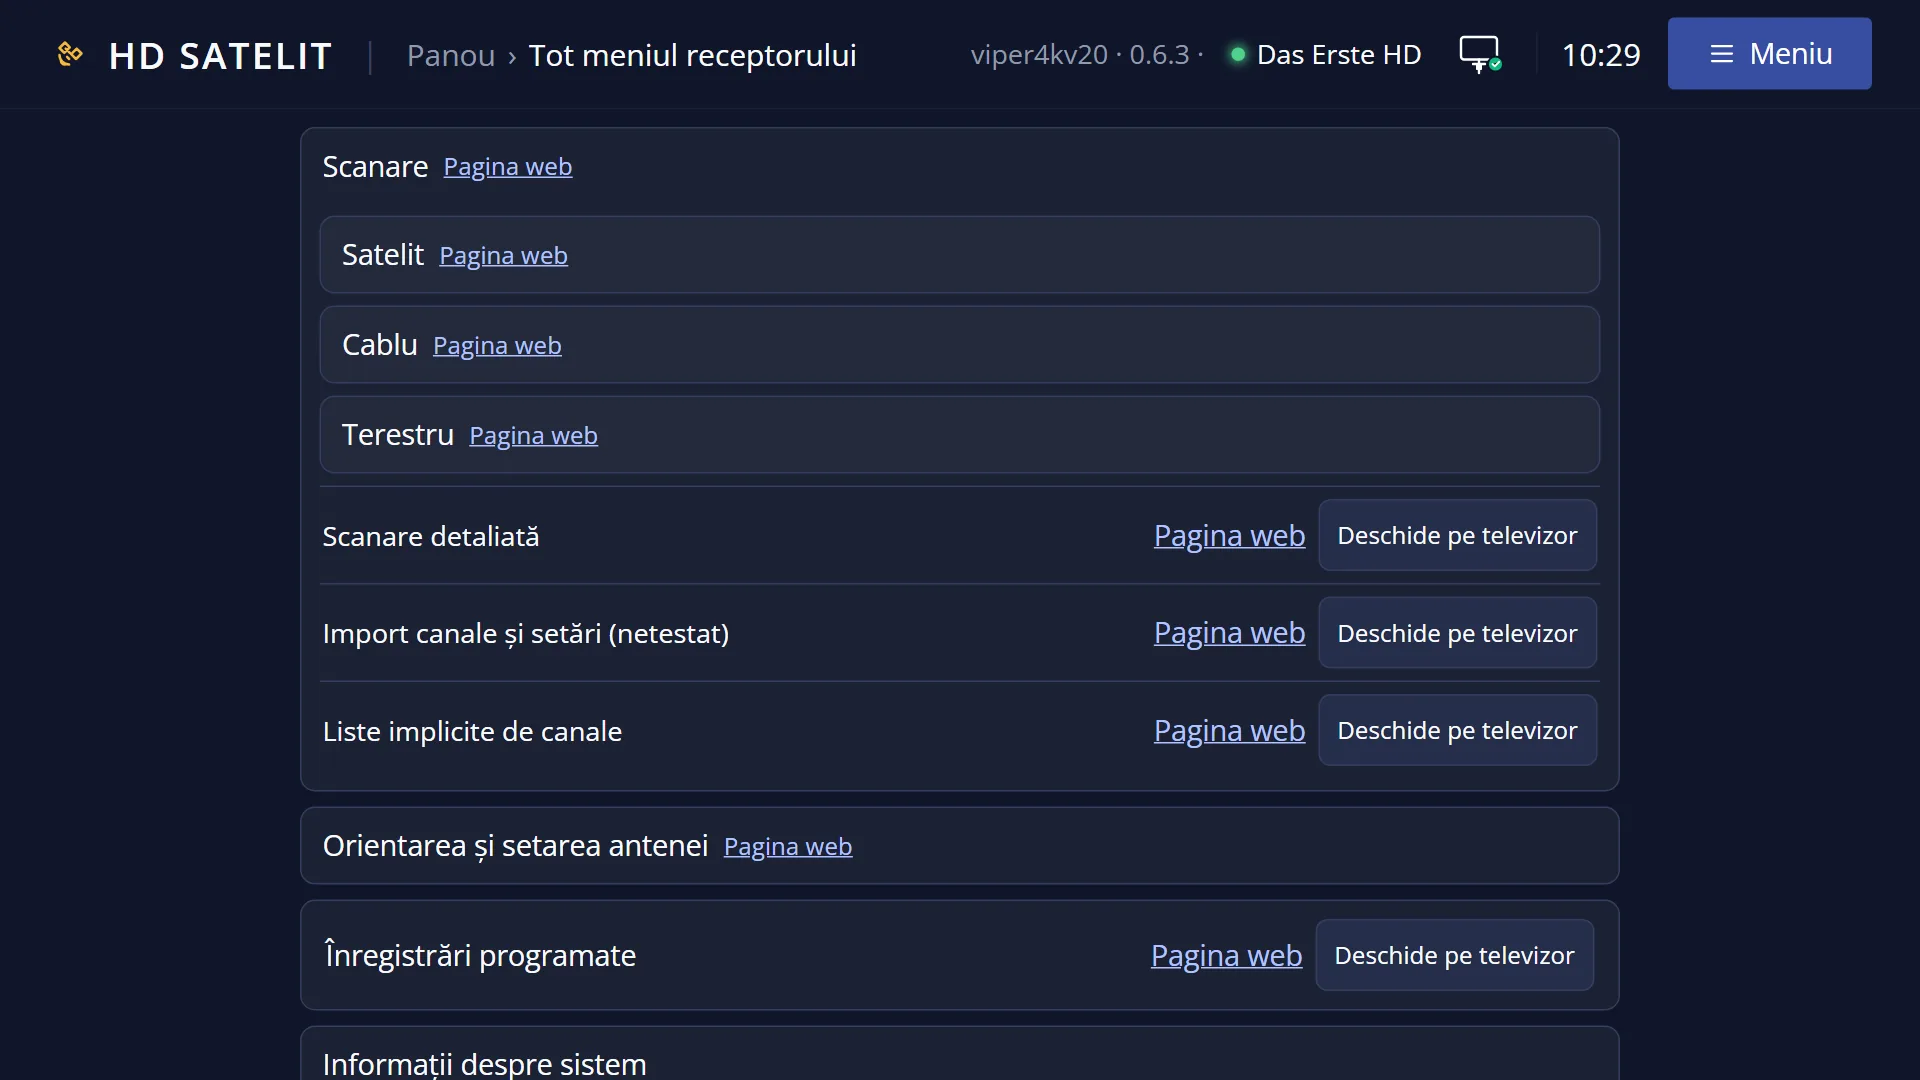
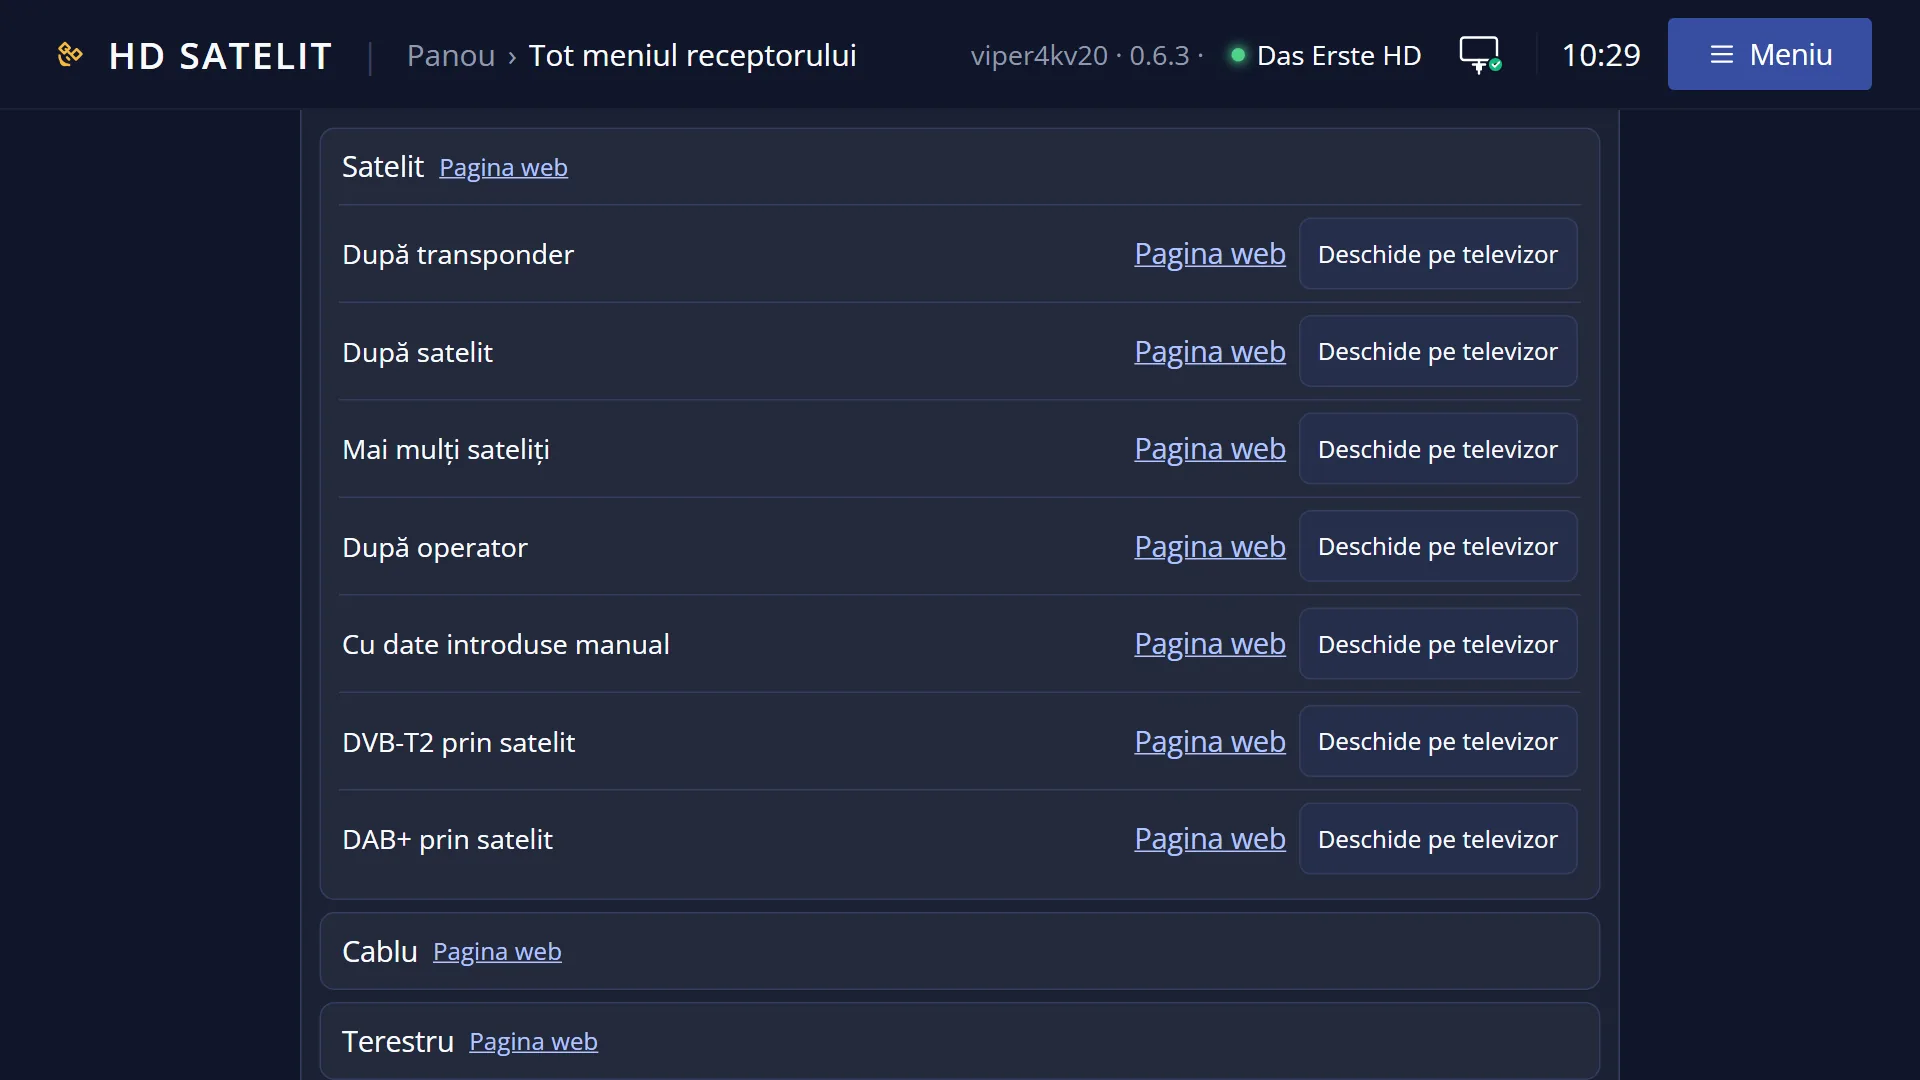
English screenshots coming: some of the pictures below still show the receiver and the web interface in Romanian. The rows, keys and steps described on this page are the English ones.
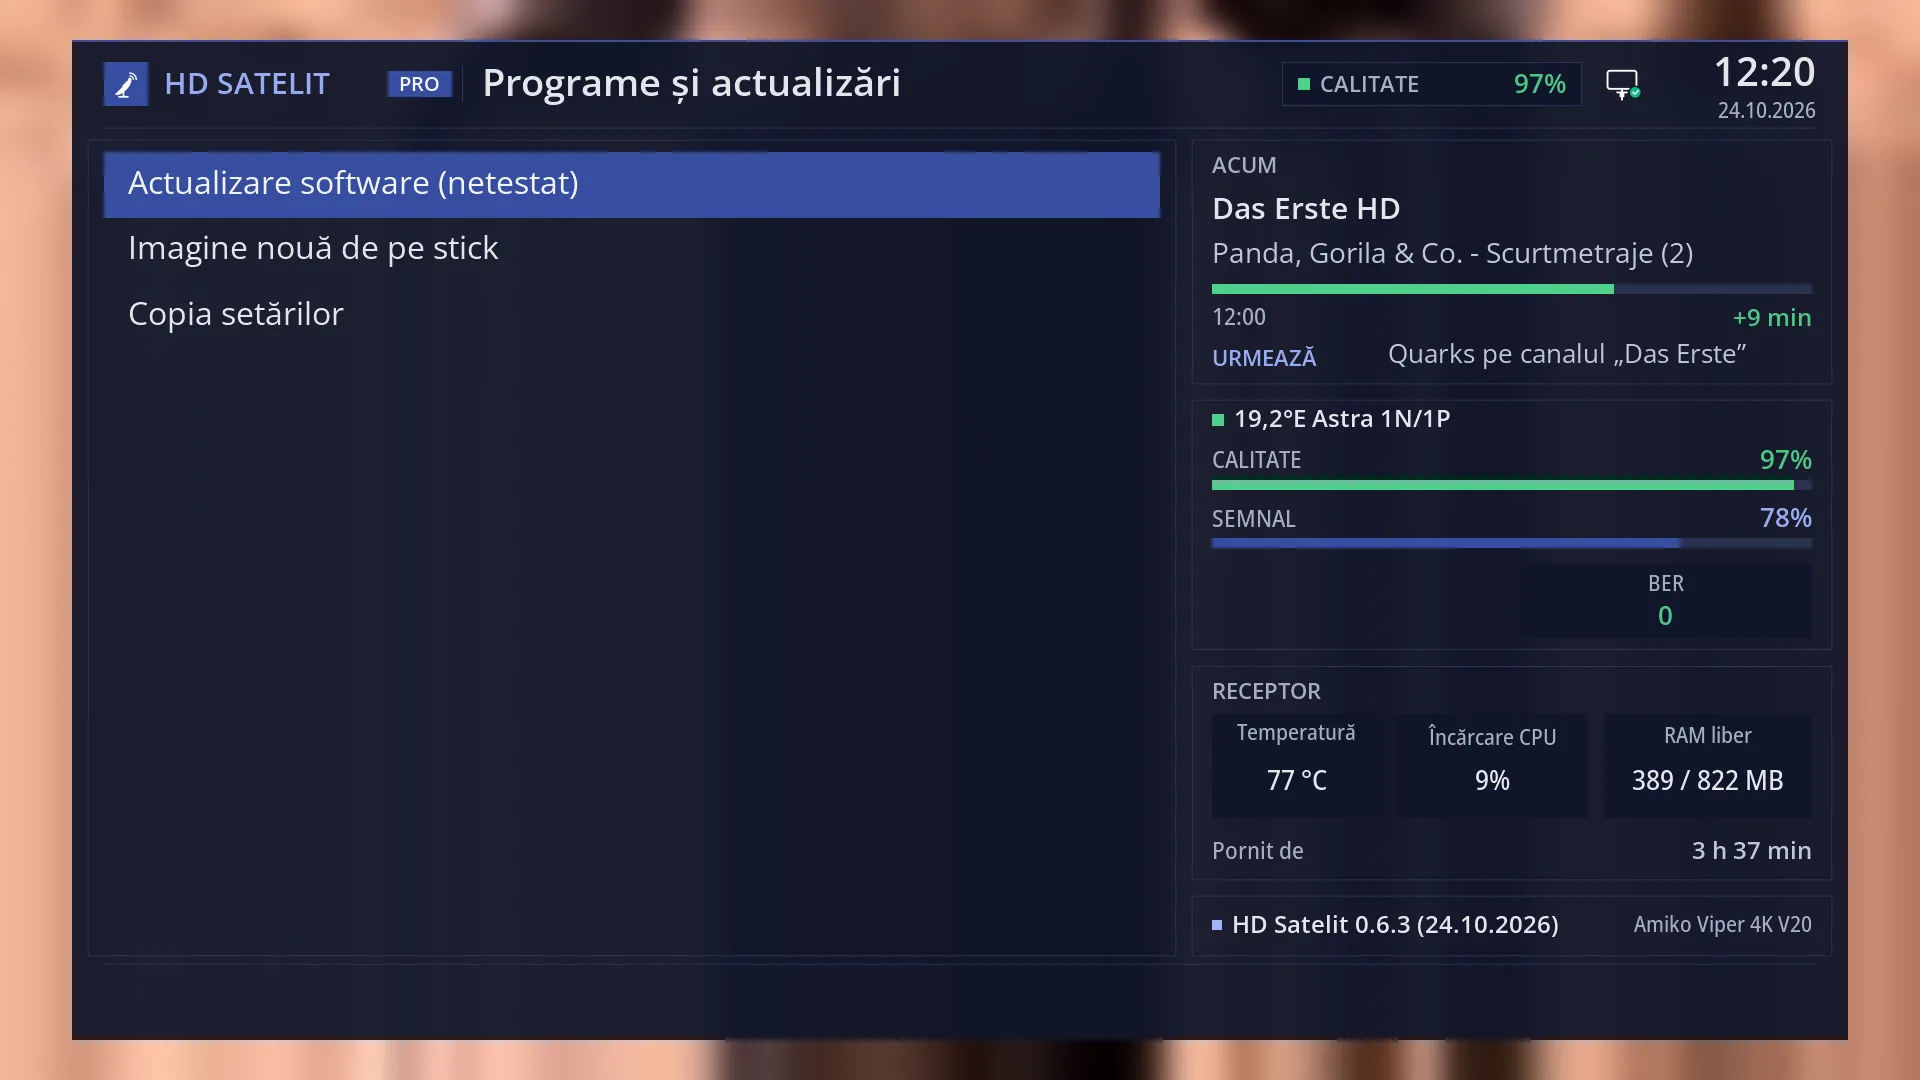
- 1 The submenu title: “Software & Firmware”.
- 2 Software update, with the mark “(not tested)”; the selected row has a blue background.
- 3 New image from USB stick (2) and Settings copy (3).
- 4 NOW: the channel and the current programme, then what comes next (Pro theme).
- 5 The channel signal: satellite, quality, strength and BER.
- 6 Receiver: temperature, processor, memory and how long it has been on.
- 7 The image version and the receiver name.
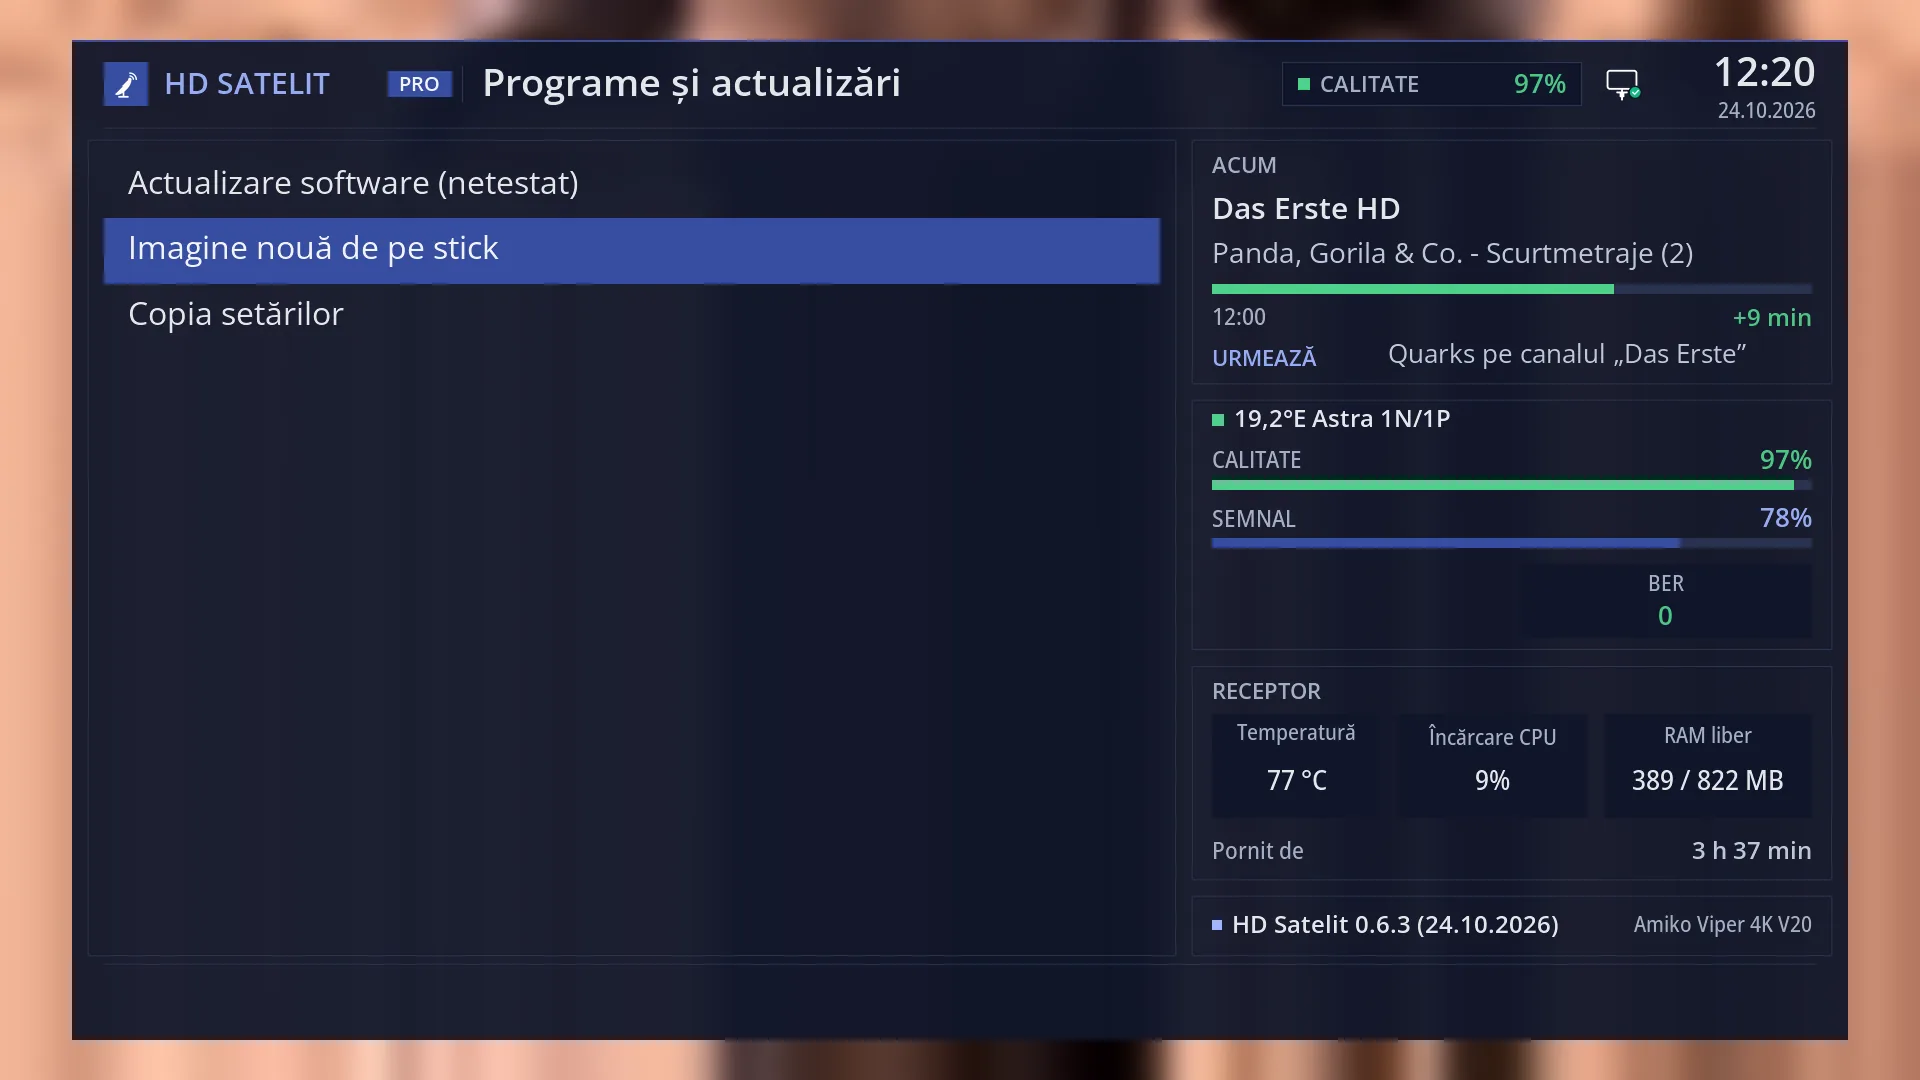
- 1 New image from USB stick: a complete image, from scratch (digit 2).
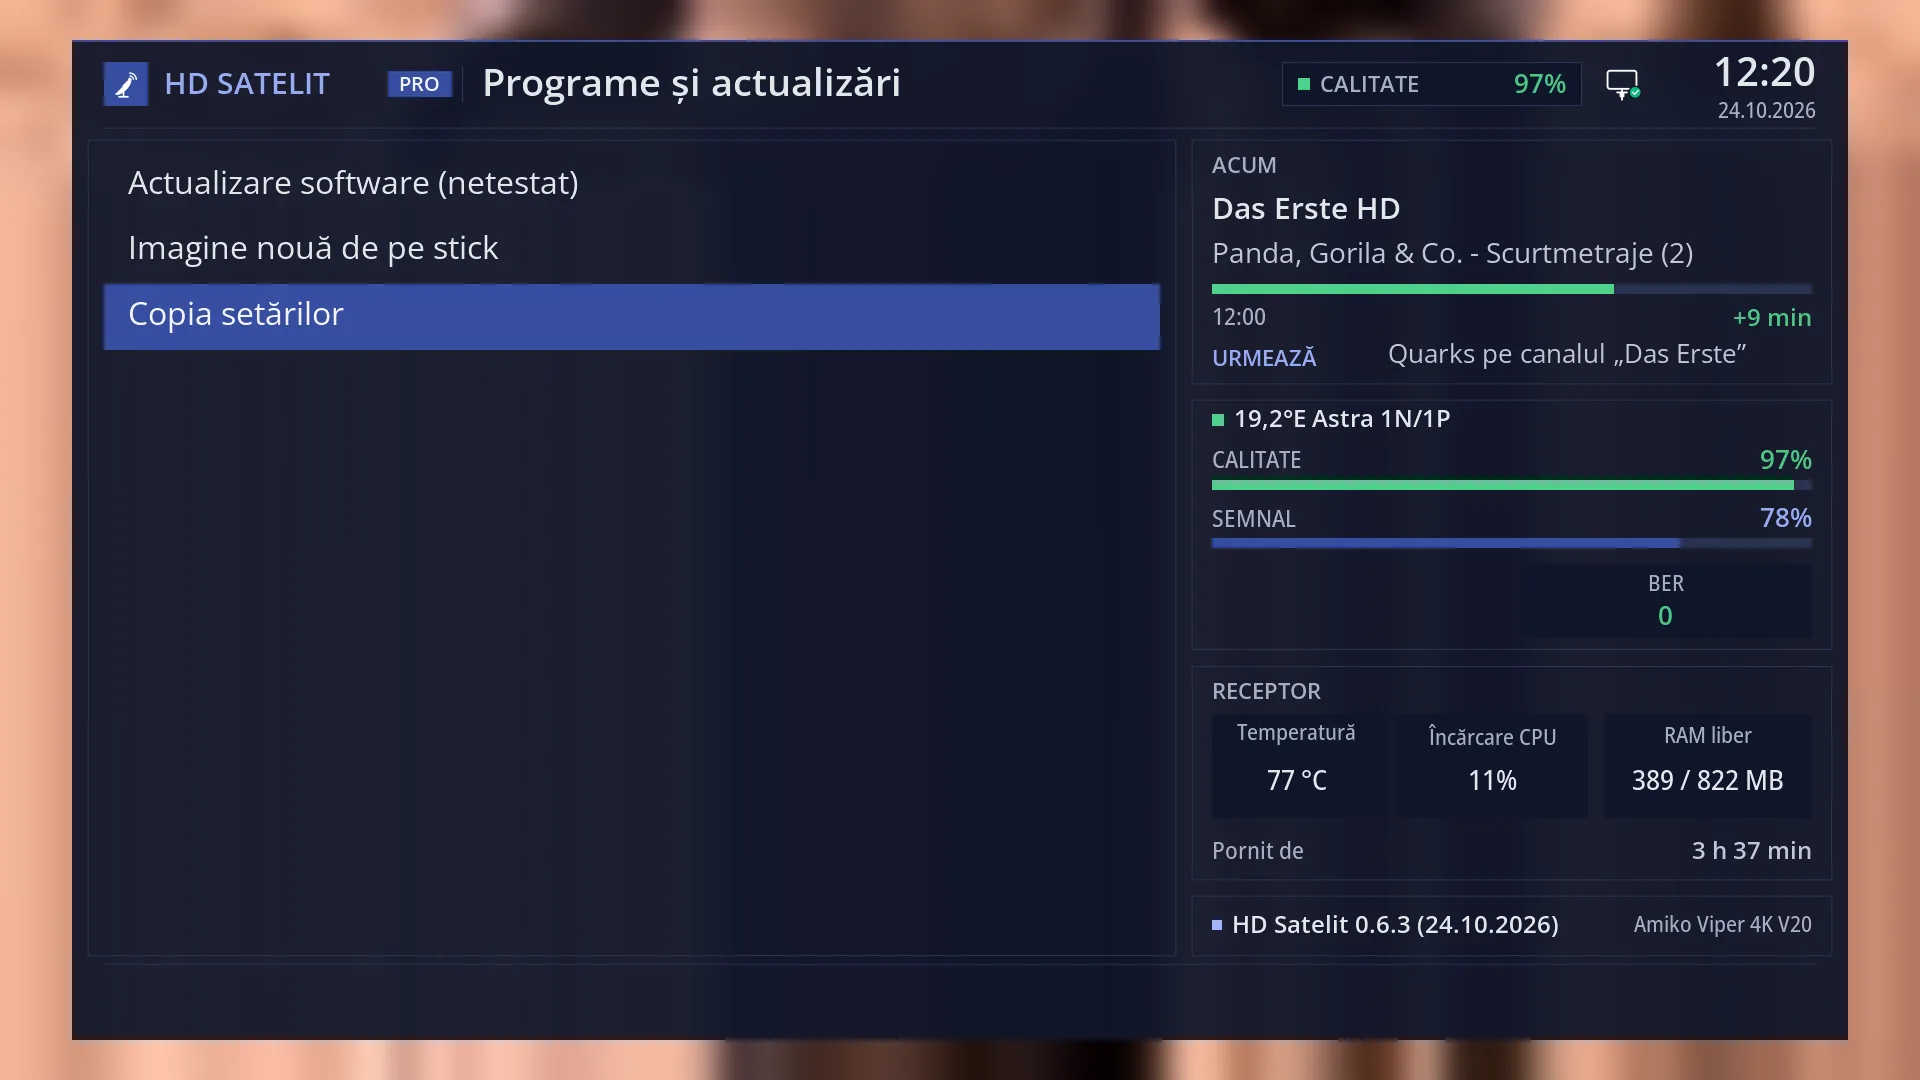
- 1 Settings copy: the channels and settings on a USB stick or disk (digit 3).
What it is for
“Software & Firmware” brings together everything to do with the receiver's software: updating the HD Satelit image over the internet, writing a new image from a USB stick, and the settings copy.
Come here when you want to check whether a new version is out, when the update tells you the new image has to be installed from scratch, or when you want to keep your channels and settings on a USB stick.
The usual way to get new versions is “Software update”, over the internet, with no USB stick. “New image from USB stick” is for a complete image that you install from scratch, for example when the update tells you it cannot be installed from the menu.
The submenu has three entries and no settings of its own: each entry opens its own screen.
How to get here
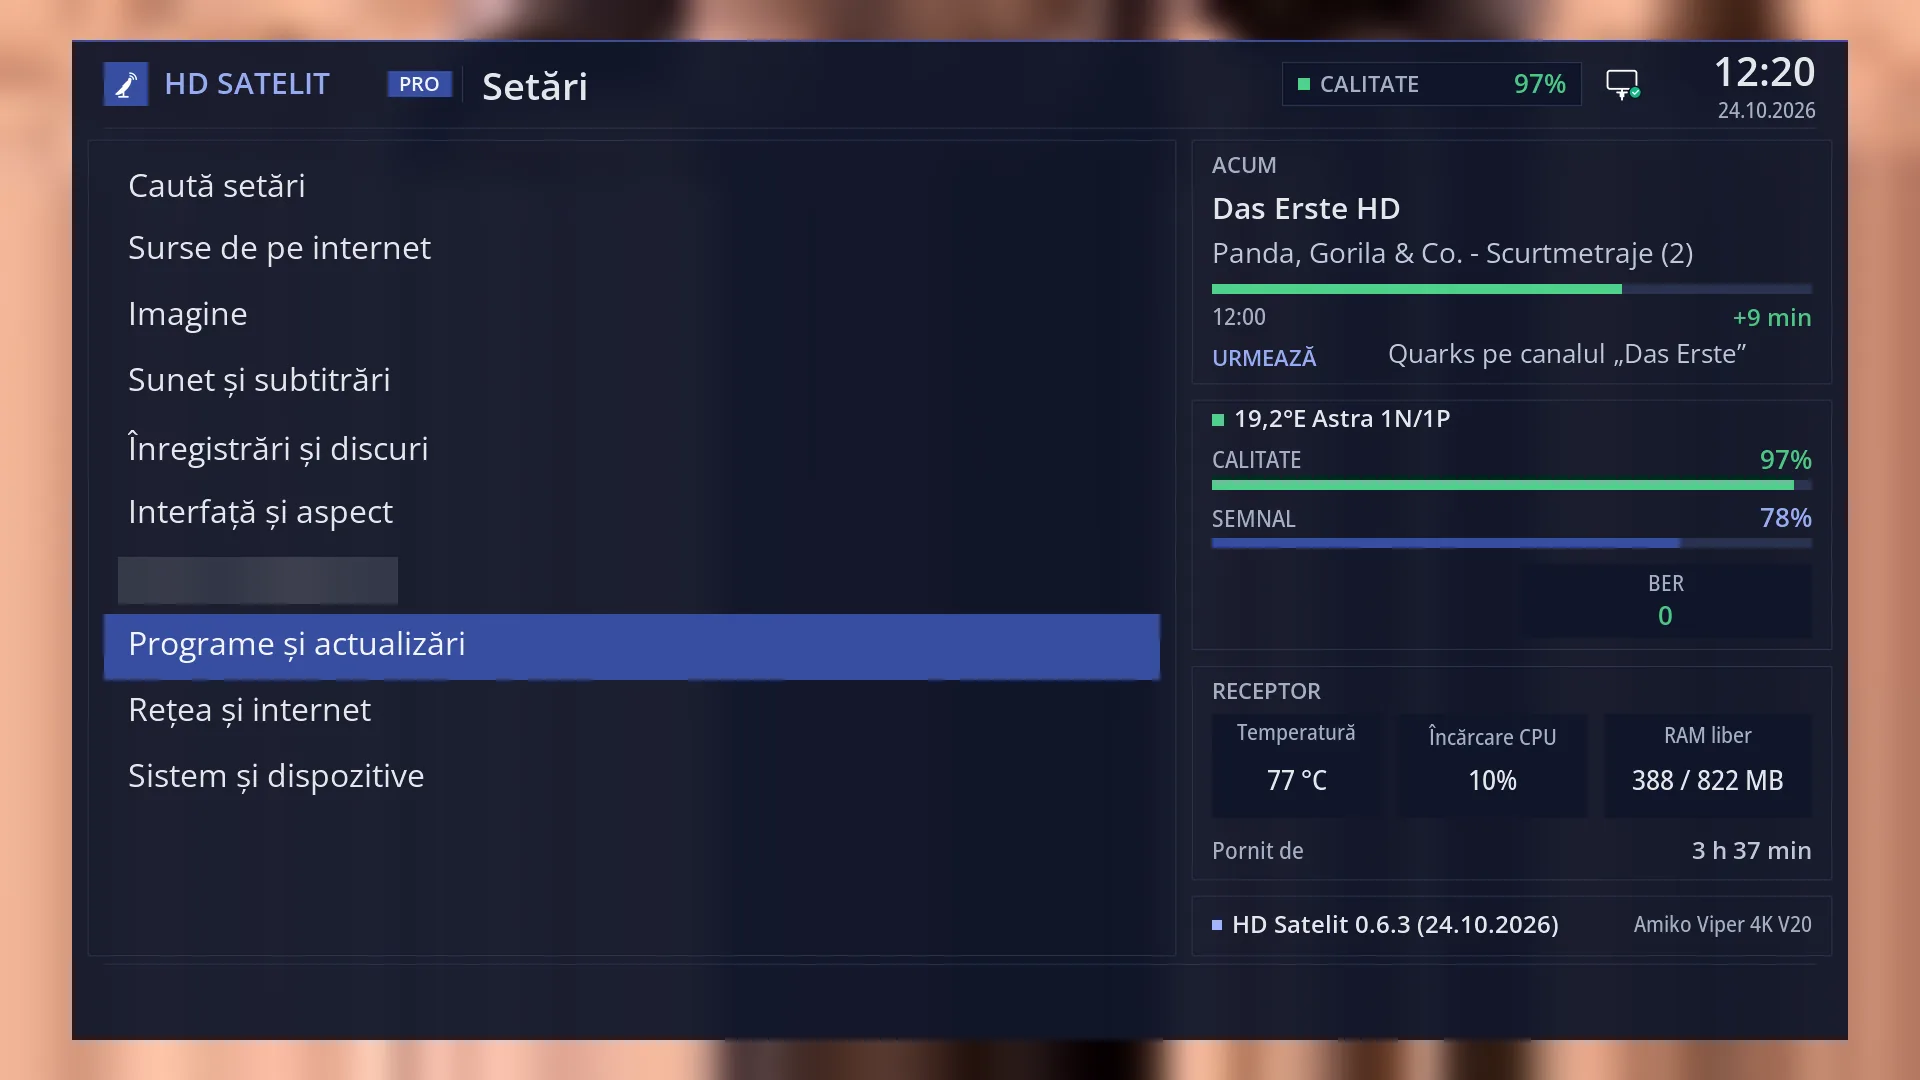
Path: Main menu > Settings > Software & Firmware (the eighth row in Settings).
Keys from live TV: MENU 6 8.
From any menu: press TTX (the screen shows TEXT), type “actualiz” in “Search settings” and choose “Software & Firmware”.
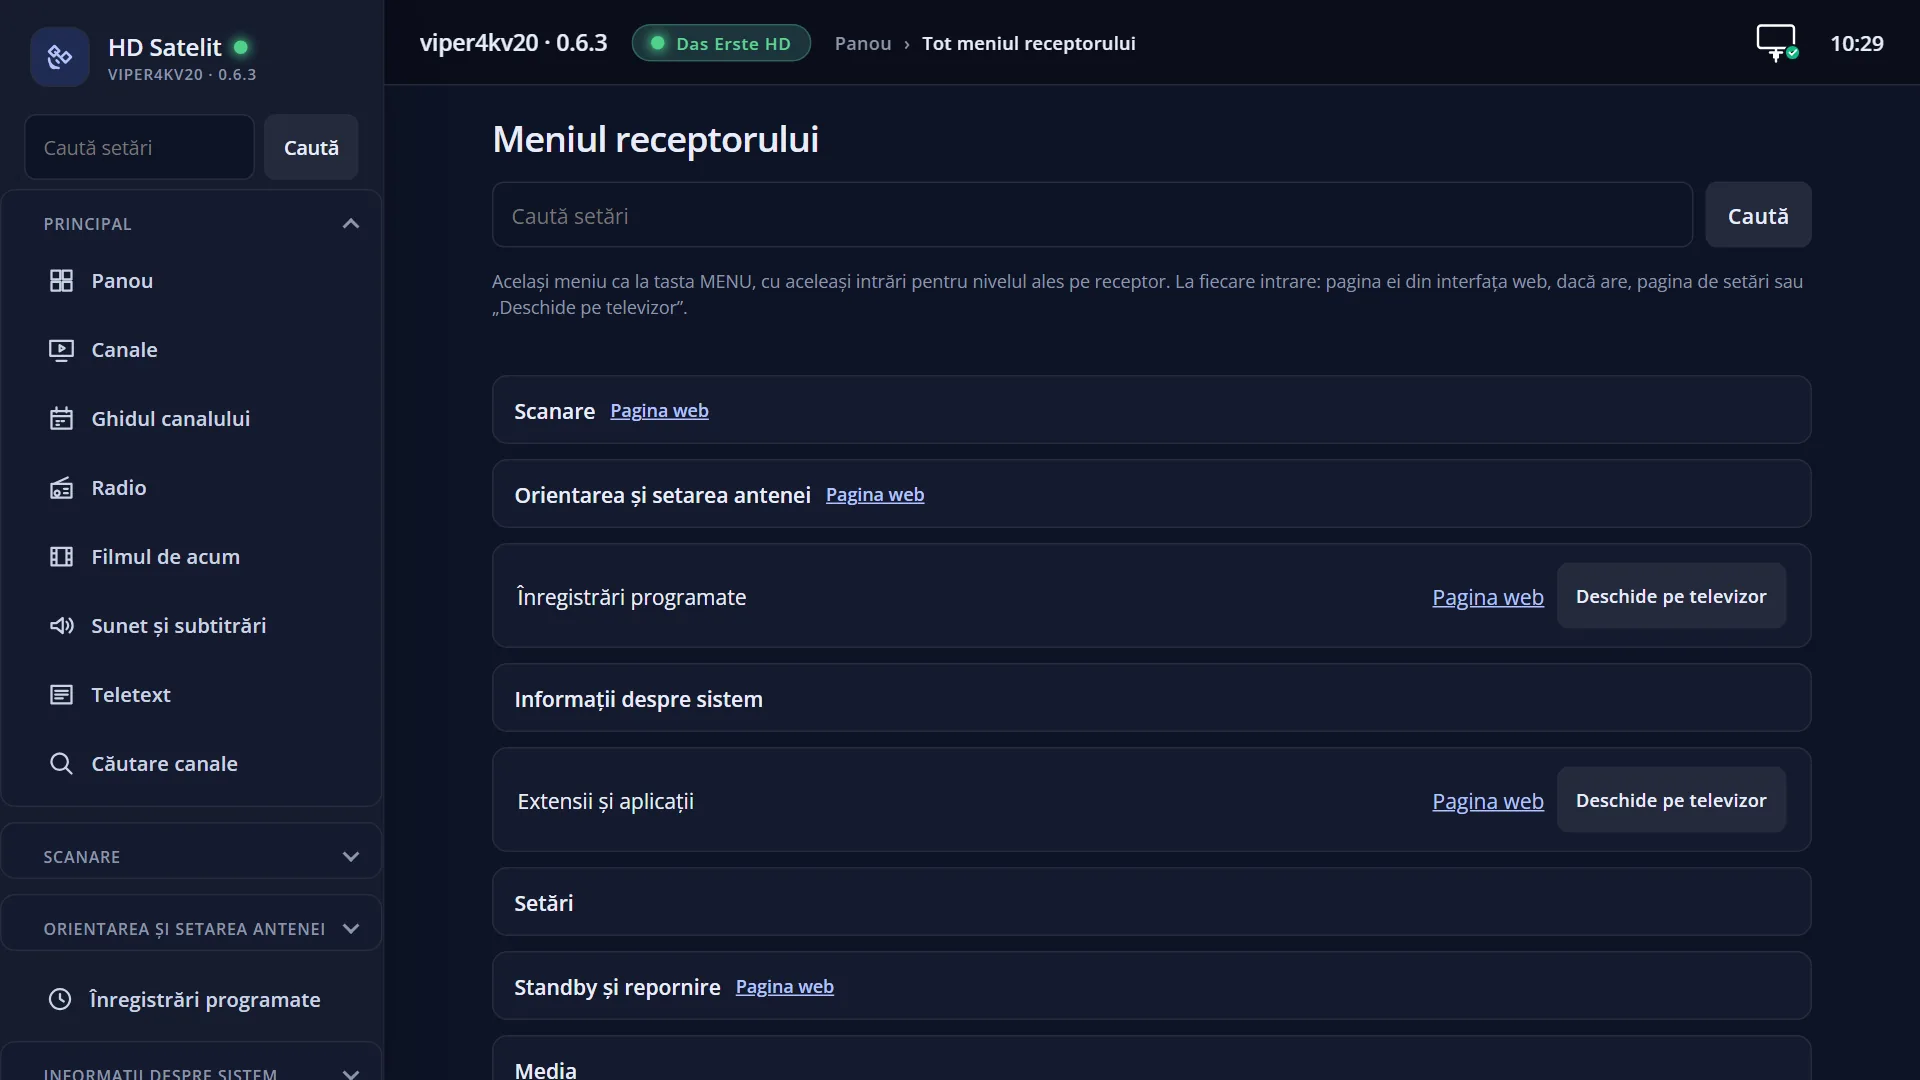
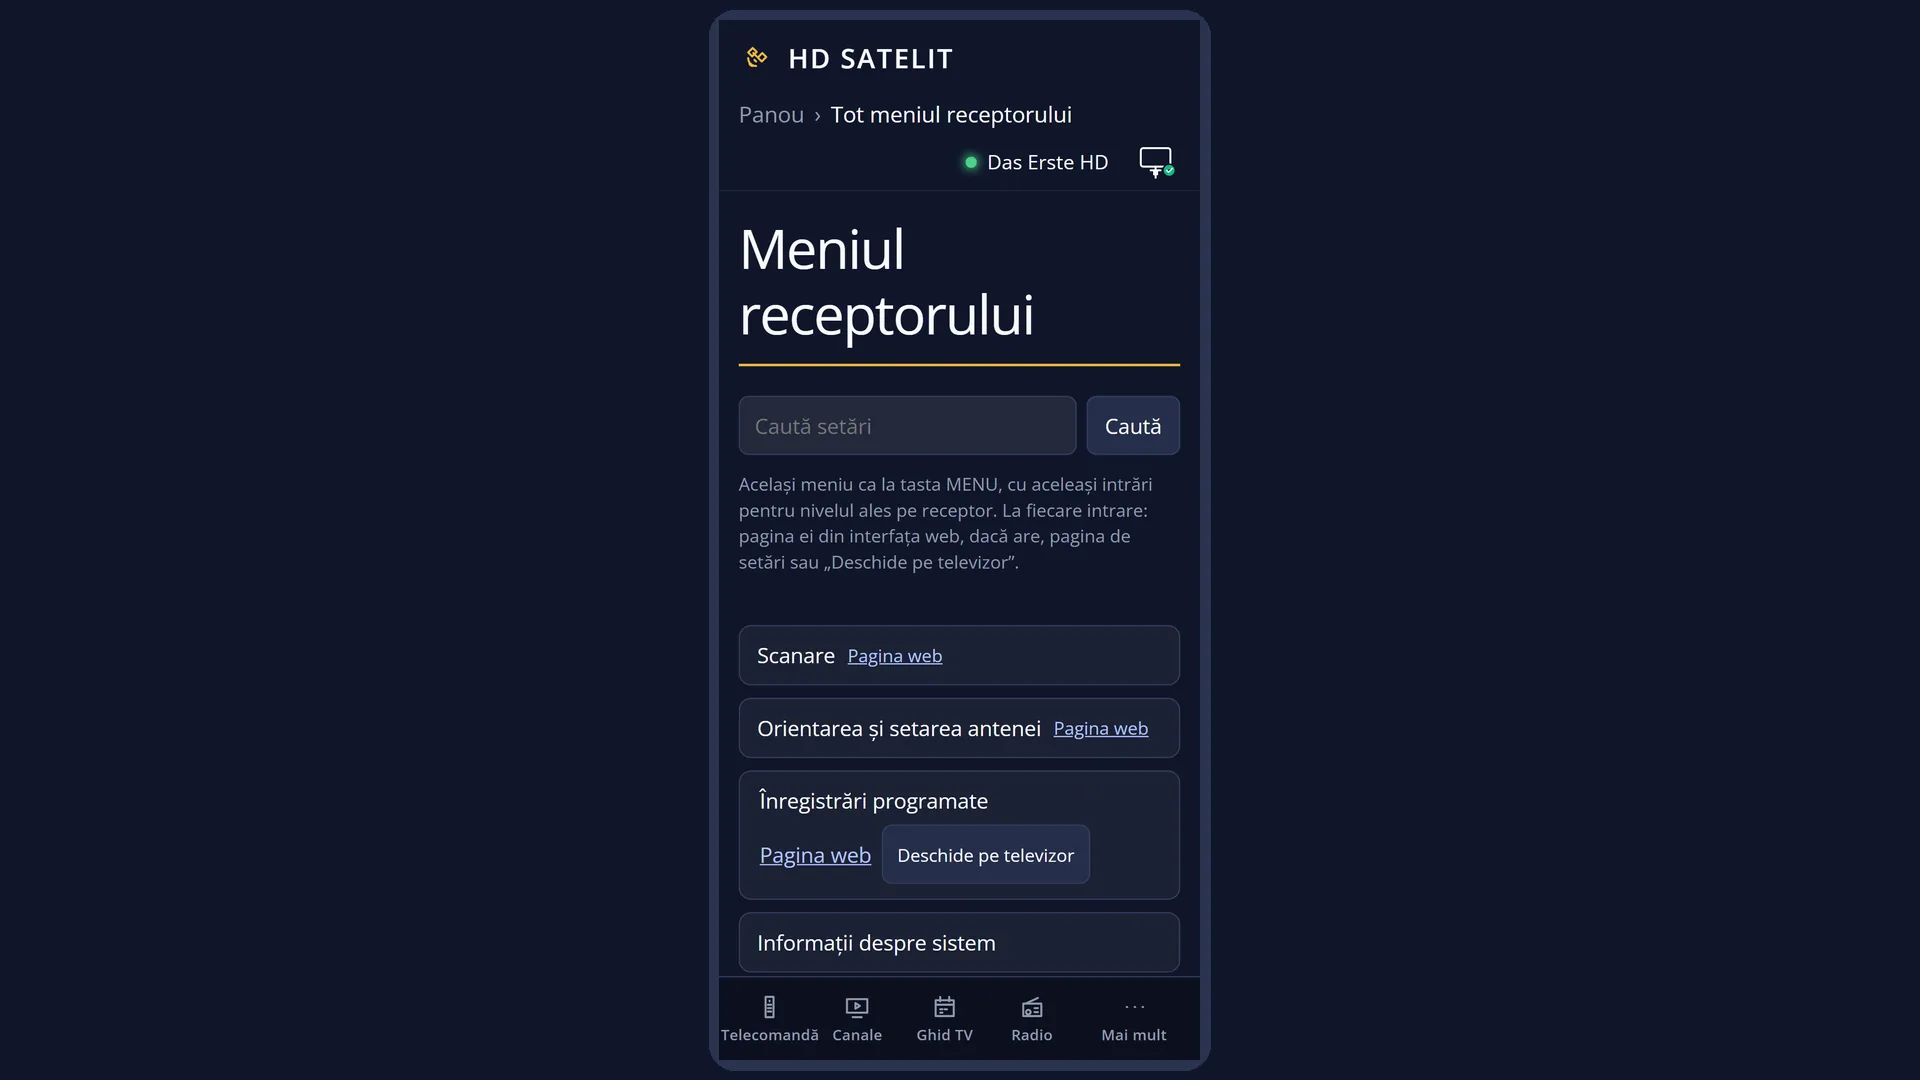
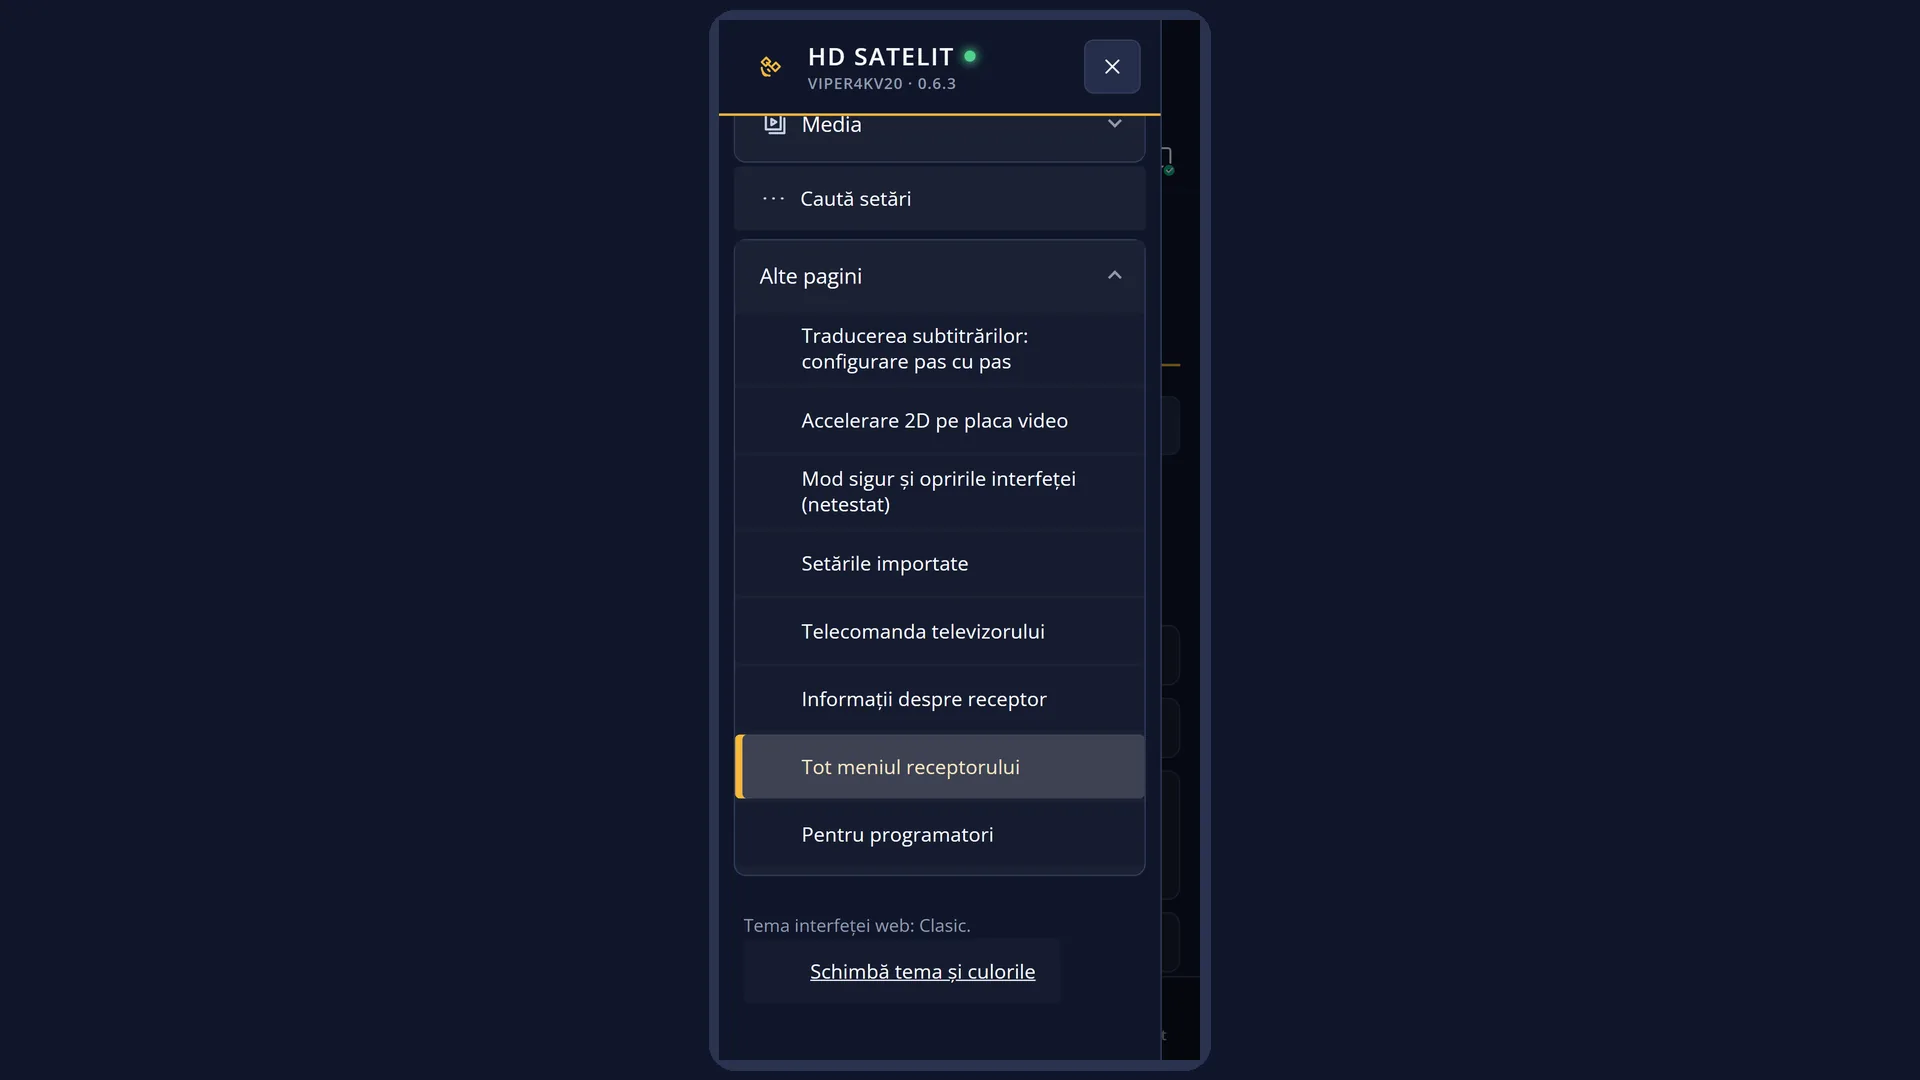
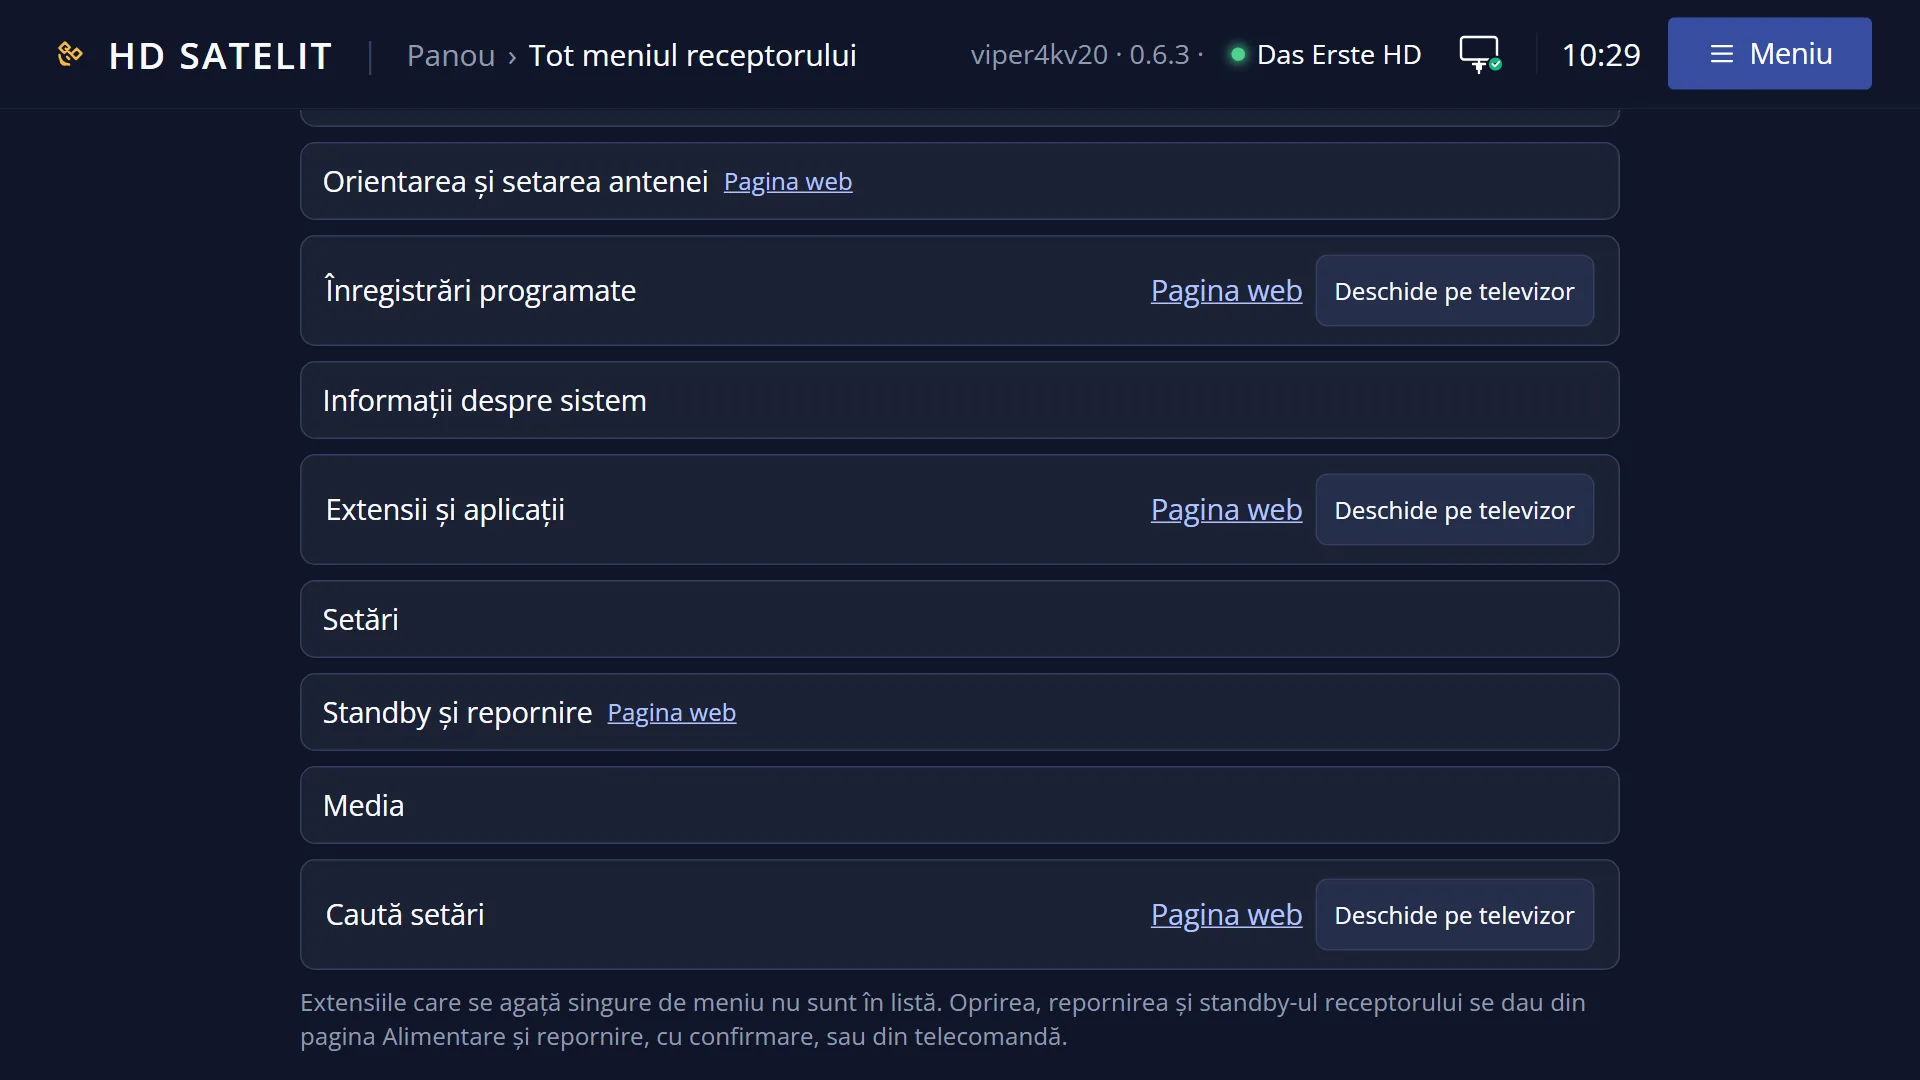
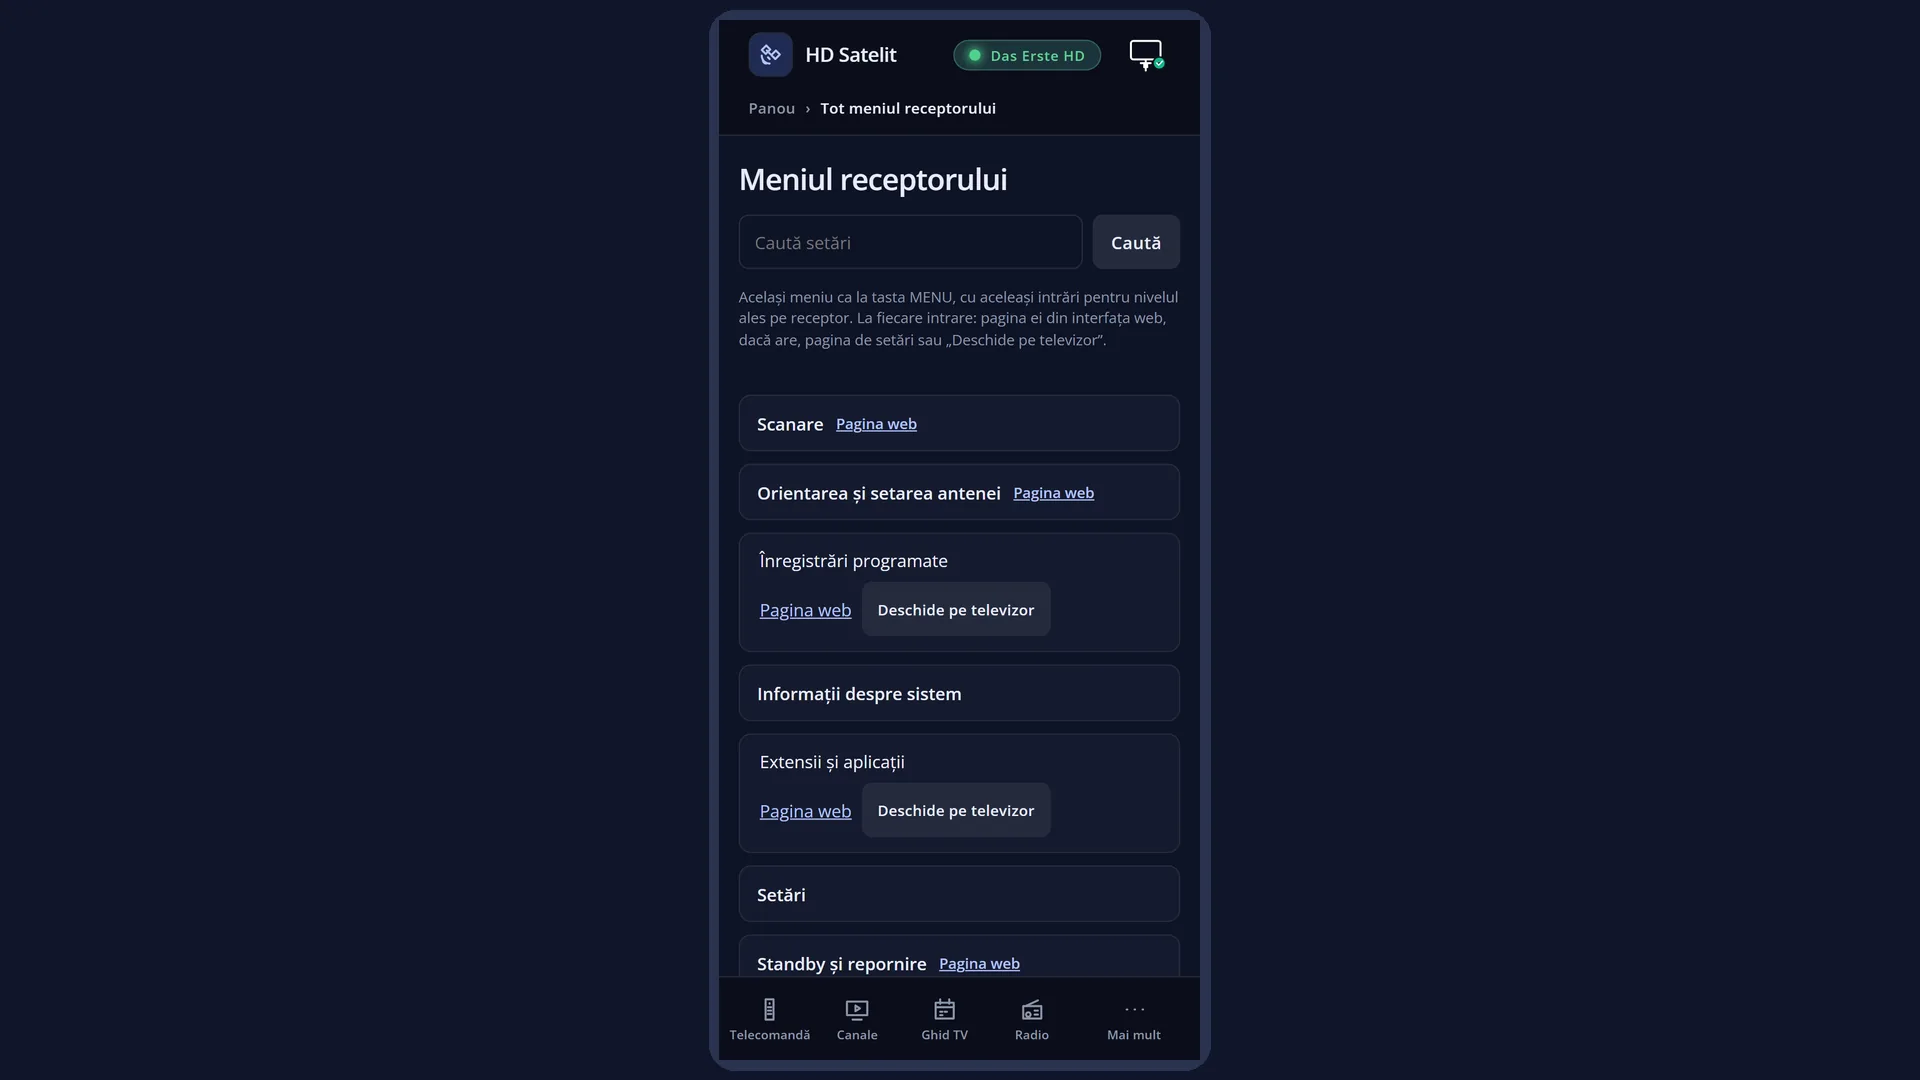
In the web interface: the /meniu page, the “Settings” group, then “Software & Firmware”. There, each entry has “Web page” and “Open on the TV”.
What you see on the screen
At the top, the title “Software & Firmware”. On the Pro theme, on the same row: the HD SATELIT logo with the PRO mark, the signal quality of the current channel, the network icon, the time and the date.
On the left, the list of the three entries: “Software update”, “New image from USB stick” and “Settings copy”. The selected row has a blue background. The digits 1, 2 and 3 open them directly, in that order.
“Software update” has the mark “(not tested)” next to its name: the entry is finished but has not yet been tried on the receiver. The mark changes nothing when you use it; the entry works like any other.
On the Pro theme, on the right, the usual menu boxes: NOW (the channel, the current programme and what comes next), the signal (the satellite, quality, strength and BER), Receiver (temperature, processor load, free memory and how long it has been on) and, at the bottom, the image version with the receiver name. On the Classic theme the menu is narrower and does not have these boxes.
With YELLOW, the same submenu is shown as tiles: three tiles in one row, each with its icon, name and digit, and at the bottom the key help (OK, EXIT, the digits, YELLOW).
Rows and settings
| Row | Values | Default | What it does |
|---|---|---|---|
| 1 Software update (not tested) | Looks on the HD Satelit server for a new version of the image, shows what it brings (“What's new”) and installs it when you ask, only if it is signed by HD Satelit. After installing, it restarts the interface. This is also where you turn the daily check on or off; the check only announces a new version on the TV. When you want the new version of the image, or when you have seen the announcement on the TV that one is out. | ||
| 2 New image from USB stick | Writes a complete image from a USB stick to the receiver, from scratch. Use it when the update from the menu tells you the new image has to be installed from scratch, or when you install an image downloaded from the website. Only when you really want a new image from scratch; make the settings copy first. | ||
| 3 Settings copy | Makes a copy of the channels and settings on a USB stick or disk and restores it when you want. After a new image is written, the copy on the same USB stick can be restored by itself at the first start. Before a new image from a USB stick, and from time to time, so your channels and settings are kept safe. |
Keys
| UP / DOWN | Moves the cursor to the row above or below. From the last row, DOWN goes to the first, and the other way round. |
| LEFT / RIGHT | In the list, jump one page up or down; the three rows fit on one page, so you land on the first or the last. In the tile view, move the cursor to the tile on the left or right. |
| OK | Opens the selected entry. |
| 1 / 2 / 3 | Open directly, without OK: 1 Software update, 2 New image from USB stick, 3 Settings copy. The other digits do nothing here. |
| TTX (the screen shows TEXT) | Opens “Search settings”. If you close the search with MENU, the menu closes too. |
| YELLOW | Switches the menu from list to tiles or back, straight away, with the same entry selected. Your choice is remembered for all menus. |
| EXIT | Takes you back to Settings. |
| MENU | Closes the whole menu and takes you back to live TV. |
Step by step
Check for a new version
- Press MENU 6 8 1 (or MENU 6 8, then OK on “Software update”).
- The screen searches the HD Satelit server by itself. Wait until the step in the yellow row at the bottom disappears.
- If it says “The software is up to date.”, there is nothing to do. If there is a new version, read “What's new” below and install it with GREEN.
Install a new image from scratch
- Press MENU 6 8 3 and make the settings copy on the USB stick.
- Put the new image on the same USB stick, as described in the installation instructions on the website.
- Press MENU 6 8 2 and follow the steps in “New image from USB stick”. At the first start after writing, the settings copy on the USB stick can be restored by itself.
Get here from your phone
- Open the receiver's web interface, for example http://192.168.1.50, and go to /meniu.
- Open the “Settings” group, then “Software & Firmware”.
- For each entry, press “Web page” (the same function, from your phone) or “Open on the TV”.
Problems and solutions
“(not tested)” appears next to “Software update”.
The mark only means the entry has not yet been tried on the receiver. It works like any other; the mark disappears once the entry has been tried.
I do not know whether to use “Software update” or “New image from USB stick”.
For new versions, use “Software update”, over the internet, with no USB stick. “New image from USB stick” is only for a complete image installed from scratch, for example when “Software update” tells you the update cannot be installed from the menu.
The menu shows large tiles instead of a list.
Press YELLOW: the menu goes back to the list. The choice is the same for all menus.
I press a digit and nothing happens.
There are only three entries here, so only 1, 2 and 3 work.
I cannot find “Software & Firmware” in Settings.
It is the eighth row in Settings (MENU 6 8). If you typed a different digit, press EXIT and try again, or search for “actualiz” with TEXT.
Related topics
- Software update
- New image from USB stick
- Settings copy
- What's new
- Settings
- Main menu
- The receiver menu in the web interface
- Matching web page: /meniu (the “Settings” group > “Software & Firmware”); the pages of the entries: /actualizari, /actualizare, /copie-setari.