

Hard Drive Standby
Screenshots are being added: so far 2 from the receiver and 5 from the web interface; the aim is at least 5 of each, with arrows and frames, and, where a setting changes what you see, a before and after comparison.
English screenshots coming: some of the pictures below still show the receiver and the web interface in Romanian. The rows, keys and steps described on this page are the English ones.
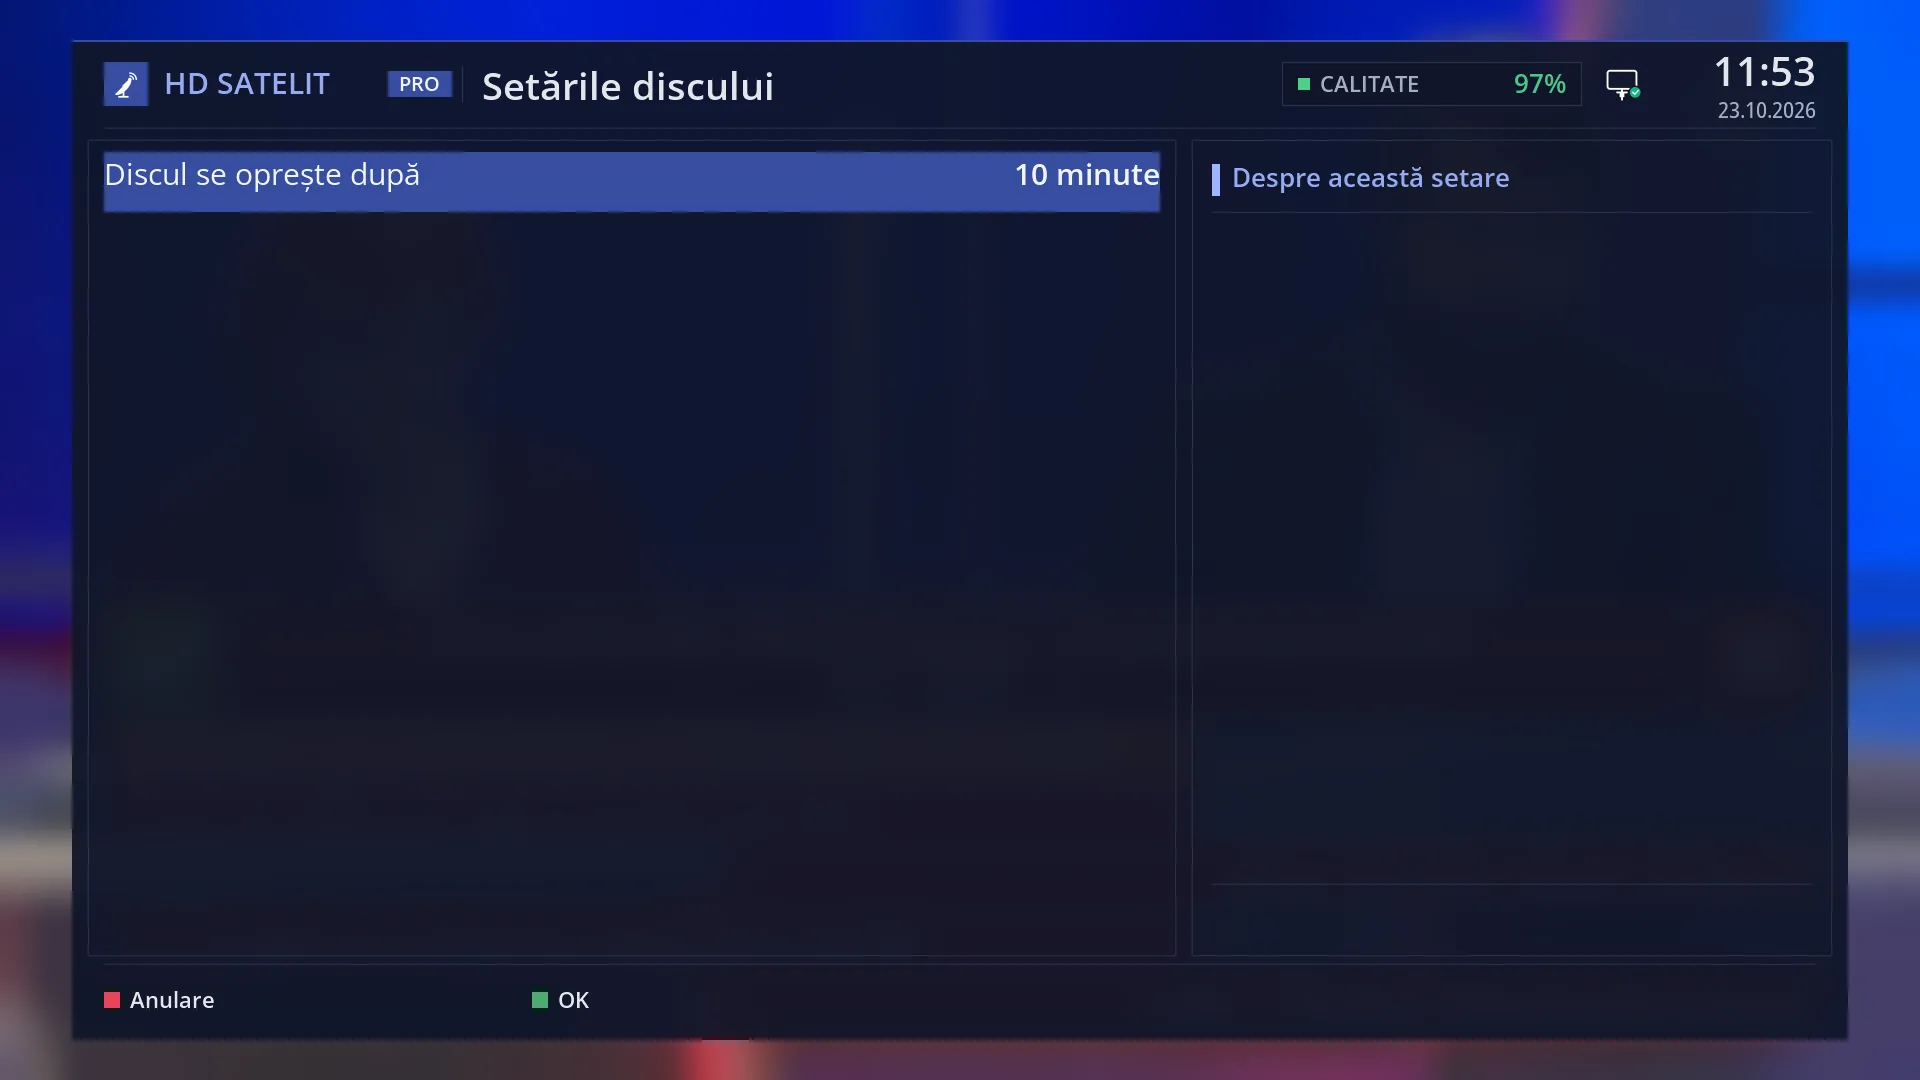
- 1 Screen title: “Harddisk setup”.
- 2 “Harddisk standby after”, with the chosen time on the right.
- 3 “About this setting”: stays empty for this row.
- 4 RED closes without saving, GREEN saves.
What it is for
The “Harddisk setup” screen sets how long the disk connected to the receiver must be unused before it stops by itself. A stopped disk makes no noise and does not heat up.
The receiver checks by itself, several times within the chosen interval, whether the disk has read or written anything. When the disk has stayed untouched for the whole chosen time, the receiver tells it to stop. On the first read (a recording, a film you start, the recordings list) the disk starts again by itself after a few seconds.
By default the disk stops after 10 minutes without use. The setting is the same for all connected disks.
How to get here
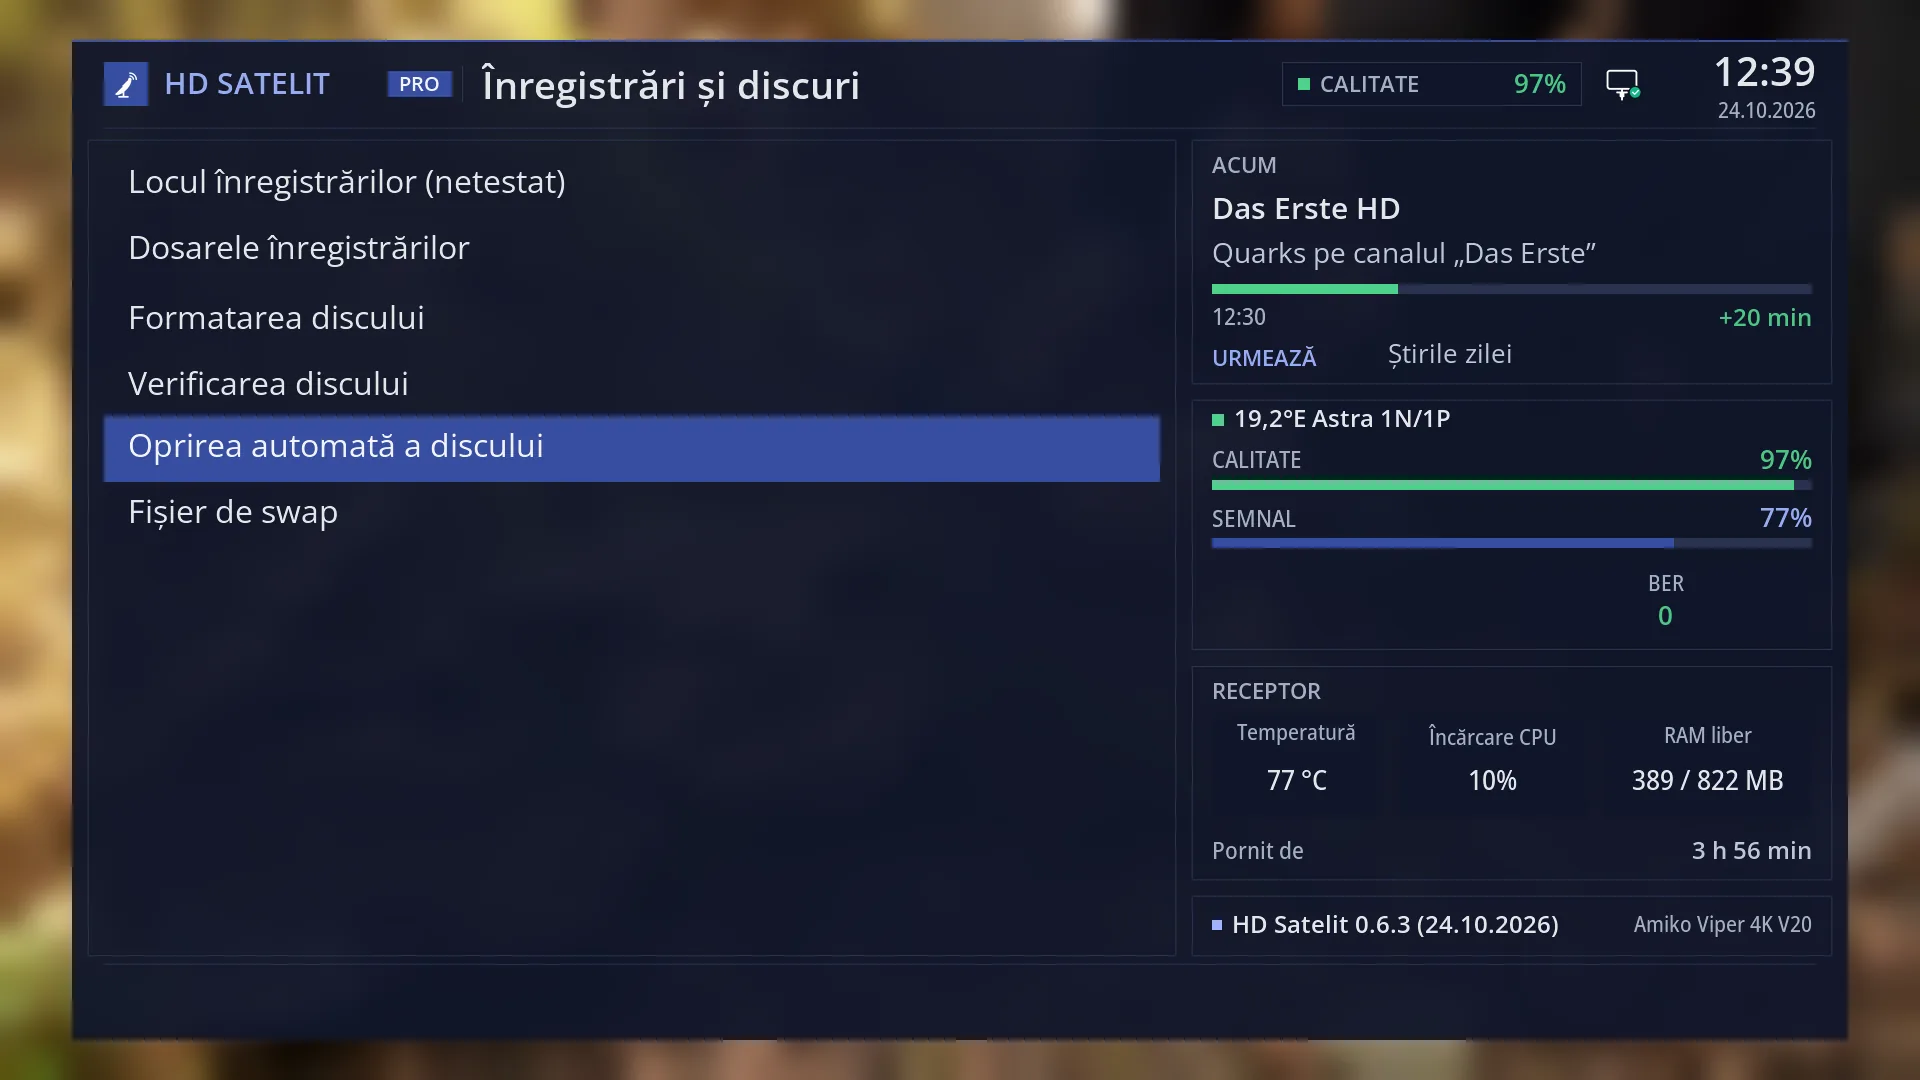
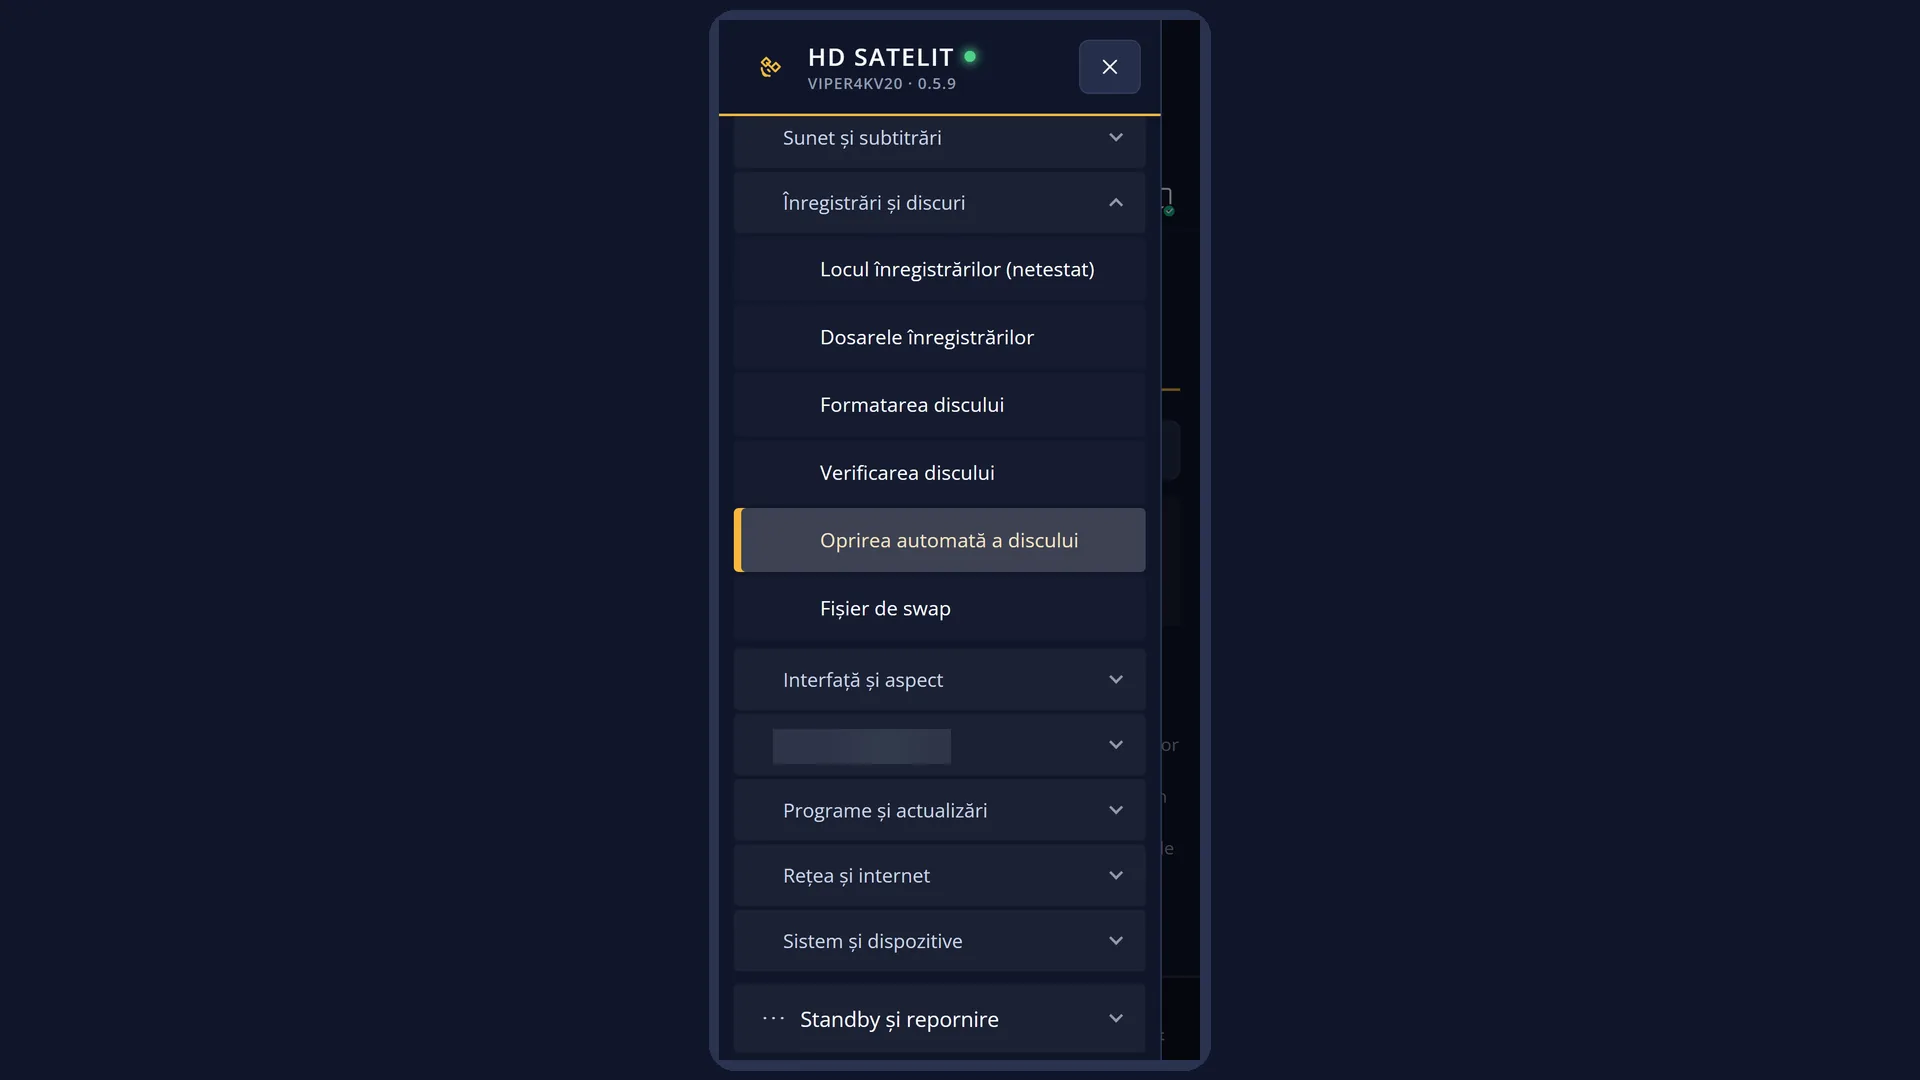
Path: Main menu > Settings > Recording & Storage Setup > Hard Drive Standby.
Keys while watching TV: MENU 6 5 5.
The “Hard Drive Standby” row is shown when “Setup Mode” is set to Intermediate (the default) or Expert. With Simple it is not shown.
From any menu: the TTX key (TEXT on screen) opens “Search settings”. Type “disc” and choose the “Harddisk standby after” row.
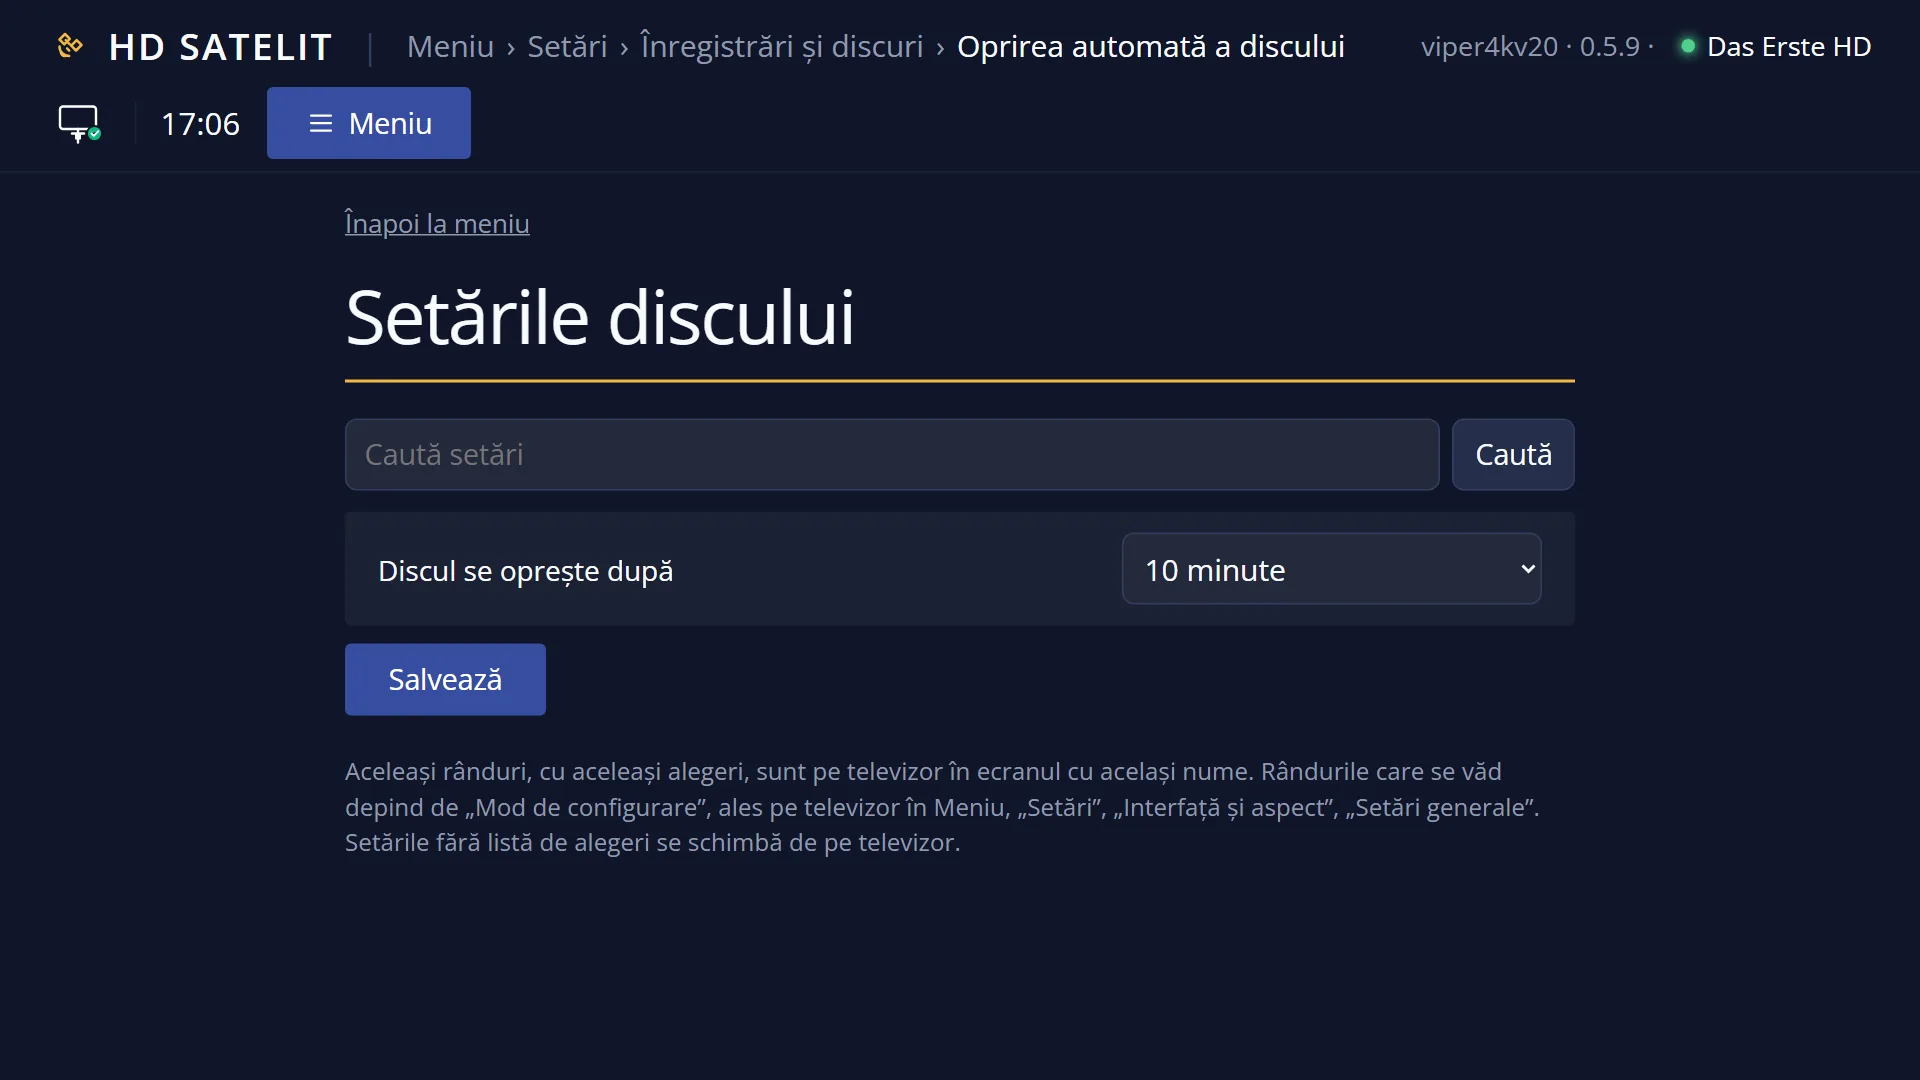
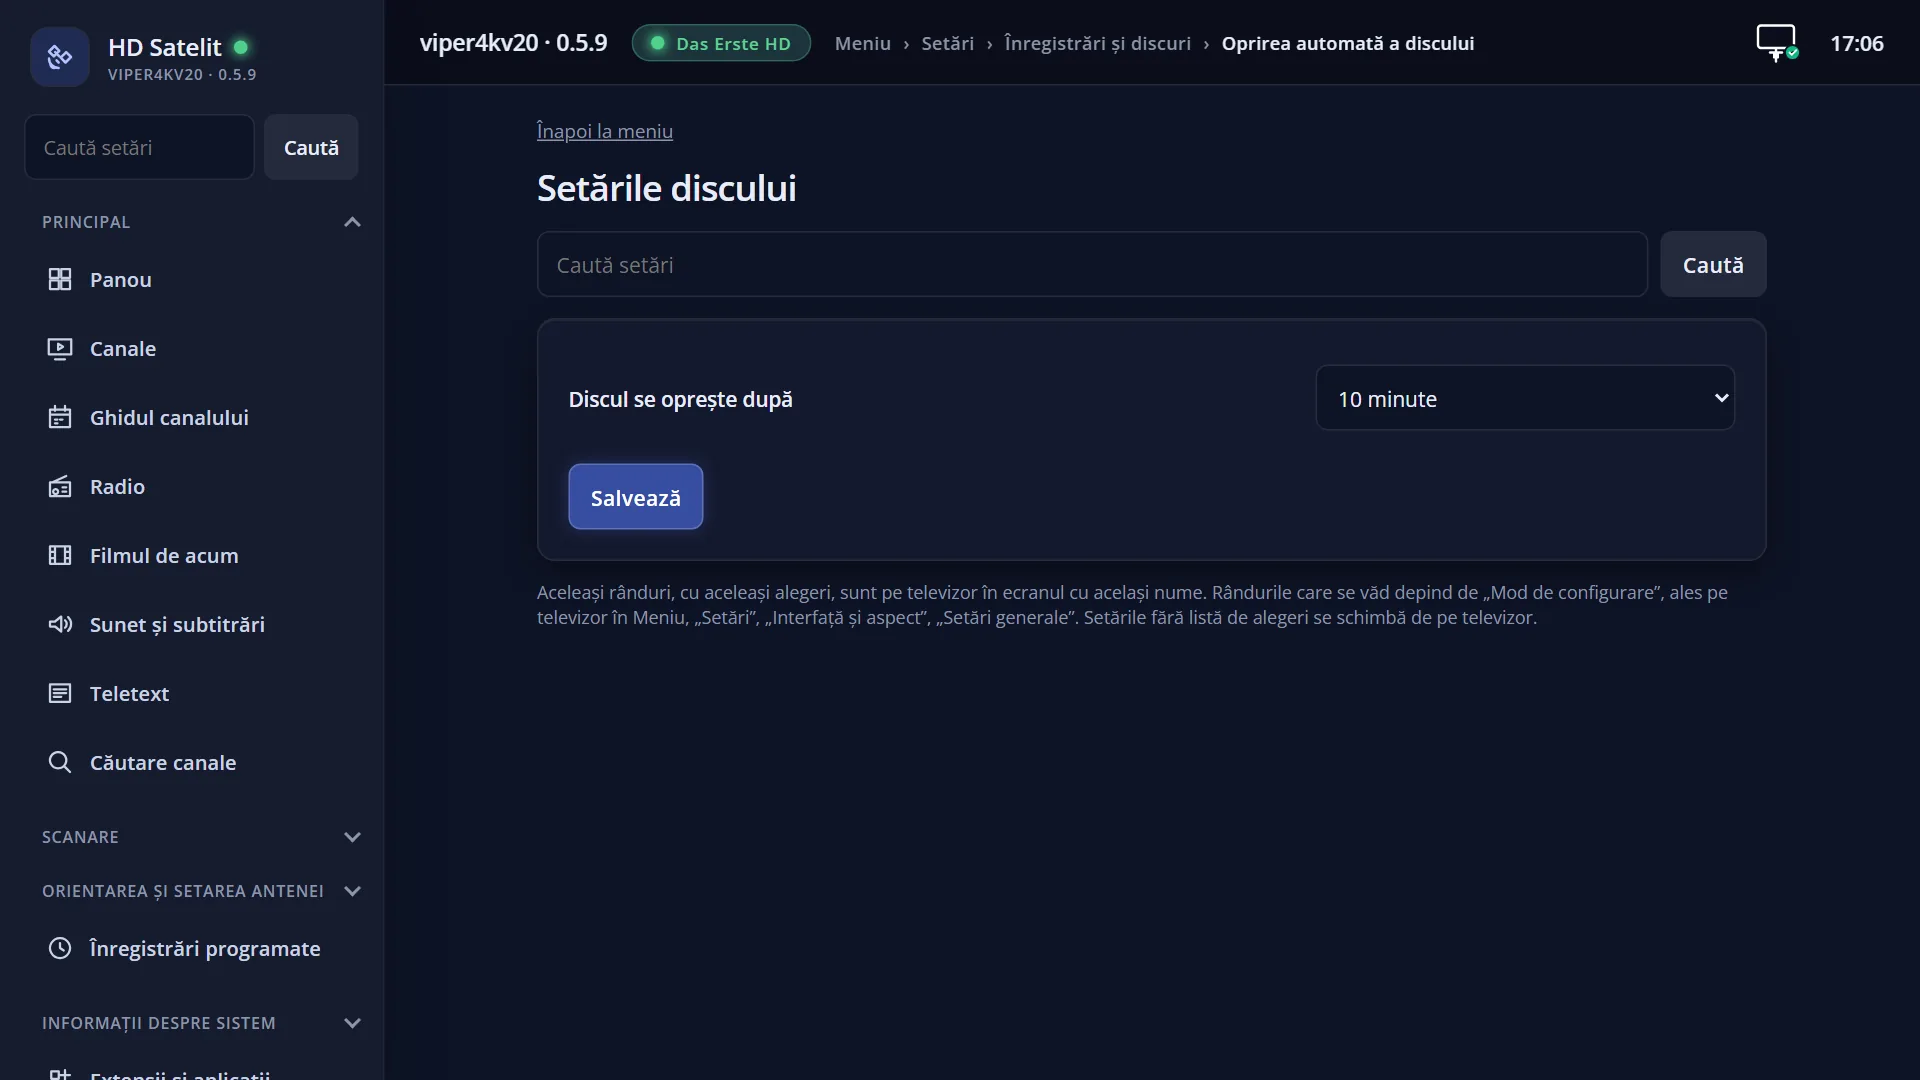
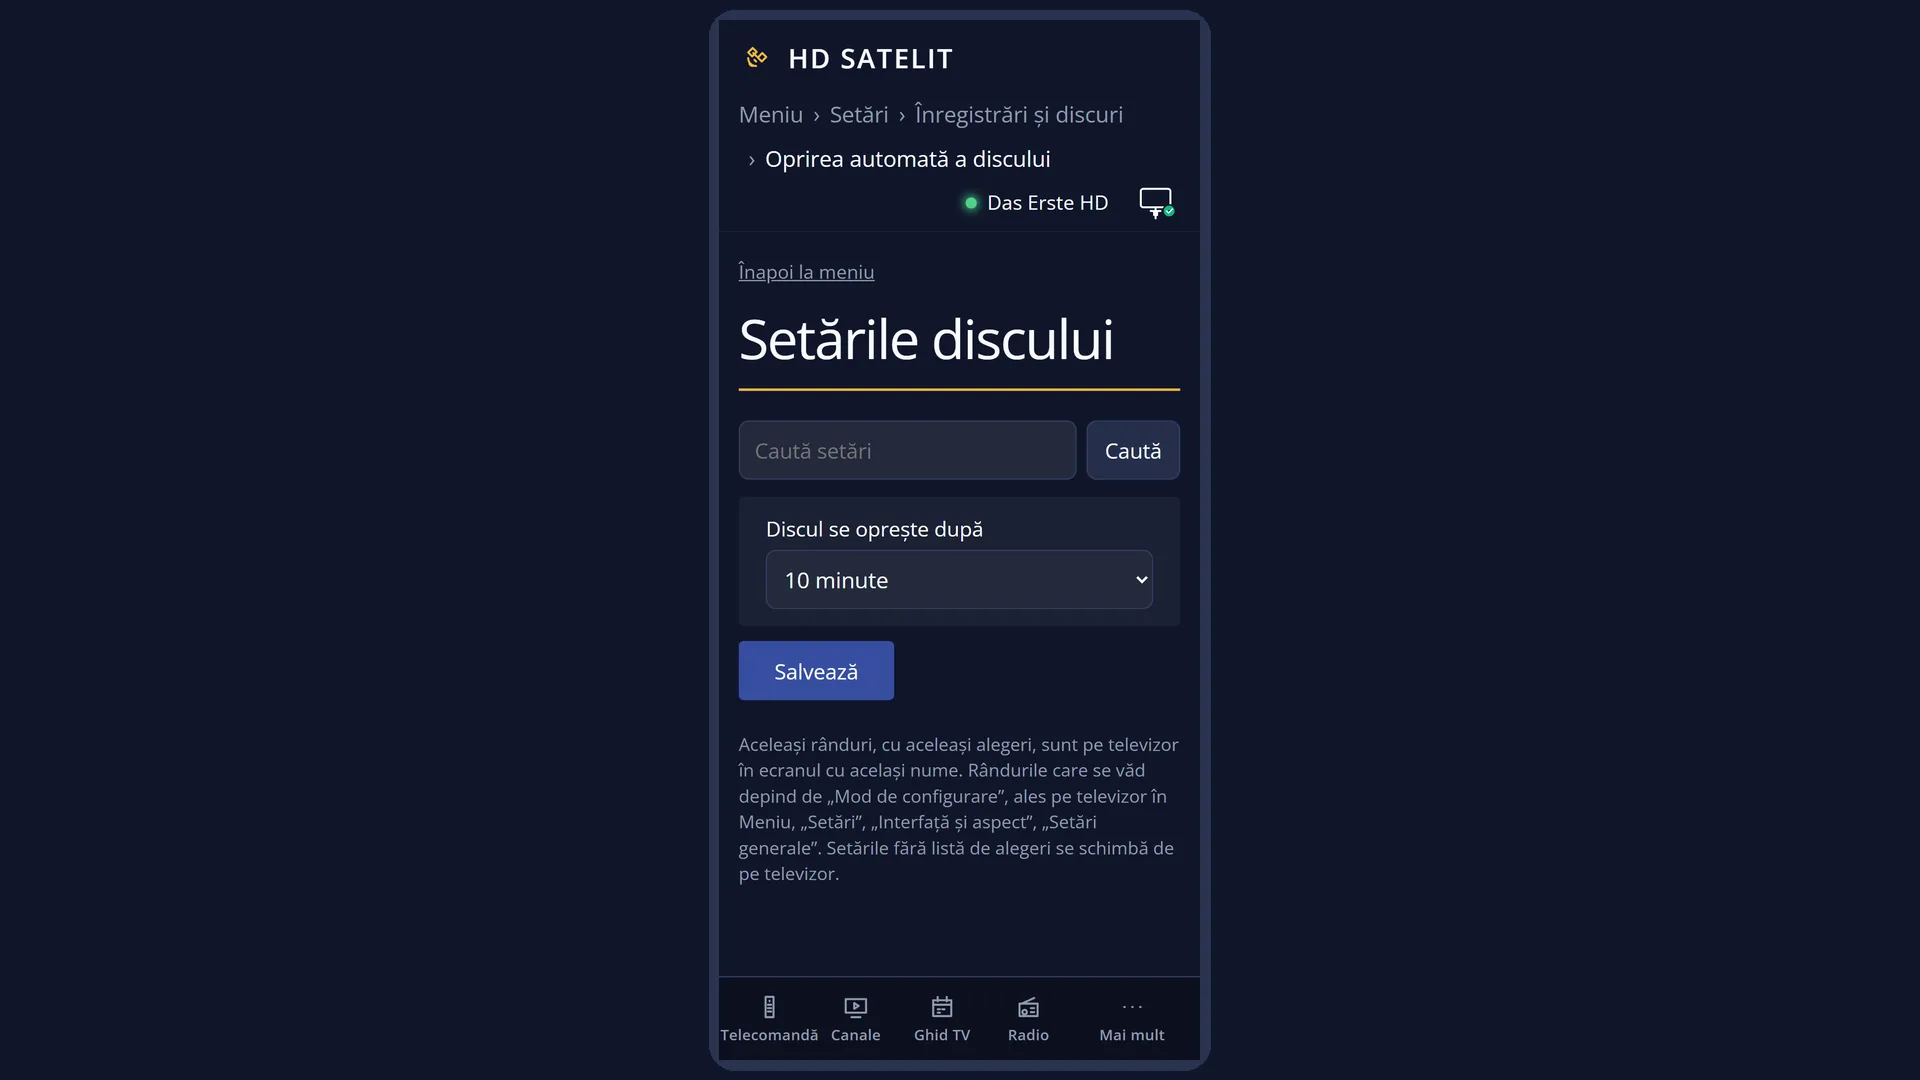
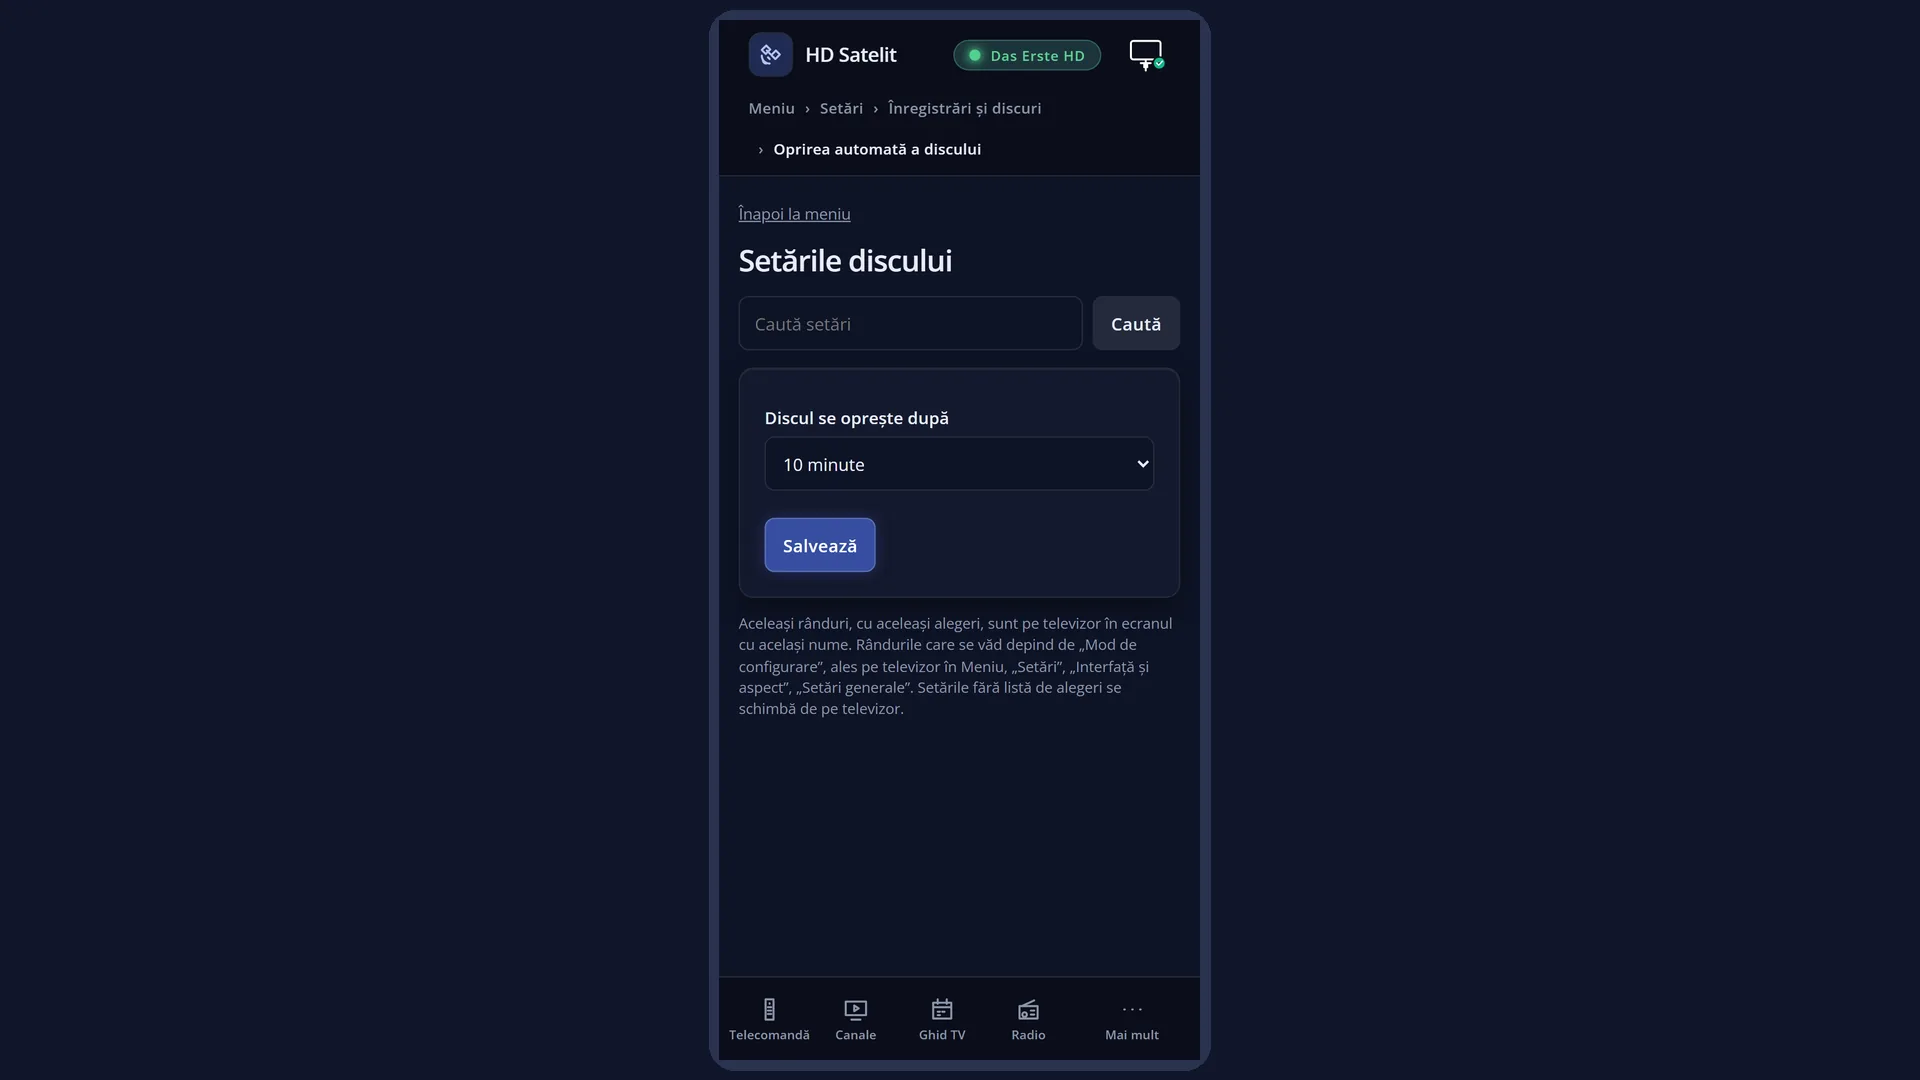
In the web interface: the page /setari?id=harddisk (titled “Harddisk setup”), or /setari and then “Hard Drive Standby”.
What you see on the screen
At the top, the screen title: “Harddisk setup”. In the menu the row is called “Hard Drive Standby”, but it is the same screen.
On the left, a single row: “Harddisk standby after”, with the chosen time on the right (“10 minutes” by default).
On the right, the “About this setting” box. This row has no text, so the box stays empty.
At the bottom, the colour keys: RED “Cancel” and GREEN “OK”.
With the Pro theme, the top of the screen also shows the signal quality of the current channel, the network icon, the time and the date.
Rows and settings
| Row | Values | Default | What it does |
|---|---|---|---|
| Harddisk standby after | no standby, 10 seconds, 30 seconds, a minute, 2 minutes, 5 minutes, 10 minutes, 20 minutes, 30 minutes, an hour, 2 hours, 4 hours | 10 minutes | How long the disk must go without any read or write before the receiver stops it. “no standby” means the receiver never stops it: the disk runs as long as the receiver is on. Increase the time (30 minutes, an hour) if the disk stops and starts often, for example when you browse the recordings list with pauses. Reduce it if you want quiet as soon as you stop using the disk. Choose “no standby” only if the disk has problems starting up and you want it always running. |
Keys
| LEFT / RIGHT | Move to the shorter or longer time in the list. After “4 hours” comes “no standby” again. |
| GREEN (OK) | Saves the chosen time and closes the screen. |
| RED (Cancel) or EXIT | Closes without saving. If you have changed something, it first asks “Really close without saving settings?”. |
| OK | Does nothing on this row: you change the time only with LEFT / RIGHT. |
Step by step
Make the disk stop later
- Press MENU 6 5 5.
- On the “Harddisk standby after” row, press RIGHT until you reach “30 minutes” or “an hour”.
- Press GREEN.
Keep the disk always running
- Press MENU 6 5 5.
- Press LEFT or RIGHT until you reach “no standby”.
- Press GREEN. From now on the receiver no longer stops the disk. The disk stops only when the receiver does.
Problems and solutions
The disk is slow to start and the recordings list appears after a few seconds.
The disk was stopped and starts on the first read. This is normal. If it happens too often, increase the time to 30 minutes or an hour.
The disk never stops.
First check that the row is not set to “no standby”. Any read or write restarts the count: a recording, timeshift stored on the disk or a program that writes to the disk keeps the disk running.
I connected the disk after the receiver started and it does not stop by itself.
The time is applied to the disks found at startup and each time you save this screen. Open the screen, change the time and set it back, then press GREEN, or restart the receiver with the disk connected.
I cannot find the “Hard Drive Standby” row.
The row is not shown when “Setup Mode” is set to Simple. Set it to Intermediate in OSD Preferences (MENU 6 6 5, first row), then press GREEN.
I have a USB stick, not a disk, and nothing changes.
USB sticks and SSDs have no motor, so you cannot hear or see them stop. The setting matters for disks with a motor.
Related topics
- Recording & Storage Setup (the menu it opens from)
- Check Disk Health
- Format Hard Drive
- Recordings location
- OSD Preferences (Setup Mode)
- Matching web page: /setari?id=harddisk.