

Screen Margins / Overscan
English screenshots coming: some of the pictures below still show the receiver and the web interface in Romanian. The rows, keys and steps described on this page are the English ones.
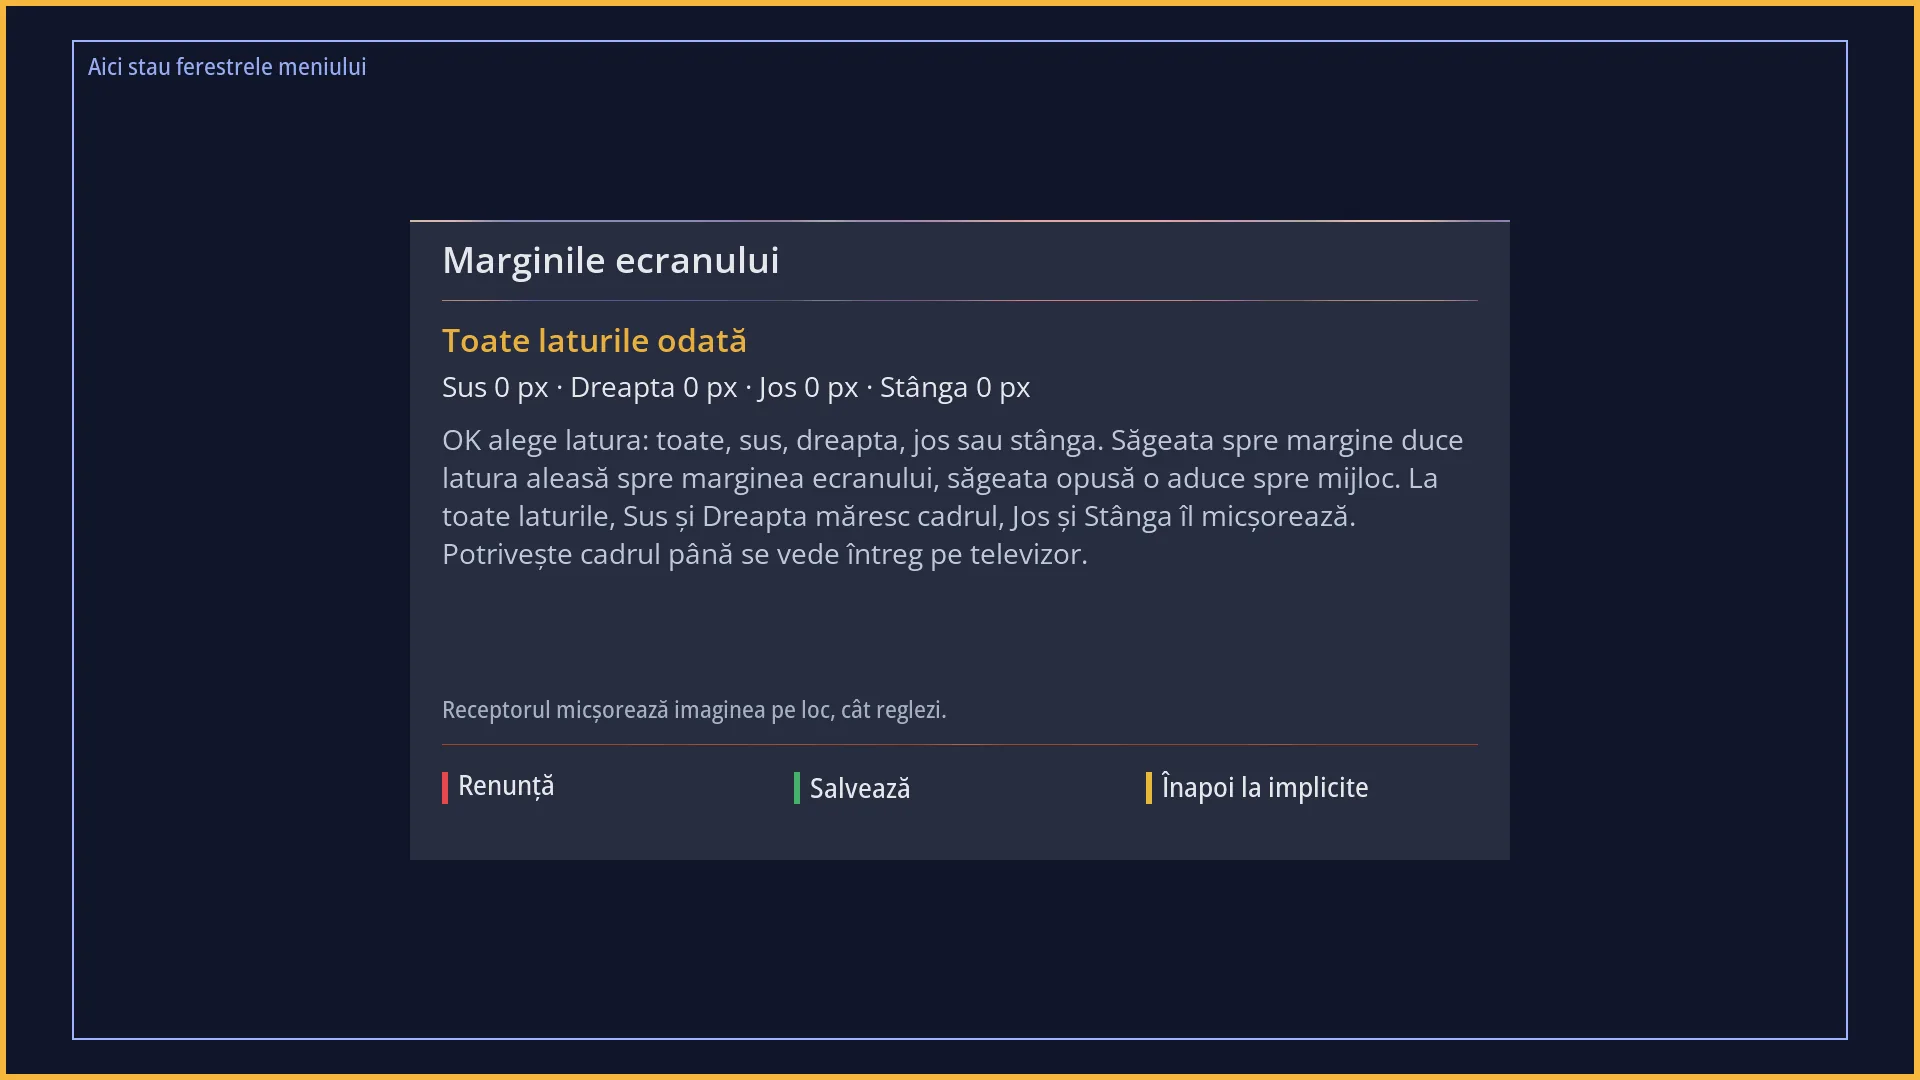
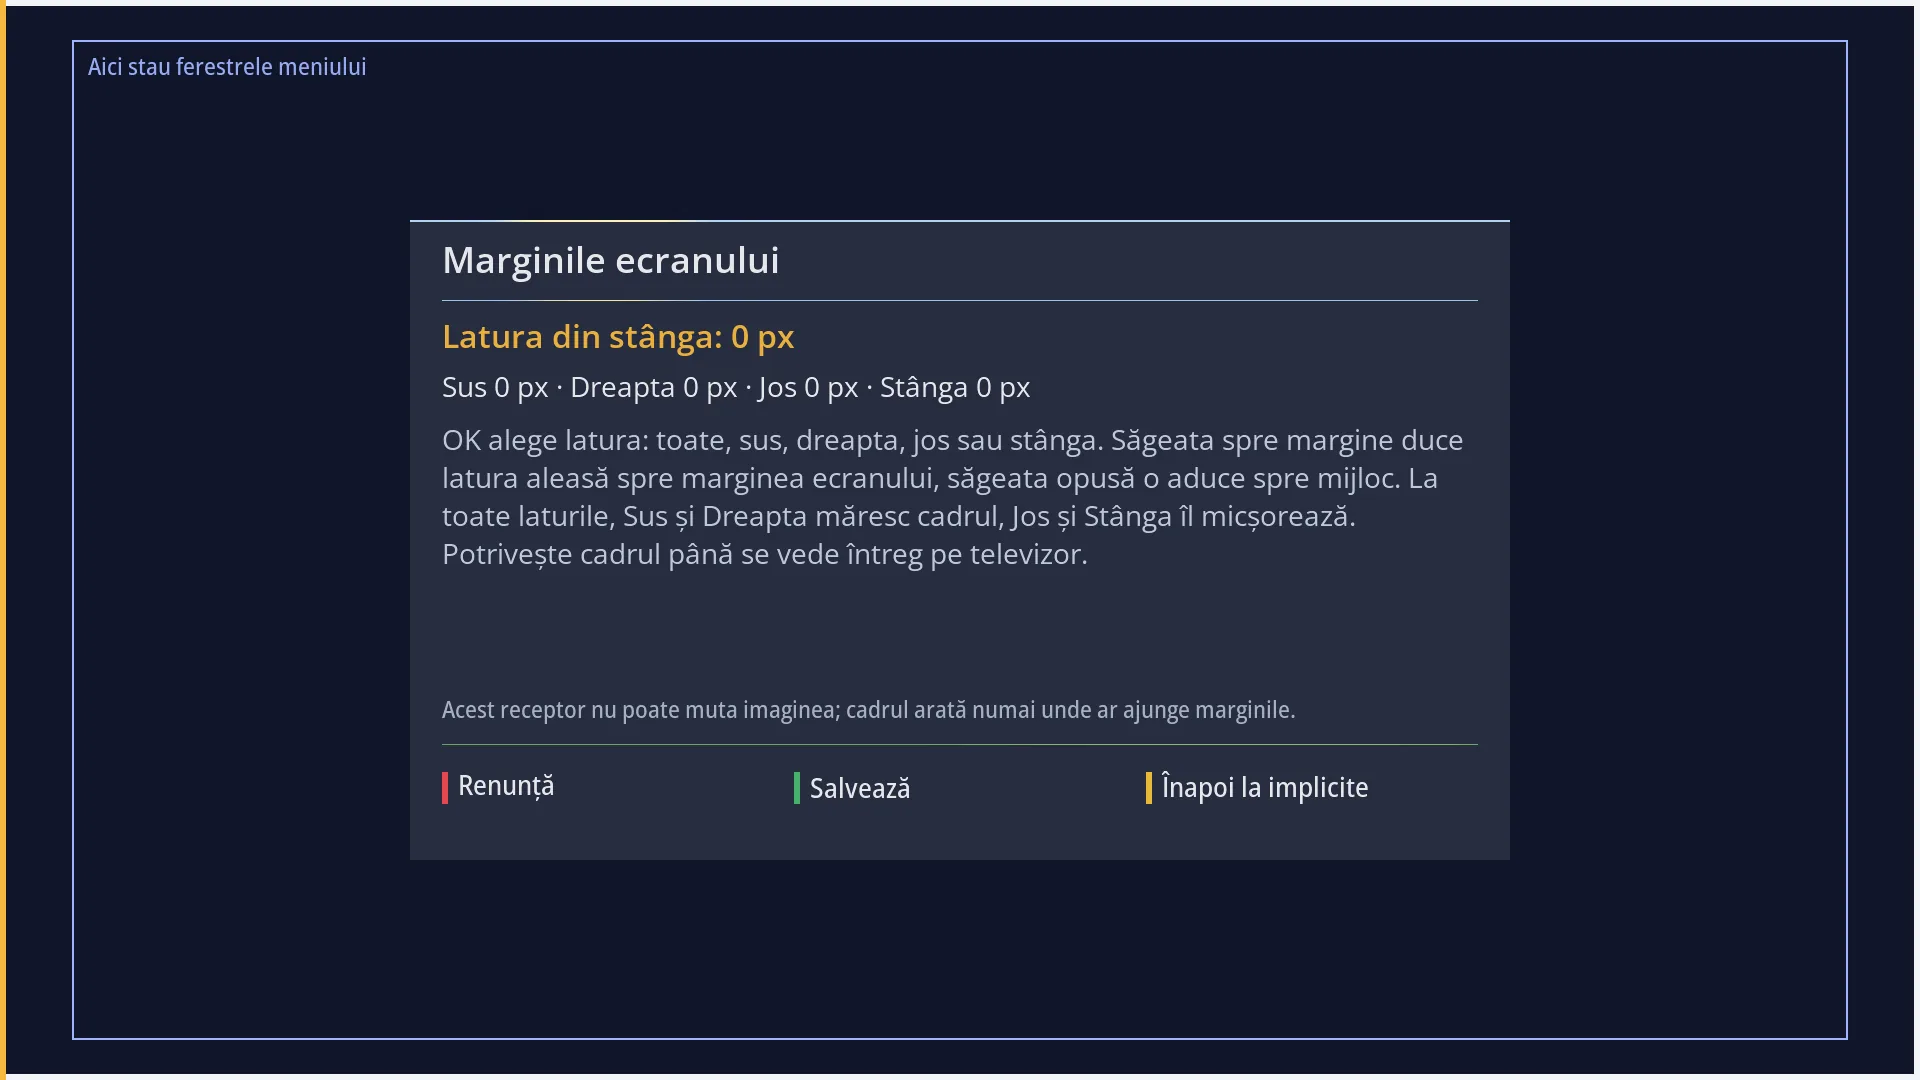
- 1 The test frame on the edge of the picture: the selected side is amber.
- 2 The blue line: the menu windows open here.
- 3 The selected side and the four margins, in pixels.
- 4 The help and the note: the receiver shrinks the picture straight away.
- 5 RED cancels, GREEN saves, YELLOW sets the margins to 0.
What it is for
Many TVs cut off a little of the picture edges (this is called overscan). The clock, the window titles or the colour keys at the bottom then end up partly off the screen.
“Screen Margins / Overscan” shrinks the receiver's picture on each side, just enough for everything to show in full on your TV.
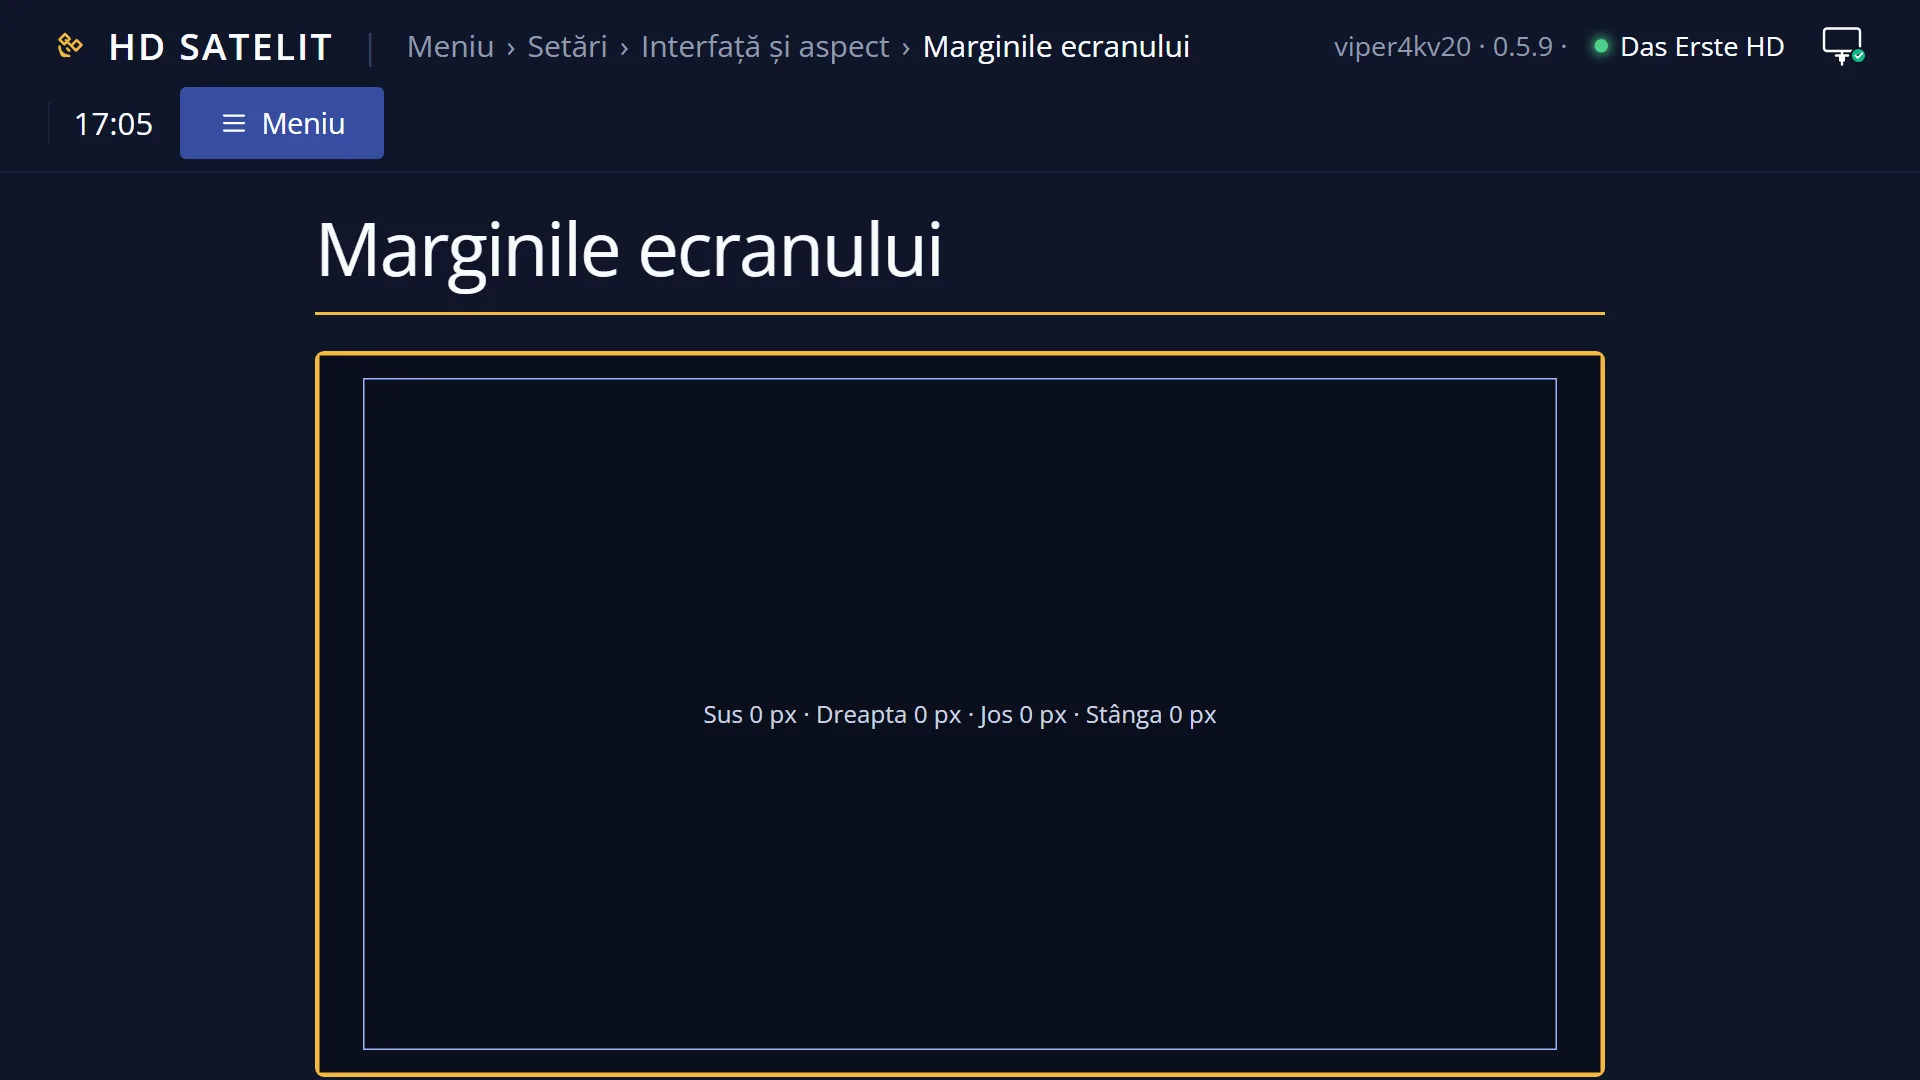
A test frame appears on the screen, drawn right on the edge of the picture. You shrink it until all four of its lines are visible on the TV, then you save.
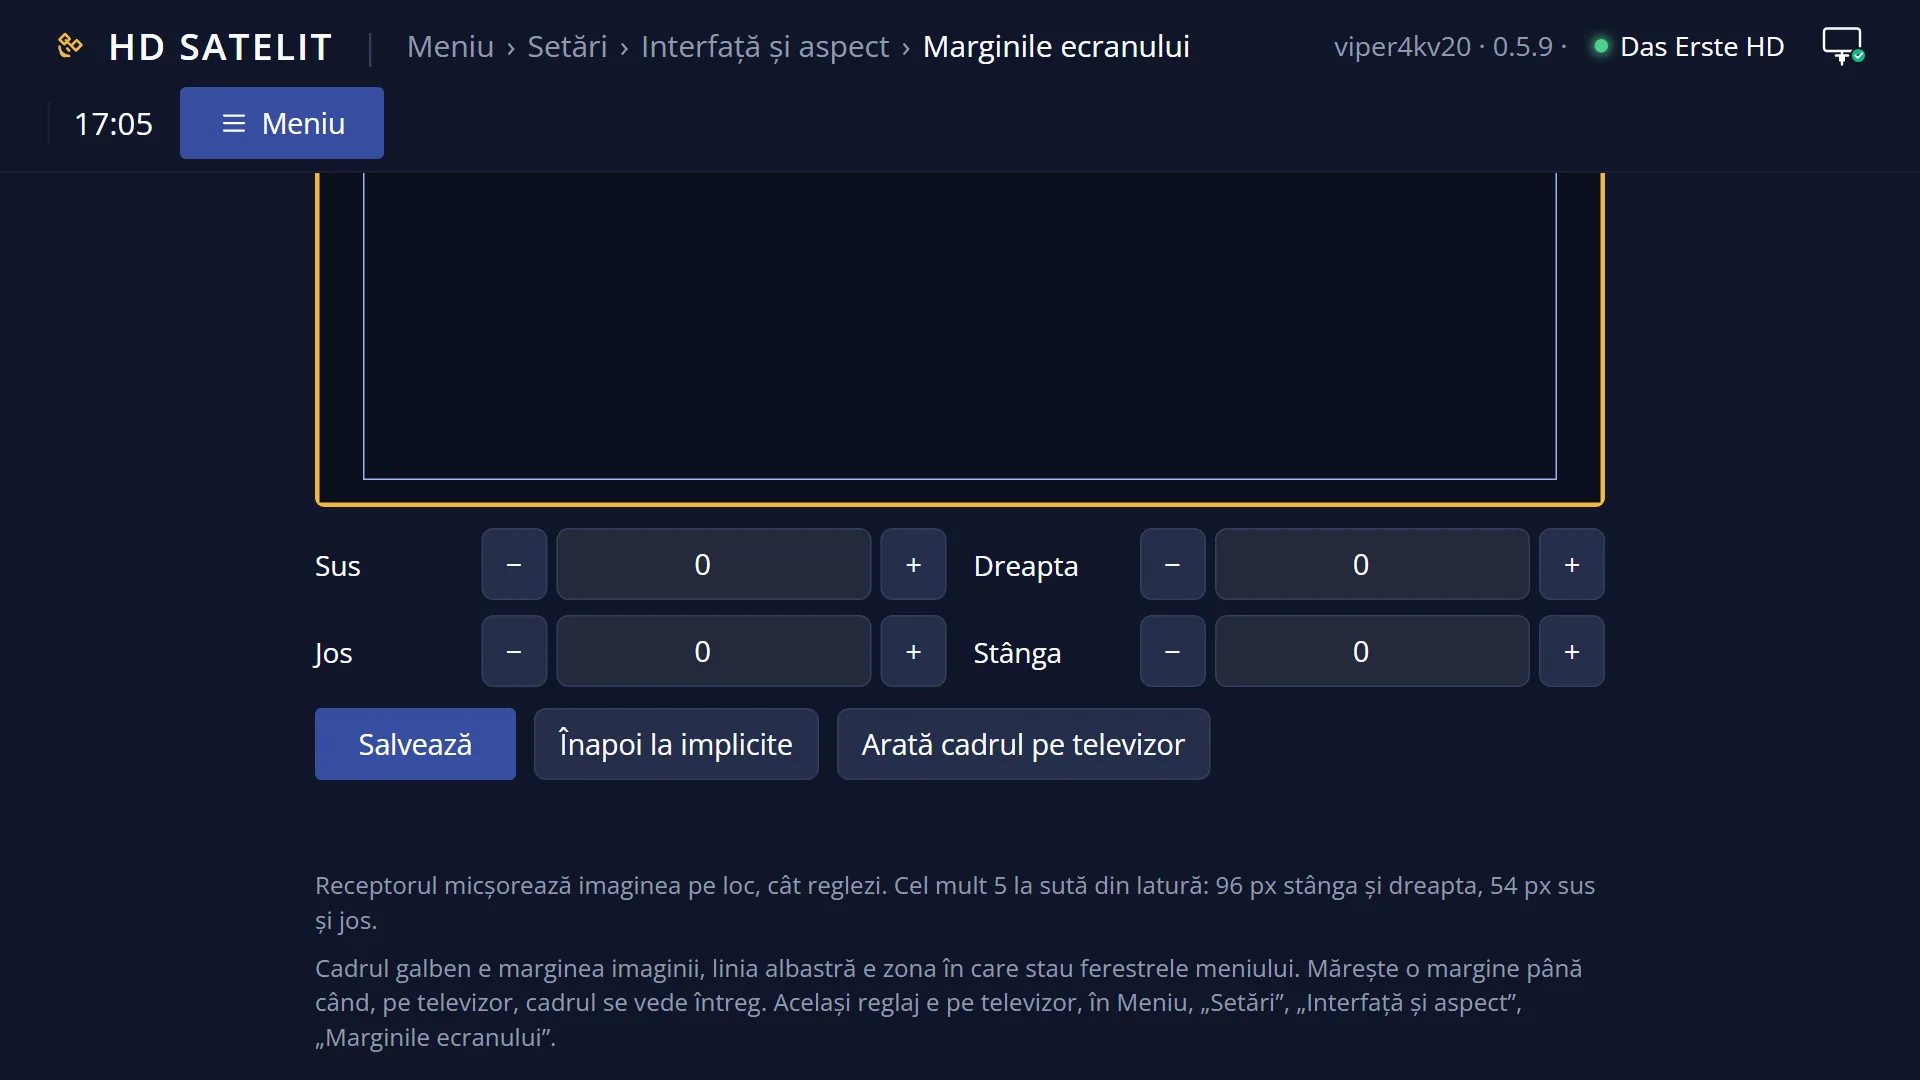
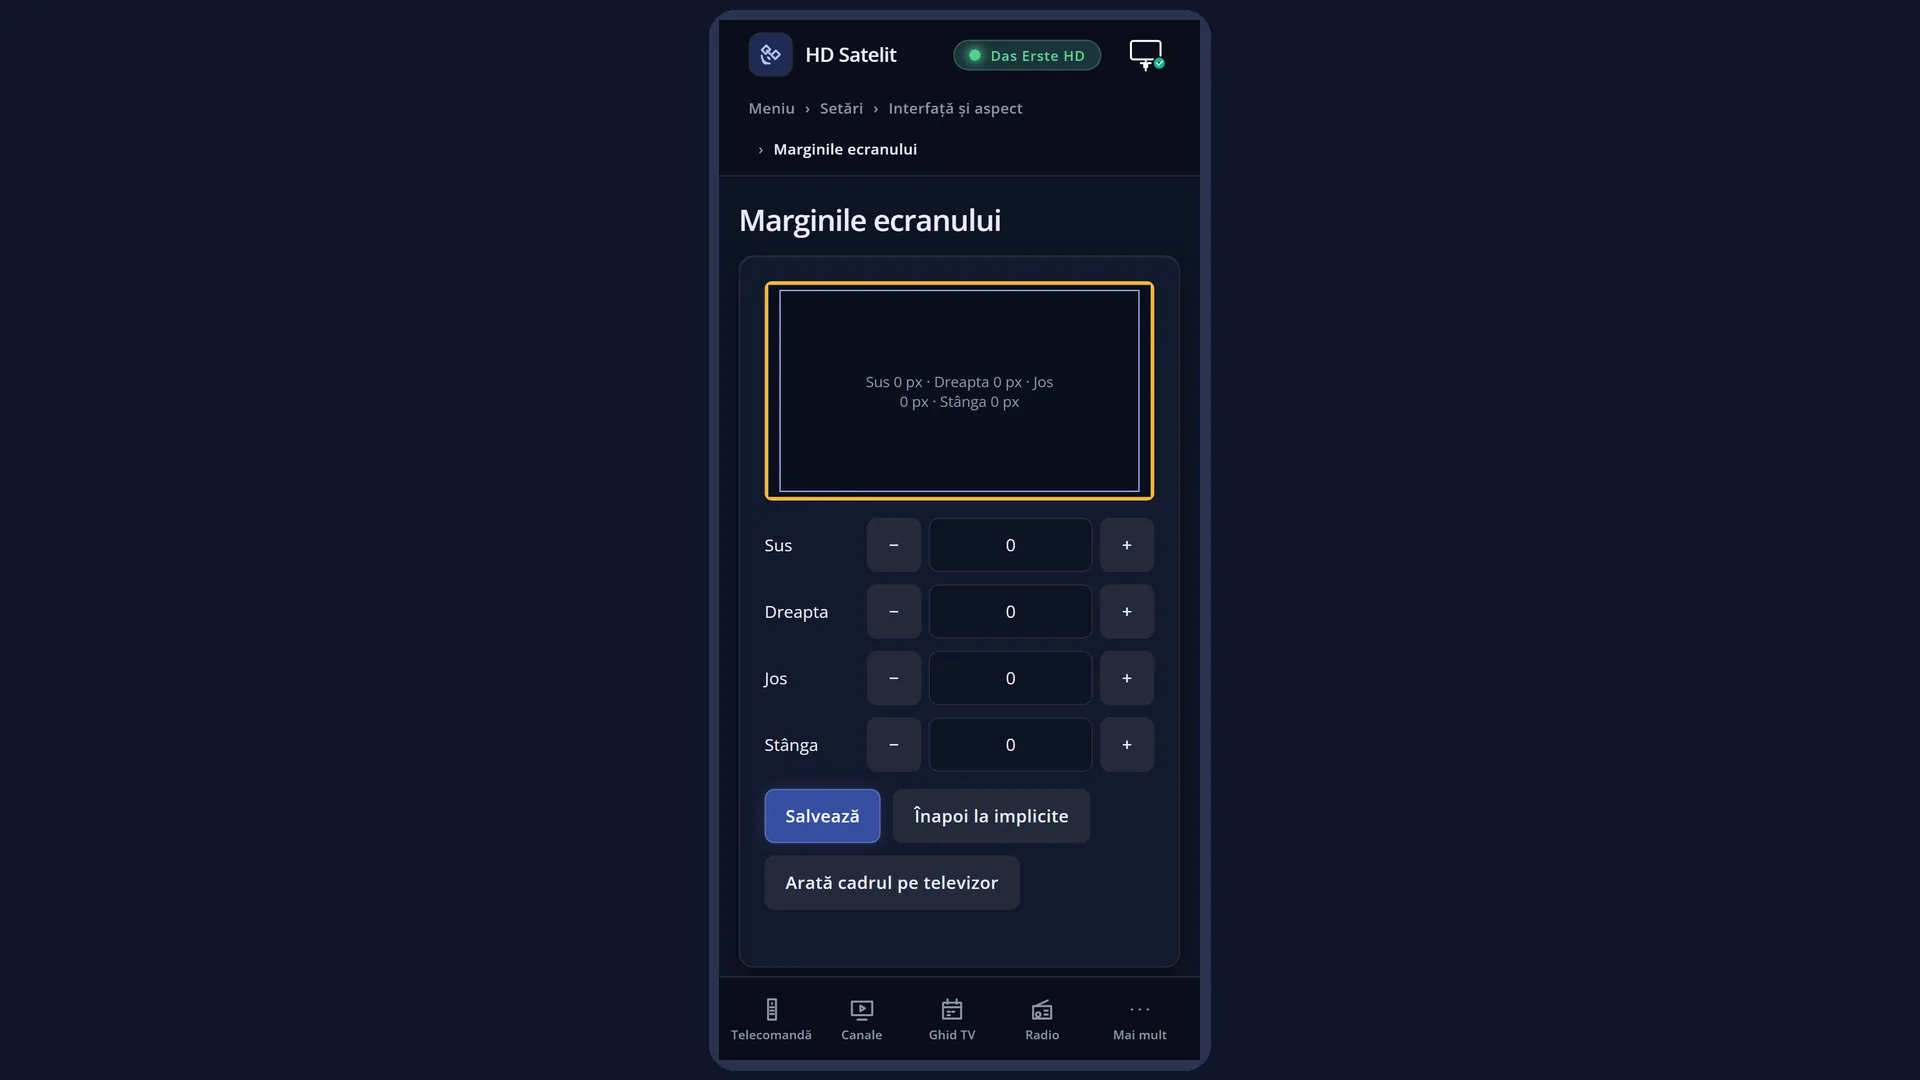
Each side goes from 0 up to 5% of its length, in steps of 2 pixels. By default all sides are 0 (the full picture). On the Amiko Viper 4K V20 the receiver shrinks the picture straight away, as you adjust it.
How to get here
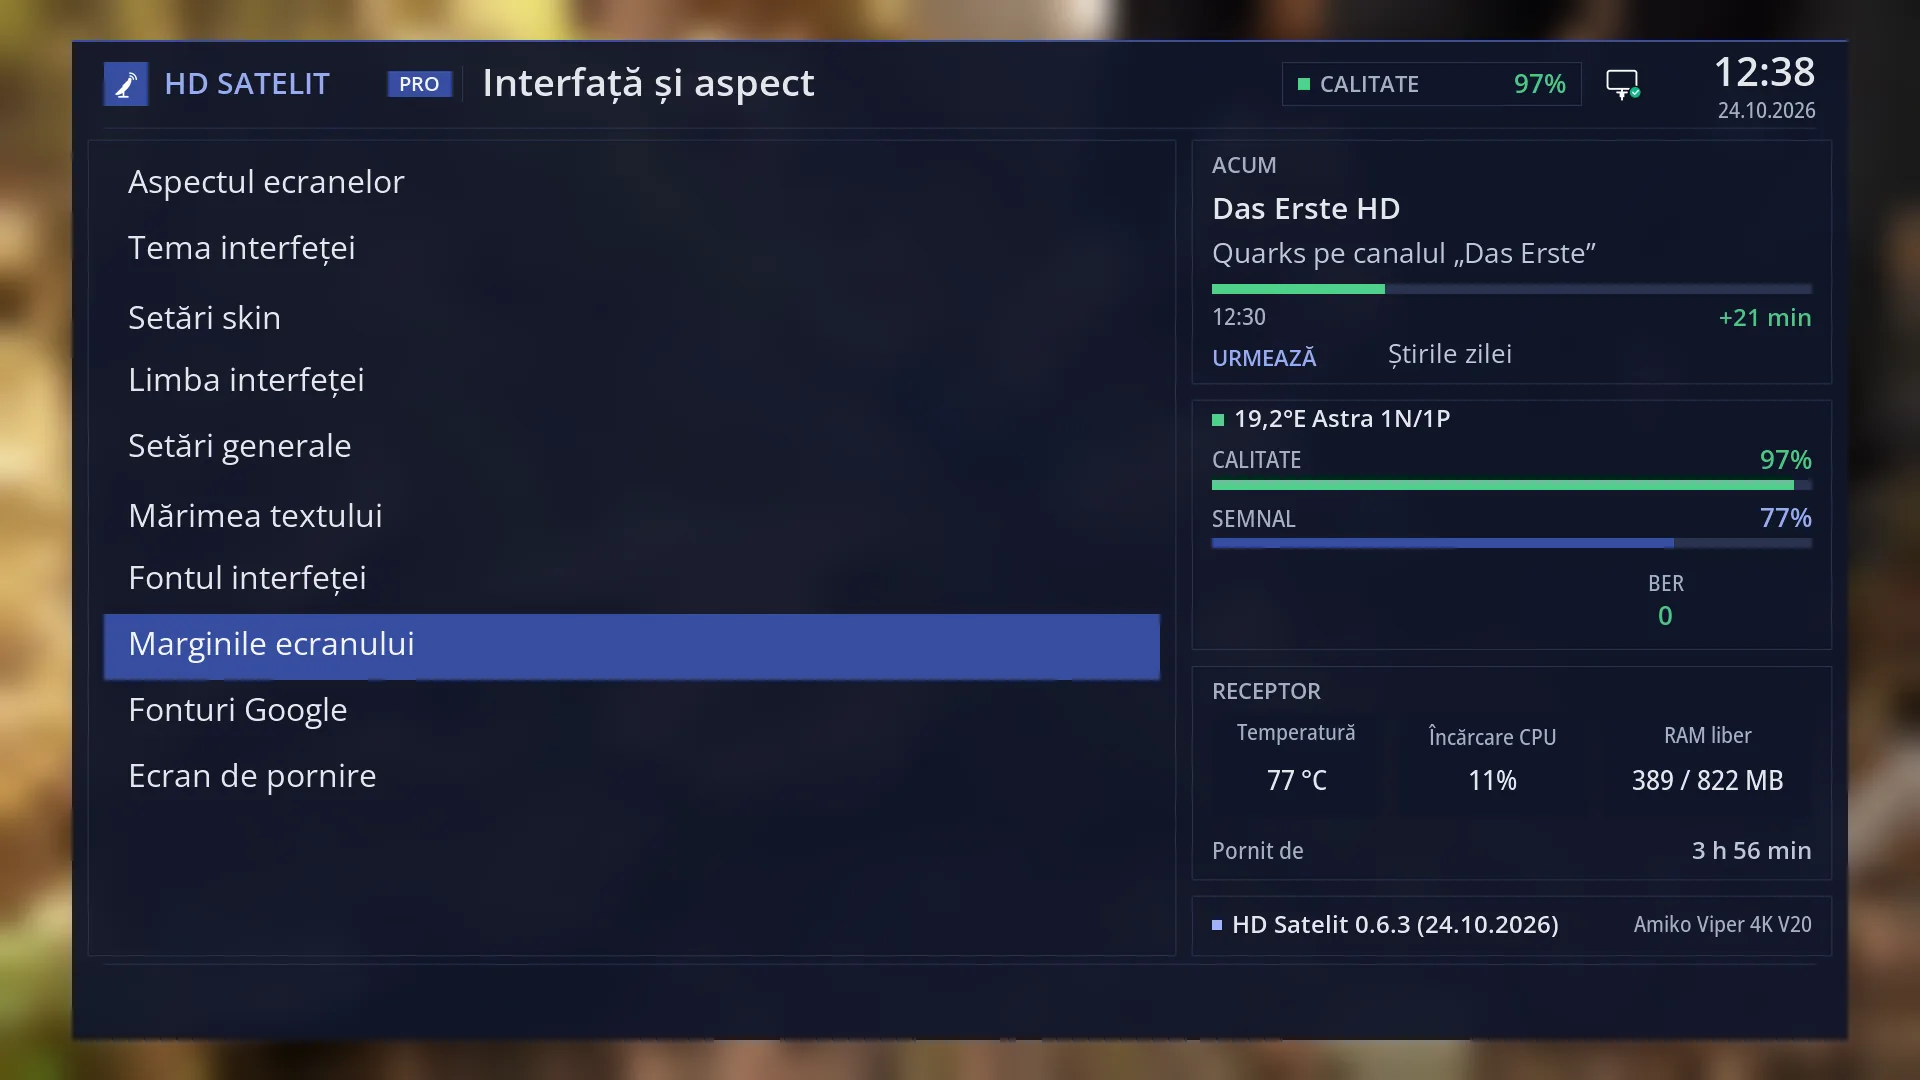
Path: Main menu > Settings > Interface & Appearance > Screen Margins / Overscan.
Remote keys: MENU 6 6 8.
The “Screen Margins / Overscan” row appears when “Setup Mode” is Intermediate (the default) or Expert. In Simple it is not shown.
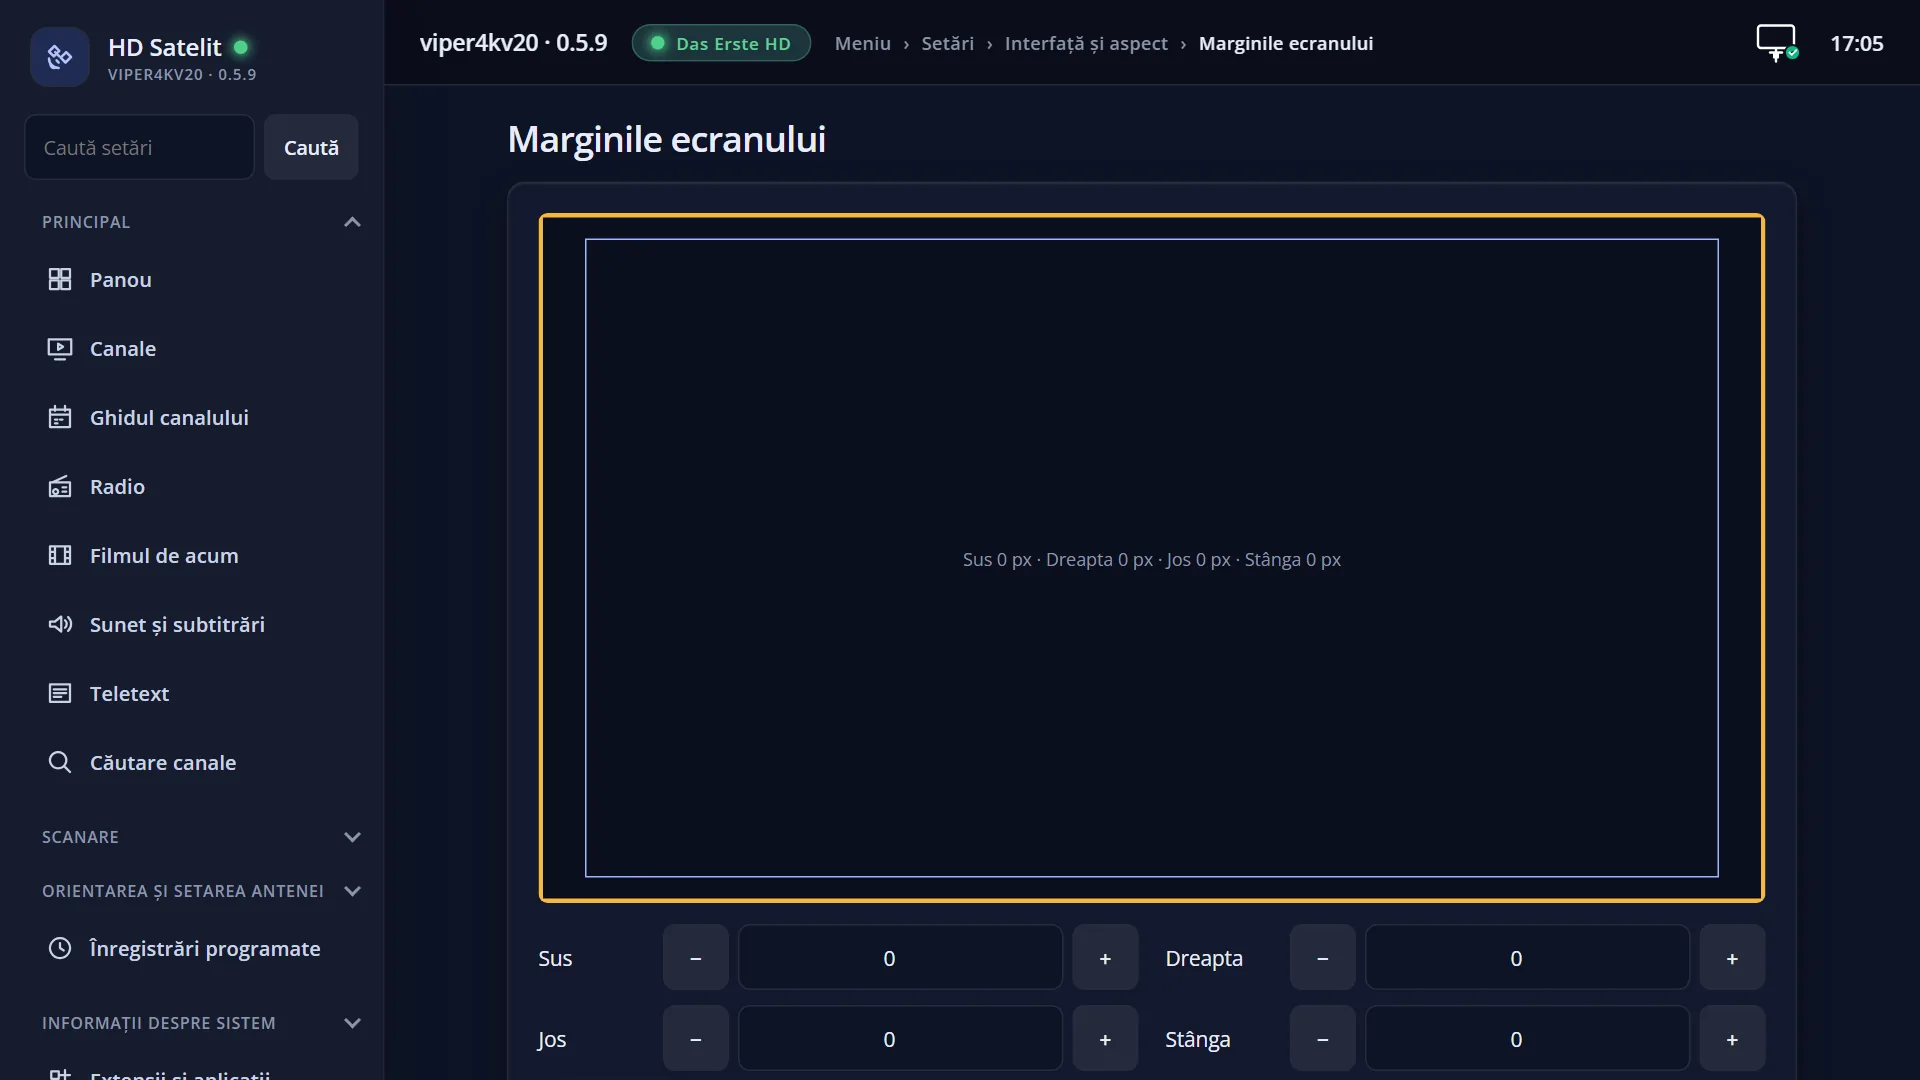
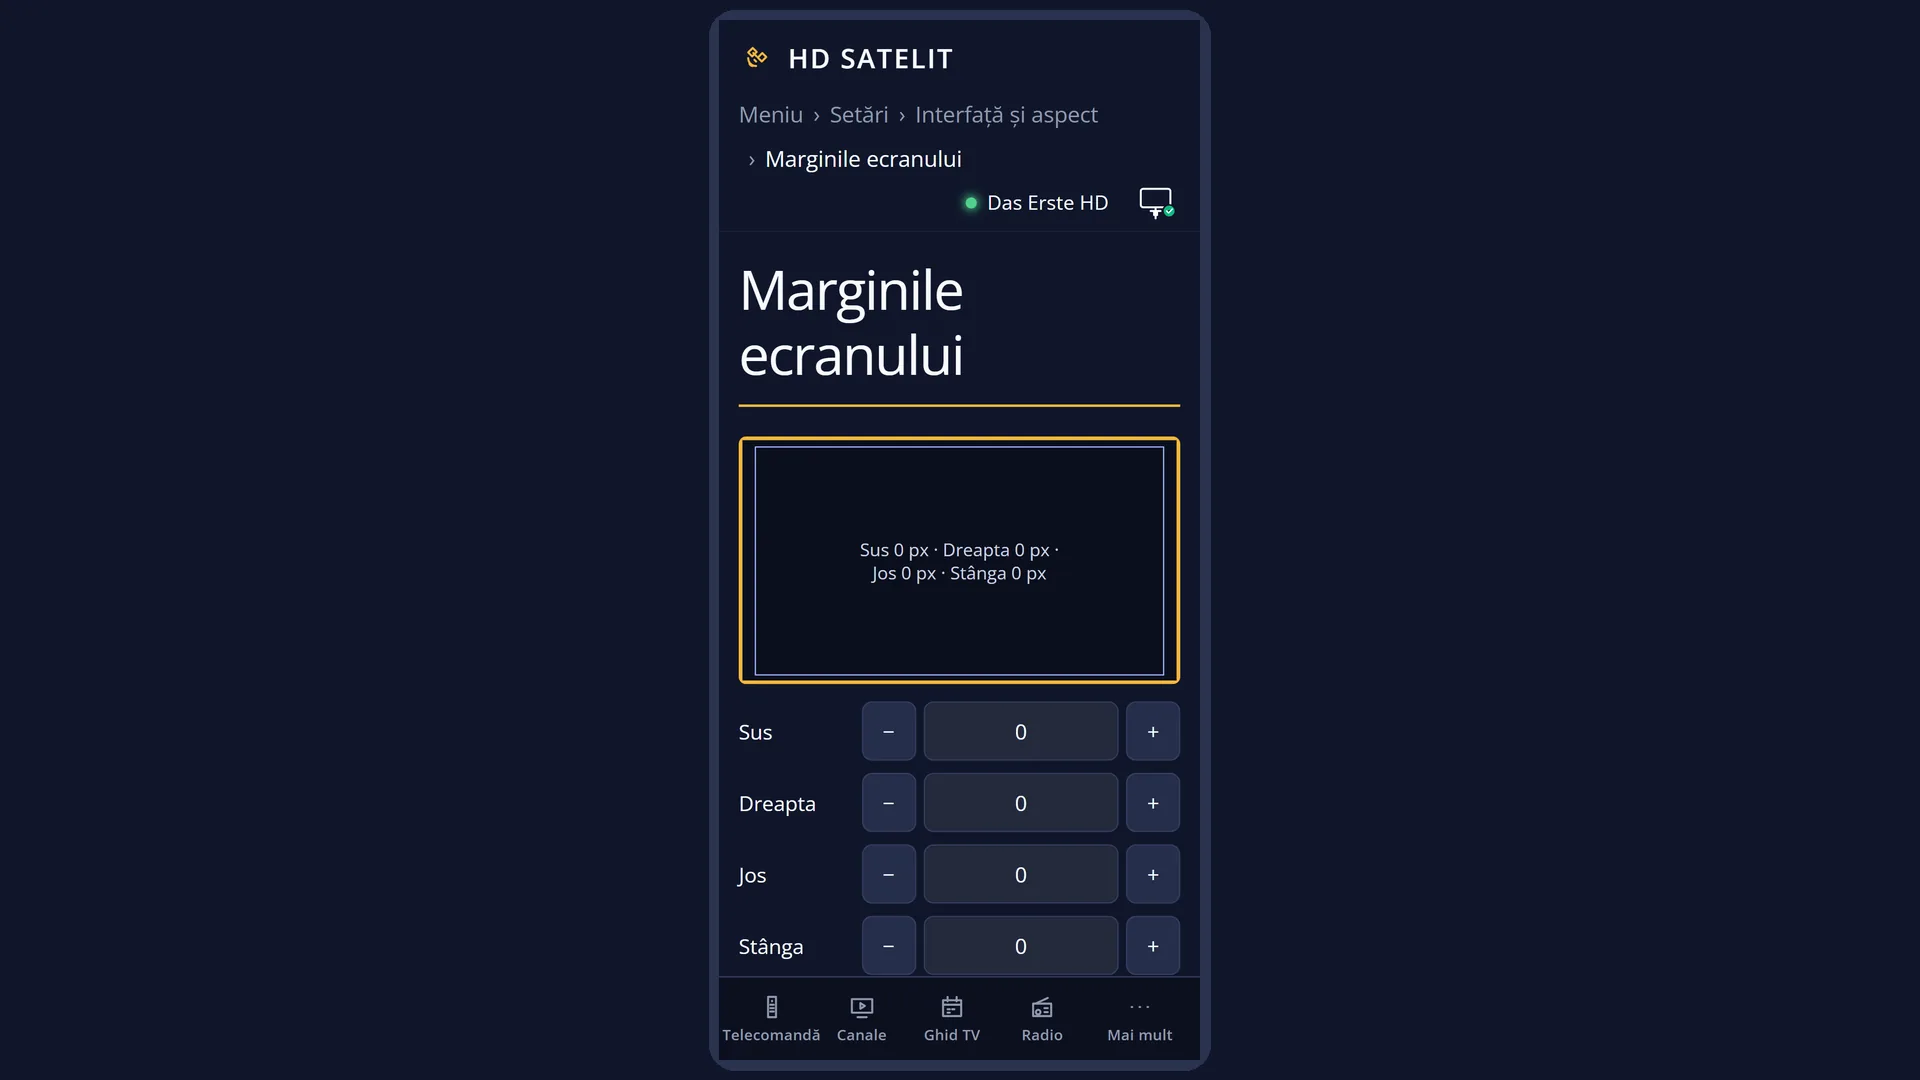
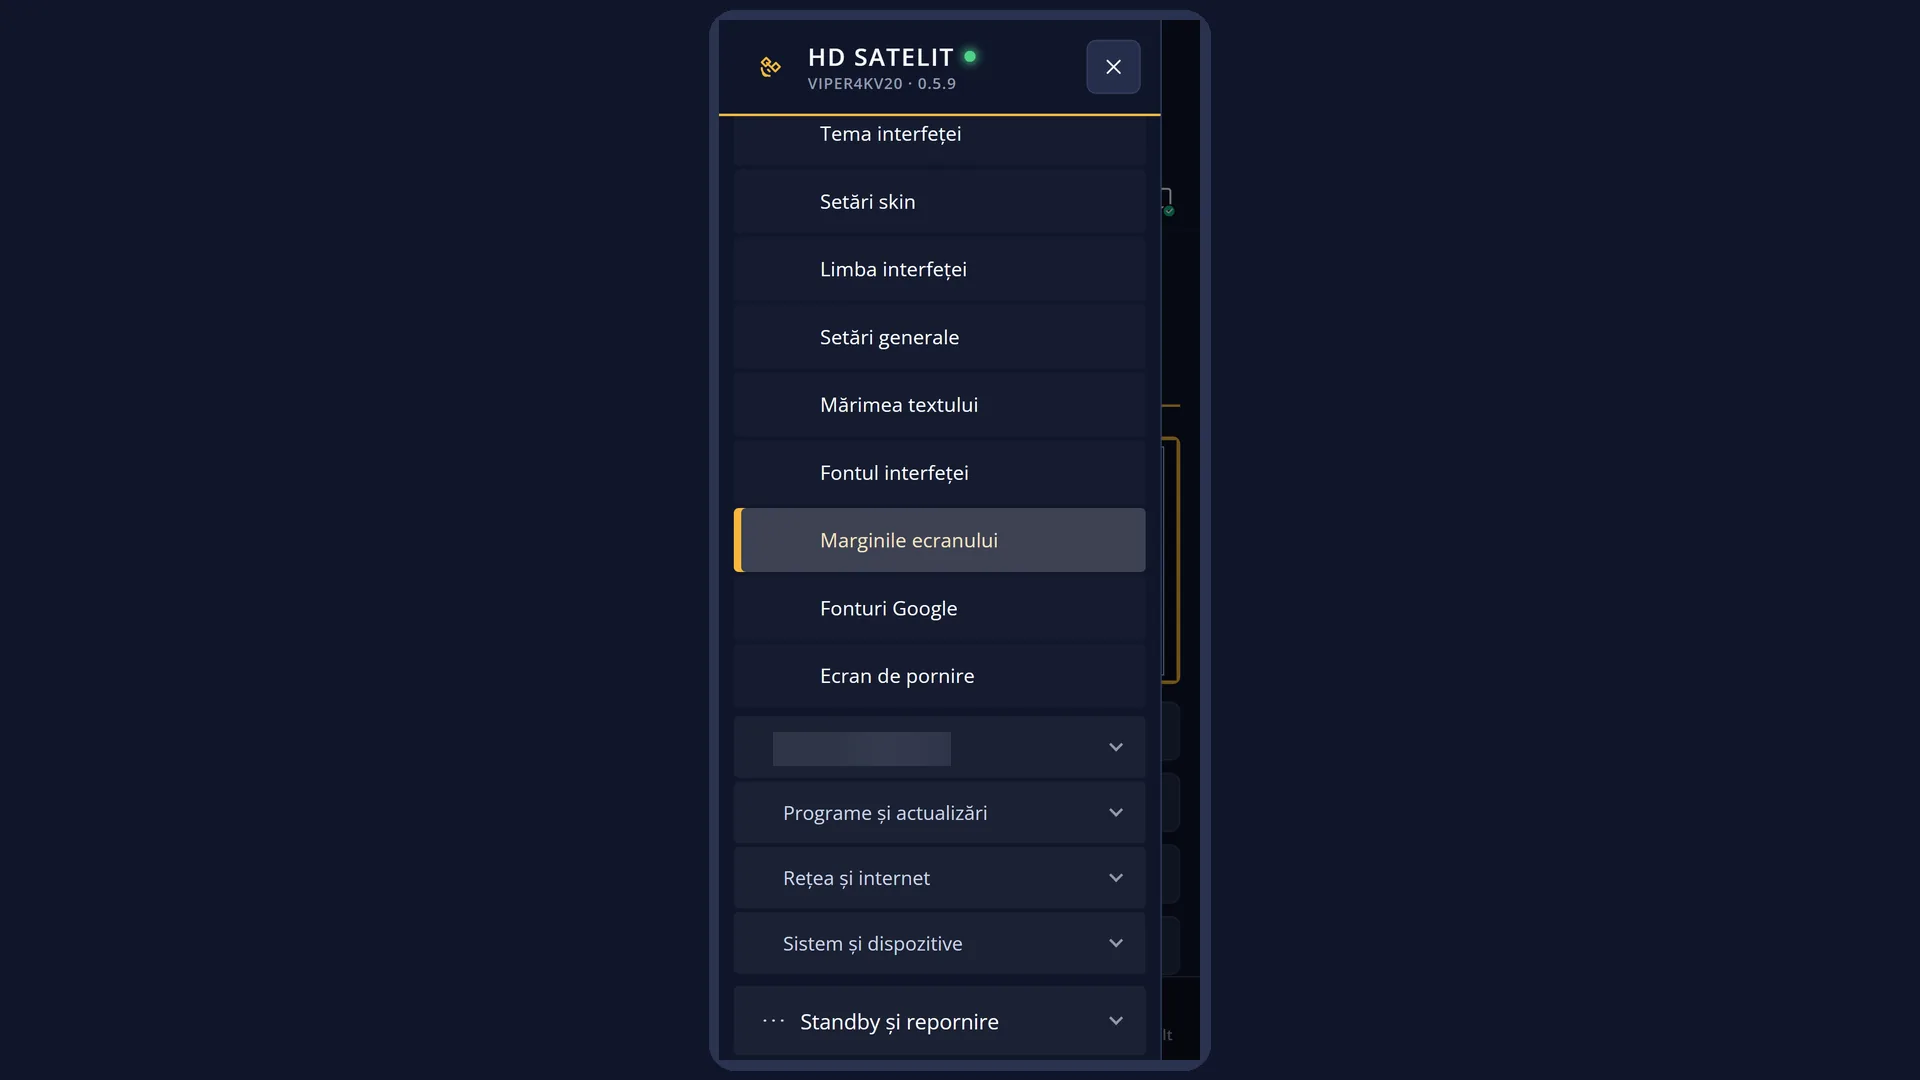
In the web interface: the /margini-ecran page, with the same four margins, a drawing of the screen and the “Show the frame on the TV” button.
What you see on the screen
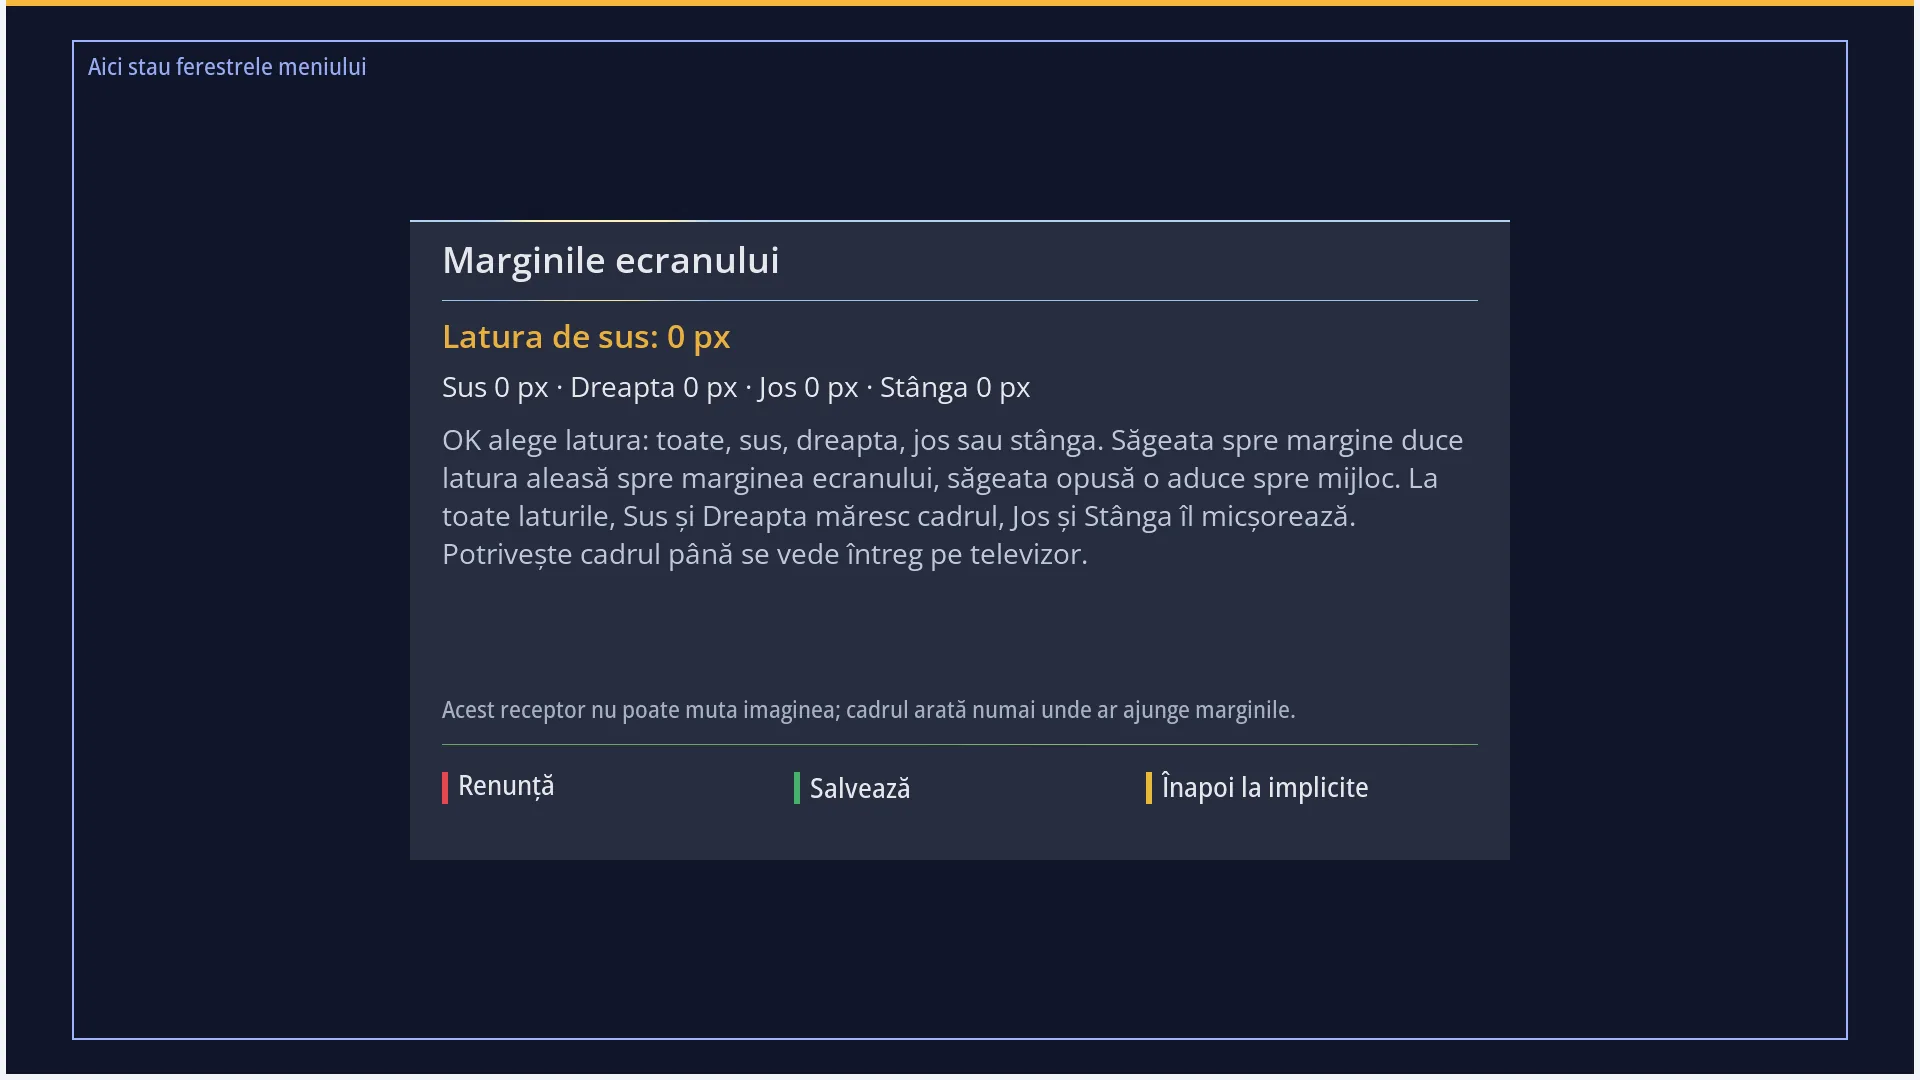
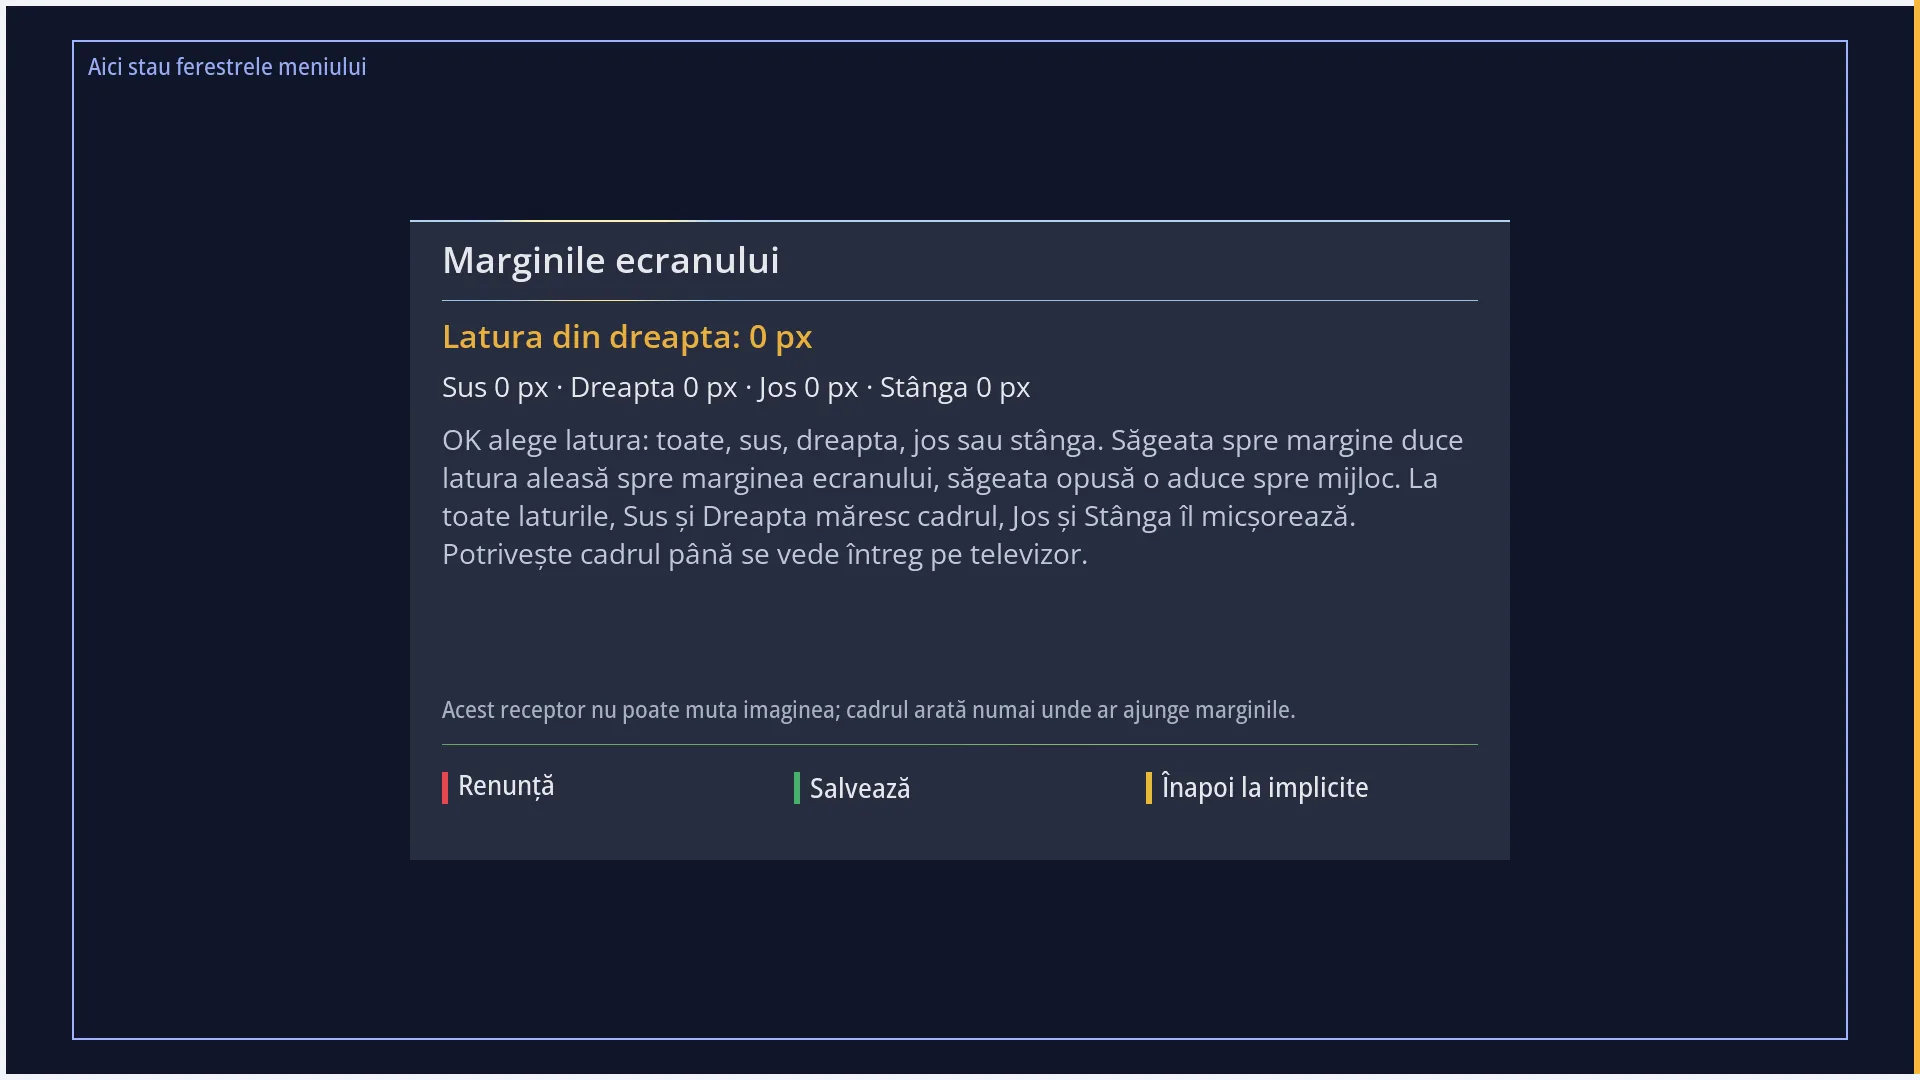
The screen is filled, without the channel picture. The test frame sits on its edge: four thick lines. The selected side is amber (with “All sides at once”, all four are), the others are white.
A thin blue line, with the text “Menu windows go here”, shows where the menus open.
In the middle is the “Screen margins” window: the selected side (for example “All sides at once” or “Top side: 10 px”), then the four margins (“Top 0 px · Right 0 px · Bottom 0 px · Left 0 px”), the help and a note.
The note says what the receiver does: “The receiver shrinks the picture right away while you adjust.” On a receiver that cannot move the picture, it says that the frame only shows where the margins would end up.
At the bottom, the keys: RED “Cancel”, GREEN “Save”, YELLOW “Back to defaults”.
Rows and settings
| Row | Values | Default | What it does |
|---|---|---|---|
| Selected side (OK) | All sides at once, Top side, Right side, Bottom side, Left side | All sides at once (each time you open the screen) | Which side the arrow keys move. With “All sides at once”, all four shrink or widen together. Start with all sides. If the frame is still not visible on one side, select that side and adjust it on its own. |
| Top, Right, Bottom, Left (the margins) | from 0 up to 54 px at the top and bottom, up to 96 px on the left and right, in steps of 2 | 0 px on all sides | How far the picture is pulled in towards the centre on each side, in screen pixels (1920 x 1080). The largest margin is 5% of the side. When part of the test frame is not visible on the TV. |
Keys
| OK | Moves to the next side: all, top, right, bottom, left, then all again. |
| The arrow keys | The arrow pointing towards the selected side moves it out towards the edge of the screen, the opposite arrow brings it in towards the centre. With “All sides at once”, UP and RIGHT enlarge the frame, DOWN and LEFT shrink it. Held down, they keep moving. |
| GREEN (Save) | Keeps the margins and closes the screen. |
| YELLOW (Back to defaults) | Sets all margins to 0 straight away. It does not save: press GREEN afterwards. |
| RED (Cancel) or EXIT | Closes without saving and restores the previous margins. |
Step by step
Making everything visible on the TV
- Press MENU 6 6 8. Look at the four lines on the edge of the screen.
- If you cannot see all of them, press DOWN (or LEFT) a few times: the frame shrinks towards the centre.
- Stop when you can see all four lines in full.
- Press GREEN.
Adjusting a single side
- On the screen, press OK until it shows the side you want, for example “Bottom side”.
- Press the arrow pointing towards the centre (UP, for the bottom side) until its line is visible.
- Press GREEN.
Problems and solutions
The colour keys at the bottom or the clock appear cut off.
The TV is cutting off the edges of the picture. Shrink the frame on this screen until it is fully visible. Also look in the TV's menu for a picture format setting that stops the edges being cut off. Its name differs from brand to brand.
The frame cannot be shrunk any further.
Each margin stops at 5% of its side (54 pixels at the top and bottom, 96 on the left and right).
After I shrank the frame, the channel picture has a black band around the edges.
The margins shrink the whole picture, including the programme. Use the smallest margin that makes the frame visible. With YELLOW and GREEN you go back to the full picture.
I left with EXIT and the margins went back to how they were.
EXIT and RED cancel. The margins are only kept after GREEN.
I cannot find “Screen Margins / Overscan”.
The row is hidden when “Setup Mode” is set to Simple. Set it to Intermediate in OSD Preferences (MENU 6 6 5, first row).
Related topics
- Interface & Appearance (the menu it opens from)
- Advanced Video Setup (resolution, picture format)
- Font Size
- Matching web page: /margini-ecran.
Differences between receivers
On receivers that can shrink the picture (the Amiko Viper 4K V20 can), the picture shrinks straight away and the frame stays on the edge of the screen. On the others, the note says that the receiver cannot move the picture, and the frame is only drawn where the margins would end up.