

Recording & Storage Setup
English screenshots coming: some of the pictures below still show the receiver and the web interface in Romanian. The rows, keys and steps described on this page are the English ones.
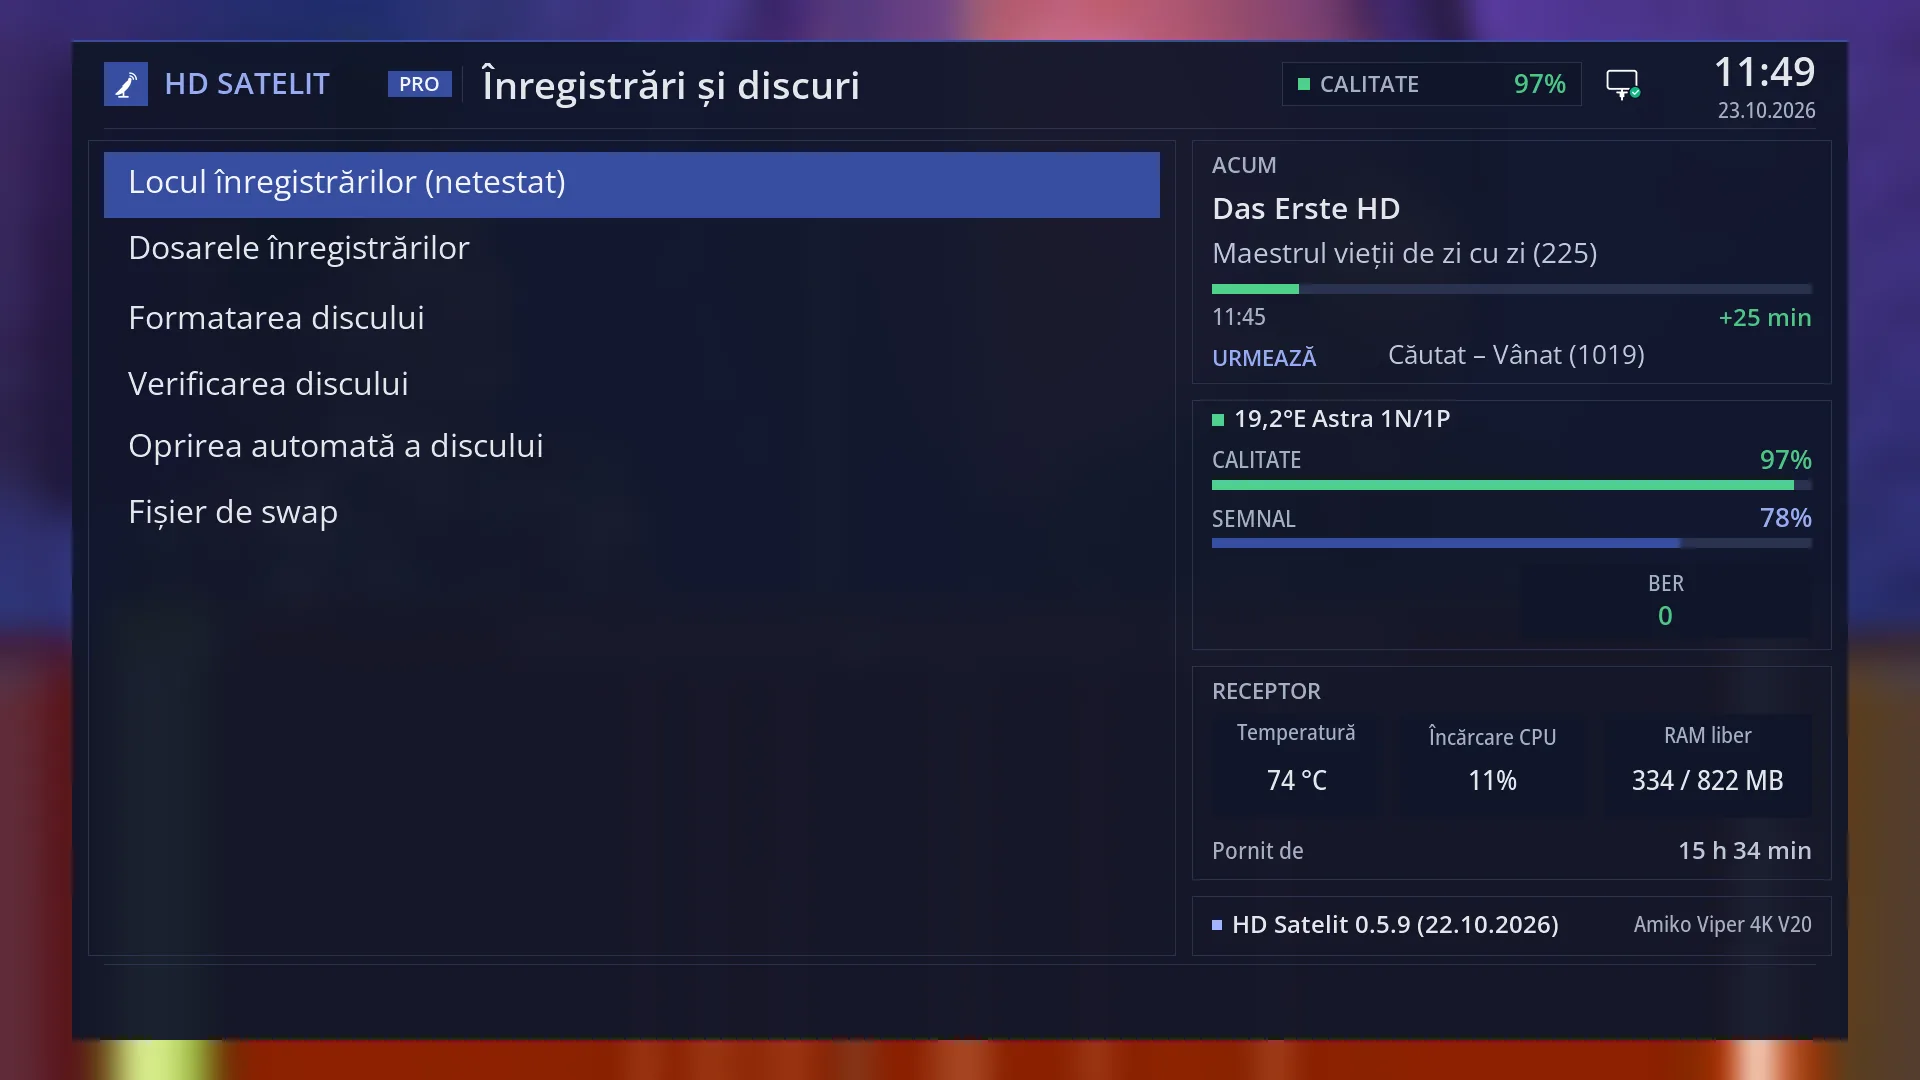
- 1 The first three rows: location, folders and formatting. They are shown in every setup mode.
- 2 Disk check, hard drive standby and swap: hidden in Simple mode.
- 3 The title: the name of the submenu.
- 4 The Pro theme boxes: the current programme, the signal, the receiver and the version.
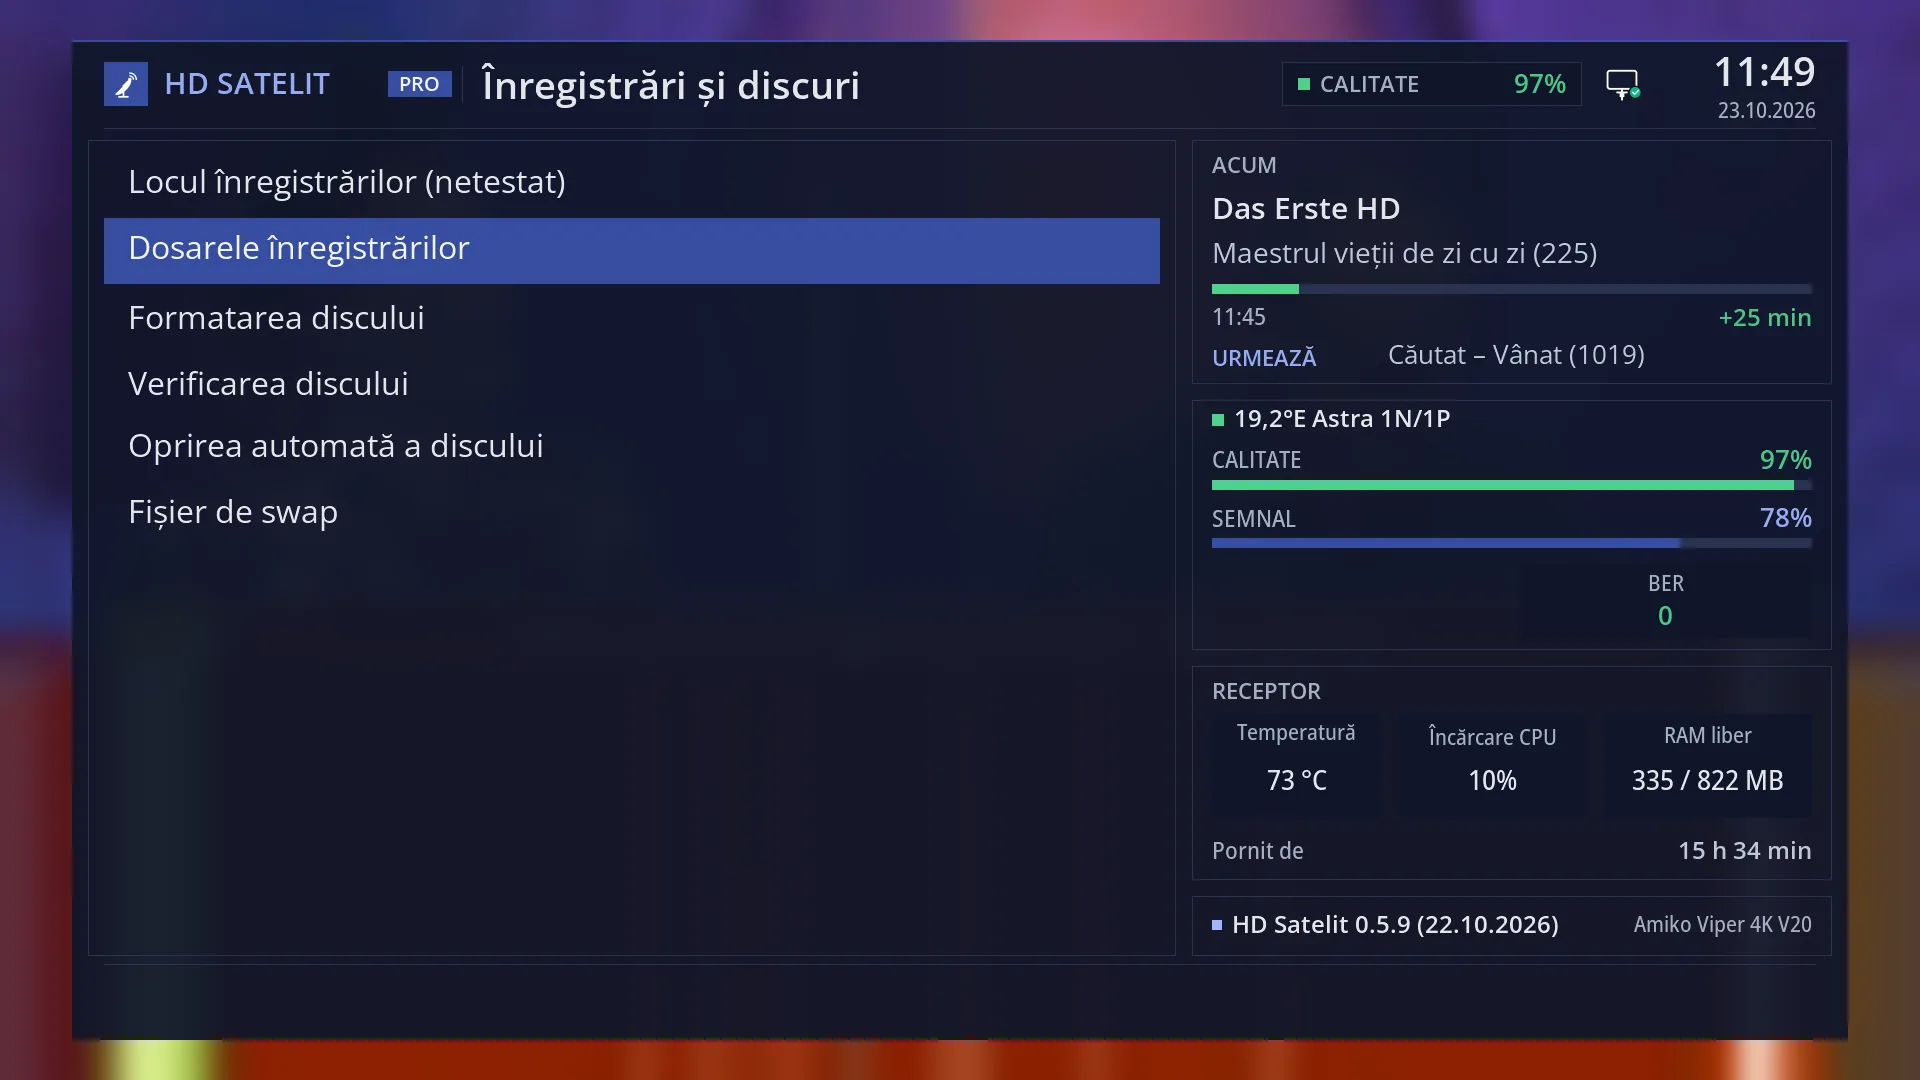
- 1 Row 2, “Recording Locations”. The digit 2 opens it directly.
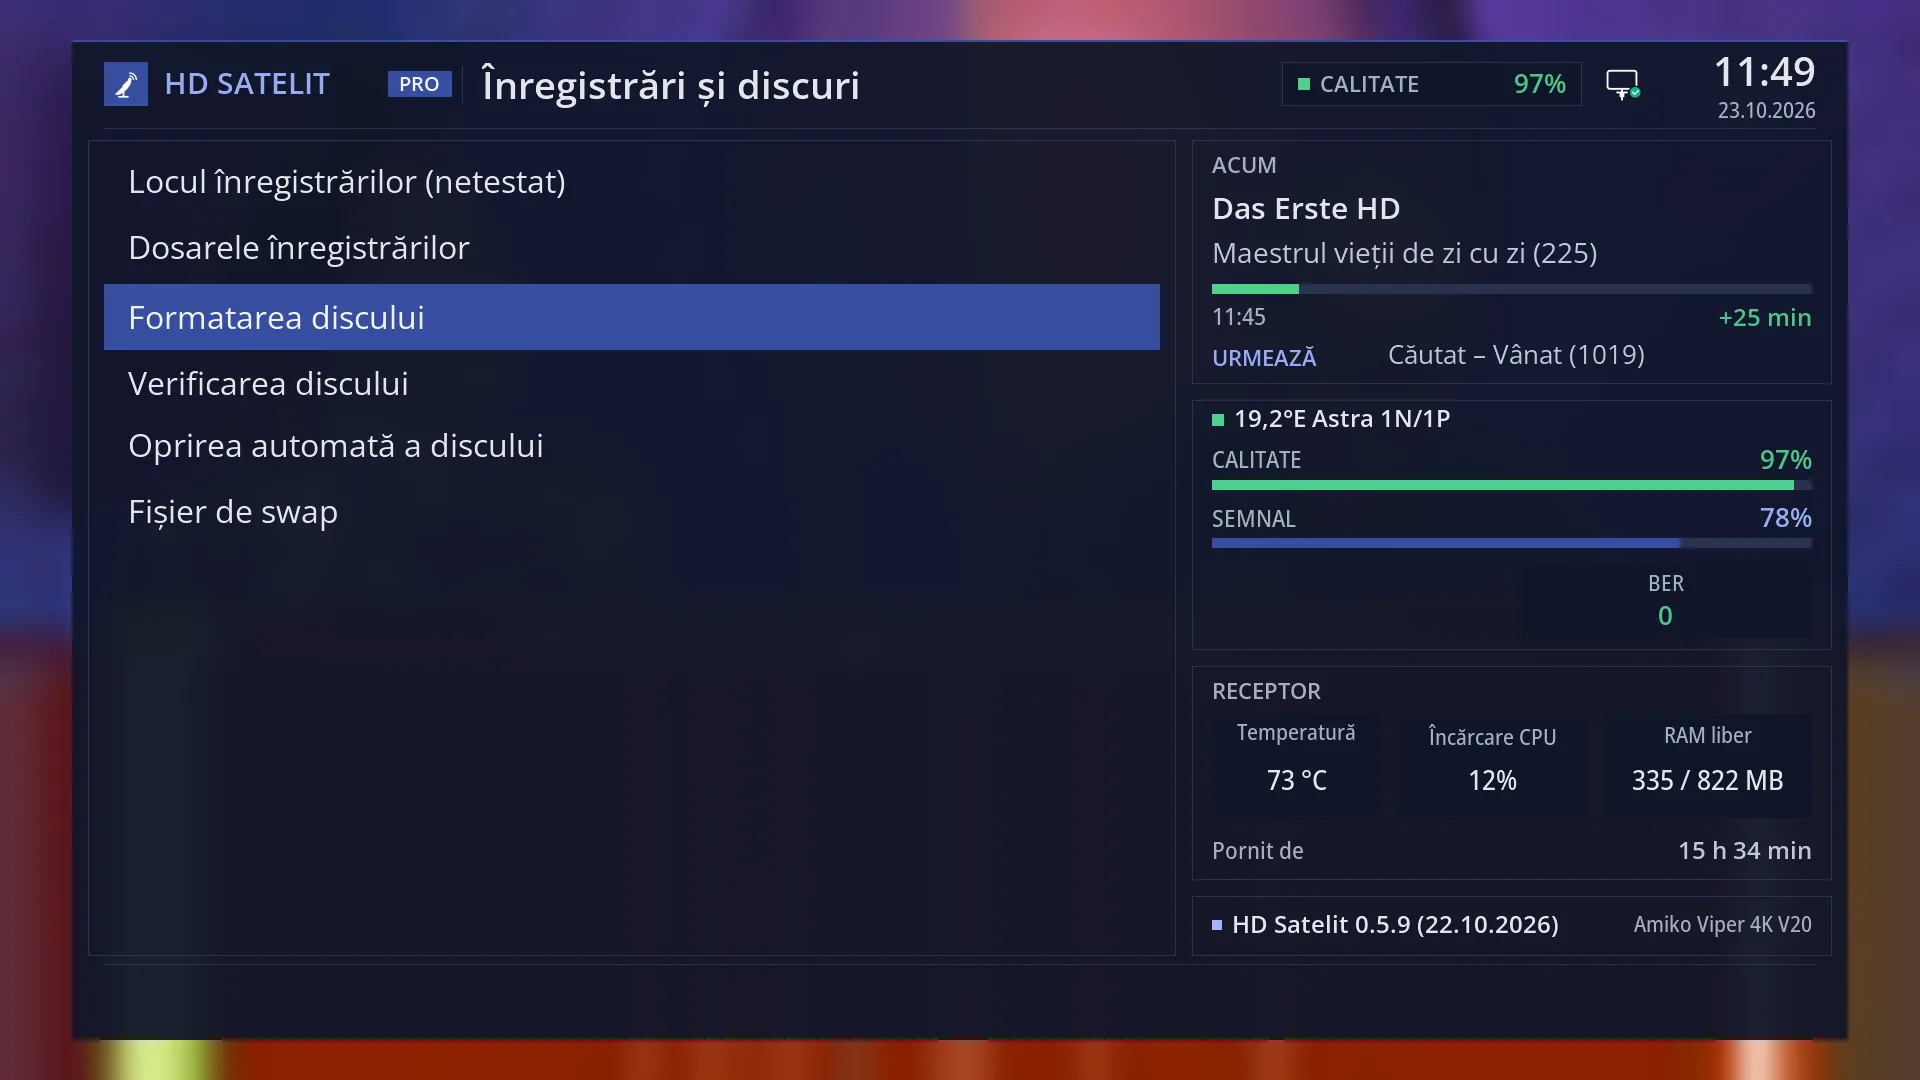
- 1 Row 3, “Format Hard Drive”. The digit 3 opens it directly.
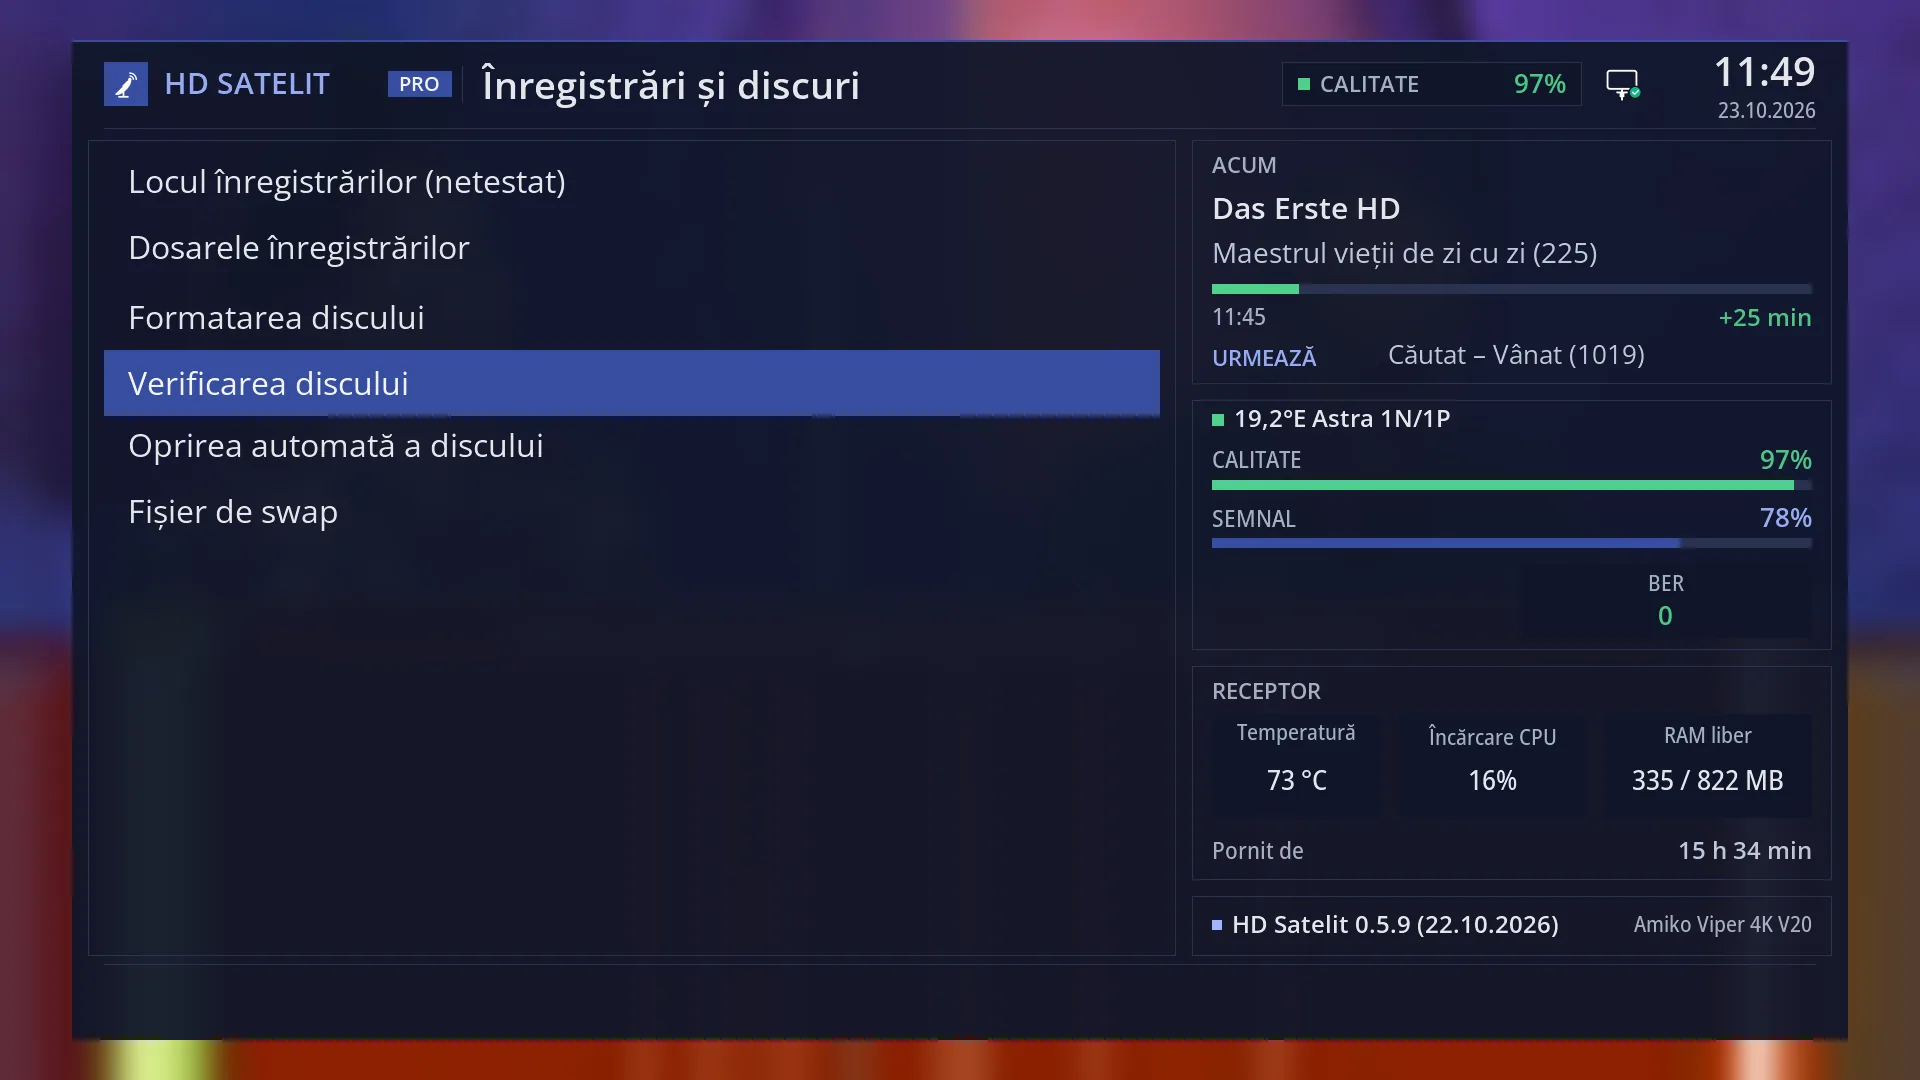
- 1 Row 4, “Check Disk Health”. The digit 4 opens it directly.
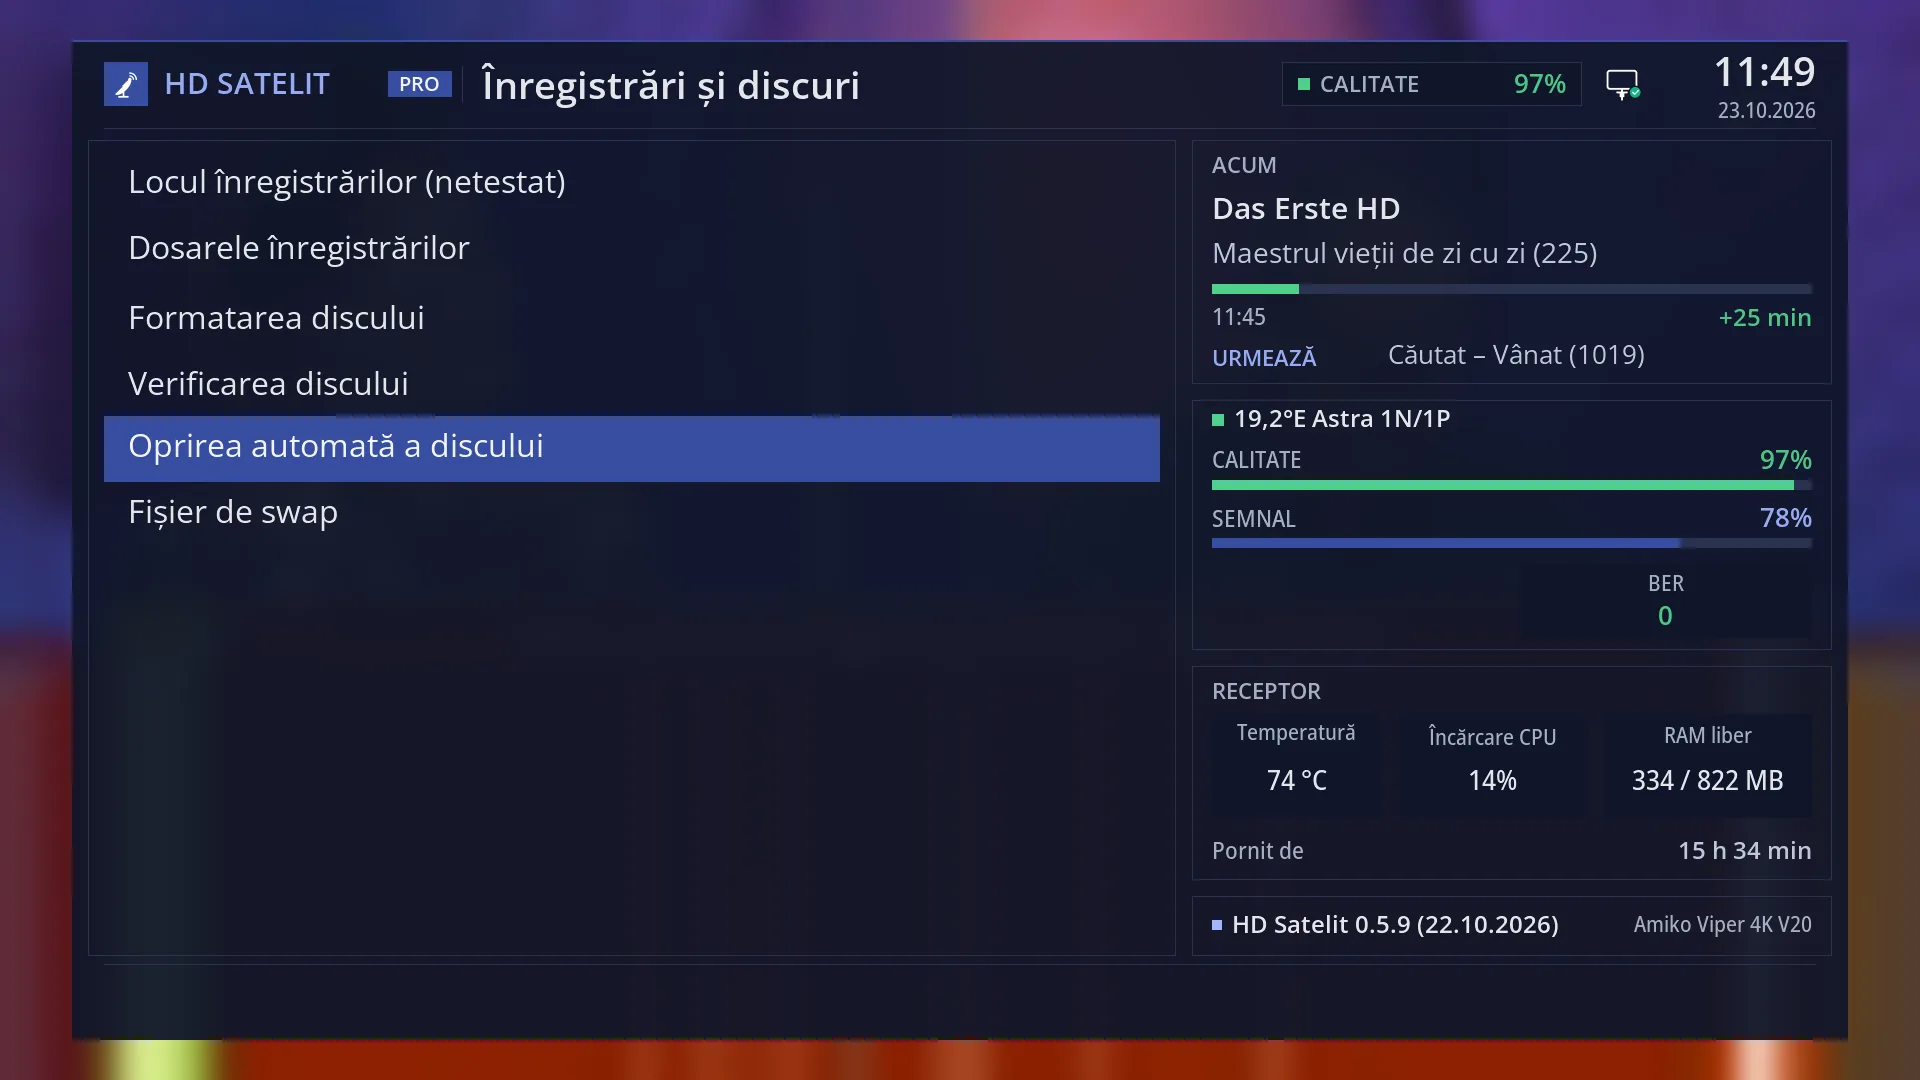
- 1 Row 5, “Hard Drive Standby”. The digit 5 opens it directly.
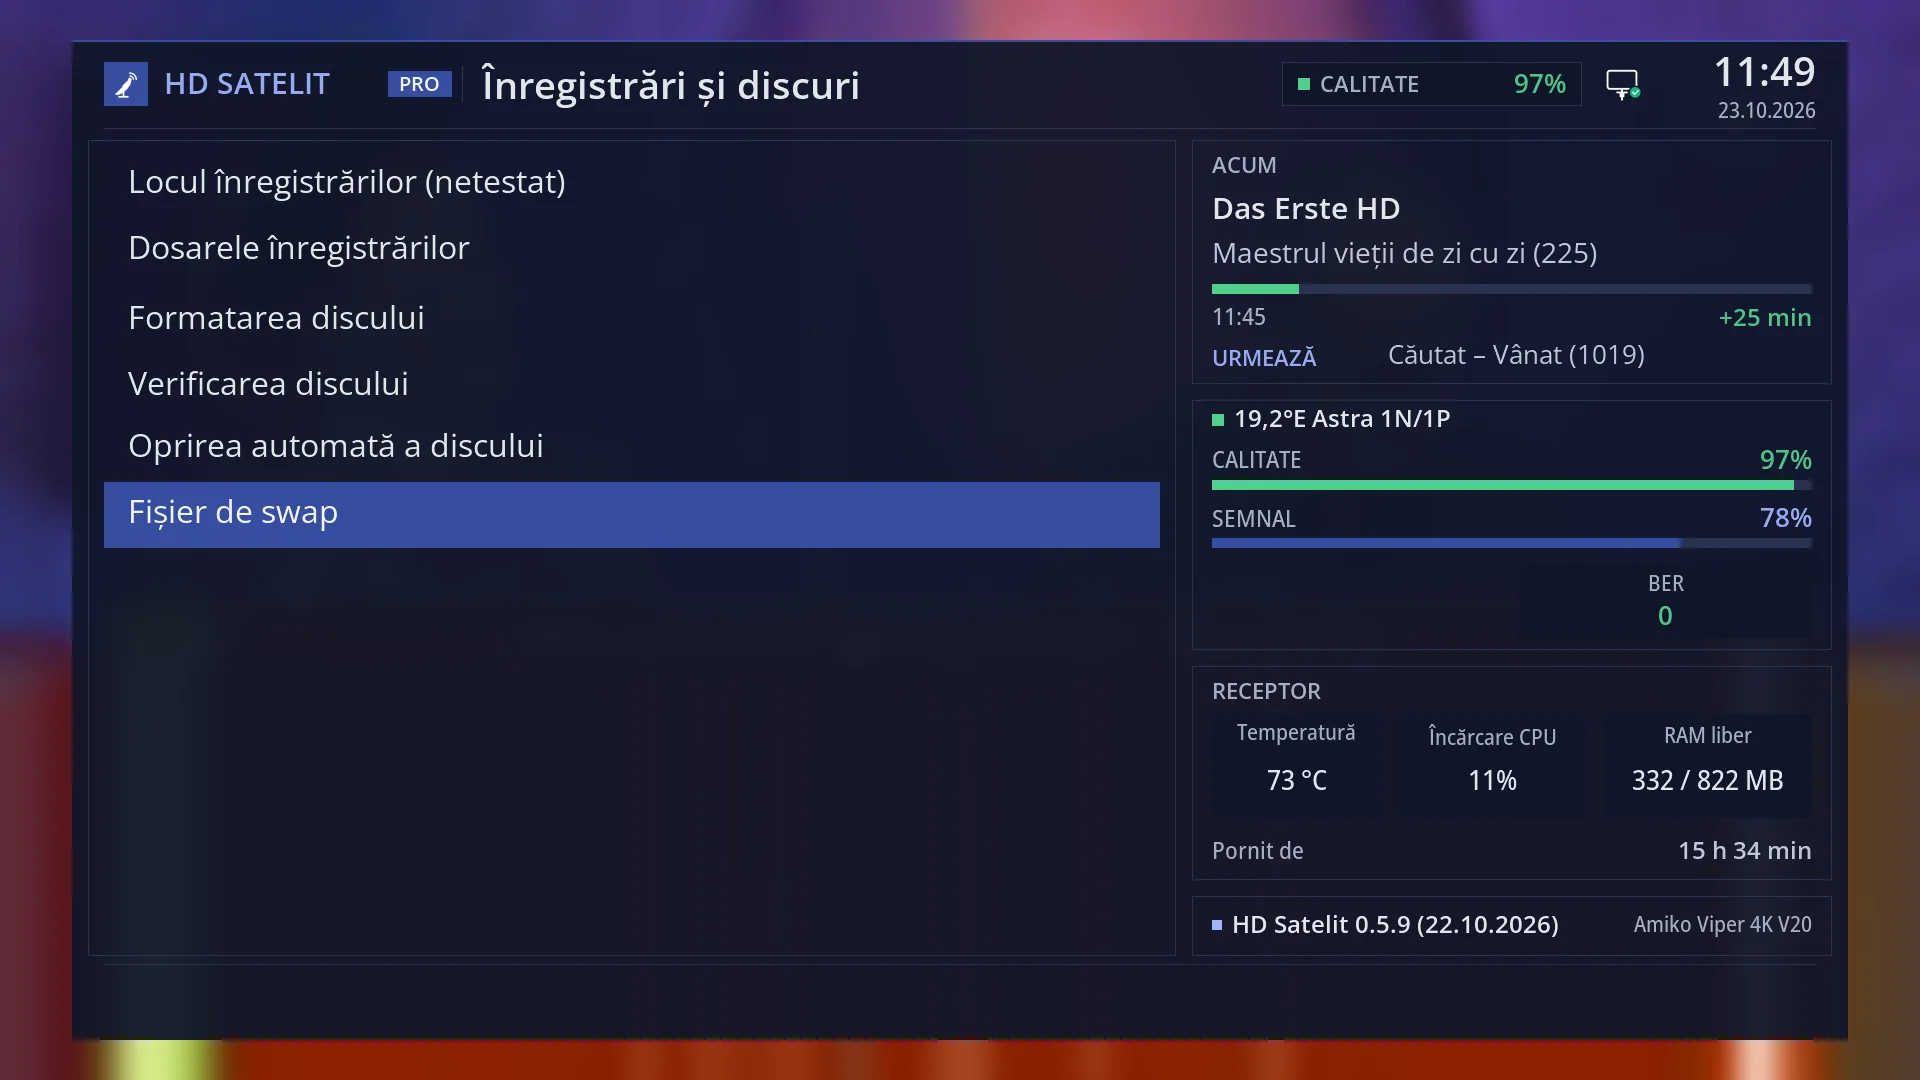
- 1 Row 6, “Swap File”. The digit 6 opens it directly.
What it is for
The “Recording & Storage Setup” submenu gathers everything to do with the disks and USB sticks connected to the receiver: where recordings are saved, in which folders, preparing and checking disks, switching them off automatically and the backup memory on disk (swap).
You open it when you connect a new hard disk or USB stick, when recordings do not start because there is no disk, when you want to empty a disk or when a disk shows errors.
It has six rows in the Intermediate setup mode (the factory setting). In Simple mode only the first three are shown; “Check Disk Health”, “Hard Drive Standby” and “Swap File” are hidden.
A submenu does not change anything by itself: you choose a row, and the screen that opens holds the settings.
How to get here
Path: Main menu > Settings > Recording & Storage Setup.
Keys on the TV screen: MENU 6 5.
From there, straight to a row with its digit: MENU 6 5 1 “Recordings location”, 2 “Recording Locations”, 3 “Format Hard Drive”, 4 “Check Disk Health”, 5 “Hard Drive Standby”, 6 “Swap File”.
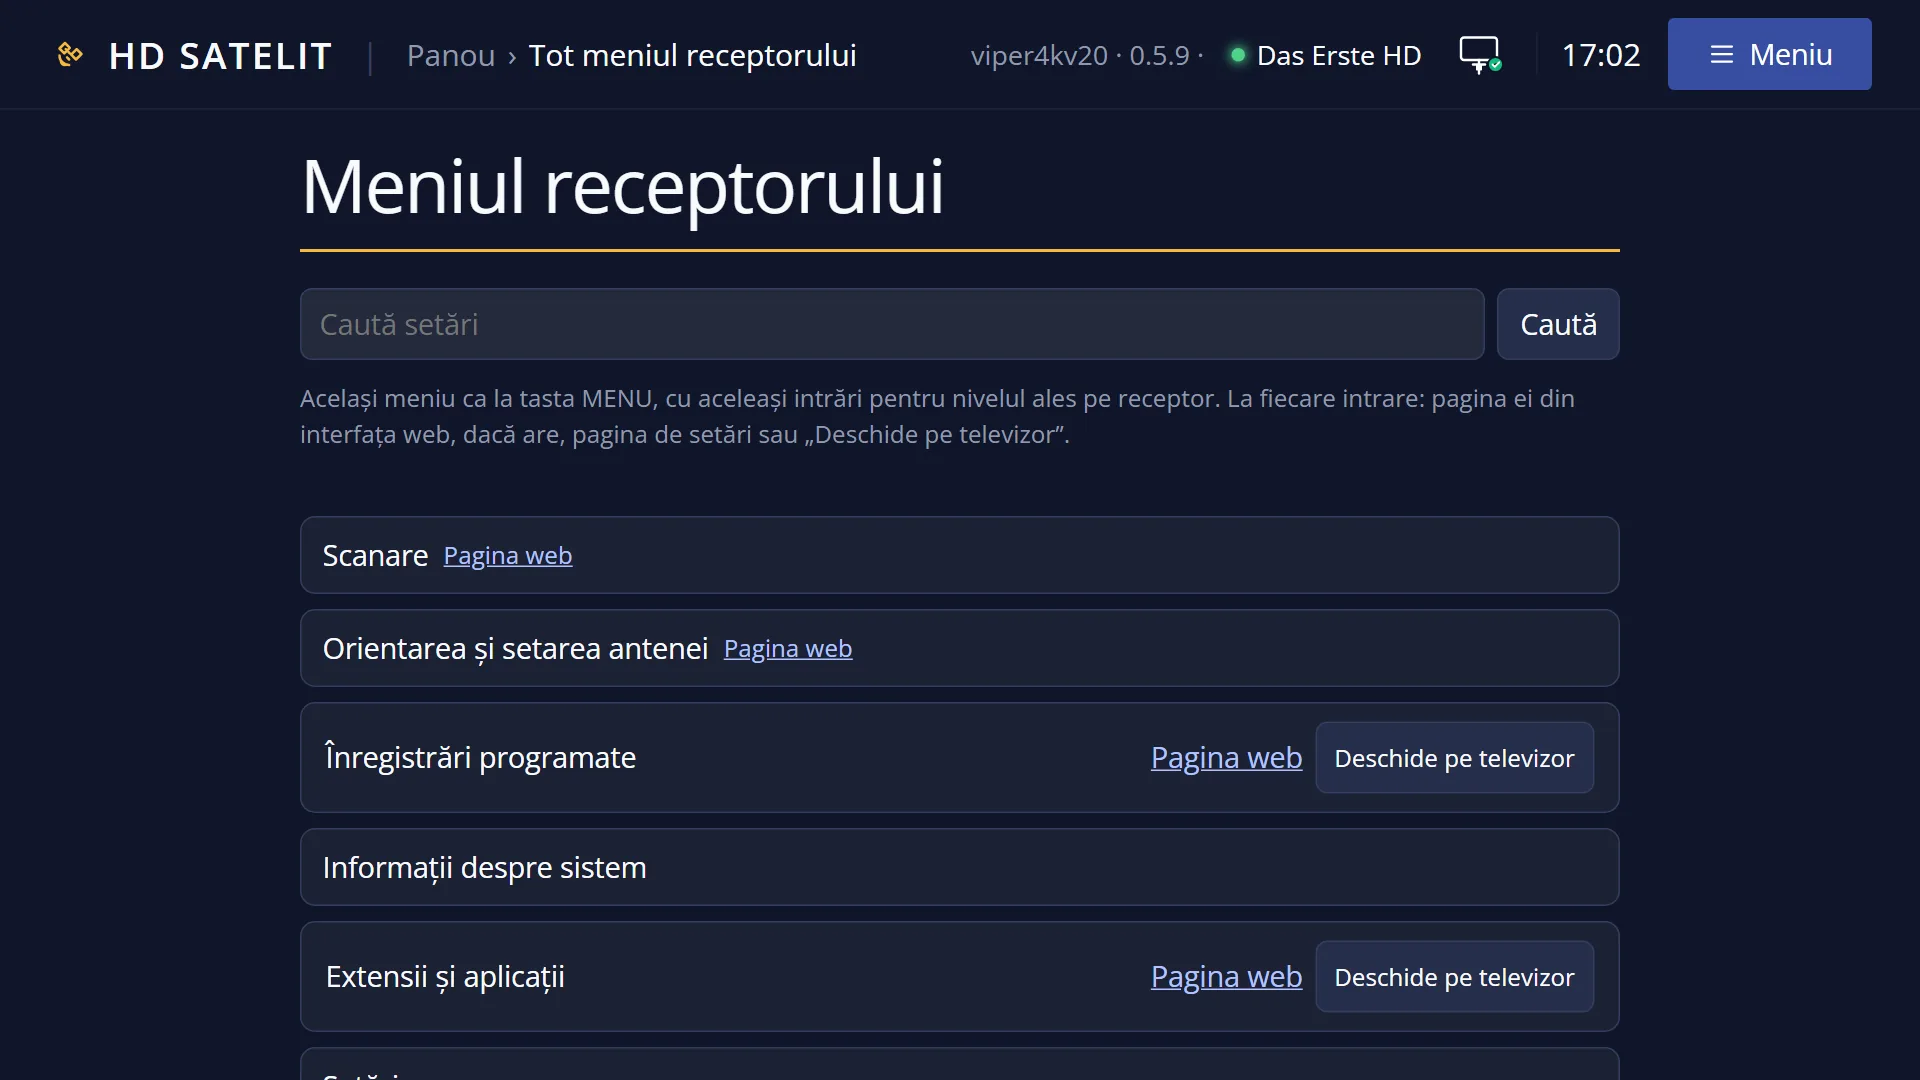
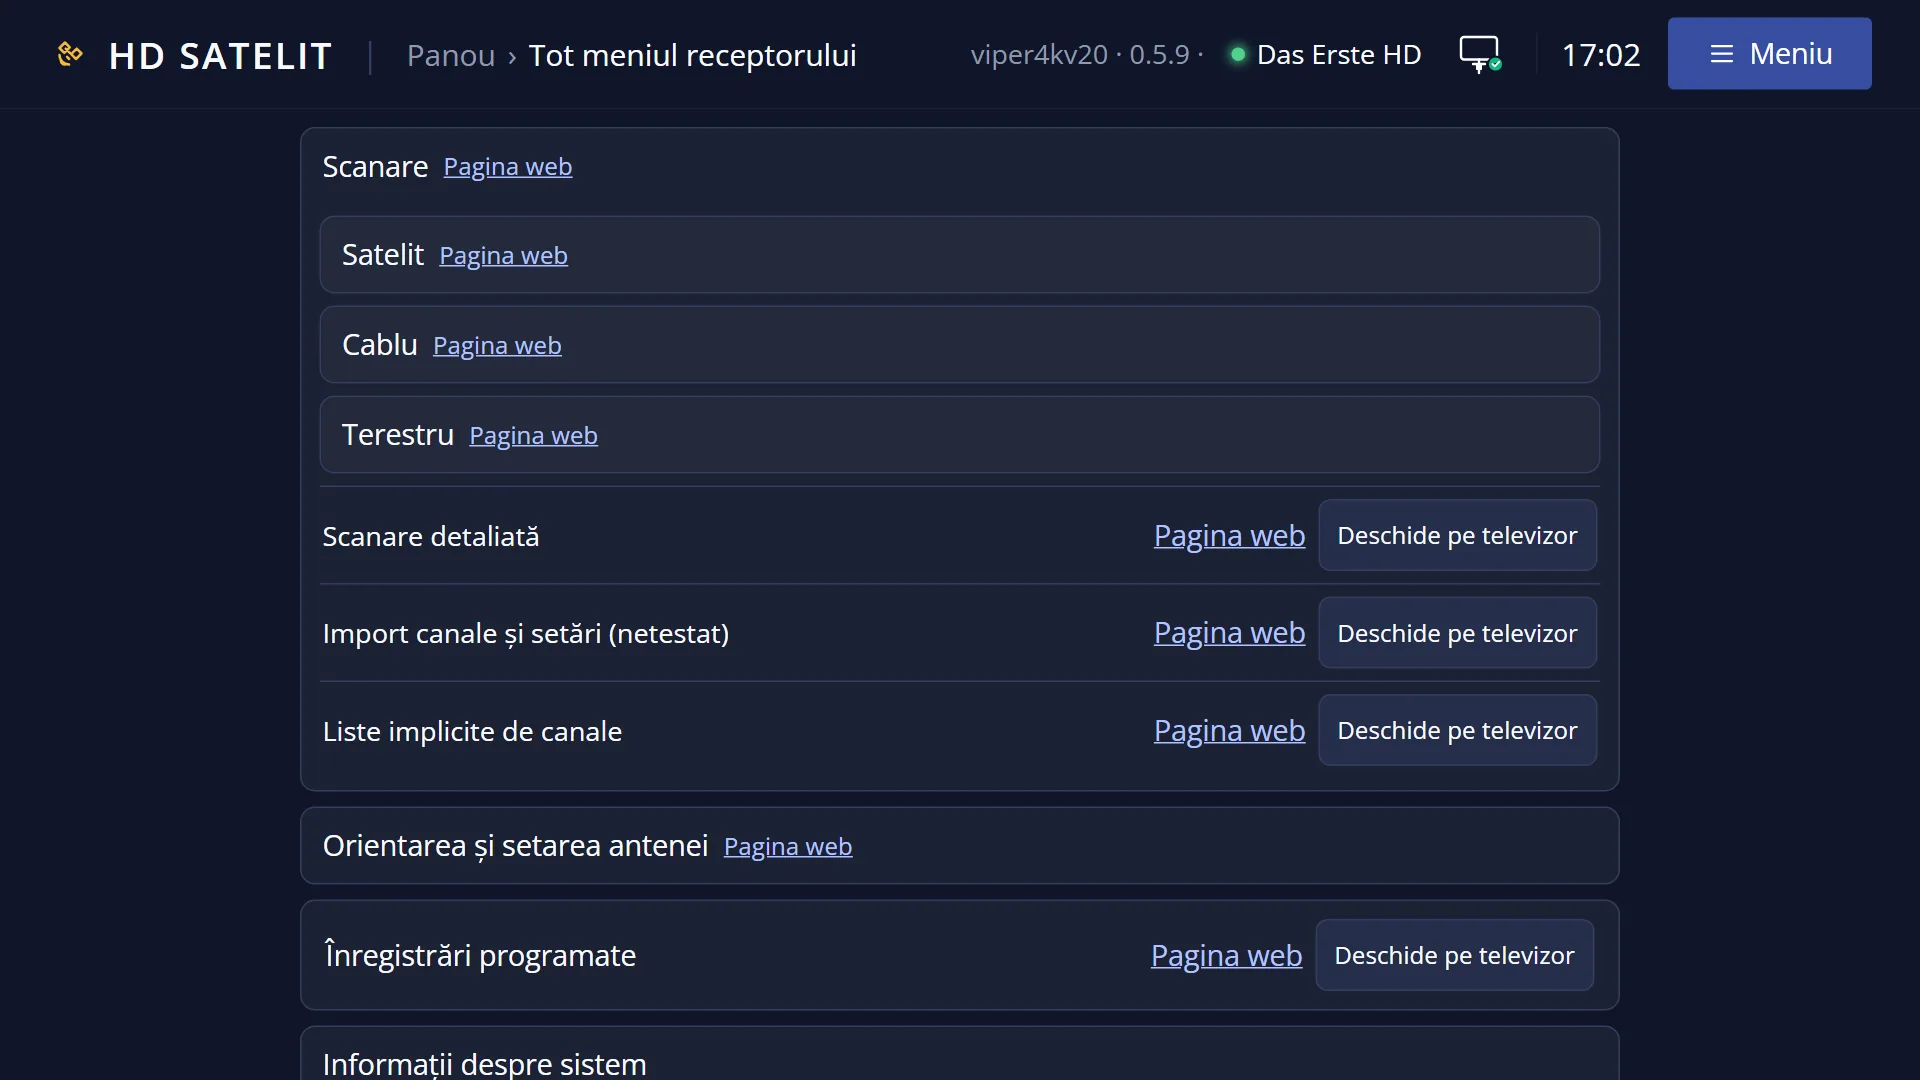
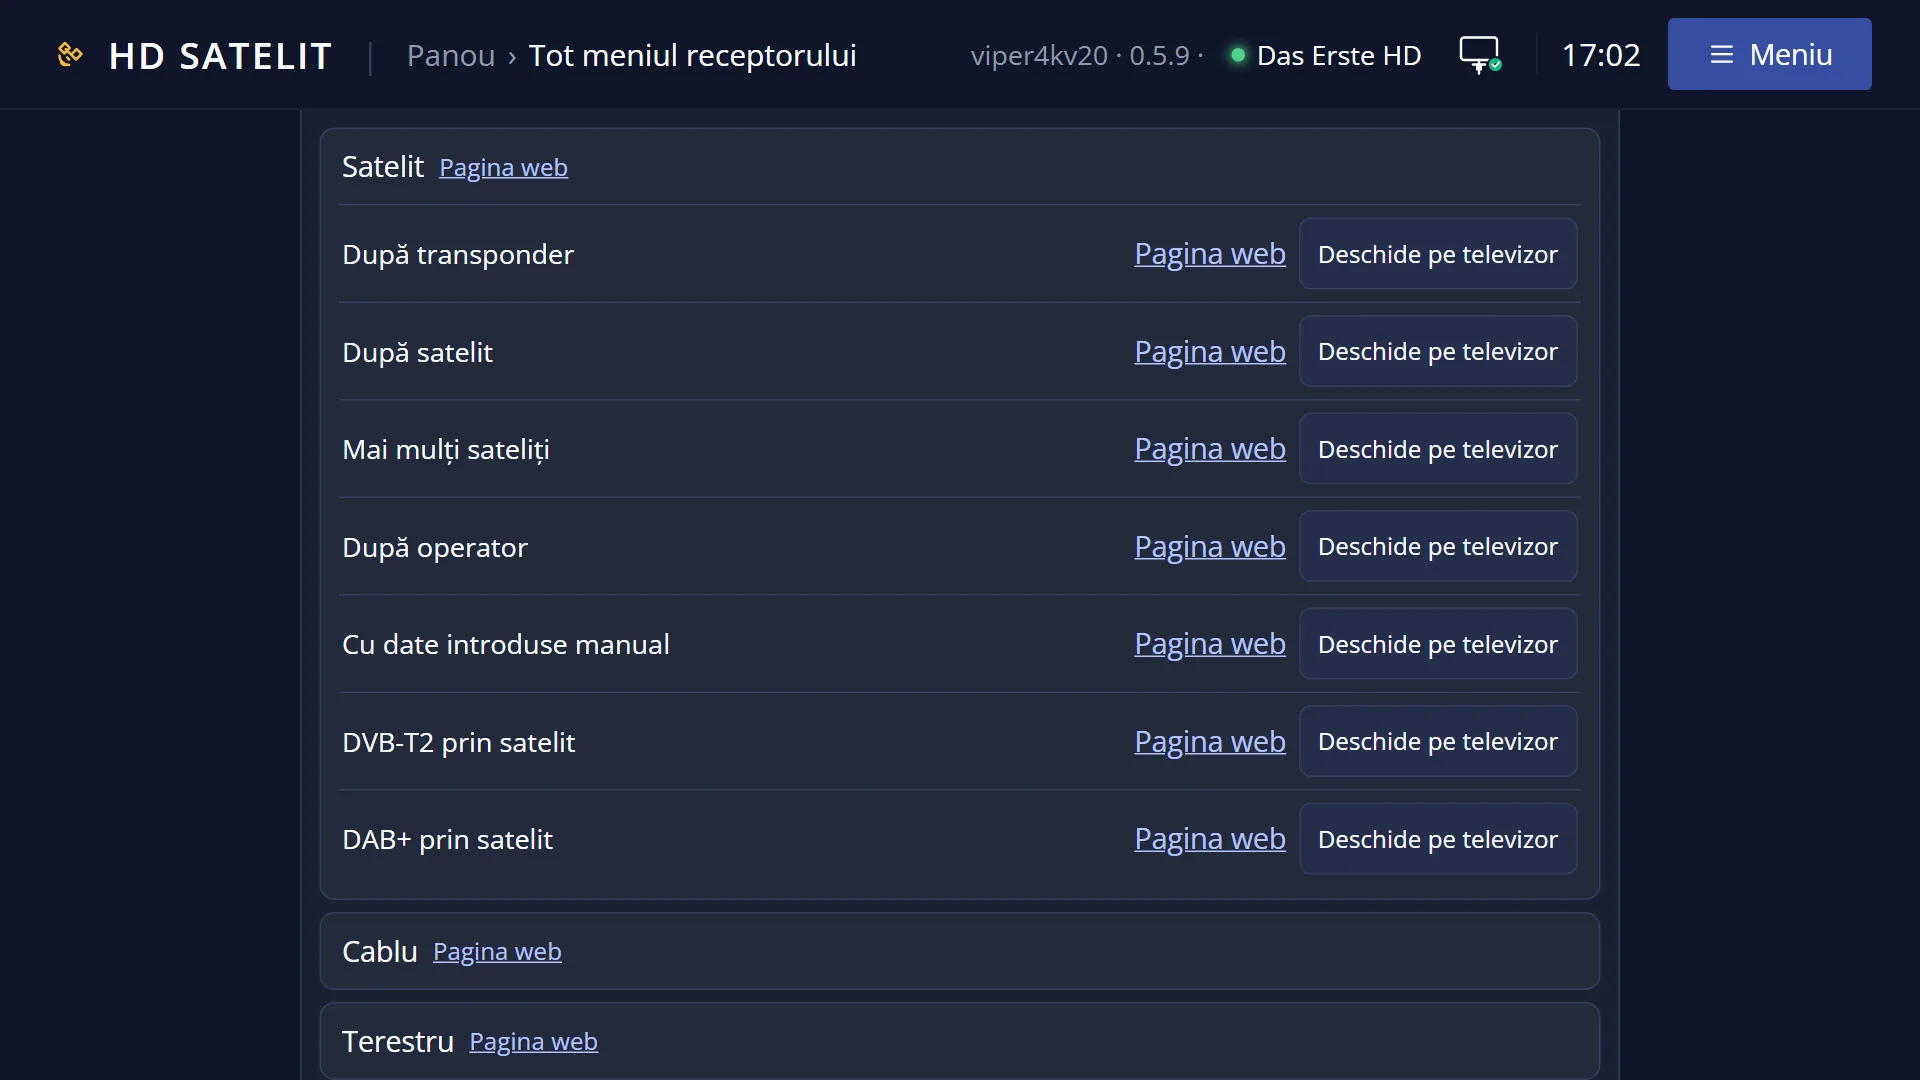
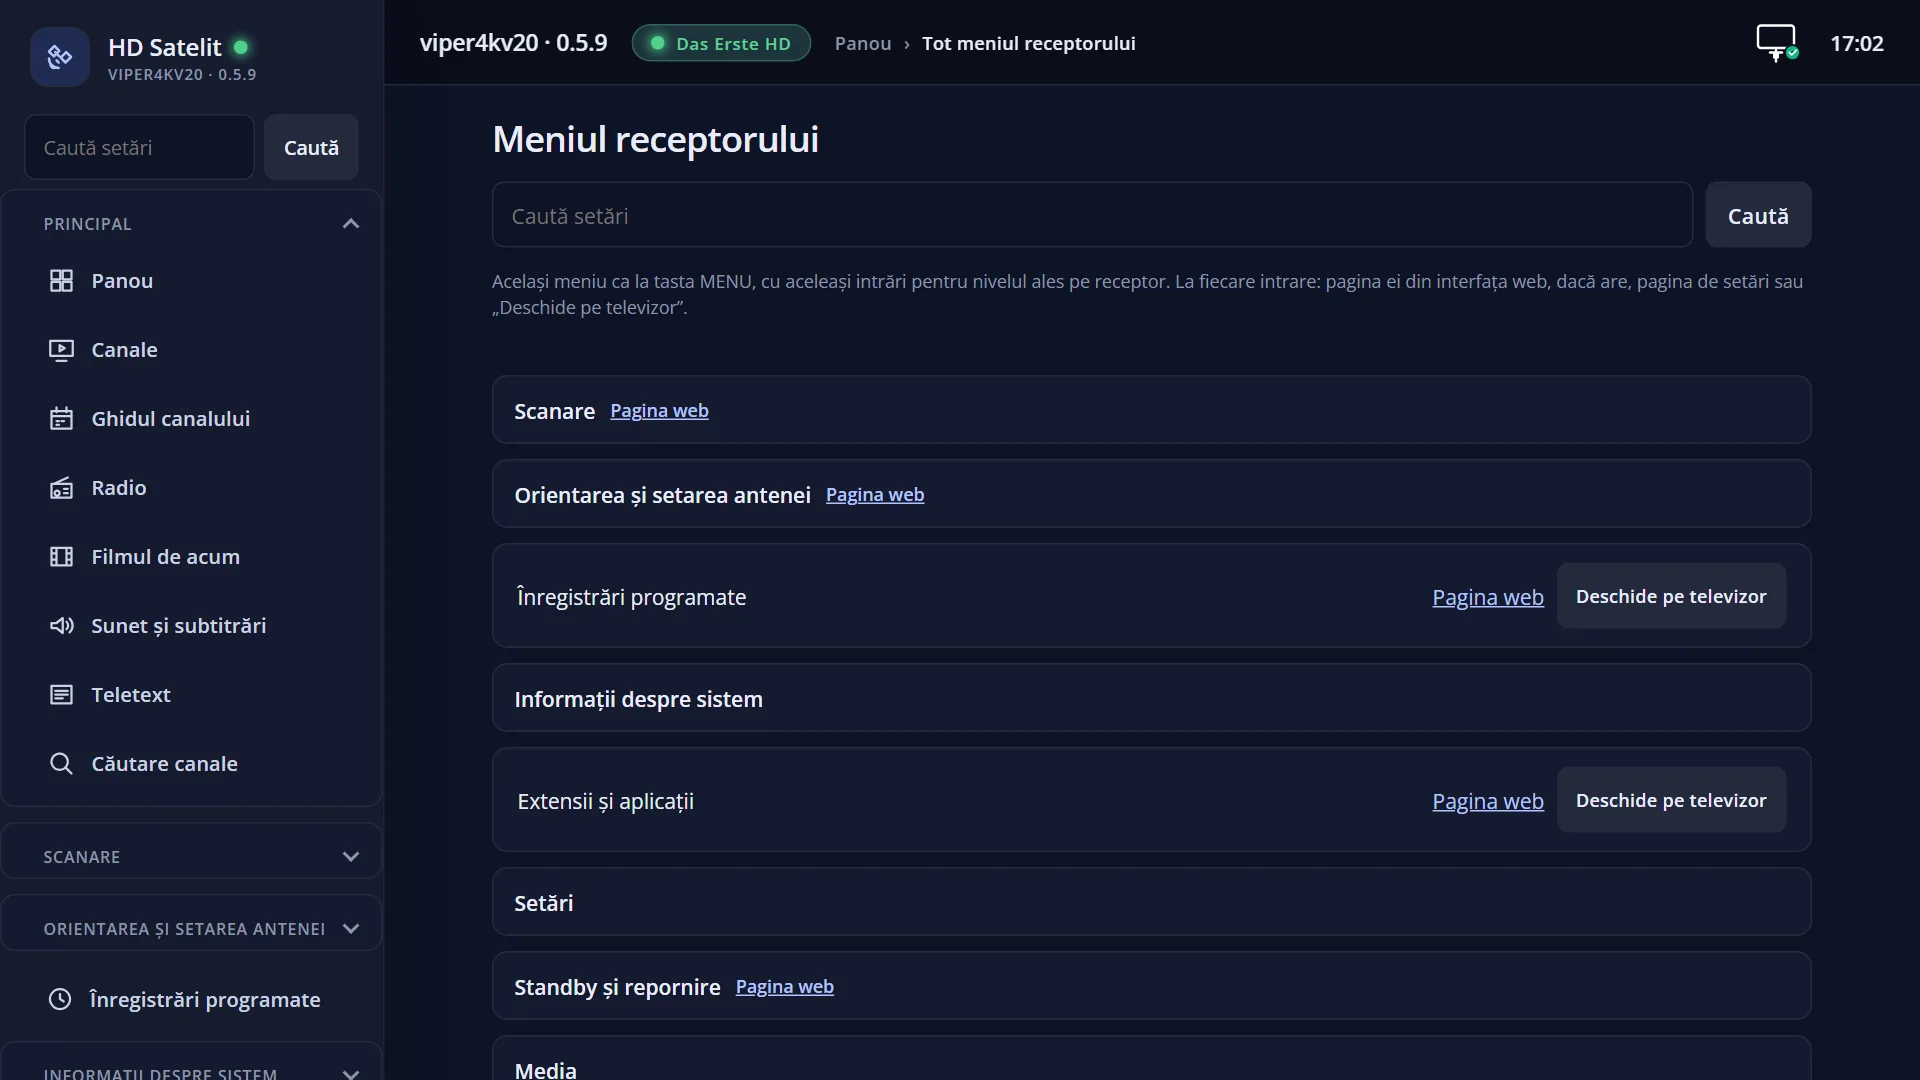
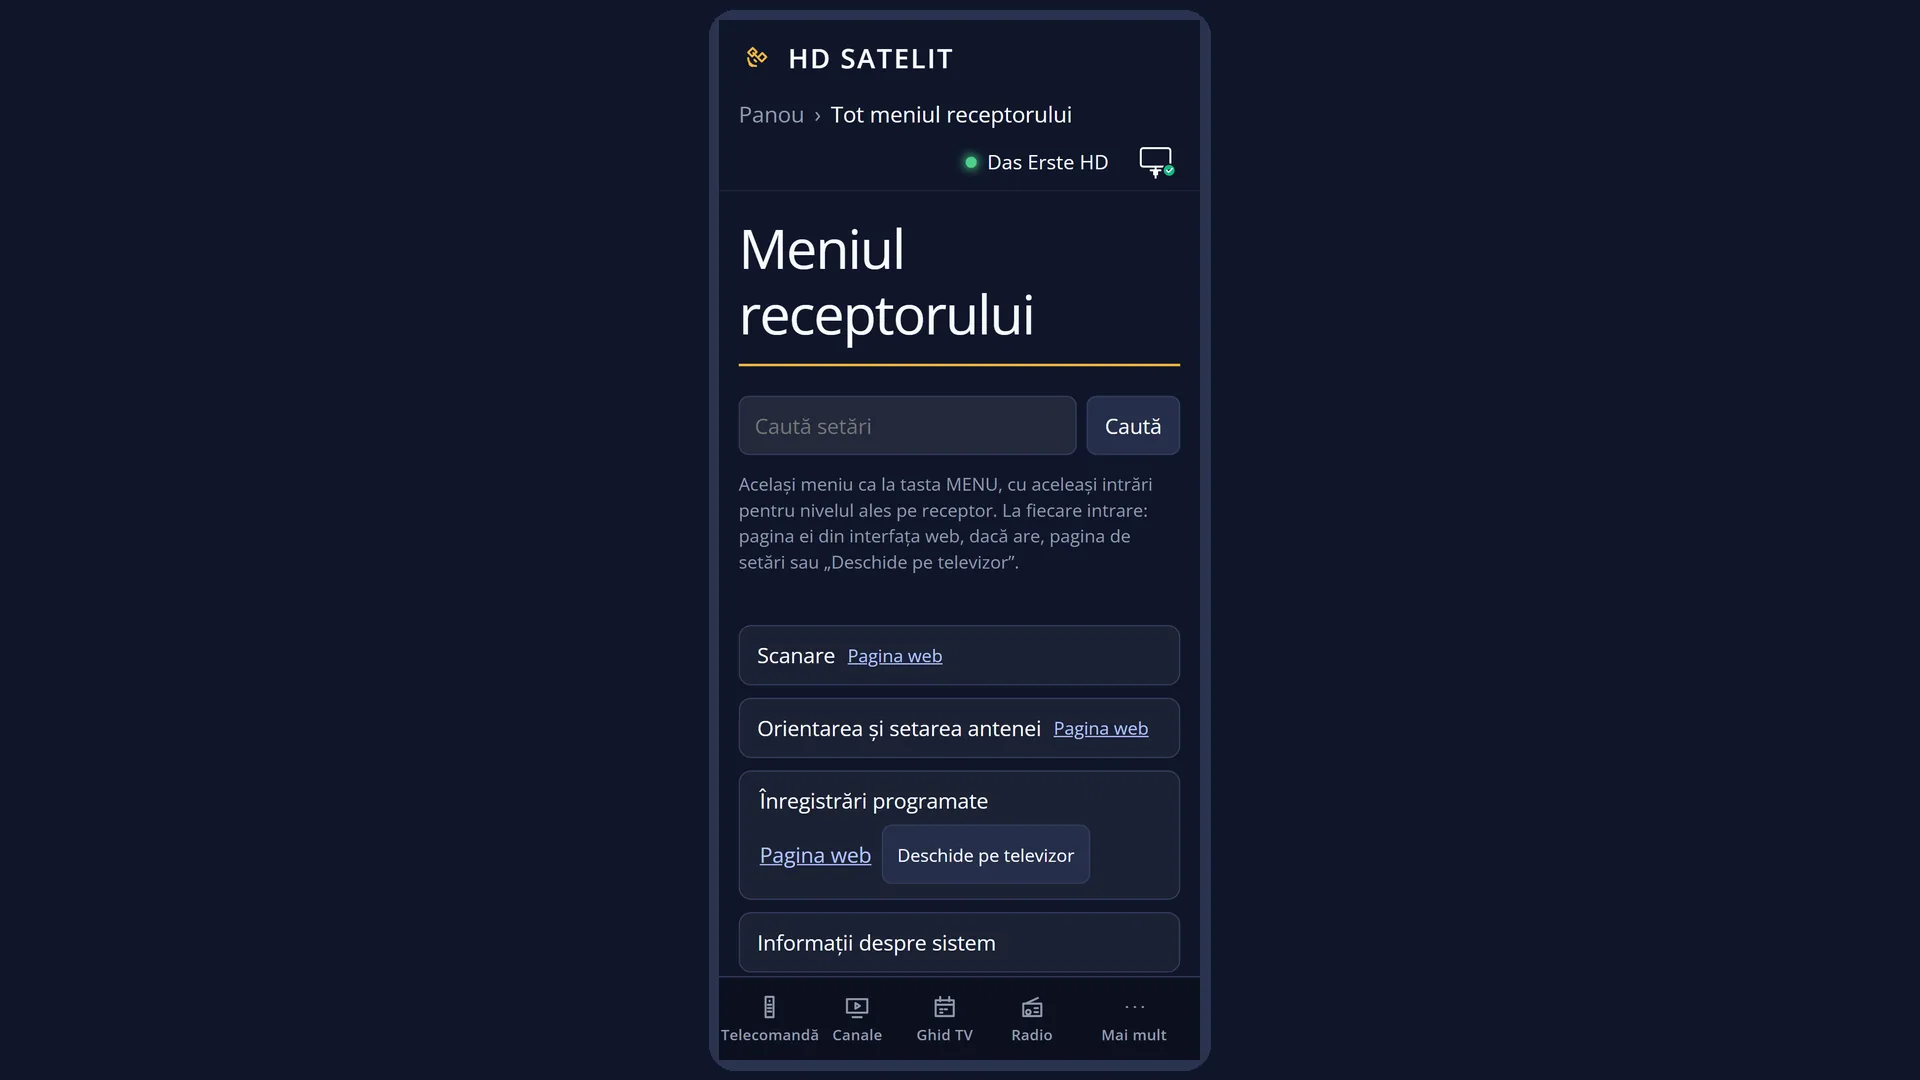
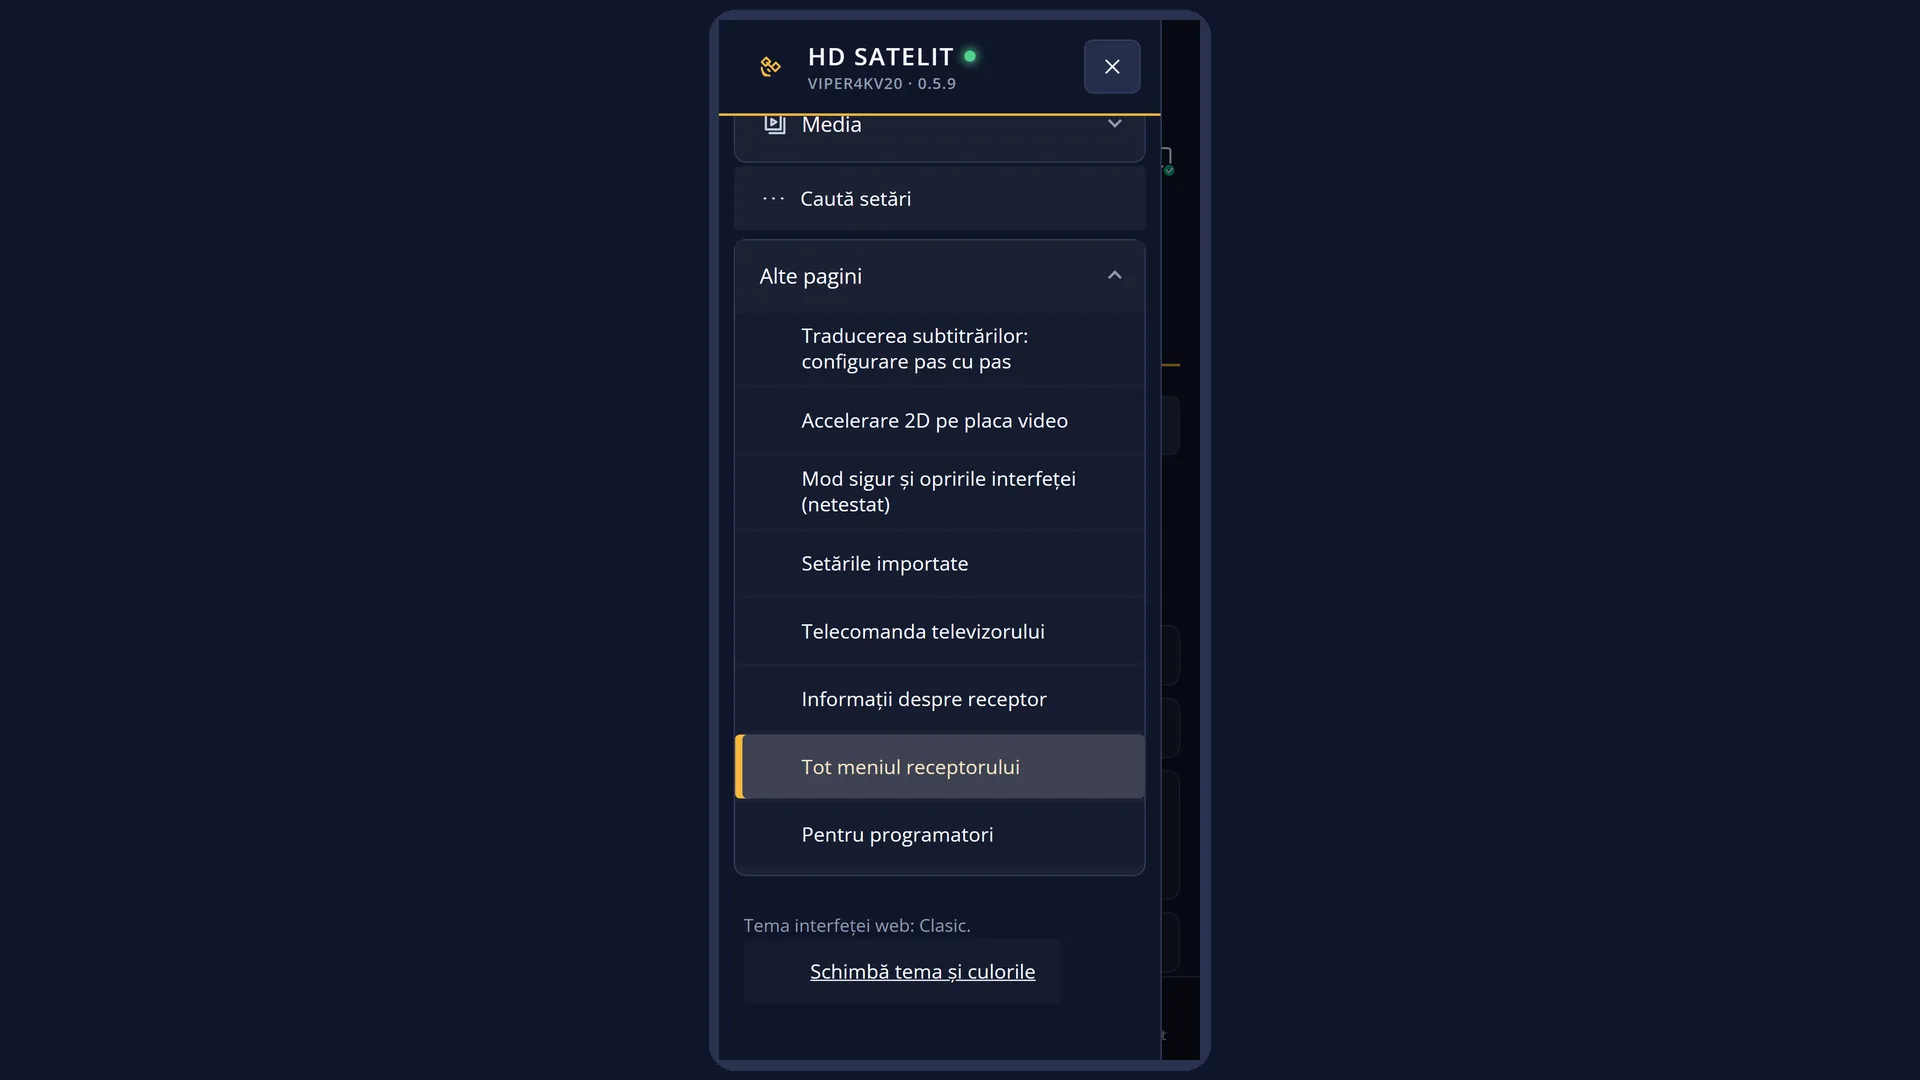
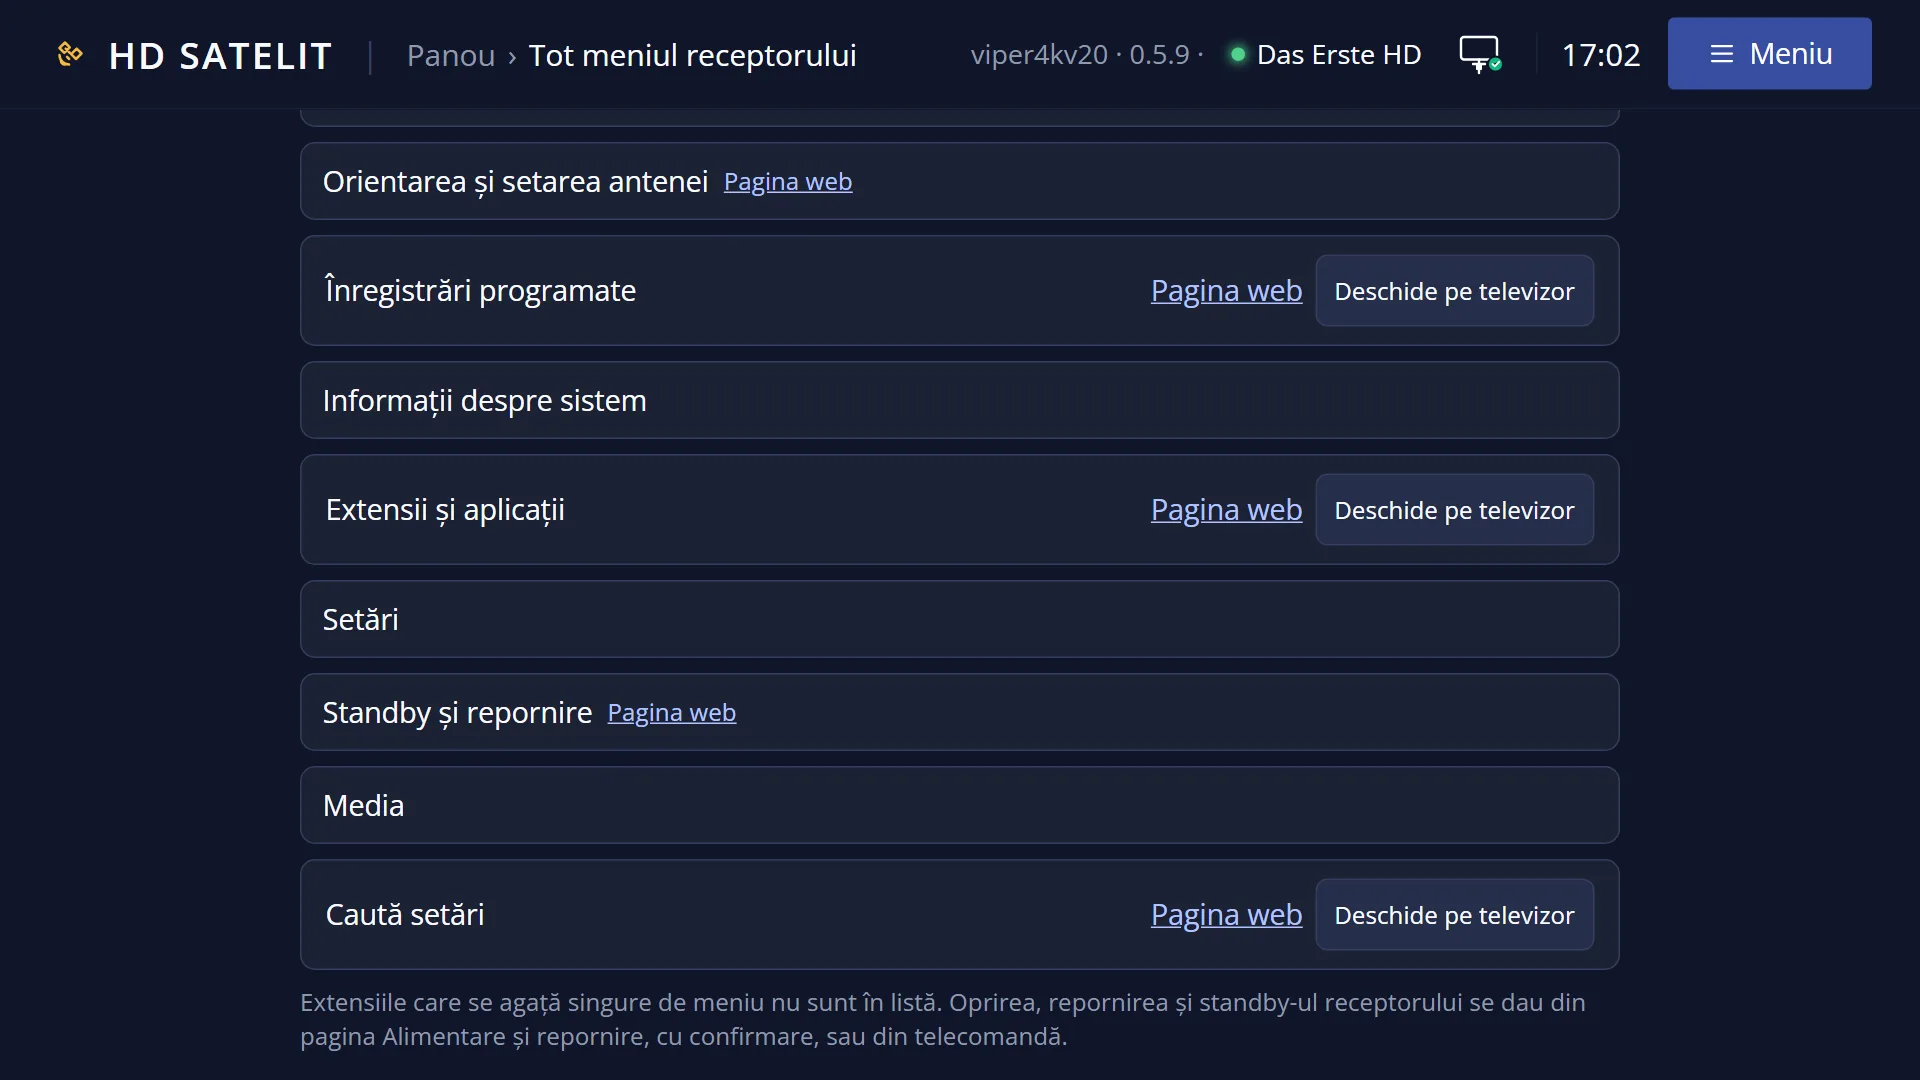
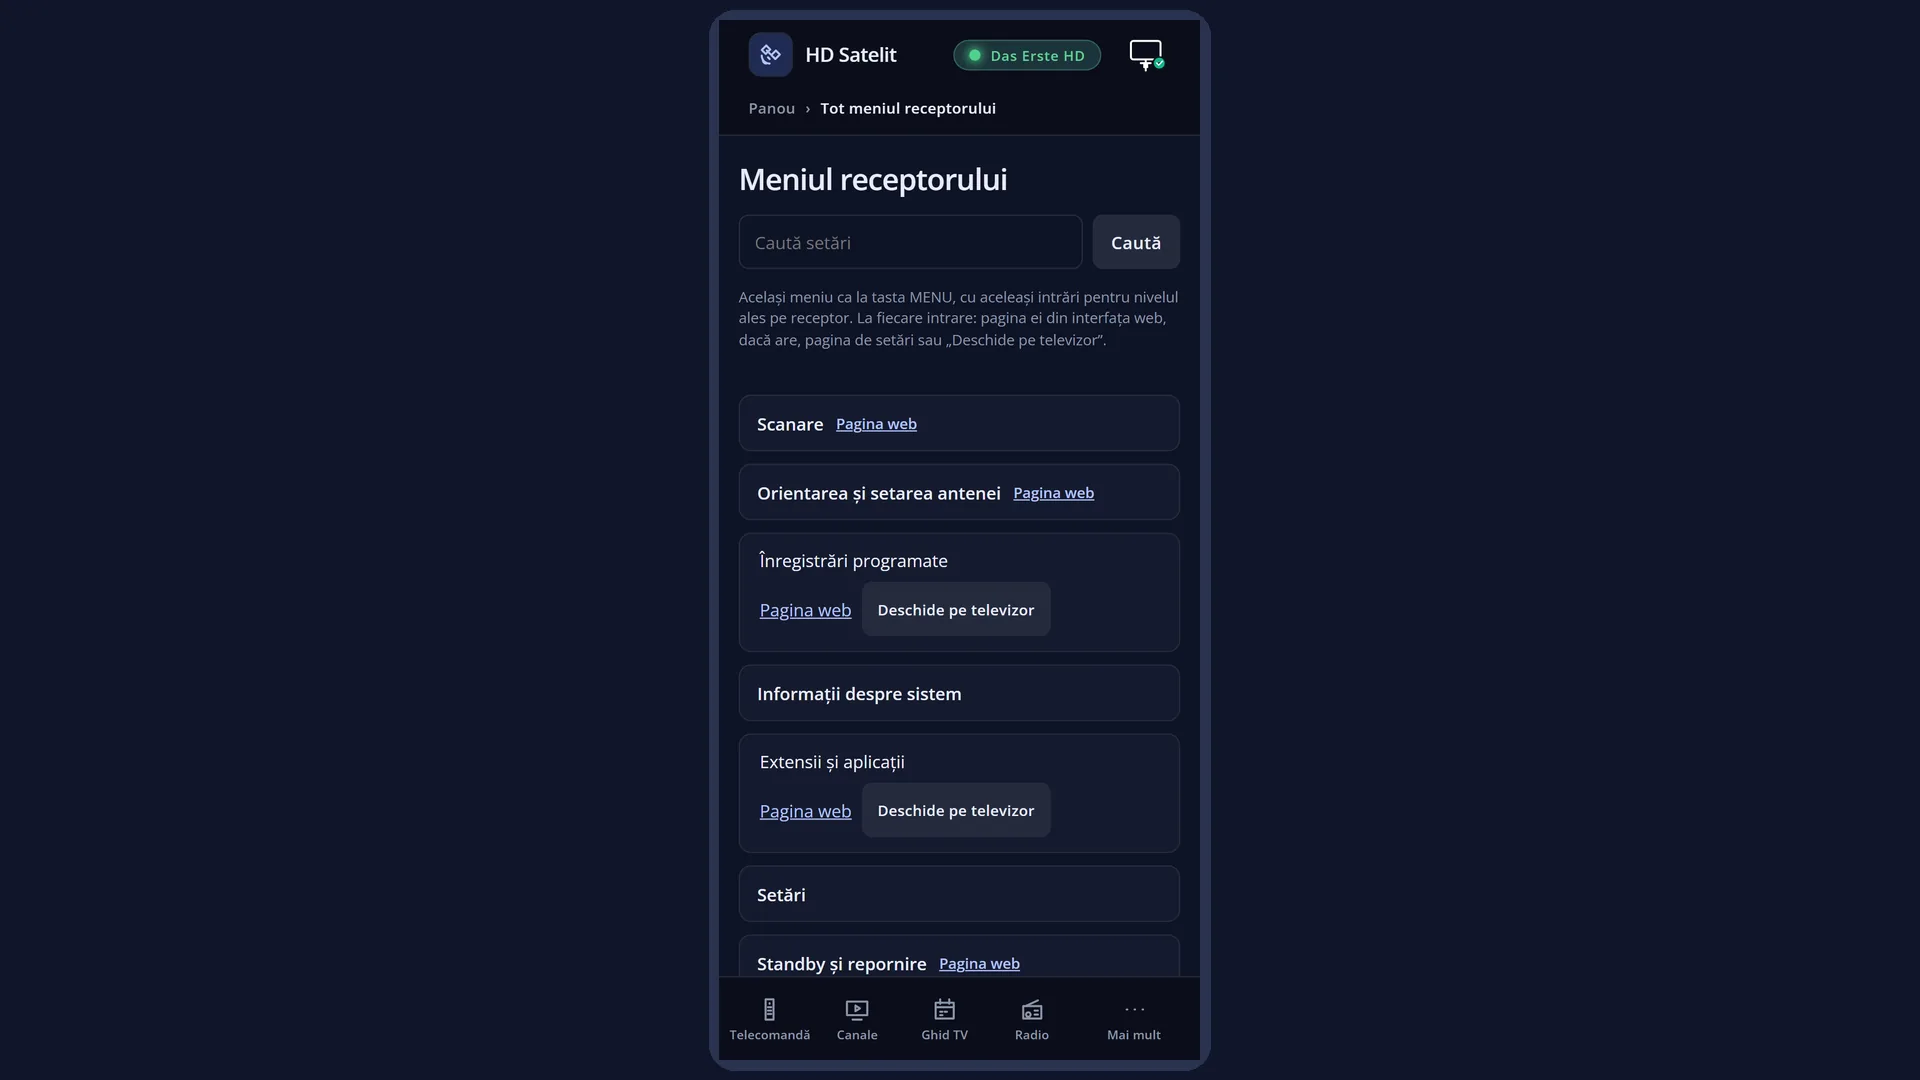
In the web interface: the /meniu page, the “Settings” group, then “Recording & Storage Setup”. Each row there has a “Web page” link (/stocare, /locuri-inregistrari, /discuri, /setari?id=harddisk, /swap).
What you see on the screen
At the top: the title “Recording & Storage Setup”, the clock and the date. In the Pro theme, “HD SATELIT” with the “PRO” label appears to the left of the title, and the signal quality of the current channel and the network icon appear on the right.
On the left is the list of rows. The selected row has a blue background. The digits are not shown next to the rows, but they work: 1 is the first row, 6 the last.
“Recordings location (not tested)”: “(not tested)” means the screen is finished but has not yet been tried on every receiver.
In the Pro theme, the right side shows the same four boxes as the main menu: “NOW”, the satellite with “Quality”, “Signal” and “BER”, “Receiver” (temperature, processor load, free memory, “On for”) and the image version with the receiver name. In the Classic theme (the factory setting) you see only the list, with the channel picture on the right.
Rows and settings
| Row | Values | Default | What it does |
|---|---|---|---|
| 1 Recordings location | Shows where recordings are saved now (or the disk that will be used for the first recording), the free space and the connected disks. Press OK on a disk to choose it for recordings. The same screen opens by itself when you start a recording or live pause and the chosen location is not a real disk. When you have connected a new disk or want recordings on a different disk. | ||
| 2 Recording Locations | The recordings folder and the live pause (timeshift) folder, chosen by browsing the folders on the disks. When you want recordings in a particular folder or live pause on a different disk. | ||
| 3 Format Hard Drive | Erases everything on a hard disk or USB stick and prepares it for the receiver: ext4 on a hard disk, FAT32 or ext4 on a USB stick. First it tells you by name what will be lost. For a new disk or USB stick, or when you want to empty it completely. | ||
| 4 Check Disk Health | Checks the file system of a disk and repairs what it can by itself. While the check runs, the disk is not mounted. The row is shown in Intermediate and Expert modes. When recordings stop by themselves, the disk shows up as read-only or the receiver was switched off suddenly. | ||
| 5 Hard Drive Standby | The “Harddisk standby after” row: how long the hard disk stays unused before it switches off. The row is shown in Intermediate and Expert modes. When the disk makes noise or gets warm for no reason, or, on the contrary, starts up too often. | ||
| 6 Swap File | Turns on or off a 512 MB file on a disk used as backup memory. The row is shown in Intermediate and Expert modes. When you install large plugins or the receiver runs out of free memory. |
Keys
| UP / DOWN | Moves the cursor to the row above or below. From the last row, DOWN goes to the first, and the other way round. |
| LEFT / RIGHT | Jump one page up or down. Here the list fits on one page, so you land on the first or last row. In the tile layout, they move the cursor to the tile on the left or right. |
| OK | Opens the screen of the selected row. |
| 1 ... 6 | Open the row with that number straight away, without OK (see “How to get there”). |
| YELLOW | Switches the menu from list to tiles or back, instantly, with the same row selected. The choice is remembered for all menus. |
| TTX (shown on screen as TEXT) | Opens “Search settings”, so you can find a setting by typing a few letters. |
| EXIT | Closes the submenu and takes you back to “Settings”. |
| MENU | Closes the whole menu and takes you back to live TV. |
Step by step
Preparing a new USB stick for recordings
- Plug the USB stick into the receiver.
- Press MENU 6 5 3 (“Format Hard Drive”), choose the USB stick, press OK, then RED and “ext4: for recordings and timeshift”. Confirm with “Yes, format”.
- Press MENU 6 5 1 (“Recordings location”) and choose the USB stick with OK.
Checking a disk that shows errors
- Stop any recordings and live pause on that disk.
- Press MENU 6 5 4, choose the disk with OK and start the check.
- Wait for the result. The disk is mounted again by itself.
Problems and solutions
I do not have the “Check Disk Health”, “Hard Drive Standby” and “Swap File” rows.
They are hidden in the Simple setup mode. Switch to Intermediate: Menu > Settings > Interface & Appearance > OSD Preferences, the “Setup Mode” row.
I pressed a digit and a different screen opened from the one I wanted.
A digit opens the row with that number straight away. Press EXIT and choose again. Each row's number is its position in the list, from top to bottom.
“(not tested)” appears next to “Recordings location”.
The screen is finished but has not yet been tried on the receiver. You can use it. If you see anything wrong, let us know.
The recording does not start: the receiver asks for a disk.
Connect a hard disk or USB stick, prepare it with “Format Hard Drive” if it is new, and choose it in “Recordings location”.
Related topics
- Recordings location
- Recording Locations
- Format Hard Drive
- Check Disk Health
- Hard Drive Standby
- Swap File
- Settings (all groups)
- Main menu (menu keys, list or tiles)
- Matching web page: /meniu, the “Settings” group > “Recording & Storage Setup”. The rows have the pages /stocare, /locuri-inregistrari, /discuri, /setari?id=harddisk and /swap.