

Interface theme: installed themes
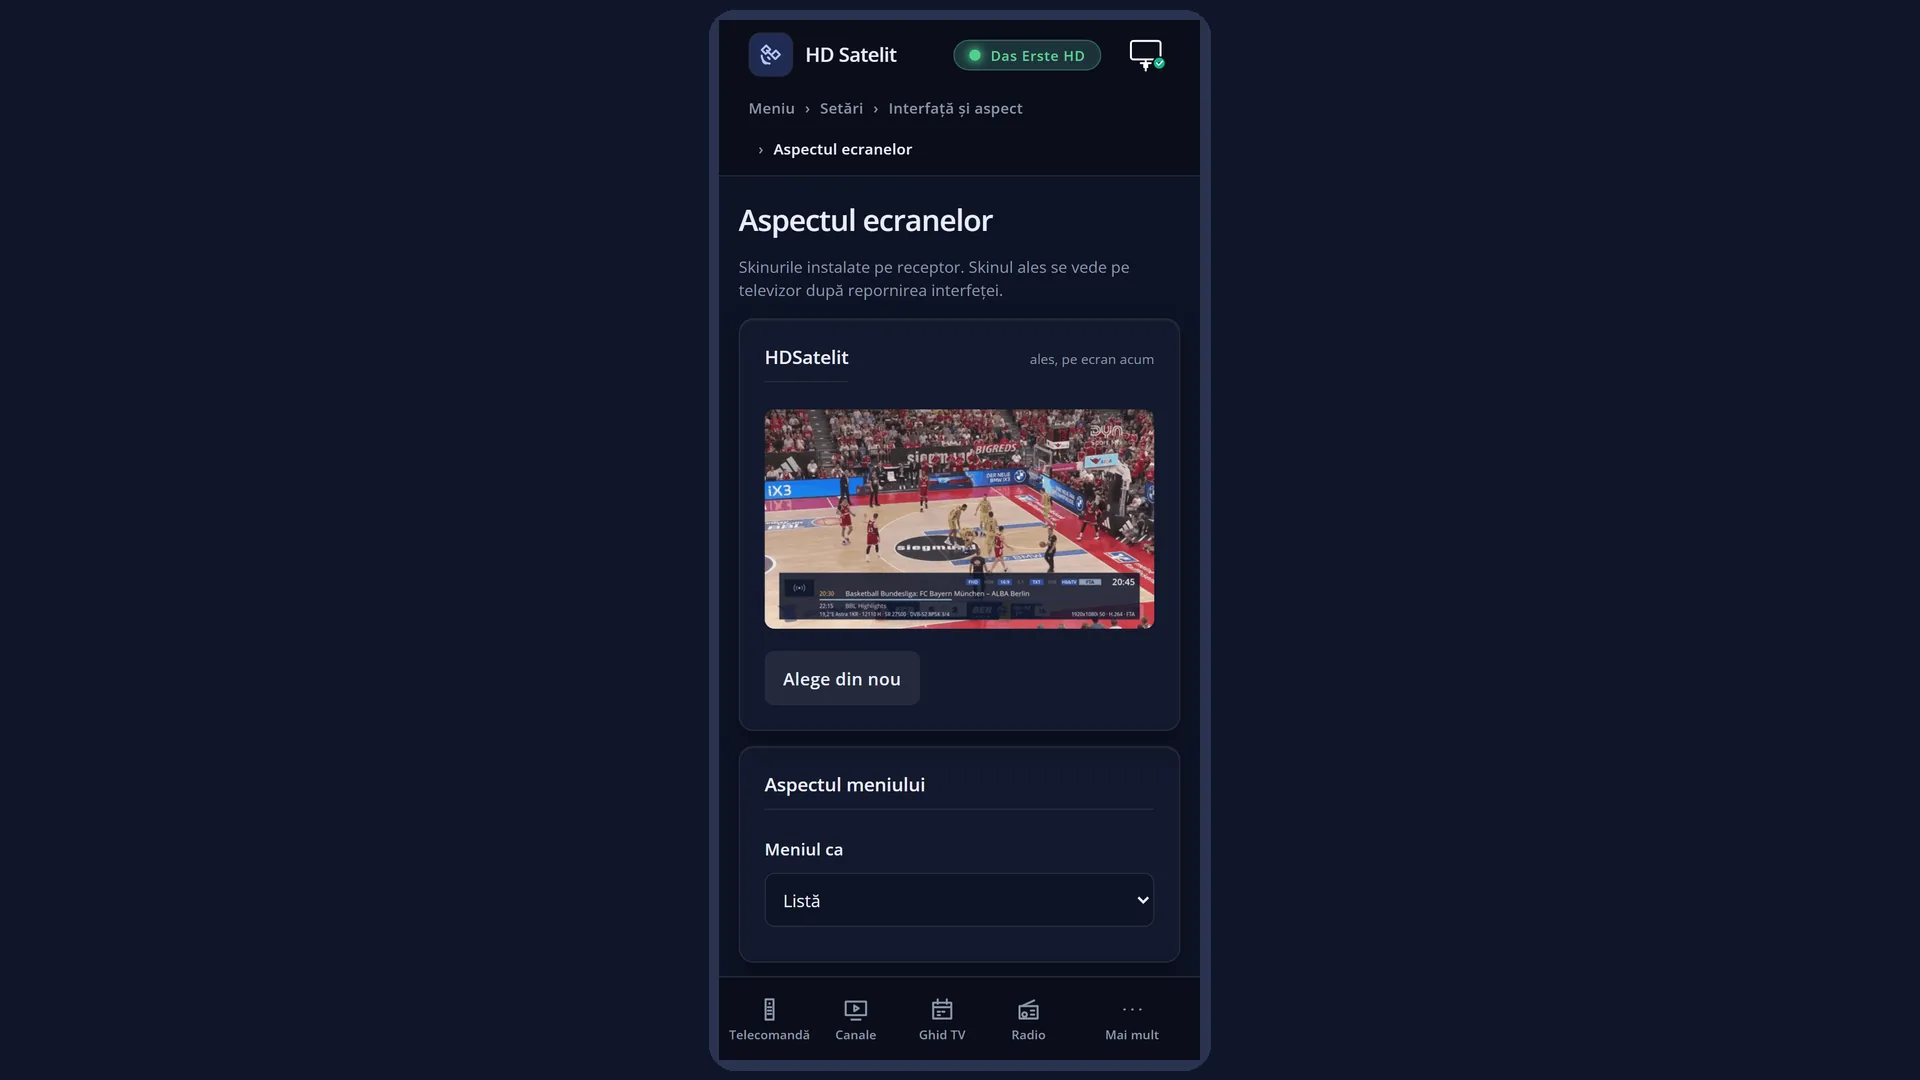
Screenshots are being added: so far 2 from the receiver and 7 from the web interface; the aim is at least 5 of each, with arrows and frames, and, where a setting changes what you see, a before and after comparison.
English screenshots coming: some of the pictures below still show the receiver and the web interface in Romanian. The rows, keys and steps described on this page are the English ones.
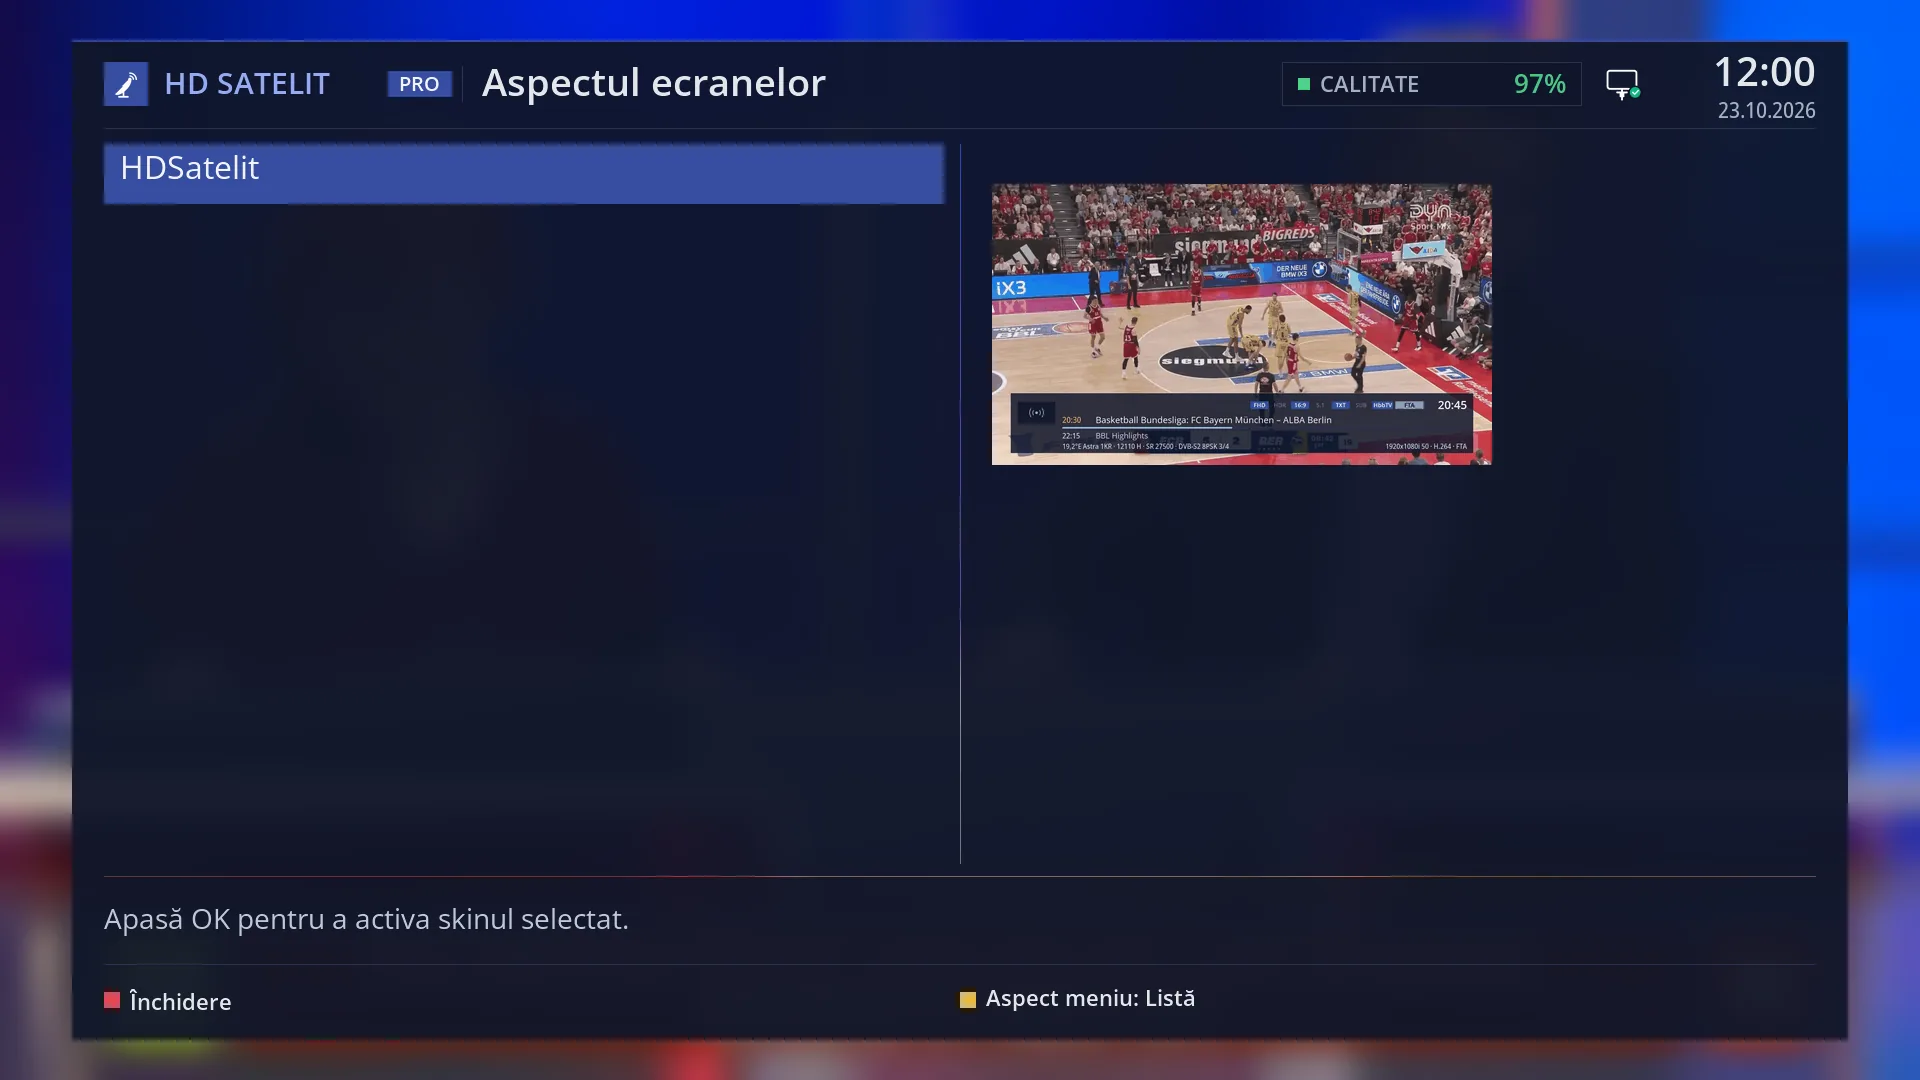
- 1 Title: “Screen appearance”.
- 2 Installed skins; out of the box, only “HDSatelit”.
- 3 Picture of the skin under the cursor.
- 4 What to do (OK chooses), or why the skin did not start last time.
- 5 RED closes, YELLOW switches the menus between list and tiles.
What it is for
“Screen appearance” chooses the skin, that is, the whole look of the interface: the shape of the windows, the colours, the fonts and the bars. The list shows the skins installed on the receiver. The first one is always the image's own skin, “HDSatelit”.
From the factory, the receiver has only one skin, HDSatelit. Another skin appears in the list only if you install it yourself, as a plugin.
On this screen, the YELLOW key also changes how the menus look: a list of rows or large tiles with icons.
This is not the same as “Interface theme” (the row below it in the menu), which chooses between the Classic and Pro forms of the HDSatelit skin.
If a skin you choose does not start, the receiver goes back to the HDSatelit skin by itself and tells you why.
How to get here
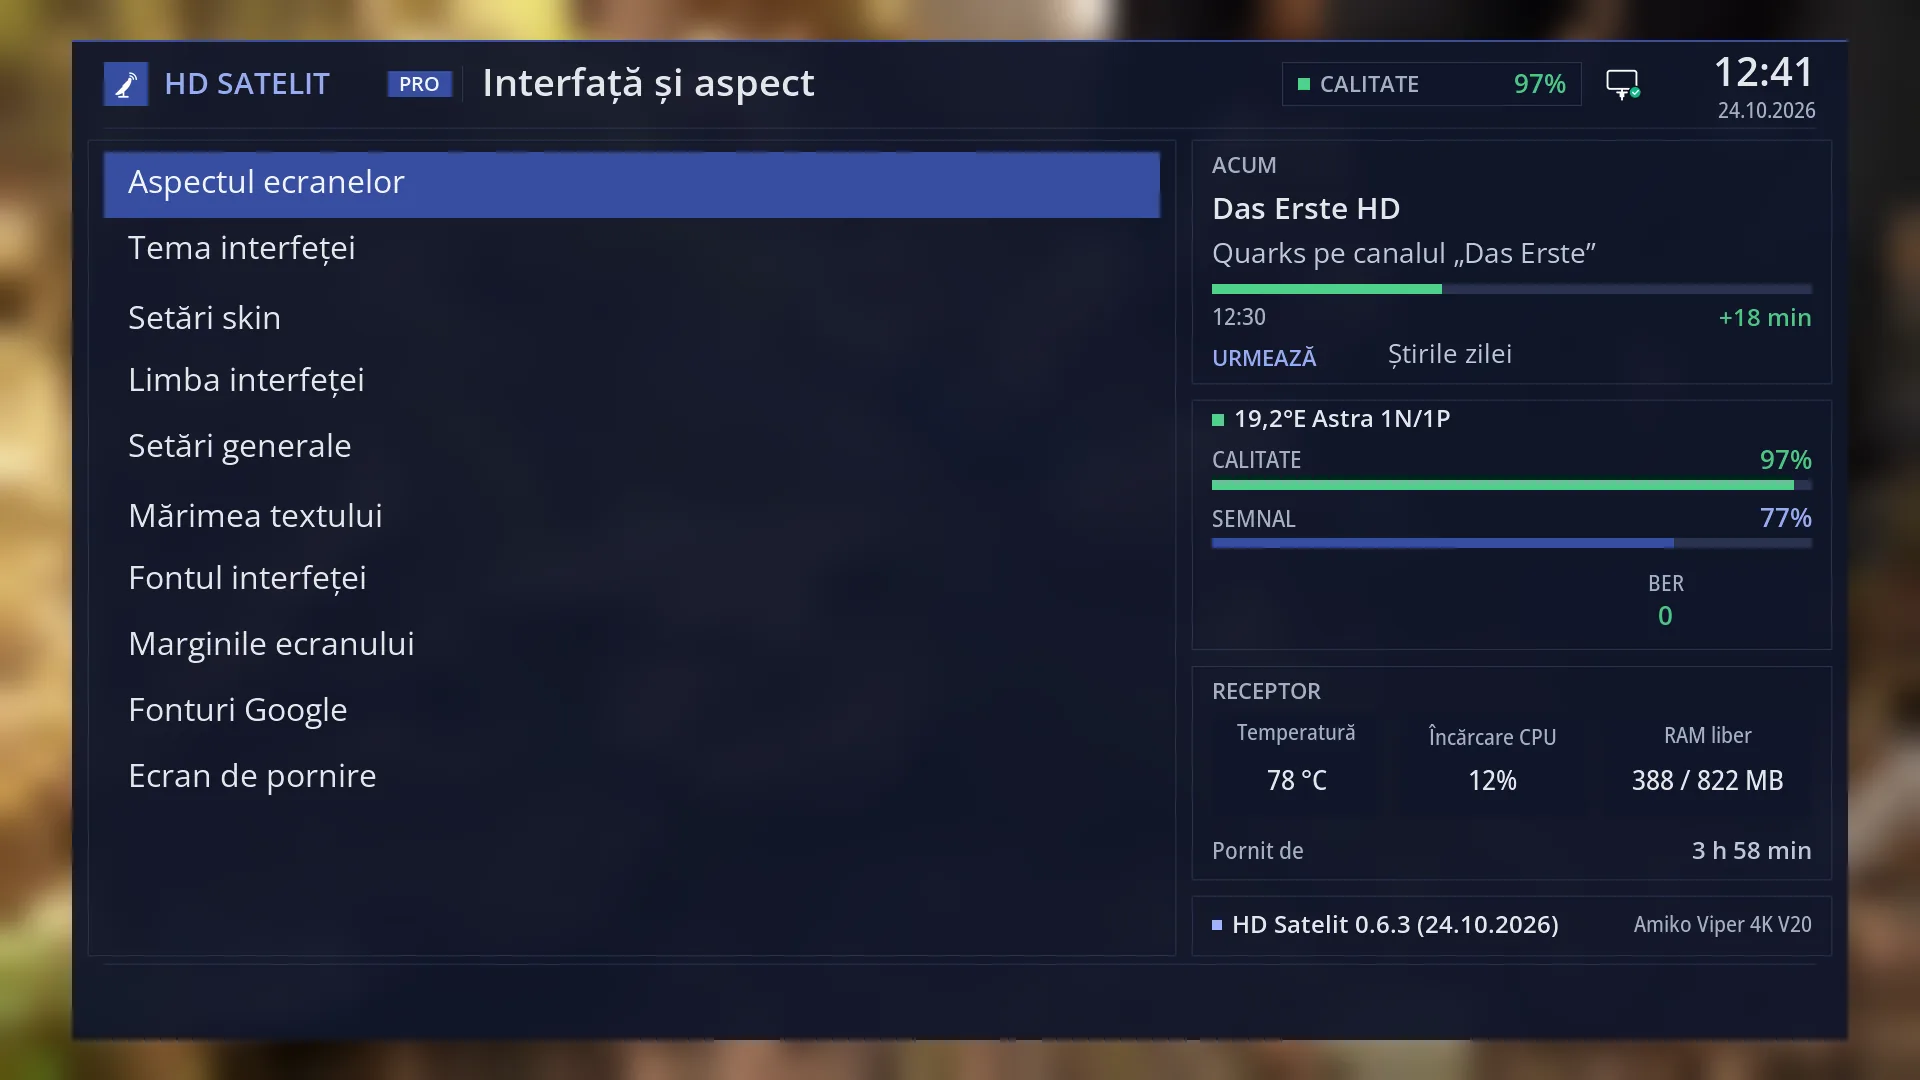
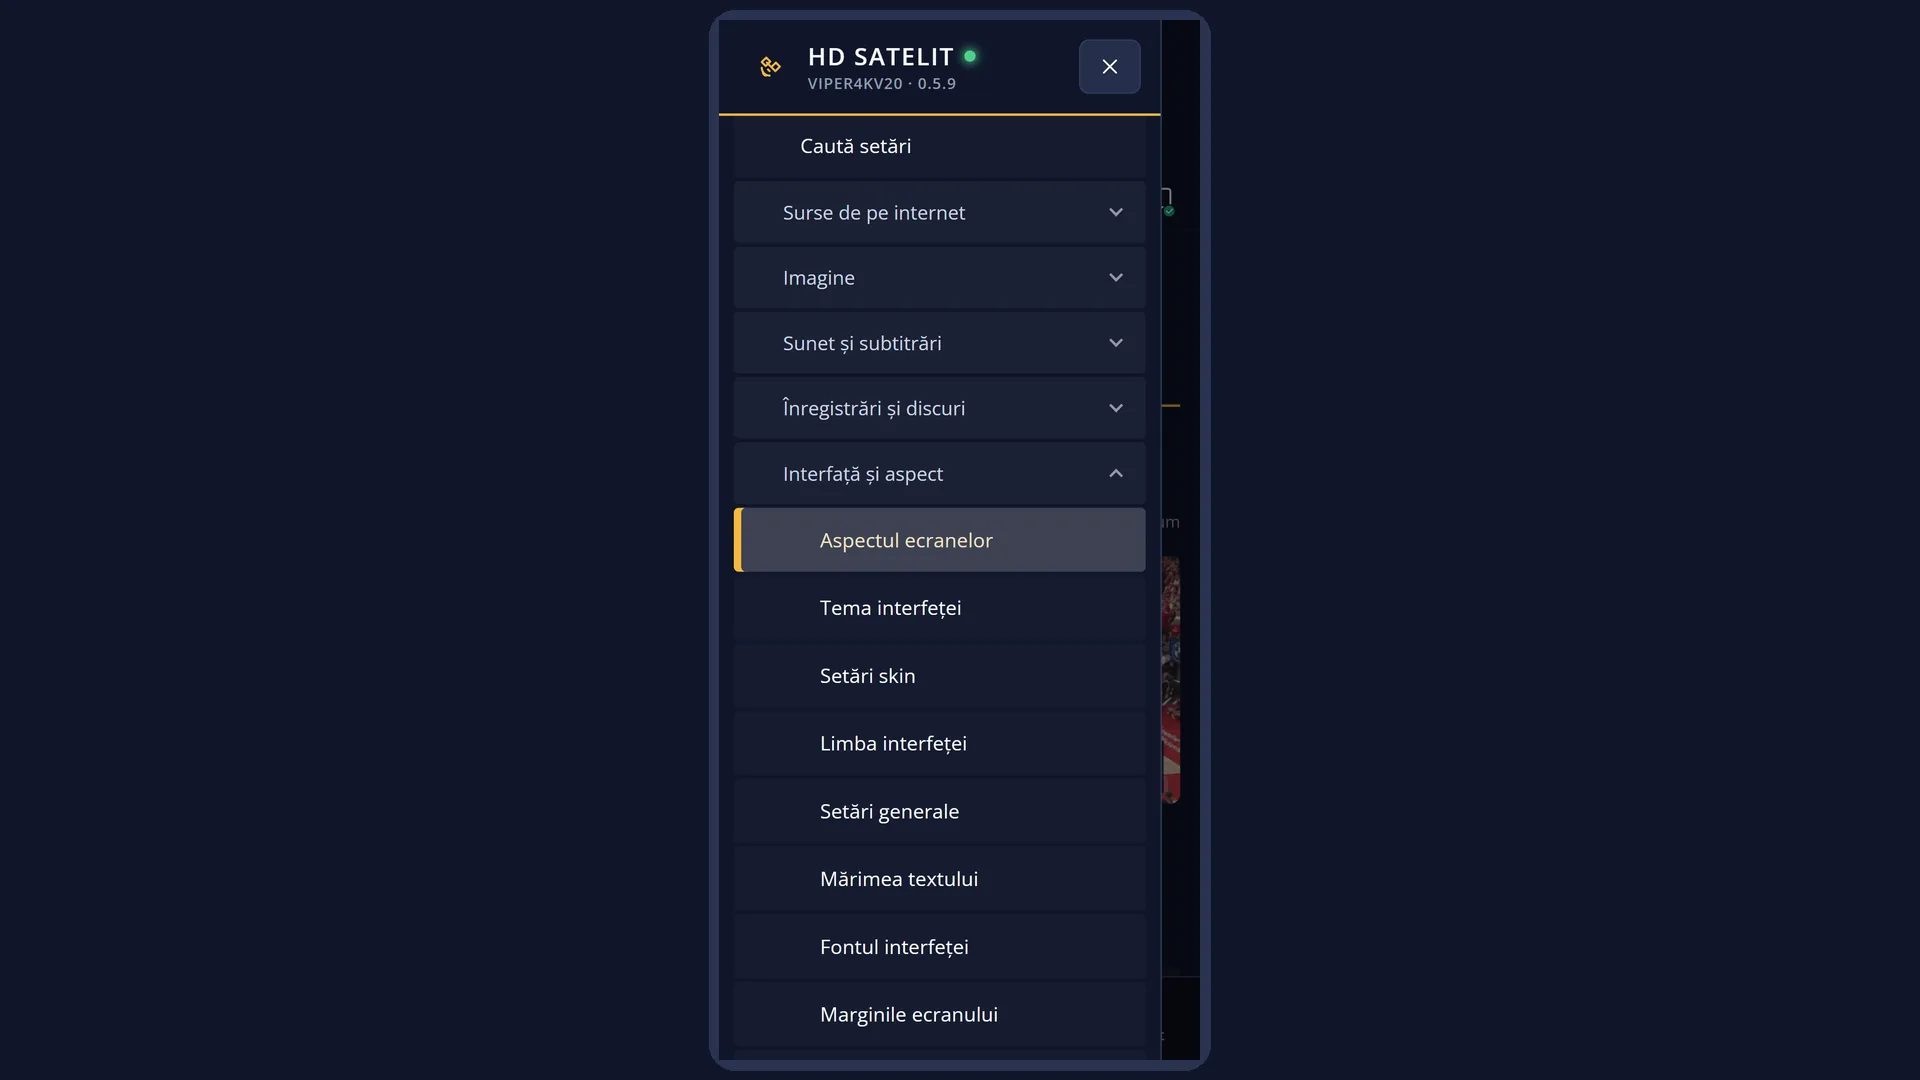
Path: Main menu > Settings > Interface & Appearance > Screen appearance.
Keys on the remote: MENU 6 6 1.
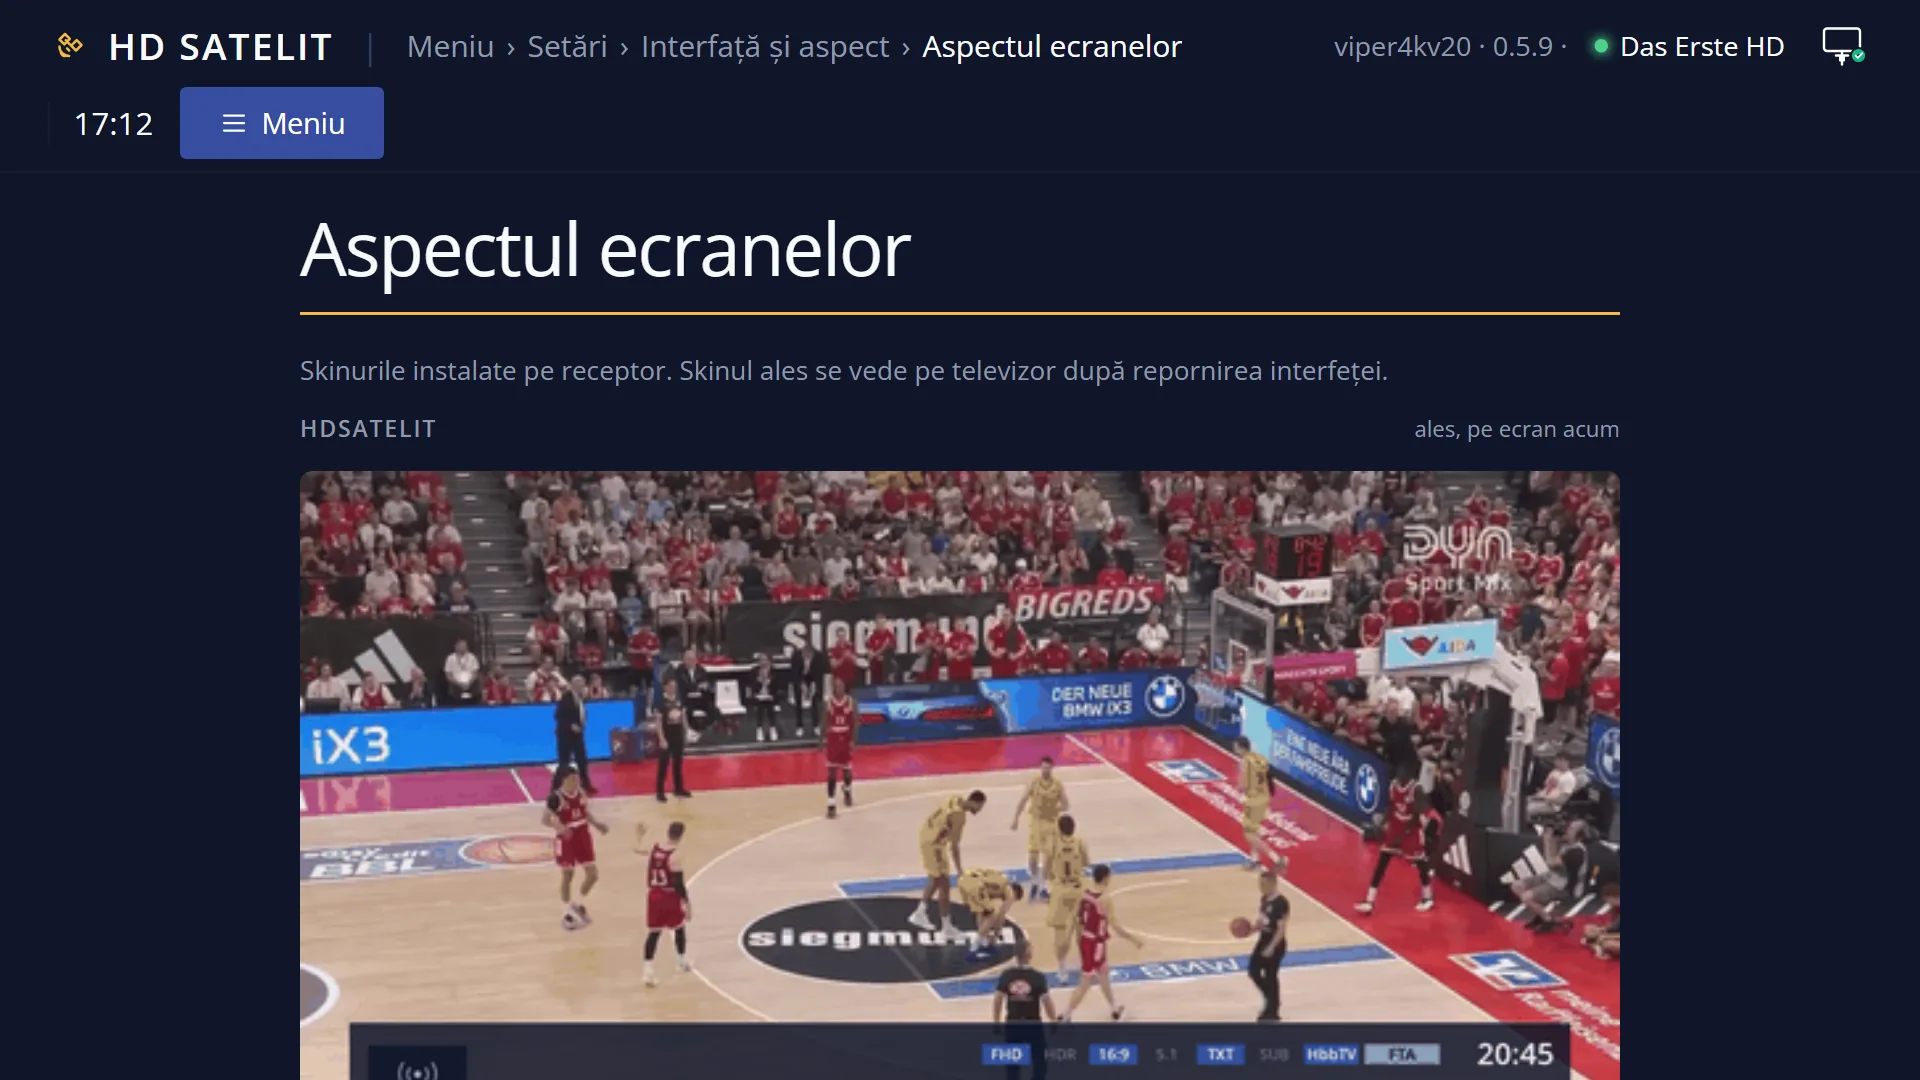
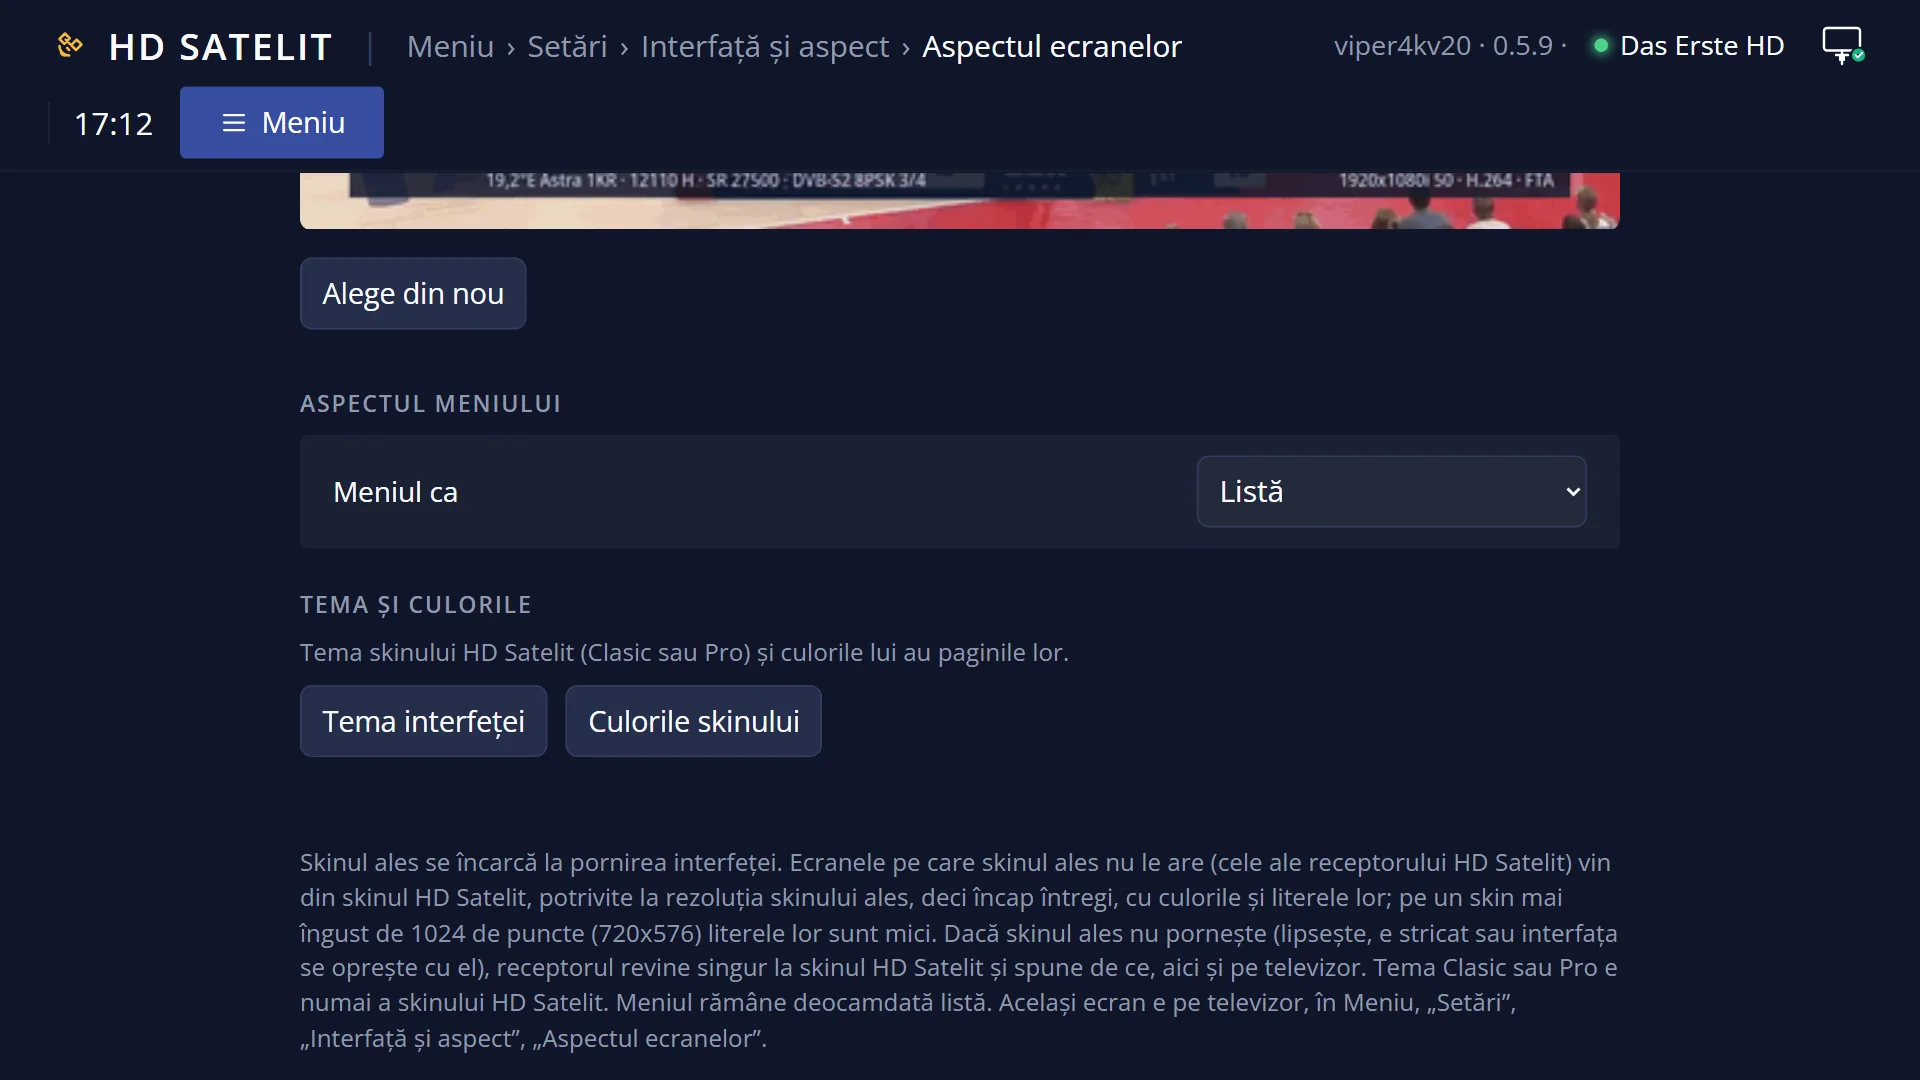
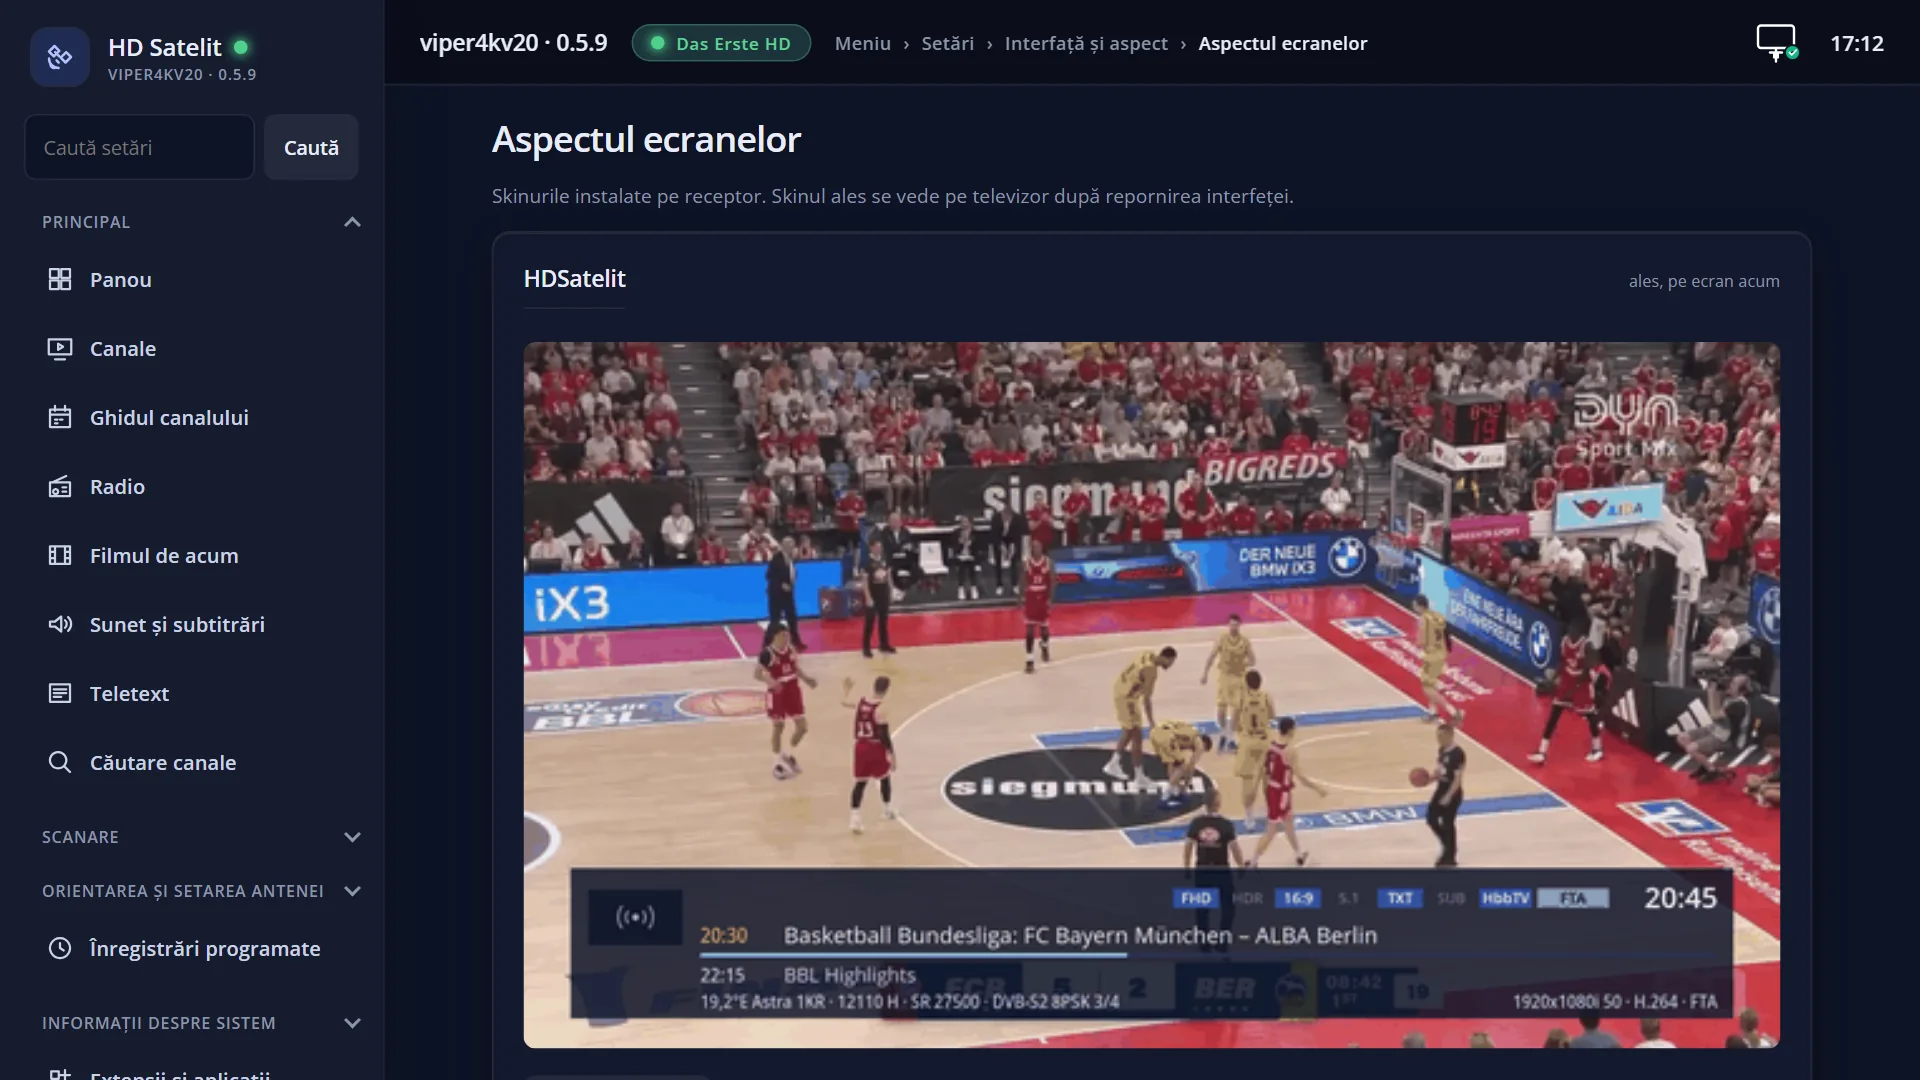
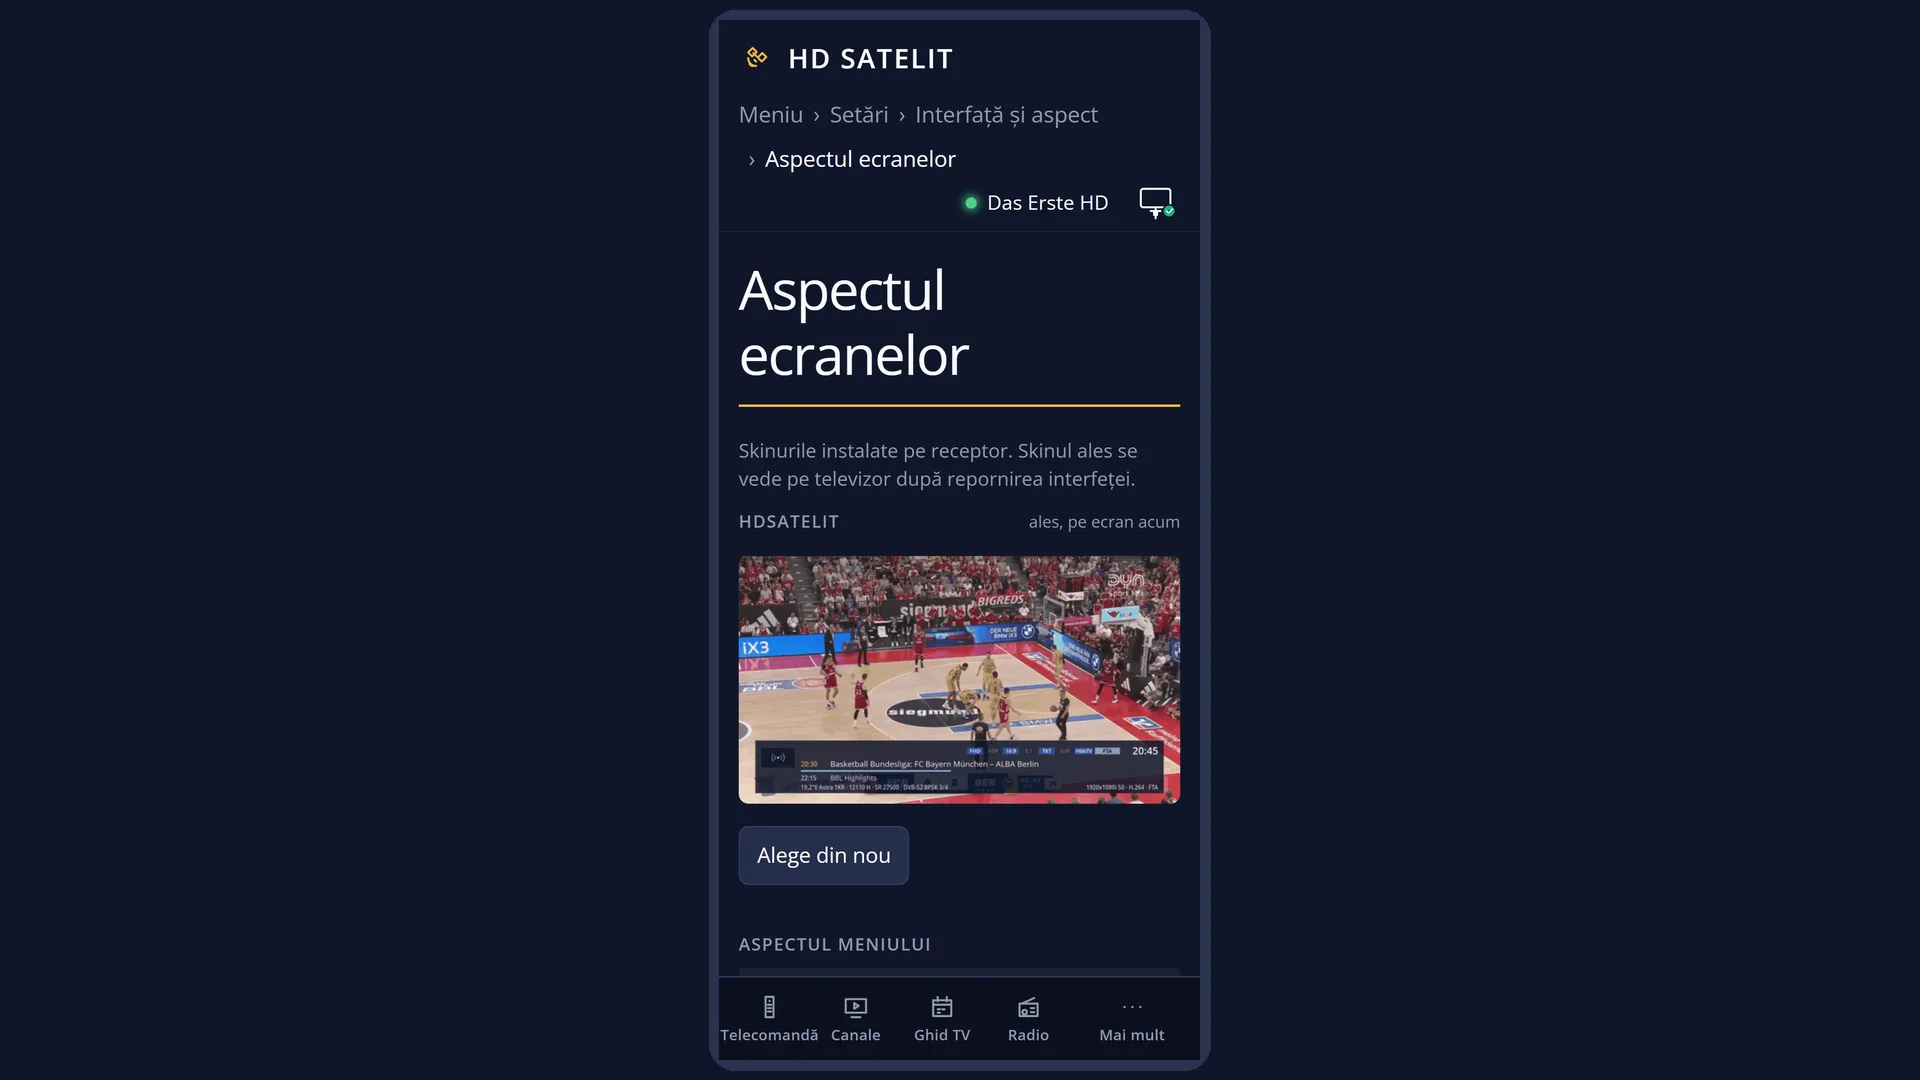
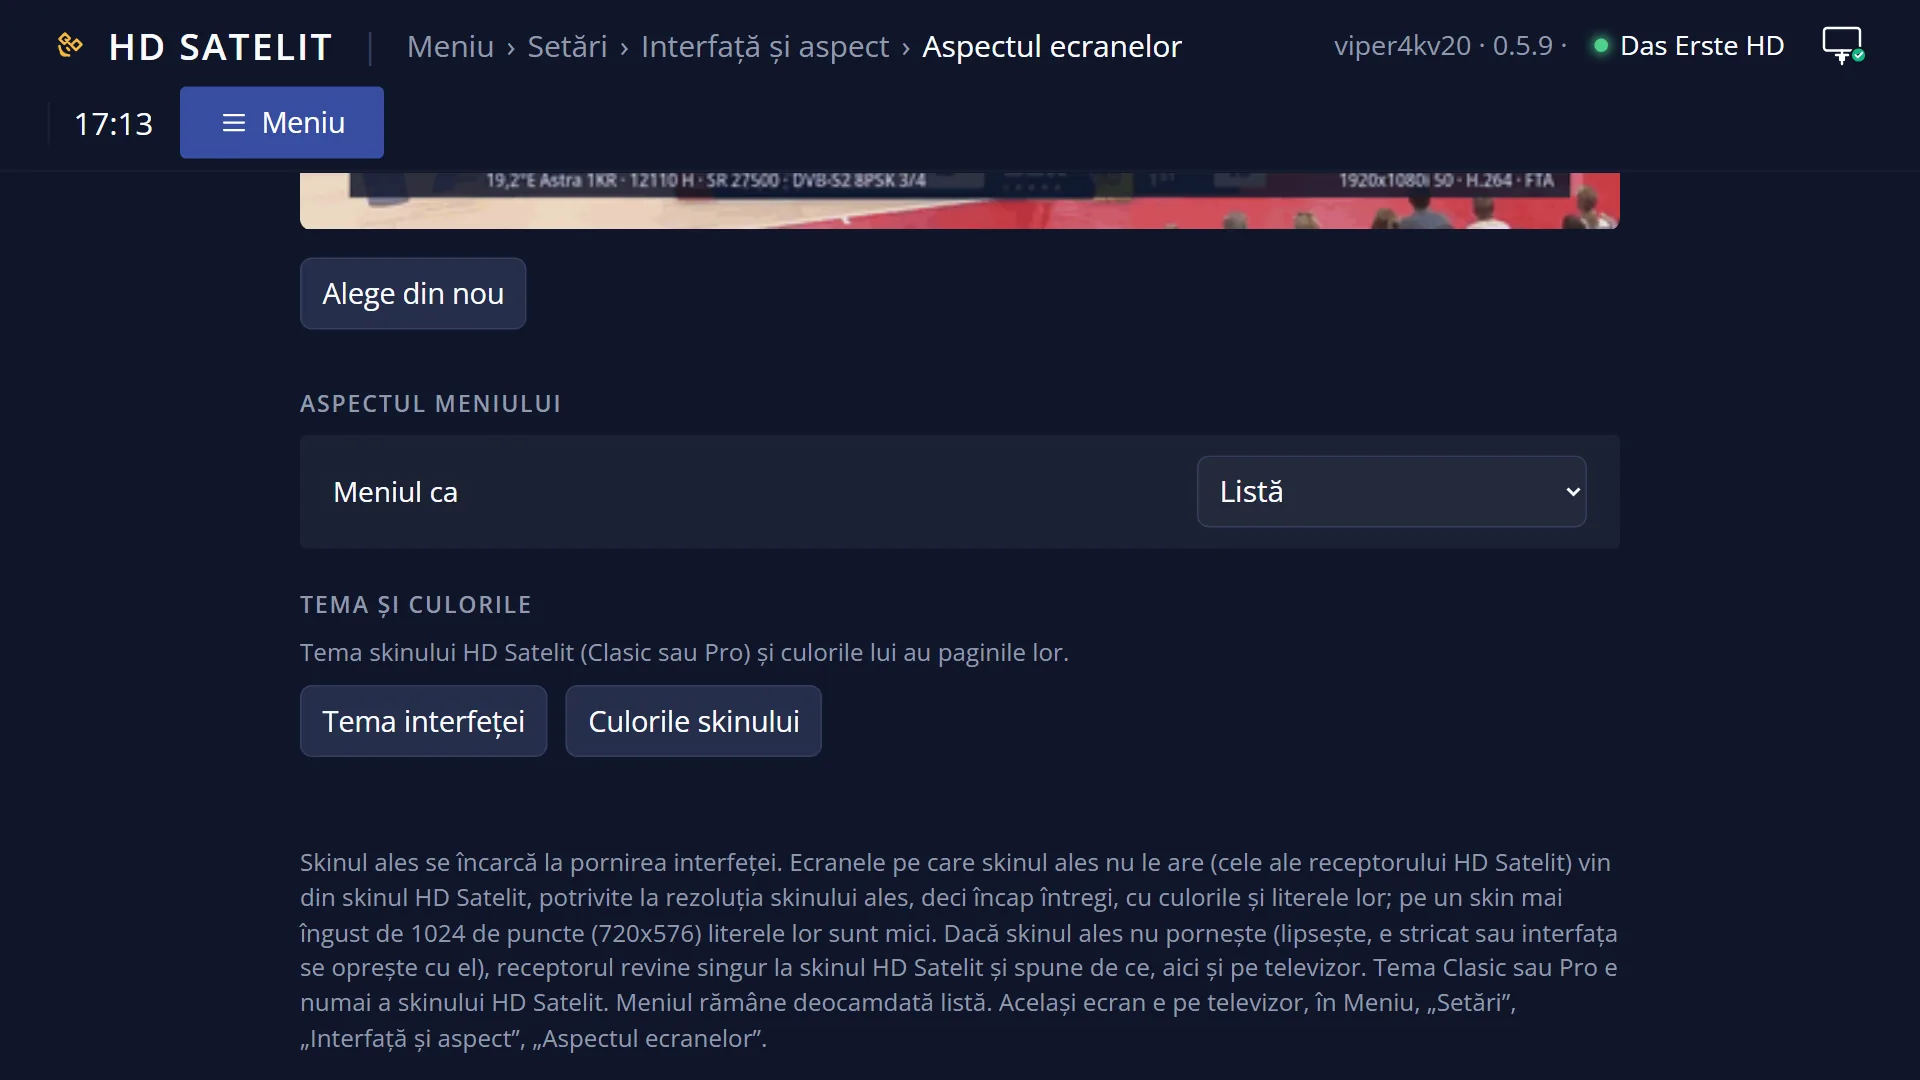
In the web interface: the /skin page (“Screen appearance”), with the skins, “Menu look” and links to the skin's theme and colours.
What you see on the screen
At the top: the title “Screen appearance”, the clock and the date. In the Pro theme, also “HD SATELIT” with the “PRO” label, the signal quality and the network icon.
On the left: the list of installed skins, with the one in use selected when the screen opens. Out of the box, it has only one row: “HDSatelit”.
On the right: a preview picture of the skin under the cursor. A skin without a picture shows an empty picture.
At the bottom: a sentence, “Press OK to activate the selected skin.” If the skin you chose last time did not start, this is where it says why: “The chosen skin (...) did not start: ... The interface went back to the HD Satelit skin.”
Keys: RED “Close” and YELLOW “Menu look: List” (or “Tiles”).
Rows and settings
| Row | Values | Default | What it does |
|---|---|---|---|
| Skin (list on the left) | HDSatelit, other skins, only if installed | HDSatelit | OK on a skin chooses it: the receiver first checks that the skin file is valid, then asks “Restart the interface now?”. You see the new skin after the interface restarts. Screens that the chosen skin does not have come from the HDSatelit skin, fitted to its size. Only if you have installed another skin and want to try it. The Classic or Pro form of the HDSatelit skin is chosen in “Interface theme”. |
| Menu look (YELLOW) | List, Tiles | List | List: the menus have one row per entry. Tiles: each entry is a large tile with its icon, name and number, three per row. Tiles, if you find it easier to spot entries by their icons. |
Keys
| UP / DOWN | Moves the cursor to another skin and changes the picture on the right. |
| LEFT / RIGHT | Jump one page in the list. |
| OK | Chooses the skin under the cursor and asks whether you want to restart the interface now. A broken skin is not chosen: a message shows the reason. |
| YELLOW | Switches the menu look between List and Tiles. The key's label shows the current choice. |
| RED (Close) or EXIT | Closes the screen. |
| INFO | Shows an “About...” window with the author of this screen. |
Step by step
Switch the menus to tiles
- Press MENU 6 6 1.
- Press YELLOW: the key's label changes to “Menu look: Tiles”.
- Close with EXIT and open a menu: the entries are tiles. YELLOW does the same directly from a menu.
Try a skin you installed
- Press MENU 6 6 1 and use DOWN to go to the skin. Look at the picture on the right.
- Press OK, then choose Yes at “Restart the interface now?”.
- If you do not like it, open the screen again, choose “HDSatelit” and restart the interface.
Problems and solutions
The list has only one row, “HDSatelit”.
This is normal: the image comes with only one skin. Other skins appear only after you install them.
I chose a skin and the receiver went back to HDSatelit.
The chosen skin did not start (it was missing, it was broken or the interface stopped with it). The reason is shown at the bottom of this screen and on the /skin web page. Try another skin or stay on HDSatelit.
With an old skin, the text on the receiver's screens is very small.
Skins made for 720x576 shrink the HD Satelit screens so that they fit. The receiver warns you when you choose such a skin.
I am looking for the Pro form, with more information on screen.
You choose it in “Interface theme” (MENU 6 6 2), not here.