

OSD Preferences
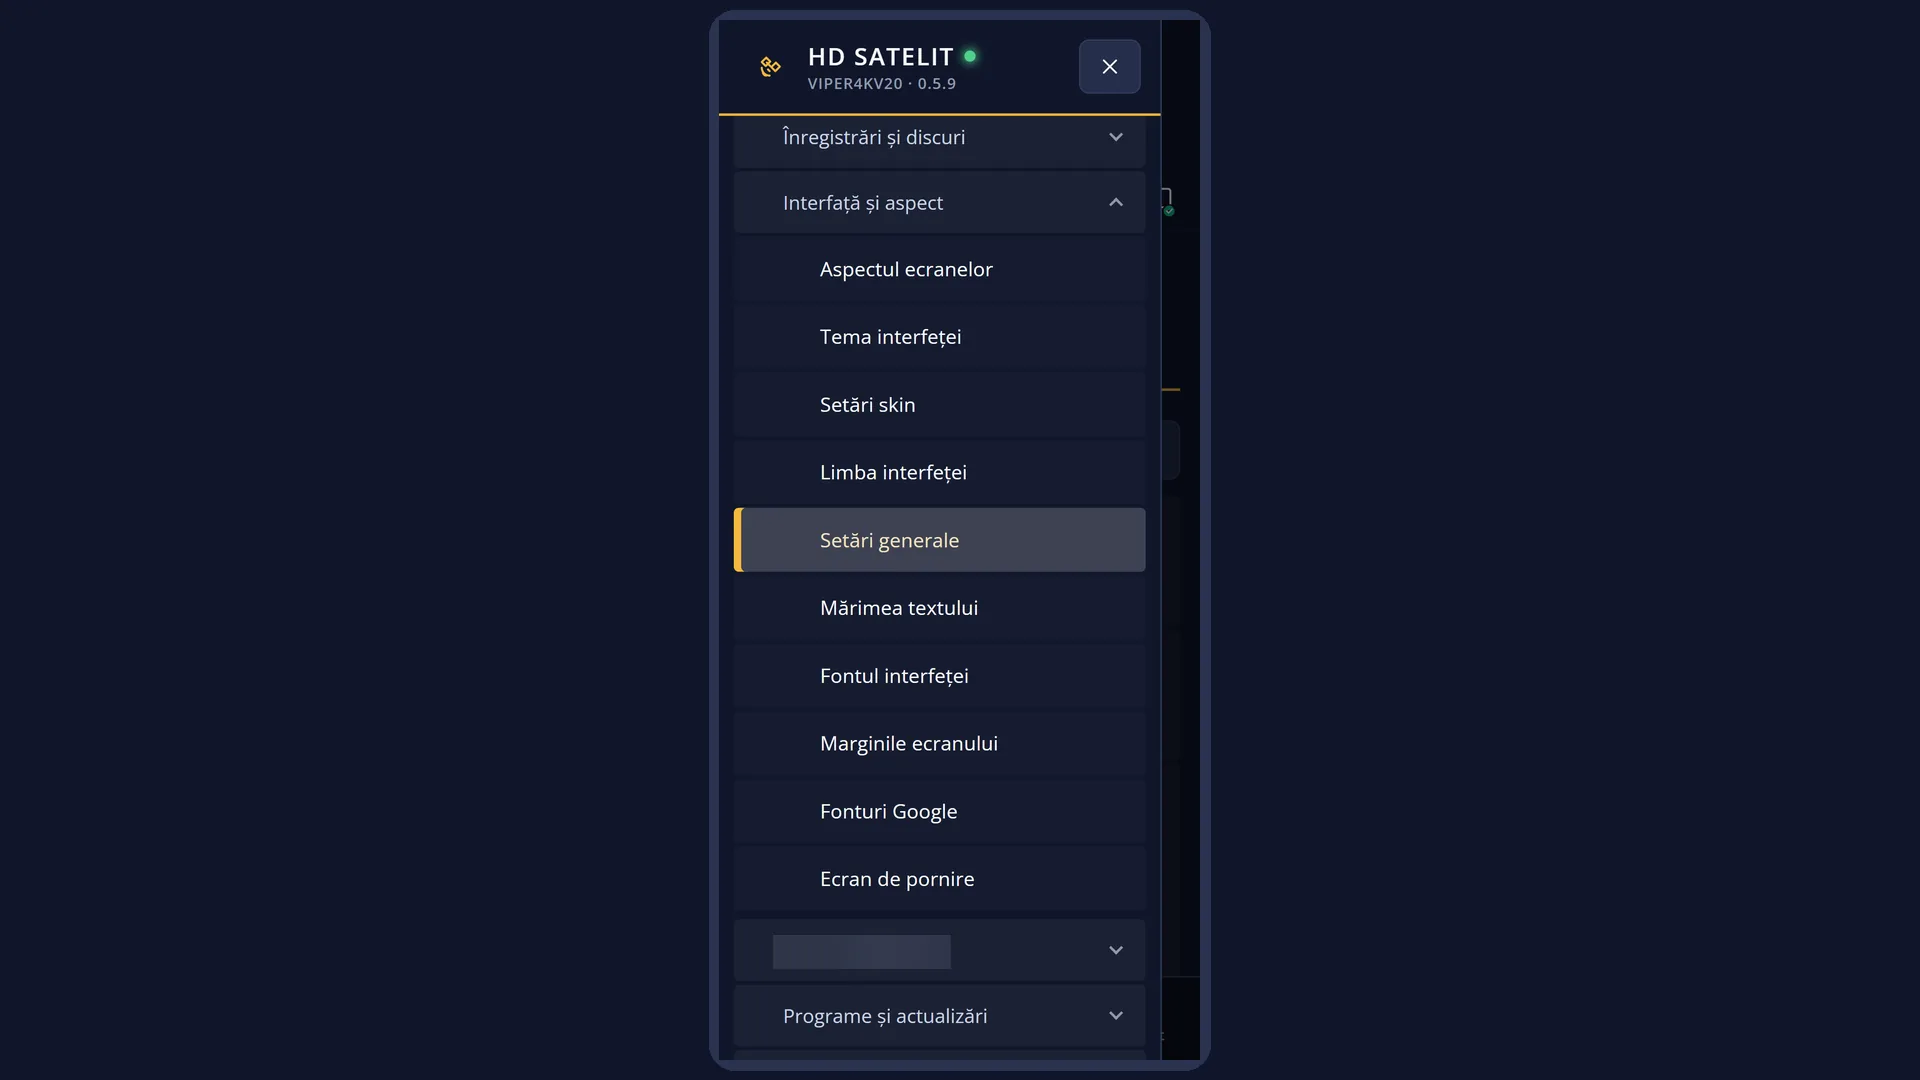
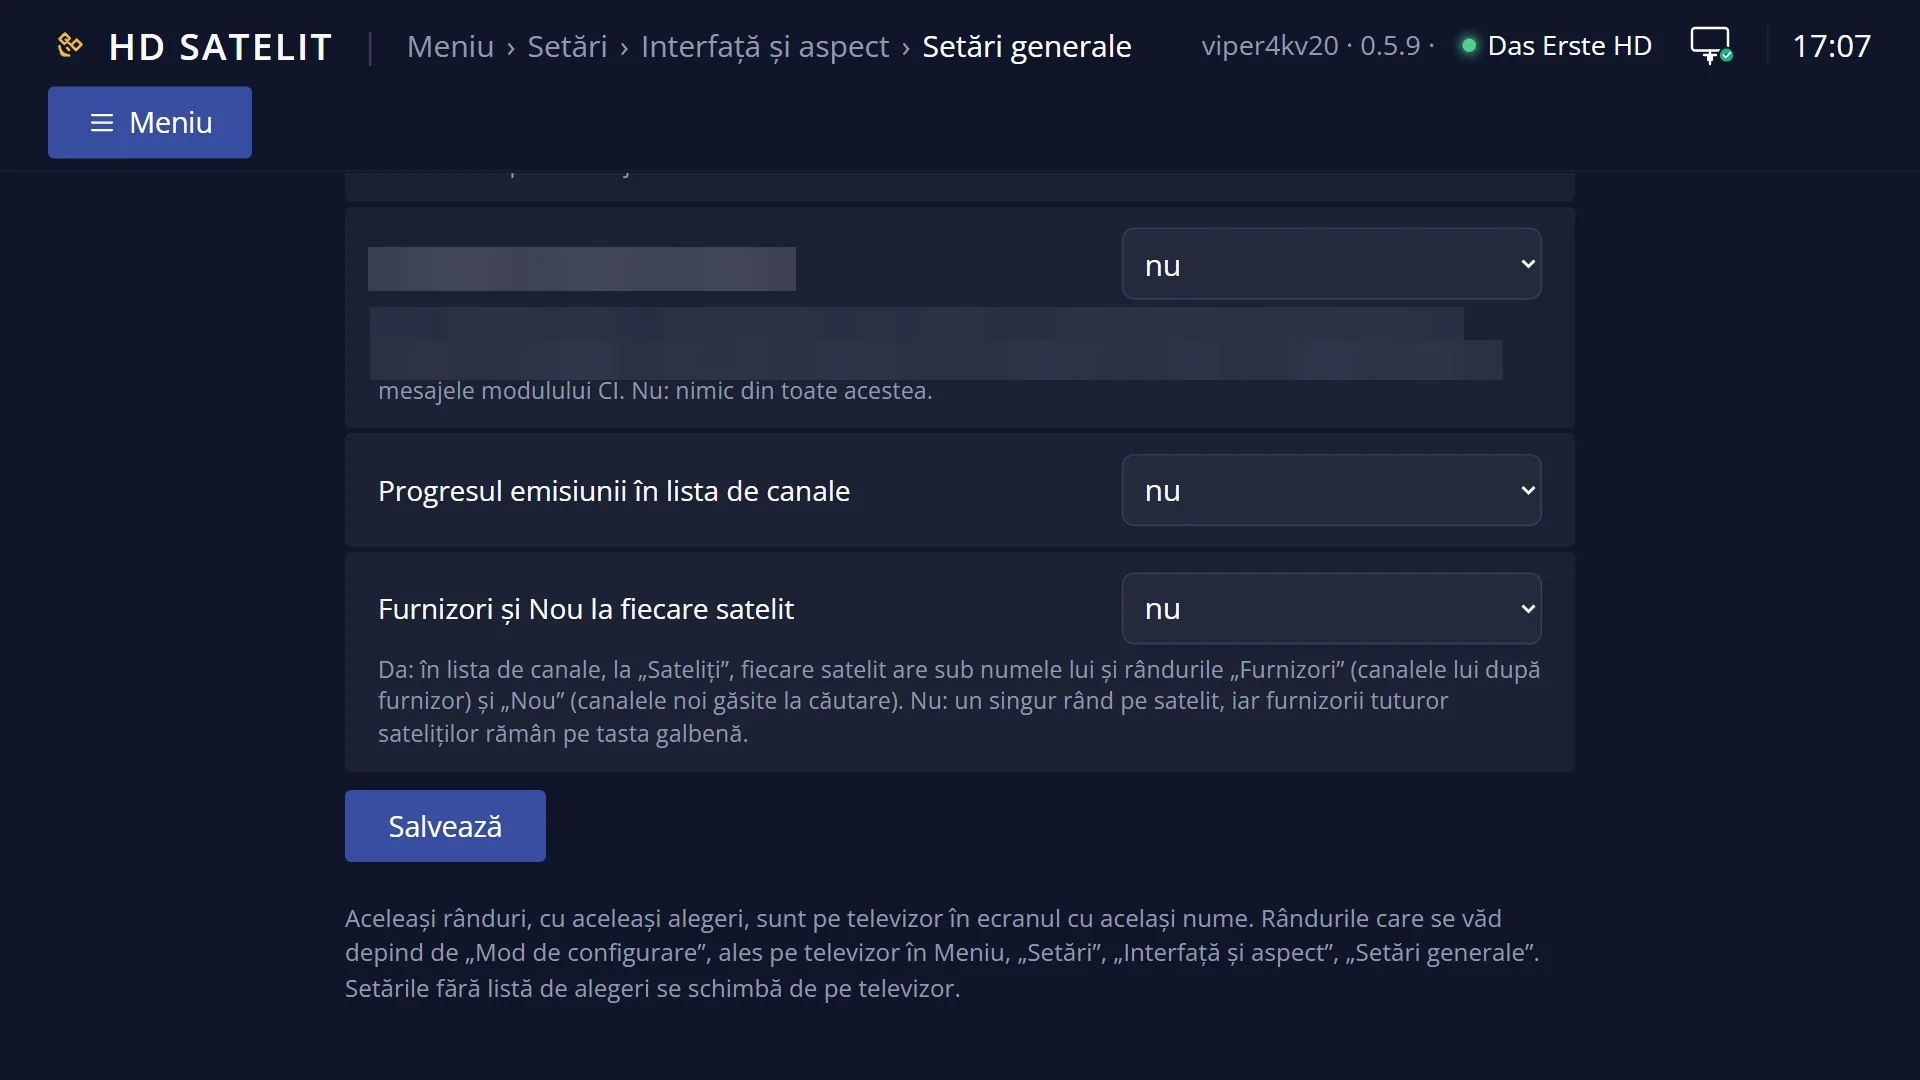
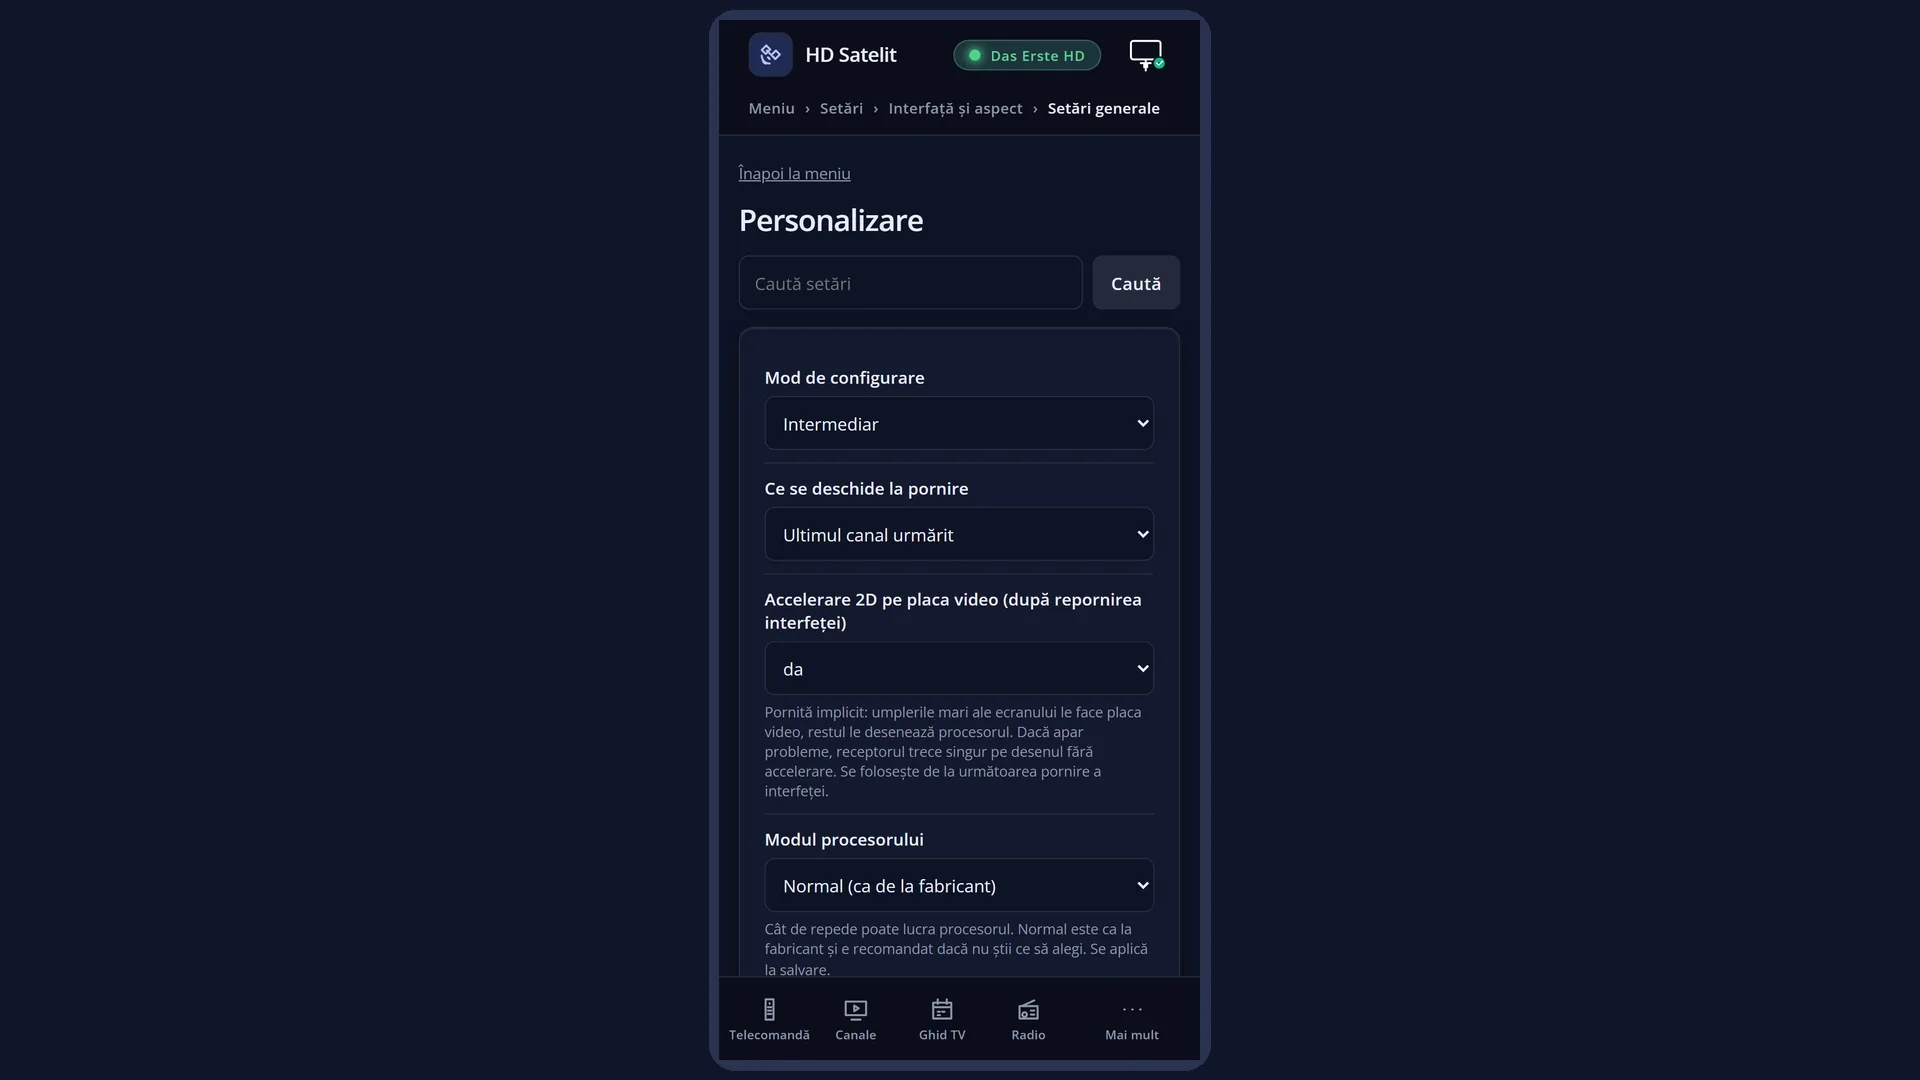
English screenshots coming: some of the pictures below still show the receiver and the web interface in Romanian. The rows, keys and steps described on this page are the English ones.
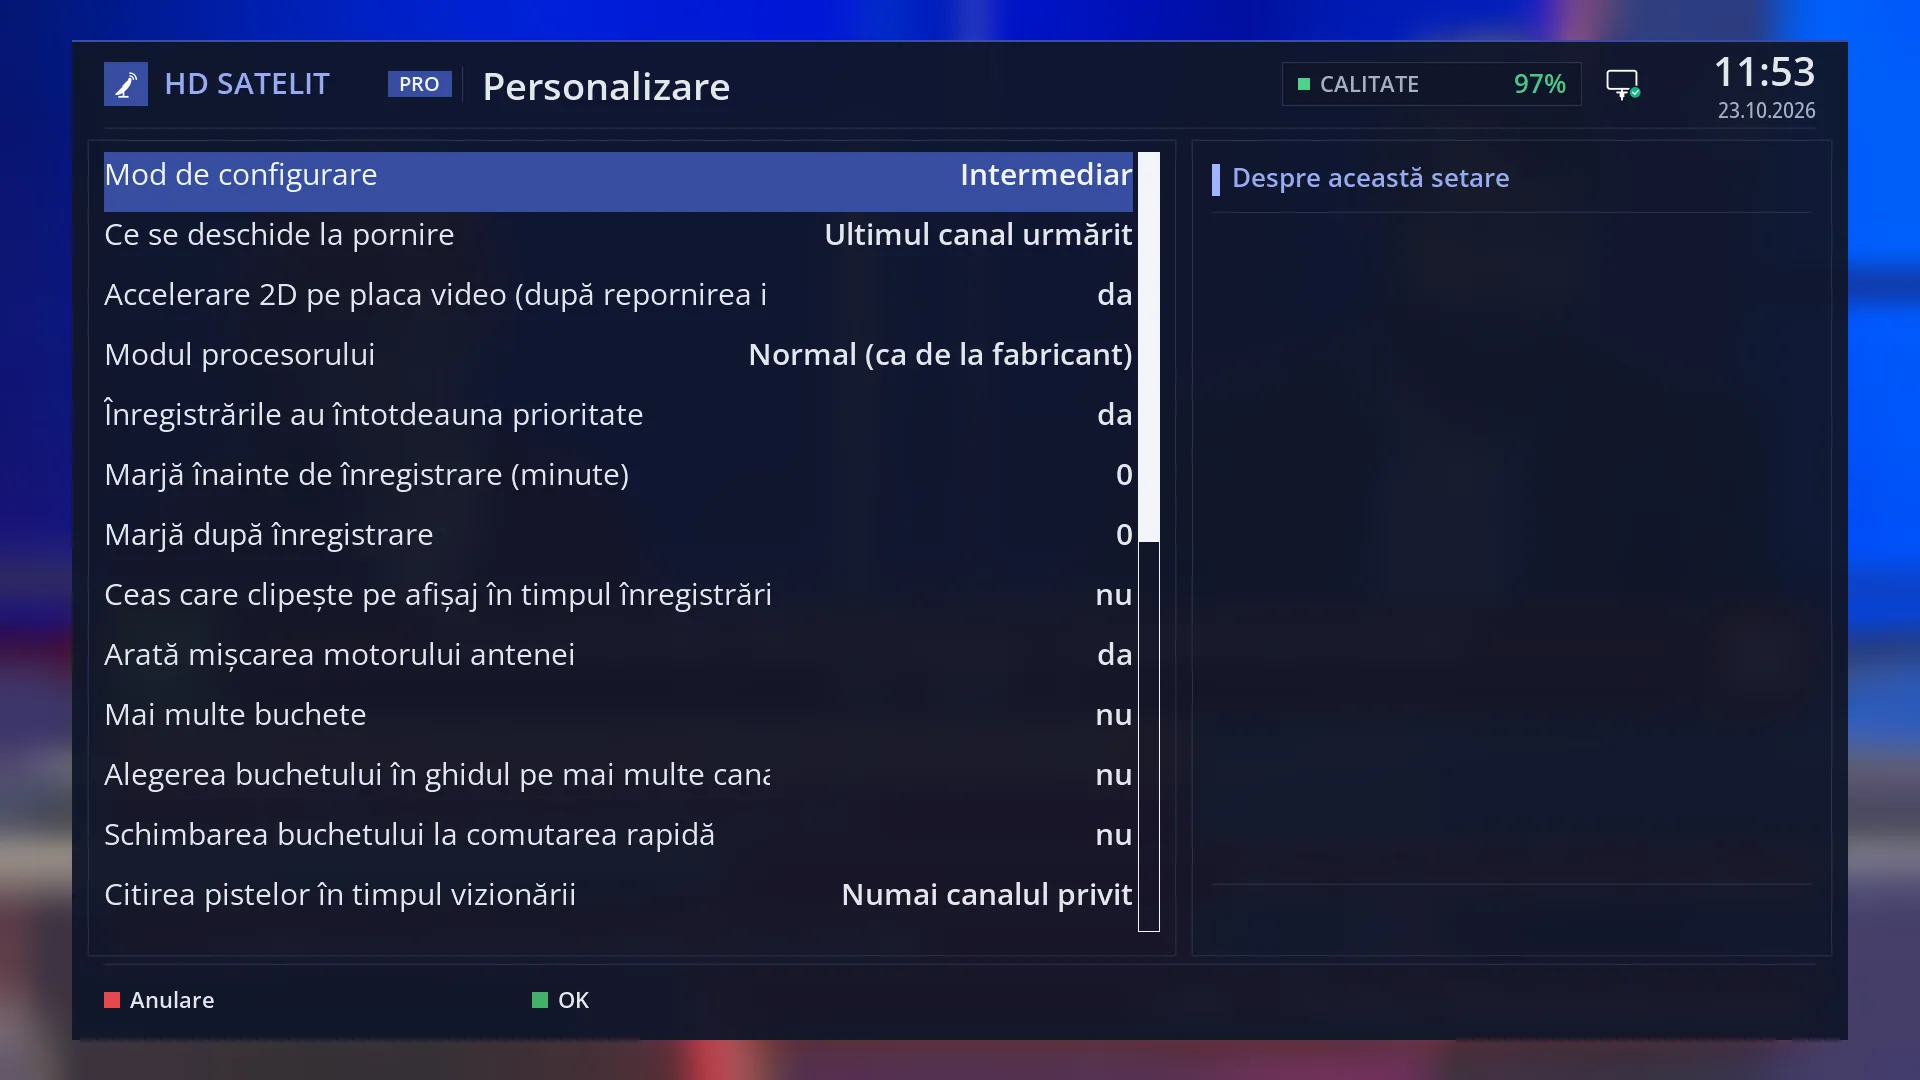
- 1 Screen title: “Customize” (in the menu: “OSD Preferences”).
- 2 “Setup Mode”: Simple, Intermediate or Expert; changes how many rows you see everywhere.
- 3 The other rows, 13 per screen; UP / DOWN for the rest.
- 4 Explanation of the selected row; empty for older rows.
- 5 RED closes without saving, GREEN saves.
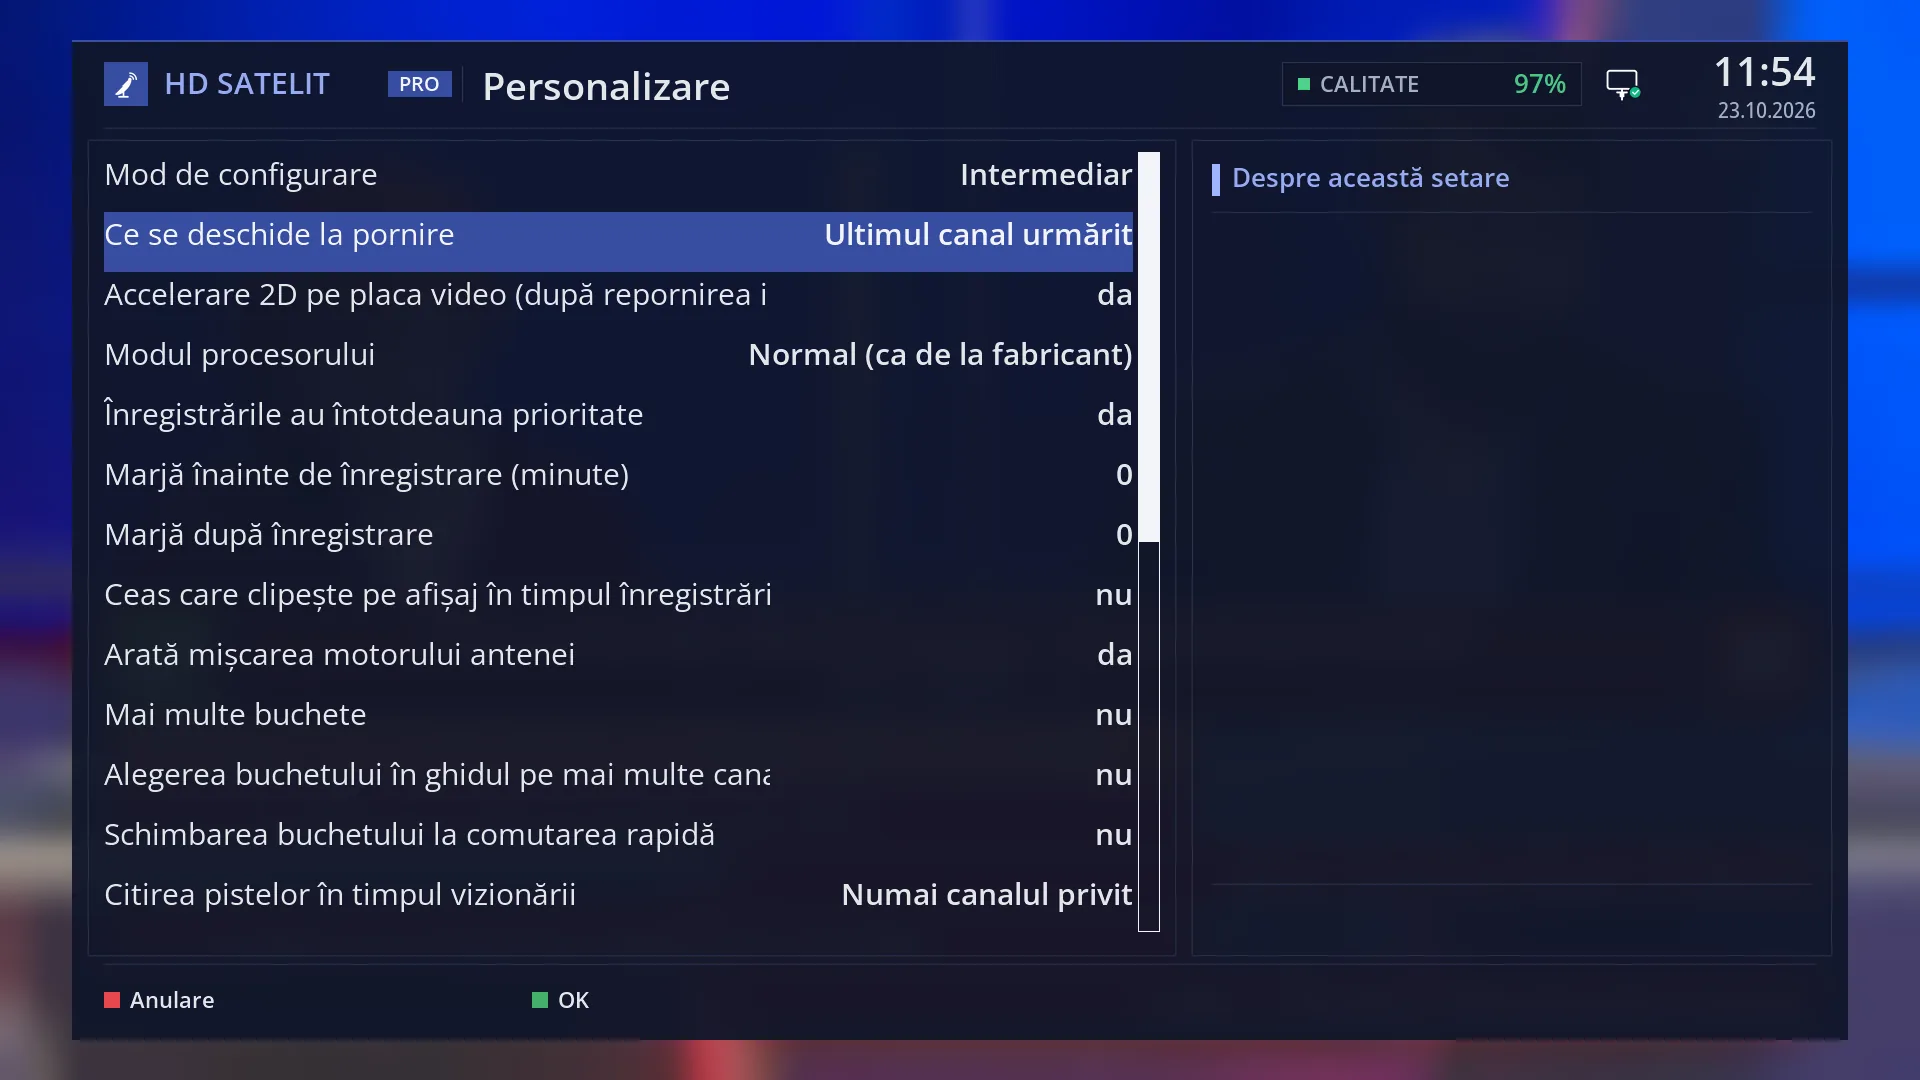
- 1 Selected row: “What to show at startup: Last channel watched”.
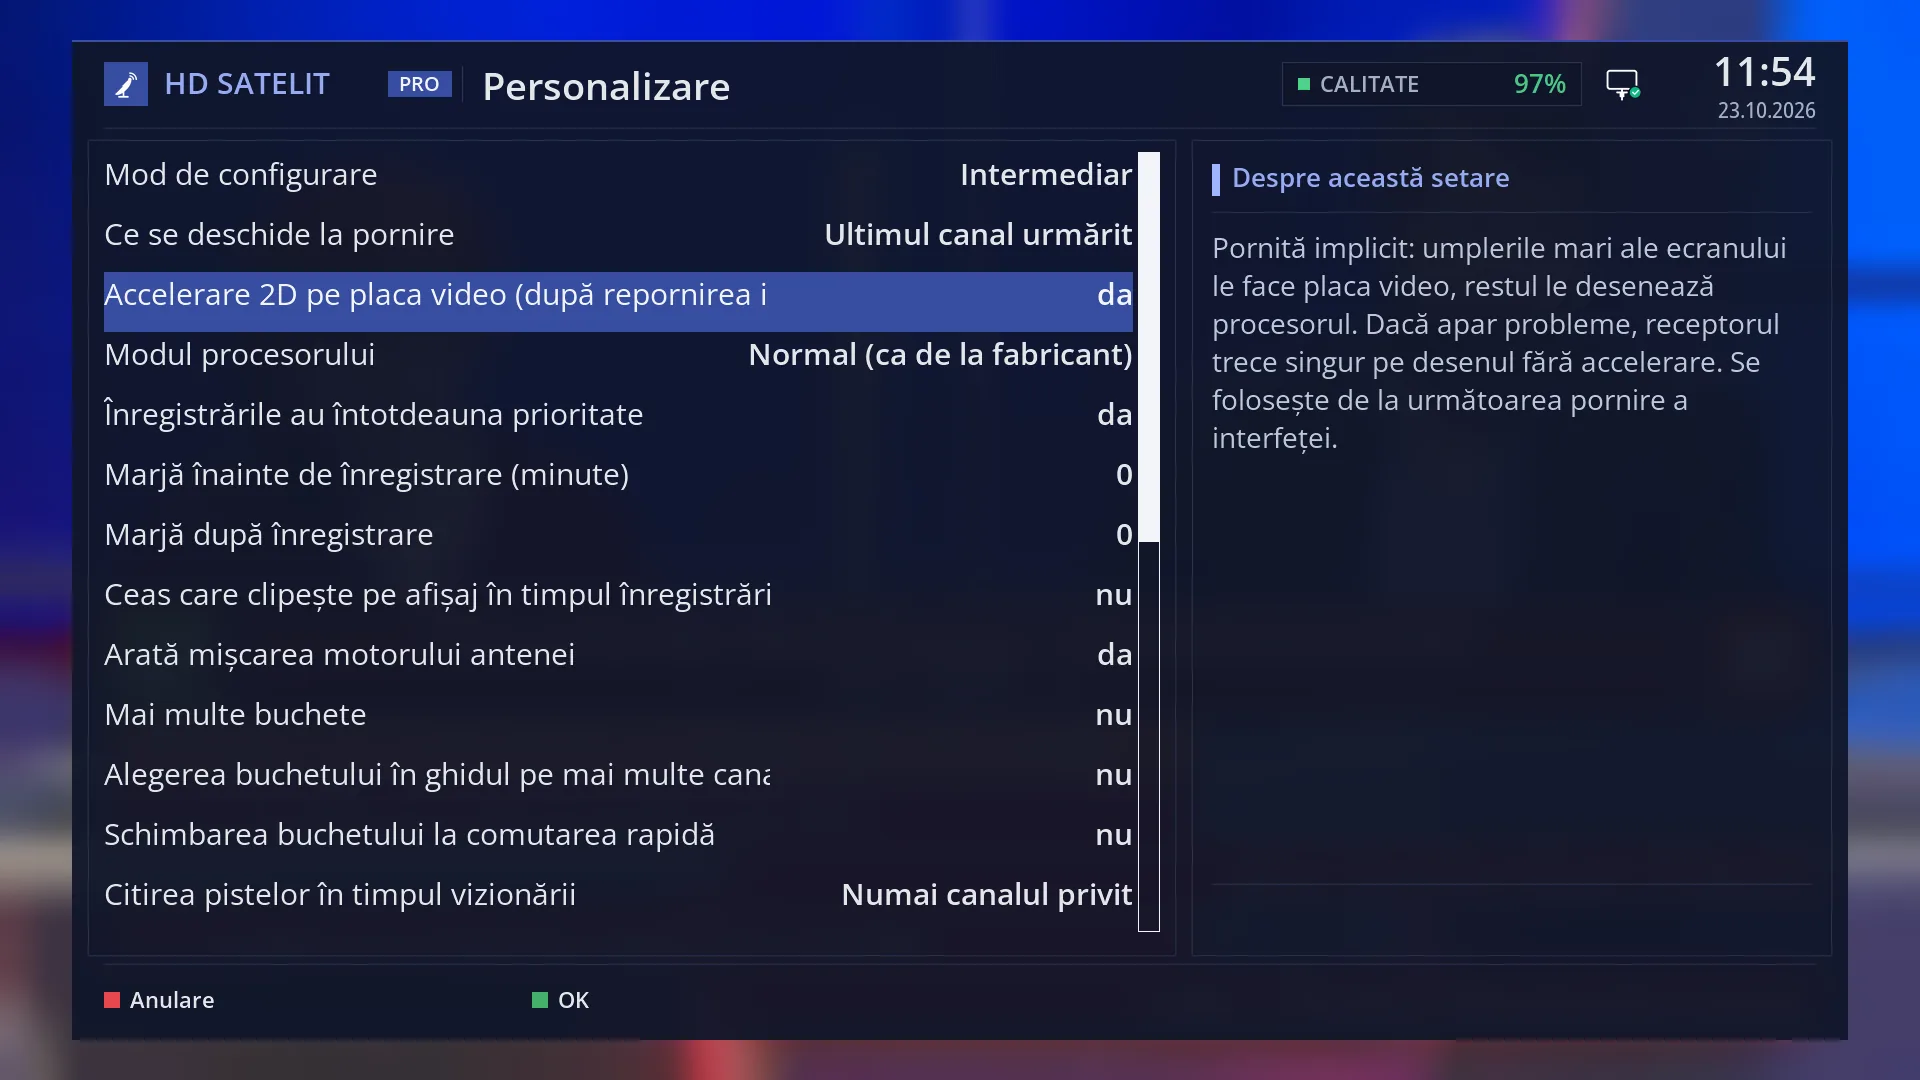
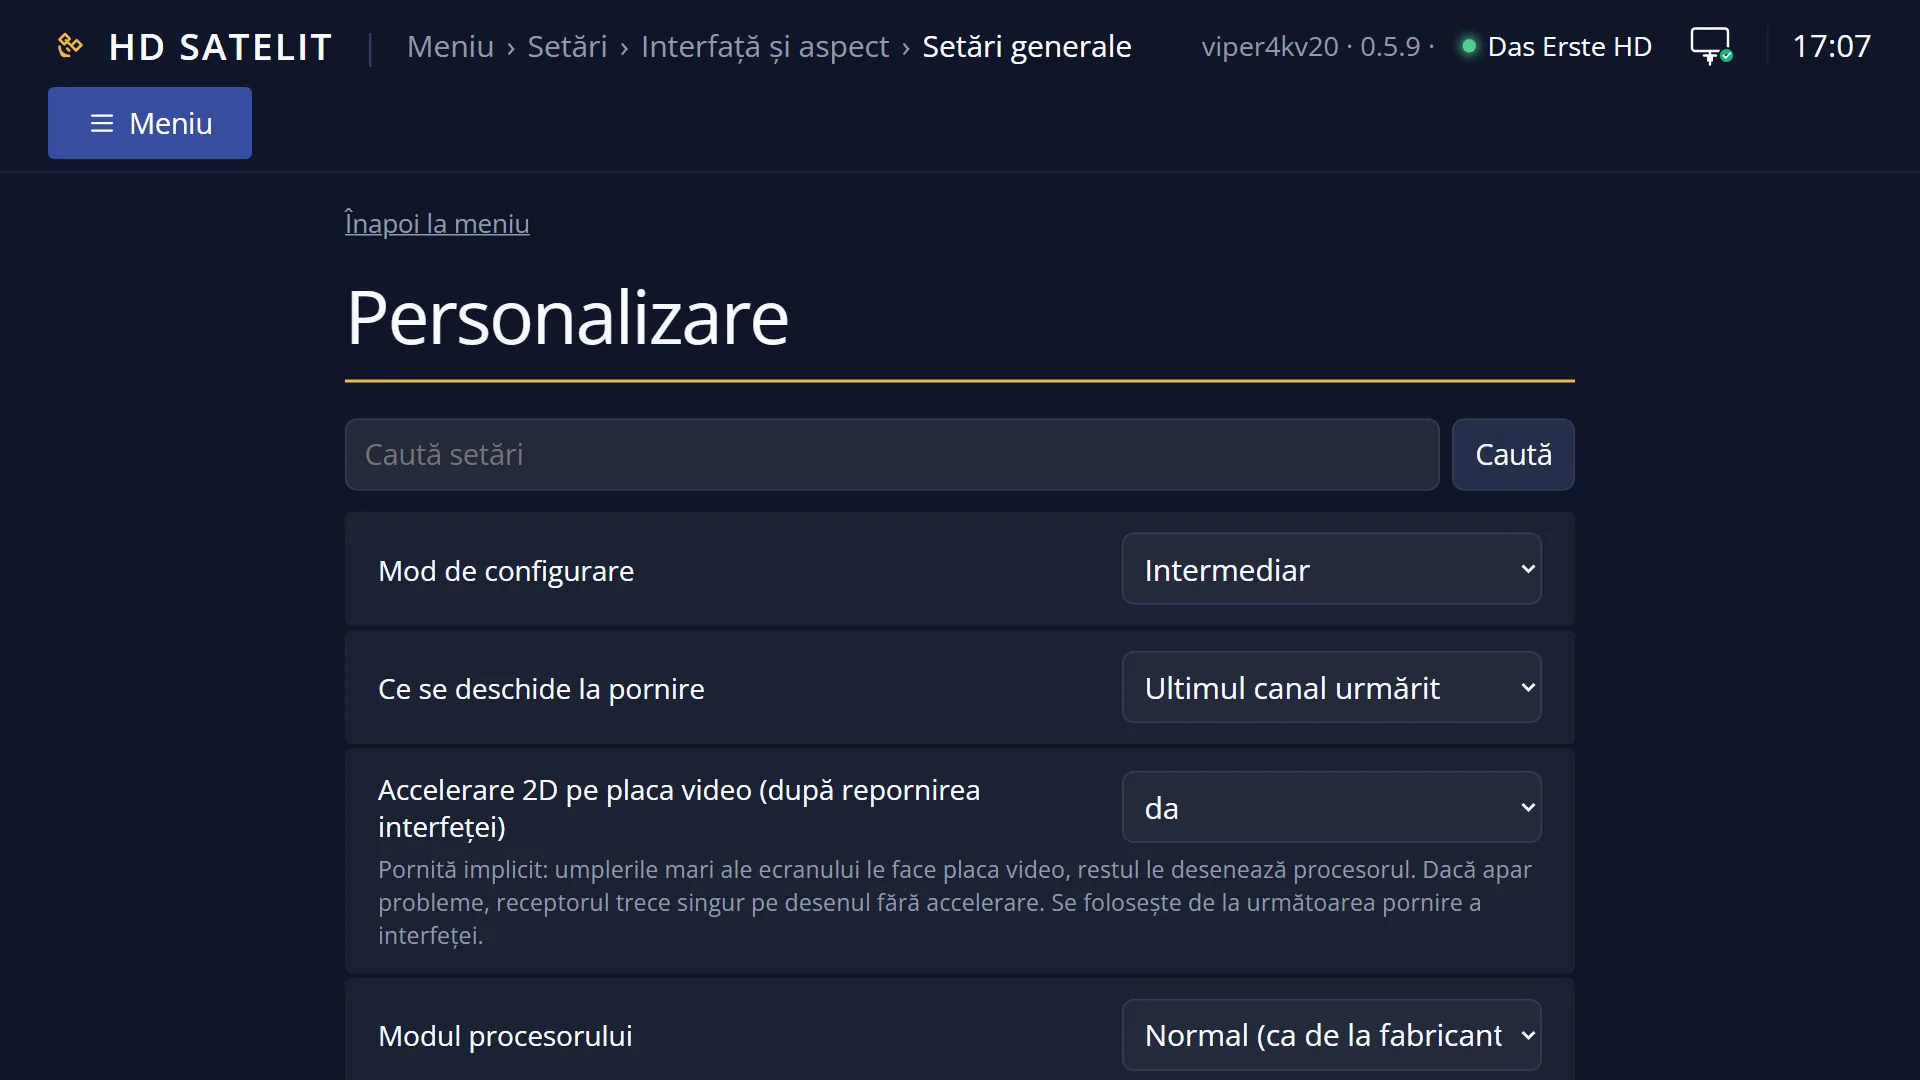
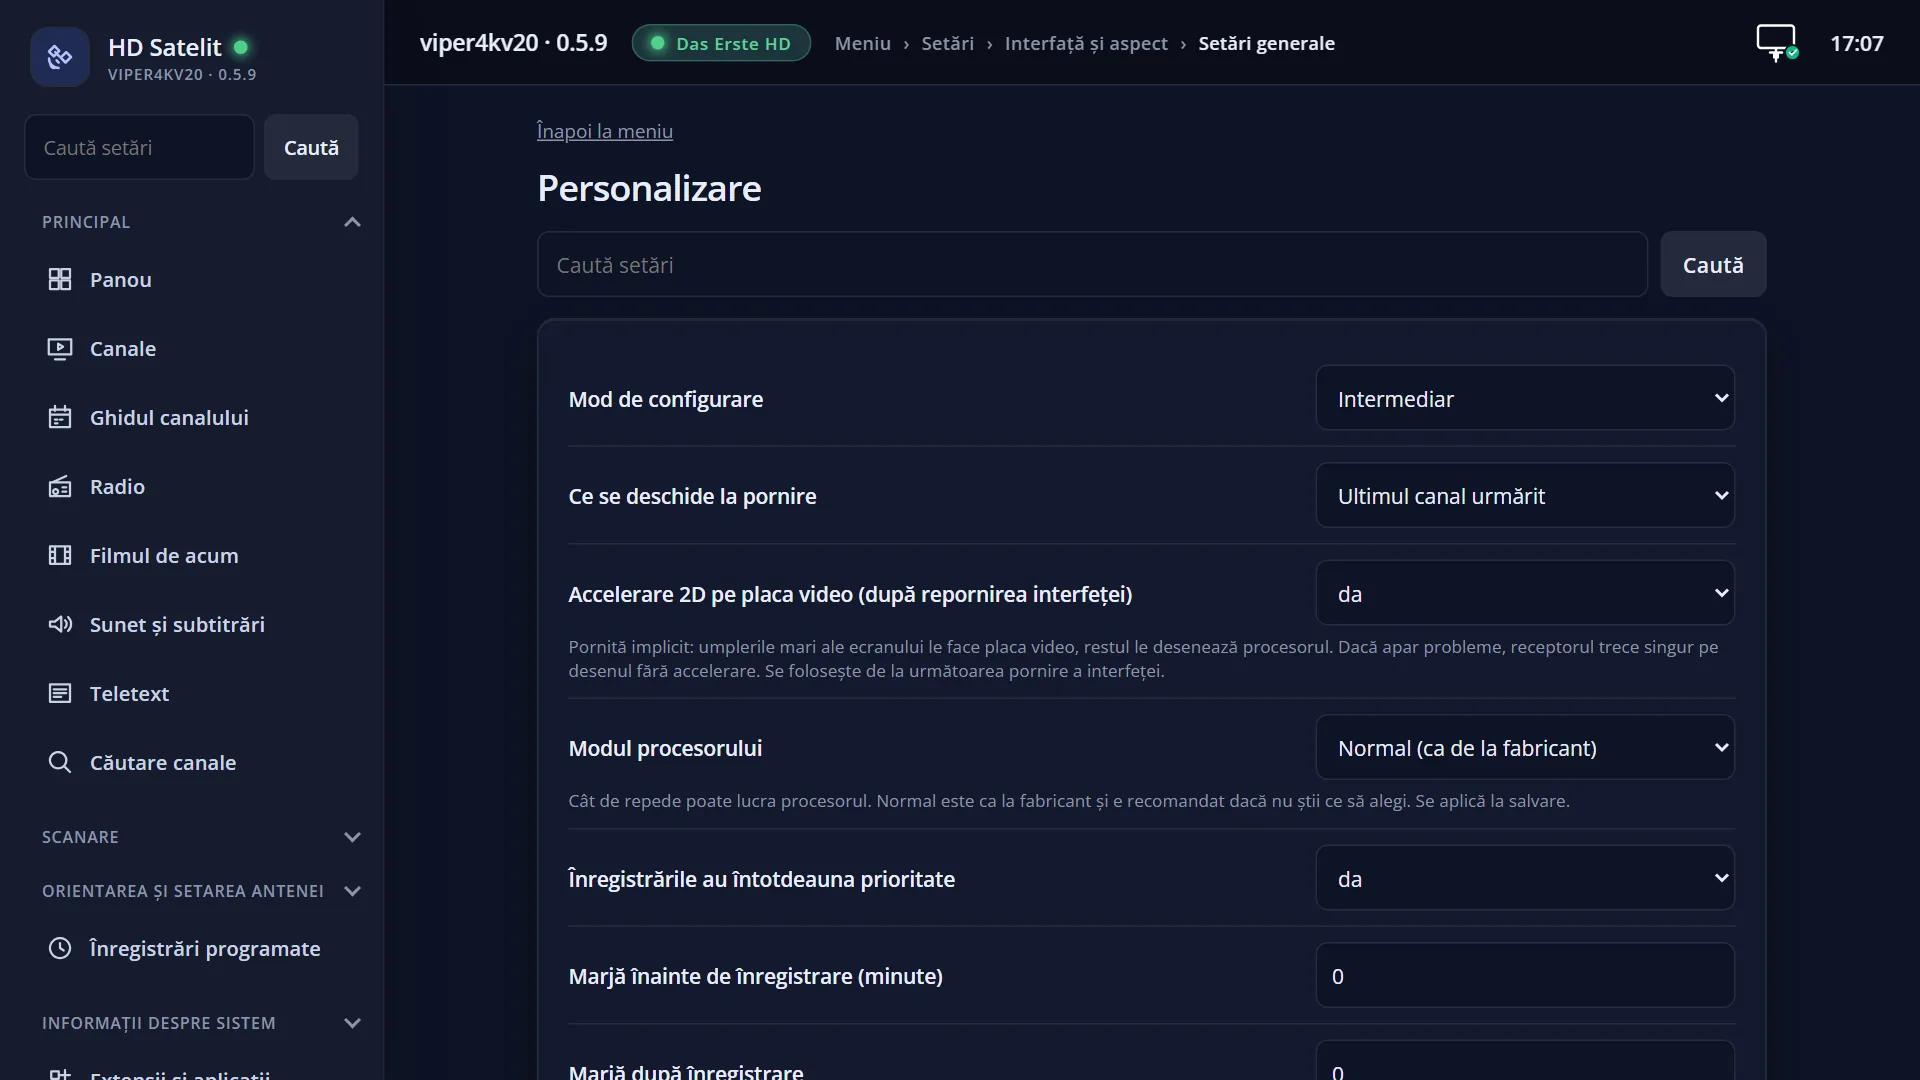
- 1 Selected row: “2D acceleration on the video card (after GUI restart): yes”.
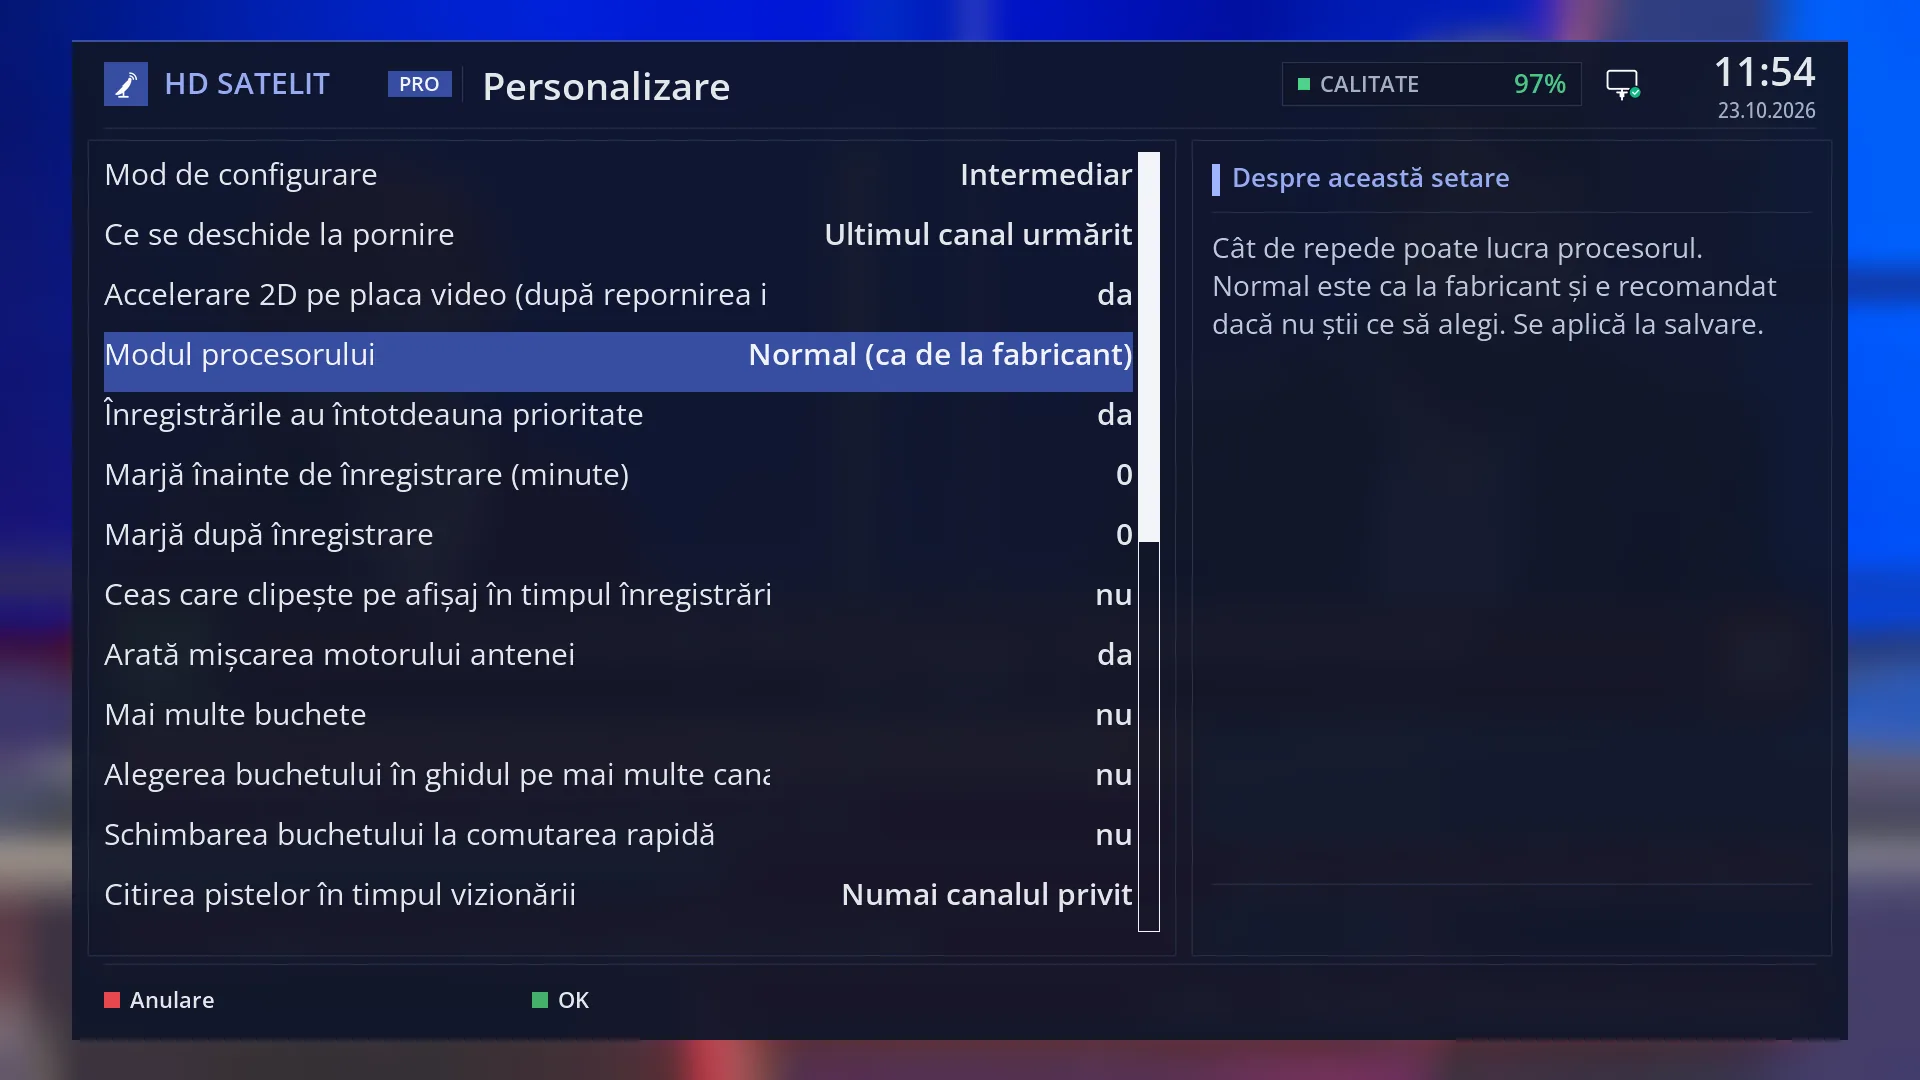
- 1 Selected row: “Processor mode: Normal (as from the factory)”.
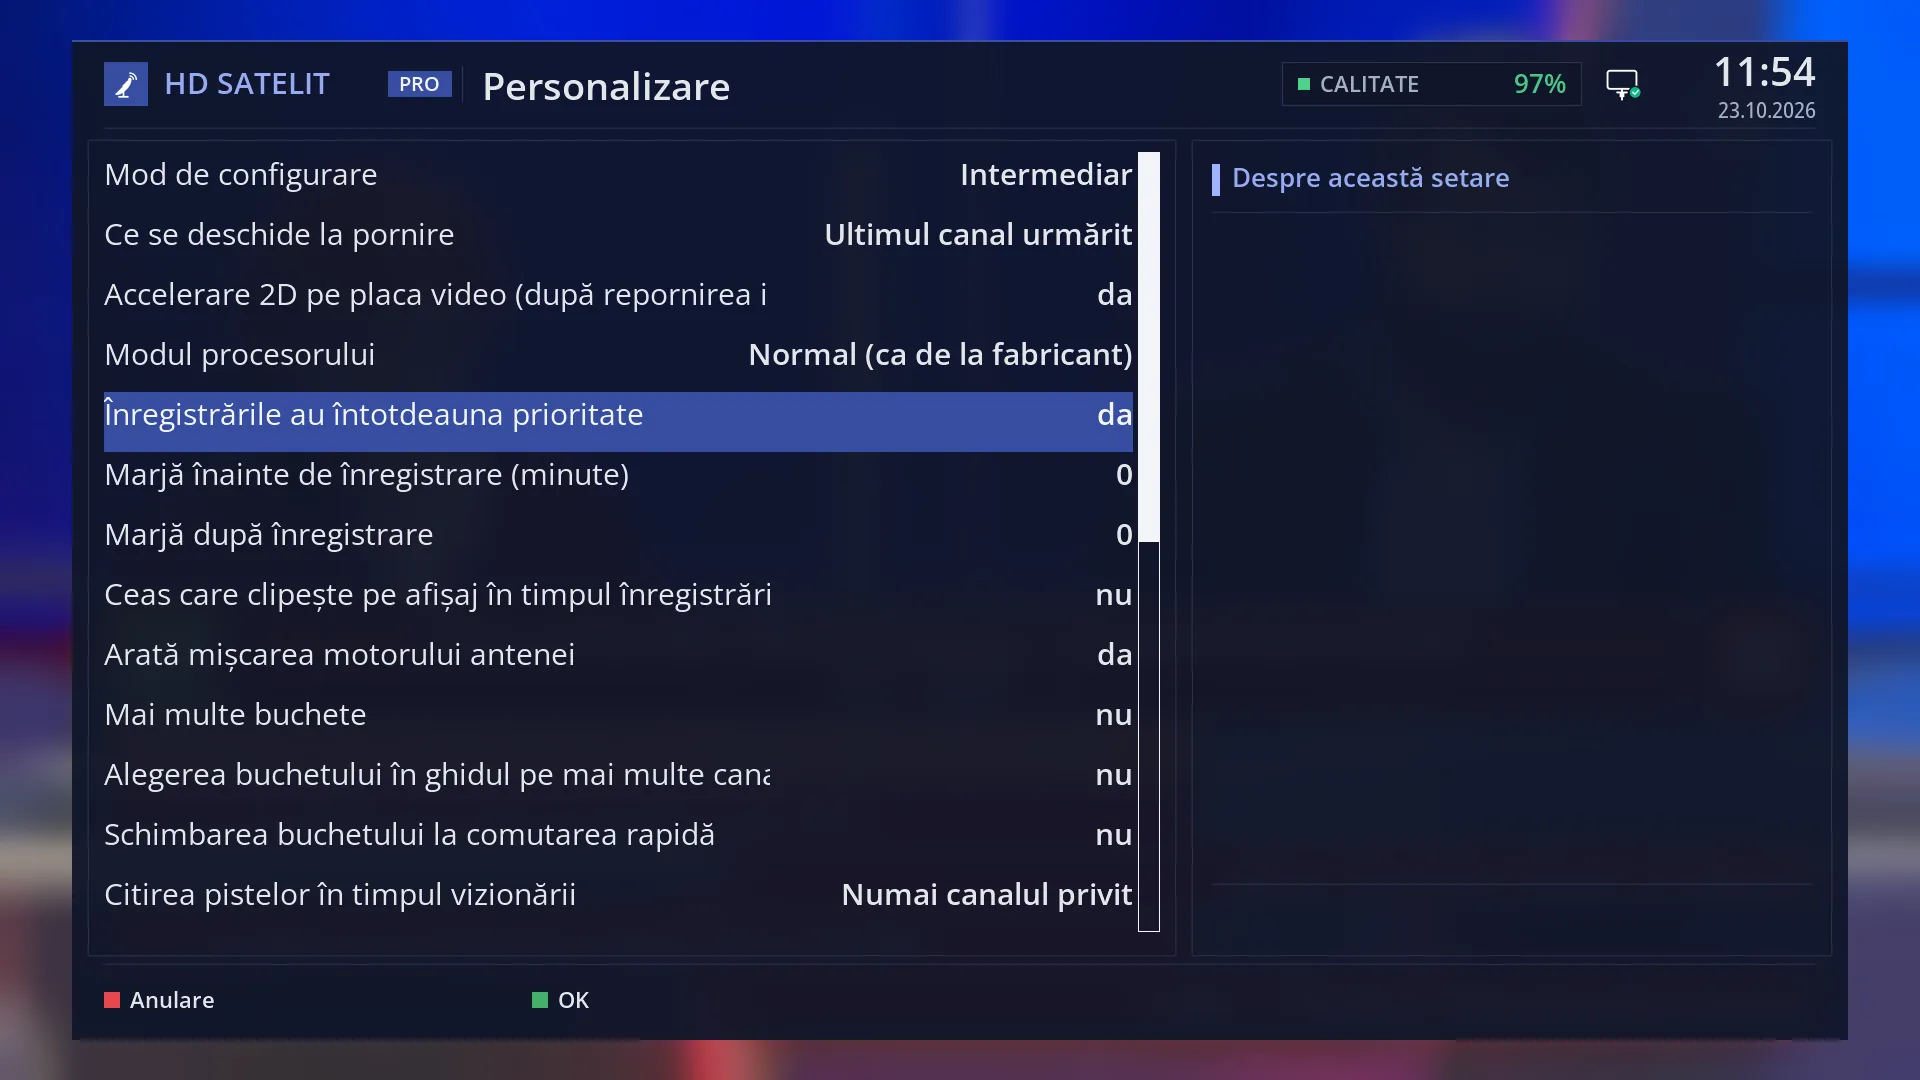
- 1 Selected row: “Recordings always have priority: yes”.
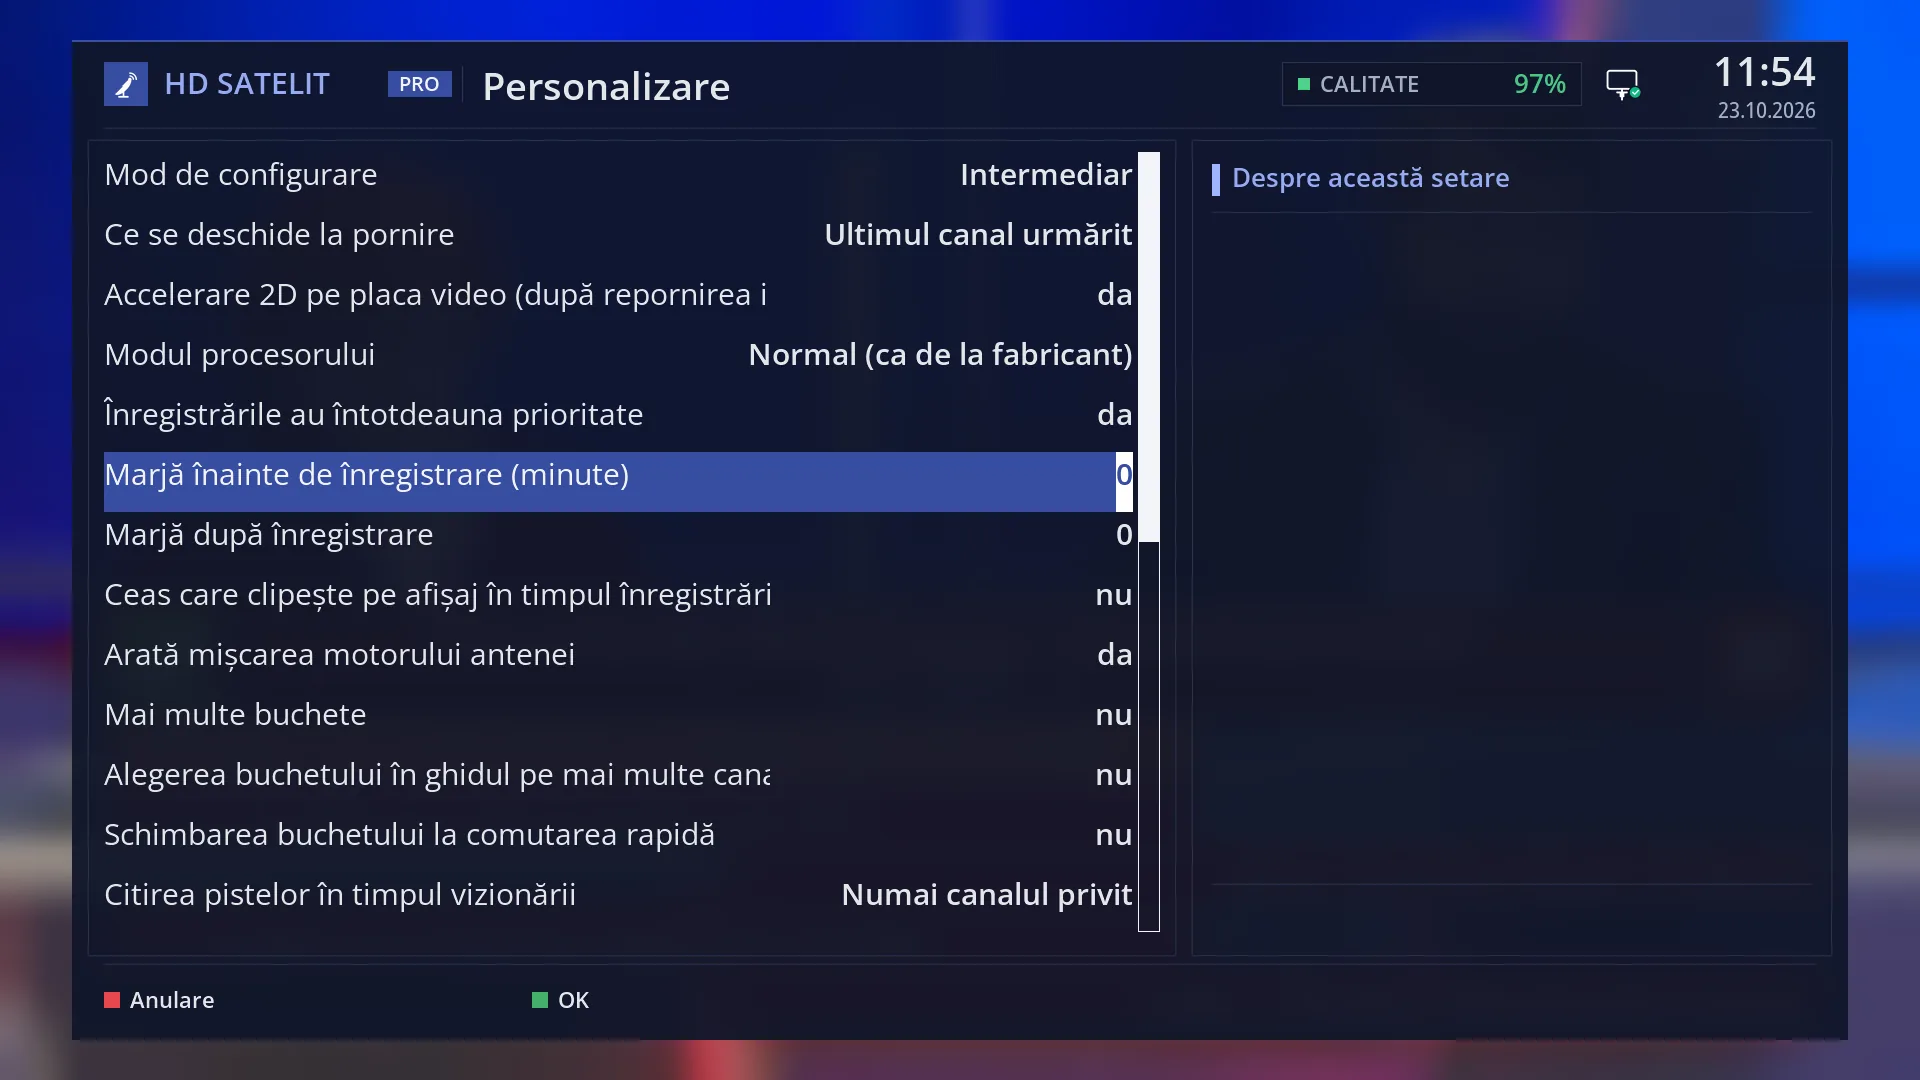
- 1 Selected row: “Margin before record (minutes)”.
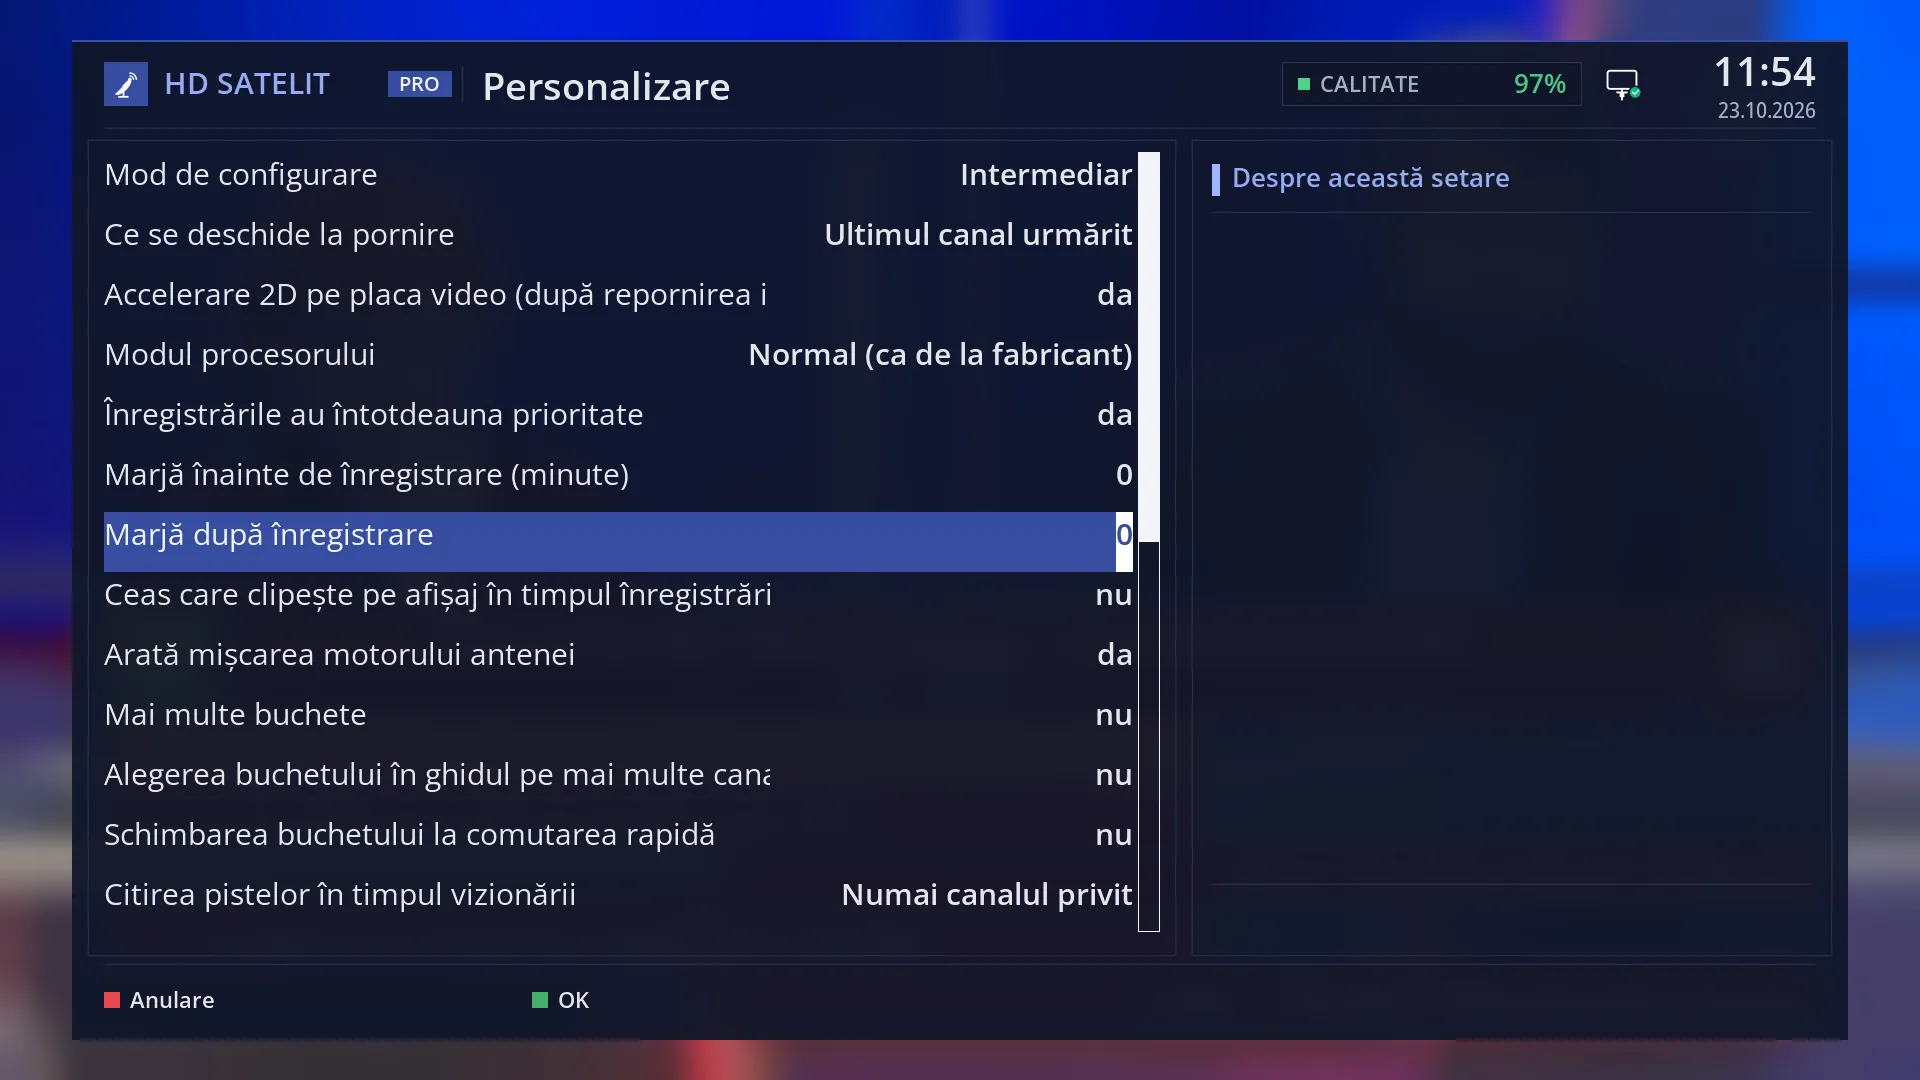
- 1 Selected row: “Margin after record”.
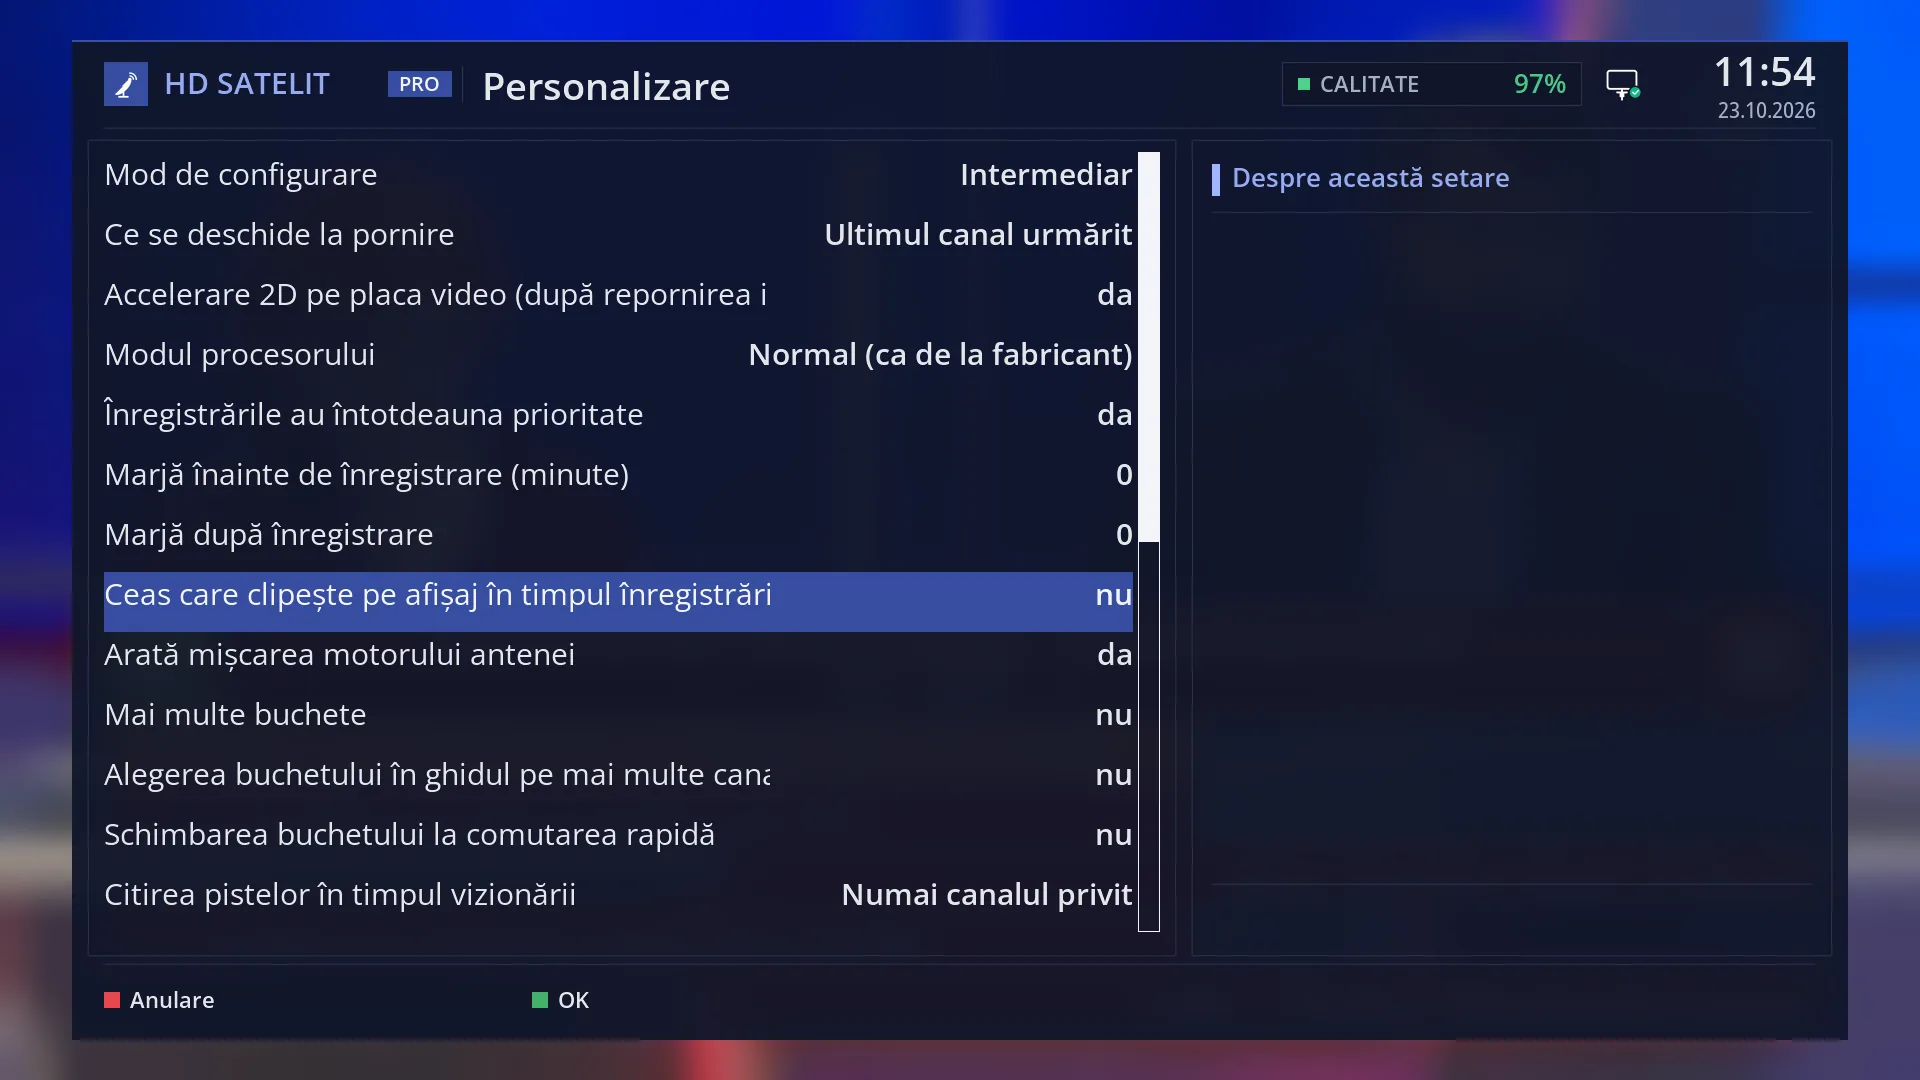
- 1 Selected row: “Show blinking clock in display during recording: no”.
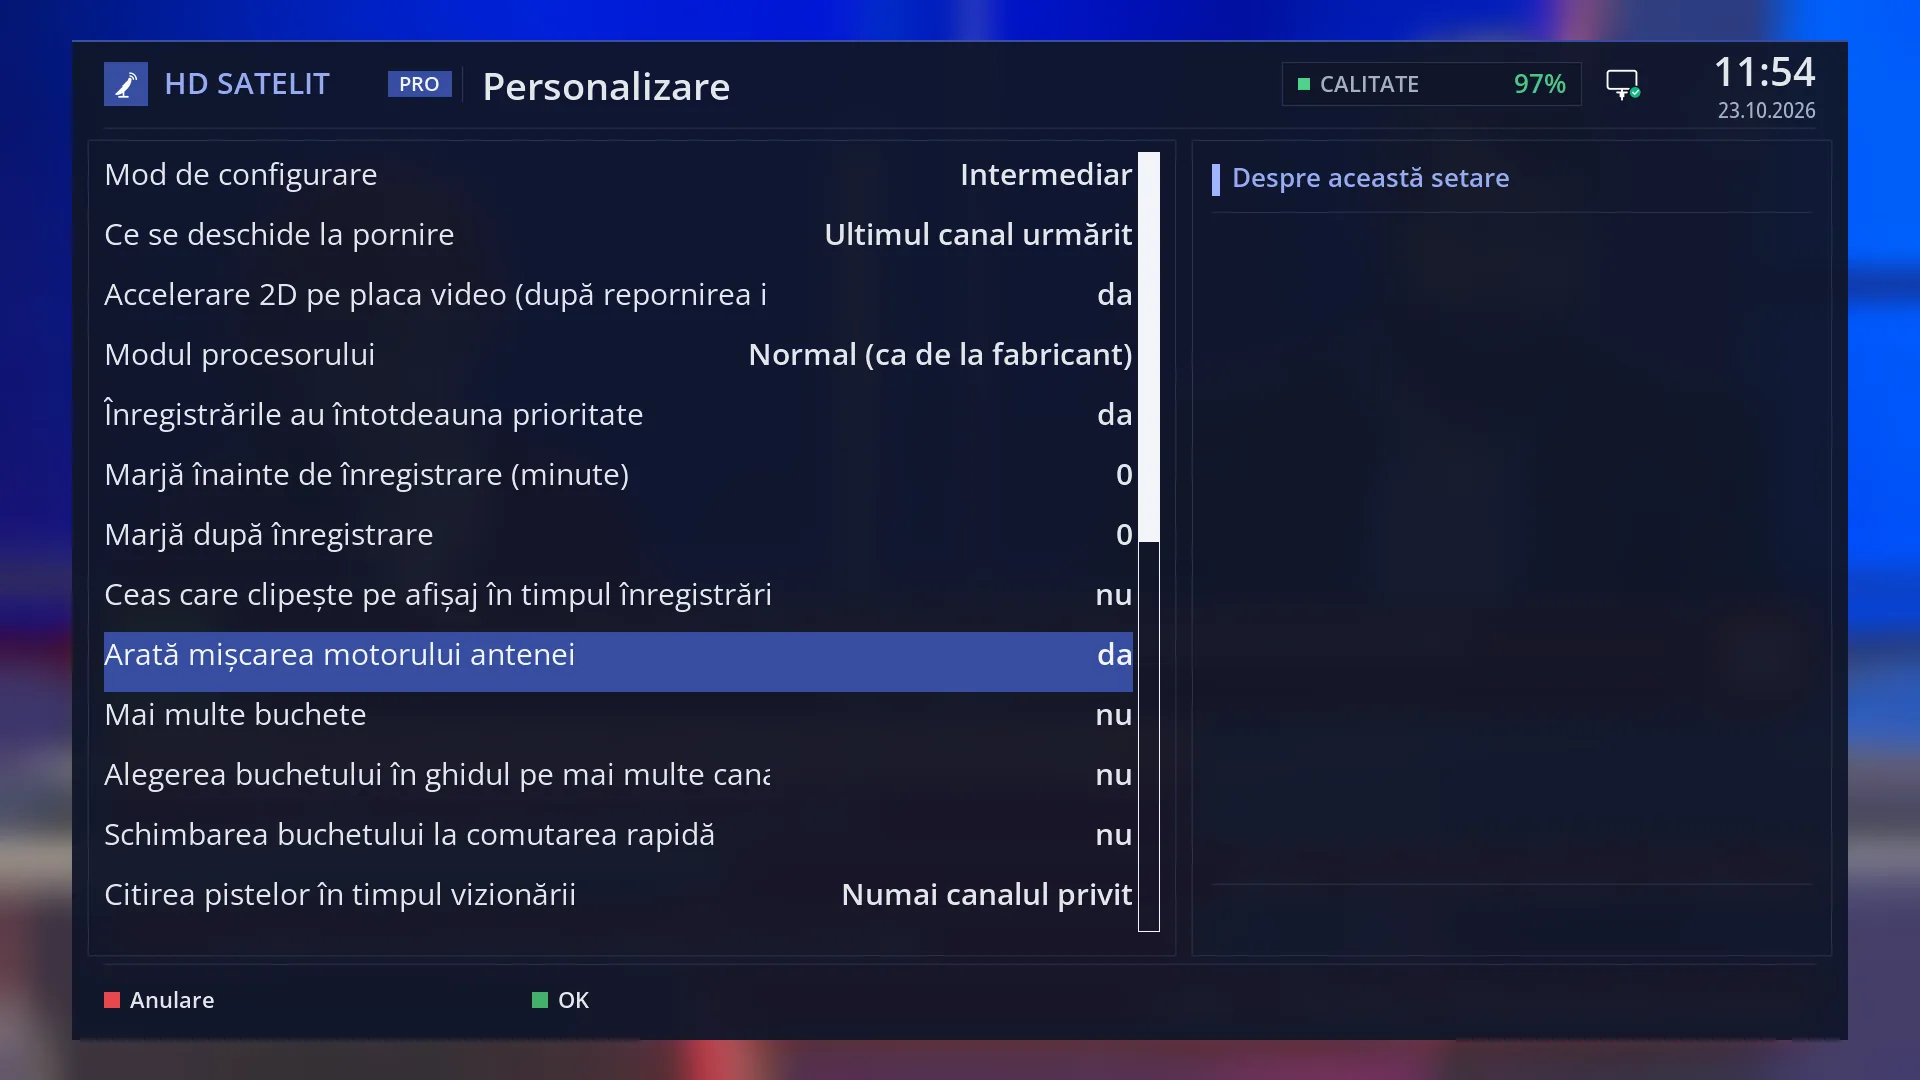
- 1 Selected row: “Show positioner movement: yes”.
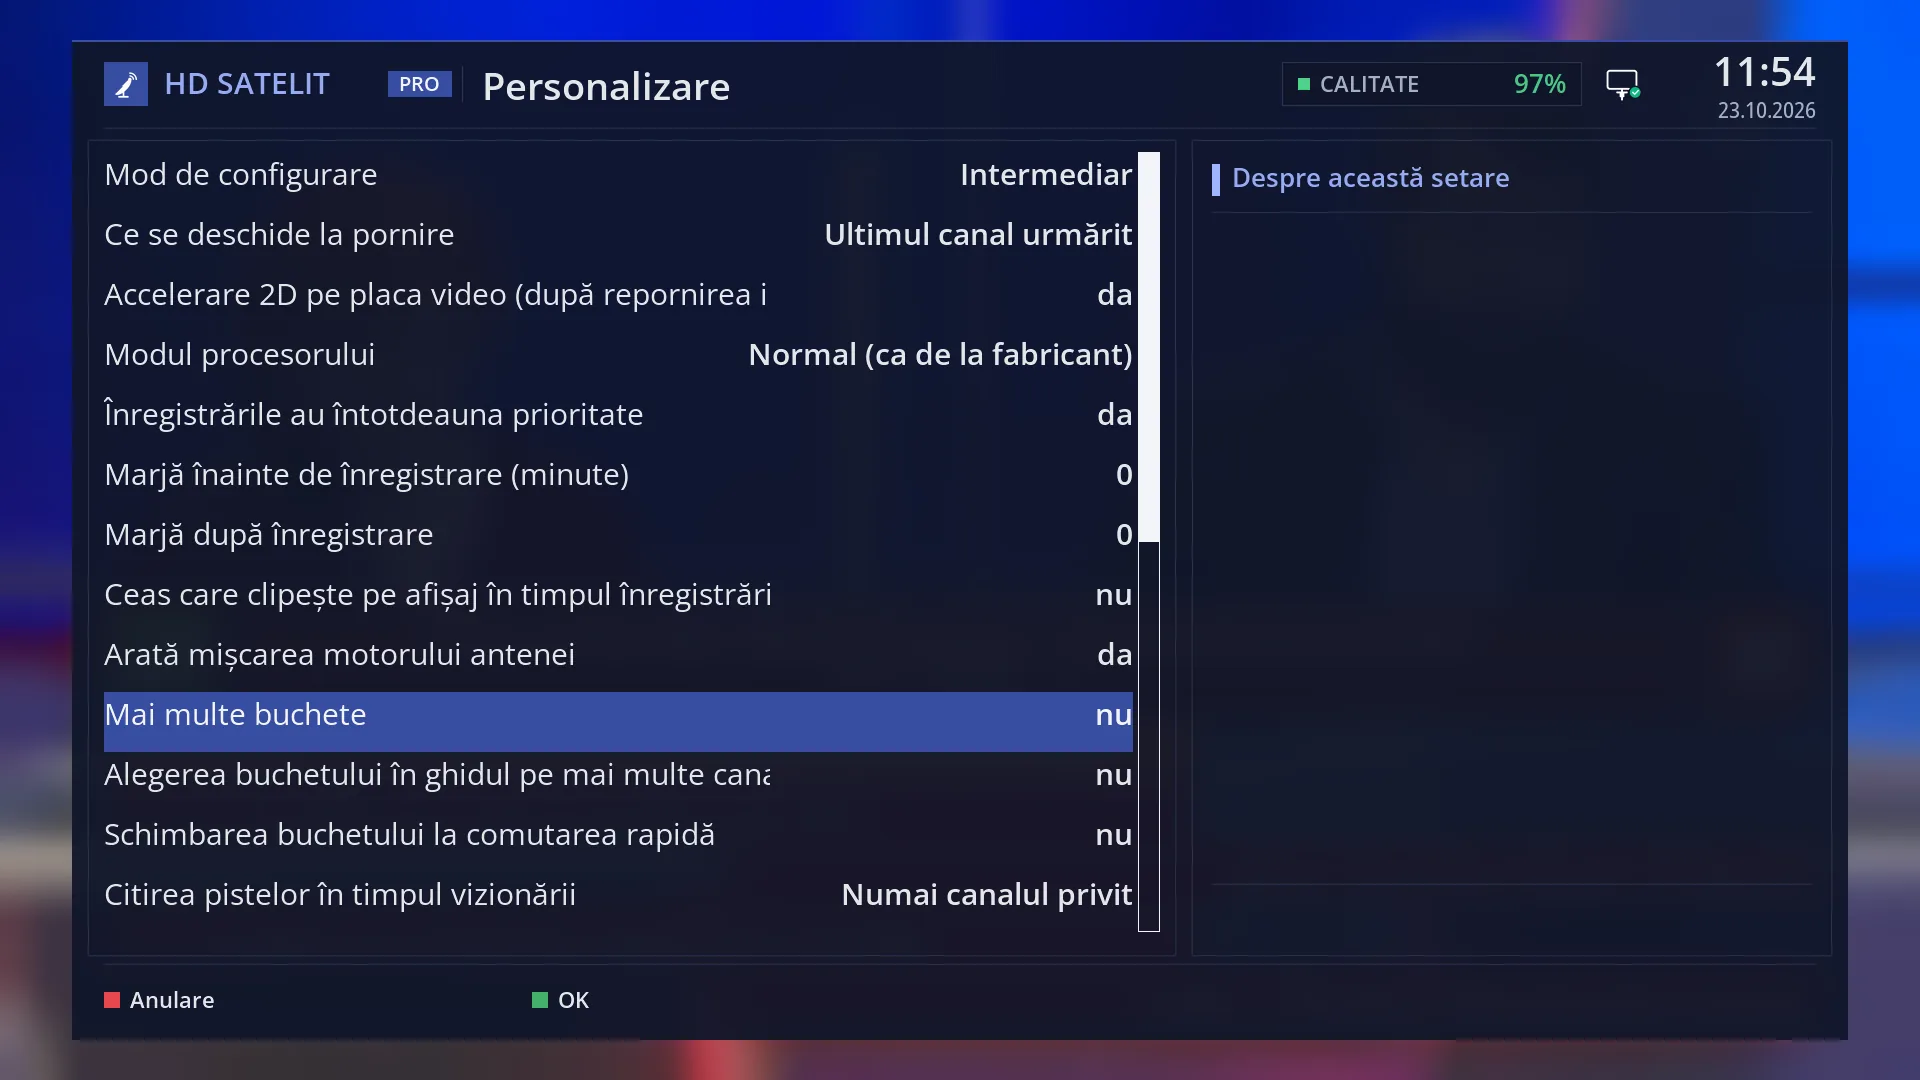
- 1 Selected row: “Enable multiple bouquets: no”.
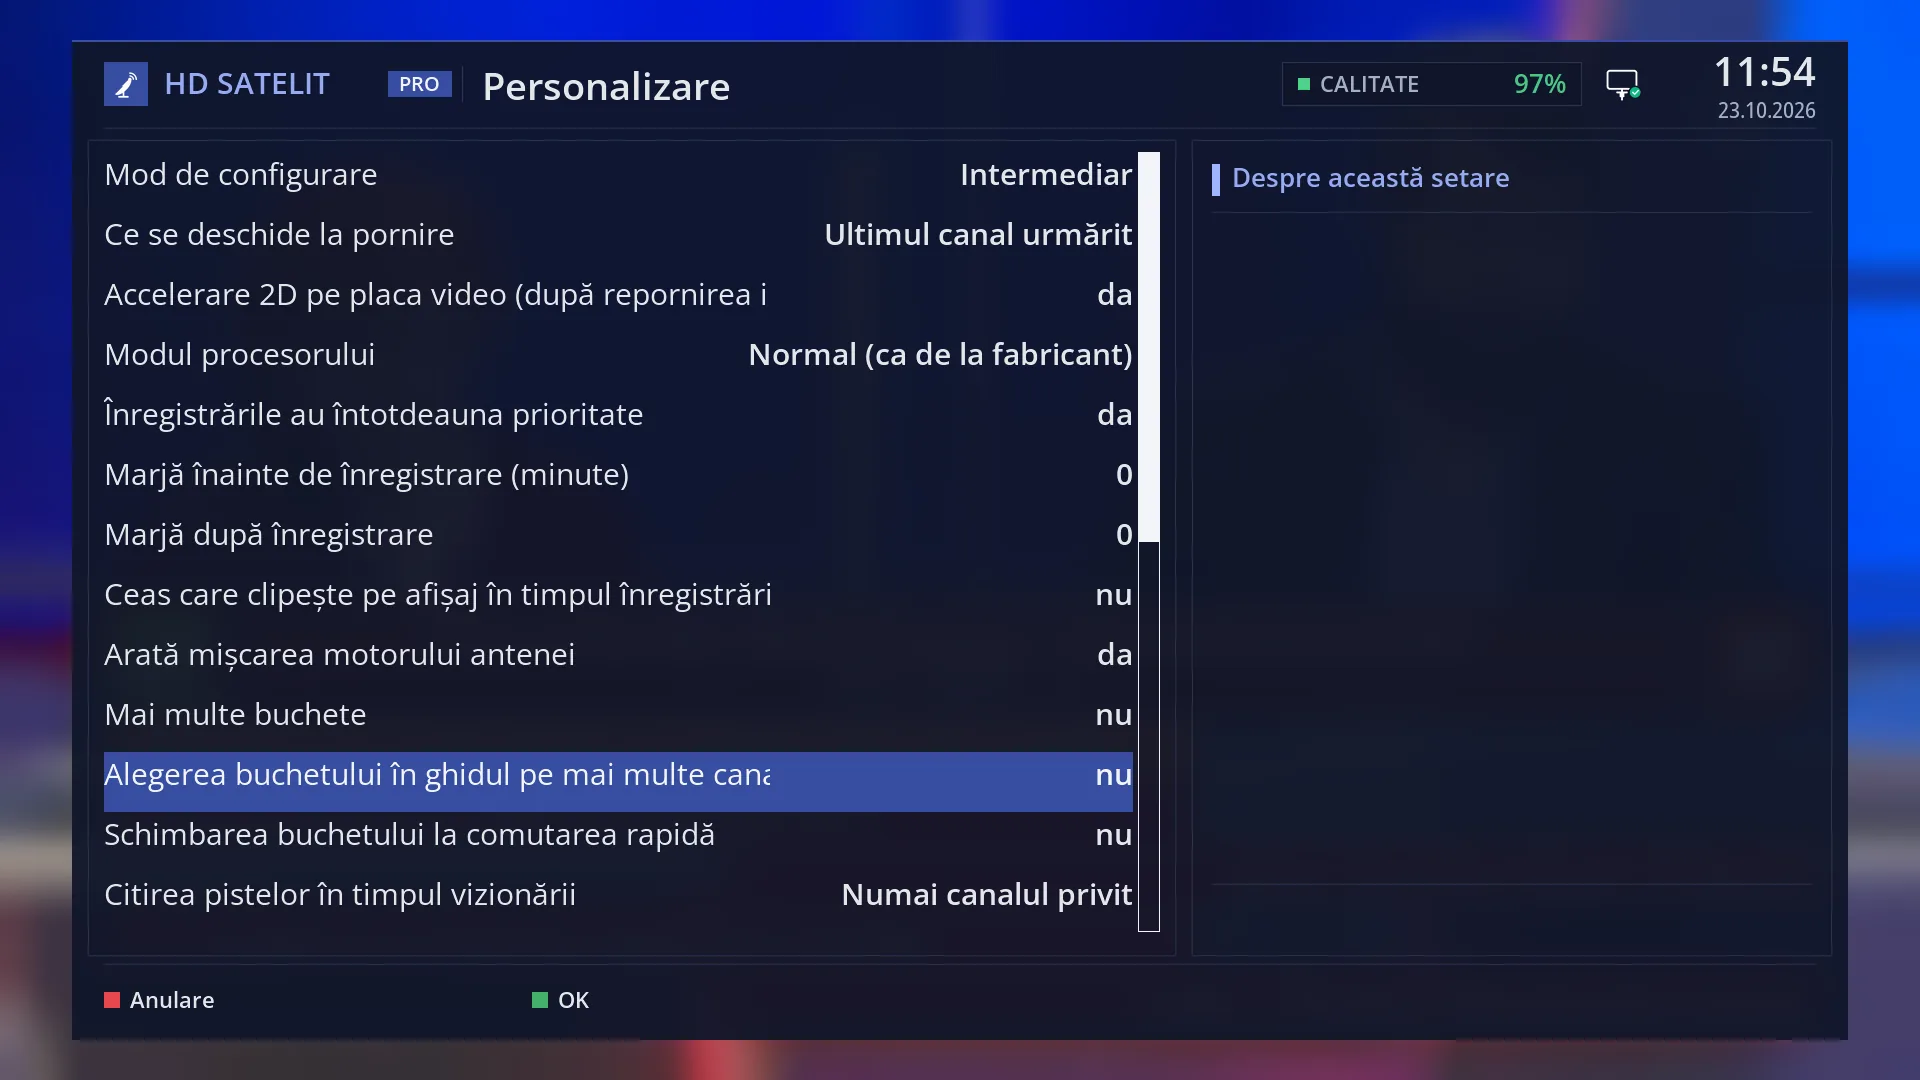
- 1 Selected row: “Multi-EPG bouquet selection: no”.
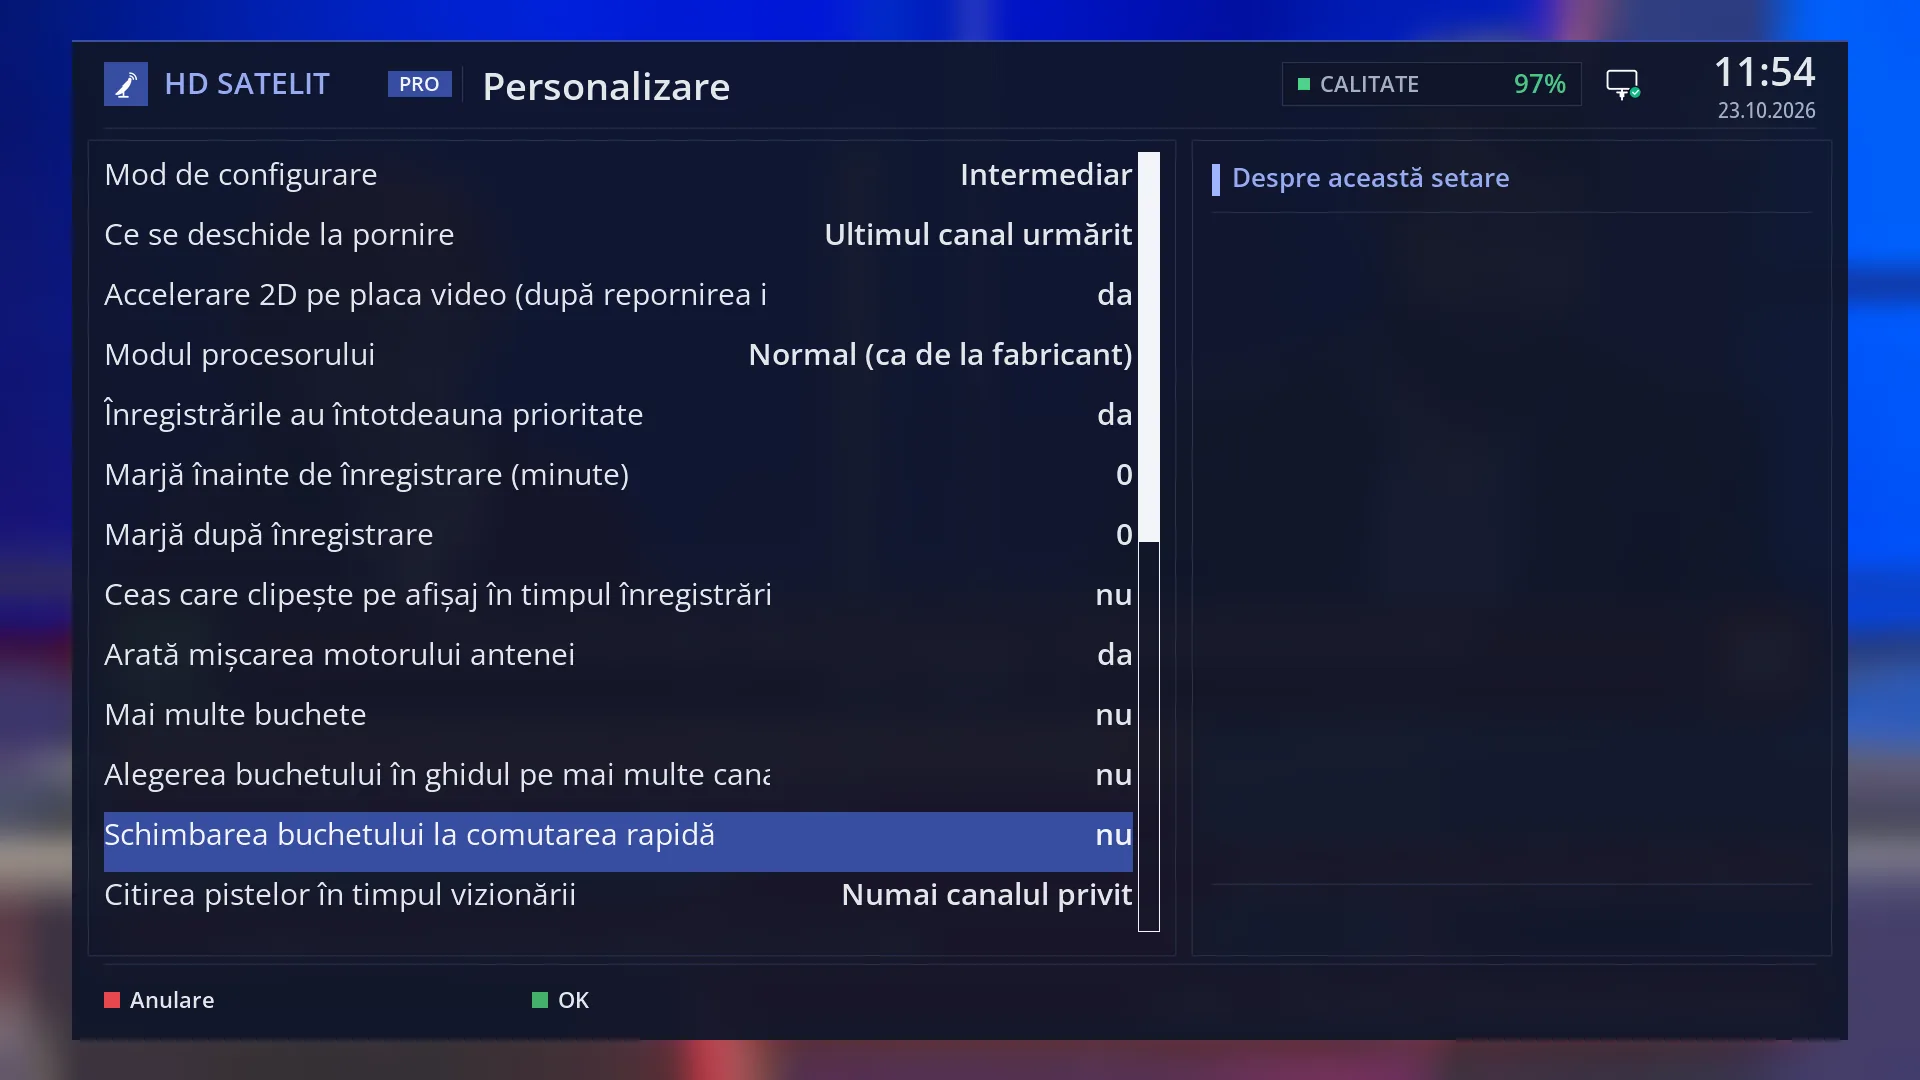
- 1 Selected row: “Change bouquets in quickzap: no”.
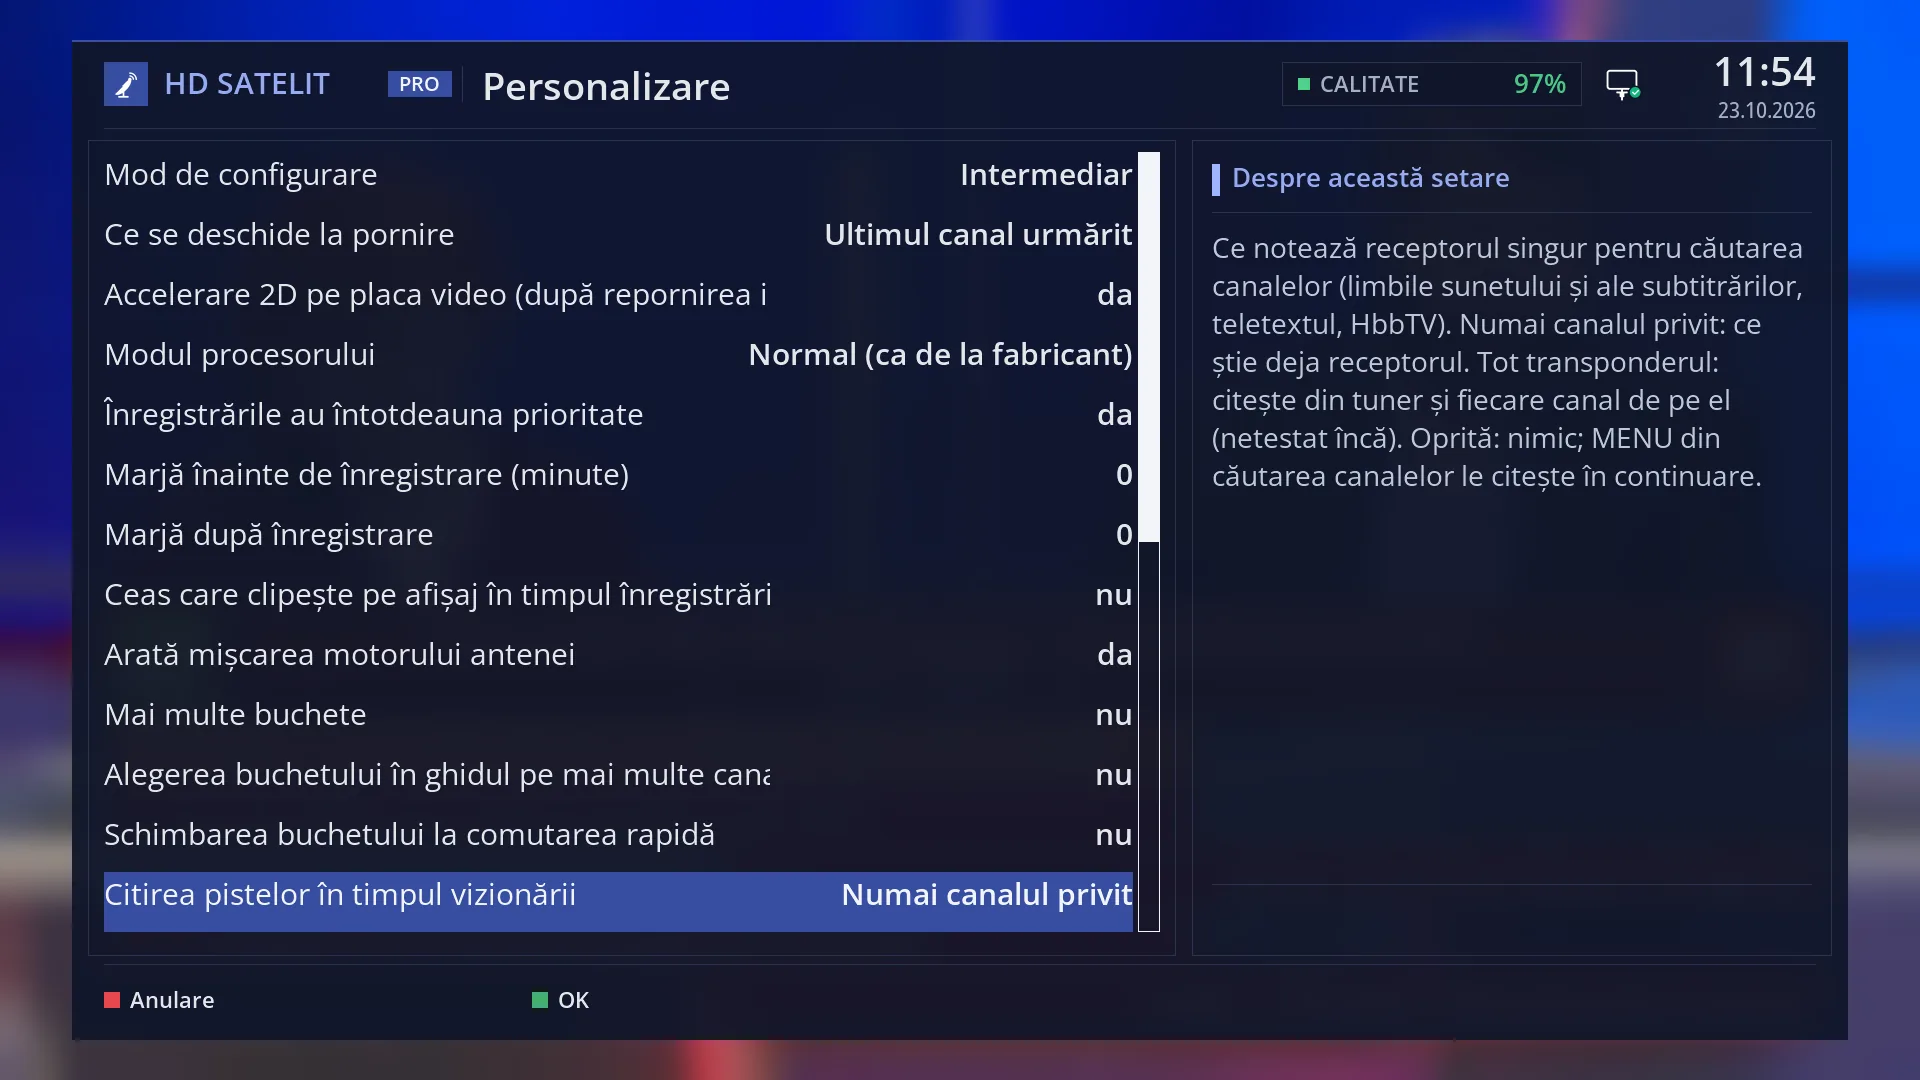
- 1 Selected row: “Reading the tracks while watching: Only the channel watched”.
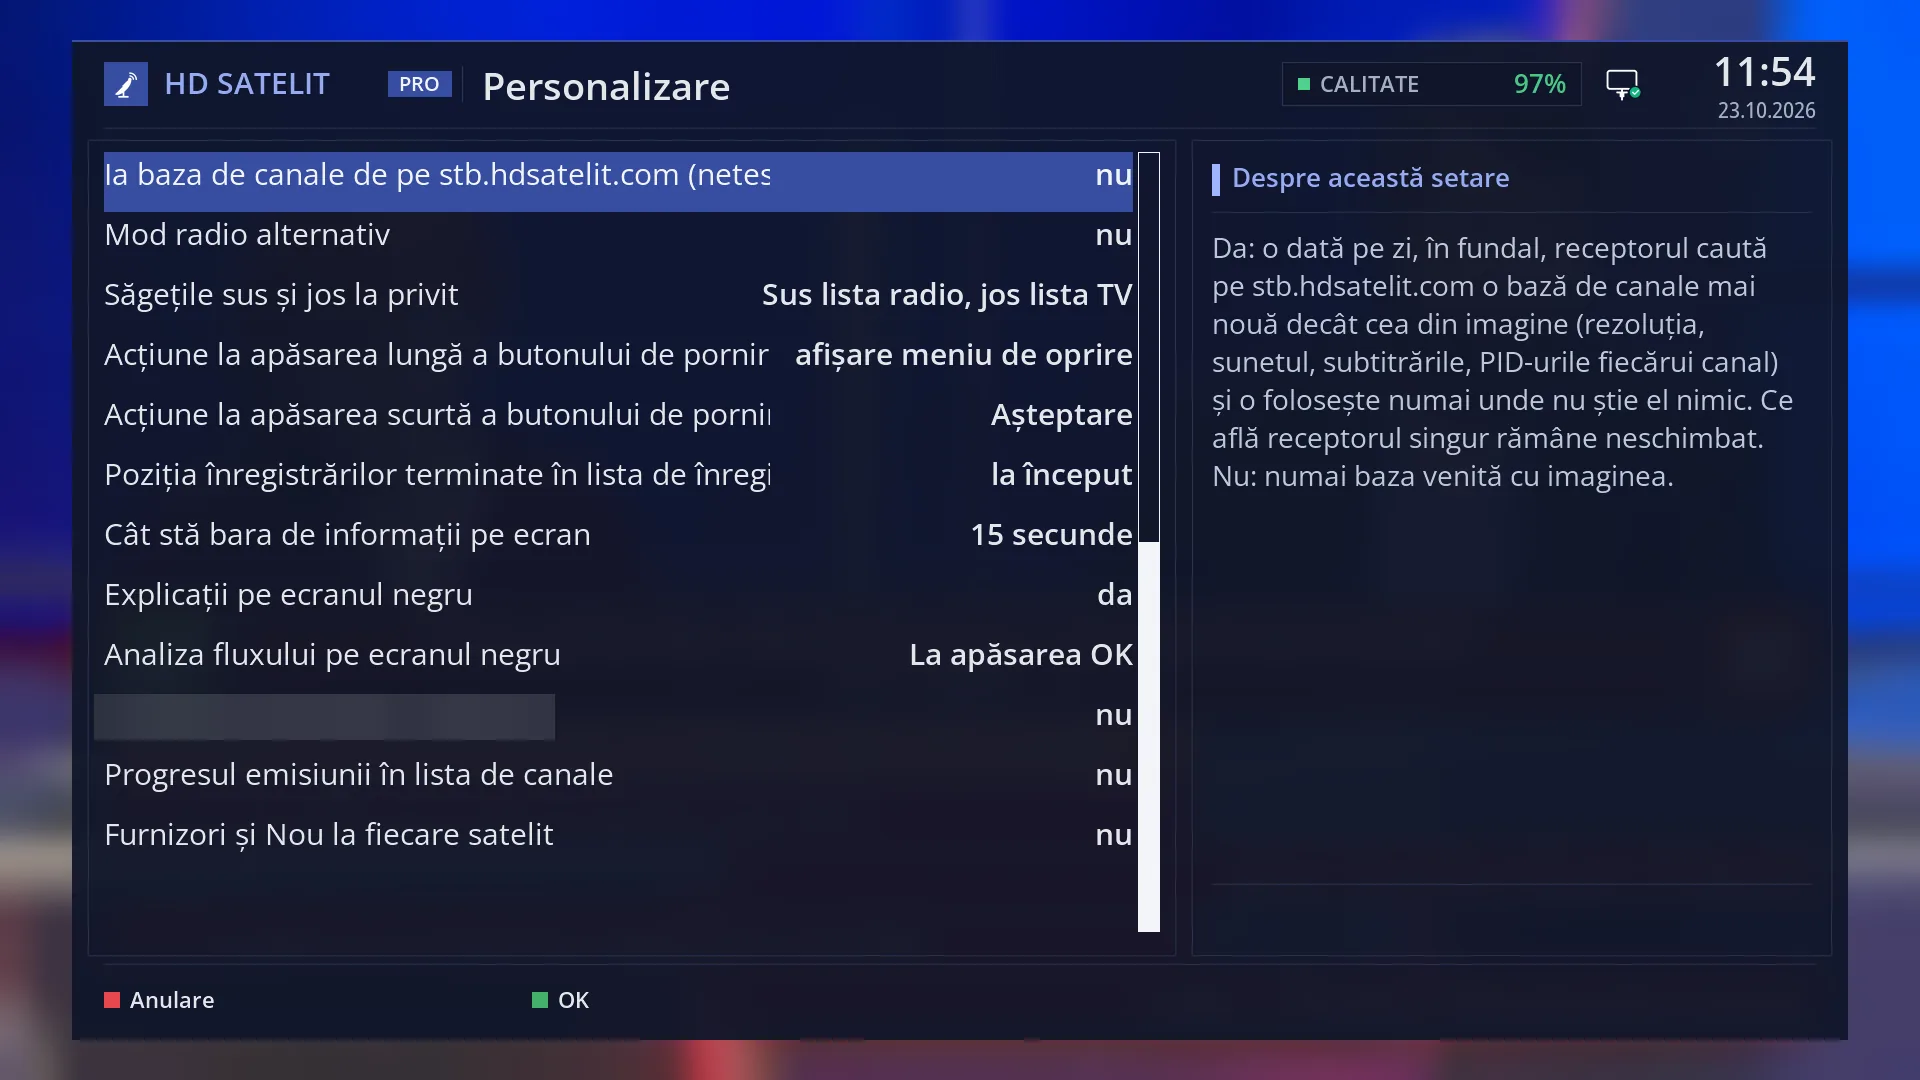
- 1 Selected row: “Get the channel database from stb.hdsatelit.com (not tested): no”.
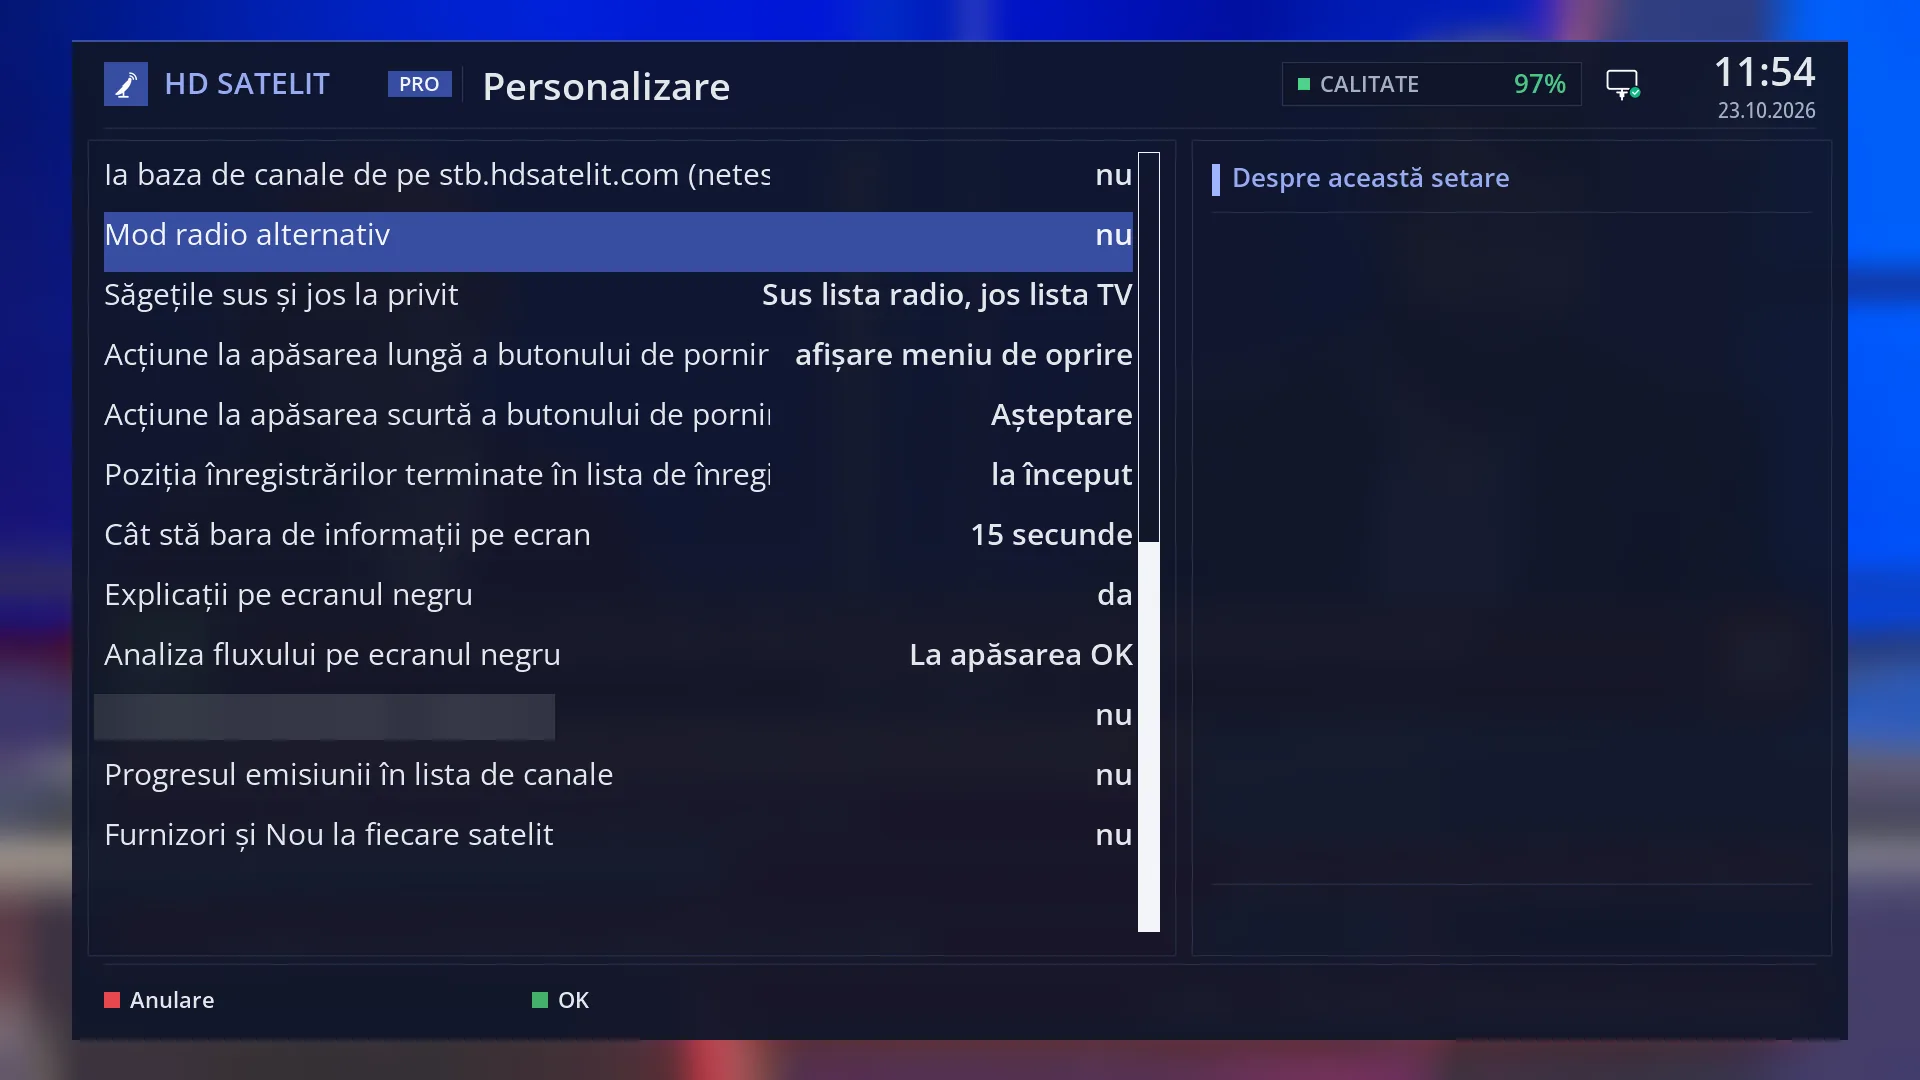
- 1 Selected row: “Alternative radio mode: no”.
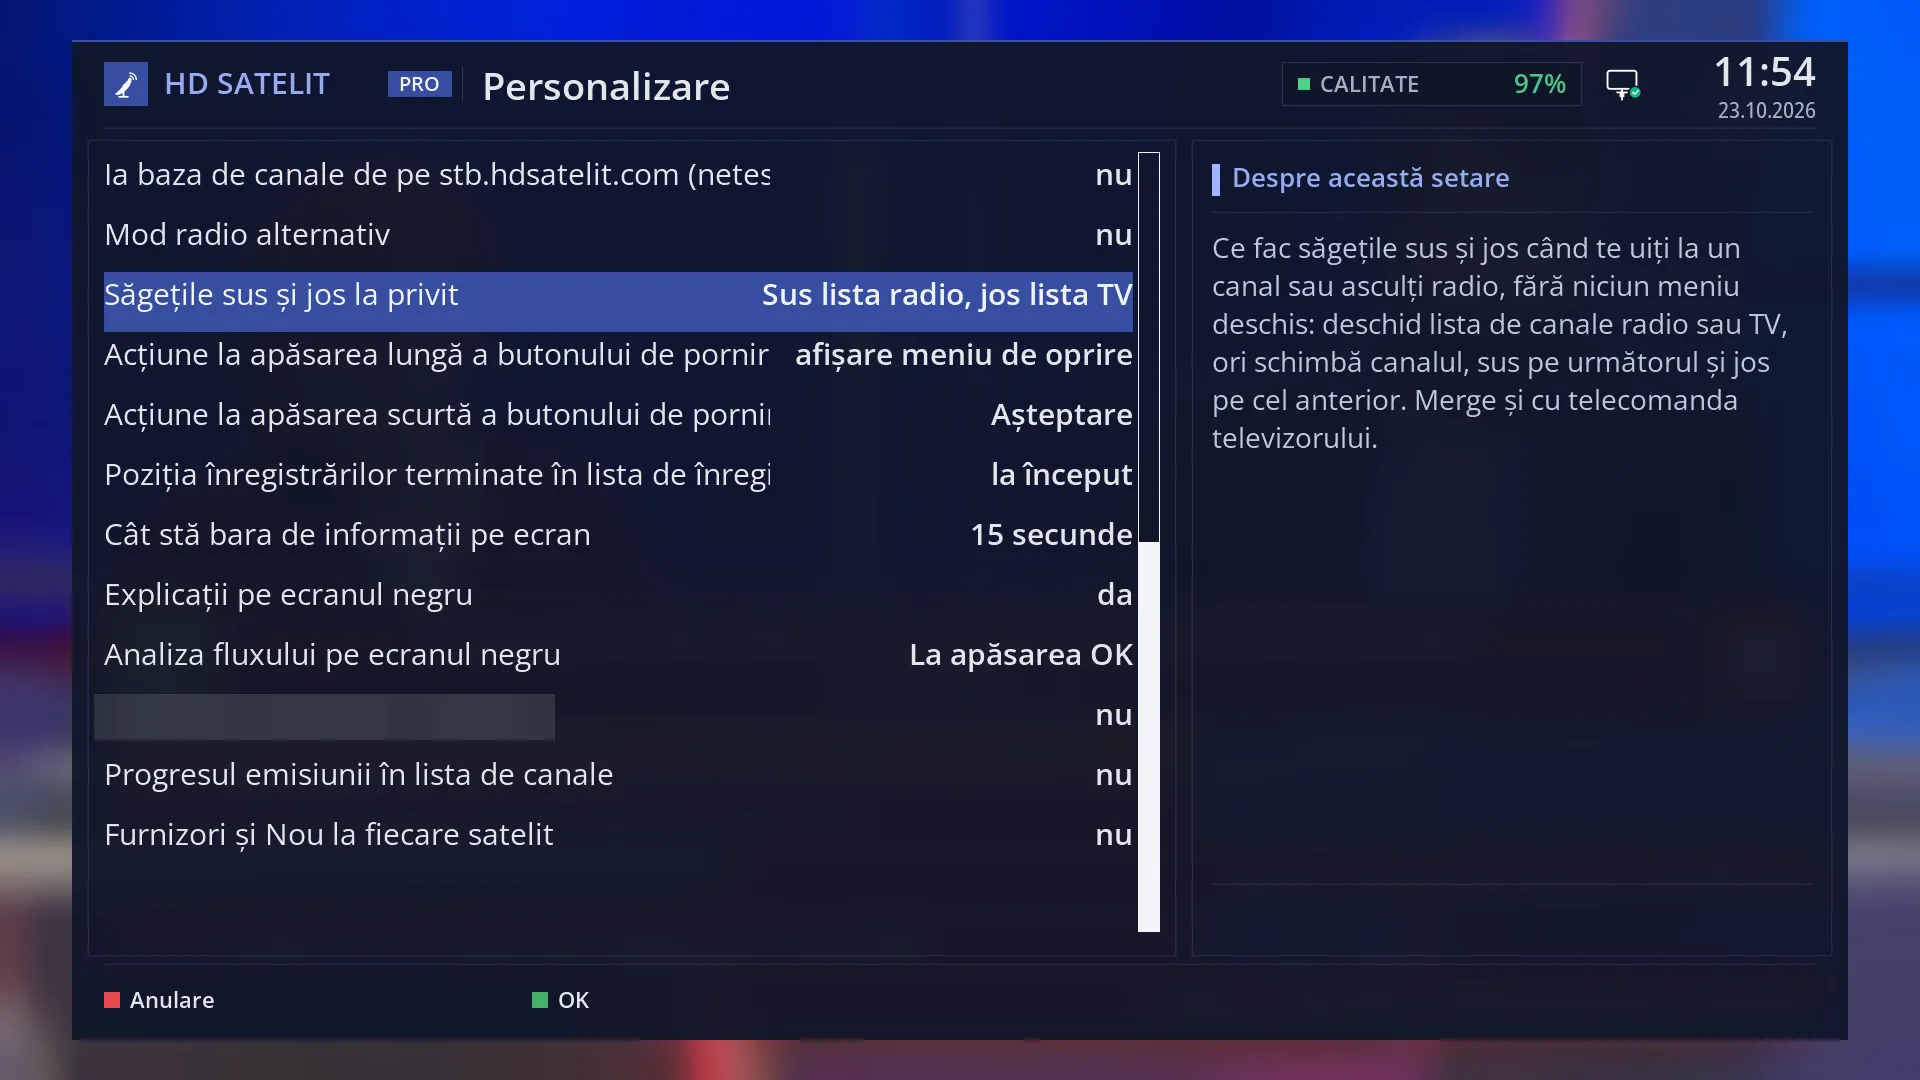
- 1 Selected row: “Up and down arrows while watching: Up: radio channel list, down: TV channel list”.
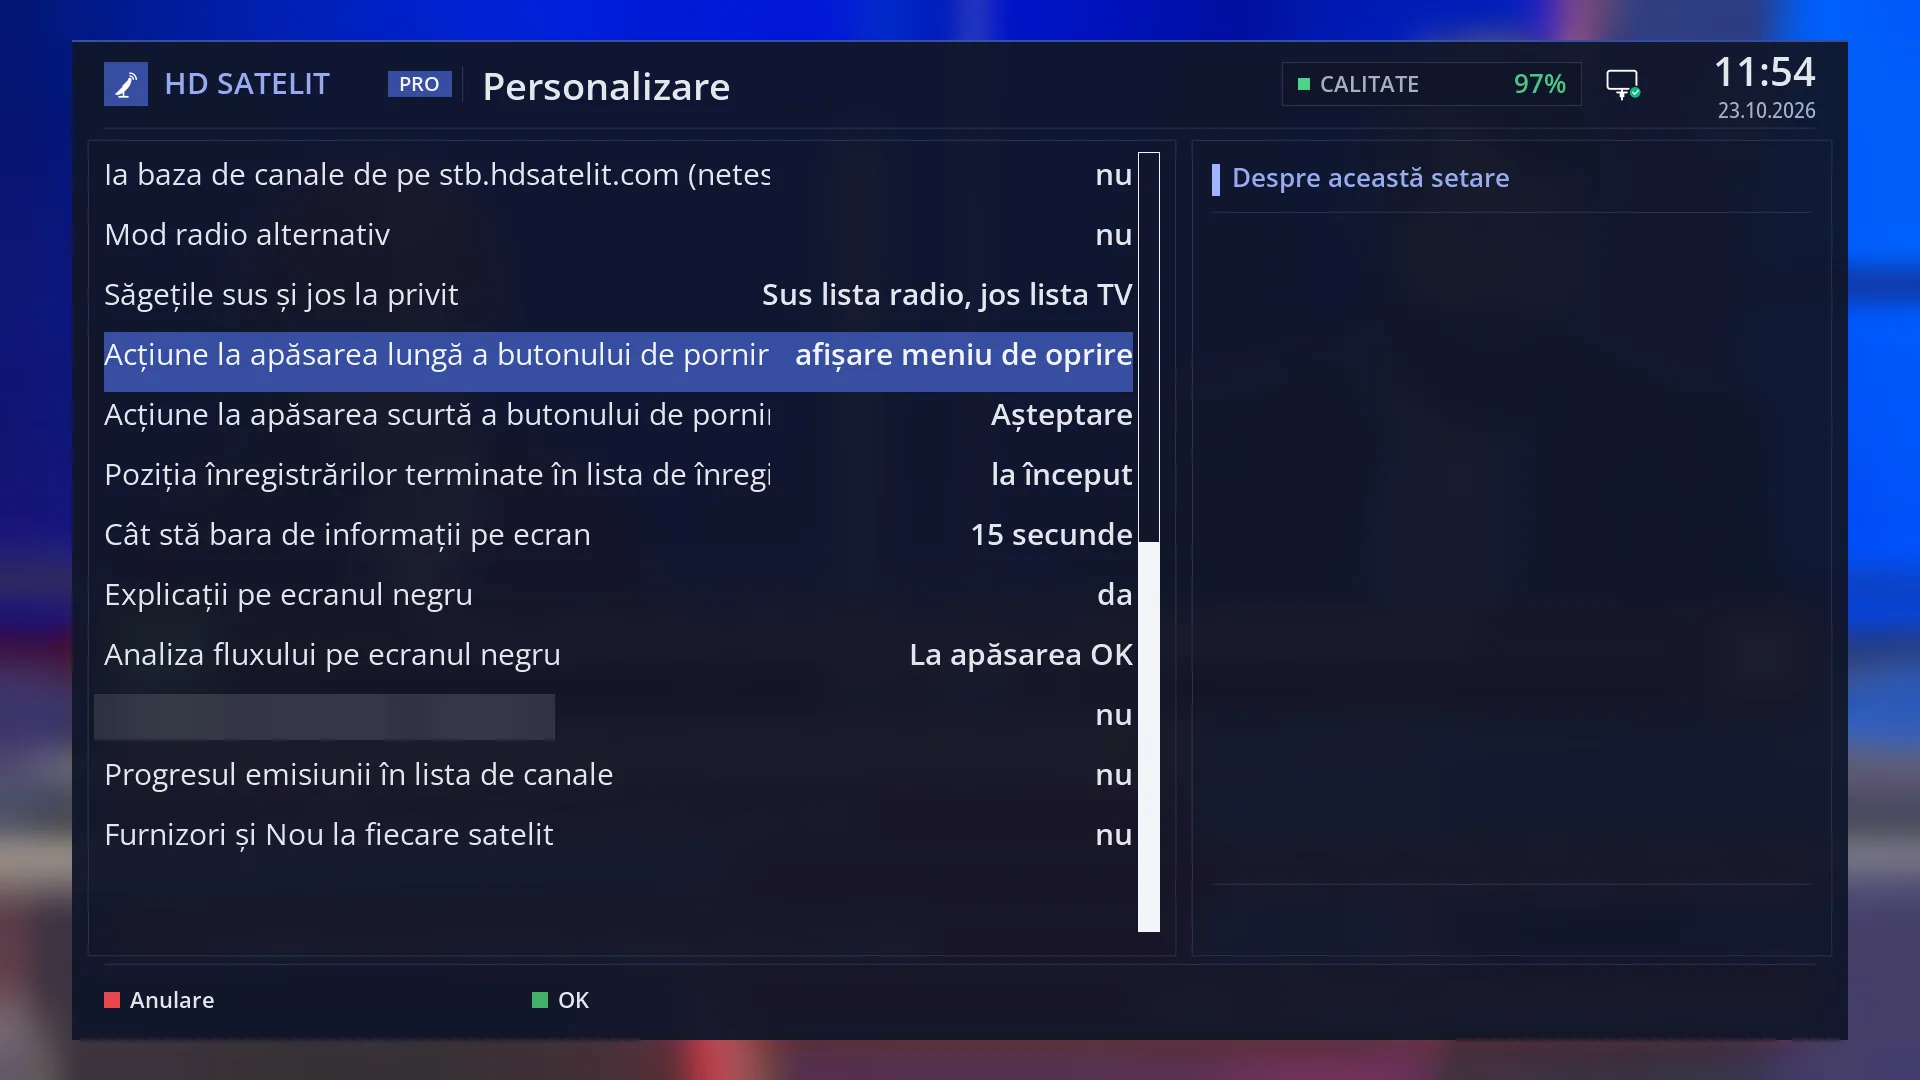
- 1 Selected row: “Action on long powerbutton press: show shutdown menu”.
What it is for
“OSD Preferences” groups the settings that control how the receiver behaves day to day: what opens at startup, what the arrow keys and the power key do, how long the info bar stays on screen, the margins of timer recordings, the explanations on a black screen and how the channel list looks.
The first row, “Setup Mode”, controls all the menus: it decides how many rows you see here and in the other settings screens. Simple shows only what everyone uses. Intermediate (the factory setting) adds the usual rows. Expert shows them all, including the fast forward speeds and the names of recorded files.
If you don't know what a row does, leave it as it is: the factory values are chosen for normal use.
How to get here
Path: Main menu > Settings > Interface & Appearance > OSD Preferences.
Shortcut while watching TV: MENU 6 6 5.
From any menu: the TTX key (TEXT on screen) opens “Search settings”. Type a few letters of the row name, for example “bar” or “margin”.
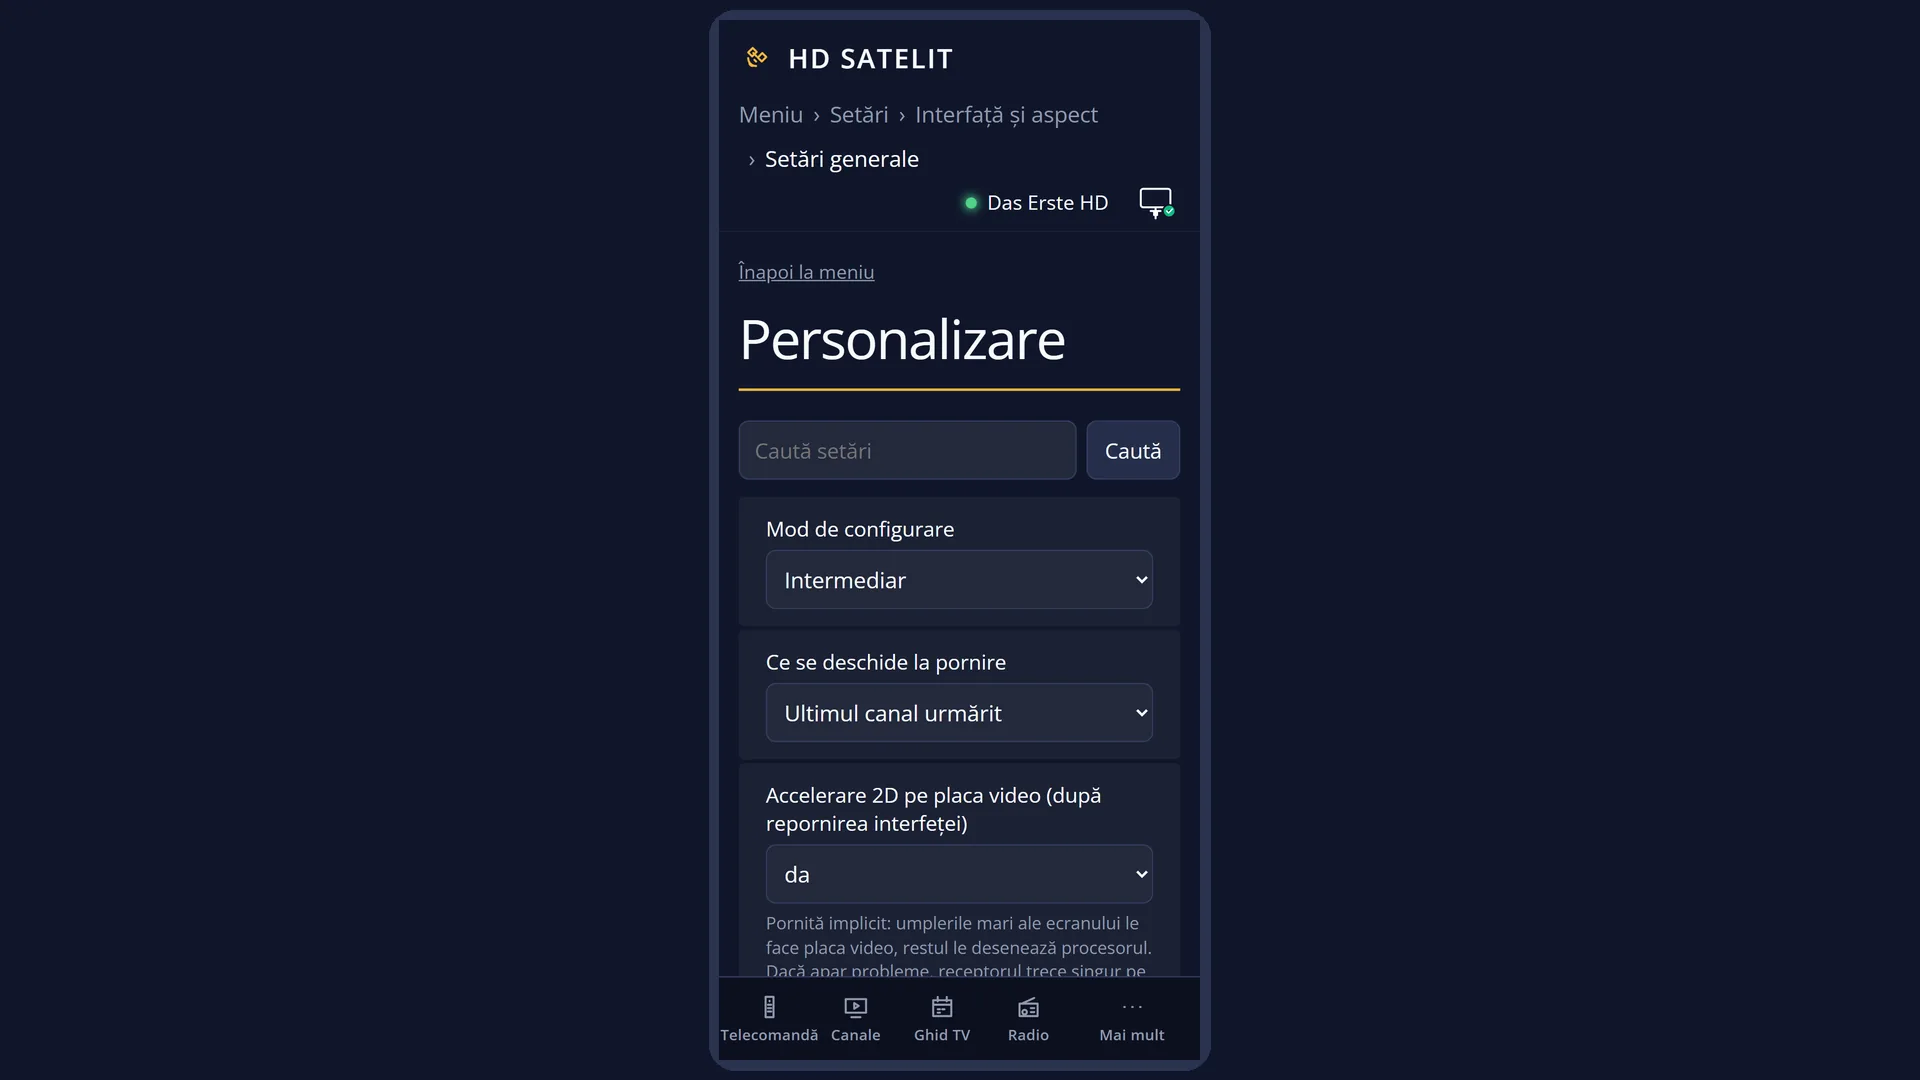
In the web interface: the page /setari?id=usage (title “Customize”), with the same rows at the level chosen on the TV.
What you see on the screen
At the top, the screen title: “Customize”. In the menu the row is called “OSD Preferences”, but it is the same screen.
On the left, the list of rows, 13 per screen. Use UP / DOWN to reach the rest. Long names are cut off at the edge of the values column. How many rows there are depends on “Setup Mode” and on what the receiver has.
On the right, the “About this setting” box, with an explanation of the selected row. For older rows without an explanation, the box stays empty.
At the bottom, the colour keys: RED “Cancel” and GREEN “OK”.
Rows that only appear sometimes: “Stream analysis on the black screen” appears only when “Explanations on a black screen” is set to yes. “2D acceleration” and “Processor mode” appear only on receivers that have them (the Amiko Viper 4K V20 has them).
Between “Stream analysis on the black screen” and “Show event-progress in channel selection” there is one more technical row, which this help does not describe.
Rows and settings
| Row | Values | Default | What it does |
|---|---|---|---|
| Setup Mode | Simple, Intermediate, Expert | Intermediate | How many rows and menu entries you see. Simple: only the basic ones (for example “Check Disk Health”, “External Keyboard” and “Font Size” disappear from the menus). Intermediate: the usual rows. Expert: all of them, including those at the end of this list. Expert when you are looking for a rarely used setting (fast forward speeds, names of recorded files). Simple if the receiver is used by someone who gets lost among many rows. |
| What to show at startup | Last channel watched, List of all satellites (also includes Cable/Terrestrial), Favourites, Radio, All channels | Last channel watched | What you see after the receiver starts: the channel you watched last or an open channel list (all satellites, favourites, radio, all channels) to choose from. When you want to choose the channel each time at startup, for example from Favourites. |
| 2D acceleration on the video card (after GUI restart) | yes, no | yes | Yes: large screen fills are done by the video card and the processor draws the rest, so menus are drawn faster. If problems appear, the receiver switches by itself to drawing without acceleration. No: the processor draws everything. Set it to no only if you see blotches or stripes in the menus. The row appears at Intermediate and Expert, on receivers that have acceleration. |
| Processor mode | Normal (as from the factory), Cool, Automatic, Performance | Normal (as from the factory) | How fast the processor can work. Normal is as set by the manufacturer and is recommended if you don't know what to choose. Cool keeps it slower and cooler. The list shows only the modes that make sense on your receiver. The same row is also in the “Processor” screen, with the temperature graph. Cool if the receiver sits in an enclosed space and gets hot. The details of each mode are on the “Processor” page. |
| Recordings always have priority | yes, no | yes | What the receiver does when a timer recording cannot start because you are watching a channel that keeps the tuner busy. Yes: it switches by itself to the channel to be recorded and shows “In order to record a timer, the TV was switched to the recording service.”. No: it asks you “A timer failed to record. Disable TV and try again?”. Set it to no if you want to decide yourself, each time, between the current programme and the recording. |
| Margin before record (minutes) | a number of minutes, typed with the digit keys | 0 | How many minutes before the start time in the guide a recording set from the programme guide starts. When programmes sometimes start earlier than the guide says. 2-5 minutes is usually enough. |
| Margin after record | a number of minutes, typed with the digit keys | 0 | How many minutes after the end time in the guide a recording set from the guide stops. When films and matches often end later than the guide says. 10-15 minutes usually covers the delays. |
| Show blinking clock in display during recording | yes, no | no | Yes: while the receiver is recording, the clock on the front display blinks, so you can see from a distance that it is recording. When you want to know at a glance, without the TV, that the receiver is recording. |
| Show positioner movement | yes, no | yes | Yes: when a motorised dish turns towards another satellite, a window appears on screen showing that it is moving. No: the dish turns without the window. Only matters with a motorised dish. Set it to no if the window gets in your way. |
| Enable multiple bouquets | yes, no | no | Yes: the channel list can have several favourites lists (bouquets) that you switch between. No: a single favourites list. When you want separate lists, for example “News”, “Sport”, “Children”. |
| Multi-EPG bouquet selection | yes, no | no | Yes: when you open the multi-channel guide, the receiver first asks which bouquet to show. No: it shows the current bouquet. When you have several bouquets and want the guide for a bouquet other than the one you are in. |
| Change bouquets in quickzap | yes, no | no | Yes: when you go past the last channel of a bouquet with CH+ / CH-, you move to the next bouquet. No: you stay in the same bouquet and start again from the beginning. When you want to go through all bouquets in turn using only CH+ / CH-. |
| Reading the tracks while watching | Off, Only the channel watched, The whole transponder (not tested) | Only the channel watched | What the receiver records by itself for channel search (audio and subtitle languages, teletext, HbbTV). Only the channel watched: what the receiver already knows. The whole transponder: it also reads every channel on it from the tuner (not yet tested). Off: nothing; MENU in channel search still reads them. Rarely. Off if you don't search by language or teletext. |
| Get the channel database from stb.hdsatelit.com | yes, no | no | Yes: once a day, in the background, the receiver checks stb.hdsatelit.com for a channel database newer than the one in the image (resolution, audio and subtitles of each channel) and uses it only where it knows nothing itself. What the receiver finds out by itself stays unchanged. No: only the database that came with the image. On screen the row has “(not tested)” next to its name: it has not yet been tested on the receiver. When you want the channel information to be up to date without searching yourself. |
| Alternative radio mode | yes, no | no | No: radio has its own screen and station list, separate from TV. Yes: radio stations are chosen in the same list as TV channels, switched to radio. Set it to yes only if you prefer a single list for TV and radio. |
| Up and down arrows while watching | Up: radio channel list, down: TV channel list, Up: TV channel list, down: radio channel list, Both open the TV channel list, Both open the radio channel list, Change channel (up: next) | Up: radio channel list, down: TV channel list | What the UP and DOWN arrows do while you watch a channel or listen to radio with no menu open: they open the radio or TV channel list, or change the channel, UP to the next and DOWN to the previous one. This also works with the TV remote. Choose “Change channel” if you are used to changing channels with the arrow keys, as on other receivers. |
| Action on long powerbutton press | show shutdown menu, immediate shutdown, Standby | show shutdown menu | What the power key does when held down: it opens the shutdown menu (standby, restart, power off), switches the receiver off completely at once, or puts it in standby. When you want a long press to switch the receiver off completely straight away. |
| Action on short powerbutton press | show shutdown menu, immediate shutdown, Standby | Standby | What a short press on the power key does: puts the receiver in standby (factory setting), opens the shutdown menu or switches it off completely. Rarely. “show shutdown menu” if you want to choose each time. |
| Position of finished Timers in Timerlist | at beginning, at end | at beginning | Where finished recordings appear in the timer list: at the top, before the upcoming ones, or at the bottom. At end, if you want to see first what is going to be recorded. |
| How long the info bar stays on screen | does not close, one second, 2 seconds, 3 seconds, 4 seconds, 5 seconds, 6 seconds, 7 seconds, 8 seconds, 9 seconds, 10 seconds, 12 seconds, 15 seconds, 20 seconds, 30 seconds | 8 seconds | How many seconds the info bar (channel, programme, time) stays on screen after a channel change or after OK. “does not close”: it stays until you press EXIT. Longer if you don't have time to read the programme, shorter if the bar covers too much of the picture. |
| Explanations on a black screen | yes, no | yes | Yes: while the screen stays black (channel with no signal, channel moved, tuner busy, a channel the receiver cannot show, and so on), the middle of the screen tells you why and what you can do. EXIT hides the message. No: the short error windows, as before. Leave it on yes: the explanation saves you guessing why a channel doesn't work. |
| Stream analysis on the black screen | When OK is pressed, Automatic | When OK is pressed | For channels without a picture (data service, unknown format), the receiver can read from the stream what the channel sends: files, IP data, updates, applications. When OK is pressed: only when you ask, with OK on the message. Automatic: as soon as the message appears. The row appears only when “Explanations on a black screen” is set to yes. Automatic if you are interested in what data channels send. |
| Show event-progress in channel selection | yes, no | no | Yes: in the channel list, next to each channel you can see how much of the current programme has passed. When you want to see at a glance which programmes have only just started. |
| Providers and New for each satellite | yes, no | no | Yes: in the channel list, under “Satellites”, each satellite also has the rows “Providers” (its channels by provider) and “New” (new channels found during a scan) below its name. No: one row per satellite, and the providers of all satellites stay on the YELLOW key. When you often look for the channels of a particular provider or for newly found ones. |
| Show Message when Recording starts | yes, no | yes | Yes: when a timer recording starts, “A record has been started:” appears on screen for a few seconds with its name. The row is shown only with “Setup Mode” set to Expert. No, if the message bothers you during a film. |
| Load Length of Movies in Movielist | yes, no | yes | Yes: the recordings list shows the length of each one. No: the list opens faster, without lengths. The row is shown only with “Setup Mode” set to Expert. No, if you have a great many recordings and the list is slow to open. |
| Show infobar on channel change | yes, no | yes | Yes: the info bar appears by itself when you change channel. The row is shown only with “Setup Mode” set to Expert. No, if you want the bar only when you press OK. |
| Show infobar on skip forward/backward | yes, no | yes | Yes: the bar appears by itself when you skip forward or back in a recording or film. The row is shown only with “Setup Mode” set to Expert. No, if the bar gets in your way when winding. |
| Show infobar on event change | yes, no | yes | Yes: the bar appears by itself when a new programme starts on the current channel. The row is shown only with “Setup Mode” set to Expert. No, if you don't want the bar in the middle of a film when the next programme starts. |
| When a film starts | Ask user, Resume from last position, Start from the beginning | Ask user | What the receiver does when you start a film or recording you have already half watched: it asks, resumes where you left off, or starts from the beginning. The row is shown only with “Setup Mode” set to Expert. “Resume from last position”, if you want films always to start where you left off, without being asked. |
| When a film is stopped | Ask user, Return to movie list, Return to previous service | Ask user | What the receiver does when you stop a film or recording with STOP: it asks, goes back to the film list, or goes back to the previous channel. The row is shown only with “Setup Mode” set to Expert. When you always give the same answer to the question. |
| When a film ends | Ask user, Return to movie list, Return to previous service, Pause movie at end | Ask user | What the receiver does when the film or recording reaches the end: it asks, goes back to the film list, goes back to the previous channel, or stays paused at the end. The row is shown only with “Setup Mode” set to Expert. When you always give the same answer to the question. |
| Custom skip time for '1'/'3'-keys | a number of seconds, typed with the digit keys | 15 | How many seconds a recording or film skips back (key 1) or forward (key 3). The row is shown only with “Setup Mode” set to Expert. For example longer, to skip adverts in bigger steps. |
| Custom skip time for '4'/'6'-keys | a number of seconds, typed with the digit keys | 60 | How many seconds a recording or film skips back (key 4) or forward (key 6). The row is shown only with “Setup Mode” set to Expert. For example longer, to skip adverts in bigger steps. |
| Custom skip time for '7'/'9'-keys | a number of seconds, typed with the digit keys | 300 | How many seconds a recording or film skips back (key 7) or forward (key 9). The row is shown only with “Setup Mode” set to Expert. For example longer, to skip adverts in bigger steps. |
| Fast Forward speeds | 2, 4, 6, 8, 12, 16, 24, 32, 48, 64, 96, 128 (several at once) | 2, 4, 8, 16, 32, 64, 128 | Which speeds successive presses of fast forward reach. On the row, LEFT / RIGHT select a speed and a digit key ticks it or removes it from the list. The row is shown only with “Setup Mode” set to Expert. When you want fewer steps, so you reach the speed you want quickly. |
| Rewind speeds | 1, 2, 4, 6, 8, 12, 16, 24, 32, 48, 64, 96, 128 (several at once) | 2, 4, 8, 16, 32, 64, 128 | Which speeds successive presses of rewind reach. On the row, LEFT / RIGHT select a speed and a digit key ticks it or removes it from the list. The row is shown only with “Setup Mode” set to Expert. When you want fewer steps, so you reach the speed you want quickly. |
| Slow Motion speeds | 2, 4, 6, 8, 12, 16, 25 (several at once) | 2, 4, 8 | How many times slower slow motion plays, in steps. On the row, LEFT / RIGHT select a speed and a digit key ticks it or removes it from the list. The row is shown only with “Setup Mode” set to Expert. When you want fewer steps, so you reach the speed you want quickly. |
| Initial Fast Forward speed | one of the speeds ticked for fast forward | 2 | The speed on the first press of fast forward. The row is shown only with “Setup Mode” set to Expert. When you want the first press to go faster straight away. |
| Initial Rewind speed | one of the speeds ticked for rewind | 2 | The speed on the first press of rewind. The row is shown only with “Setup Mode” set to Expert. When you want the first press to go faster straight away. |
| Behavior of 'pause' when paused | Play, Singlestep (GOP), Last speed | Play | What pause does when pressed again: starts playback, moves forward one frame at a time, or returns to the speed used before the pause. The row is shown only with “Setup Mode” set to Expert. Singlestep, if you want to find a particular frame in a recording. |
| Behavior of 0 key in PiP-mode | standard, swap PiP and main picture, move PiP to main picture, stop PiP | standard | What the 0 key does while the small picture (PiP) is open: what it normally does, swaps the two pictures, moves the small picture into the main one, or closes the small picture. The row is shown only with “Setup Mode” set to Expert. Only if you use picture in picture. |
| Alternative services tuner priority | DVB-S/-C/-T, DVB-S/-T/-C, DVB-C/-S/-T, DVB-C/-T/-S, DVB-T/-C/-S, DVB-T/-S/-C | DVB-S/-C/-T | When the same channel is in the list as alternatives from satellite (S), cable (C) and terrestrial (T), the order in which the receiver tries them. The row is shown only with “Setup Mode” set to Expert. Only if you have alternatives on more than one type of reception. |
| Limited character set for recording filenames | yes, no | no | Yes: recording file names use only letters without diacritics and simple symbols. No: they use the channel and programme names as they are. The row is shown only with “Setup Mode” set to Expert. When you copy recordings to a device or program that does not accept diacritics in file names. |
| Composition of the recording filenames | standard, Short filenames, Long filenames | standard | How a recording file is named. standard: date and time, channel and programme name. Short filenames: date and programme name. Long filenames: as standard, plus the programme description. The choice is used only while “Setup Mode” is set to Expert; at Simple and Intermediate the name is always the standard one. The row is shown only with “Setup Mode” set to Expert. Short filenames, if you want names that are easy to read on a computer. |
Keys
| UP / DOWN | Move the cursor to another row; its explanation appears on the right. From the last row, DOWN takes you to the first. |
| LEFT / RIGHT | Change the value of the row. On the speed rows, they select the speed in the row. |
| Digits 0-9 | For the margins and skip times, you type the number. On the speed rows, a digit ticks or removes the selected speed. |
| GREEN (OK) | Saves all rows and closes the screen. |
| RED (Cancel) or EXIT | Closes without saving. If you have changed something, it first asks “Really close without saving settings?”. |
| OK | Does nothing on rows with choices: you change the values with LEFT / RIGHT. |
Step by step
See all settings (Expert)
- Press MENU 6 6 5. The cursor is on “Setup Mode”.
- Press RIGHT until “Expert” appears. The list gets longer at once.
- Press GREEN. From now on all menus also show the Expert rows.
Stop timer recordings missing the beginning and end
- Press MENU 6 6 5, then DOWN to “Margin before record (minutes)”.
- Type a number with the digit keys, for example 3.
- Press DOWN to “Margin after record” and type, for example, 10.
- Press GREEN. The margins apply to recordings you set from the guide from now on.
Make the info bar stay longer
- Press MENU 6 6 5, then DOWN to “How long the info bar stays on screen”.
- Press RIGHT until, for example, “15 seconds”.
- Press GREEN.
Problems and solutions
I can't find a row I read about.
Many rows appear only with “Setup Mode” set to Intermediate or Expert. Set the first row to Expert, then look for the row, or use “Search settings” (TTX from a menu).
I set the margins and the recording still misses the end.
The margins apply only to recordings set after the change. A recording already set keeps its original times: open it from the timer list and change its end time.
The receiver changed channel by itself for a recording.
It does this with “Recordings always have priority” set to yes, when the tuner is busy with the channel you are watching. Set the row to no if you want to be asked.
The UP and DOWN arrows open the radio list instead of changing channel.
That is the factory setting. Set “Up and down arrows while watching” to “Change channel (up: next)”.
The screen title is “Customize”, not “OSD Preferences”.
It is the same screen: the menu name and the screen title are different.
I changed “2D acceleration” and I don't see any difference.
The row only takes effect at the next interface restart: Main menu > Power & Restart > Restart Interface.
Related topics
Differences between receivers
“2D acceleration on the video card” and “Processor mode” appear only on receivers that have them; the Amiko Viper 4K V20 has them. The “12V output” row appears only on receivers with a 12 V output; the Amiko Viper 4K V20 does not have one, so the row is not shown.