

Swap File
Screenshots are being added: so far 2 from the receiver and 6 from the web interface; the aim is at least 5 of each, with arrows and frames, and, where a setting changes what you see, a before and after comparison.
English screenshots coming: some of the pictures below still show the receiver and the web interface in Romanian. The rows, keys and steps described on this page are the English ones.
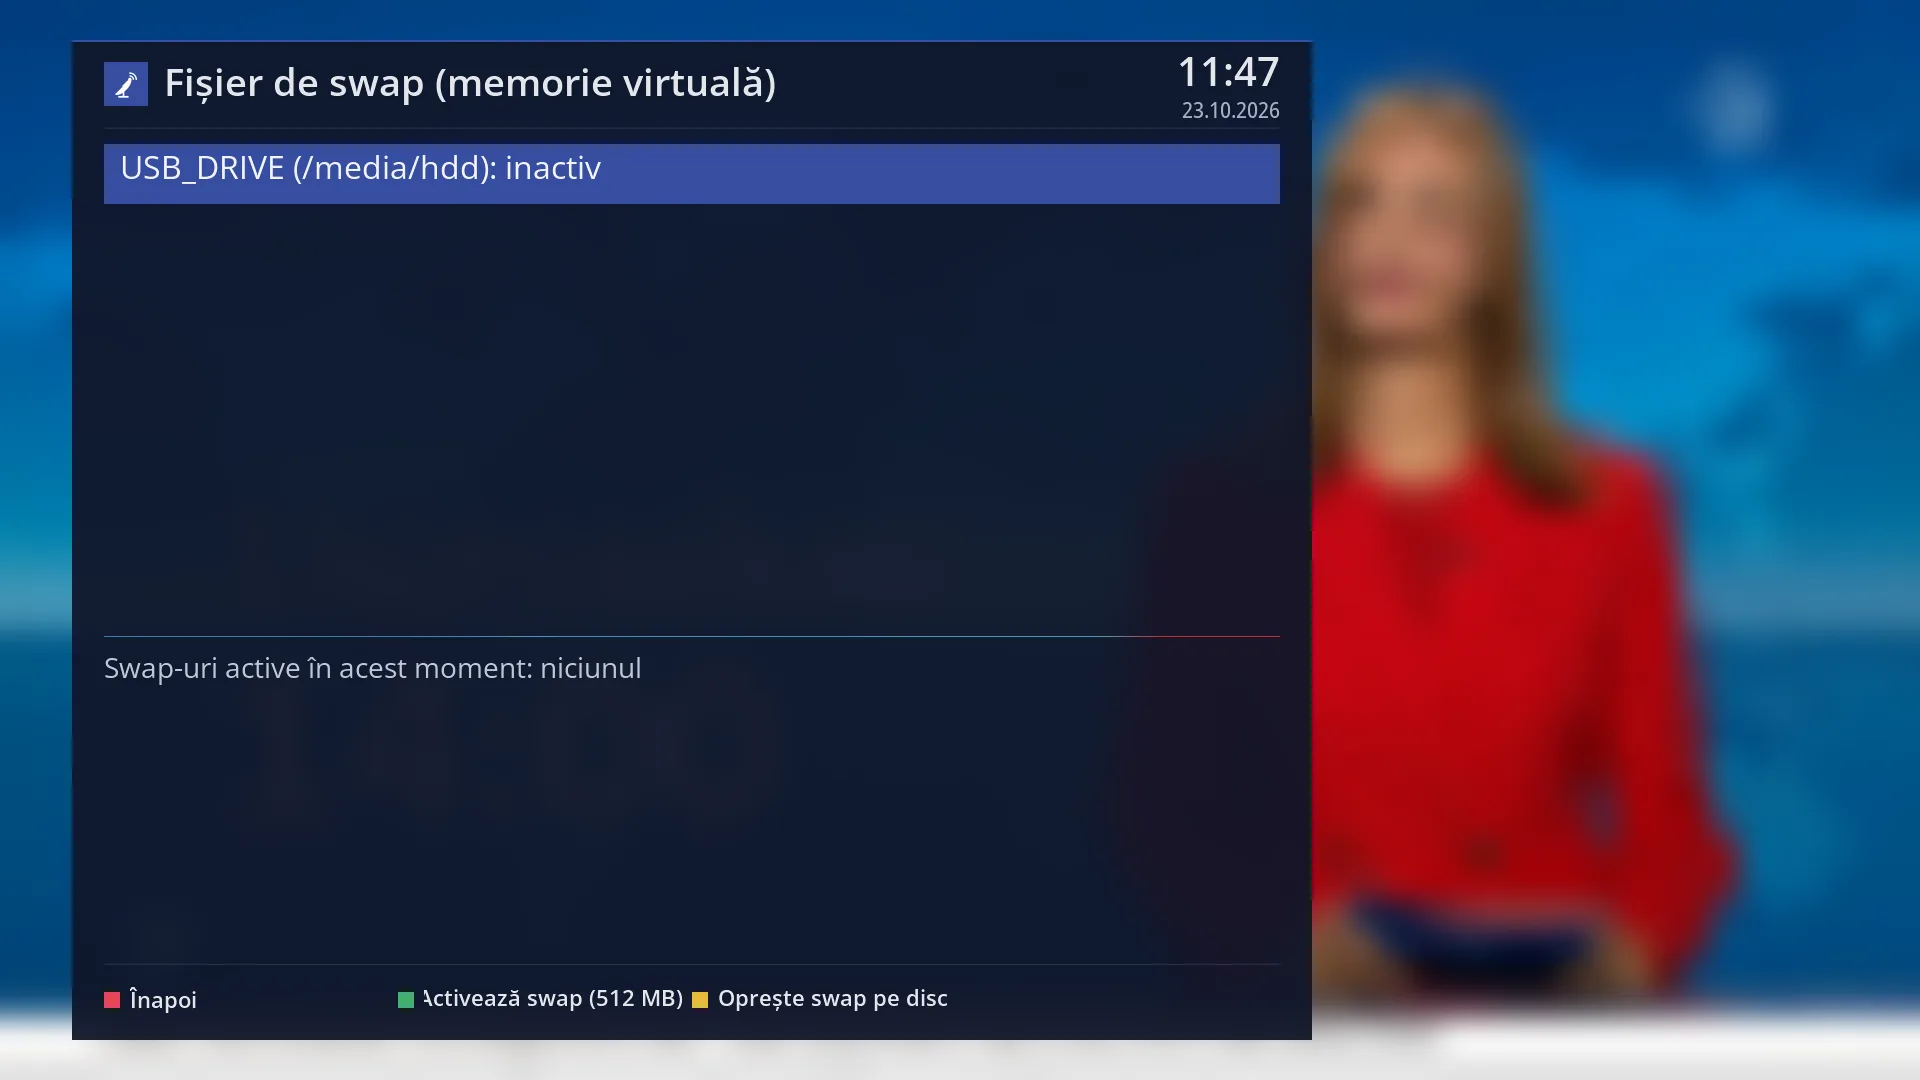
- 1 A mounted disk: the name, the mount point and the status (inactive or ACTIVE).
- 2 The swaps active now and the message from the last command.
- 3 RED “Back”.
- 4 GREEN turns on the 512 MB swap, YELLOW turns it off.
What it is for
The swap file is spare memory on a disk. When the receiver's memory fills up, some of what is not in use right now moves to this file, so that programs do not stop.
This screen creates a 512 MB file on the disk you choose and turns it on, or turns it off. It helps when you install large plugins or when the receiver runs out of free memory. For normal use you do not need it.
Swap only goes on a mounted hard disk or USB stick, never in the receiver's internal memory.
Swap does not start by itself after the receiver restarts. If you want it, turn it on again after each start. The file stays on the disk after you switch off.
How to get here
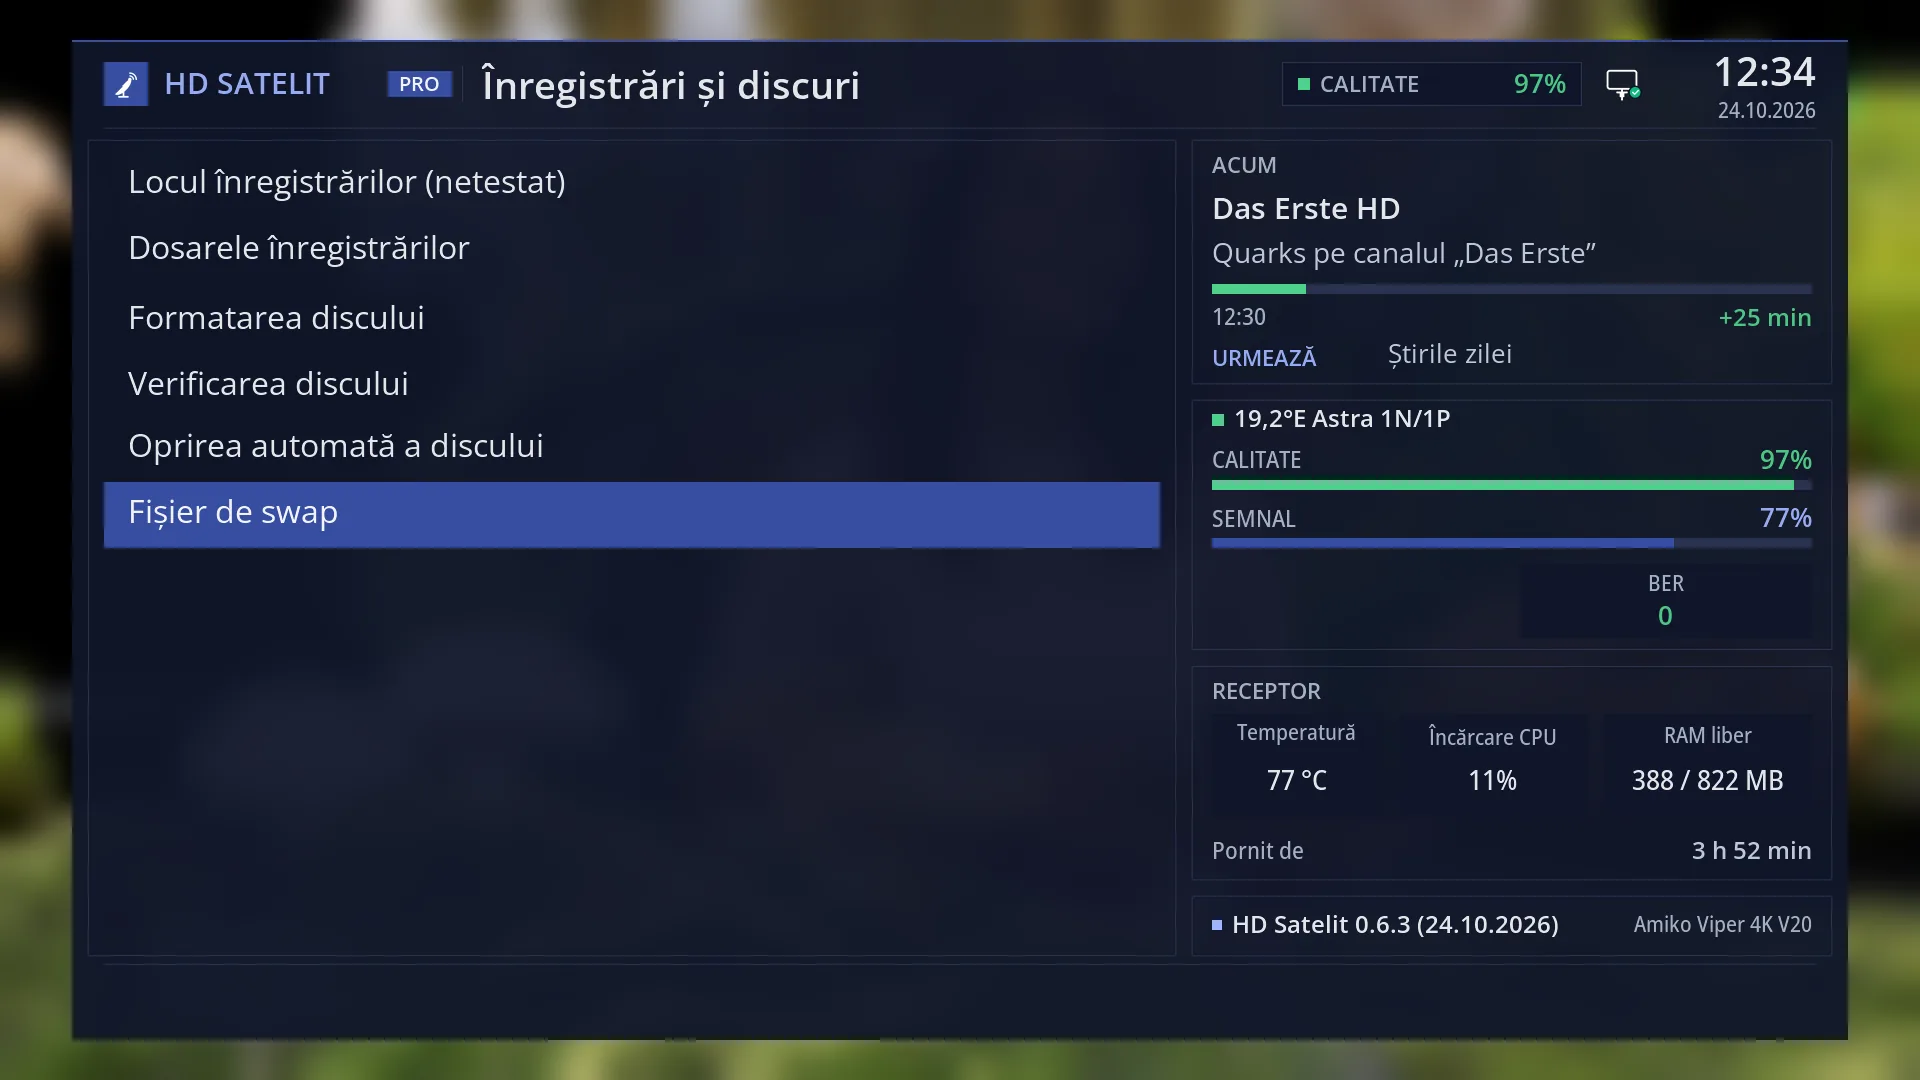
Path: Main menu > Settings > Recording & Storage Setup > Swap File.
Keys on the TV screen: MENU 6 5 6.
The row appears in the Intermediate (factory default) and Expert setup modes. In Simple mode it is hidden.
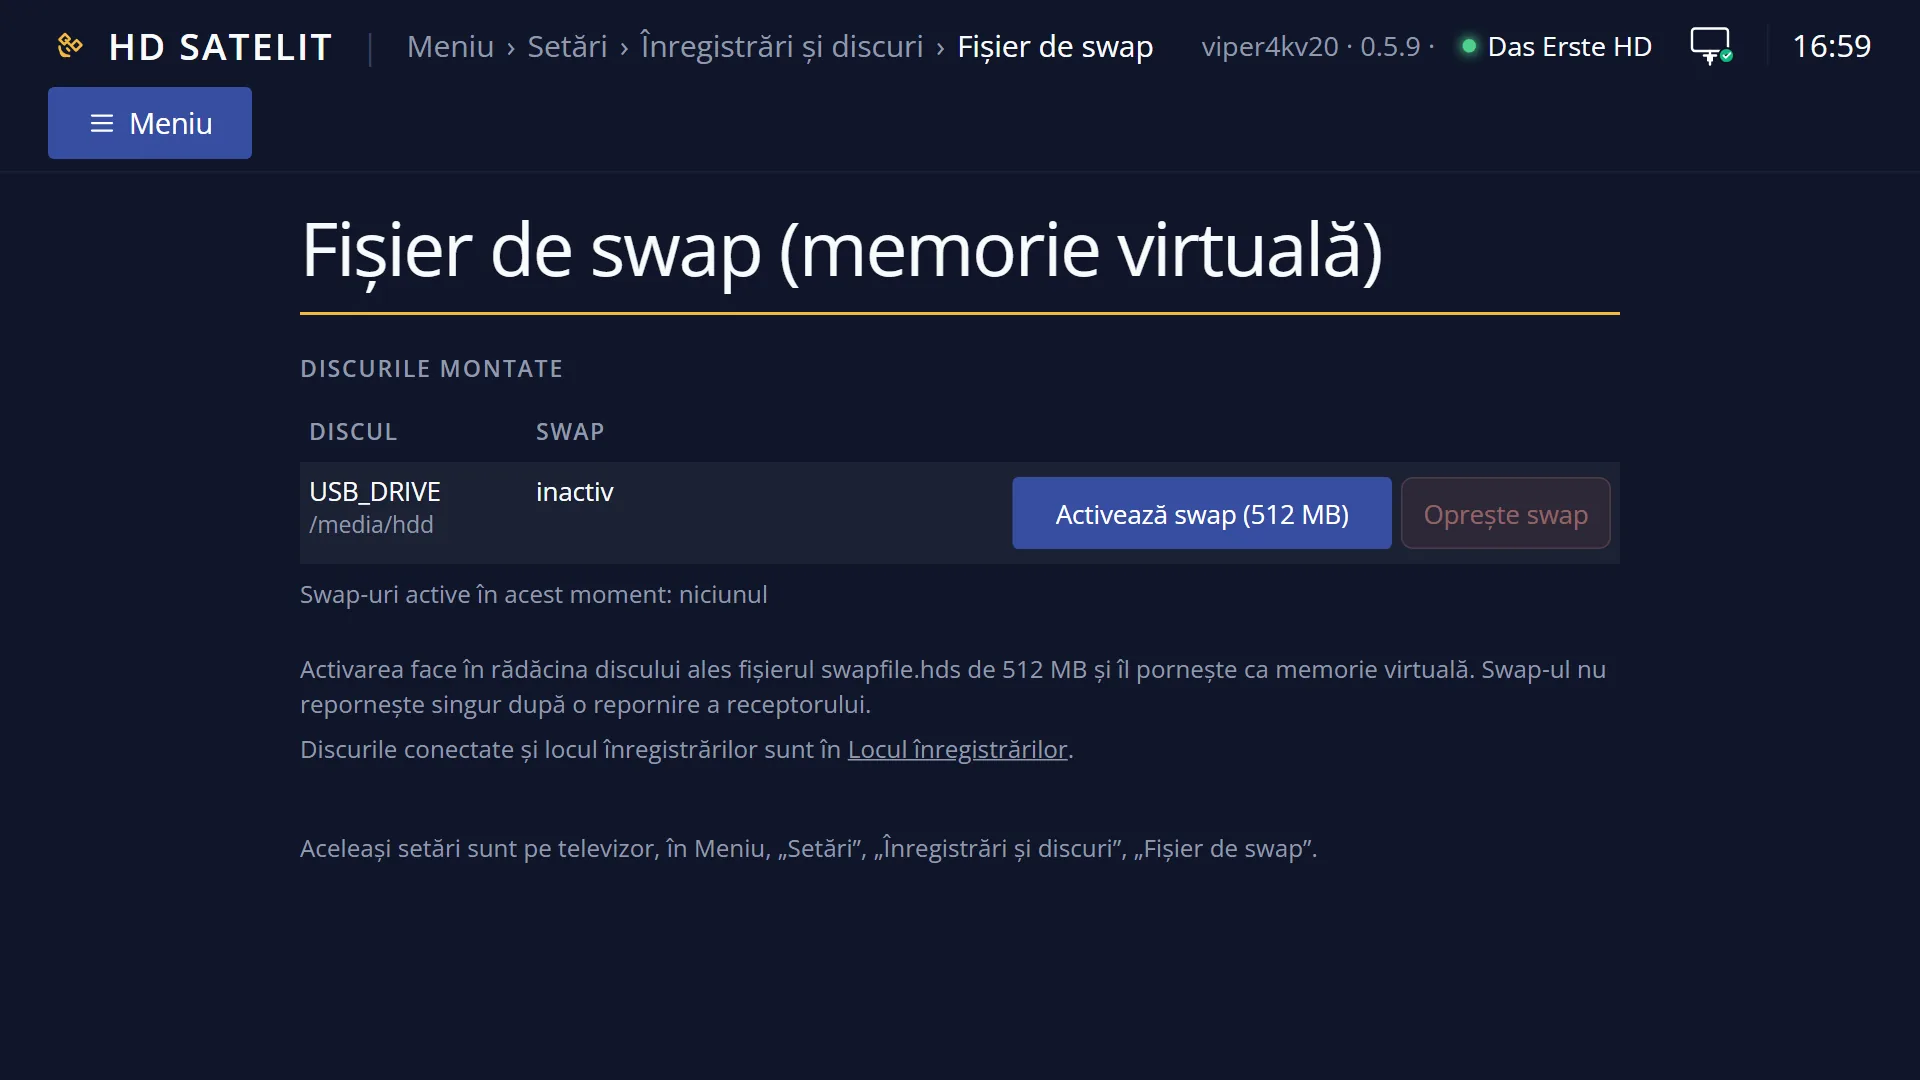
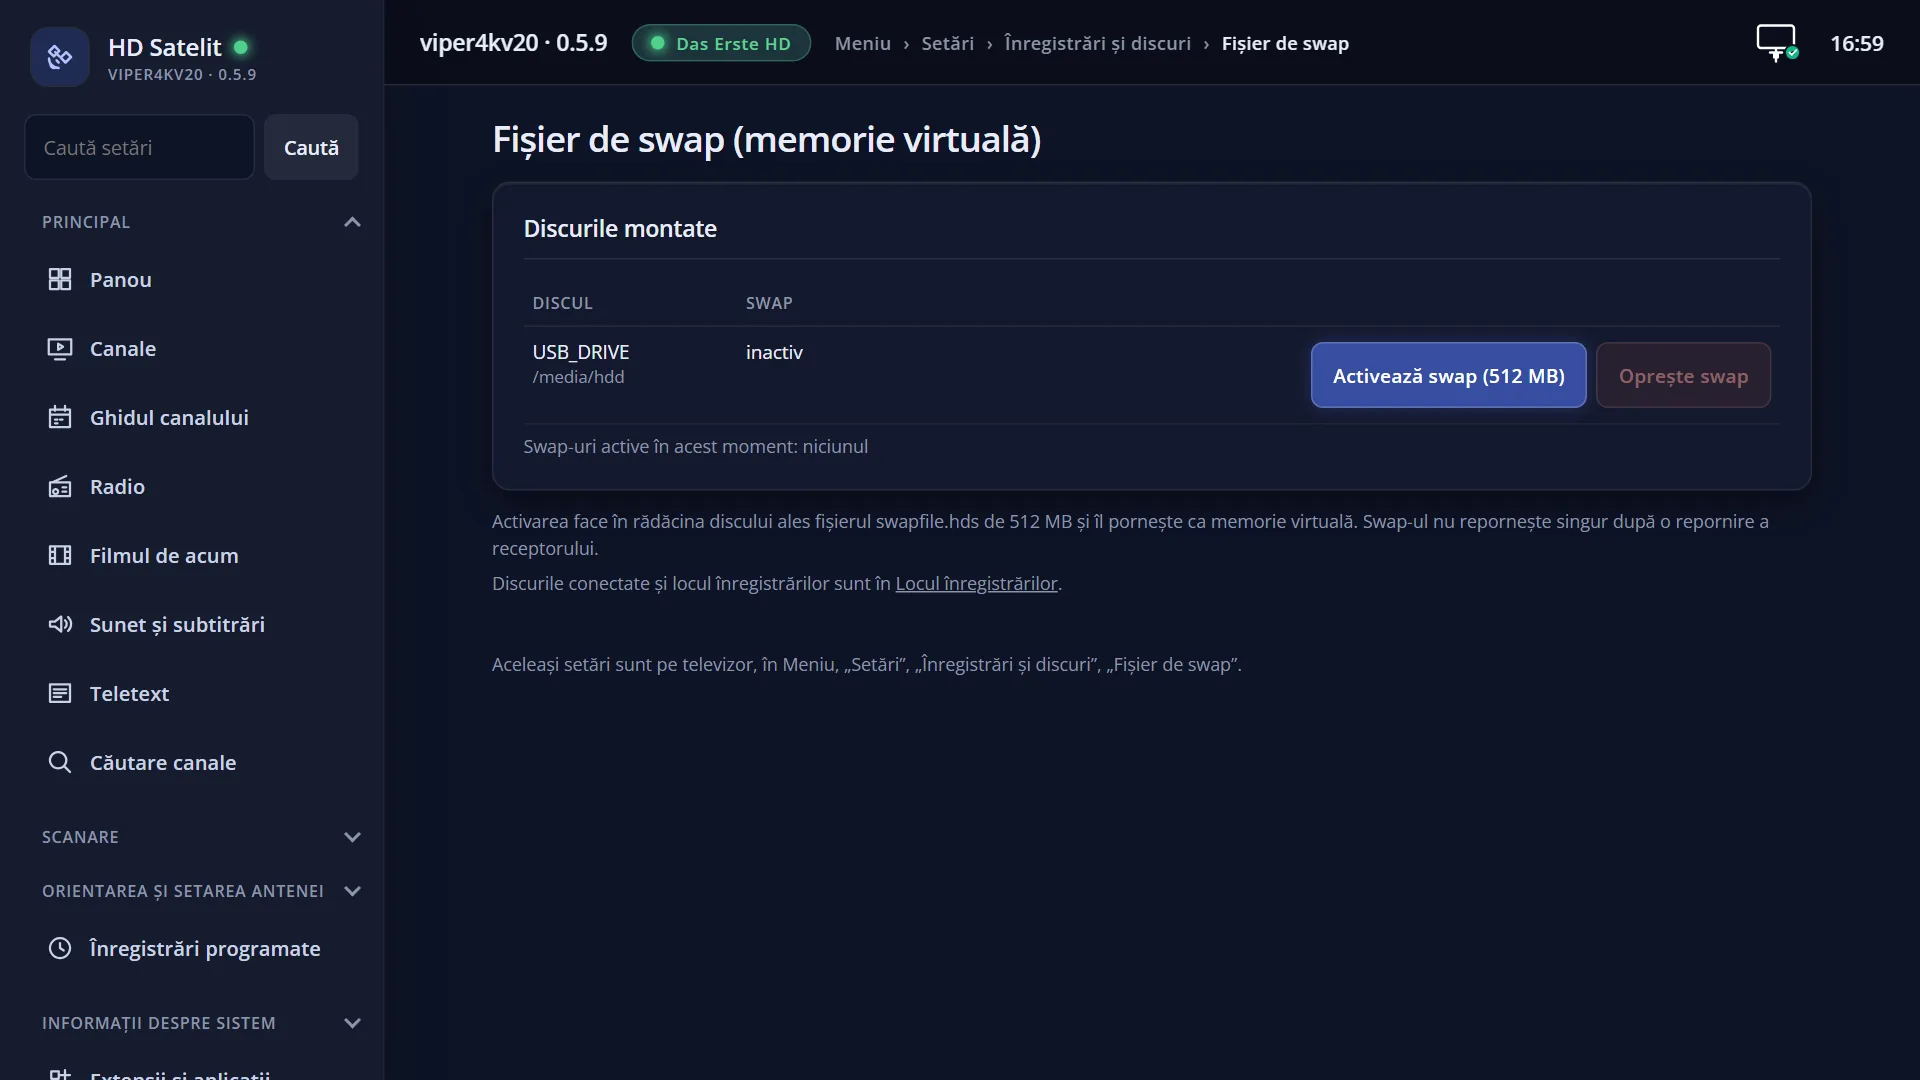
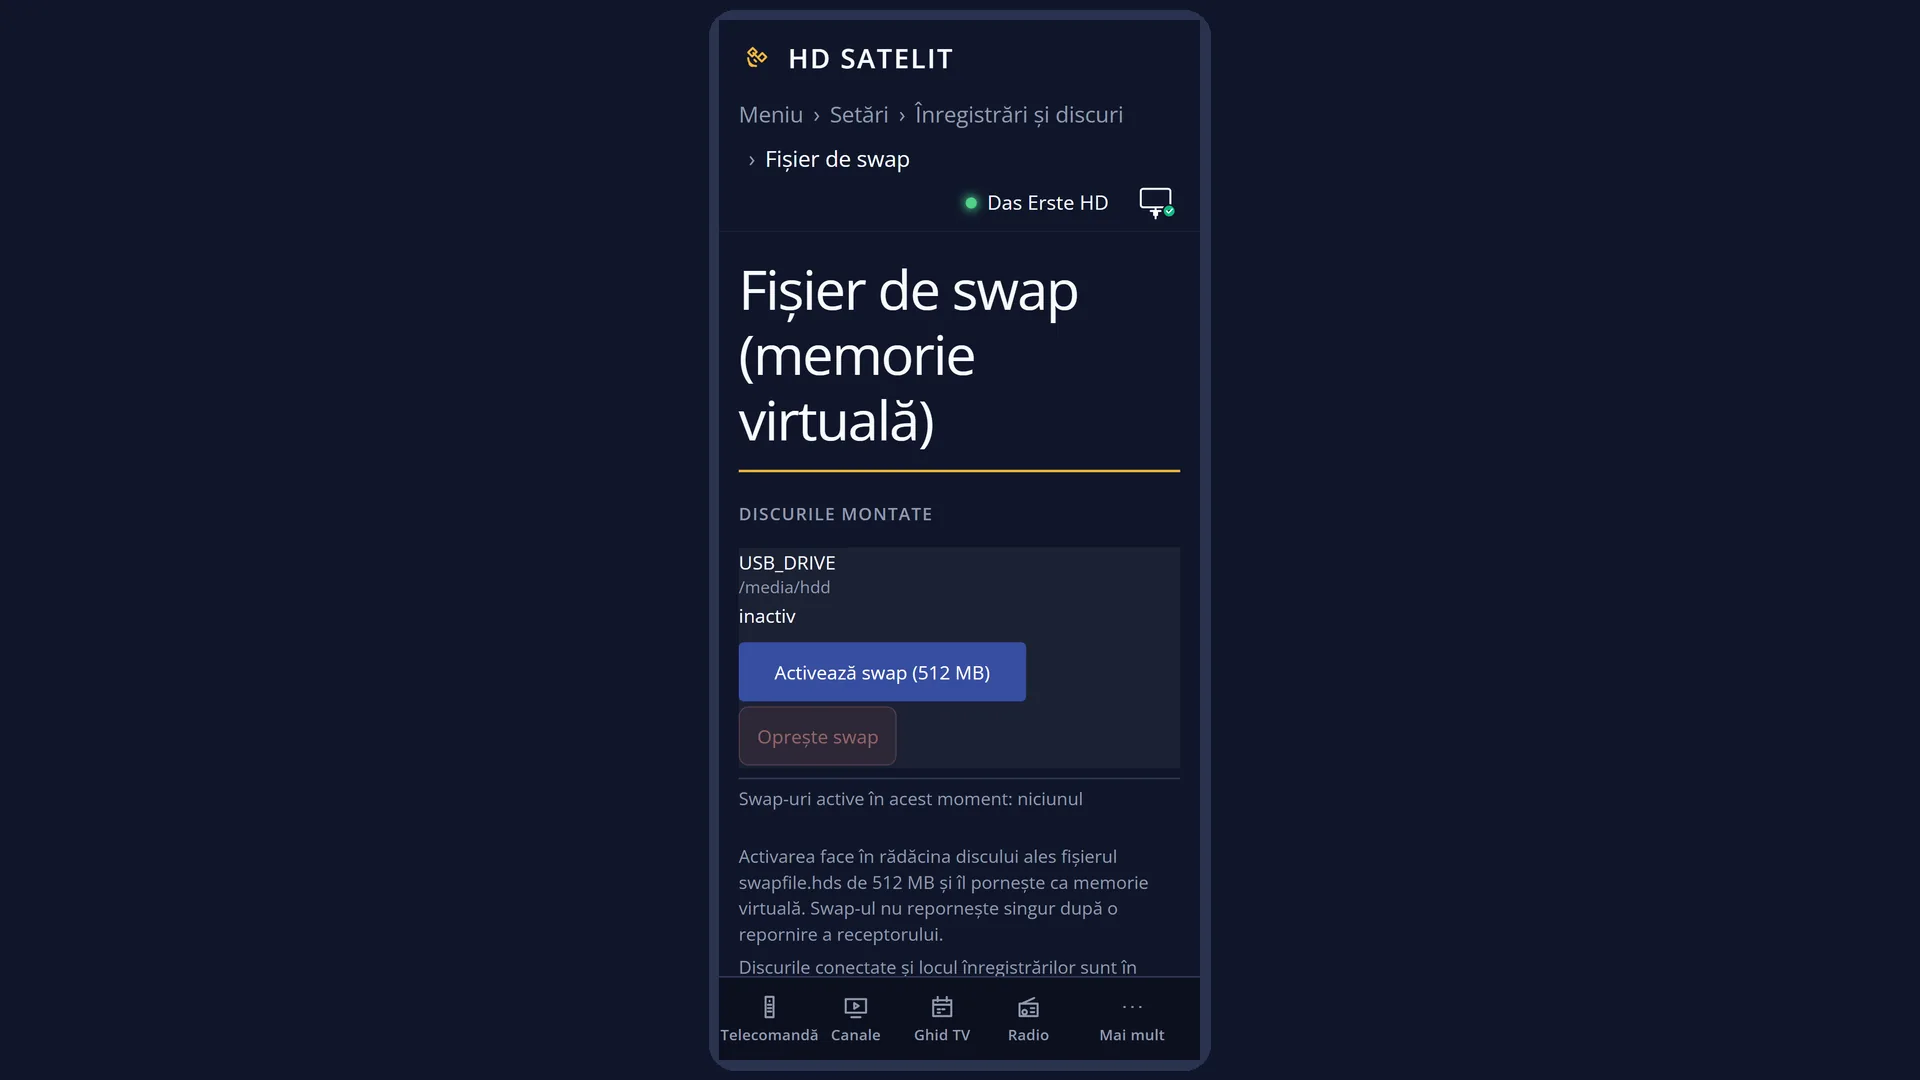
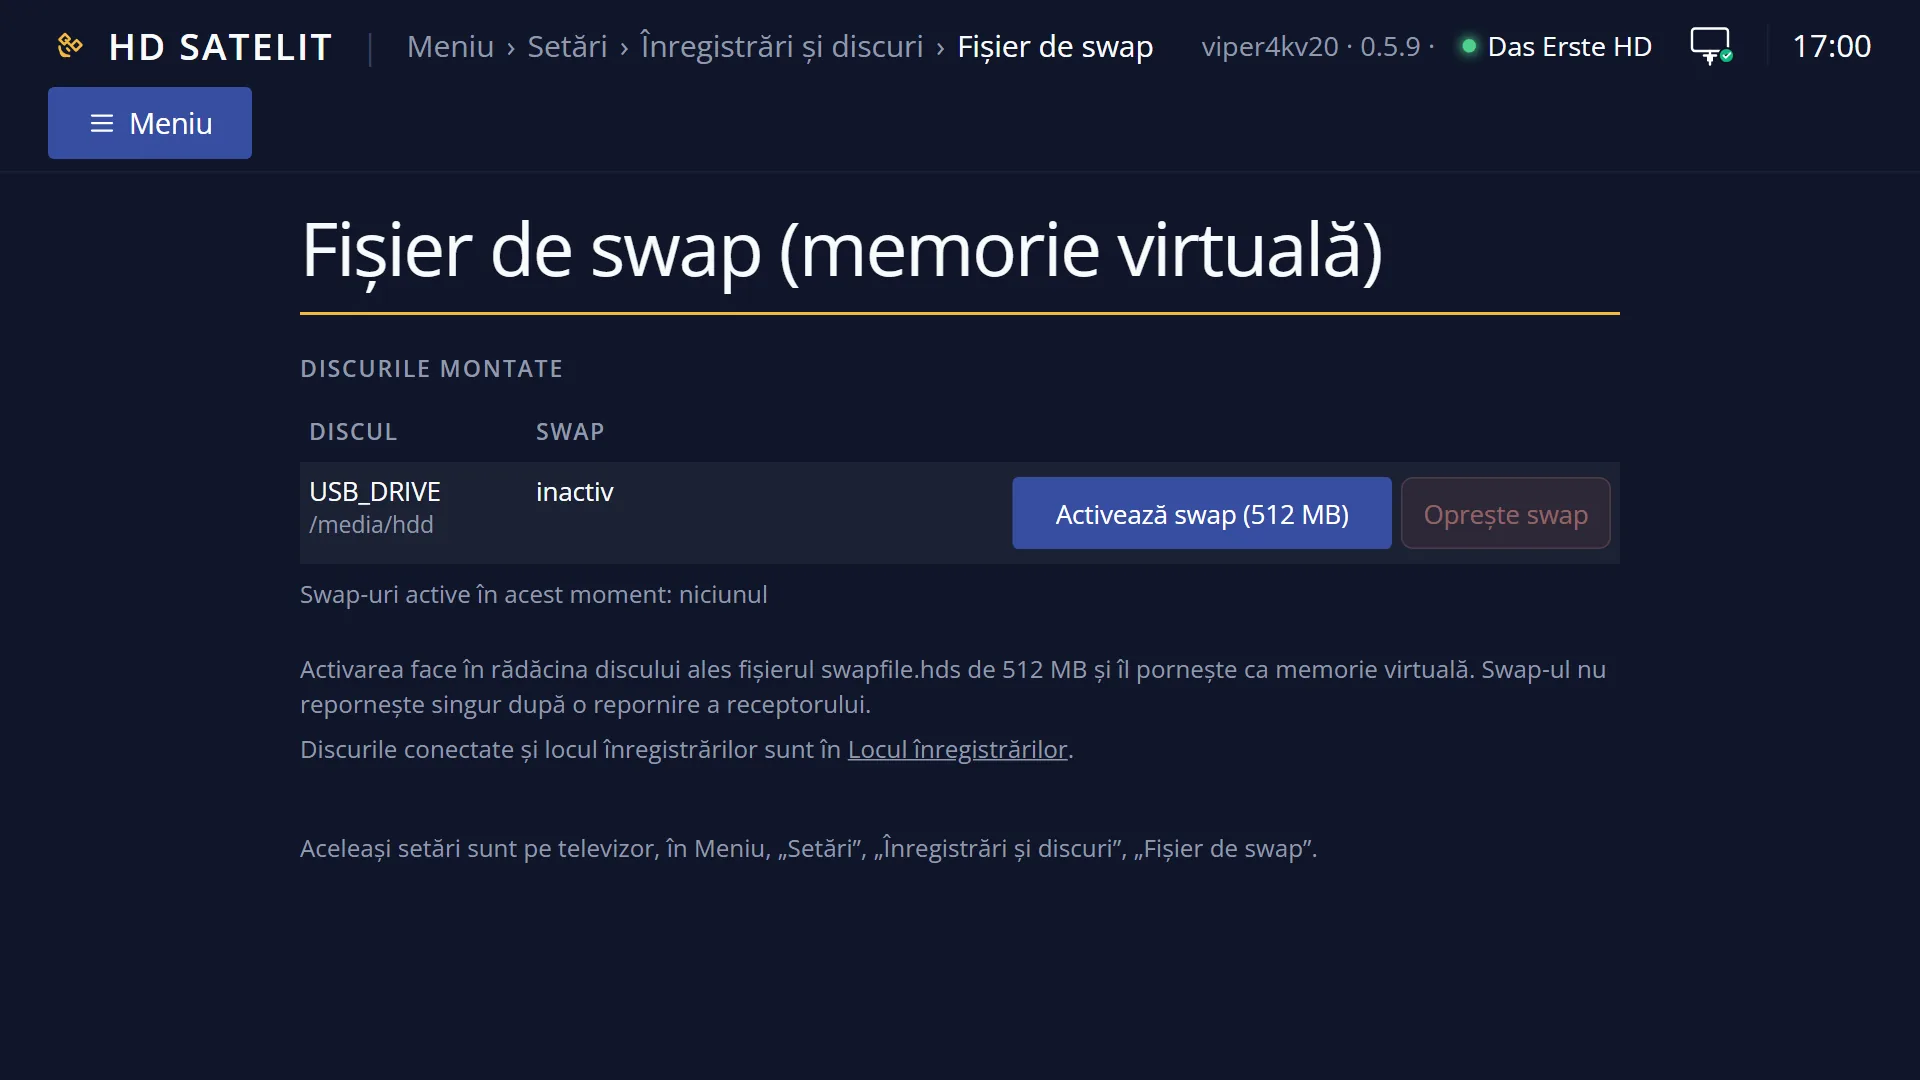
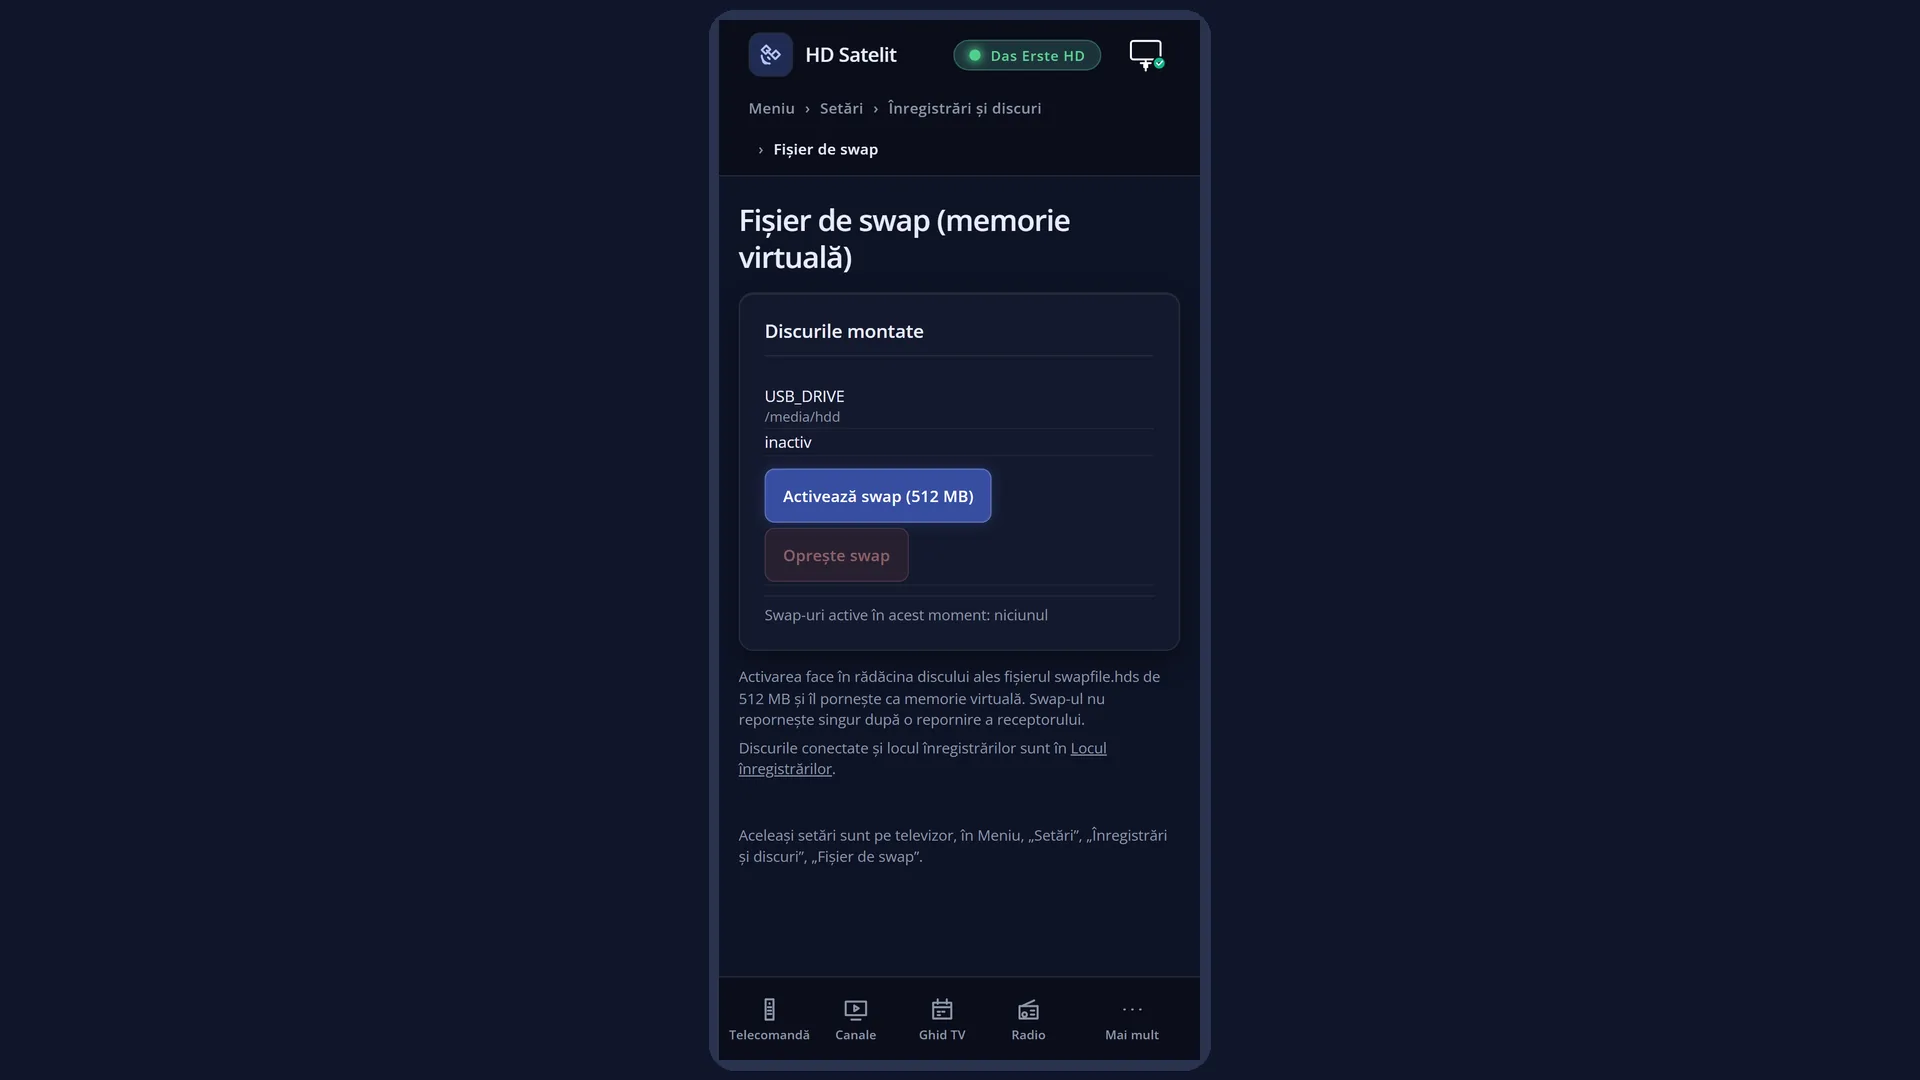
In the web interface: the /swap page (“Swap file (virtual memory)”), with the same disks and the same commands, each one with a confirmation.
What you see on the screen
At the top: the title “Swap file (virtual memory)”, the clock and the date.
In the list, one row for each mounted disk: the disk name, where it is mounted and its status, for example “USB_DRIVE (/media/hdd): inactive”. “ACTIVE” means the swap on that disk is running now. With no disk, it says “No HDD/USB disk currently mounted.”.
Below the line, the status: “Currently active swaps: none” or the list of those running. While it works, this shows for example “Creating the swap file on ...”, and at the end “The swap on ... is active.” or the error message.
At the bottom, the keys: RED “Back”, GREEN “Enable swap (512 MB)” and YELLOW “Stop the disk swap”. With no disk mounted, GREEN and YELLOW are not shown.
Rows and settings
| Row | Values | Default | What it does |
|---|---|---|---|
| A disk in the list | inactive, ACTIVE | inactive | You choose the disk on which you turn swap on or off. “ACTIVE” shows that the swap file on that disk is in use now. When you want swap on a different disk from the one selected. |
| Enable swap (512 MB) | Creates a 512 MB file on the chosen disk and turns it on as spare memory. On a FAT32 USB stick it takes longer. It does nothing if swap is already on for that disk. When you install large plugins or the receiver runs out of free memory. | ||
| Stop the disk swap | Turns off the swap on the chosen disk. The file stays on the disk. Before you remove, format or check the disk: while swap is running on it, the disk cannot be unmounted. |
Keys
| UP / DOWN | Moves the cursor to another disk. |
| GREEN | “Enable swap (512 MB)” on the chosen disk. |
| YELLOW | “Stop the disk swap” on the chosen disk. |
| RED / EXIT | “Back”: closes the screen. Swap that is on stays on. |
| OK | Does nothing here. The commands are on the colour keys. |
Step by step
Turning on swap on a USB stick
- Plug in the USB stick and press MENU 6 5 6.
- Move the cursor to the USB stick and press GREEN.
- Wait for the message “The swap on ... is active.”. The USB stick's row shows “ACTIVE”.
Turning off swap before you remove the disk
- Press MENU 6 5 6.
- Move the cursor to the disk showing “ACTIVE” and press YELLOW.
- When the row shows “inactive”, you can remove the disk or format it.
Problems and solutions
I cannot see the GREEN and YELLOW keys.
No hard disk or USB stick is mounted. Plug one in and open the screen again.
After a restart, swap is no longer active.
This is by design: swap does not start by itself when the receiver starts. Turn it on again with GREEN.
The message “The swap on this disk is already active.” appears.
There is nothing to do: the swap on that disk is already running.
The message “A swap file operation is already running. Wait for it to finish.” appears.
A start or stop begun from the TV or from the web page has not finished. Wait a few seconds.
The message “Swap did not start on ...” appears with a code.
There is no room for 512 MB on the disk, the disk is read-only or it is no longer mounted. Free up space, plug it in again or choose another disk.
Formatting or checking the disk says swap is on for it.
First turn off the swap on that disk with YELLOW, then start the formatting or check again.
The message “The chosen disk is no longer mounted. Choose again.” appears.
The disk was removed in the meantime. Plug it back in and open the screen again.