

Sound Output & Downmix
English screenshots coming: some of the pictures below still show the receiver and the web interface in Romanian. The rows, keys and steps described on this page are the English ones.
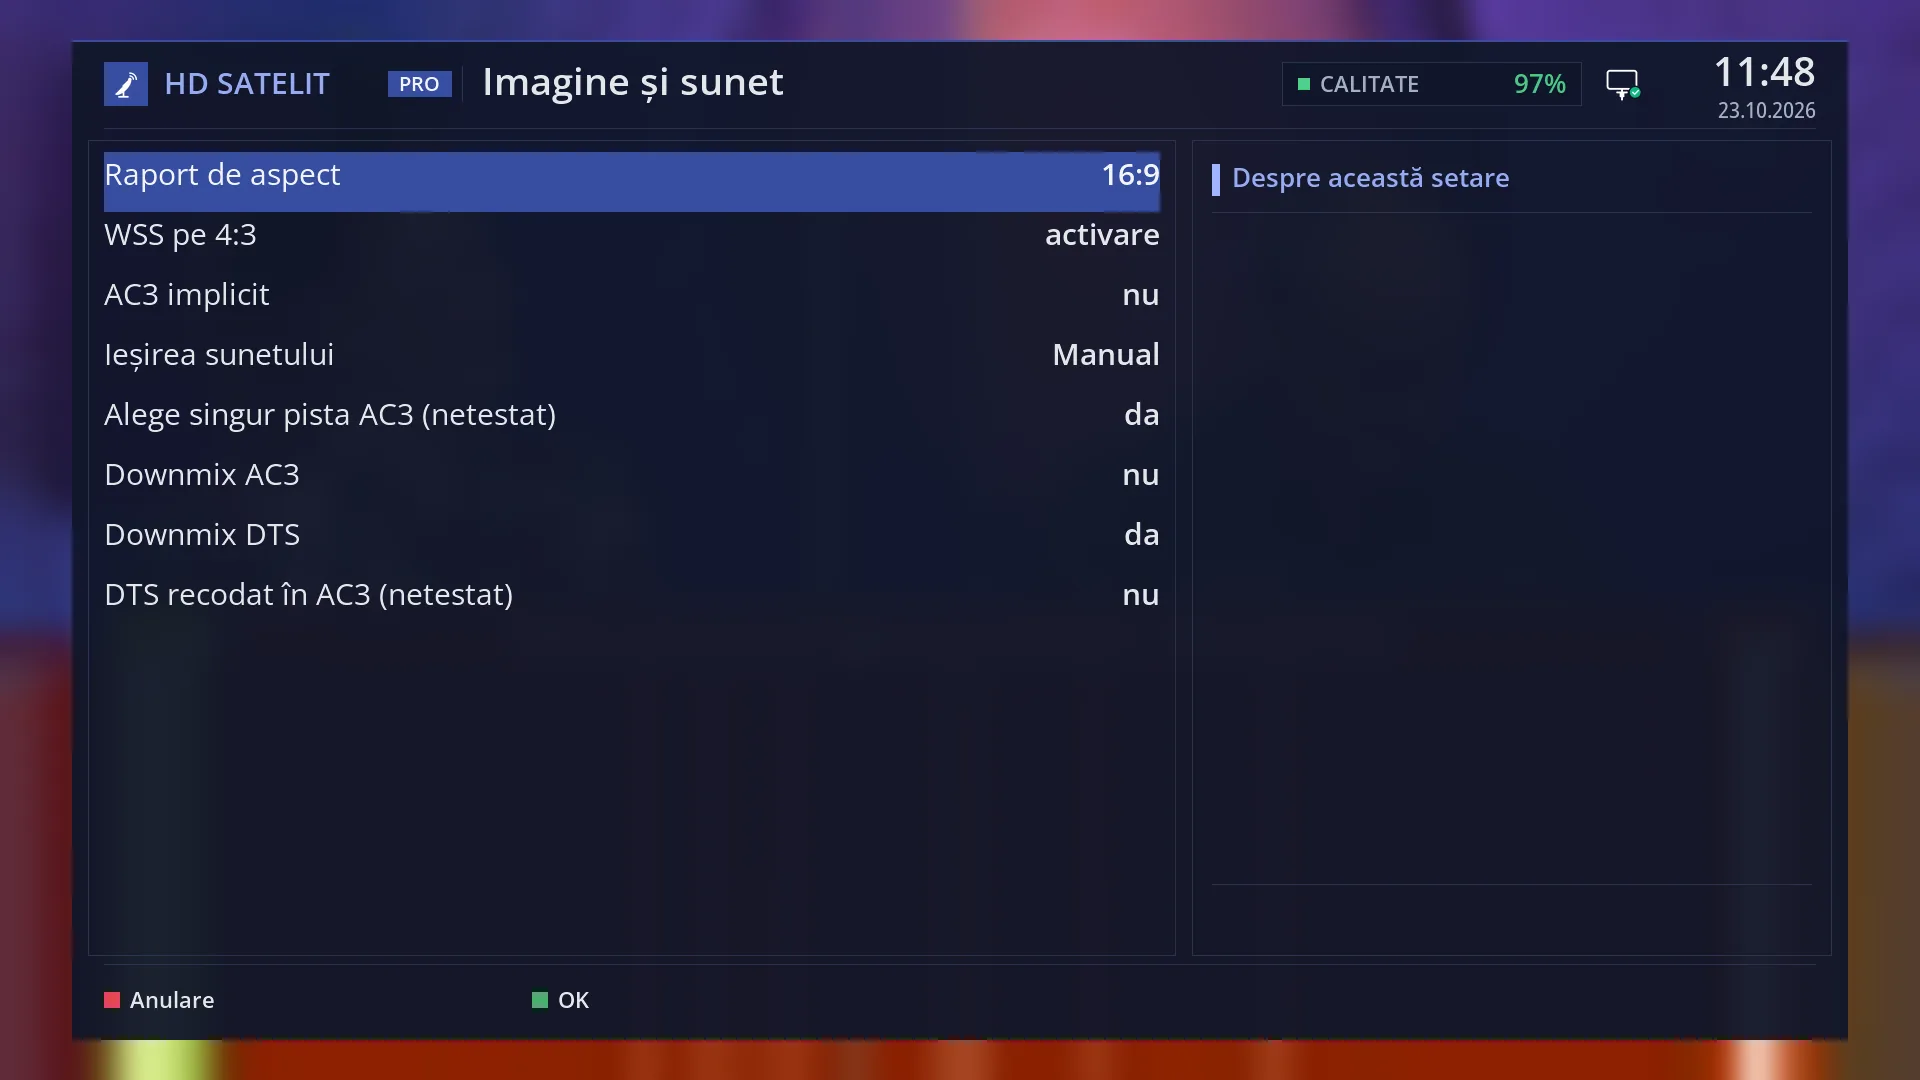
- 1 The older picture rows: aspect ratio and WSS.
- 2 “AC3 default”: which track starts on channels with several tracks.
- 3 “Sound output” (Automatic or Manual) and automatic choice of the AC3 track.
- 4 AC3 and DTS downmix (only with Manual) and DTS re-encoded to AC3.
- 5 “About this setting”: the explanation of the selected row.
- 6 RED Cancel, GREEN OK (saves).
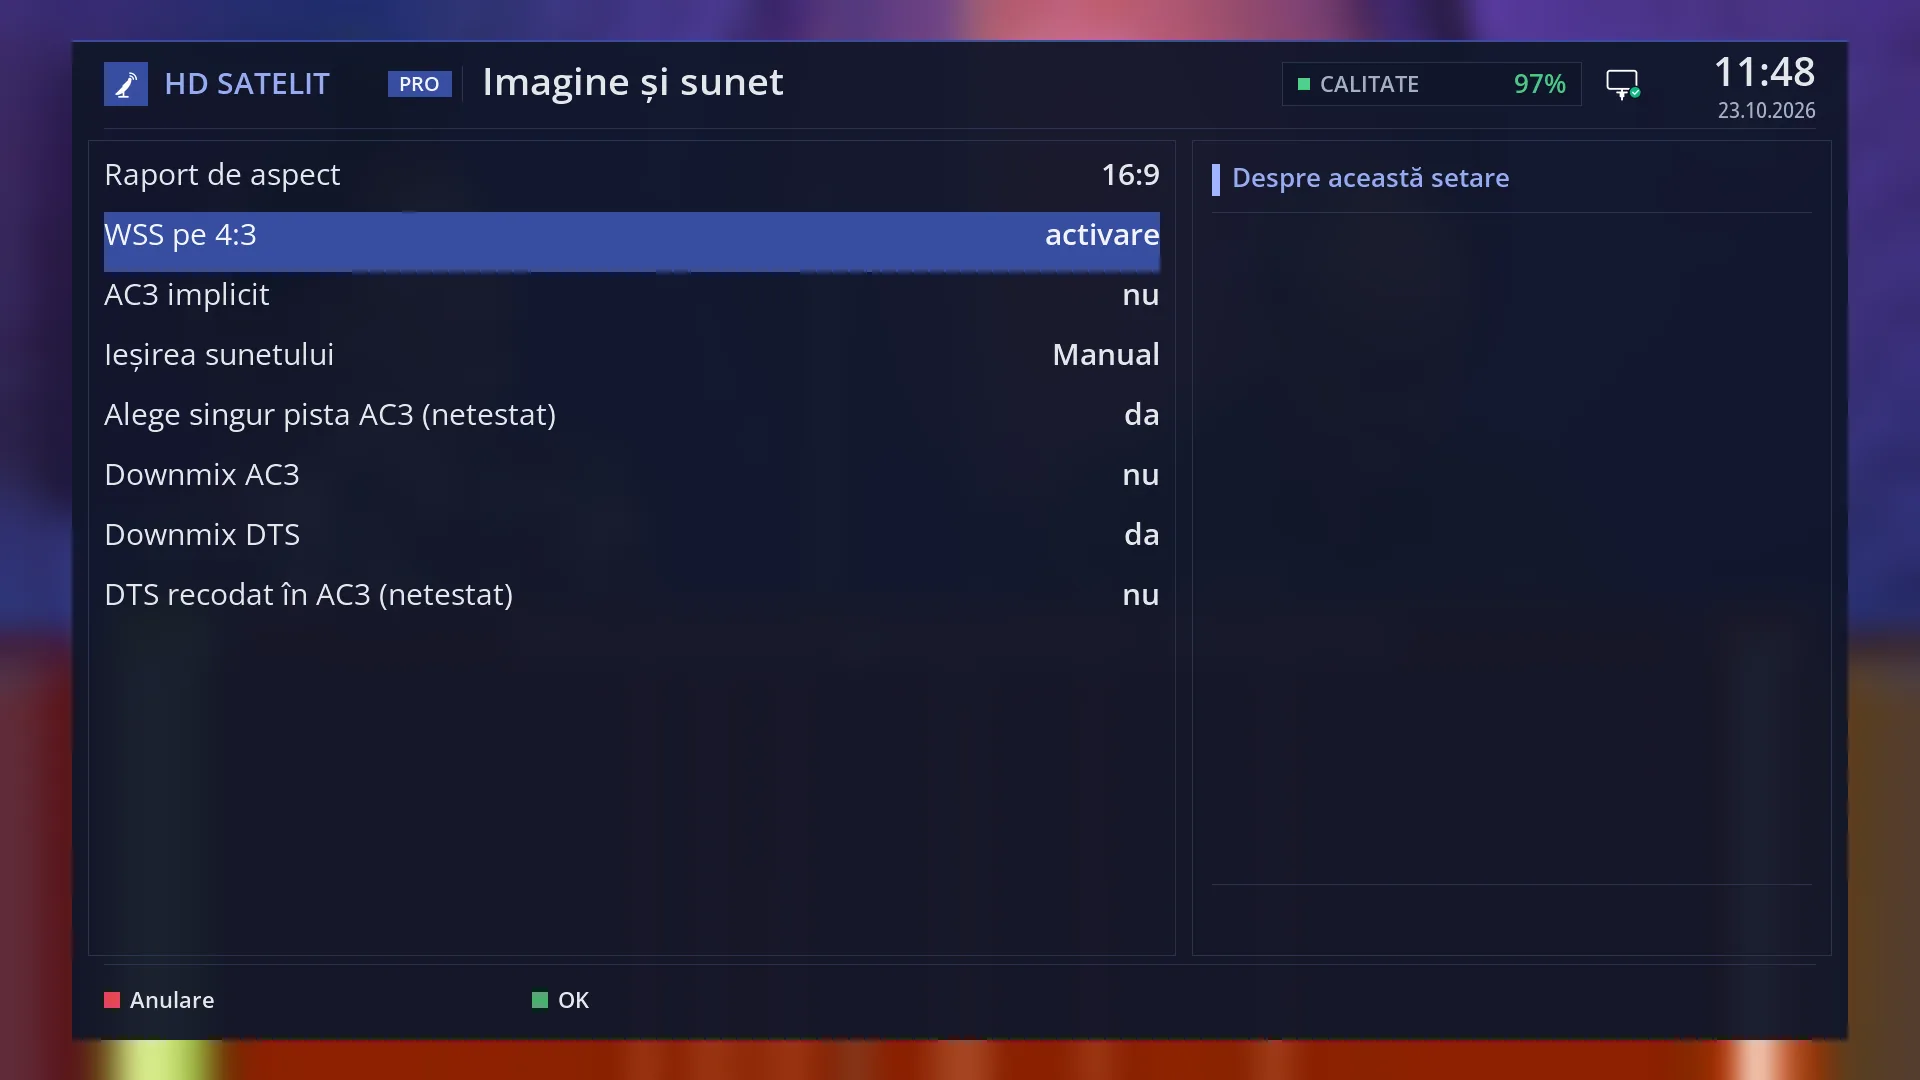
- 1 The selected row: “WSS on 4:3: enable”.
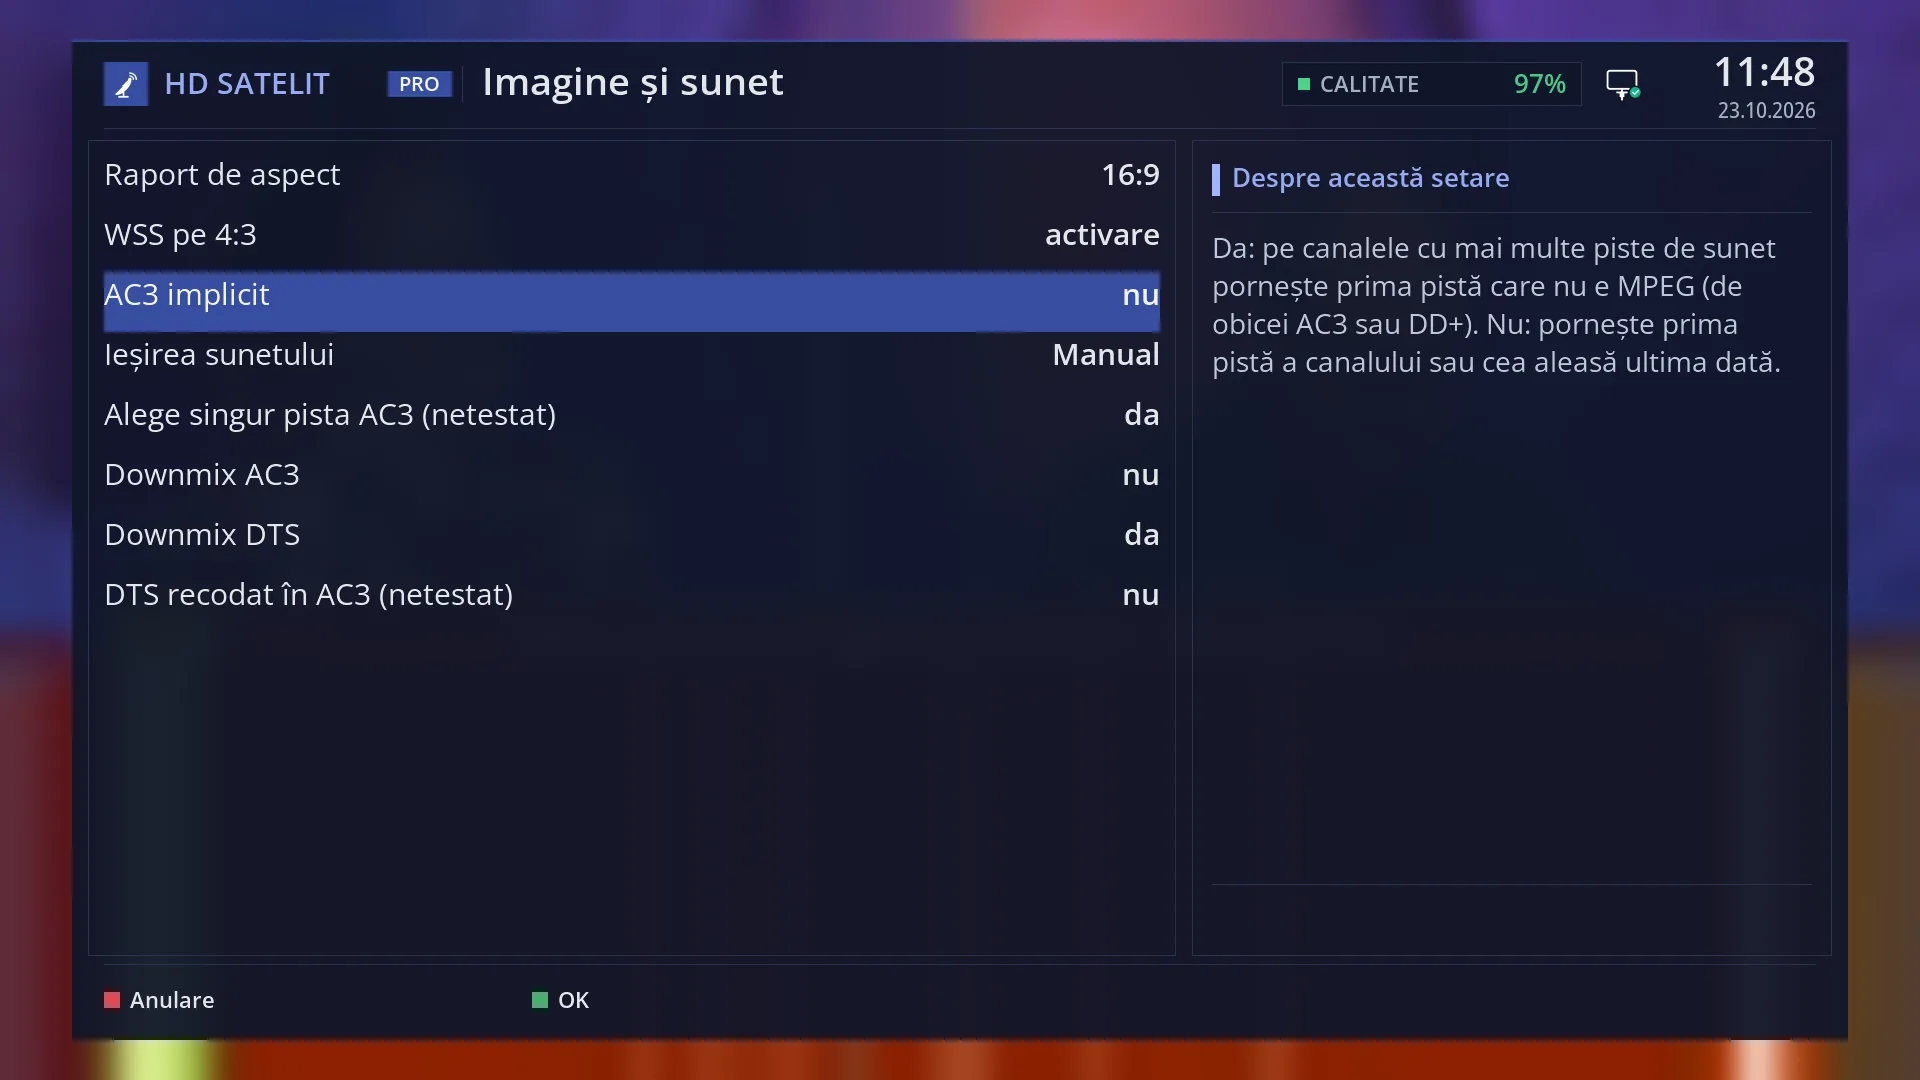
- 1 The selected row: “AC3 default: no”.
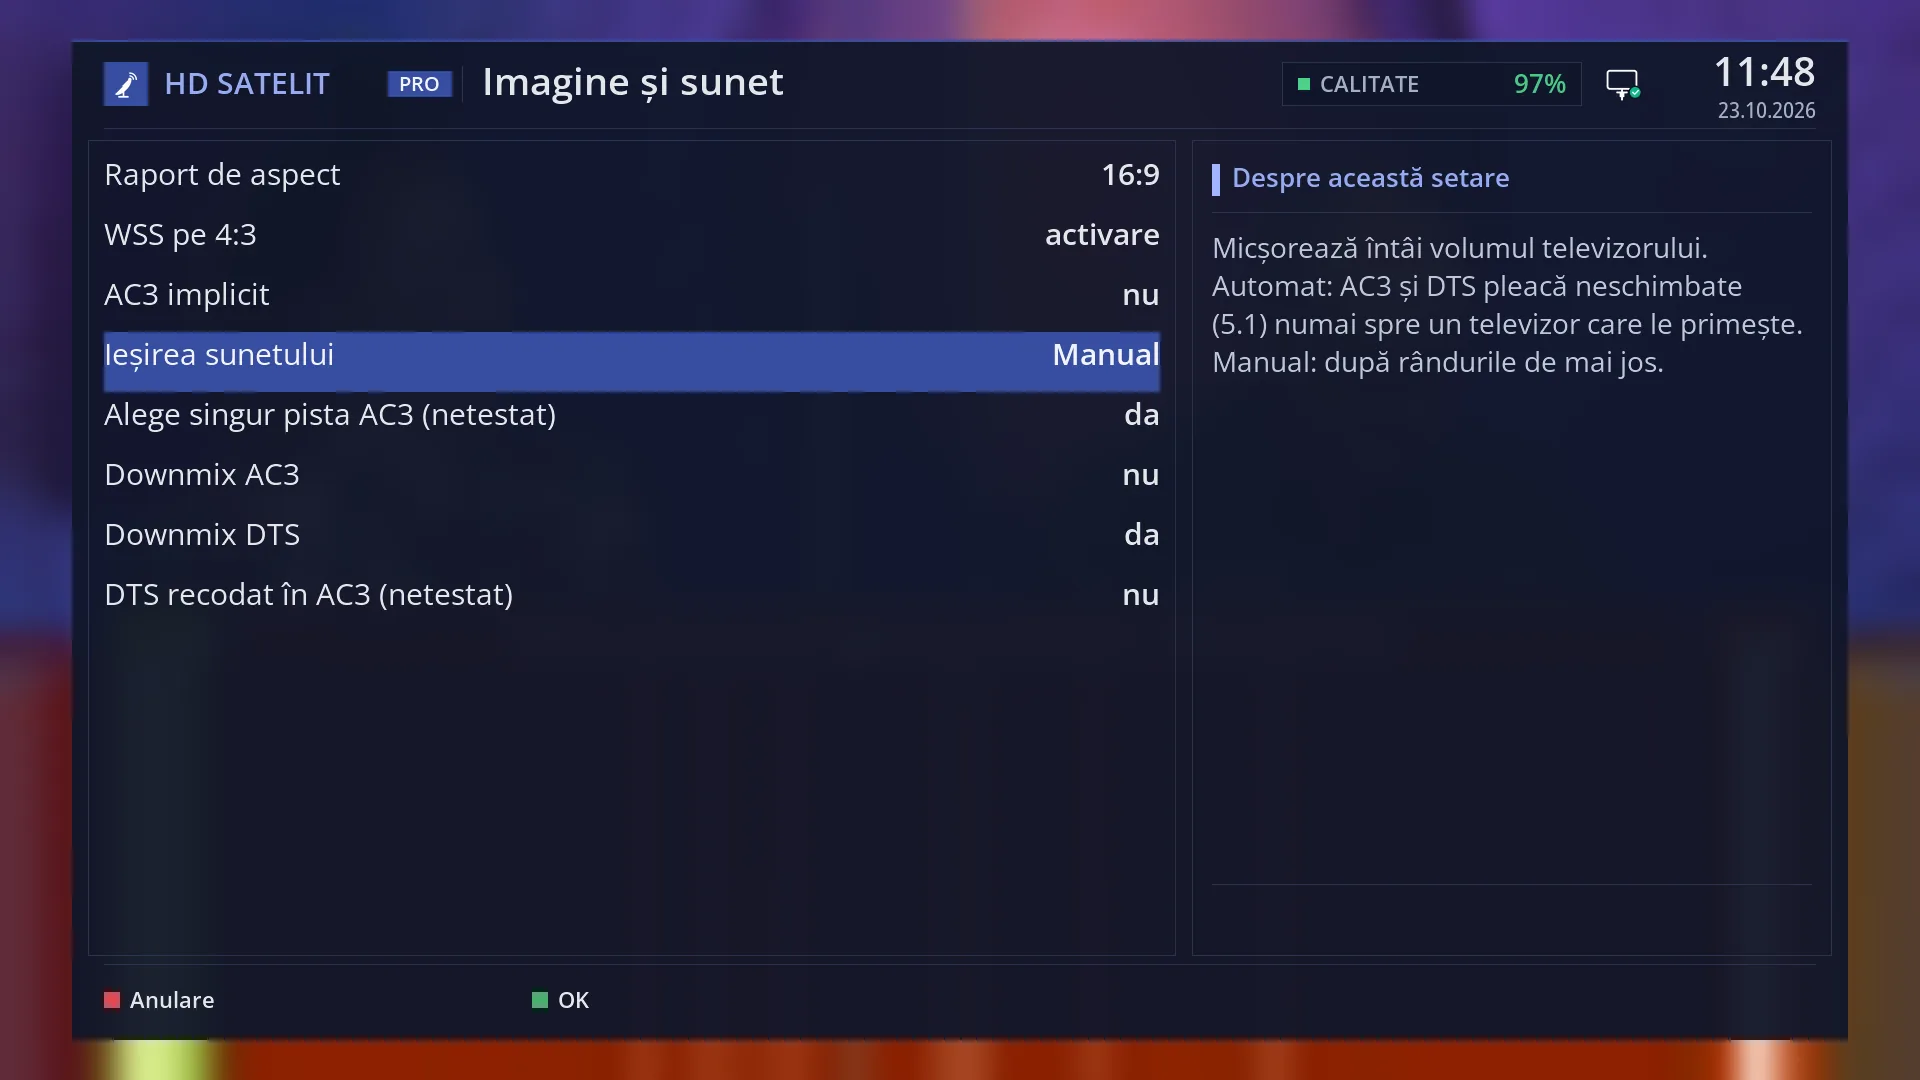
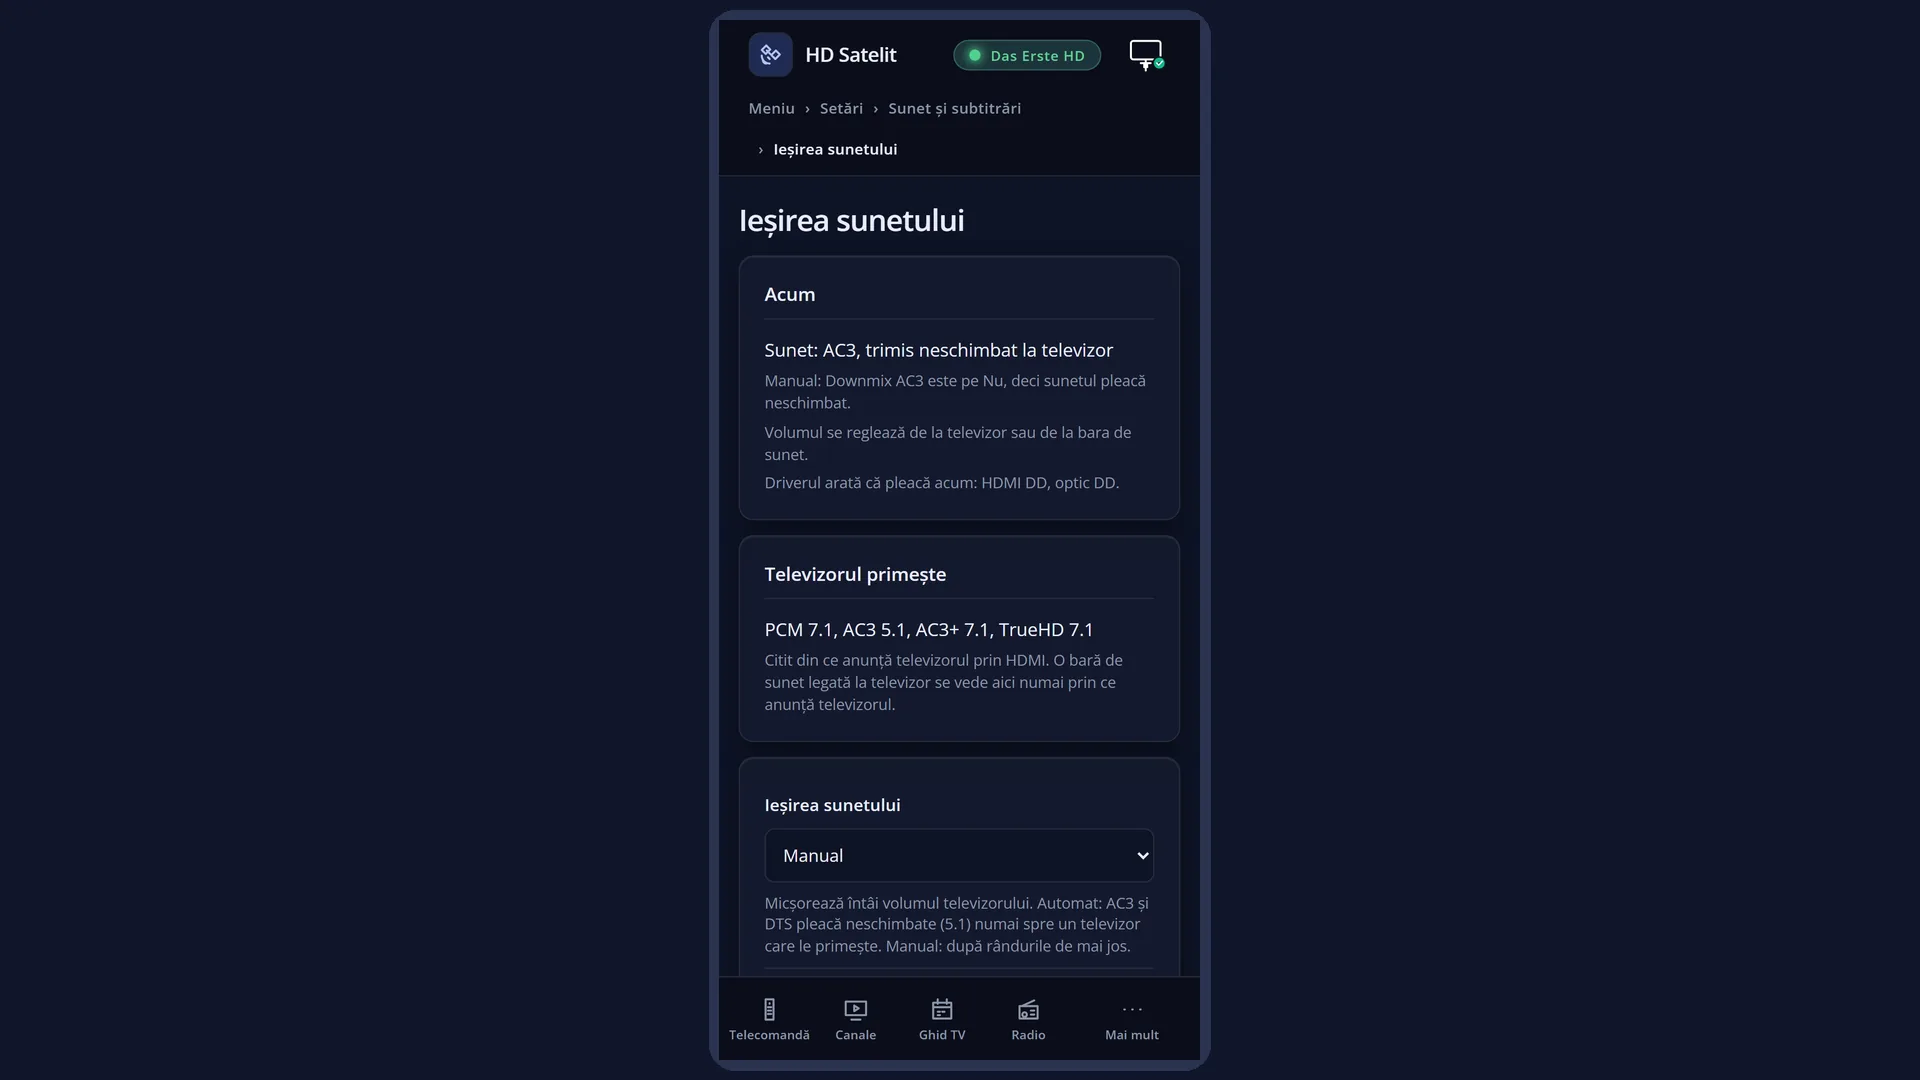
- 1 The selected row: “Sound output: Manual”.
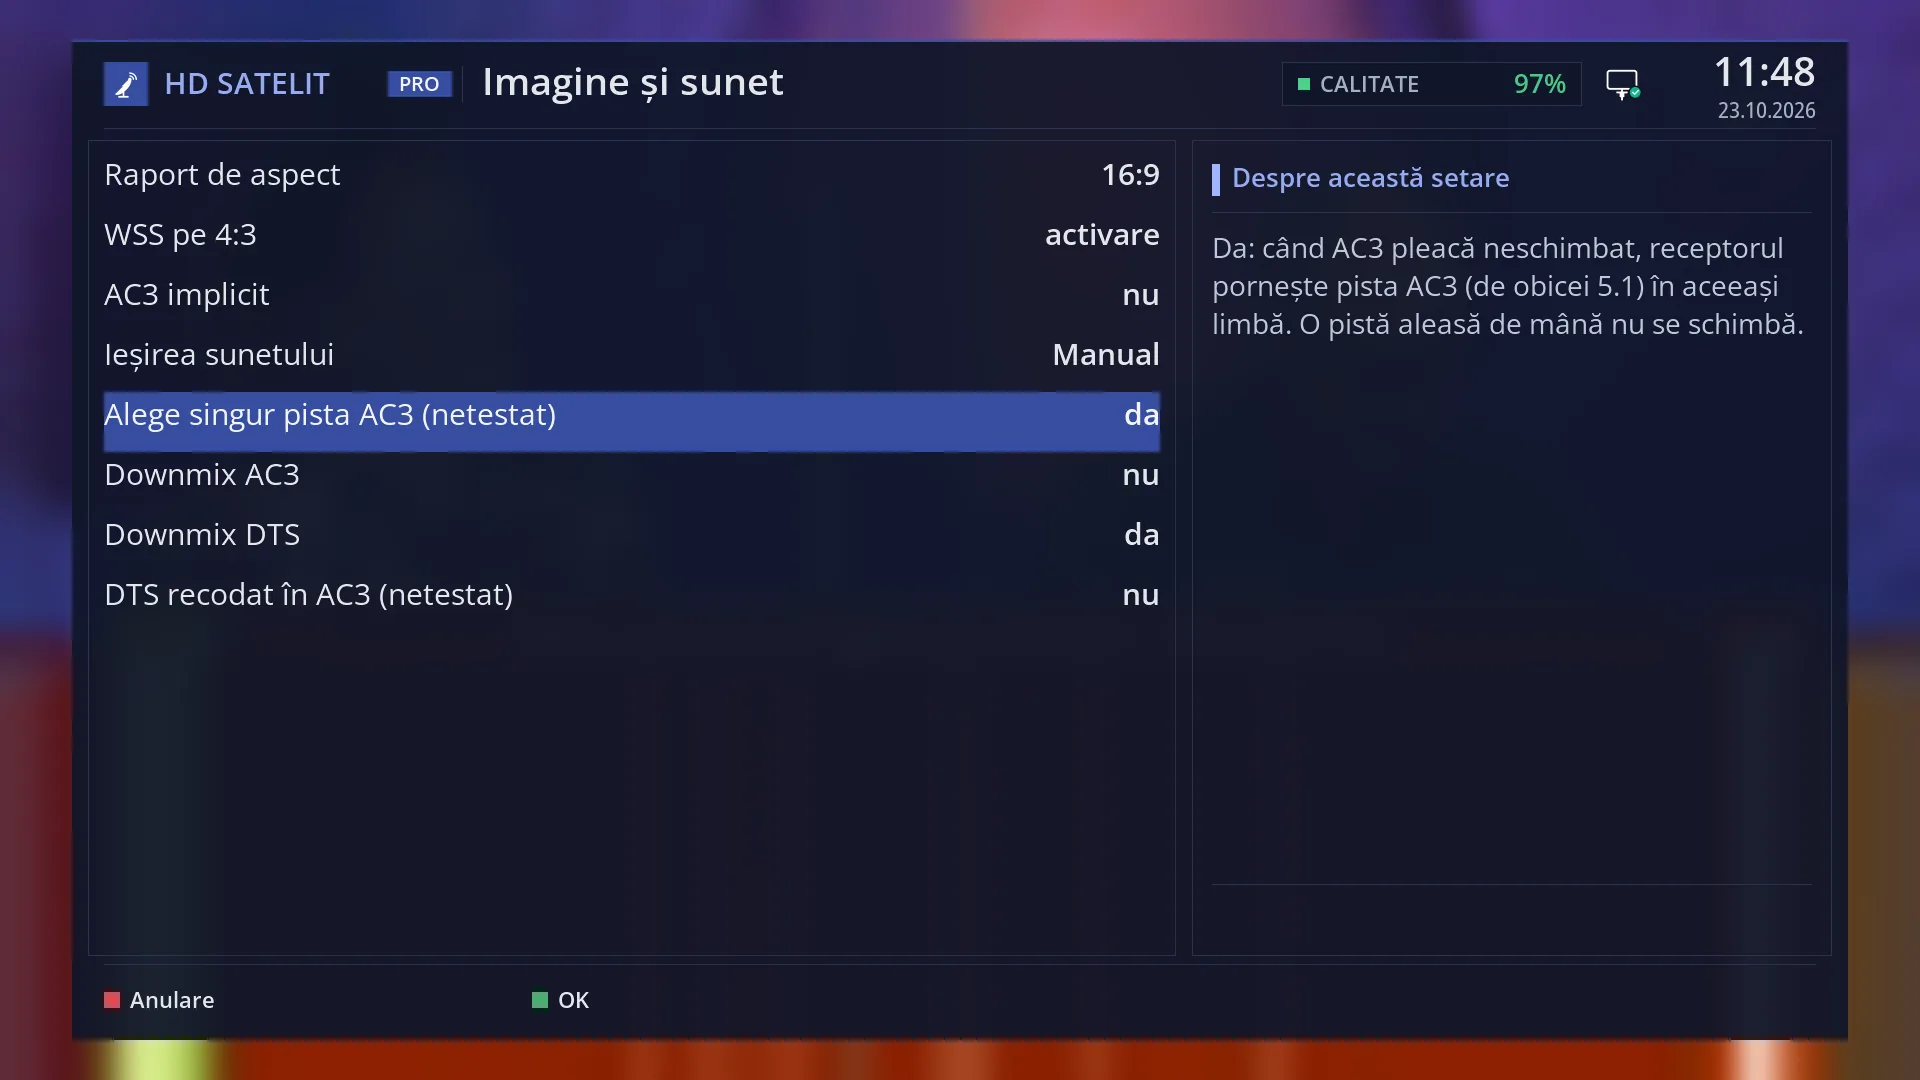
- 1 The selected row: “Alege singur pista AC3 (not tested): yes”.
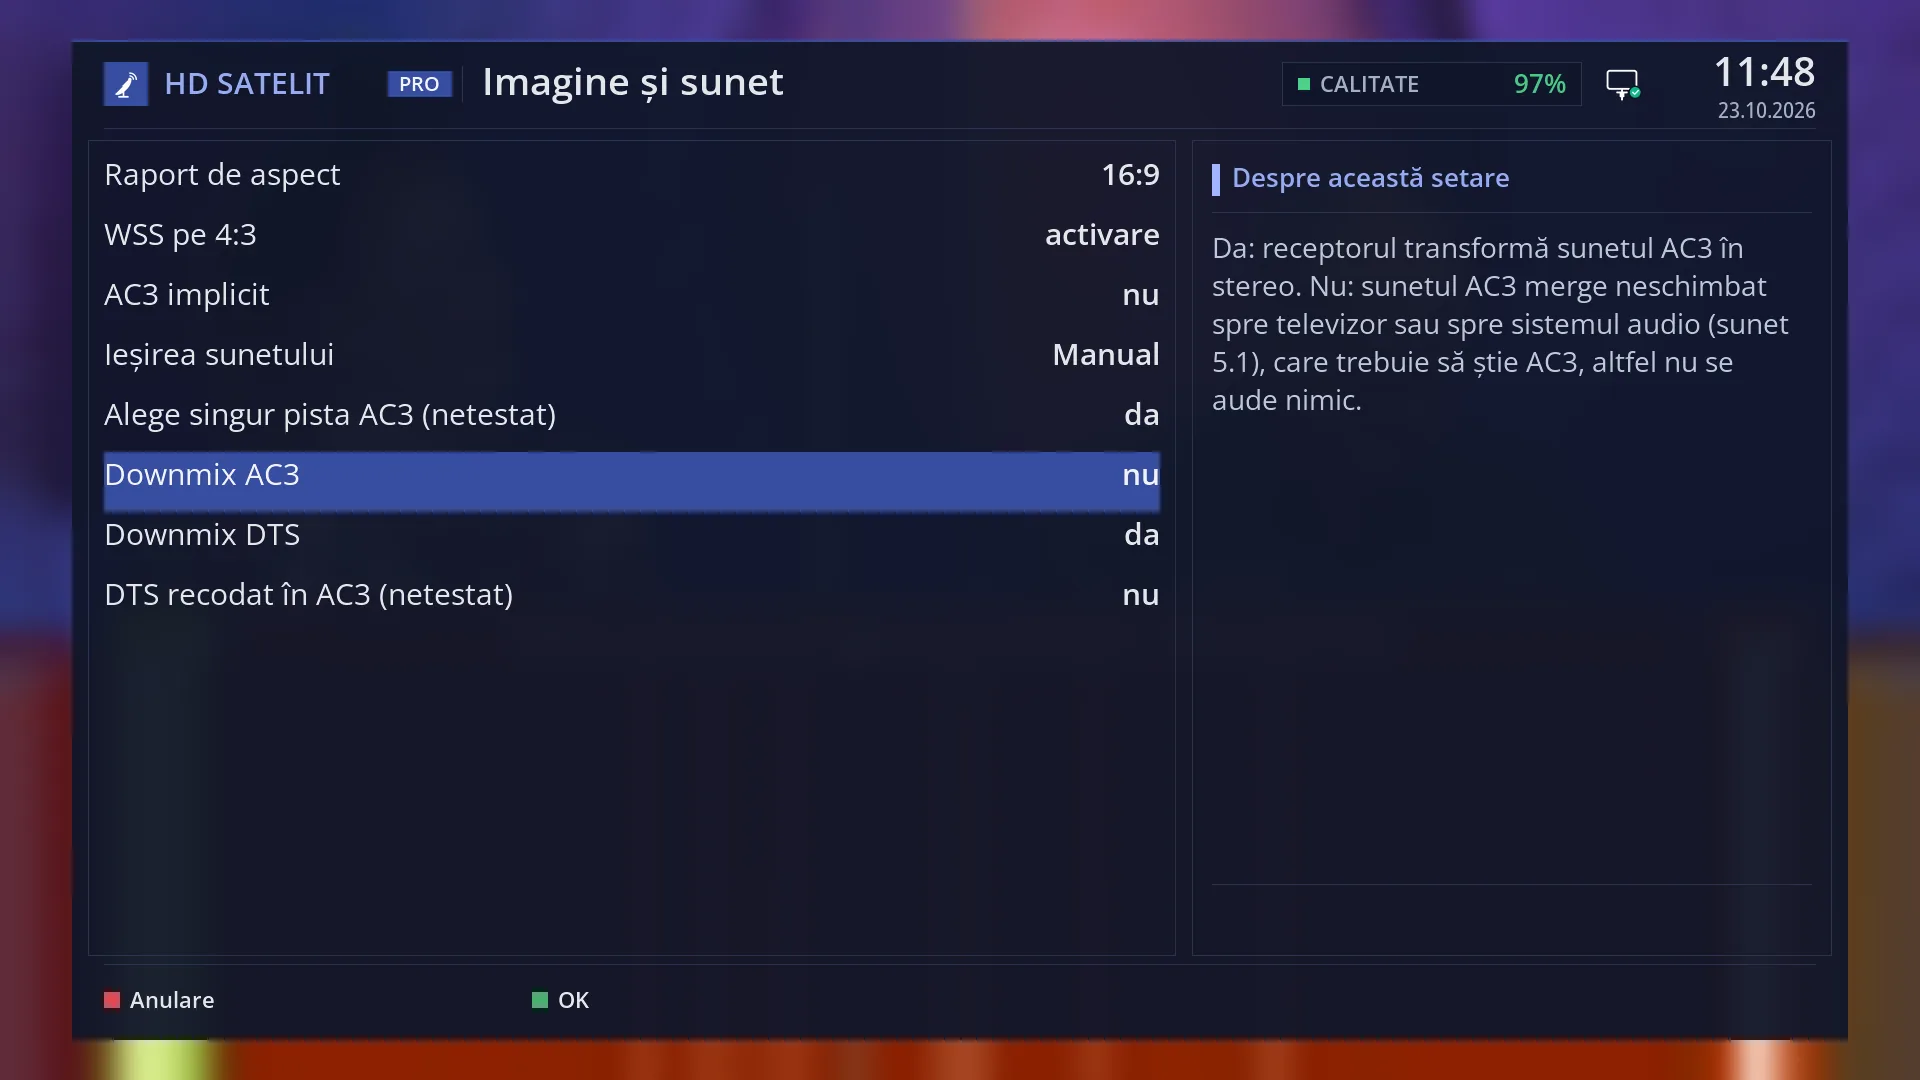
- 1 The selected row: “AC3 downmix: no”.
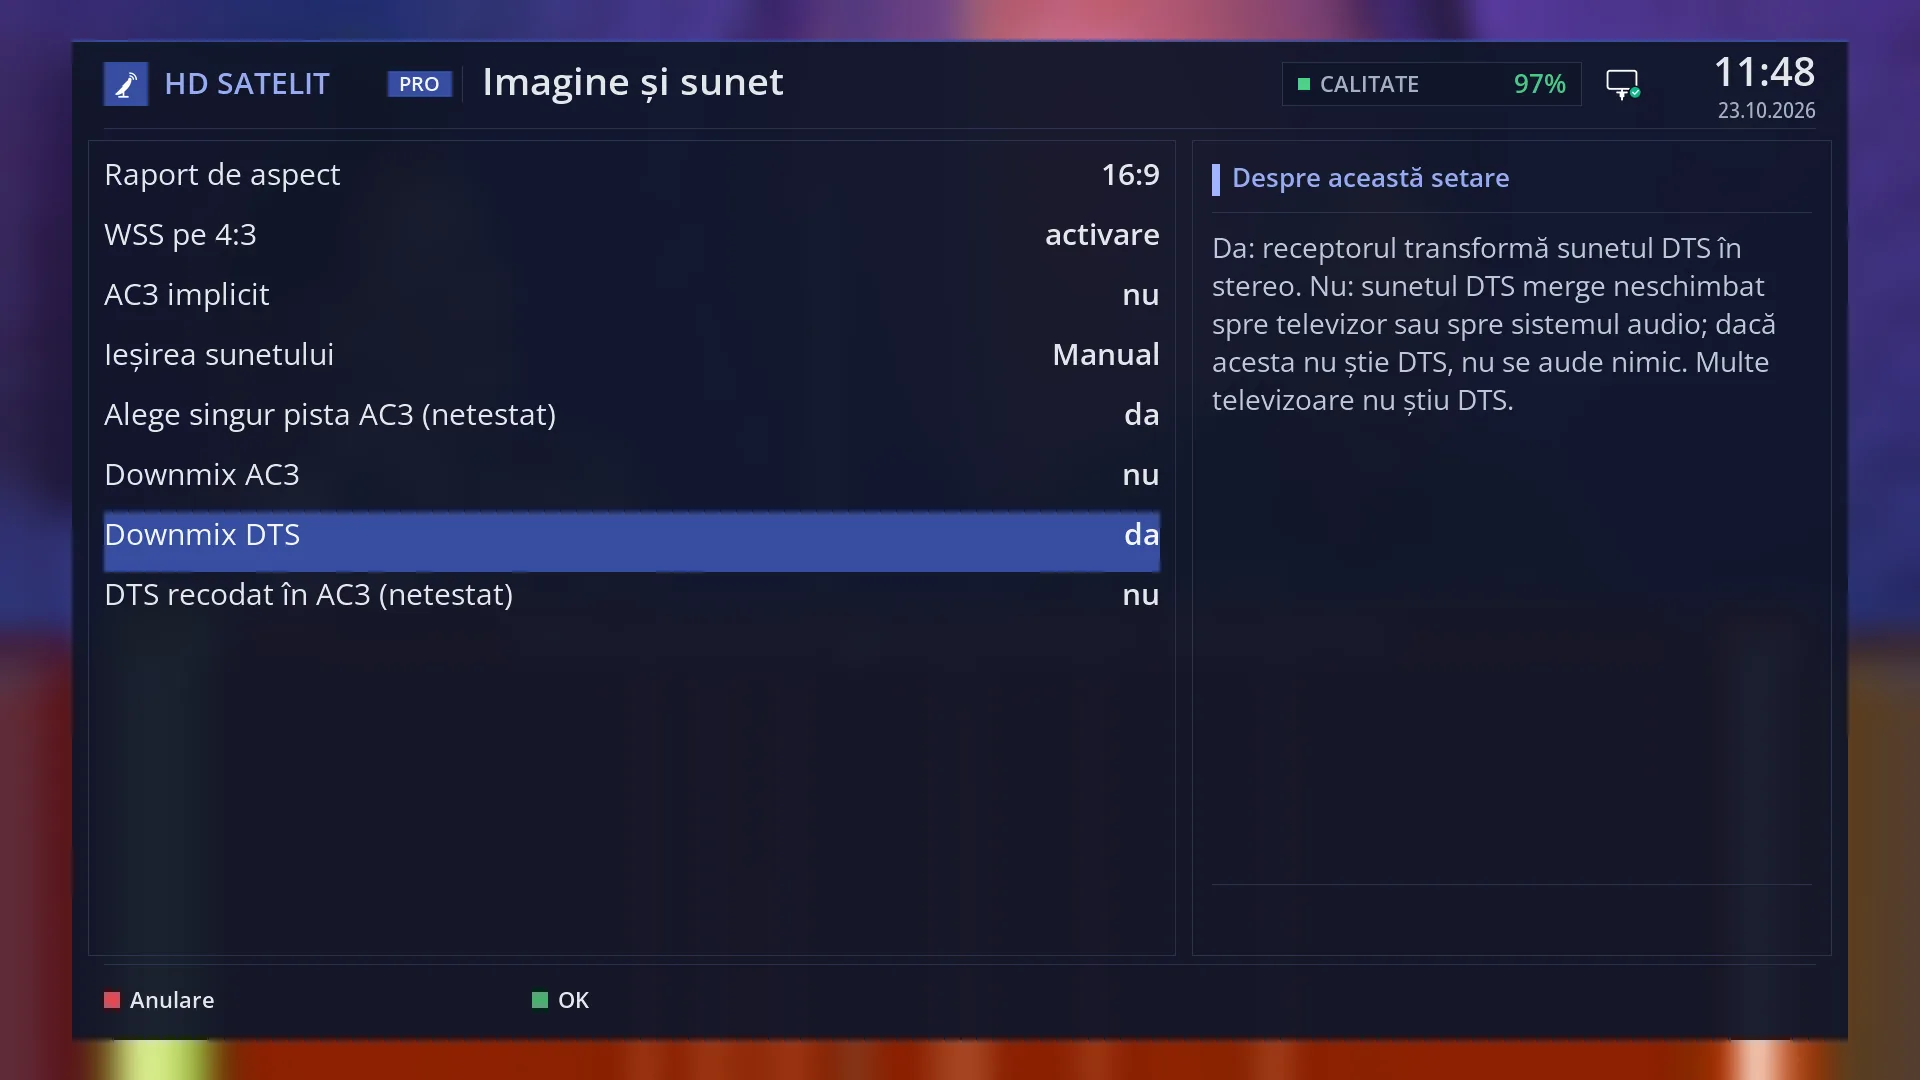
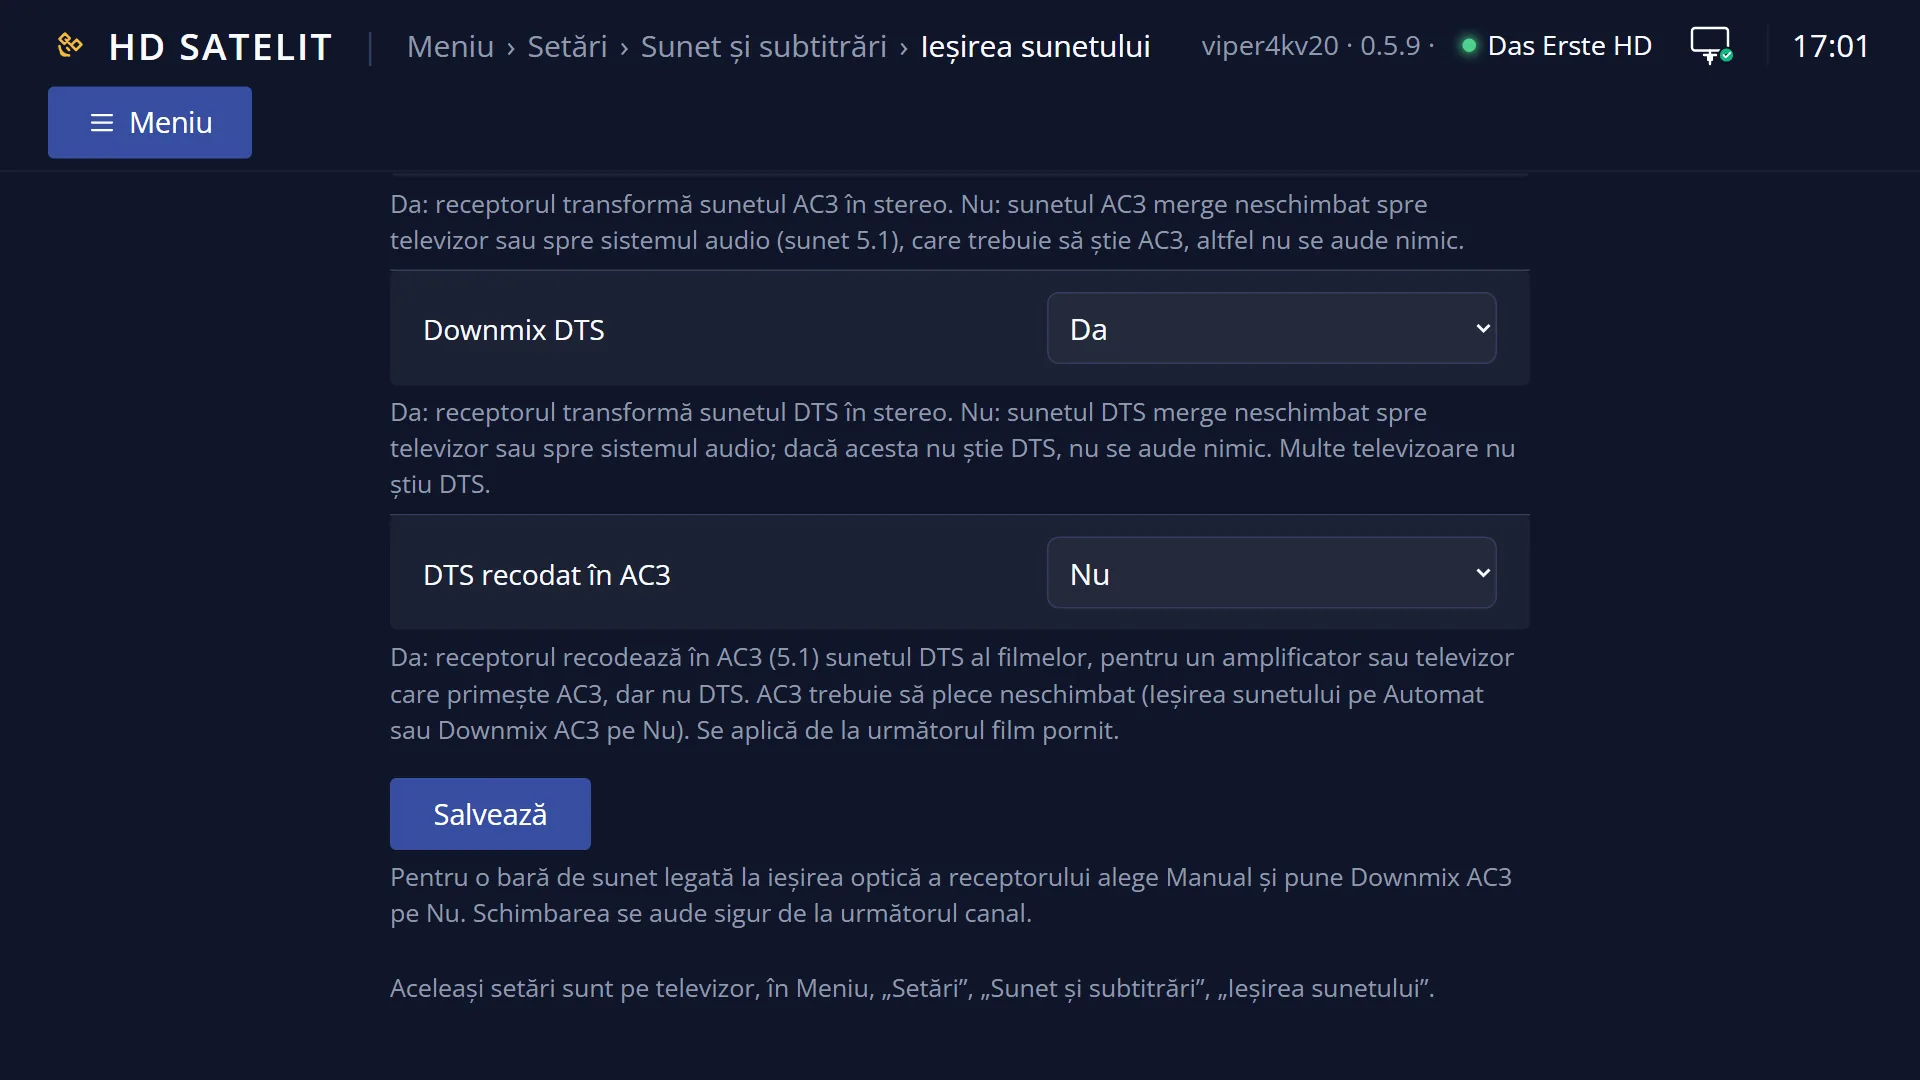
- 1 The selected row: “DTS downmix: yes”.
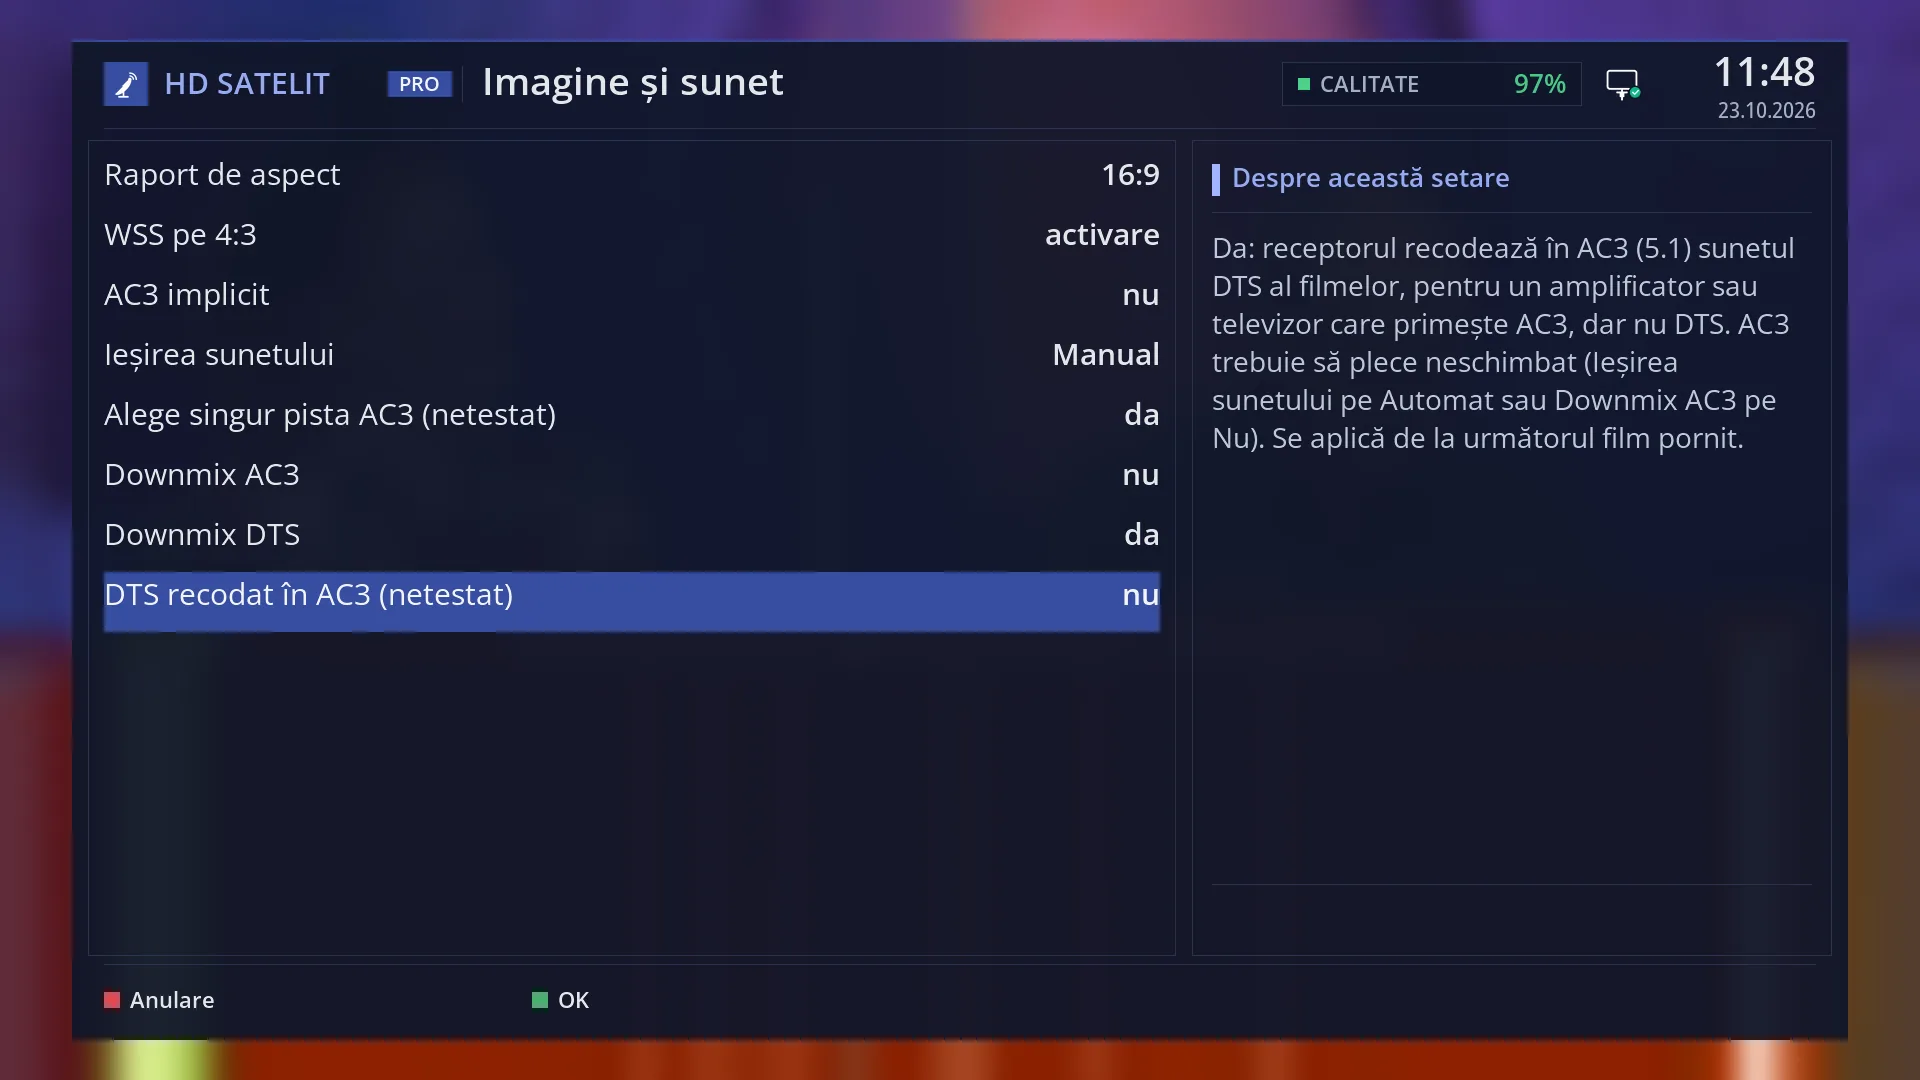
- 1 The selected row: “DTS re-encoded to AC3 (not tested): no”.
What it is for
This screen decides how the sound goes to the TV or to the audio system: as stereo, made by the receiver, or unchanged (5.1, AC3 or DTS), so the TV or amplifier decodes it. The same screen also has two older rows about the picture shape: “Aspect Ratio” and “WSS on 4:3”.
With “Sound output: Automatic”, 5.1 sound goes out unchanged only to a TV or amplifier that reports over HDMI that it accepts it. Otherwise the receiver turns it into stereo. With “Manual”, the “AC3 downmix” and “DTS downmix” rows decide.
“DTS re-encoded to AC3” turns the DTS sound of films into AC3 5.1 sound, for devices that accept AC3 but not DTS.
Open it when there is no sound on some channels or films, when you have a soundbar or a 5.1 amplifier, or when 4:3 programmes look distorted.
How to get here
Path: Main menu > Settings > Audio & Sound Tracks > Sound Output & Downmix.
Keys on the remote: MENU 6 4 1.
The title at the top of the screen is “A/V Settings”: it is the same screen.
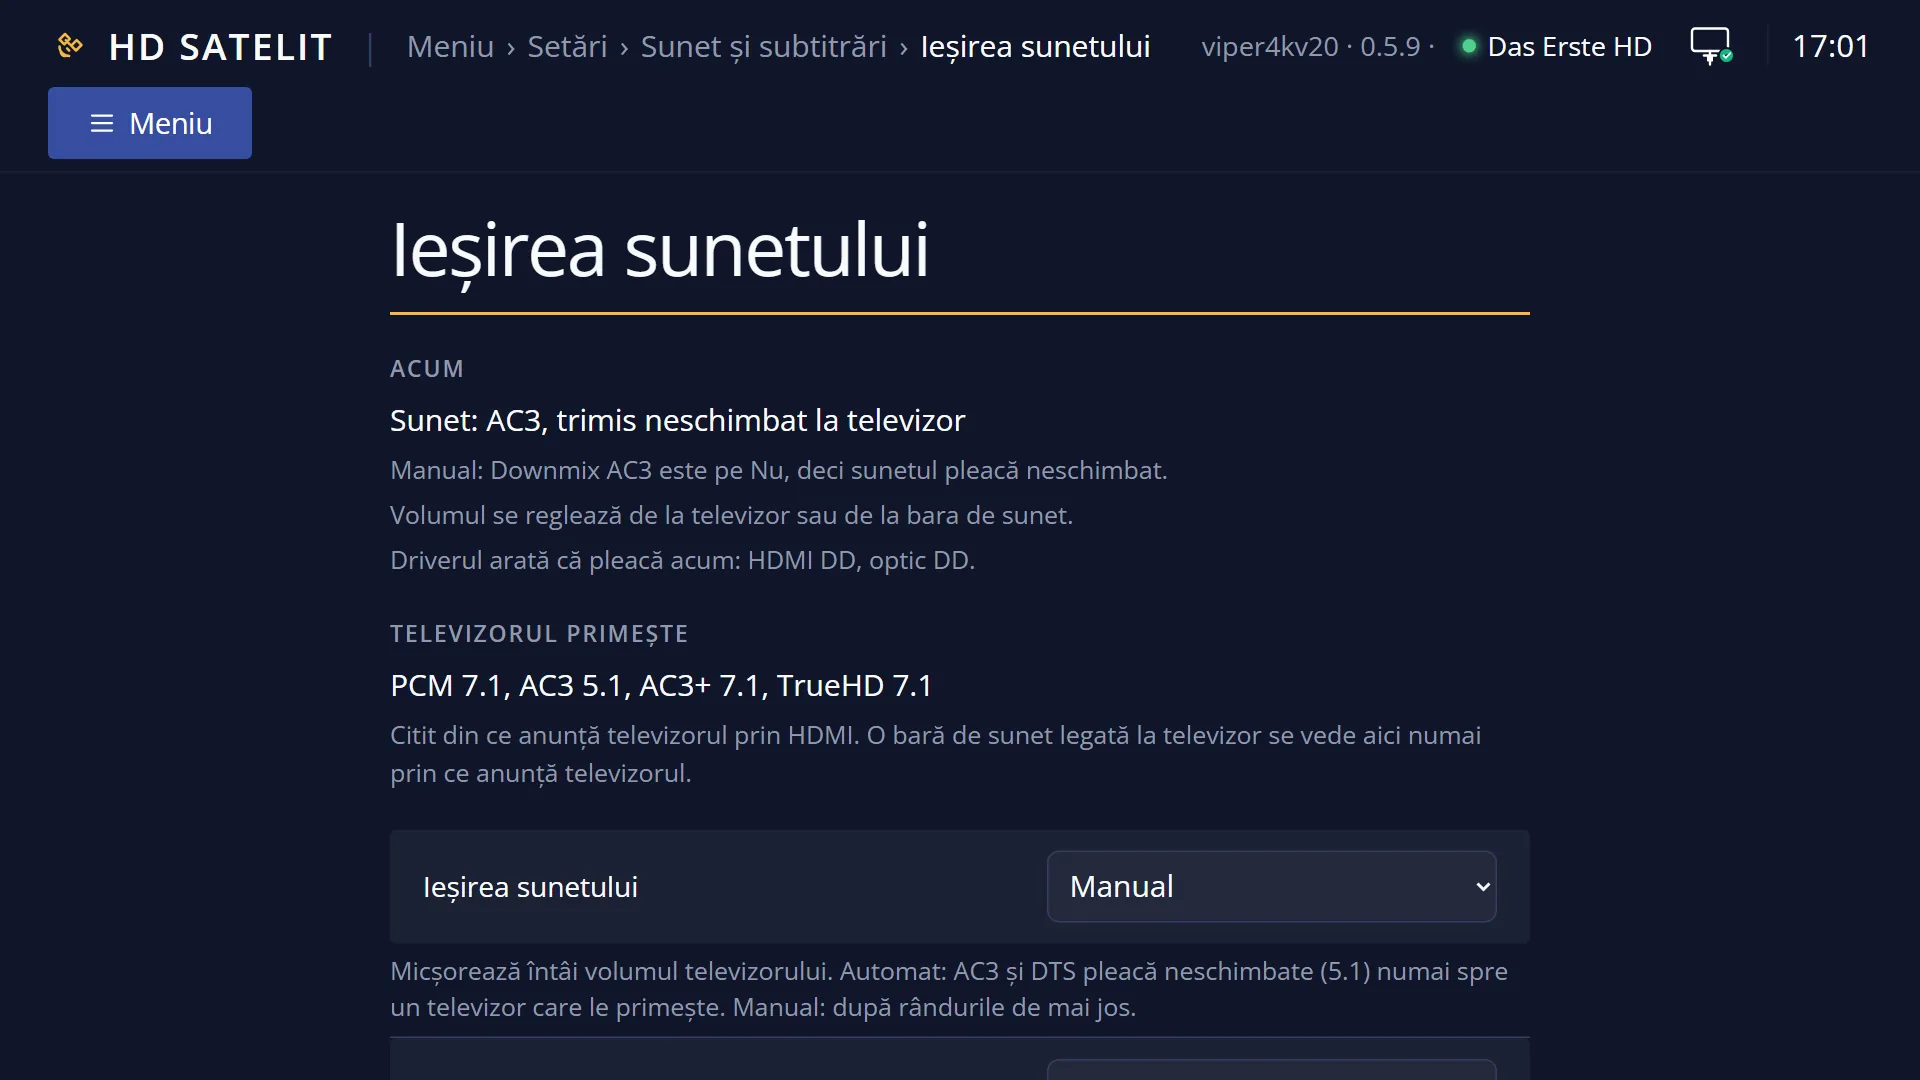
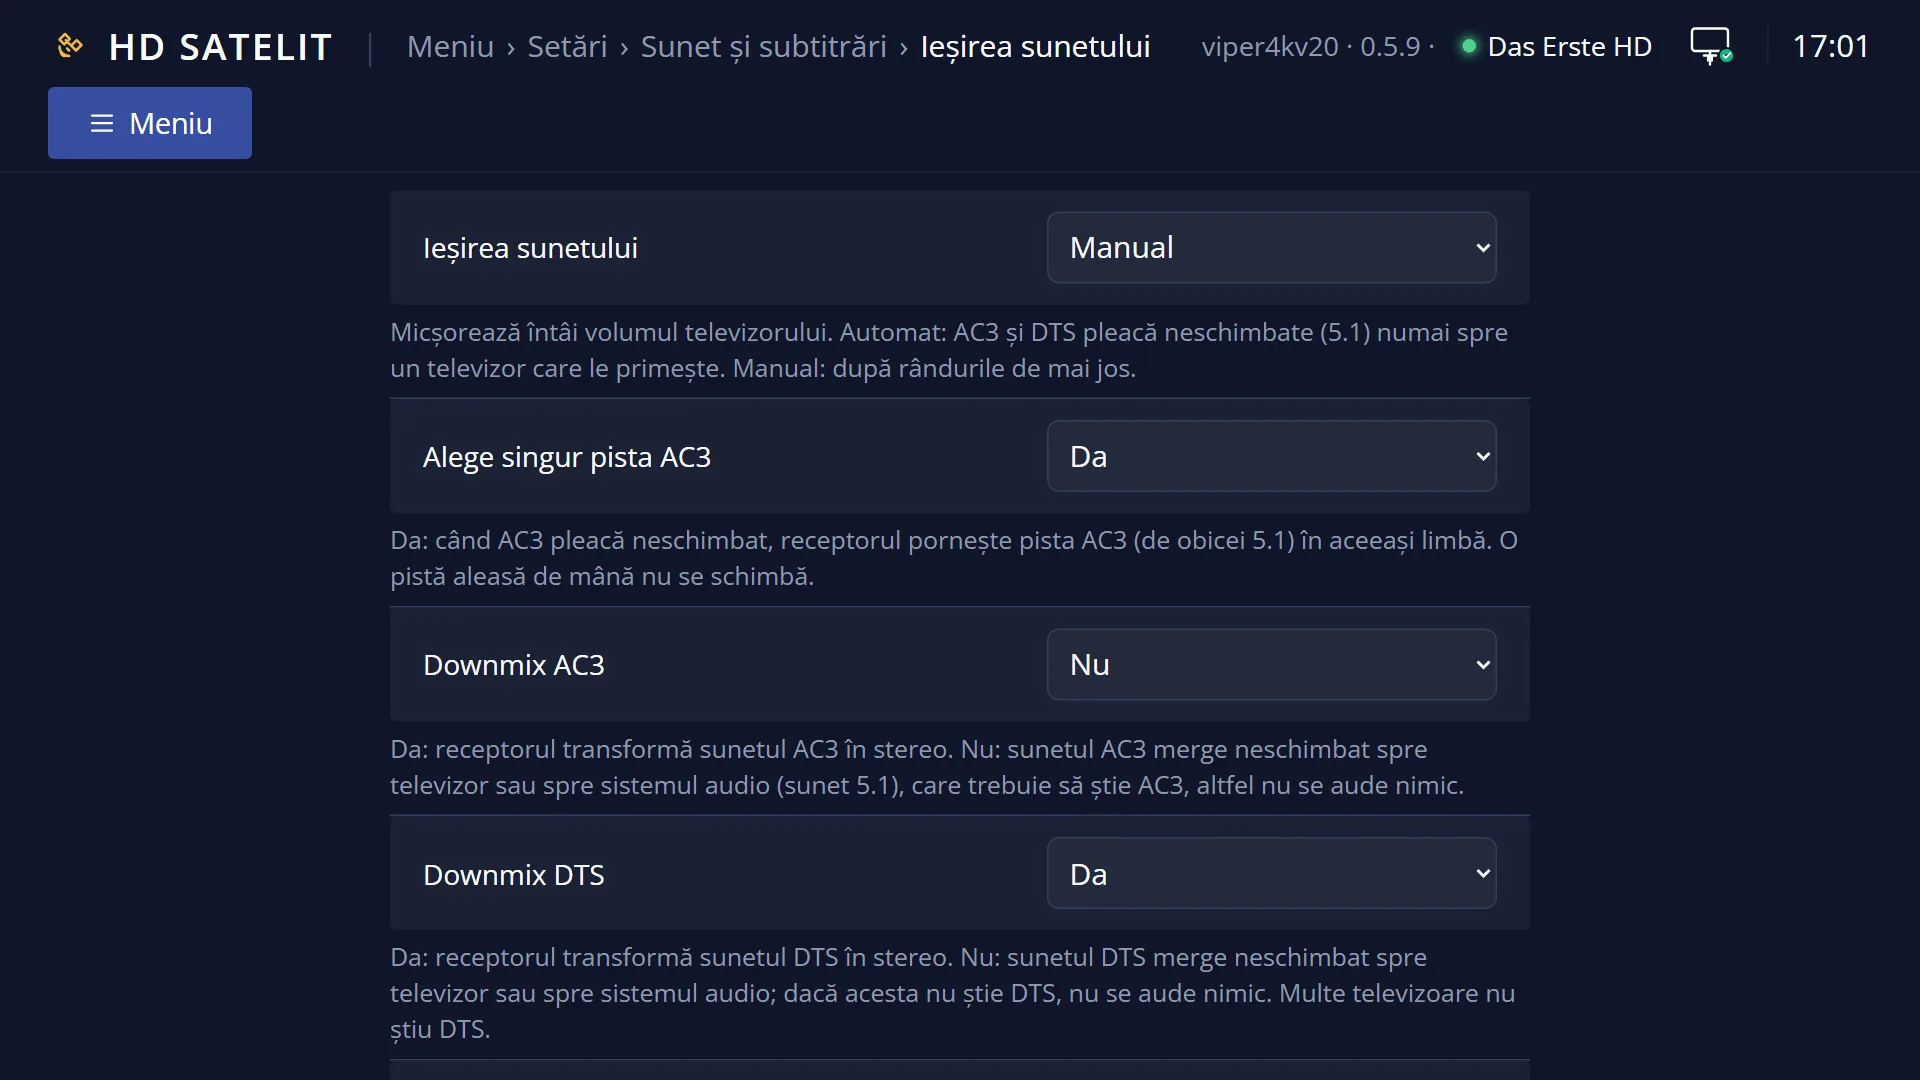
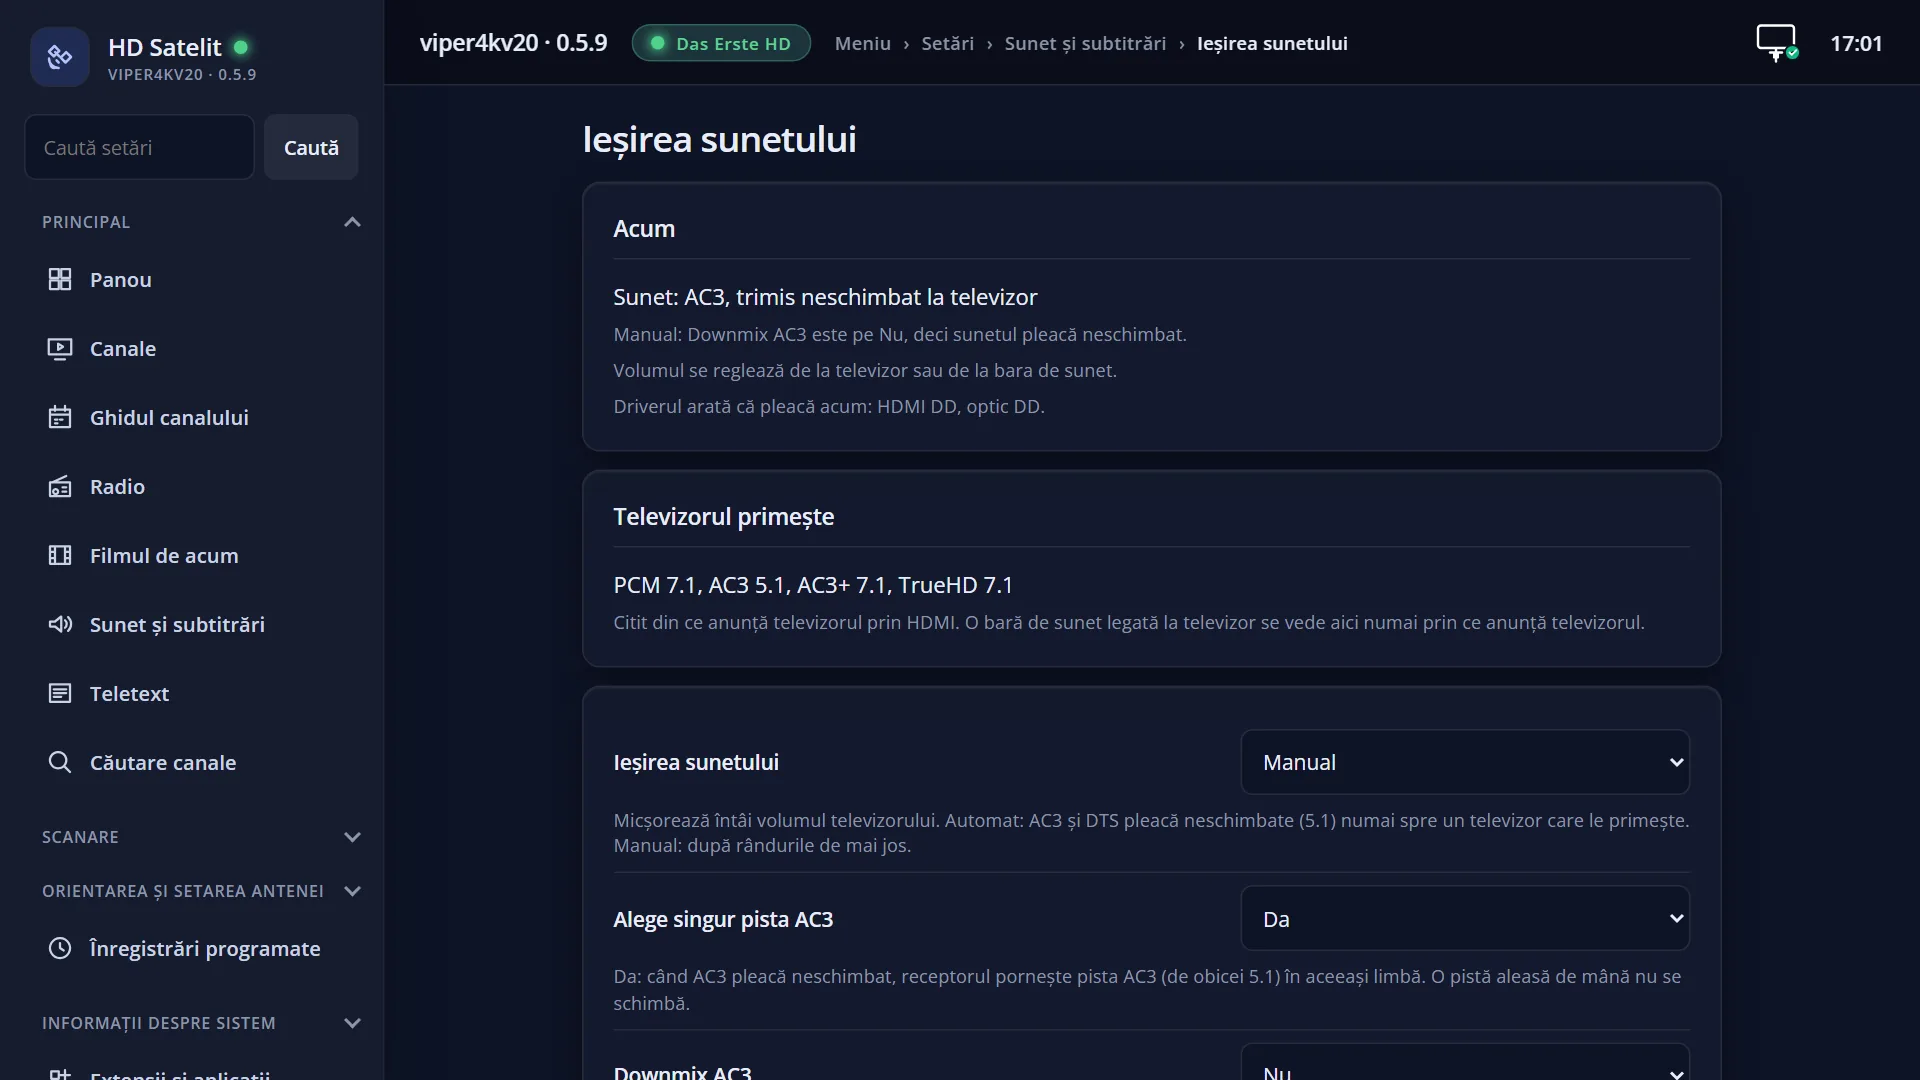
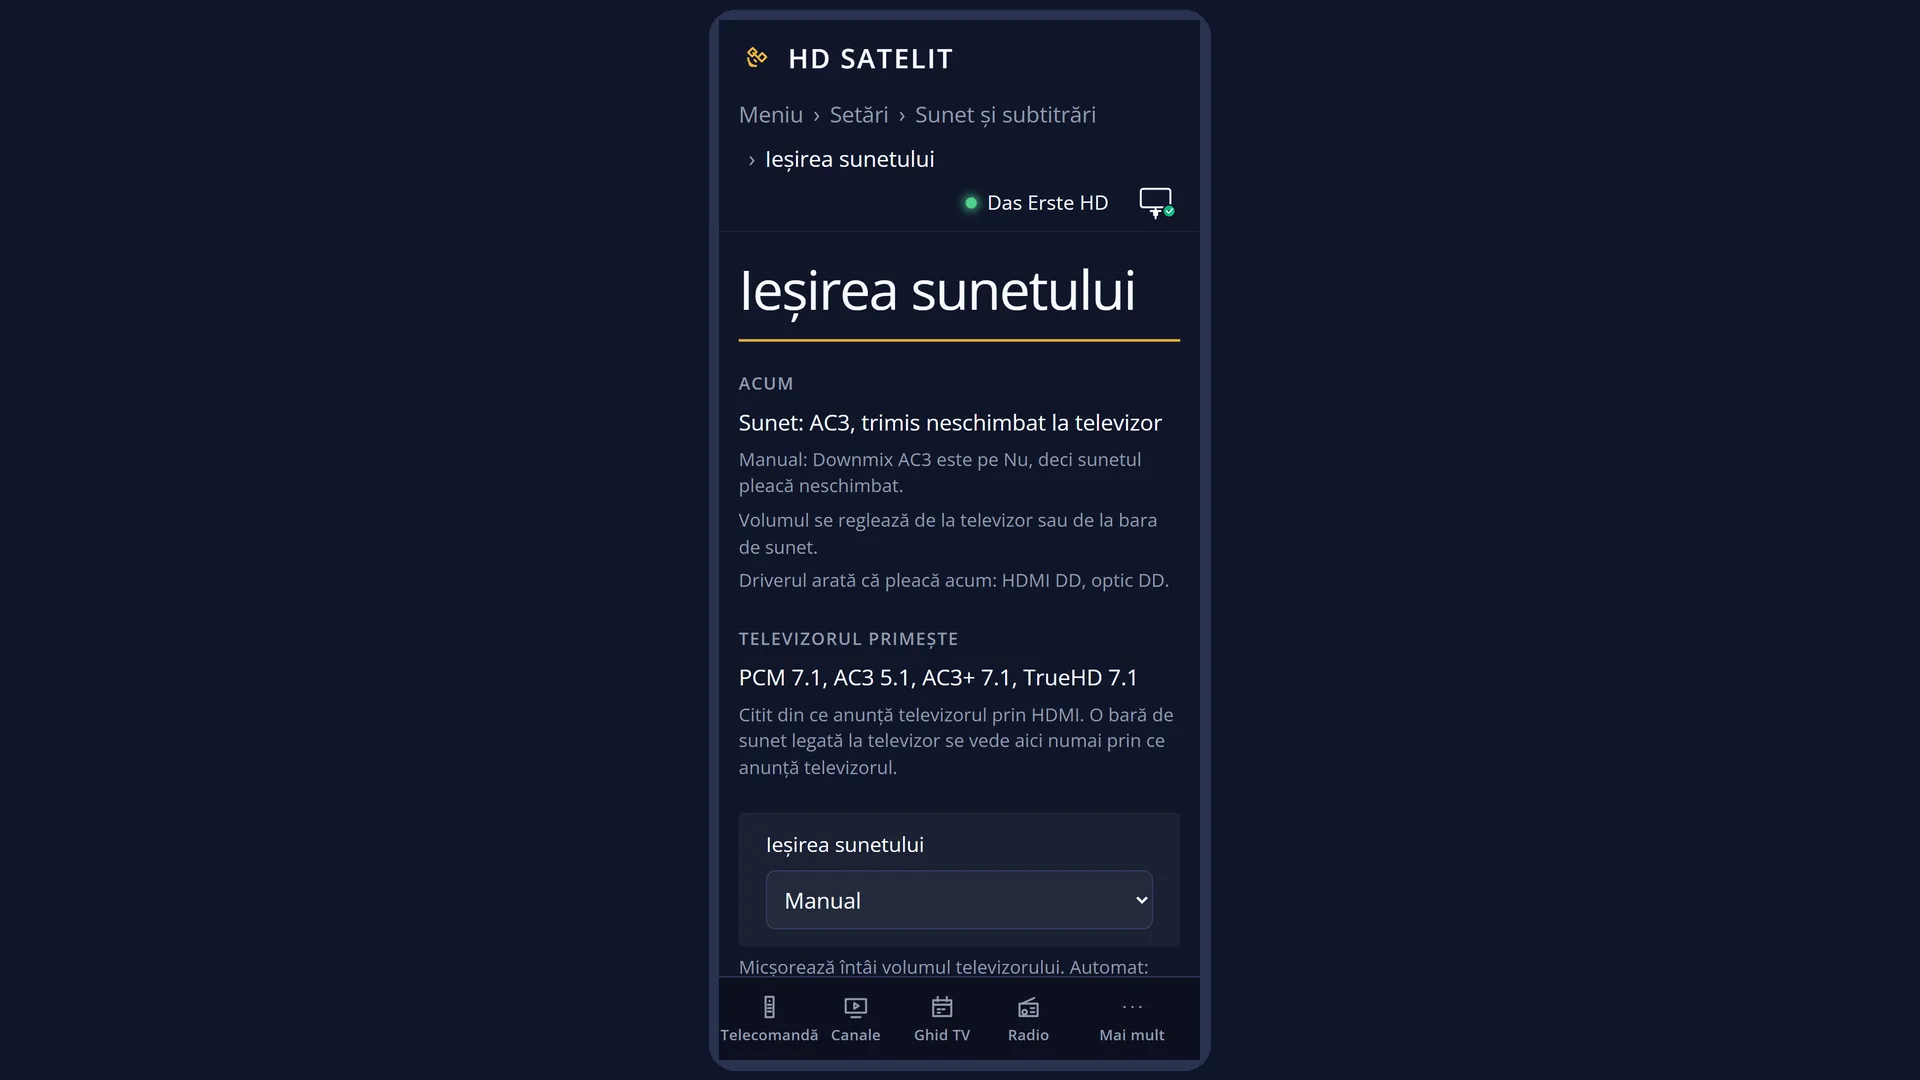
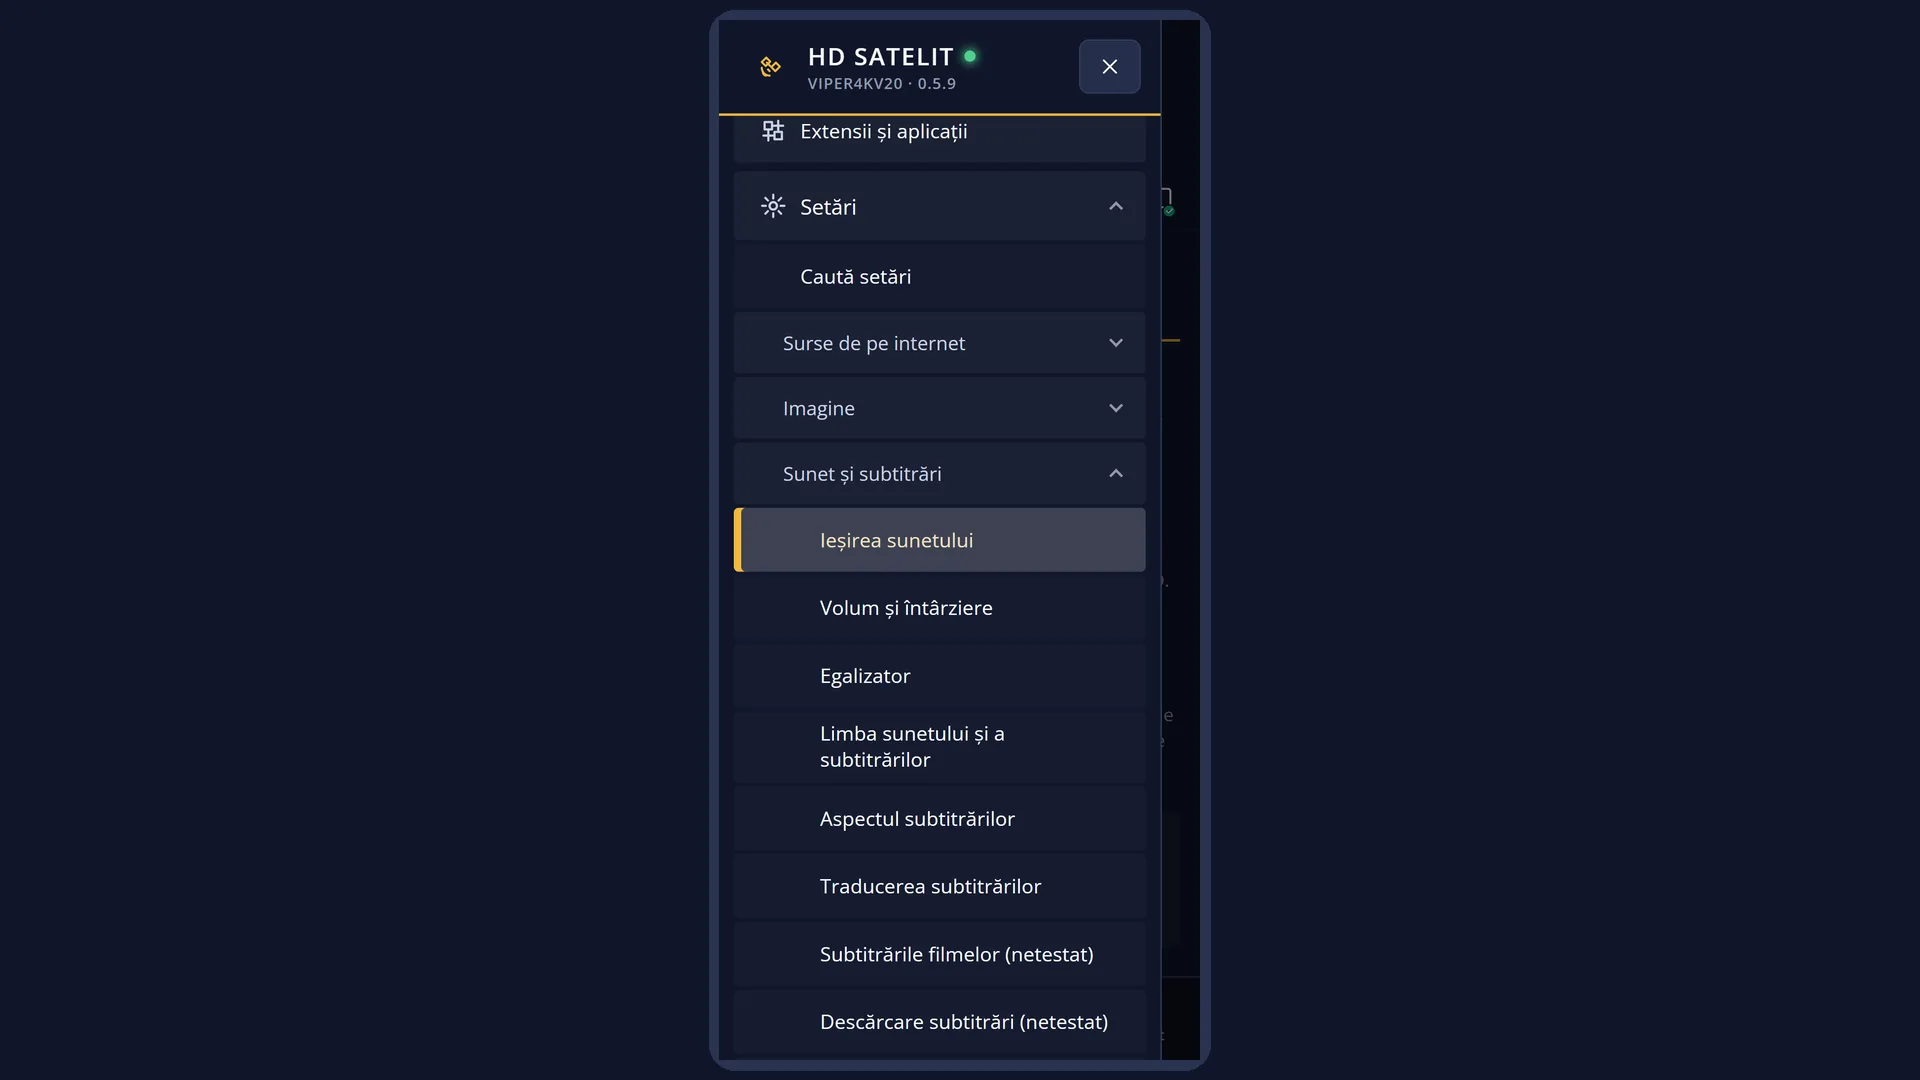
In the web interface: the /sunet page (“Sound output”), with the sound rows plus what the TV accepts and what is being sent now. All the rows of the screen are also in /setari?id=avsetup.
What you see on the screen
At the top, the title “A/V Settings”, the time and the date. In the Pro theme, also “HD SATELIT” with the “PRO” label, the signal quality and the network icon.
On the left, the list of rows, with the value of each one on the right. On the Amiko Viper 4K V20, with “Sound output” set to Manual, there are eight: “Aspect Ratio”, “WSS on 4:3”, “AC3 default”, “Sound output”, “Alege singur pista AC3 (not tested)”, “AC3 downmix”, “DTS downmix” and “DTS re-encoded to AC3 (not tested)”. With Automatic, the two downmix rows are hidden.
On the right, the “About this setting” box, with the explanation of the selected row. For the older rows that have no explanation (for example “Aspect Ratio”), it stays empty.
At the bottom, the keys: RED “Cancel” and GREEN “OK”.
Rows and settings
| Row | Values | Default | What it does |
|---|---|---|---|
| Aspect Ratio | 4:3 Letterbox, 4:3 PanScan, 16:9, 16:9 always, 16:10 Letterbox, 16:10 PanScan, 16:9 Letterbox | 16:9 always | The shape of the TV and how programmes of a different shape are shown. “16:9 always” is for widescreen TVs: 4:3 programmes appear whole, undistorted, with black bars at the sides. The 4:3 values are for old, squarer TVs. When 4:3 programmes appear stretched or cut off, or you have a 4:3 TV. |
| WSS on 4:3 | enable, disable | enable | For 4:3 programmes, sends the TV the signal that tells it the picture shape, so it can adjust by itself. The row is shown in the Intermediate and Expert modes. When the TV changes its format by itself and you do not want that. |
| AC3 default | yes, no | no | Yes: on channels with several sound tracks, the first track that is not MPEG starts (usually AC3 or DD+). No: the first track of the channel starts, or the one you chose last time. The language preferences in “Audio and subtitle language” take priority. When you have a 5.1 system and want the 5.1 track whenever there is one. |
| Sound output | Automatic, Manual | Manual | Automatic: AC3 and DTS go out unchanged (5.1) only to a TV that reports over HDMI that it accepts them. Otherwise, stereo. With no answer from the TV (for example when it is off), stereo. Manual: as set in the “AC3 downmix” and “DTS downmix” rows. Turn the TV volume down first: when the sound goes out unchanged, the receiver volume no longer works and the sound may be louder. Set Automatic if you have a 5.1 TV or amplifier on HDMI and want 5.1 sound without having to think about it. |
| Alege singur pista AC3 (not tested) | yes, no | yes | Yes: when AC3 goes out unchanged, the receiver starts the AC3 track (usually 5.1) in the same language as the chosen track. A track you chose by hand is not changed. The row appears only when track selection by language is enabled in the image. Set no if you want the channel's usual track to stay. |
| AC3 downmix | yes, no | yes | Yes: the receiver converts AC3 sound to stereo. No: AC3 sound goes unchanged to the TV or audio system (5.1 sound), which must support AC3, otherwise there is no sound. The row appears only with “Manual”. Set no for a soundbar or a 5.1 amplifier, for example on the optical output. |
| DTS downmix | yes, no | yes | Yes: the receiver converts DTS sound to stereo. No: DTS sound goes out unchanged; if the device does not support DTS, there is no sound. Many TVs do not support DTS. The row appears only with “Manual”. Set no only if your amplifier accepts DTS. |
| DTS re-encoded to AC3 (not tested) | yes, no | no | Yes: the receiver re-encodes the DTS sound of films to AC3 (5.1), for an amplifier or TV that accepts AC3 but not DTS. AC3 must go out unchanged (Sound output set to Automatic, or AC3 downmix set to no). It also works with Automatic. When films with DTS play only in stereo, even though you have a 5.1 system with AC3. |
Keys
| UP / DOWN | Moves the cursor to another row; its explanation appears on the right. |
| LEFT / RIGHT | Changes the value of the row. |
| OK | Does nothing on these rows: you change the values with LEFT and RIGHT. |
| GREEN (OK) | Saves all the rows and closes the screen. |
| RED (Cancel) / EXIT | Closes without saving. If you changed something, it first asks “Really close without saving settings?”. |
Step by step
5.1 sound on a soundbar connected via HDMI
- Turn the TV volume down.
- Press MENU 6 4 1 and set “Sound output” to Automatic.
- Press GREEN. On channels with AC3, the sound goes out unchanged if the TV or soundbar accepts it.
5.1 sound on the optical output
- Press MENU 6 4 1 and set “Sound output” to Manual.
- Set “AC3 downmix” to no (and set “DTS downmix” to no only if the amplifier supports DTS).
- Press GREEN. You will hear the change for certain from the next channel.
No sound on a channel or in a film
- Press MENU 6 4 1.
- Set “Sound output” to Manual, and “AC3 downmix” and “DTS downmix” to yes.
- Press GREEN and change the channel once.
Problems and solutions
There is no sound on some channels or films.
The AC3 or DTS sound is going out unchanged to a device that does not support it. Set “AC3 downmix” and “DTS downmix” to yes (with Manual), or switch to Automatic.
I cannot see the “AC3 downmix” and “DTS downmix” rows.
They are hidden with “Sound output: Automatic”, where they are not used. Switch to Manual.
The sound is much louder, or the volume on the remote no longer works.
When the sound goes out unchanged, the receiver volume no longer works. Use the volume of the TV or amplifier, or set downmix to yes.
4:3 programmes are stretched across the whole screen.
Set “Aspect Ratio” to “16:9 always”: 4:3 programmes appear undistorted, with black bars at the sides. Also check that the TV is not stretching the picture by itself.
With Automatic the sound is still stereo, even though I have a 5.1 soundbar.
The receiver sends 5.1 only when the TV reports over HDMI that it accepts it. A soundbar connected to the TV is seen only through what the TV reports. On the /sunet web page, the “The TV receives” section shows what it reported. If the soundbar is on the optical output, use Manual.
I cannot see the “DTS re-encoded to AC3” row.
The row appears only when the part that re-encodes DTS is included in the image.
The screen shows only “Aspect Ratio”.
All the sound rows are shown only in the Intermediate and Expert setup modes. Switch to Intermediate: Menu > Settings > Interface & Appearance > OSD Preferences, the “Setup Mode” row.
Related topics
- Volume and delay
- Audio and subtitle language
- Audio track selection (AUDIO key)
- Video (screen key 1), the picture shape
- Audio & Sound Tracks (the submenu)
- The matching web page: /sunet (and /setari?id=avsetup for all the rows).
Differences between receivers
On receivers that have them, the “Color Format” and “TV System” rows, the AC3 and PCM delays, SCART switching and picture sharpness also appear. The Amiko Viper 4K V20 does not have them, so on it the list has eight rows (six with Automatic).