

Import channels and settings
English screenshots coming: some of the pictures below still show the receiver and the web interface in Romanian. The rows, keys and steps described on this page are the English ones.
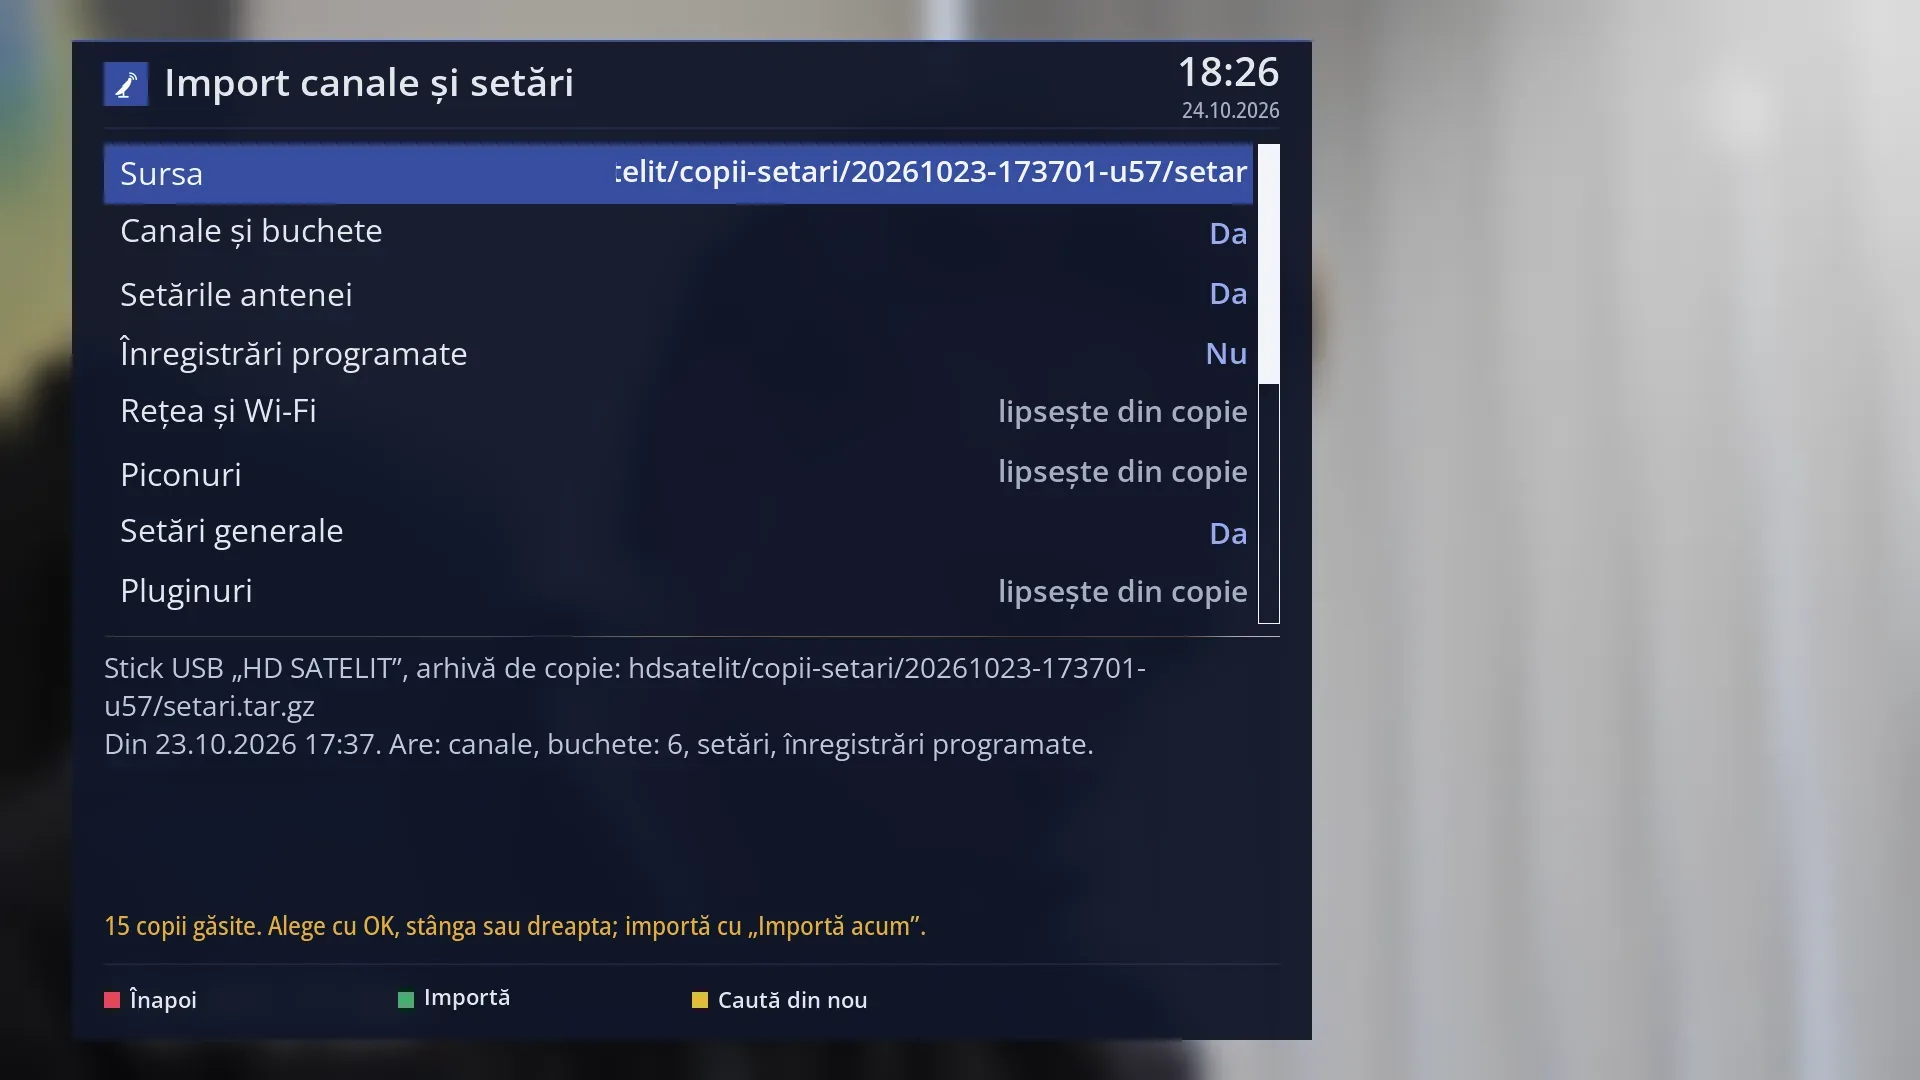
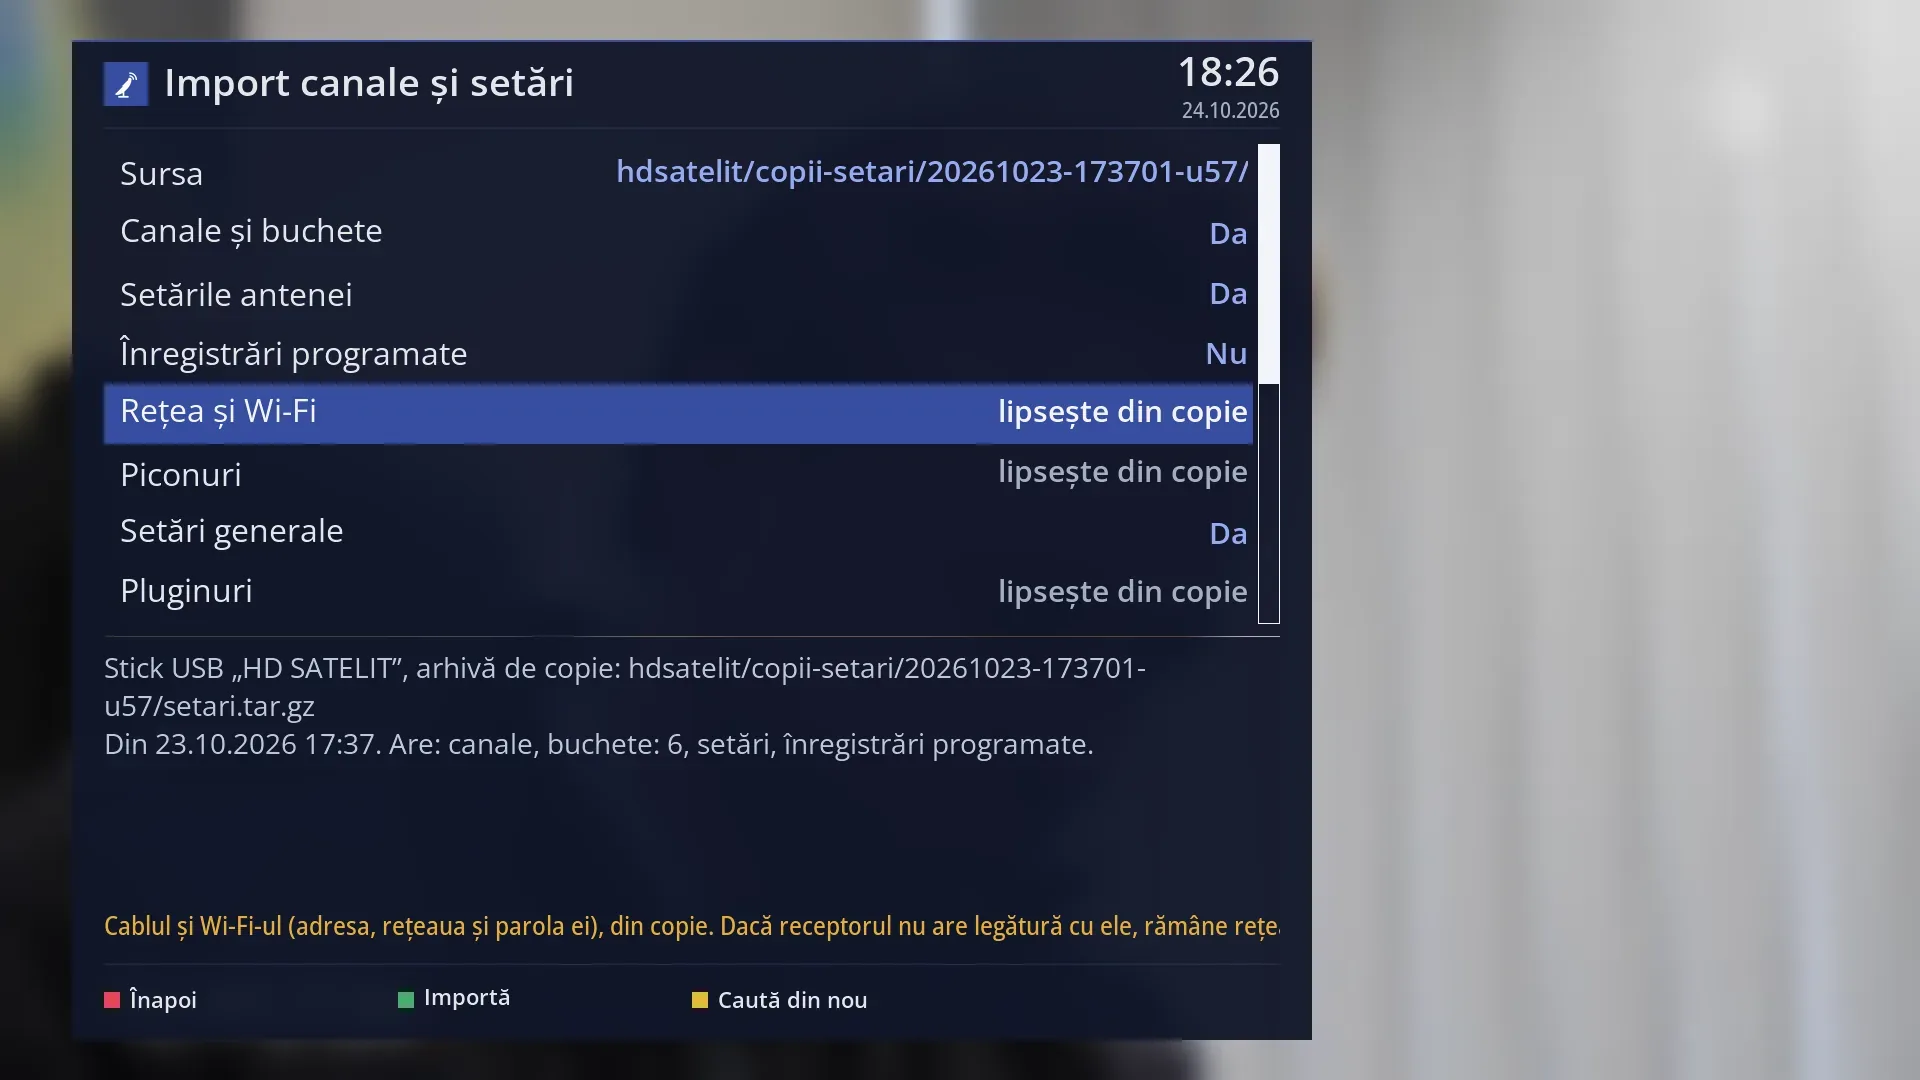
- 1 The copy to import from.
- 2 What is imported: the seven choices, with Yes, No or “missing from the copy”.
- 3 The list goes on below: “Import now” and “Search again”.
- 4 About the chosen copy: where it is, how old it is, what it contains.
- 5 What the selected row does, or the last message.
- 6 RED back, GREEN import, YELLOW search again.
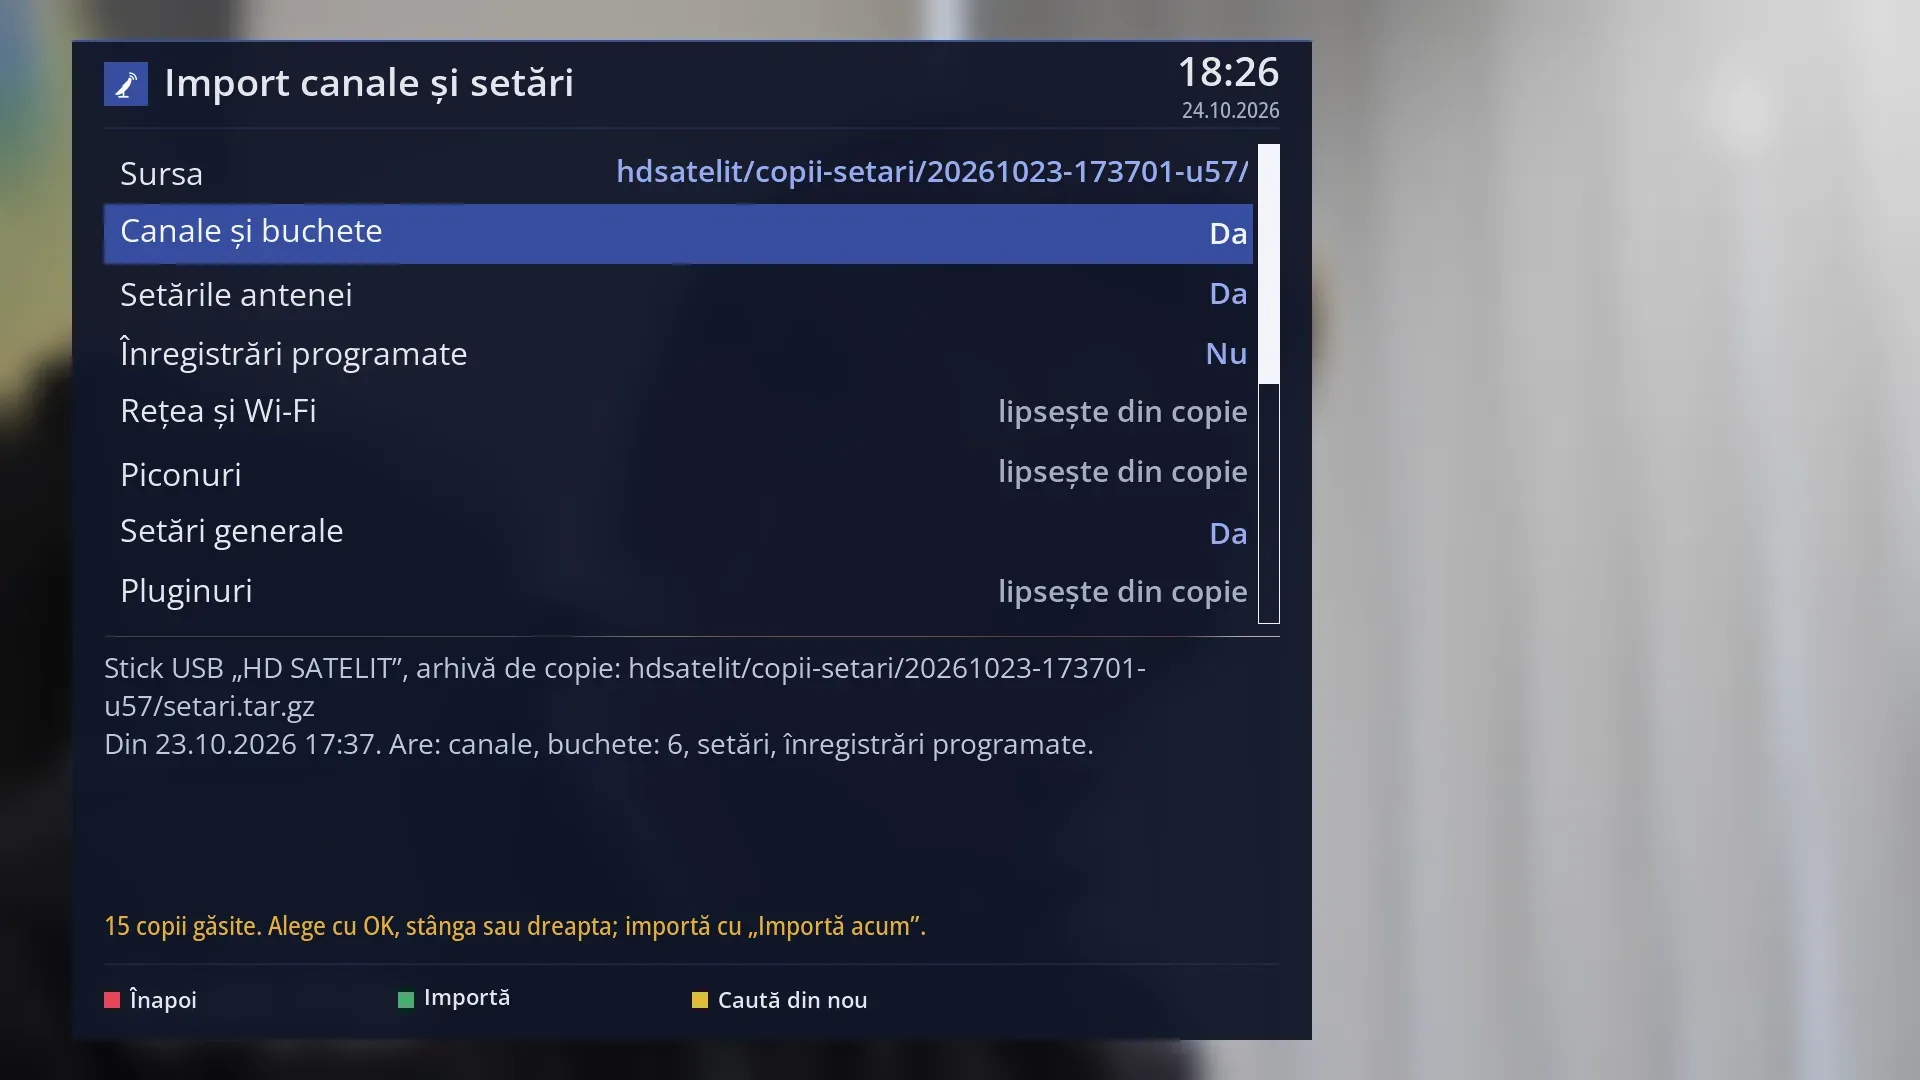
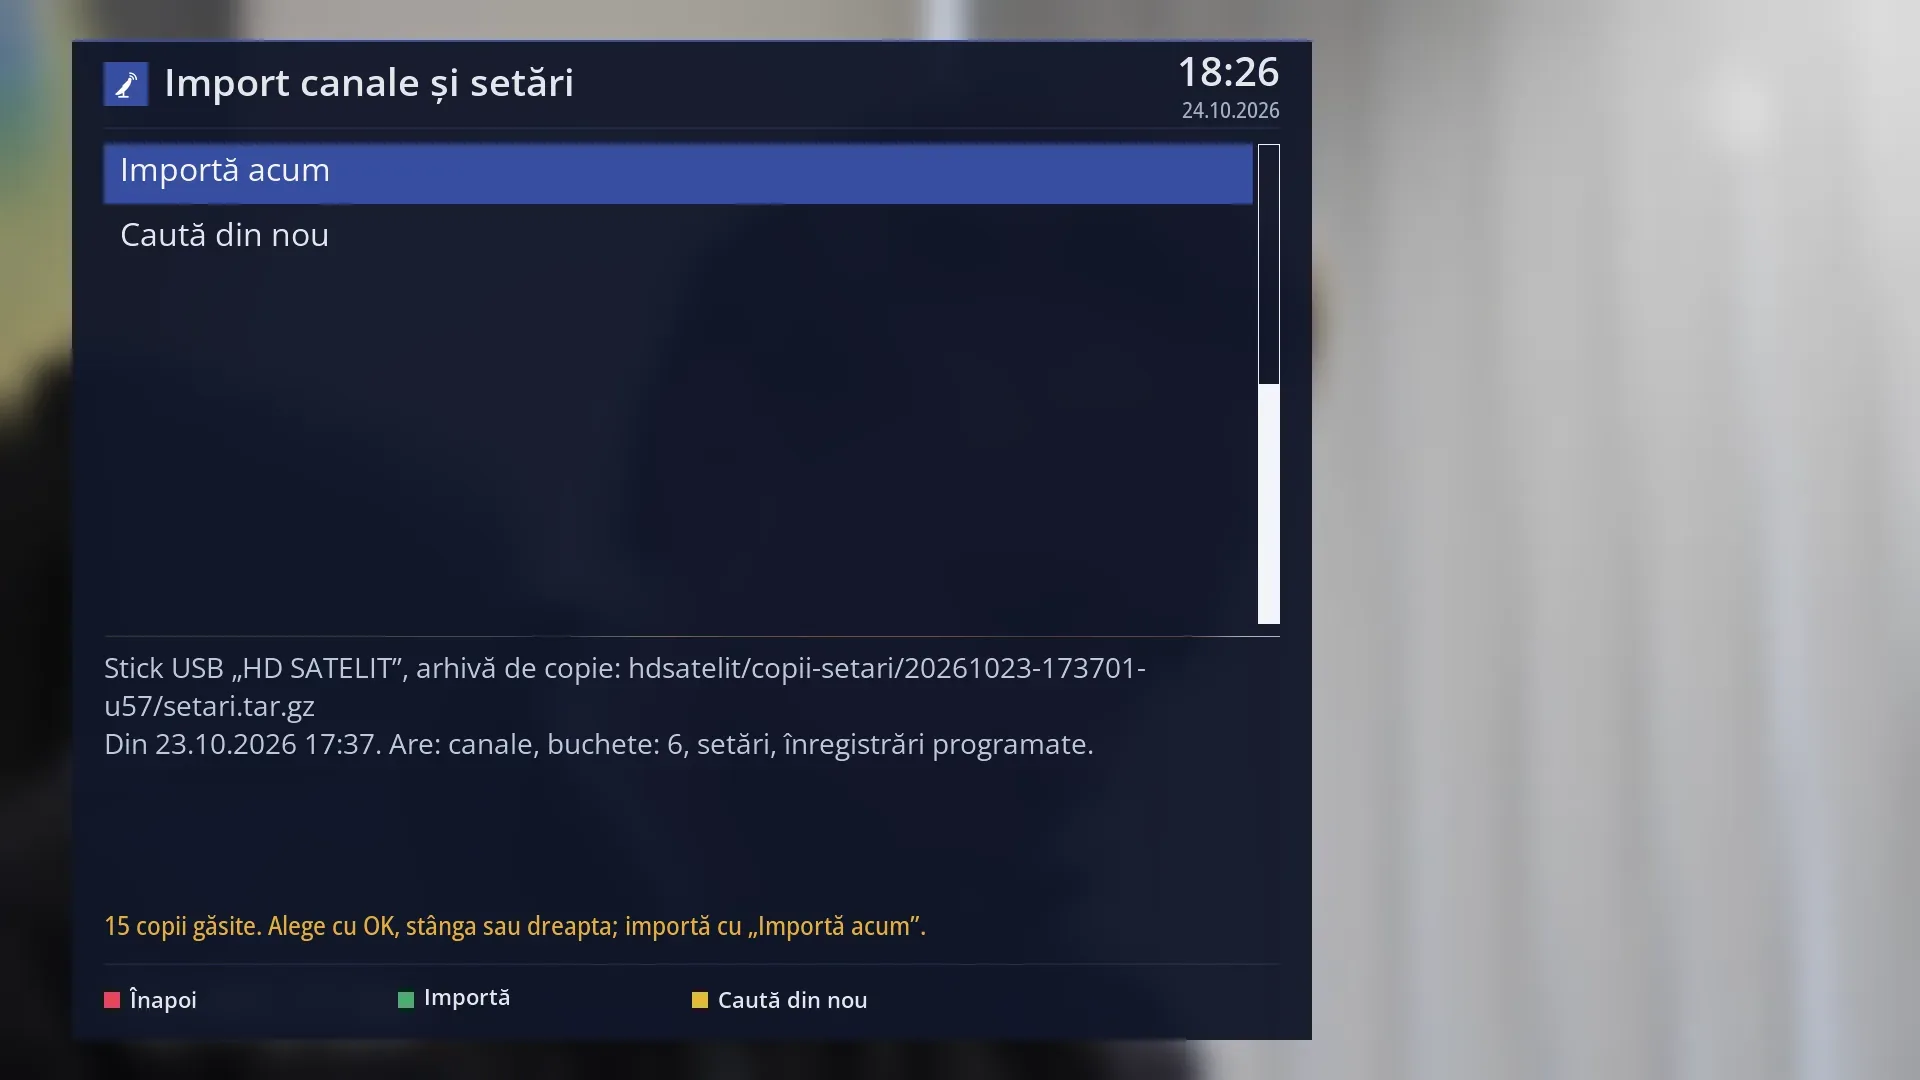
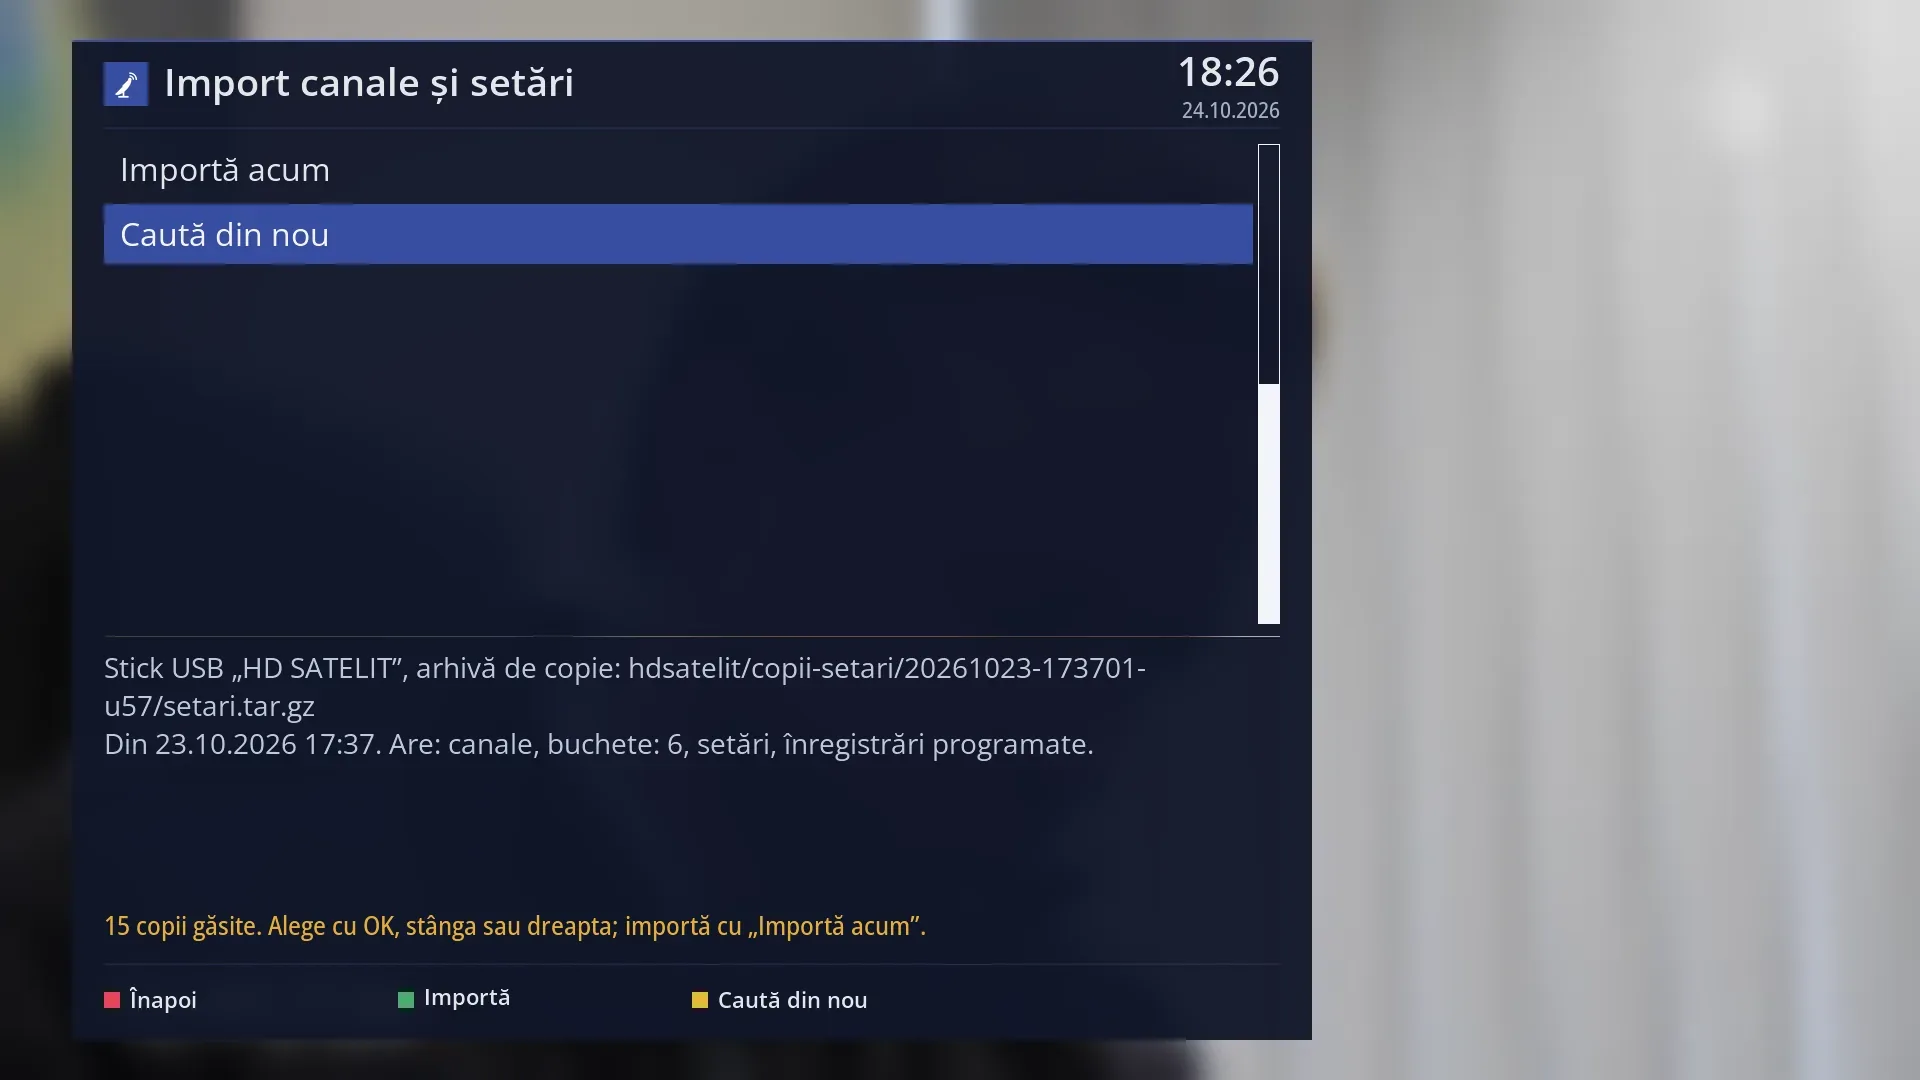
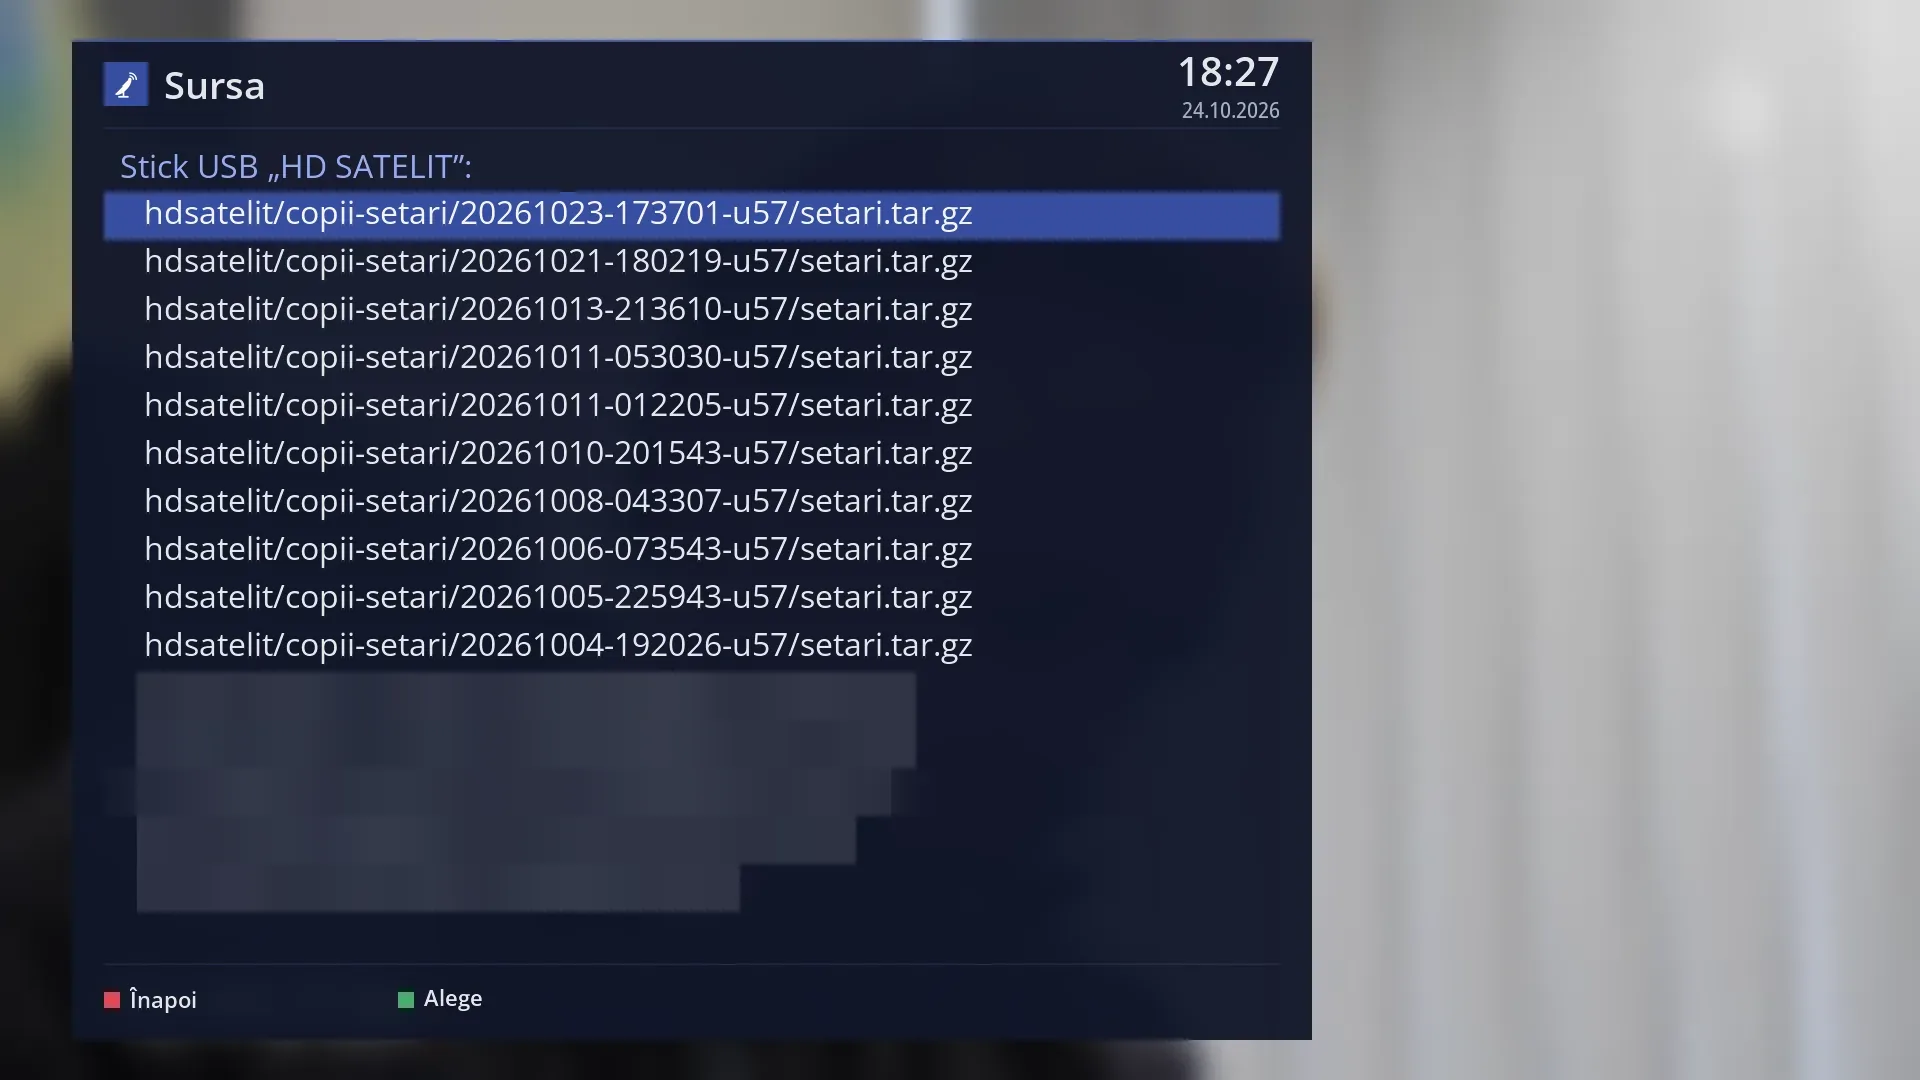
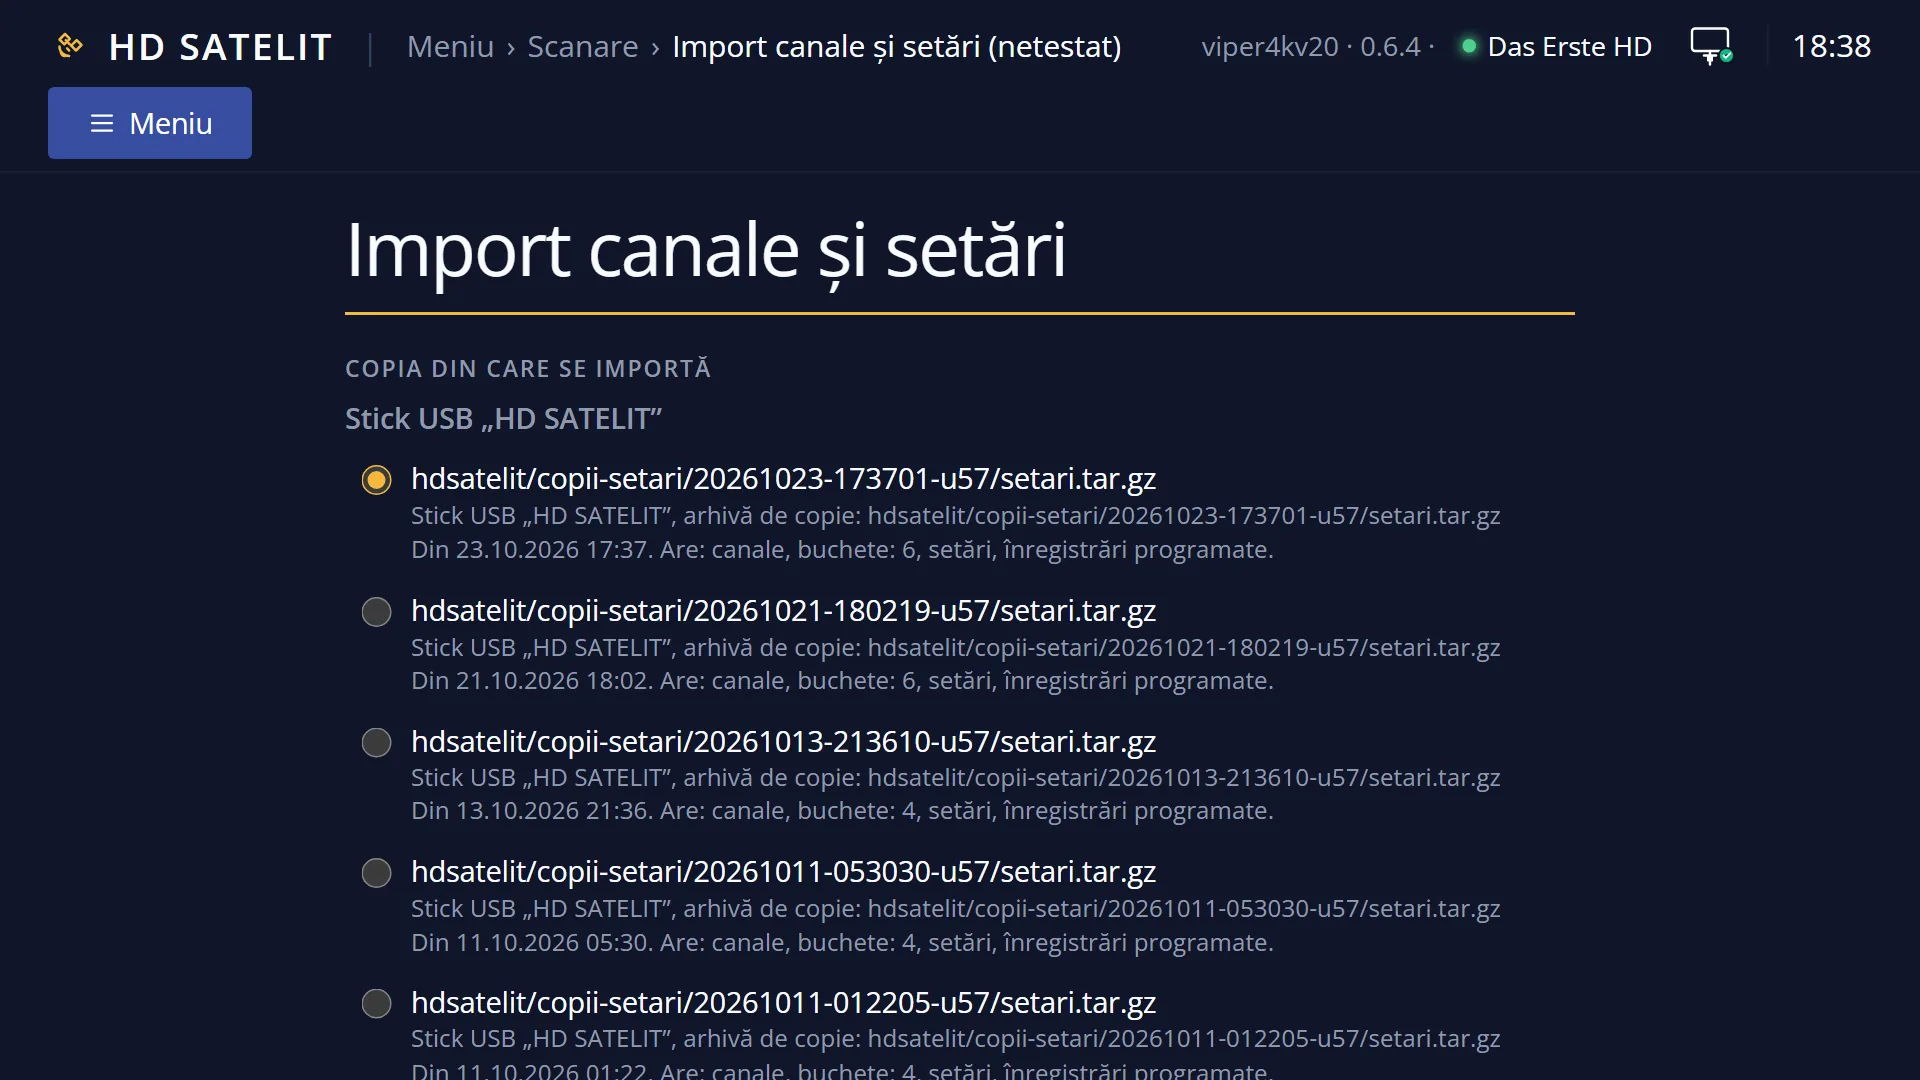
- 1 The medium of the copies (here the USB stick): a group heading, it cannot be chosen.
- 2 The copy chosen now; OK or GREEN chooses another one.
- 3 RED or EXIT close the list without any change.
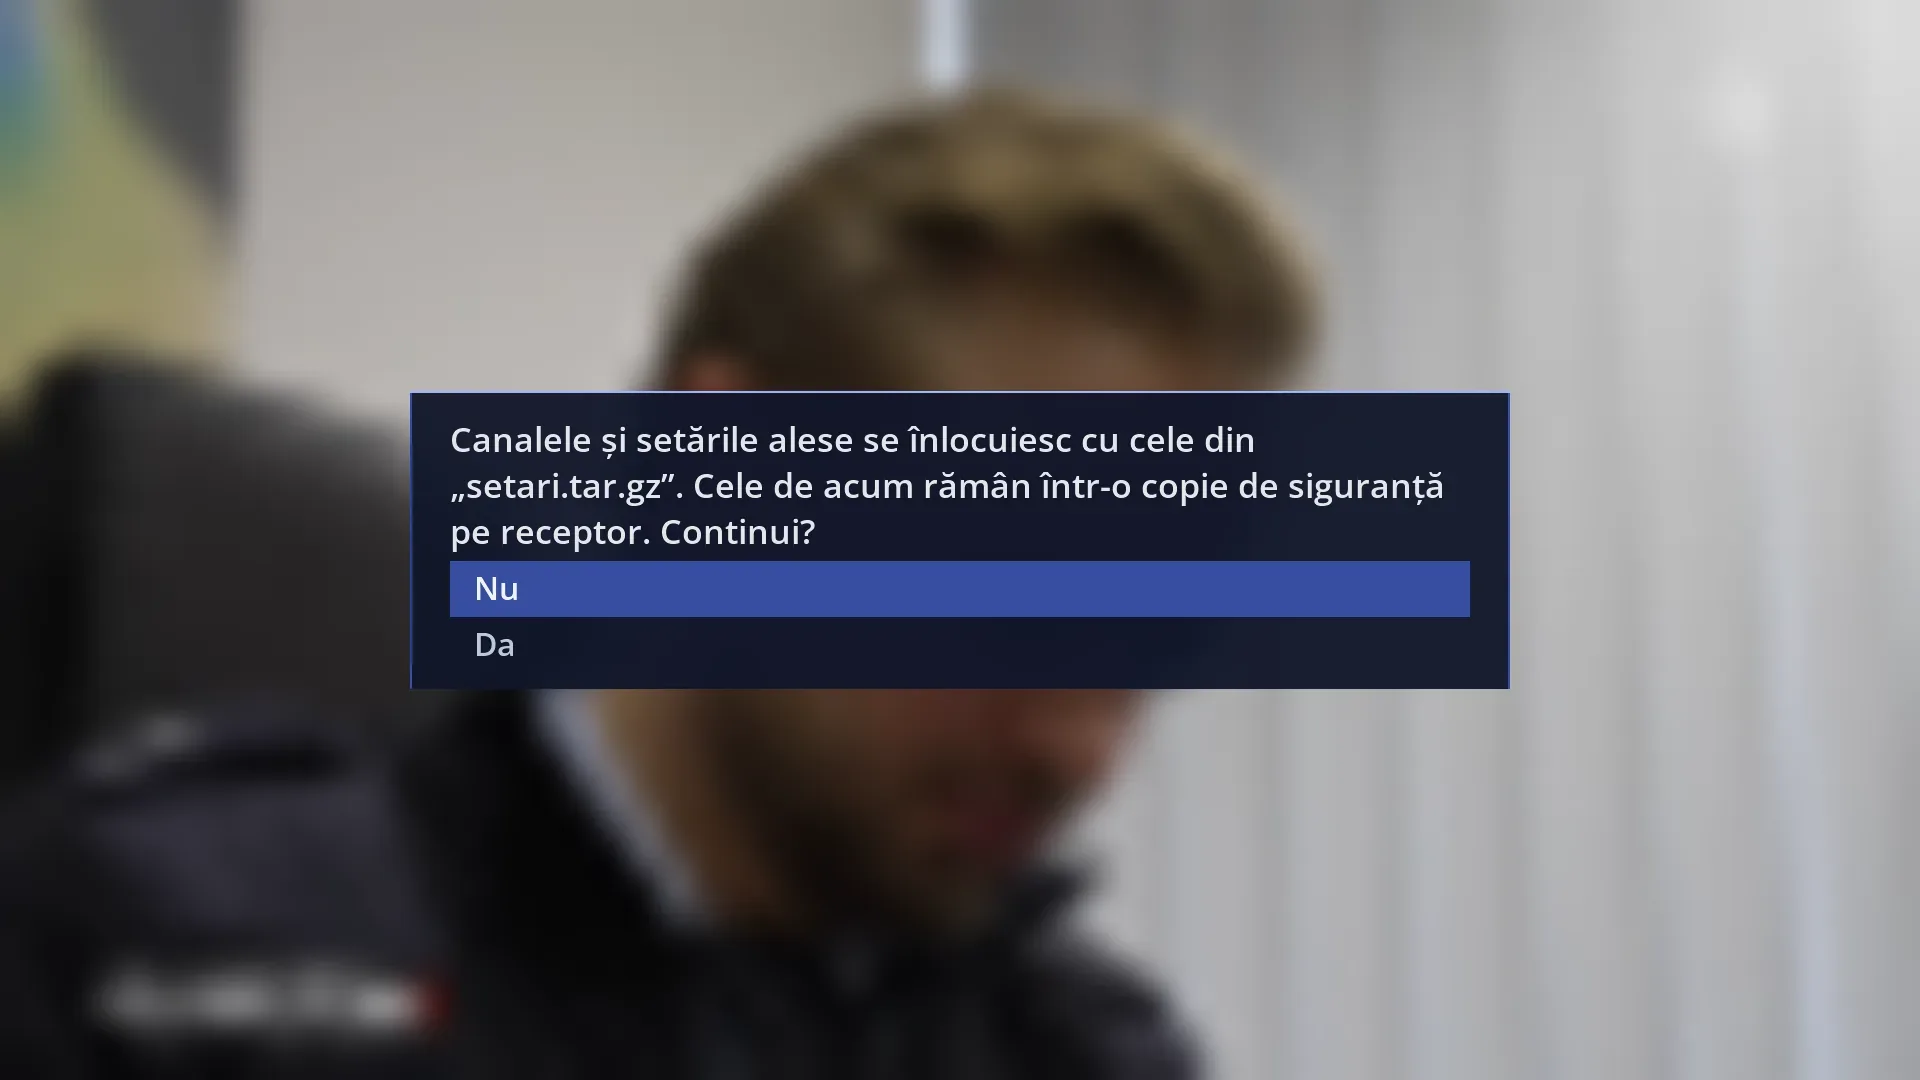
- 1 What is replaced; the current channels stay in a backup copy.
- 2 “No” is selected beforehand; EXIT also means No.
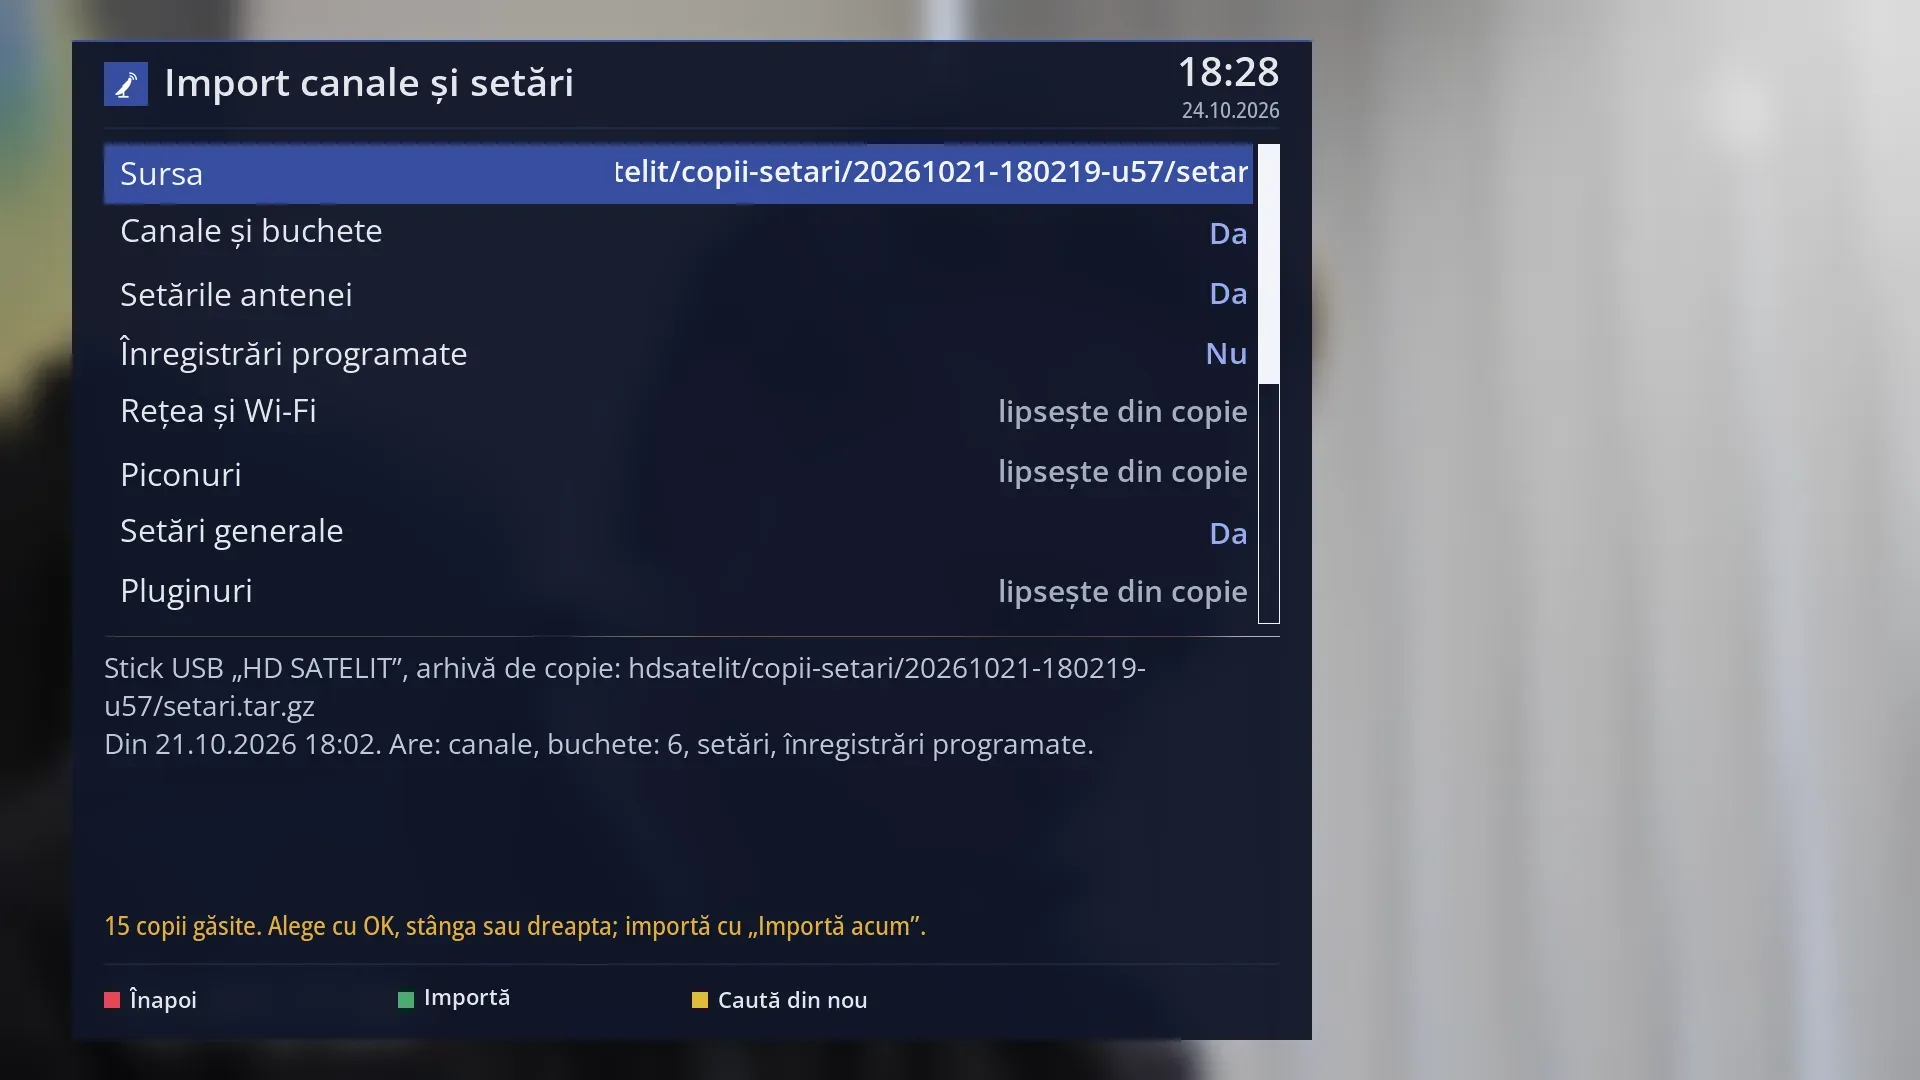
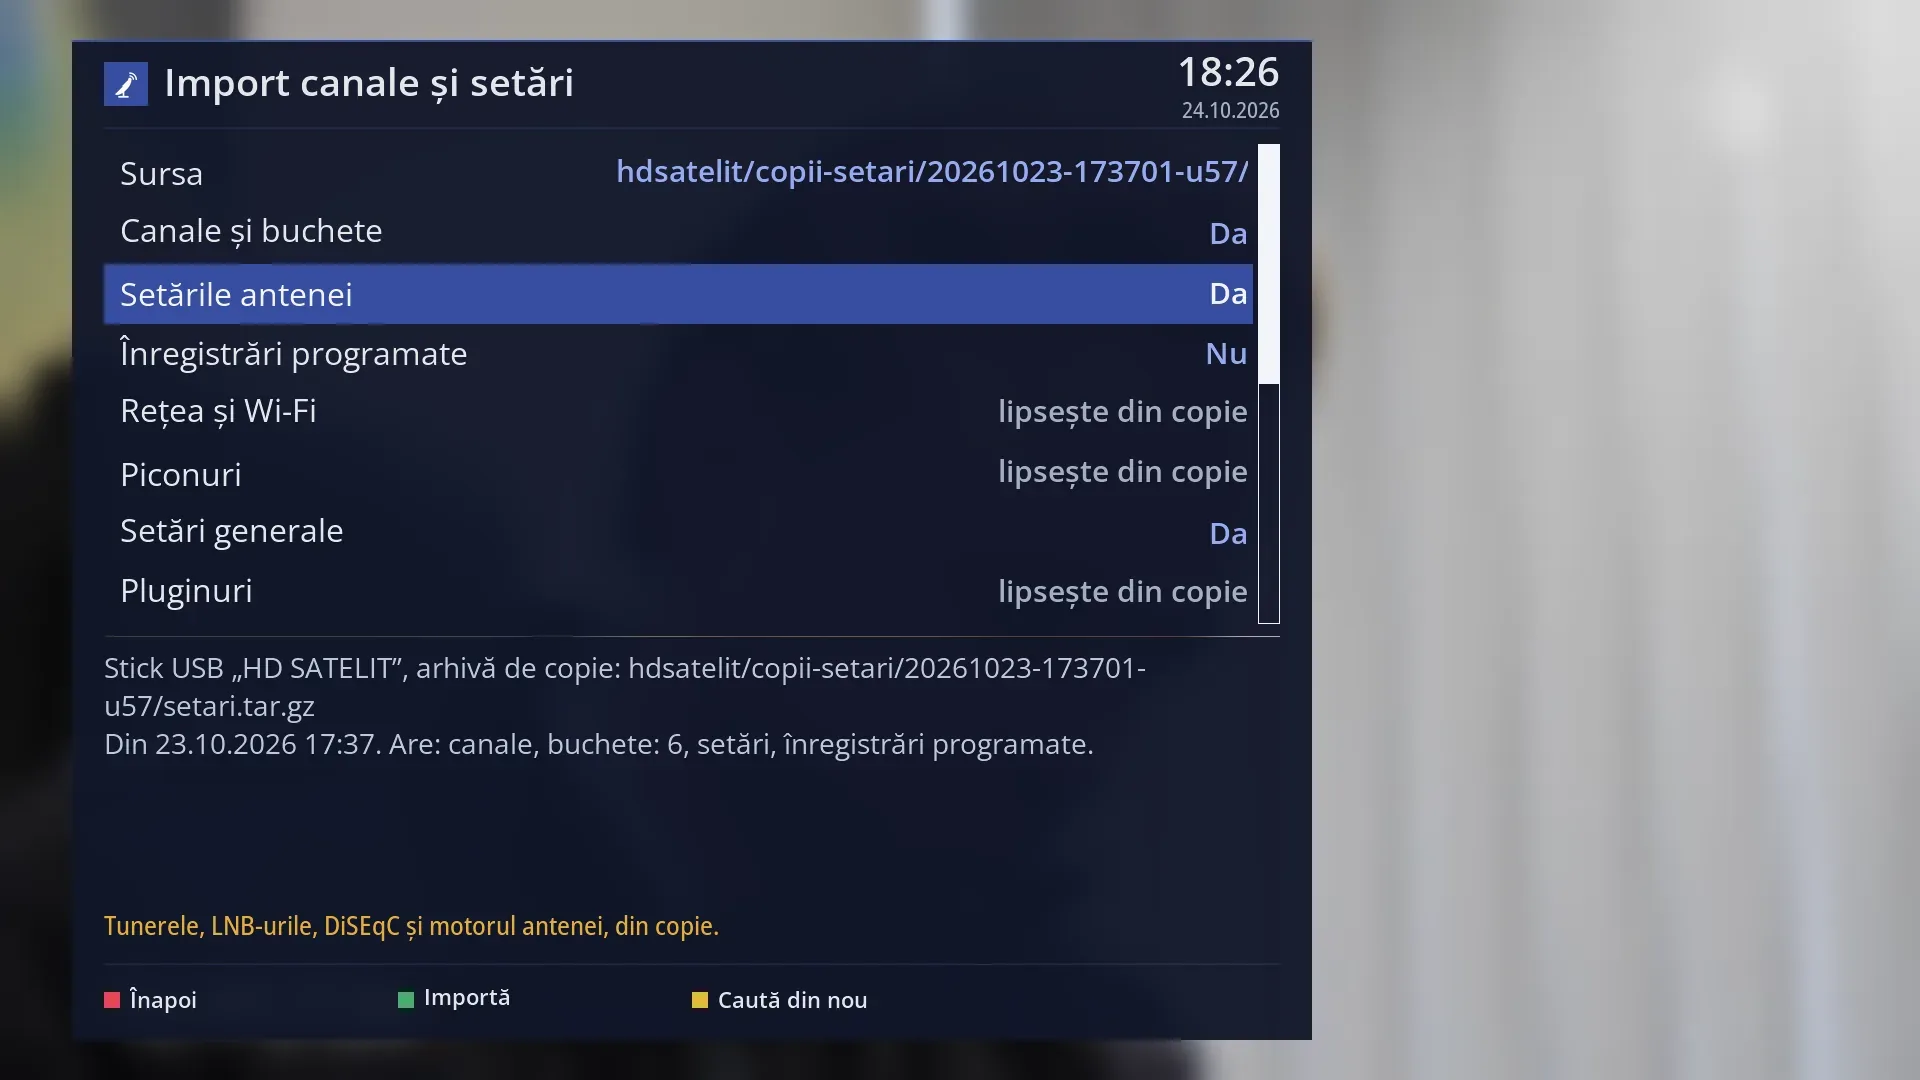
- 1 The next copy, chosen with RIGHT.
- 2 The description now shows this copy.
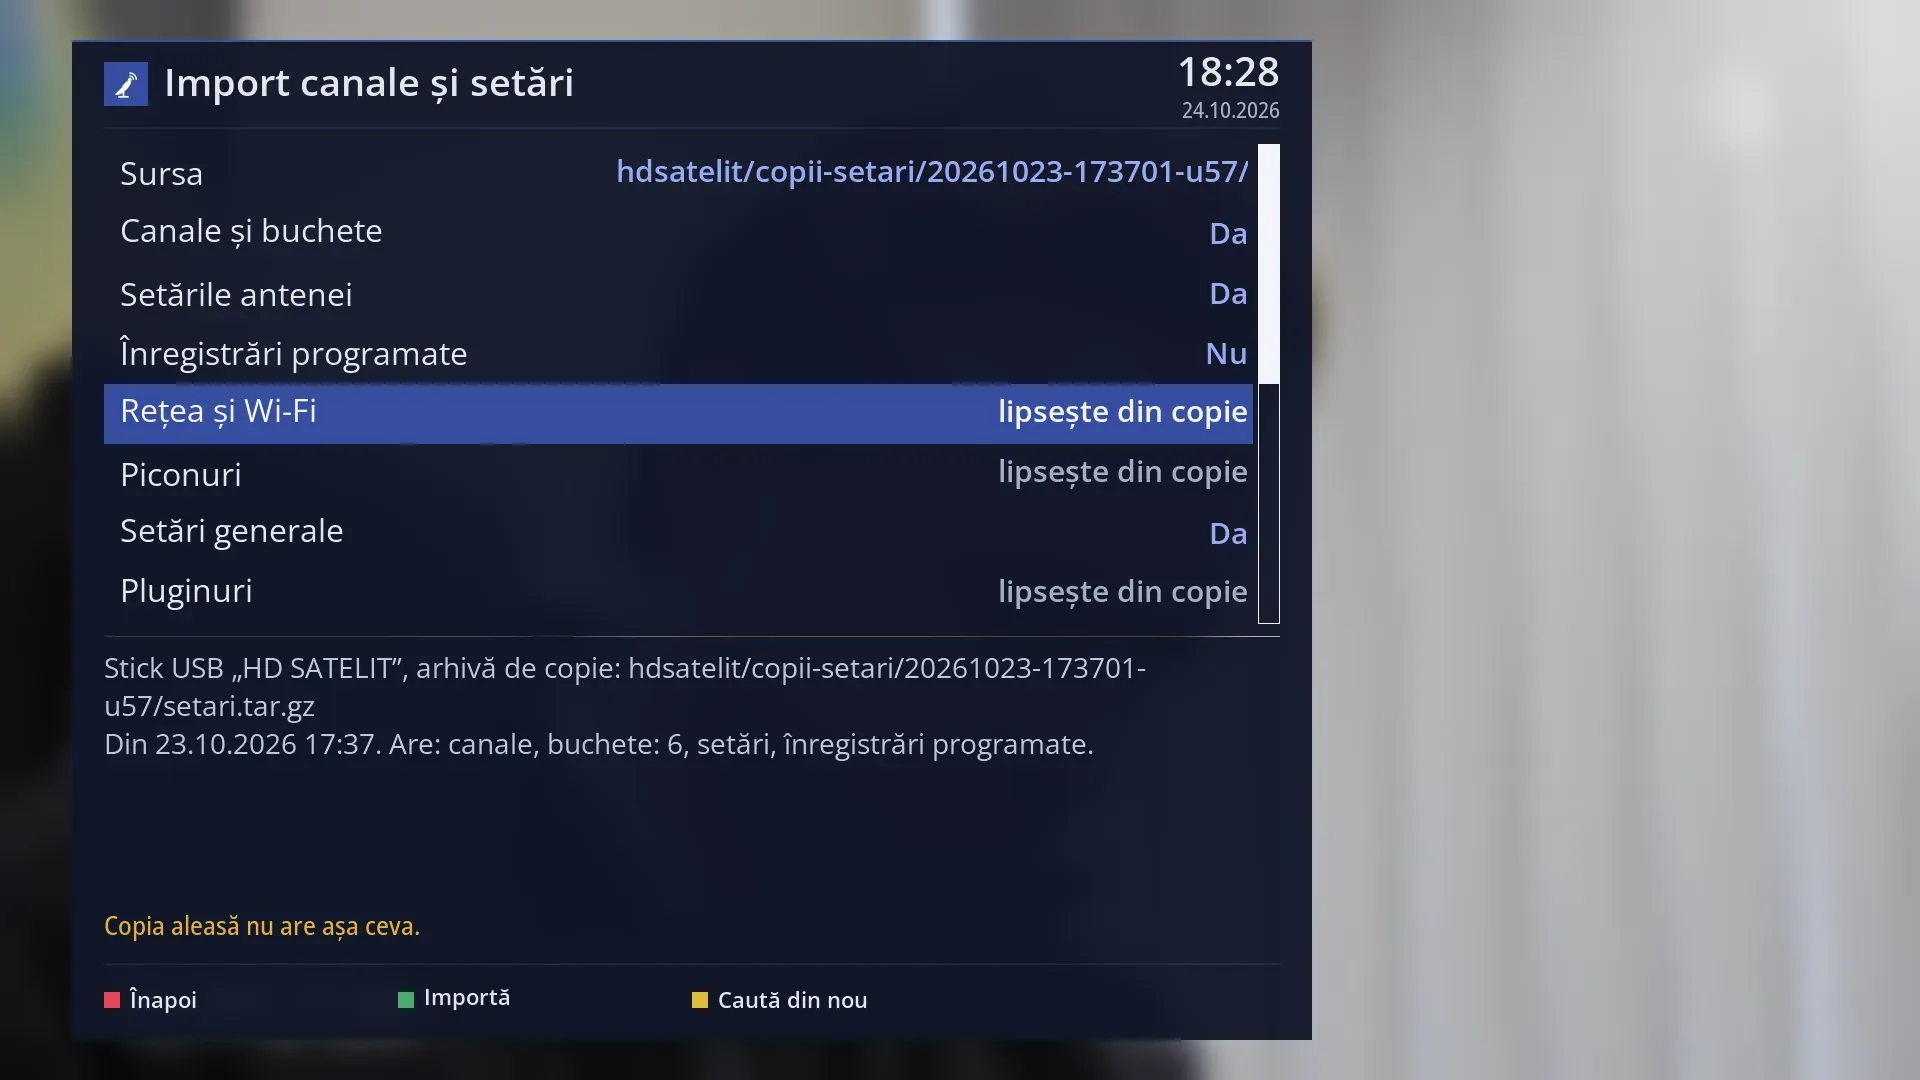
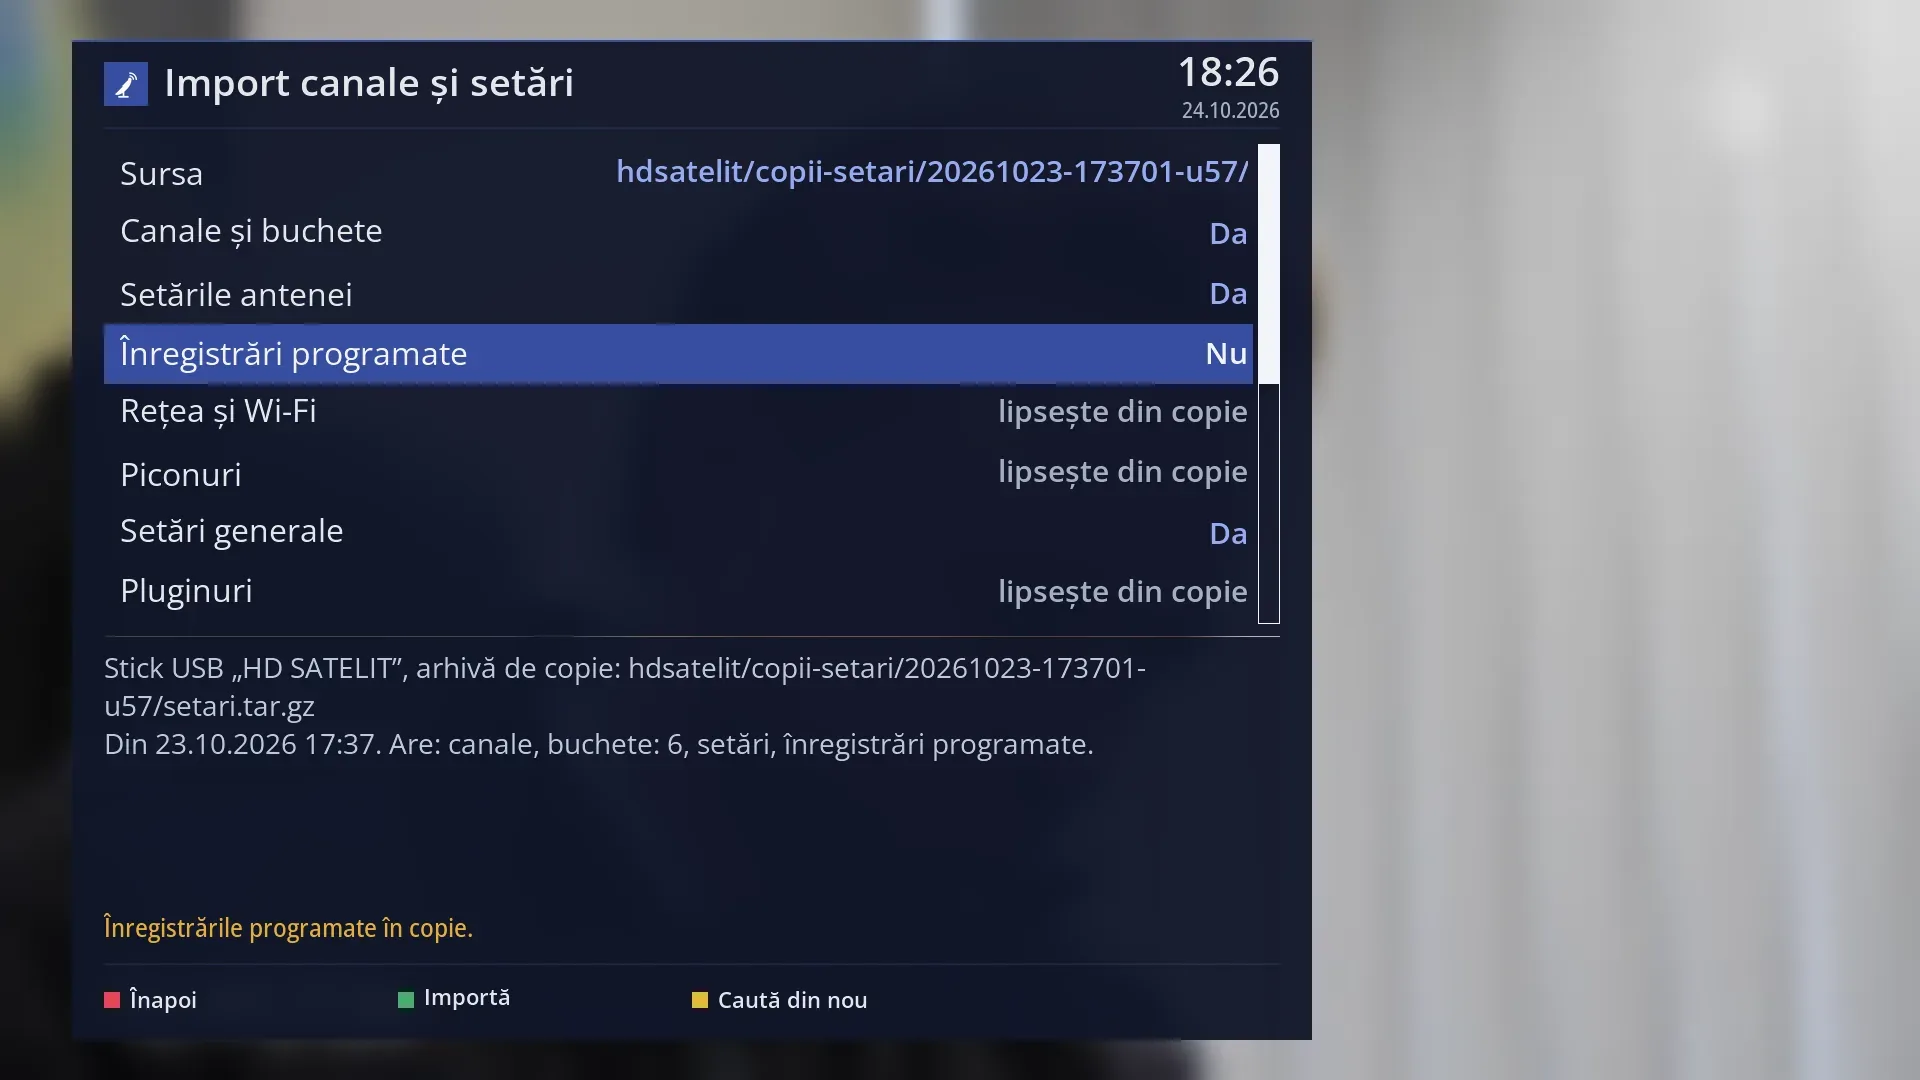
- 1 “Network and Wi-Fi”: the chosen copy has no network.
- 2 “The chosen copy does not contain this.”
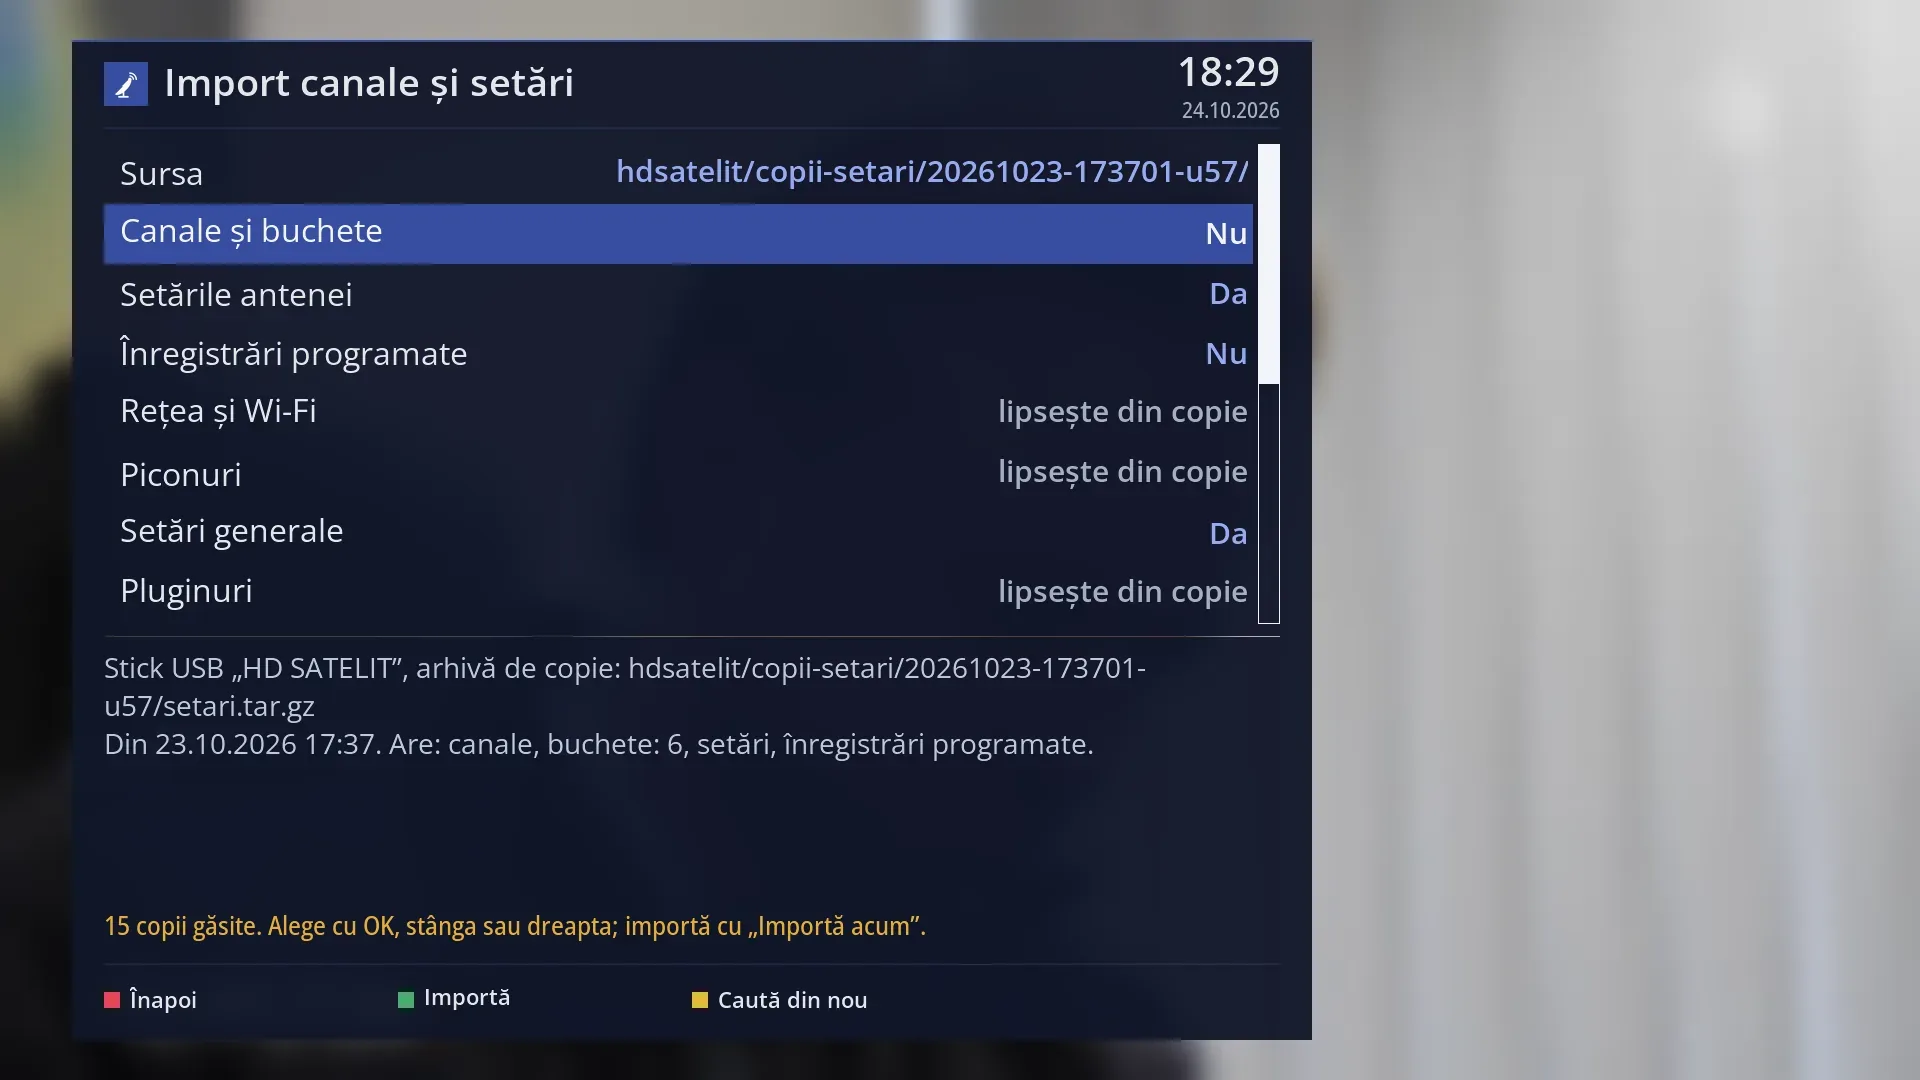
- 1 “Channels and bouquets” on No: it only lasts on this screen, until “Import now”.
What it is for
“Import channels and settings” brings in a ready-made channel list, with its bouquets (favourites lists), from a copy, without any scan. If you choose, it also brings in the antenna settings, the scheduled recordings, the network and Wi-Fi, the picons and the safe general settings, and it offers to install the plugins of the copy that are in the receiver's sources. The skin is not brought in: skins from other images do not fit the screens of the HD Satelit image.
The copy can be on a USB stick, a memory card or a disk: the settings folder of another receiver image, a folder with a channel list, or a backup archive (.tar.gz). The receiver looks for them by itself on all connected media and in the other partitions of the internal memory.
Before each import, the receiver keeps the current channels and settings in a backup copy. The last five also appear as sources (“Backup copies on the receiver”), so you can undo an import at any time.
The mark “(not tested)” in the menu means the function is finished but has not yet been tried on the receiver.
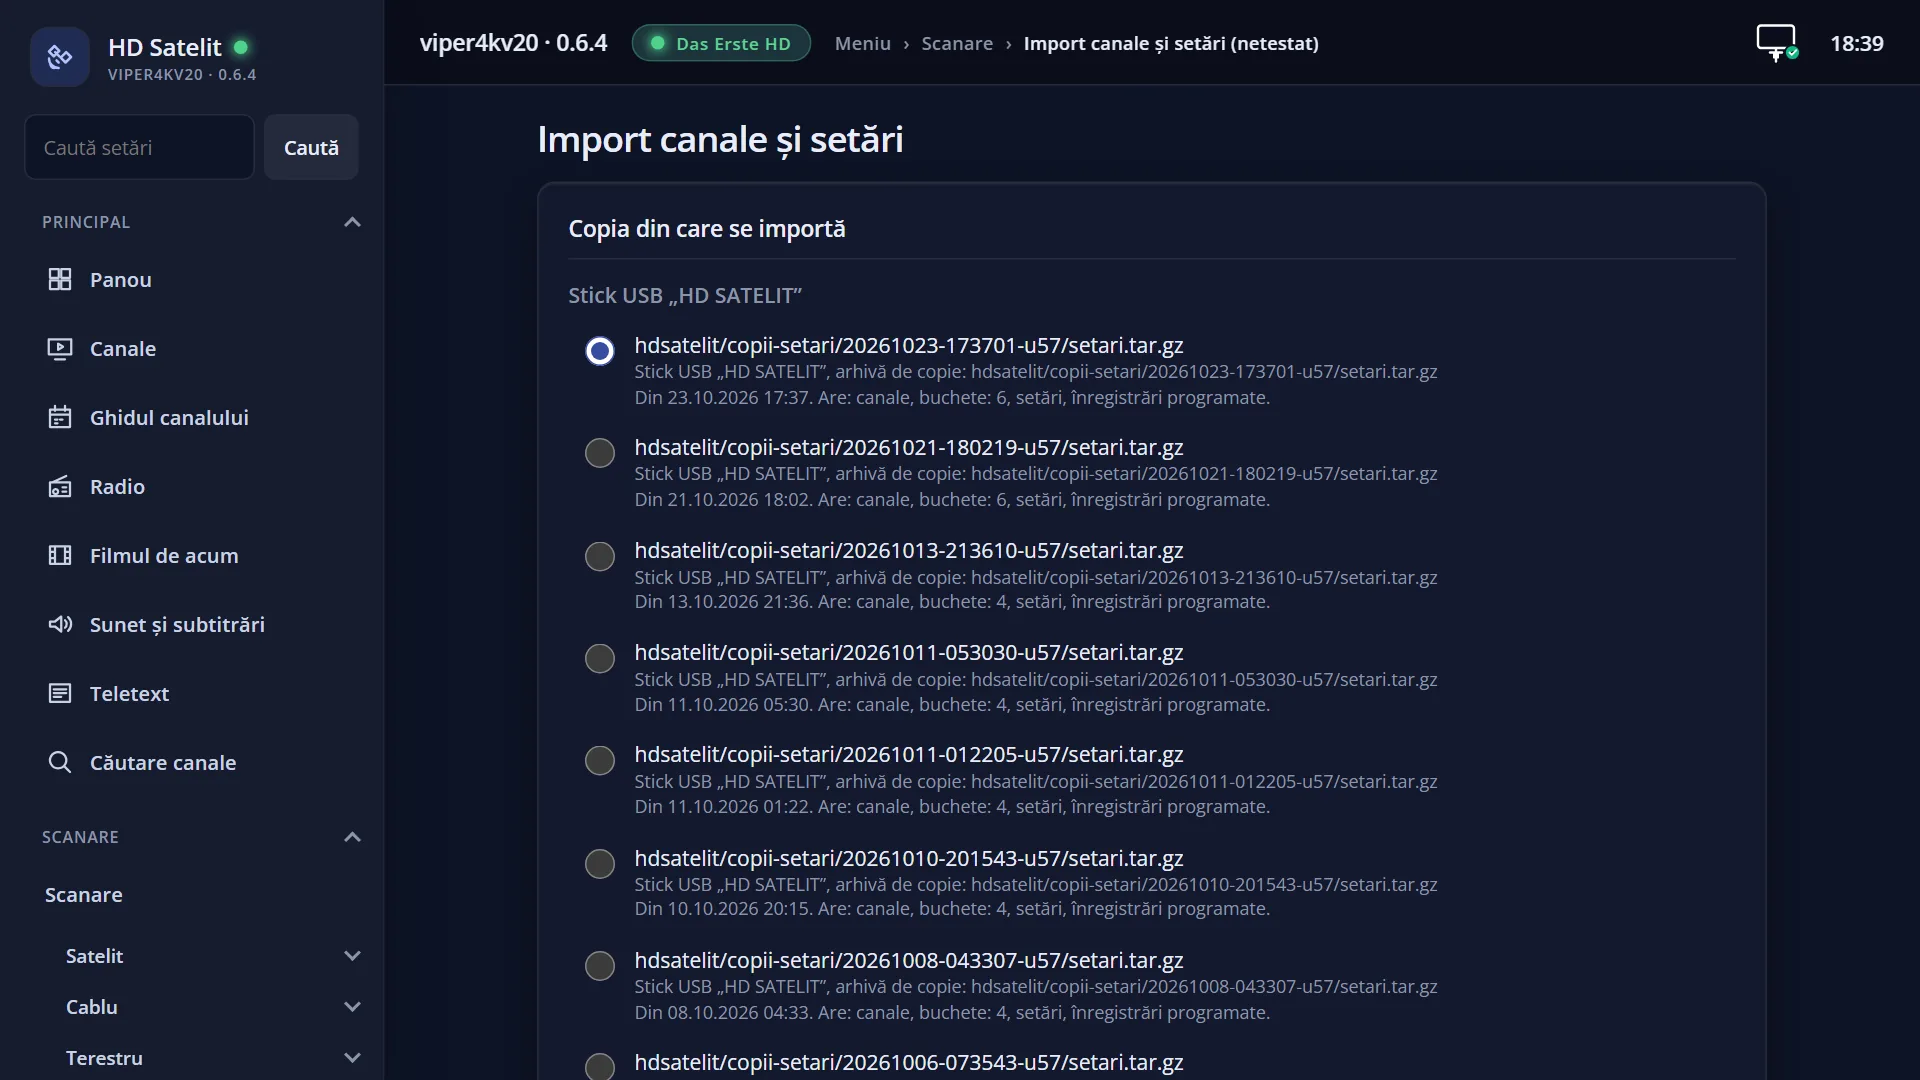
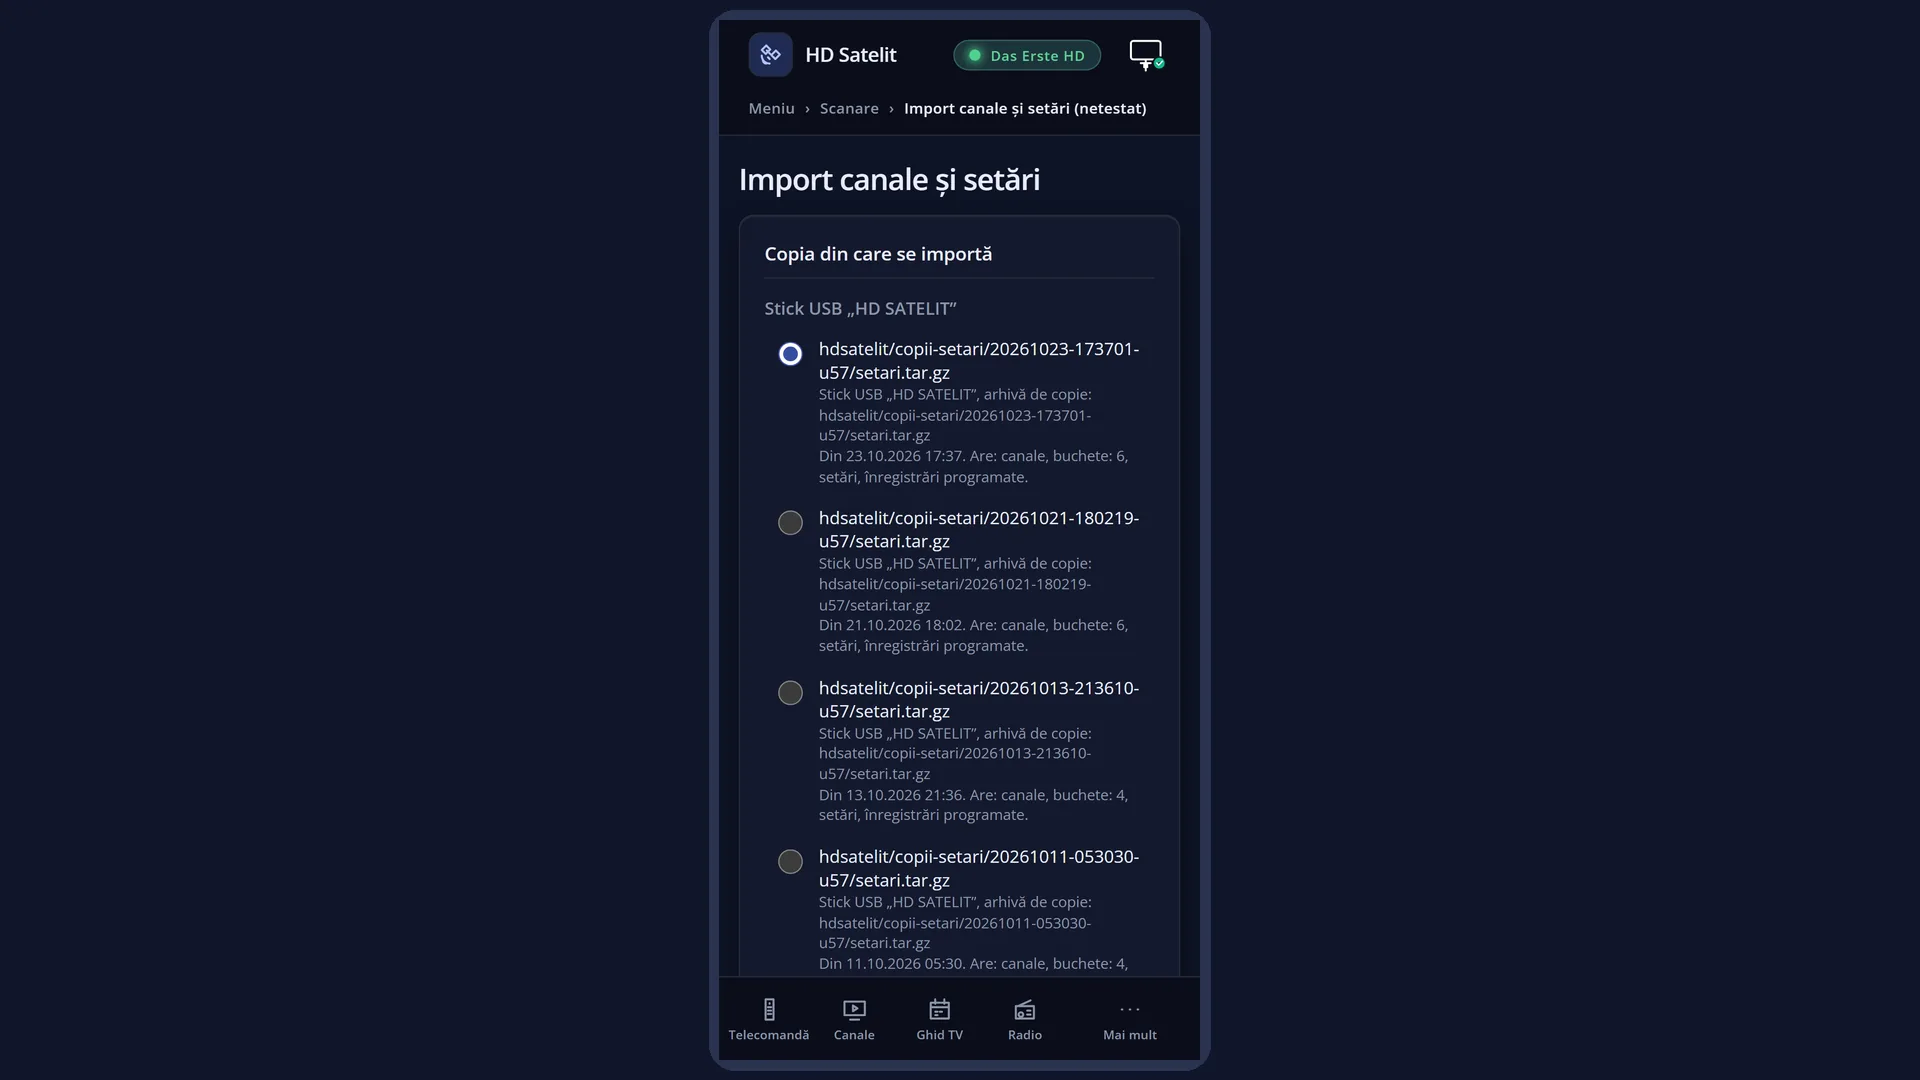
You can do the same import from the web interface, on the /import page: the same copies, the same choices, the same result.
How to get here
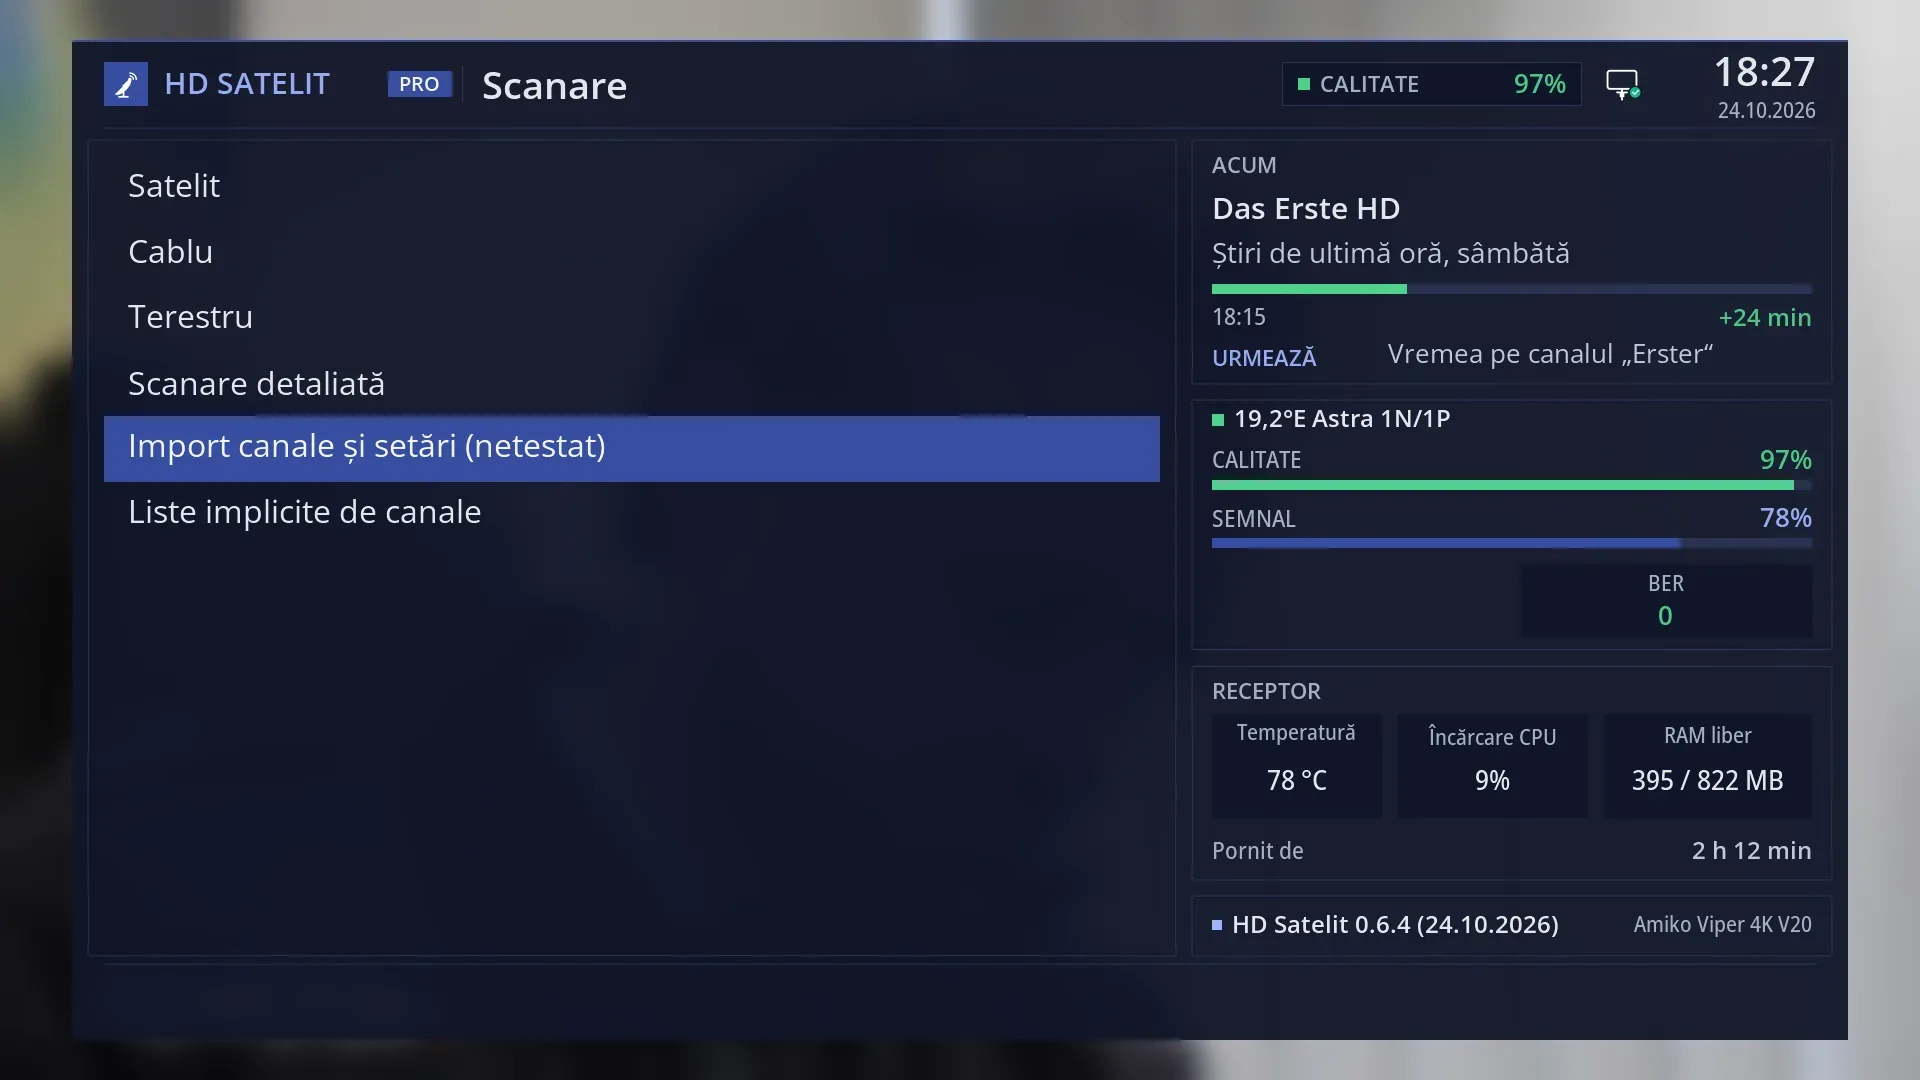
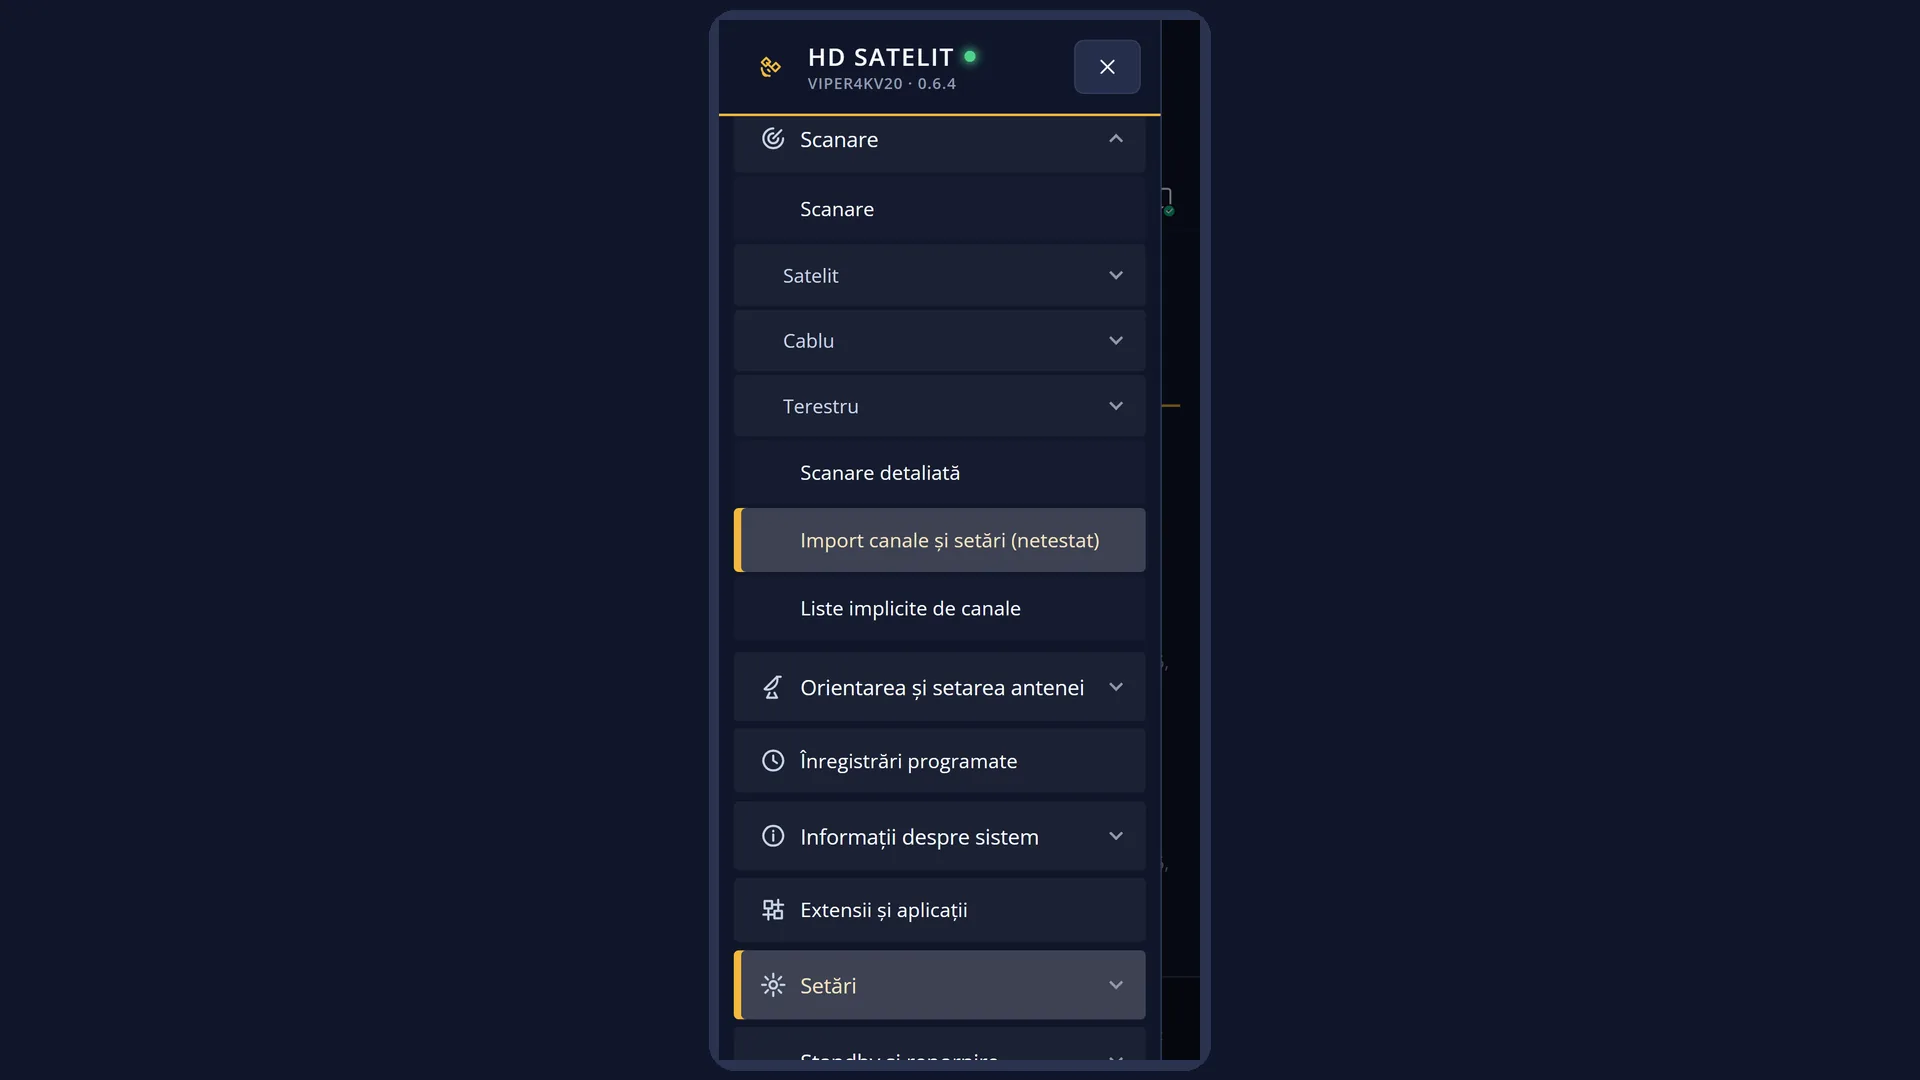
Path: Main menu > Channel scan > Import channels and settings
Keys on the remote: MENU 1 5
From “Default channel lists” (MENU 1 6): the “Import channels from a USB stick” row.
In the web interface: the /import page.
What you see on the screen
At the top, the title “Import channels and settings”, the time and the date.
The first row, “Source”: the chosen copy (the name of the folder or archive; a backup copy of the receiver appears as “Copy from” and the date). While it searches, it shows “Searching…”, and when there is no copy, “no copy found”.
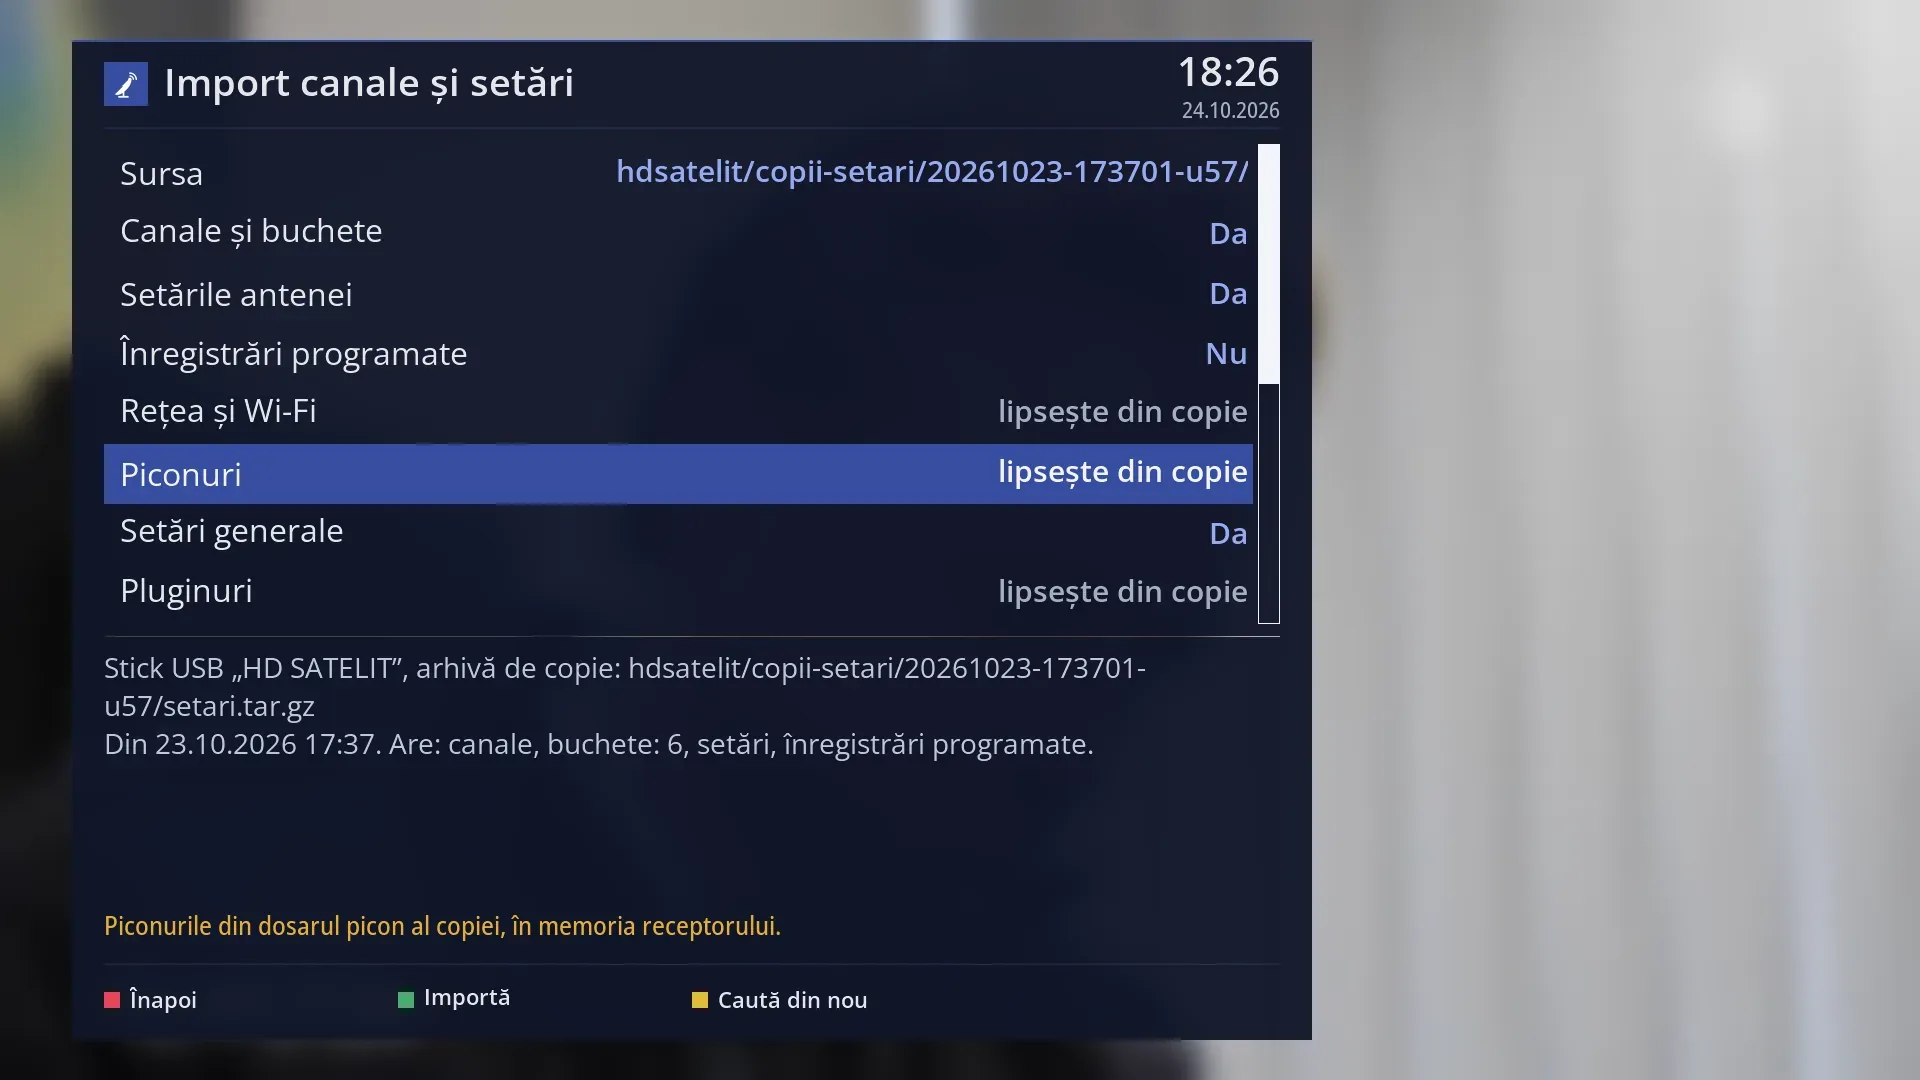
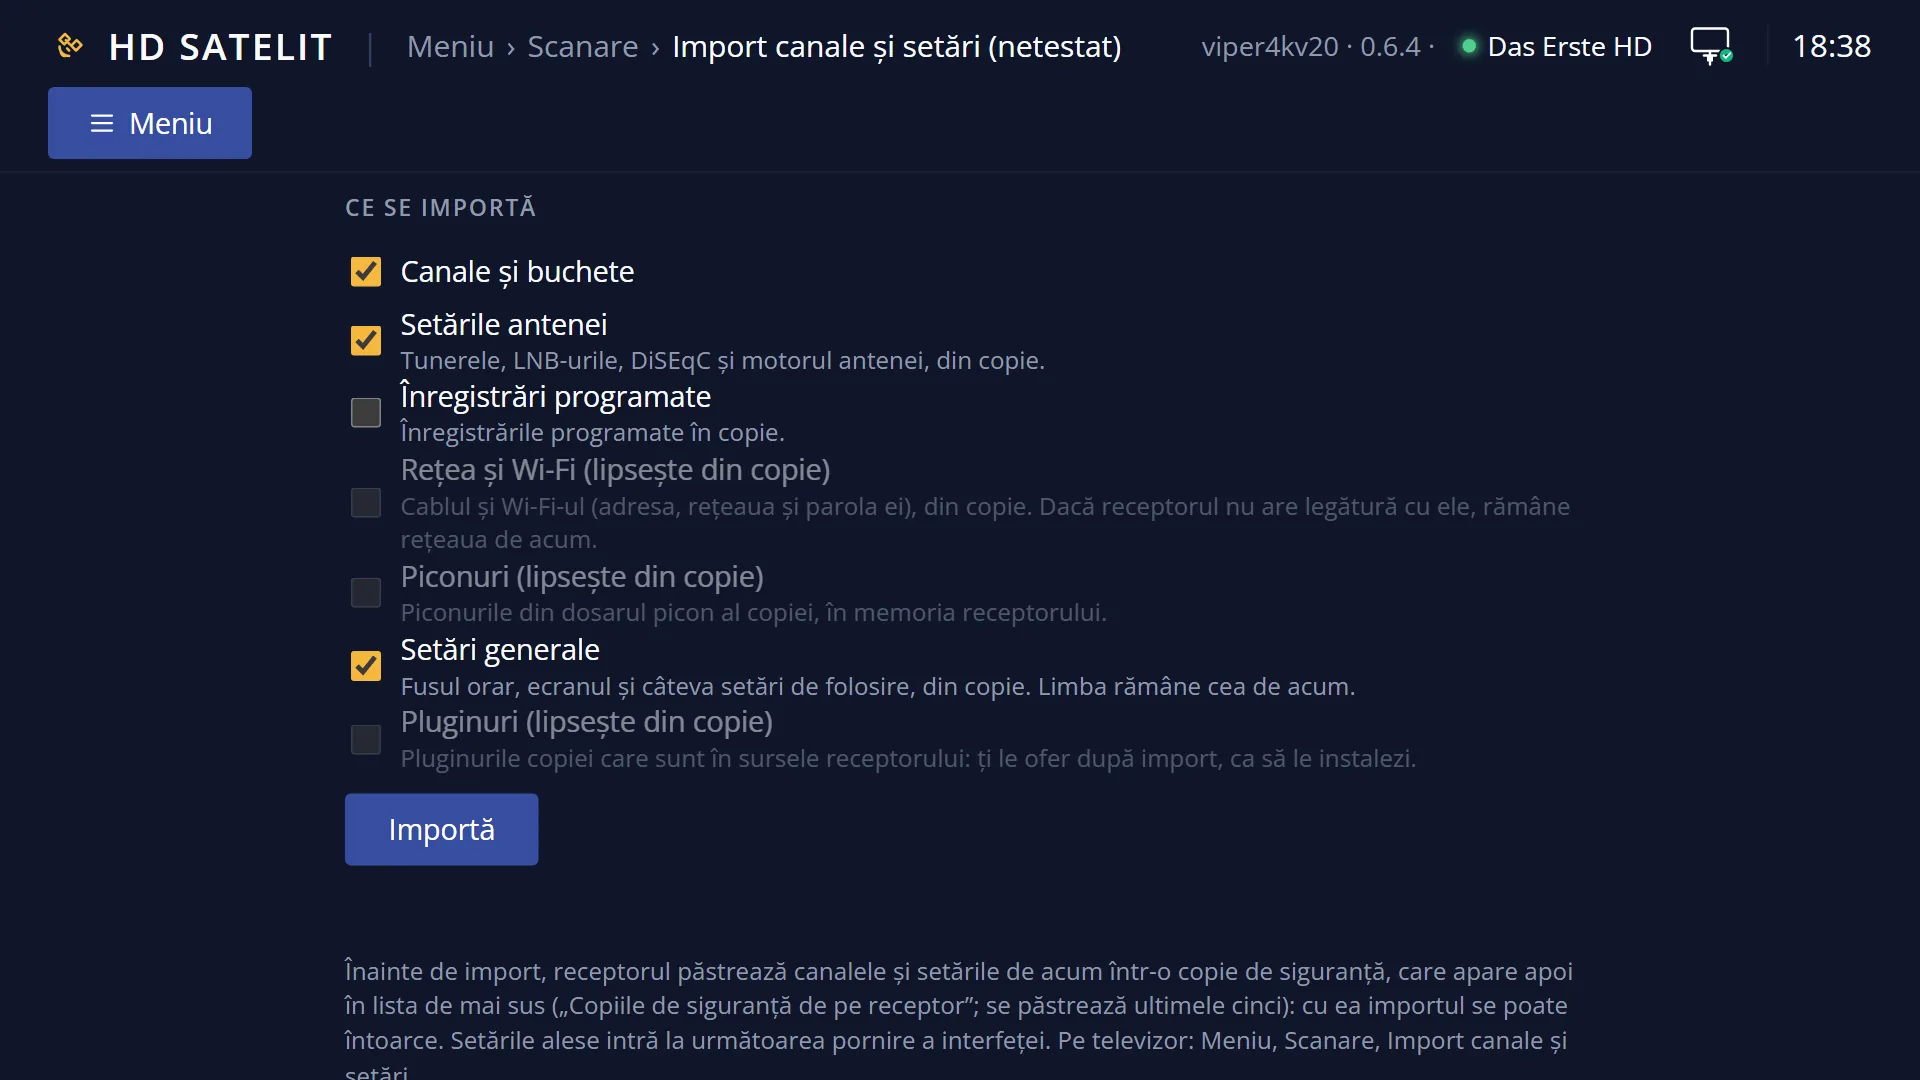
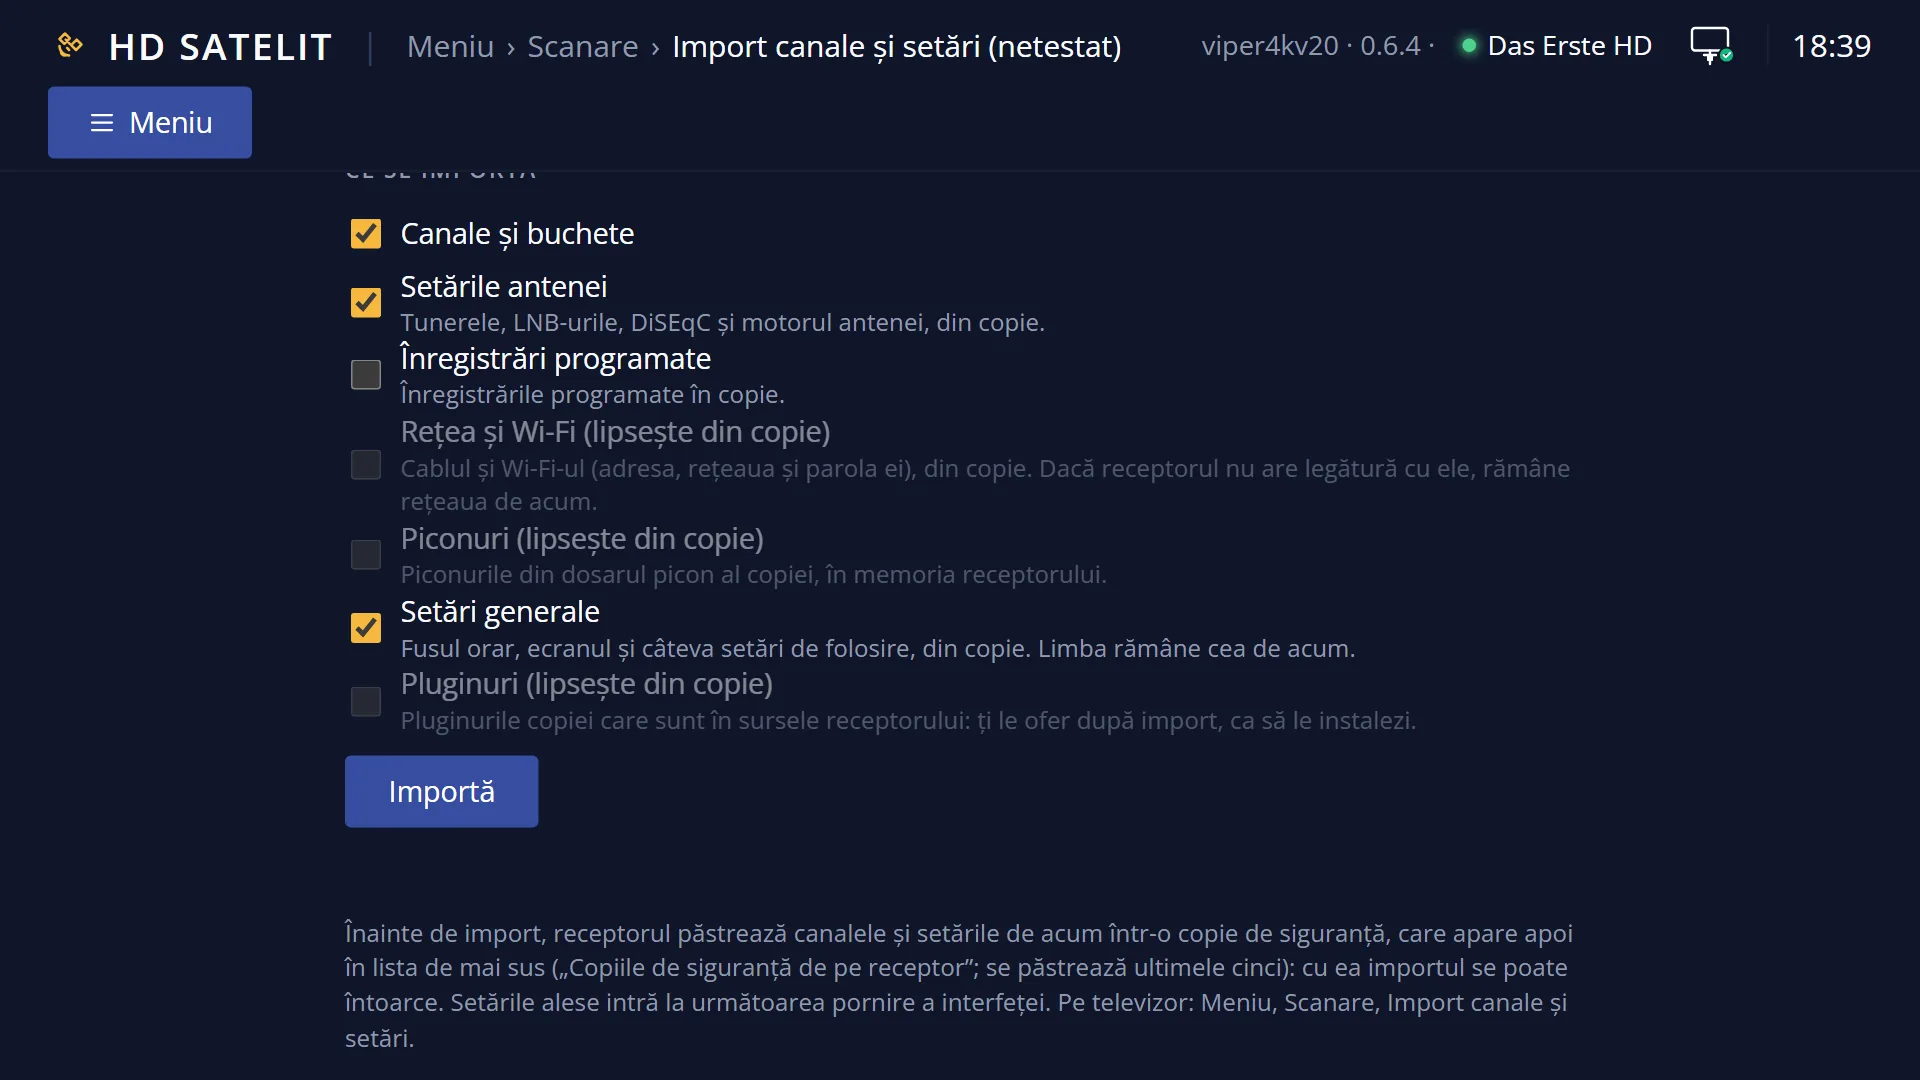
The seven choices: “Channels and bouquets”, “Antenna settings”, “Scheduled recordings”, “Network and Wi-Fi”, “Picons”, “General settings” and “Plugins”, each with Yes or No on the right. Anything missing from the chosen copy shows “missing from the copy”, greyed out.
The action rows: “Import now” and “Search again”. After an import with plugins to install, “Install the plugins from the backup” also appears, with their number on the right. After an import with settings, “Restart the interface now” also appears.
Below the list, the description of the chosen copy: which medium it is on (for example “USB stick “…””), what kind of copy it is, how old it is (“From 12.10.2026 18:40.”) and what it contains (“Contains: channels, bouquets: 12, settings, network, picons, plugin list.”). After the import, the import messages appear here.
Underneath, in yellow, the status line: what the selected row does (for example “The tuners, LNBs, DiSEqC and antenna motor, from the copy.”) or the last message (“Import finished.”).
At the bottom, the keys: RED “Back”, GREEN “Import” (only when a copy is chosen), YELLOW “Search again”.
Rows and settings
| Row | Values | Default | What it does |
|---|---|---|---|
| Source | the copies found on USB sticks, on a memory card, on disks, in the receiver's memory, Backup copies on the receiver (“Copy from …”) | the first copy found (USB sticks and a memory card first, then disks, then the receiver's memory, and the backup copies last) | The copy to import from. LEFT and RIGHT go through the copies. OK opens the list of copies, grouped by medium, so you can choose one directly. When you have several copies, for example one on a USB stick and the receiver's backup copies. |
| Channels and bouquets | Yes, No, missing from the copy | Yes | The channel list and bouquets from the copy replace the current ones. The DAB+ radio lists and the DVB-T2 via satellite lists made by the receiver stay. Set it to No when you only want the settings or the scheduled recordings from the copy. |
| Antenna settings | Yes, No, missing from the copy | Yes | The satellite tuners, LNBs, DiSEqC and dish motor, as they were in the copy. The cable and terrestrial tuner settings in the copy are not brought in. Leave it on Yes when the copy comes from the same receiver or from one connected to the same dish. |
| Scheduled recordings | Yes, No, missing from the copy | No | The scheduled recordings from the copy are added to those on the receiver, without duplicates. When you want to keep the scheduled recordings from your old receiver. |
| Network and Wi-Fi | Yes, No, missing from the copy | No | The cable and Wi-Fi connections from the copy: automatic (DHCP) or fixed address, with the netmask, gateway and DNS, the Wi-Fi network and its password. They are applied the same way as from the receiver's network screens. If after the change the receiver gets no address within 40 seconds or can no longer reach the internet (when it could before), it puts the previous network back by itself. Open Wi-Fi networks and networks with a password (WPA2, WPA3) work; a company network with a user name does not. The network is found only in copies that also contain the network settings of the old image (usually backup archives); a folder with only the channel list does not have them. The Wi-Fi password never appears anywhere: not below the list and not in the web interface. Set it to Yes when the receiver has no network yet or when you want the network from your old receiver. If you import from the web interface, the connection to the page may drop for a few seconds. |
| Picons | Yes, No, missing from the copy | Yes | The picons (channel logos) from the copy's picon folder are copied into the receiver's memory: only .png files, at most 6000, each at most 256 KB, at most 64 MB in total, and only if free space remains in the memory. They are taken only from a folder copy; for a .tar.gz archive the row shows “missing from the copy”. A picon folder placed right in the root of the USB stick or the disk does not need importing: the image shows the picons straight from there. Set it to No when the picons are already in the picon folder on the disk or the USB stick. |
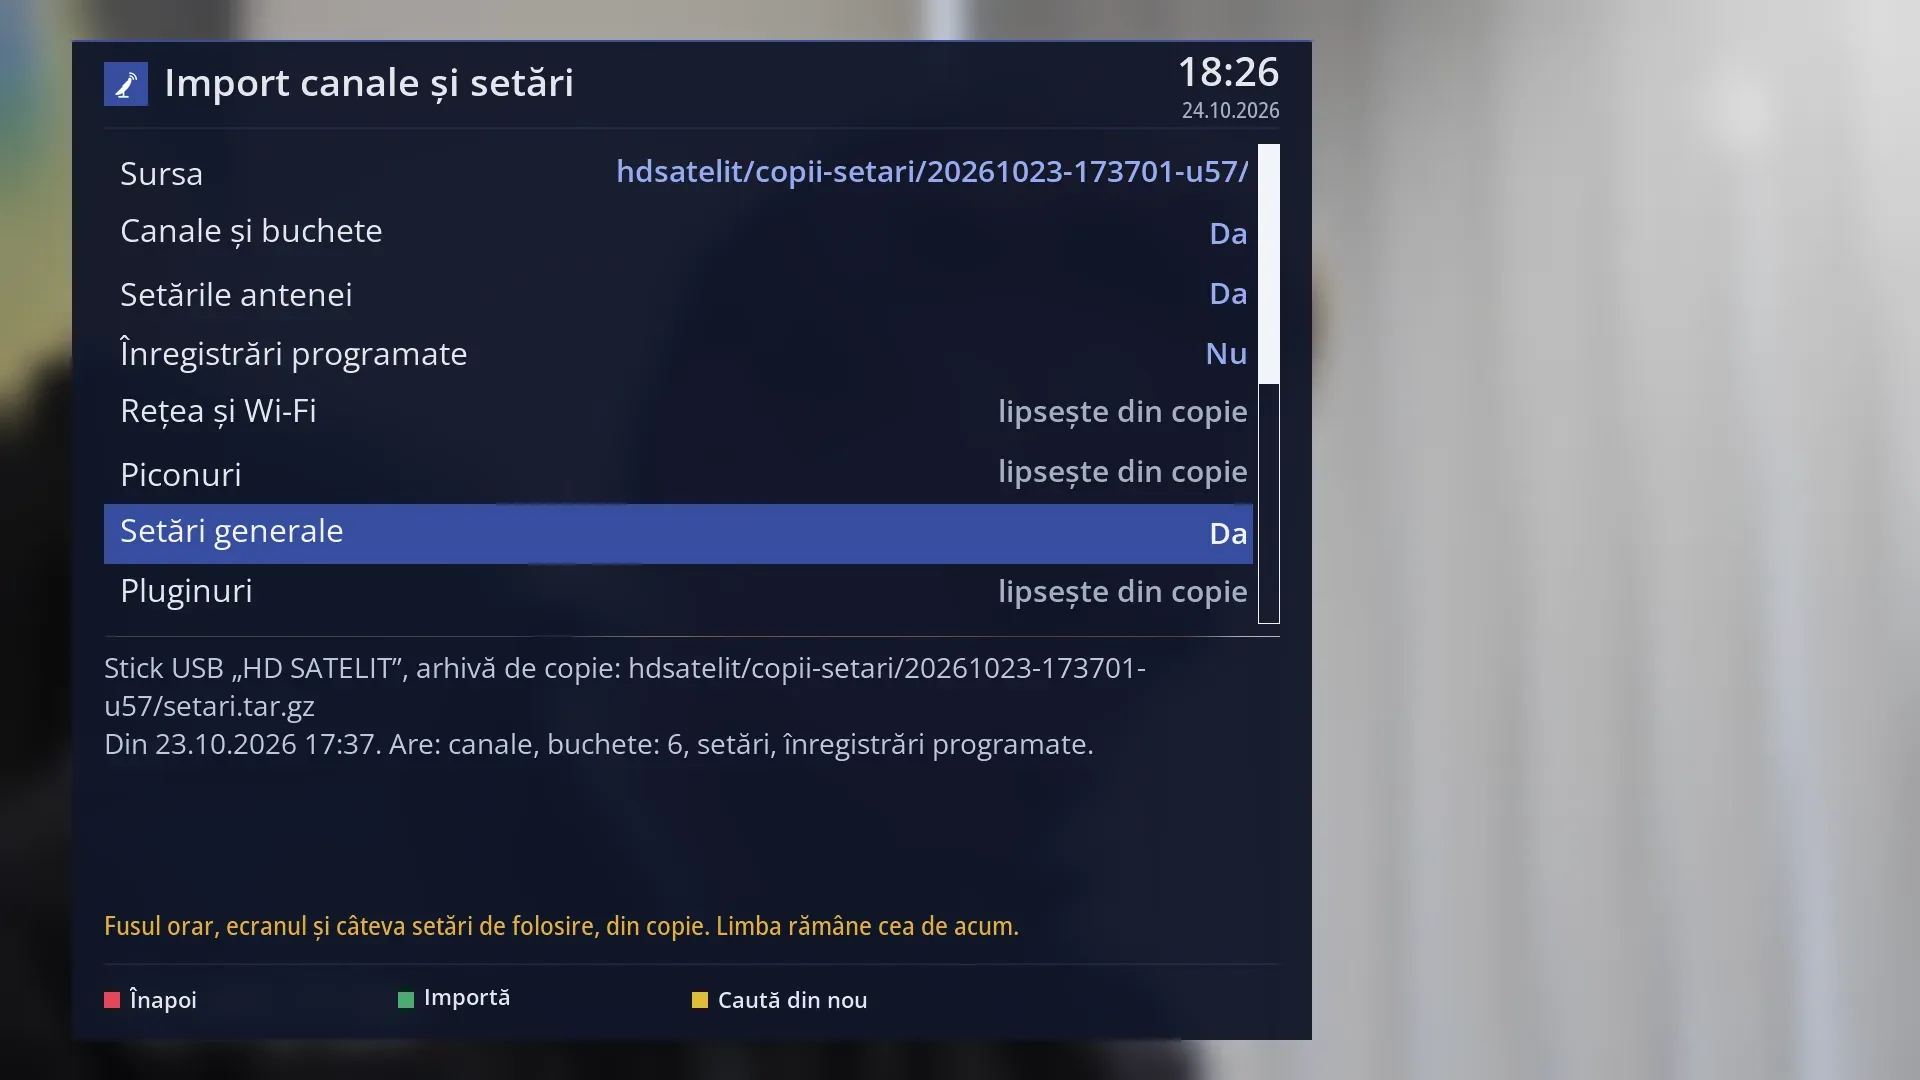
| General settings | Yes, No, missing from the copy | Yes | A short list of settings that mean the same thing in every Enigma2 image: the time zone; the picture shape on screen (4:3 or 16:9 and how it is fitted); the resolution, only if the TV accepts it; how long the infobar stays and when it appears; the disk standby; what a short and a long press of the power key do; what happens at the start, at the stop and at the end of a movie; the message when a recording starts; the length of movies in the list. Each one is brought in only if the value in the copy is one the HD Satelit image also has; anything that does not match is left aside, without an error. The language stays as it is now. Set it to No when you want to keep the receiver's current settings. |
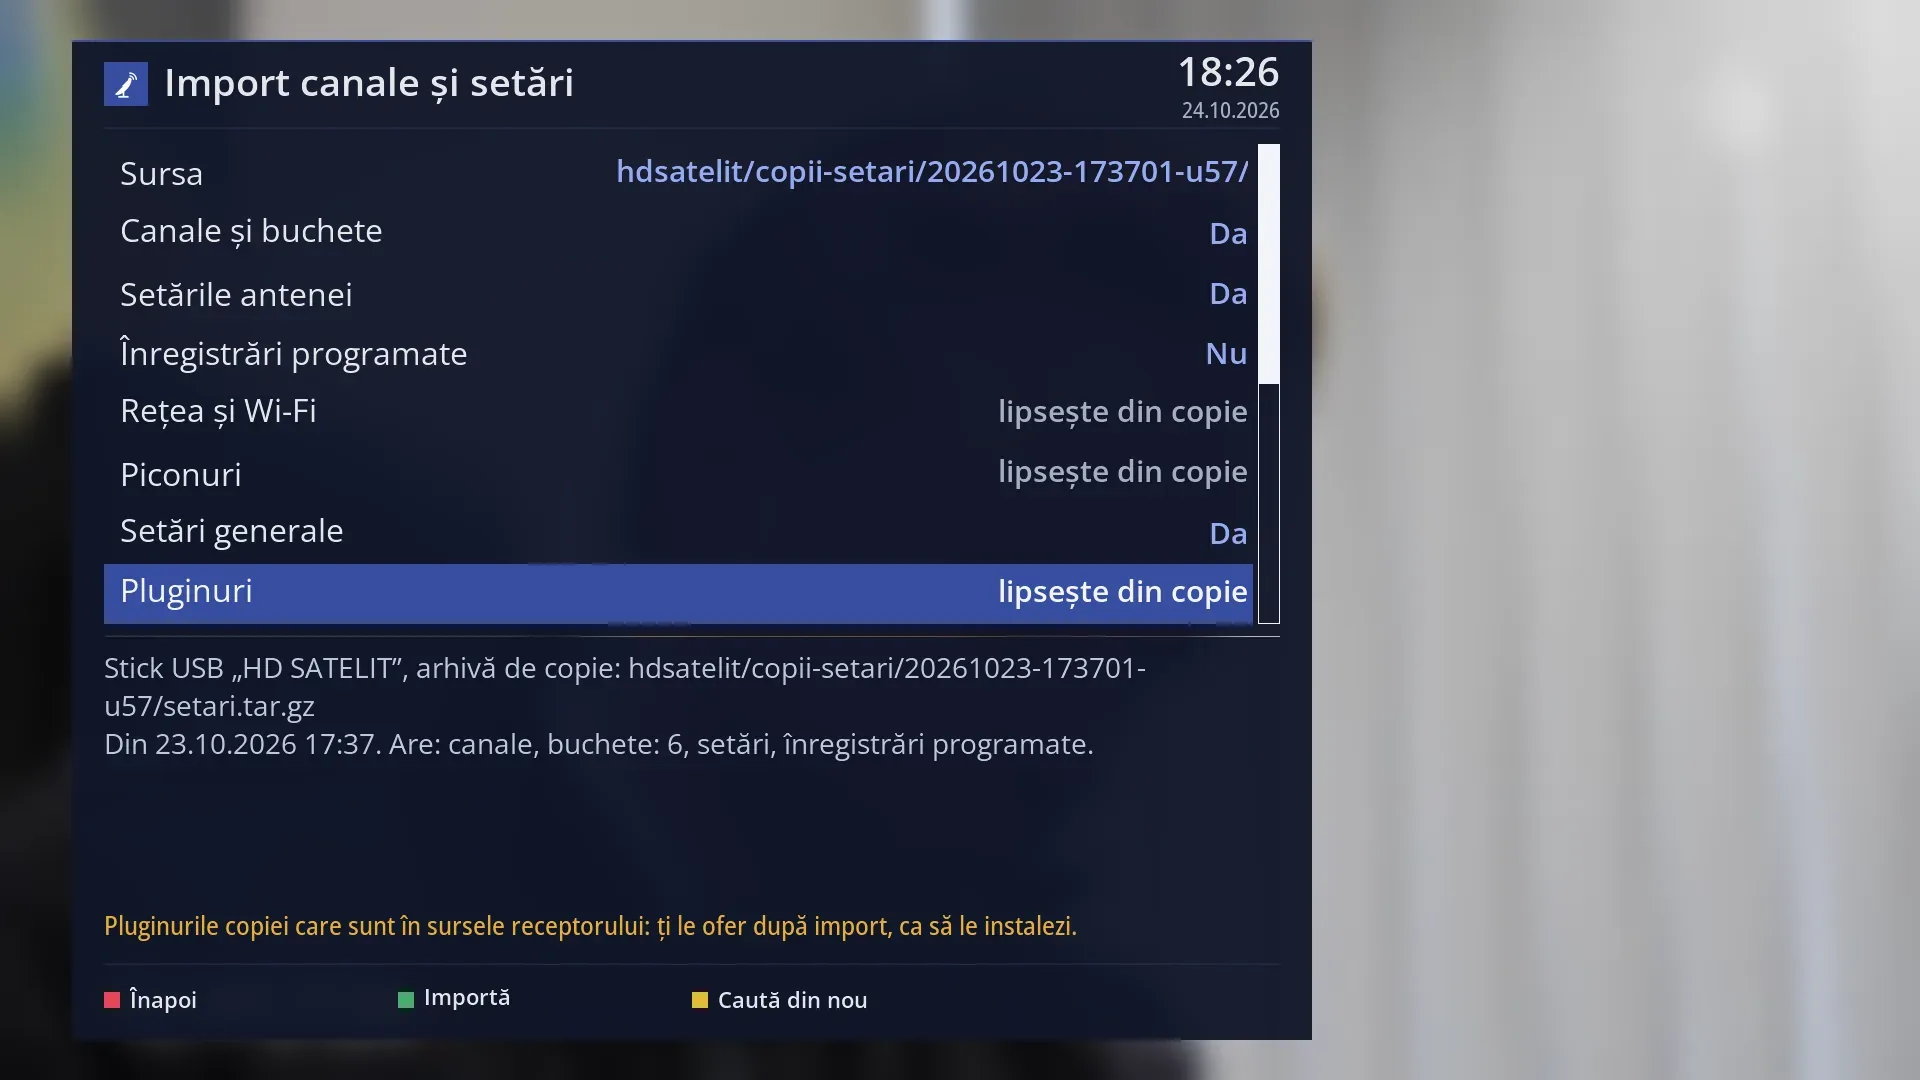
| Plugins | Yes, No, missing from the copy | Yes | It installs nothing by itself. The receiver reads the list of installed plugins, which some images put in the copy or next to it, and after the import it offers you the plugins that are in its package sources and not installed yet (the “Install the plugins from the backup” row). Skins, channel lists and drivers from the list are not offered. Without a list, the row shows “missing from the copy”: you add the plugins again from Menu > Plugins & Applications, from the list or from an .ipk file. Set it to No when you do not want the plugins from your old receiver. |
| Import now | Starts the import, the same as GREEN. First you see the question “The chosen channels and settings will be replaced with those from “…”. The current ones stay in a backup copy on the receiver. Continue?”, with No selected. With “Network and Wi-Fi” on Yes, it also has the line “The network changes: the connection may drop for a few seconds.” After you have chosen the copy and what to bring in from it. | ||
| Install the plugins from the backup | Appears after an import with “Plugins” on Yes, when the copy has plugins that are in the receiver's sources and not installed. On the right, how many there are. OK takes them in turn, each with the question and the installation from Plugins & Applications, where you can say No. After the import, when you want the plugins from your old receiver. | ||
| Search again | Searches for copies again, for example after you have plugged in the USB stick. The search also starts by itself when the screen opens. After you have plugged in or changed the USB stick. | ||
| Restart the interface now | Appears only when there are imported settings still waiting. It asks “The interface restarts now so the imported settings apply. Continue?” (with No selected). With Yes, the interface restarts within a few seconds. After an import with the antenna settings or the general settings. |
Keys
| UP / DOWN | Moves the cursor to another row. The status line says what the selected row does. |
| LEFT / RIGHT | On “Source”, they go to the previous or next copy. On the choices, they switch between Yes and No (for anything missing from the copy, it shows “The chosen copy does not contain this.”). |
| OK | On “Source”, opens the list of copies (if there are no copies, it searches again). On the choices, switches Yes / No. On “Import now”, “Install the plugins from the backup”, “Search again” and “Restart the interface now”, it does what the row says. |
| GREEN | Starts the import (the screen shows “Import”. It is only visible when a copy is chosen). |
| YELLOW | Searches for copies again (“Search again”). |
| RED or EXIT | Closes the screen (“Back”). An import that was still preparing the copy writes nothing. One that was already writing finishes. |
| The arrow keys, OK and GREEN (in the “Source” list) | Choose the copy. The medium headings (USB stick, disk, receiver) cannot be chosen. RED or EXIT close the list without any change. |
| Yes / No (in questions) | Choose with the arrow keys and press OK. No is selected beforehand, and EXIT also means No. |
Step by step
Bring in the channels from another receiver, from a USB stick
- Plug the USB stick with the copy into the receiver (the settings folder of the other receiver, a folder with a channel list, or a .tar.gz archive).
- Press MENU 1 5. If the USB stick was already plugged in, the copy appears by itself. Otherwise, press YELLOW (“Search again”).
- Check below the list that it is the right copy (the medium, the date, what it contains). Leave “Channels and bouquets” on Yes and choose the rest. Set “Network and Wi-Fi” to Yes if you also want the network from your old receiver.
- Press GREEN and, when asked, choose Yes. At the end, you can see below the list what was imported.
- If “Install the plugins from the backup” appears, select it, press OK and answer the question for each plugin.
Undo an import
- Press MENU 1 5.
- On “Source”, press OK and, under “Backup copies on the receiver”, choose the copy dated before the import.
- Choose what to bring back and press GREEN, then Yes.
Import from your phone
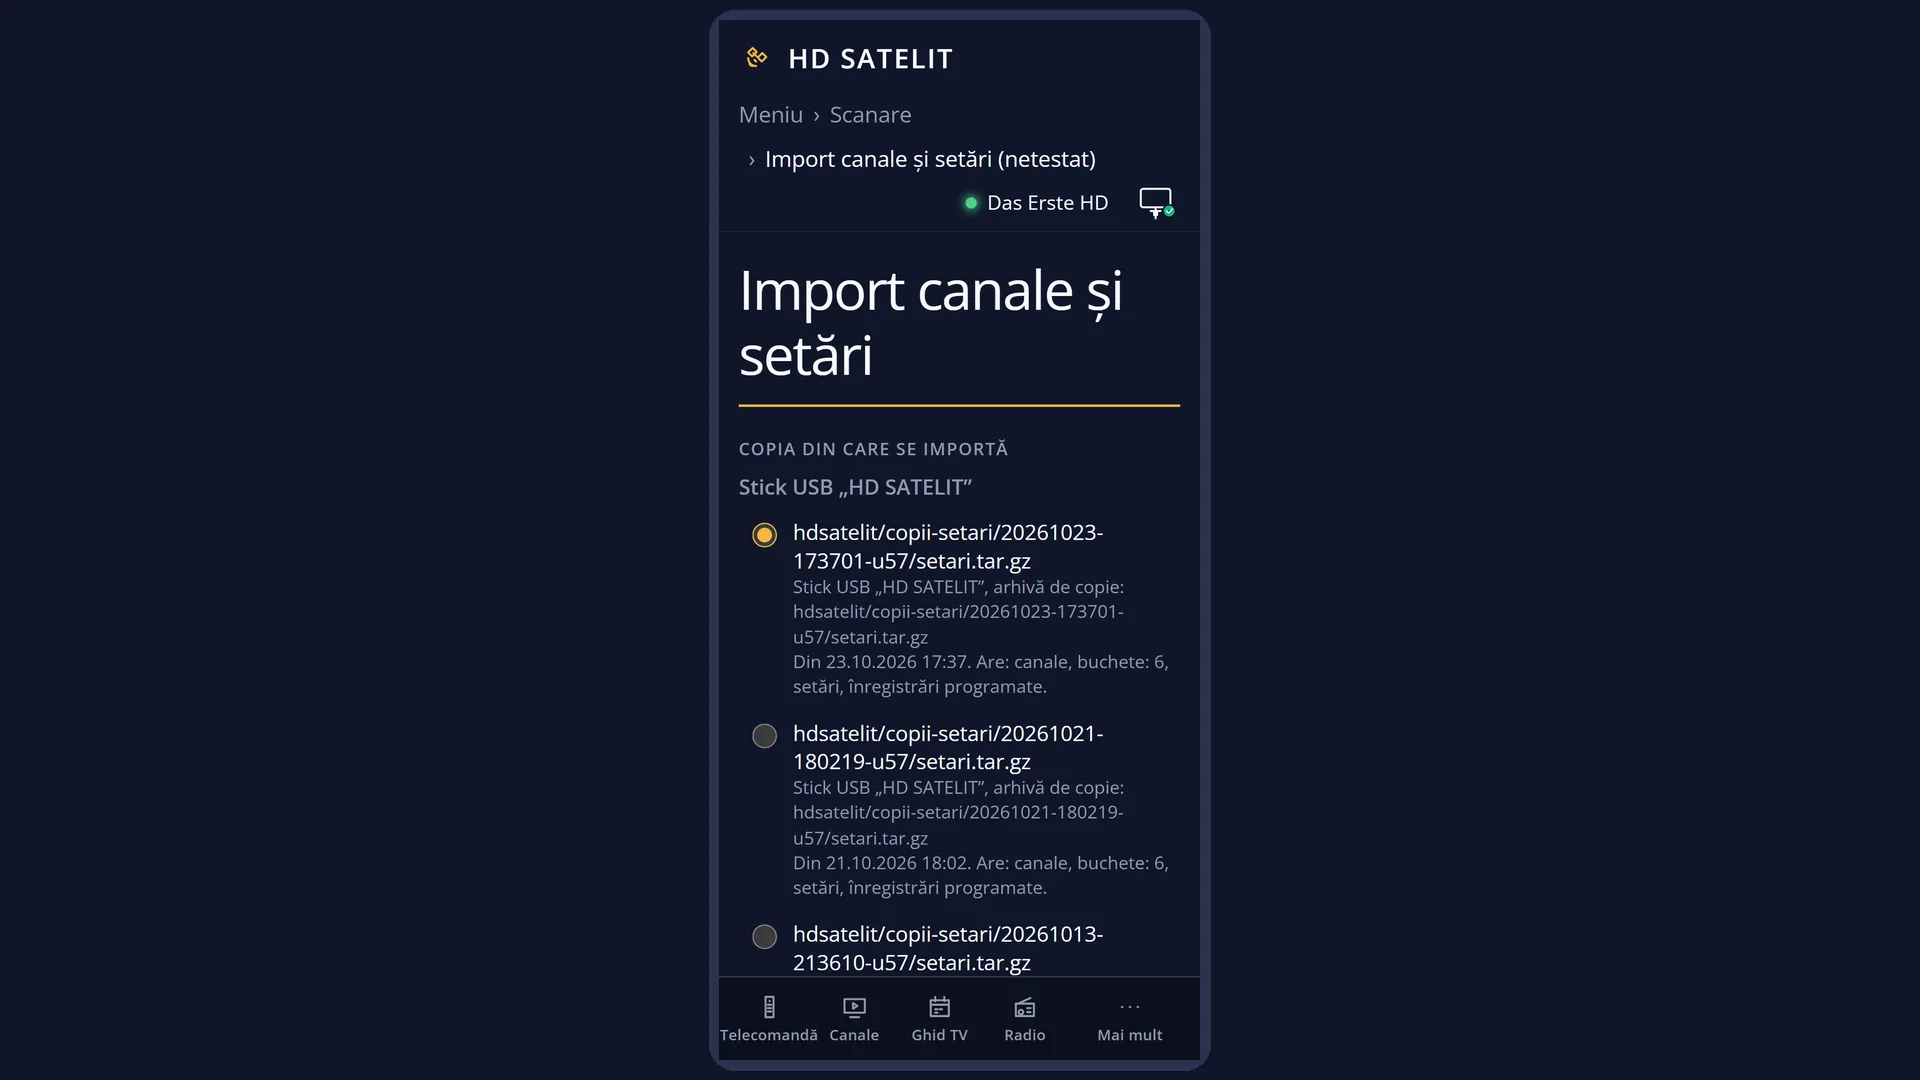
- Open the receiver's web interface and go to /import.
- Under “The copy to import from”, choose the copy. Under “What is imported”, tick what to bring in (below the tick boxes it says what each one brings).
- Press “Import” and confirm. When the copy has plugins to install, the “Plugins from the backup” card has “Install” next to each one. While the settings are waiting for the restart, the “The imported settings” card and the /setari-din-copie page show their status.
Problems and solutions
Source shows “no copy found”.
The receiver did not find a copy on any medium. Plug in the USB stick with the copy (the settings folder of another image, a folder with a channel list, or a .tar.gz archive), wait a few seconds and press YELLOW (“Search again”). The copy must be no more than three folders below the root of the USB stick.
A row shows “missing from the copy”.
The chosen copy does not contain that item (for example, it has no settings, no scheduled recordings, no network settings or no plugin list; picons are not taken from an archive). Choose another copy, or import only what it contains.
The status line says “Choose at least one thing to import.”
All the choices are on No. Set at least one to Yes.
The status line says “An import is already running. Wait for it to finish.”
An import started from the web interface or at first start-up is still running. Wait a few seconds.
The message below the list says the channel list in the copy is in a format this image cannot read.
The copy comes from an image that writes the channel list only in the new format. Make the copy again, with the list in the usual format, or find the channels with a scan.
I imported the antenna settings, but the receiver behaves as before.
The imported settings only apply after the interface restarts. Choose the “Restart the interface now” row, or restart from Menu > Power & Restart.
After the import, I do not like the new list.
Import back the backup copy made before the import (under “Backup copies on the receiver”, with the date of that time).
Below the list it says “I put the previous network back.”
With the network from the copy, the receiver got no address, could no longer reach the internet or could not connect to the Wi-Fi network (the line above says which), so it kept the previous network. Check the Wi-Fi password or set up the network from Menu > Settings > Network & Internet.
Below the list it says “The backup has no network settings I can use.”
The copy has no enabled cable or Wi-Fi connection the receiver can use; for example, it only has a company Wi-Fi network with a user name. Set up the network from Menu > Settings > Network & Internet.
Below the list it says “The picons do not fit into the receiver memory; they stayed on the stick or the disk.”
Put the picon folder right in the root of the USB stick or the disk: the image shows the picons straight from there, without an import.
Below the list it says “The package source list is not downloaded yet: you download it from Menu, Extensions and apps.”
The receiver does not know yet which plugins are in its sources. Download the list from Menu > Plugins & Applications, then import again with only “Plugins” on Yes.
Related topics
- Channel scan
- Default channel lists
- Channels from another image (the question at first start-up)
- Settings copy
- Restart Interface
- Plugins & Applications (the plugins)
- Network Connection Setup
- Matching web page: /import (and /setari-din-copie for settings that are waiting).