

DVB-T2 via satellite
English screenshots coming: some of the pictures below still show the receiver and the web interface in Romanian. The rows, keys and steps described on this page are the English ones.
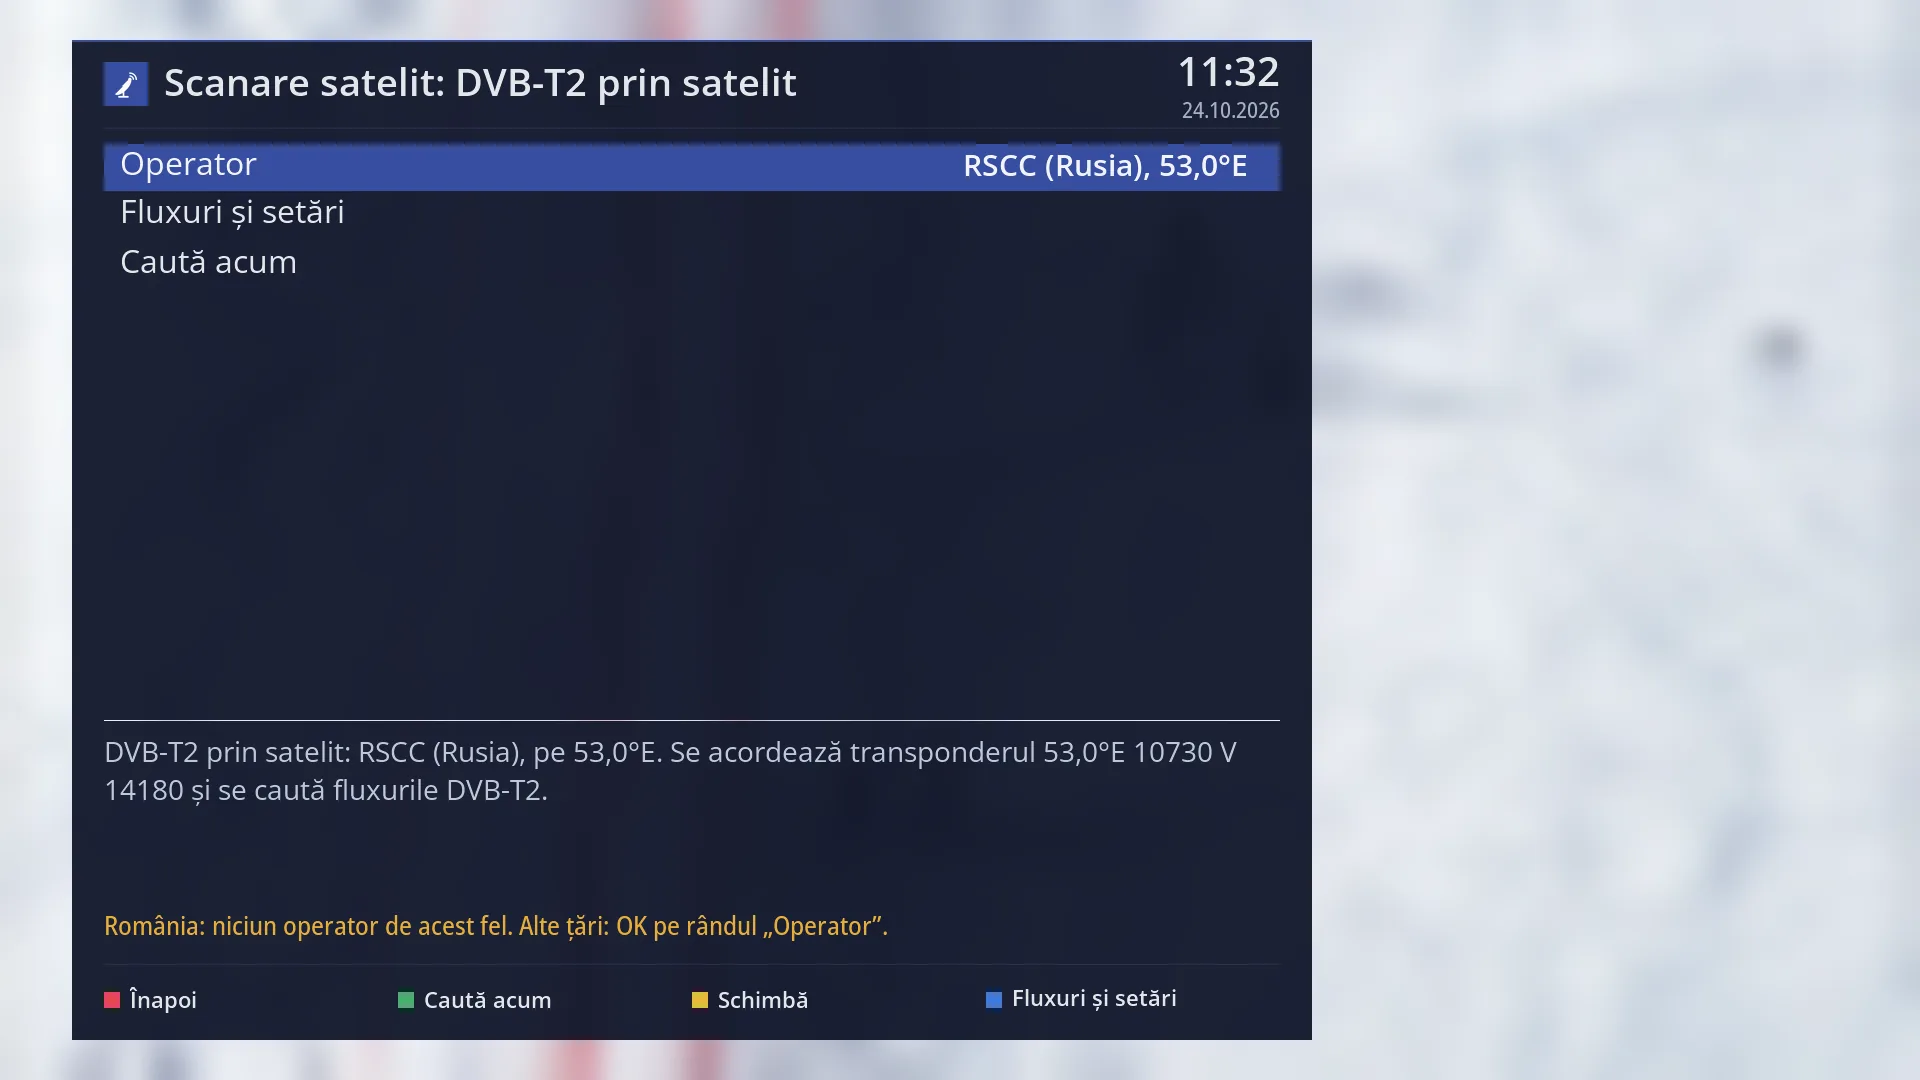
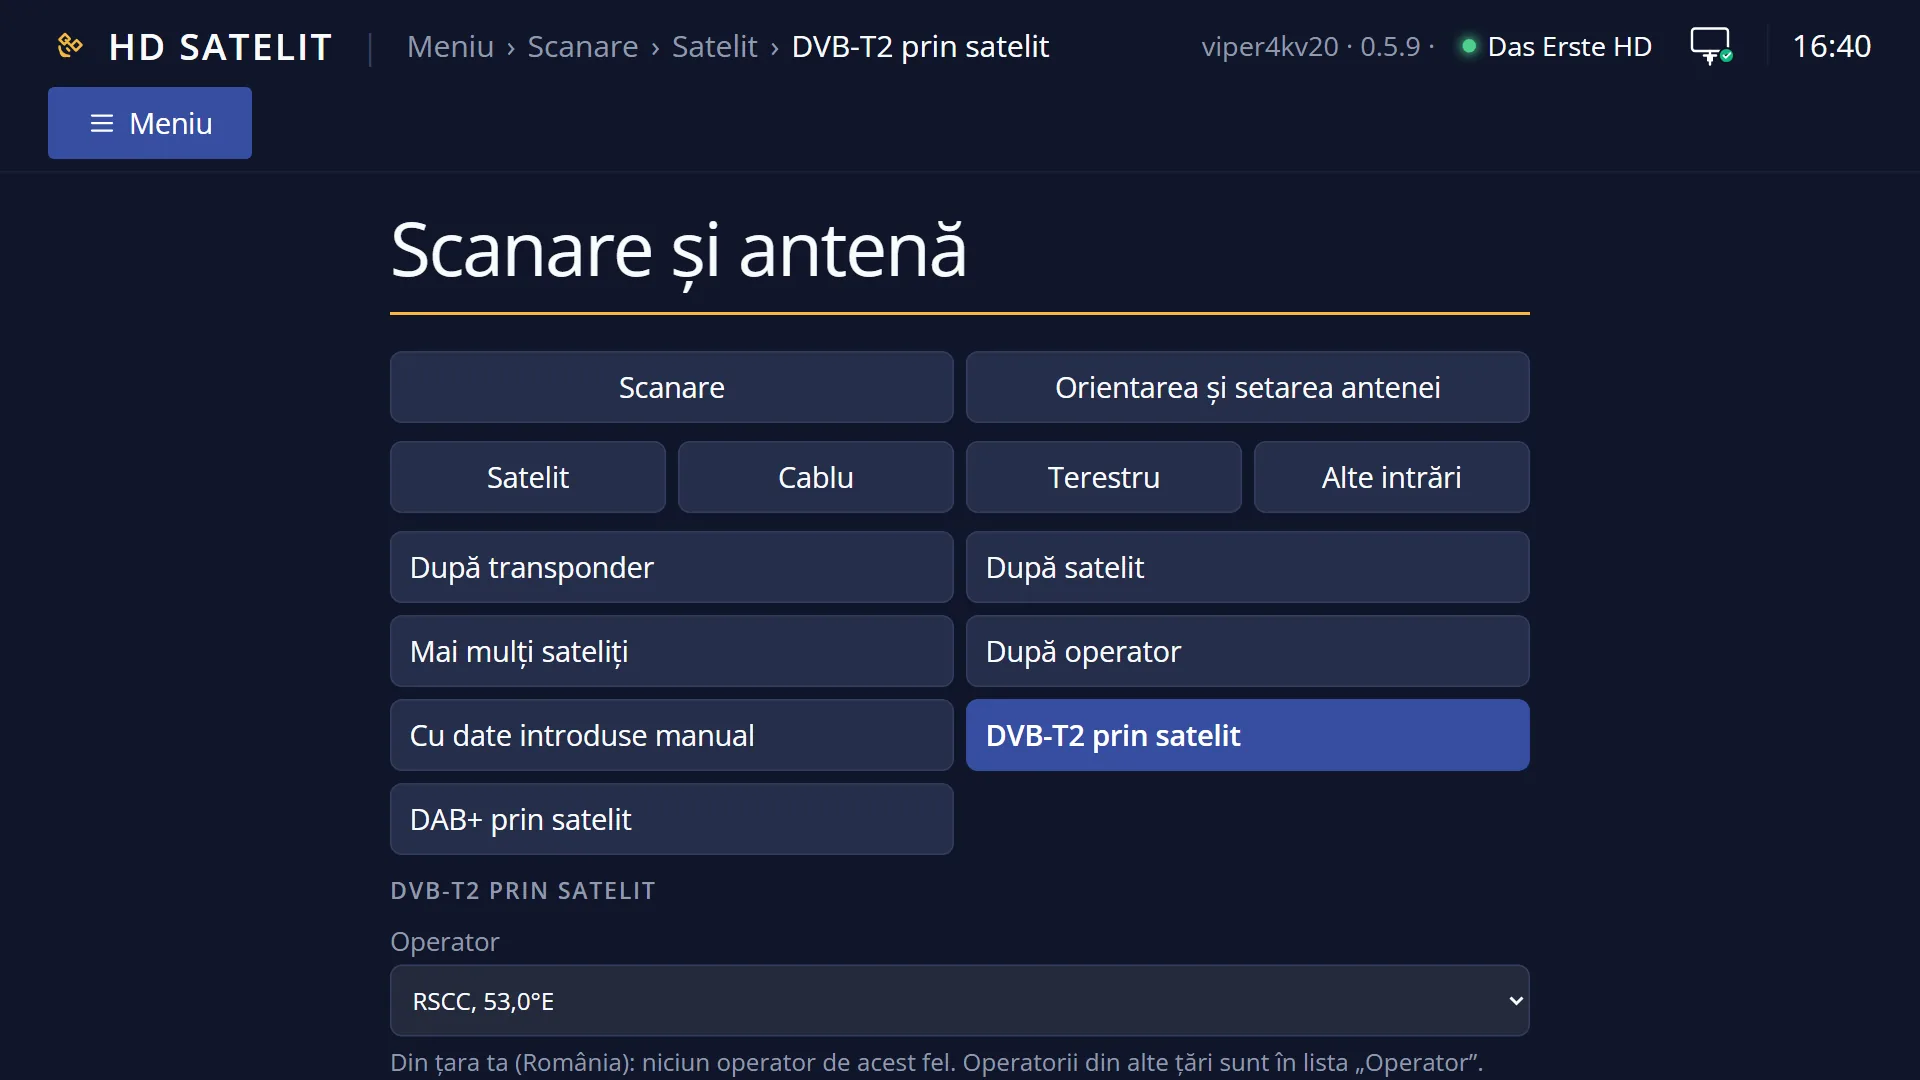
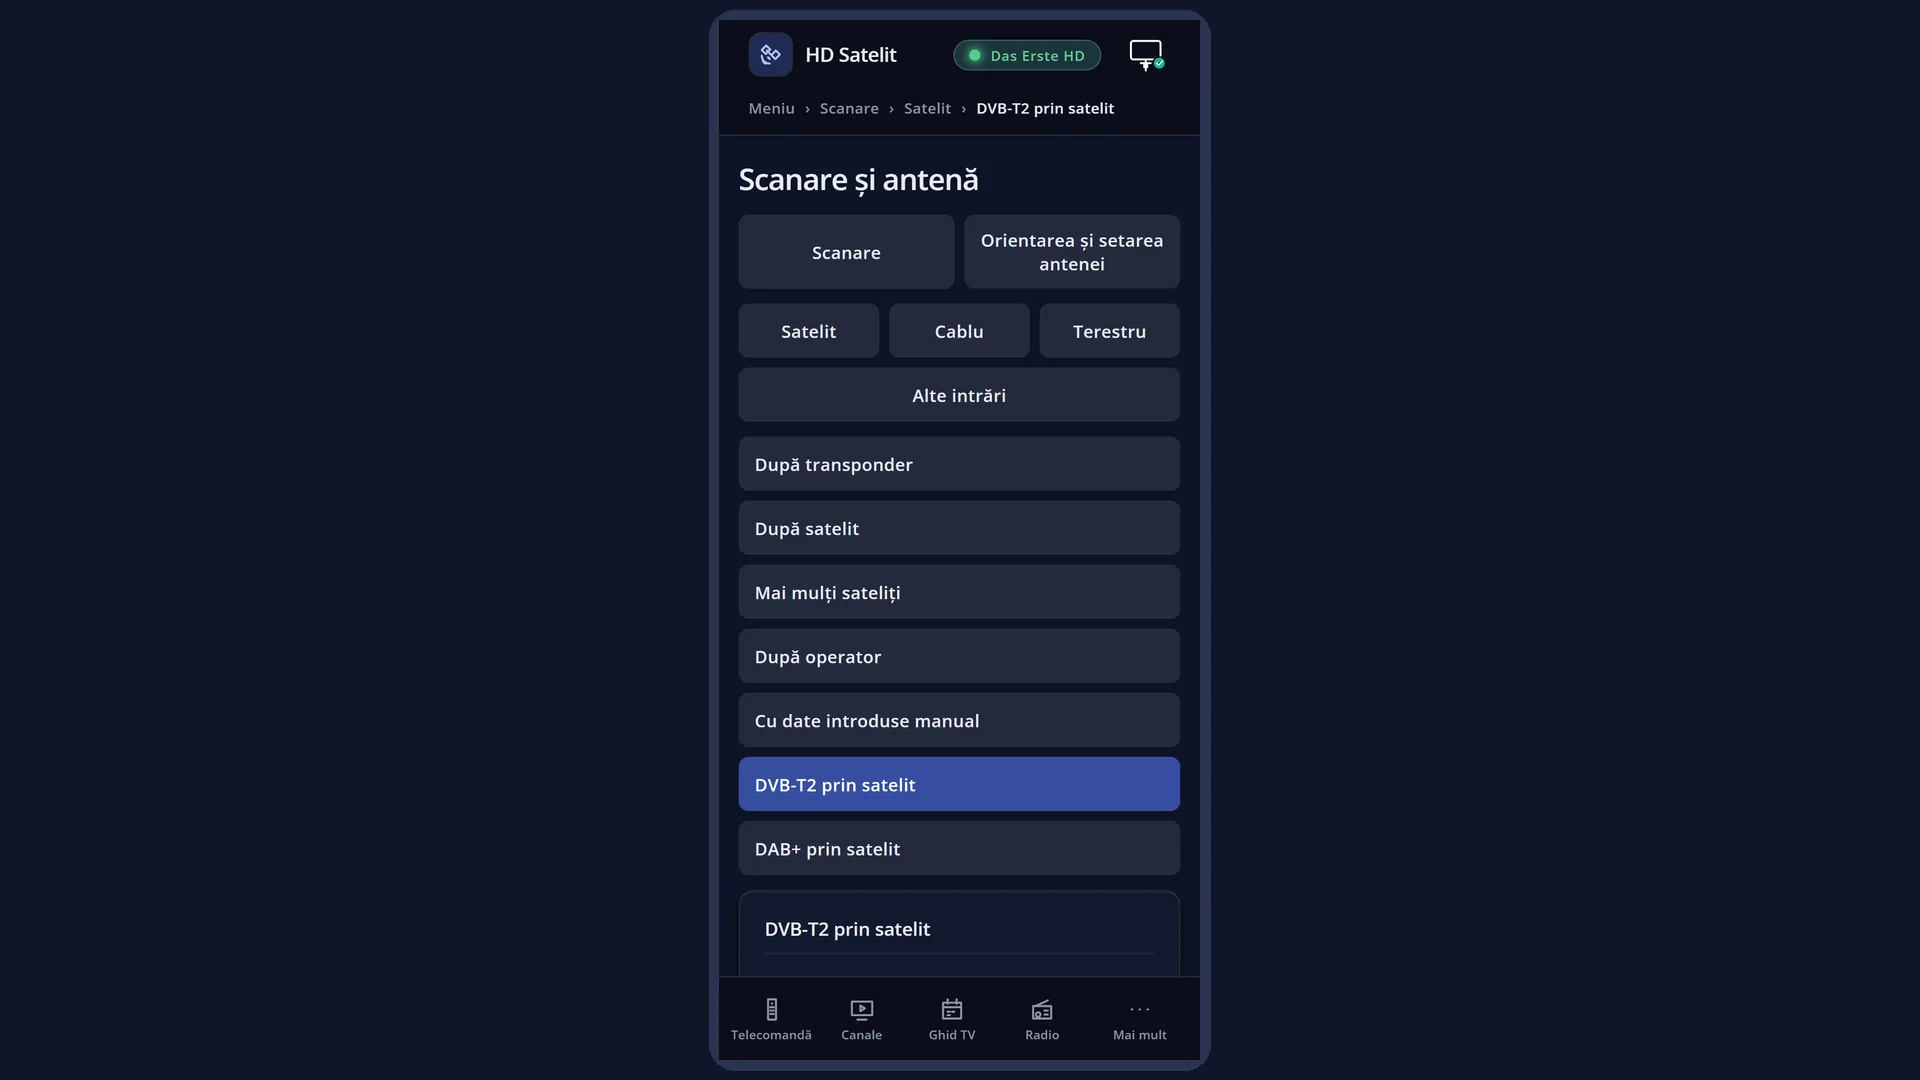
- 1 Type of scan: DVB-T2 via satellite.
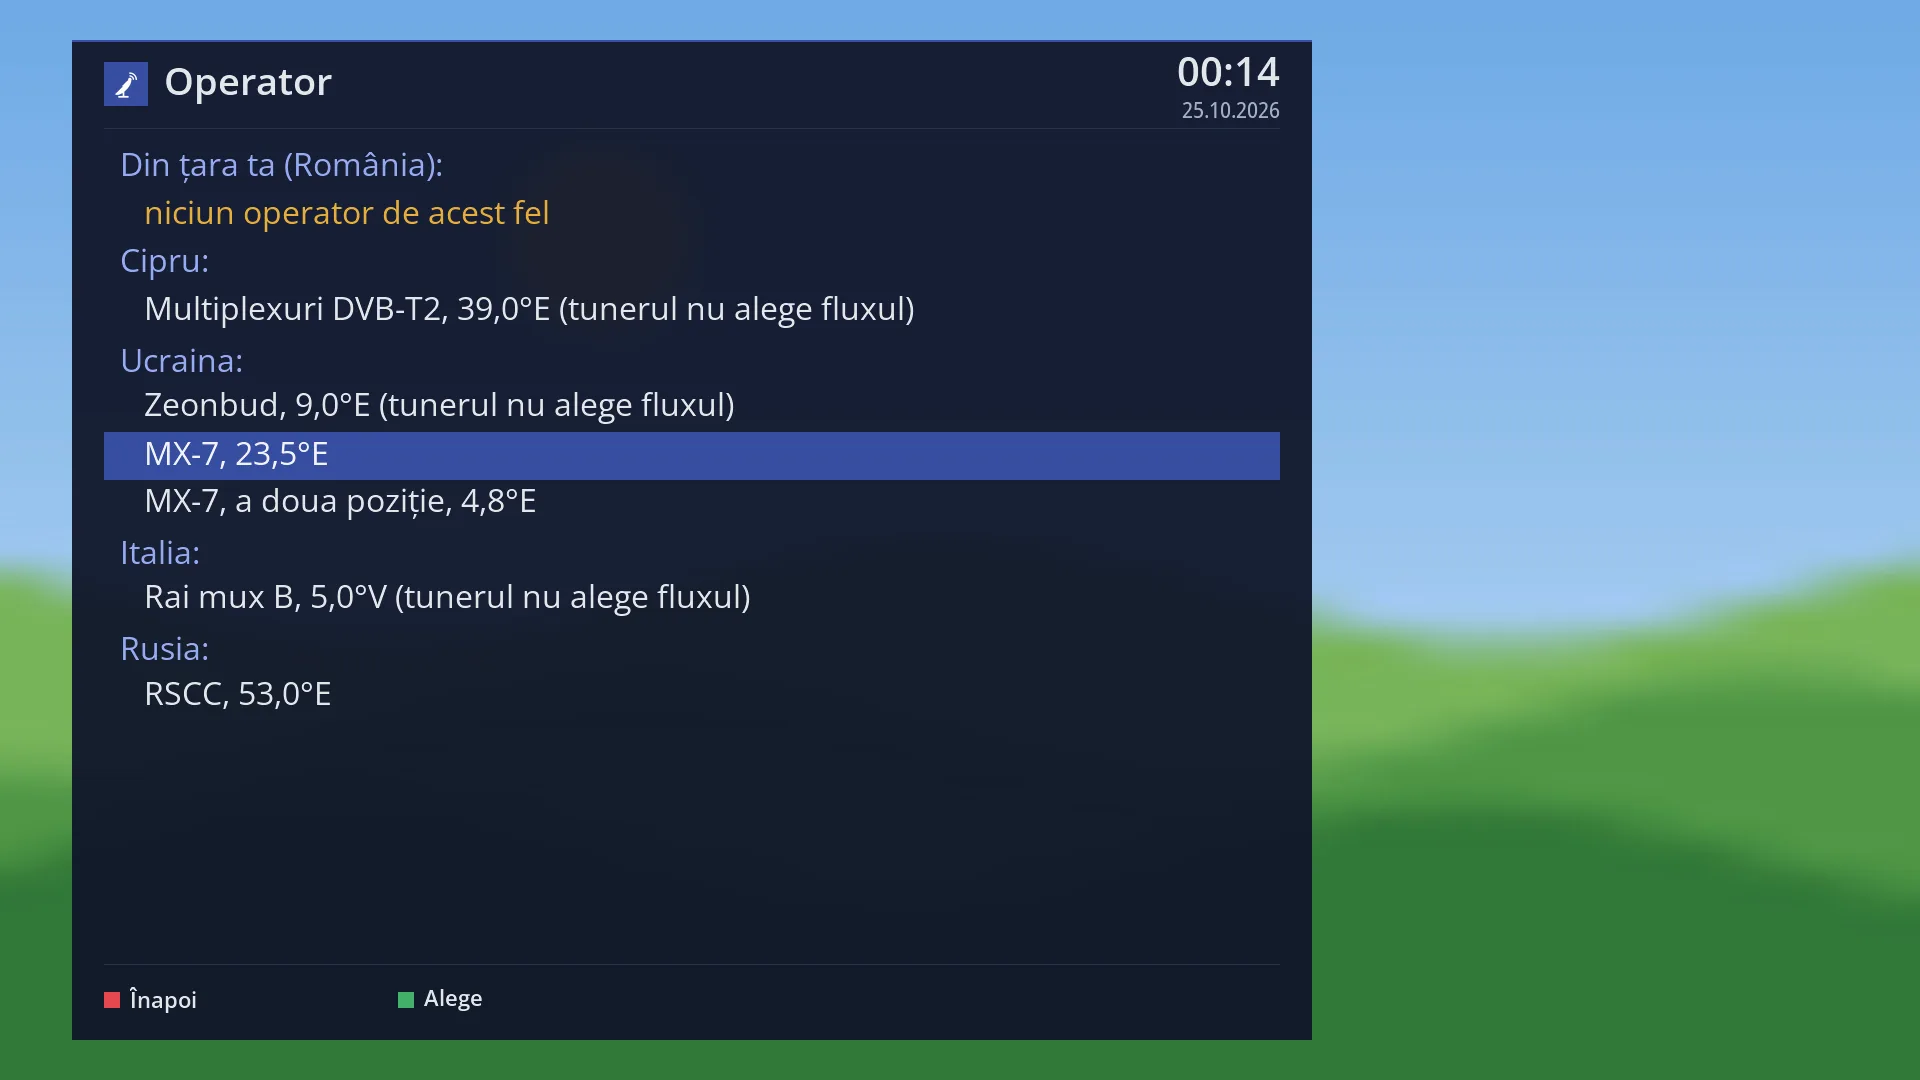
- 2 The provider and its satellite position; OK opens the list, grouped by country.
- 3 The DVB-T2 from satellite streams window.
- 4 OK here shows the plan and starts the scan.
- 5 The transponder that is tuned.
- 6 For Romania: no provider of this kind.
- 7 RED back, GREEN search, YELLOW change, BLUE streams and settings.
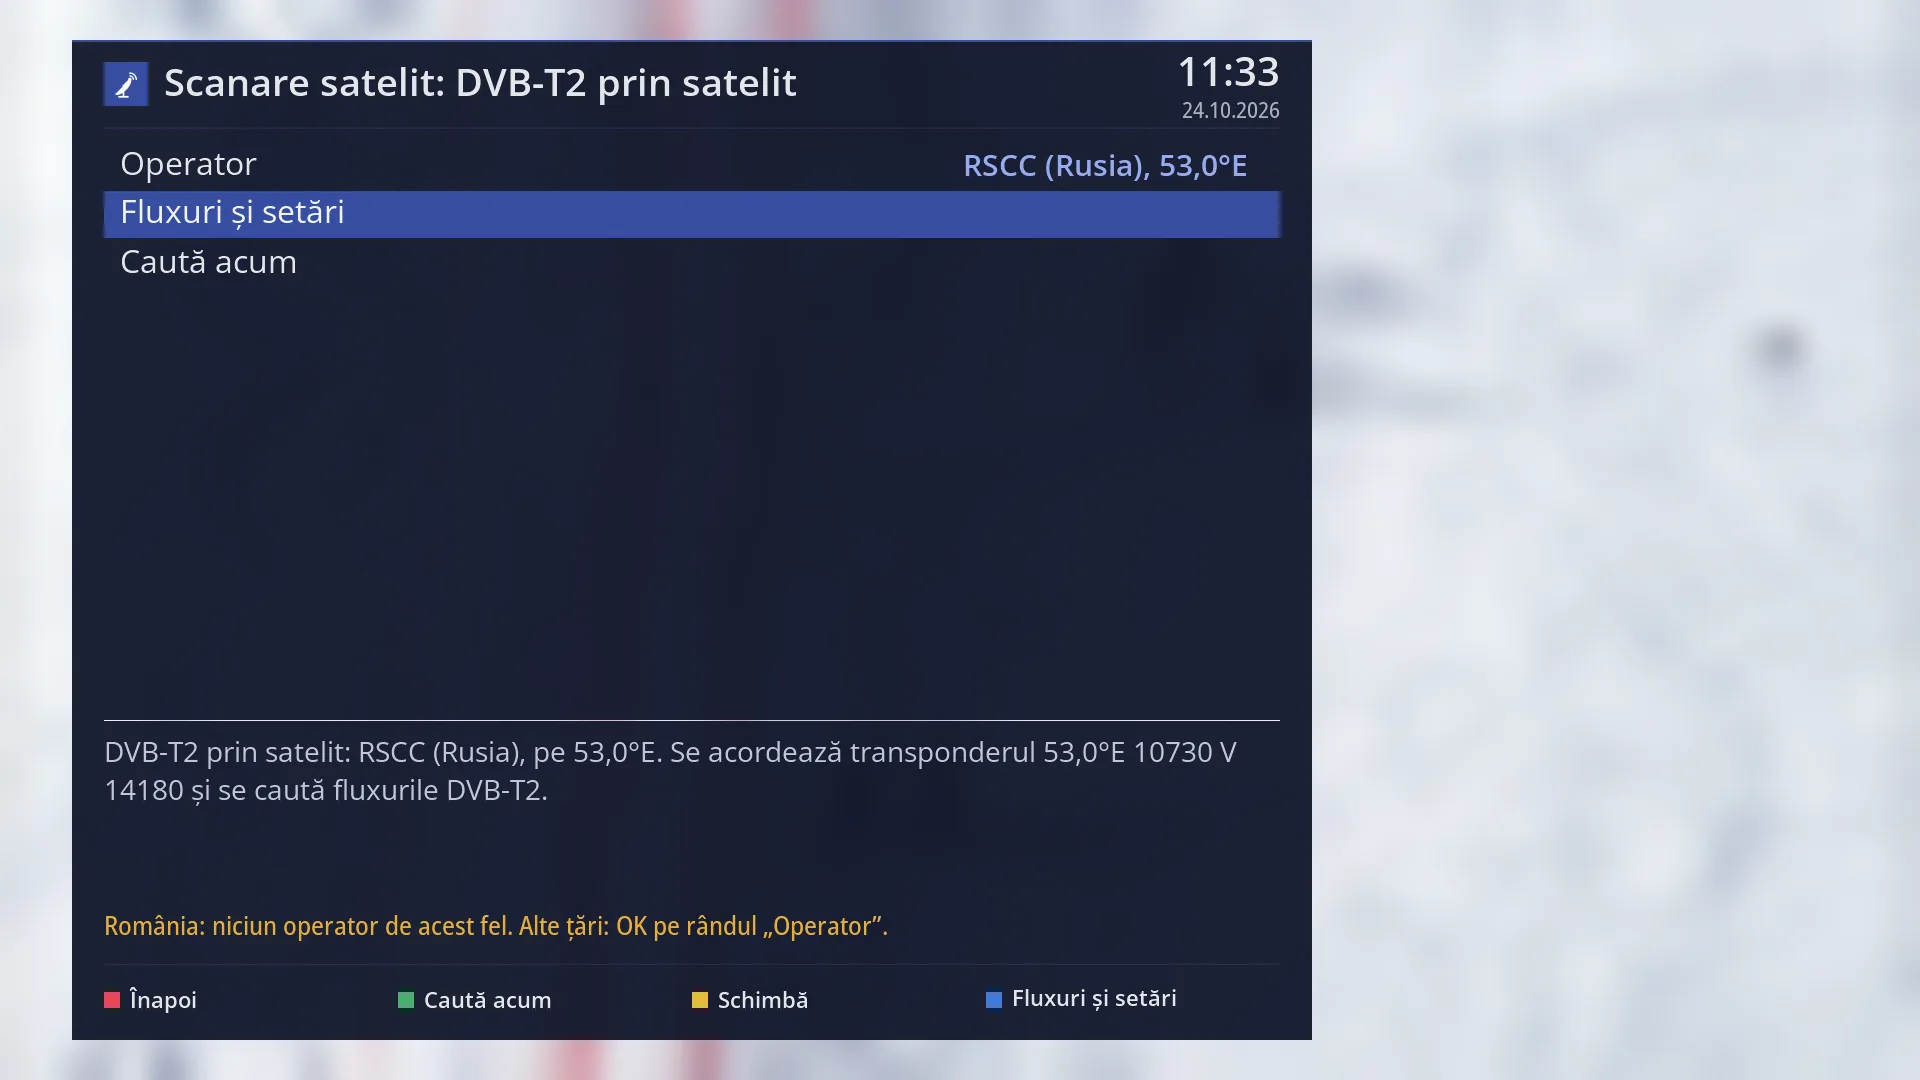
- 1 Selected row: “Streams and settings”.
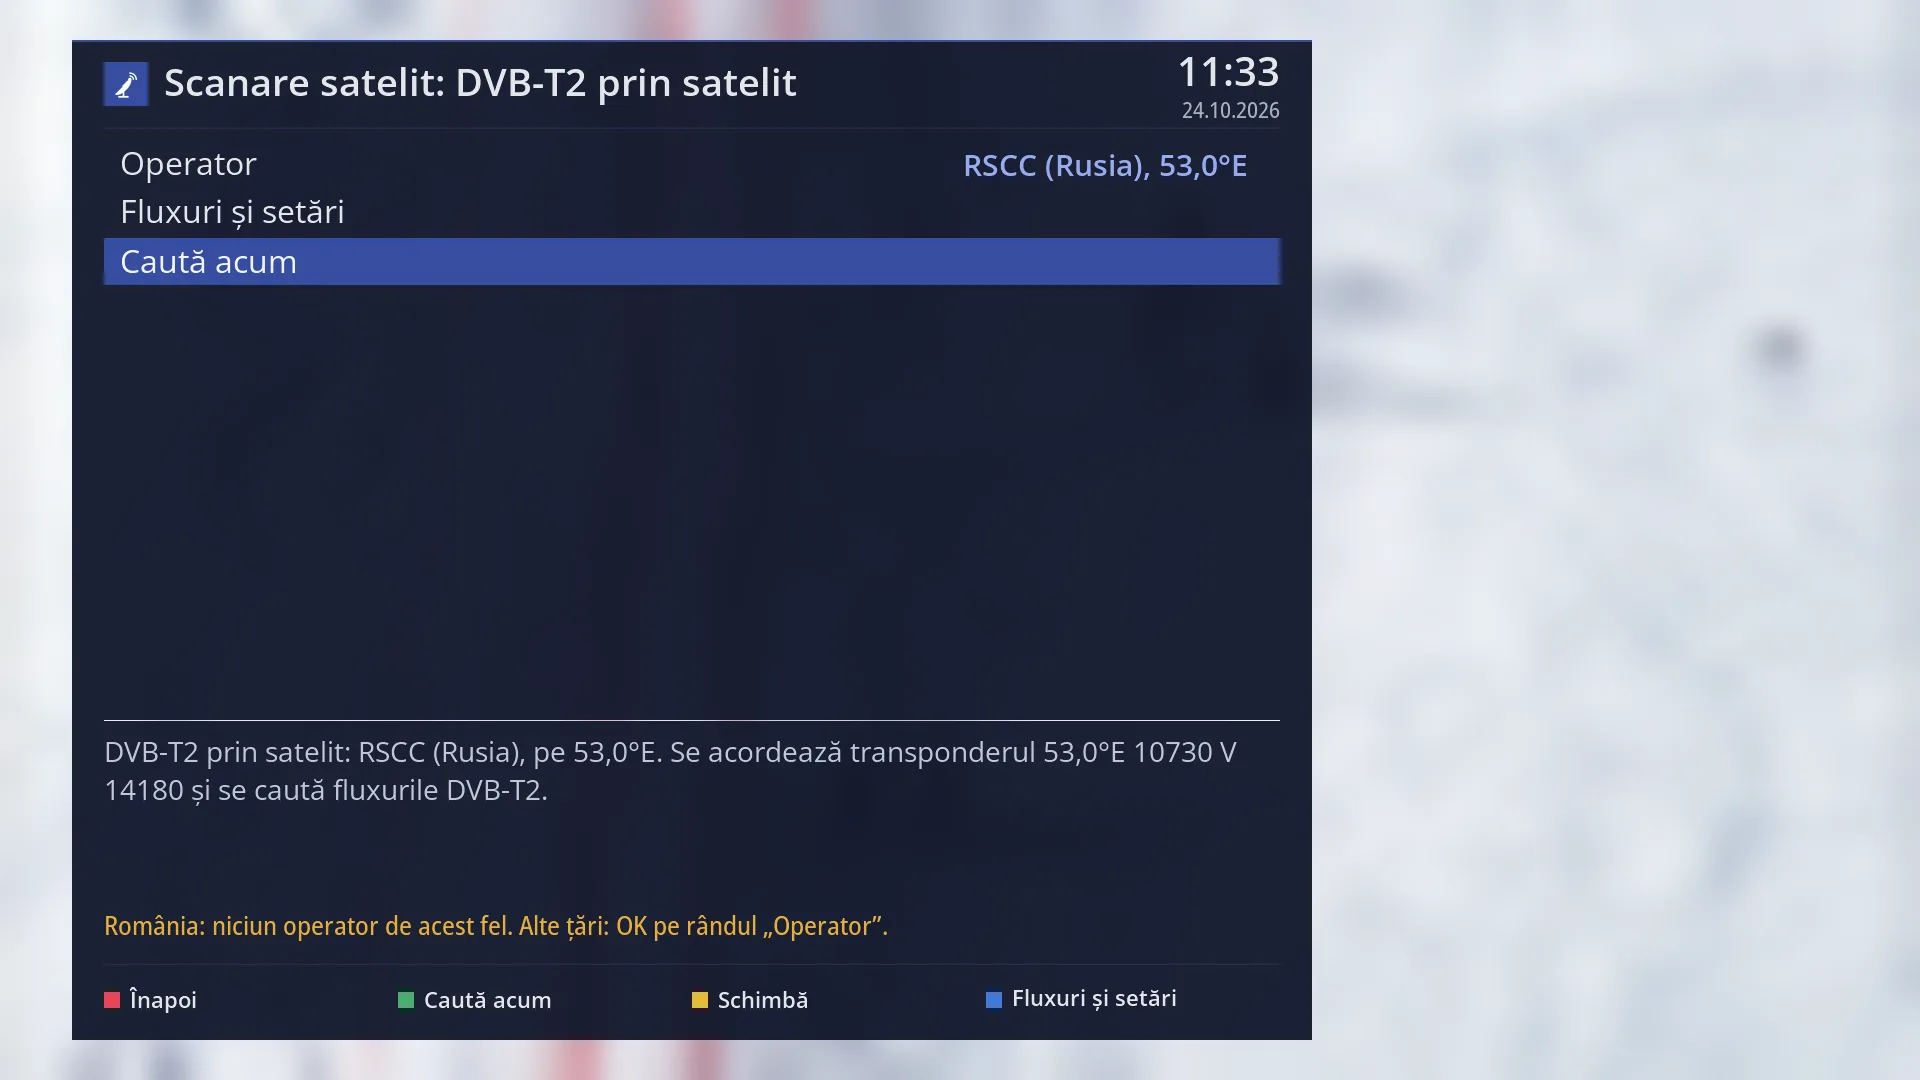
- 1 Selected row: “Search now”.
What it is for
“DVB-T2 via satellite” finds the DVB-T2 TV programmes that some providers send by satellite to their terrestrial transmitters. It adds them to the channel list, under TV, in the “DVB-T2 from satellite” bouquet.
This is not an ordinary scan. The receiver tunes to the transponder that carries them, looks for the DVB-T2 multiplexes there and then reads the programme list of each one. It takes about a minute, plus the time the dish needs to turn.
You only choose the provider. There is none for Romania, and the screen says so. The list has providers from other countries (Cyprus, Ukraine, Italy, Russia), grouped by country. Some broadcast on transponders with several streams and only work if the tuner can choose the stream.
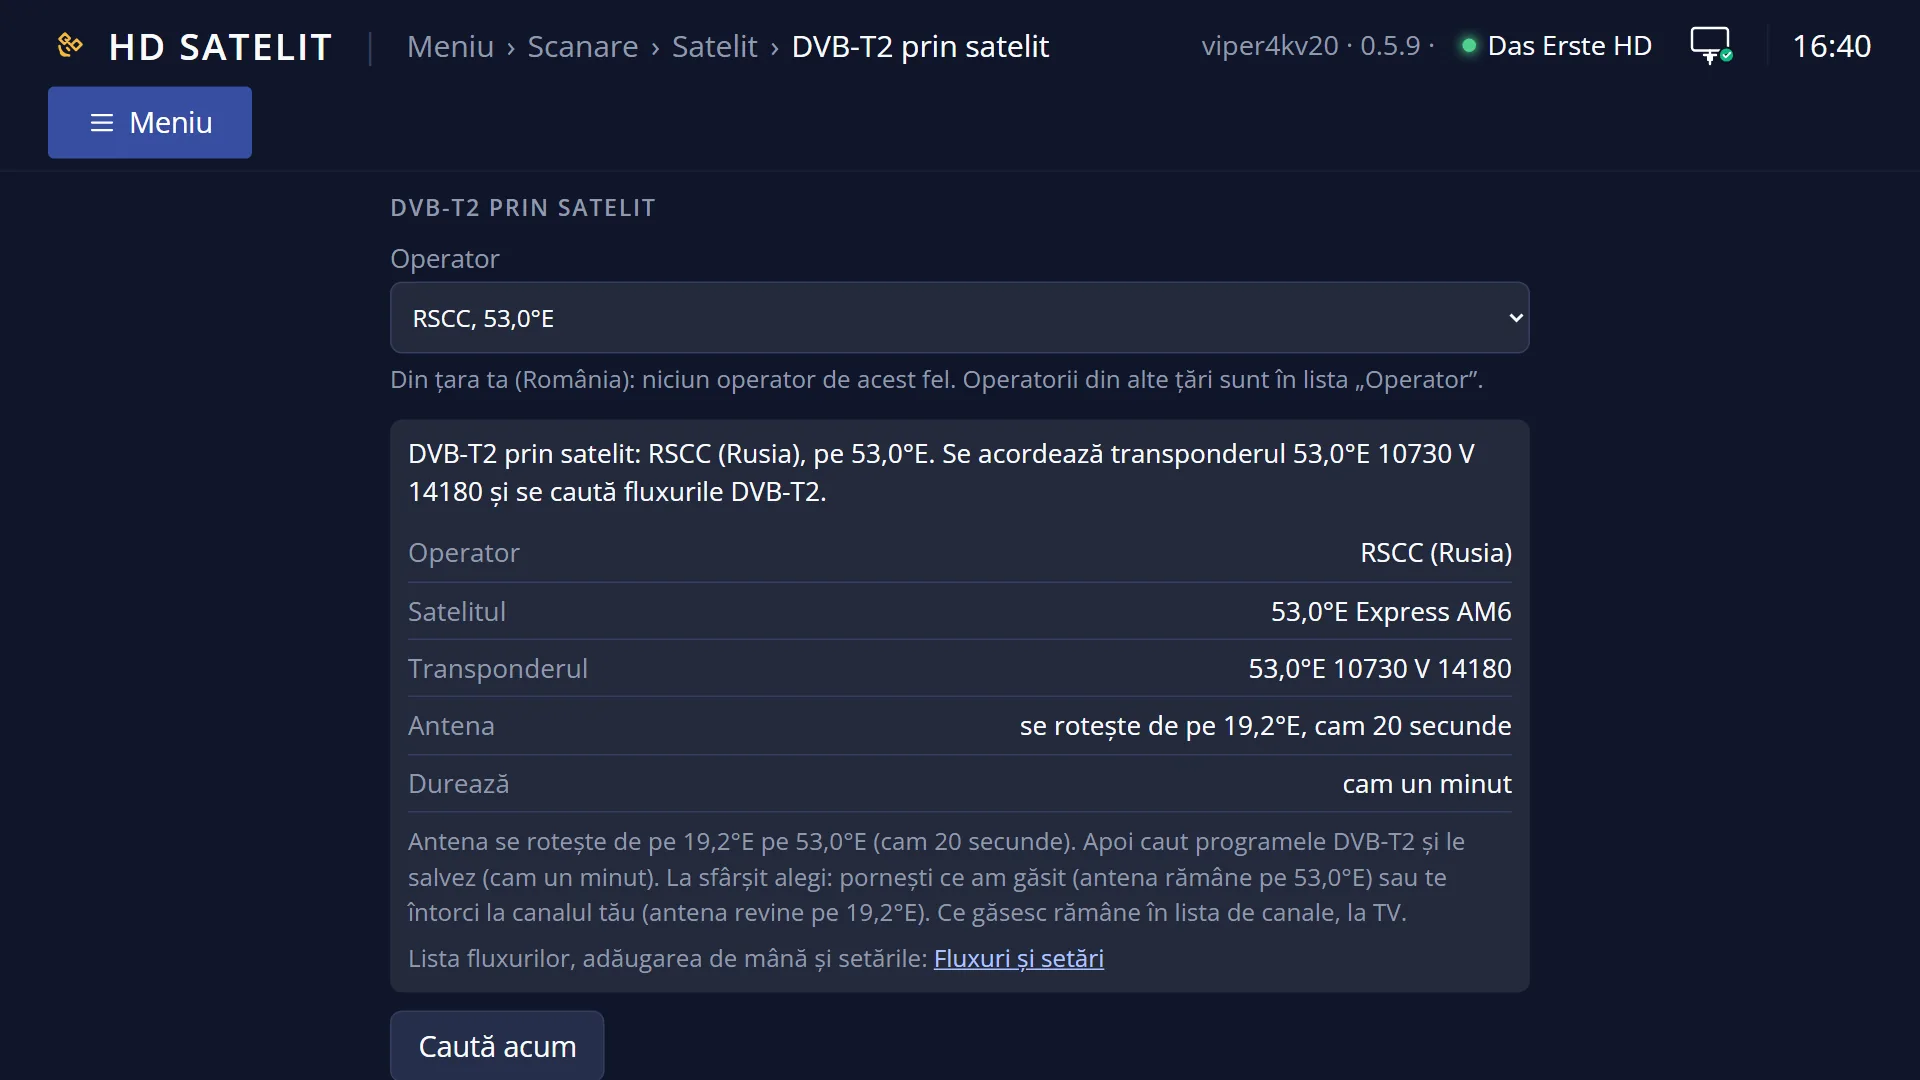
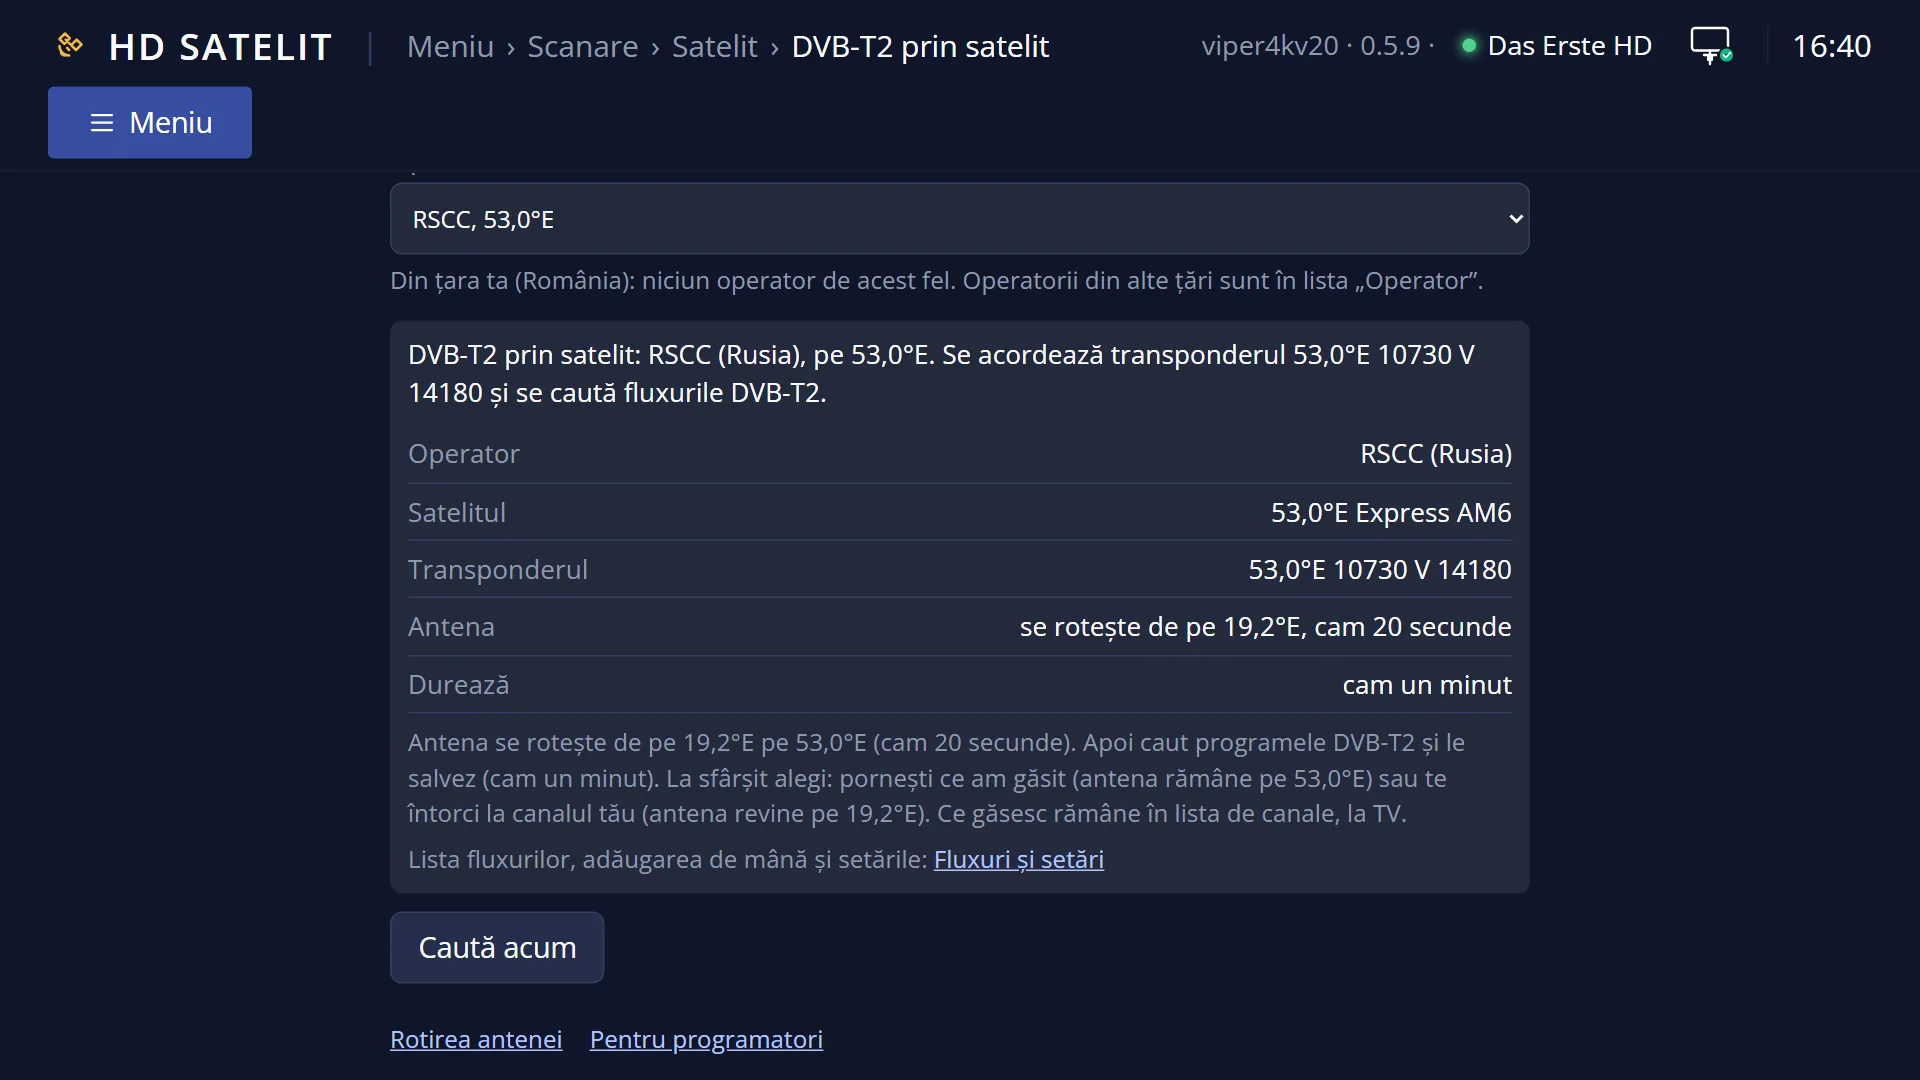
Before the scan starts, a screen tells you what will happen: the satellite, the transponder, where the dish turns and how long it takes. At the end you choose: start a programme that was found (the dish stays on the satellite) or go back to your channel (the dish turns back).
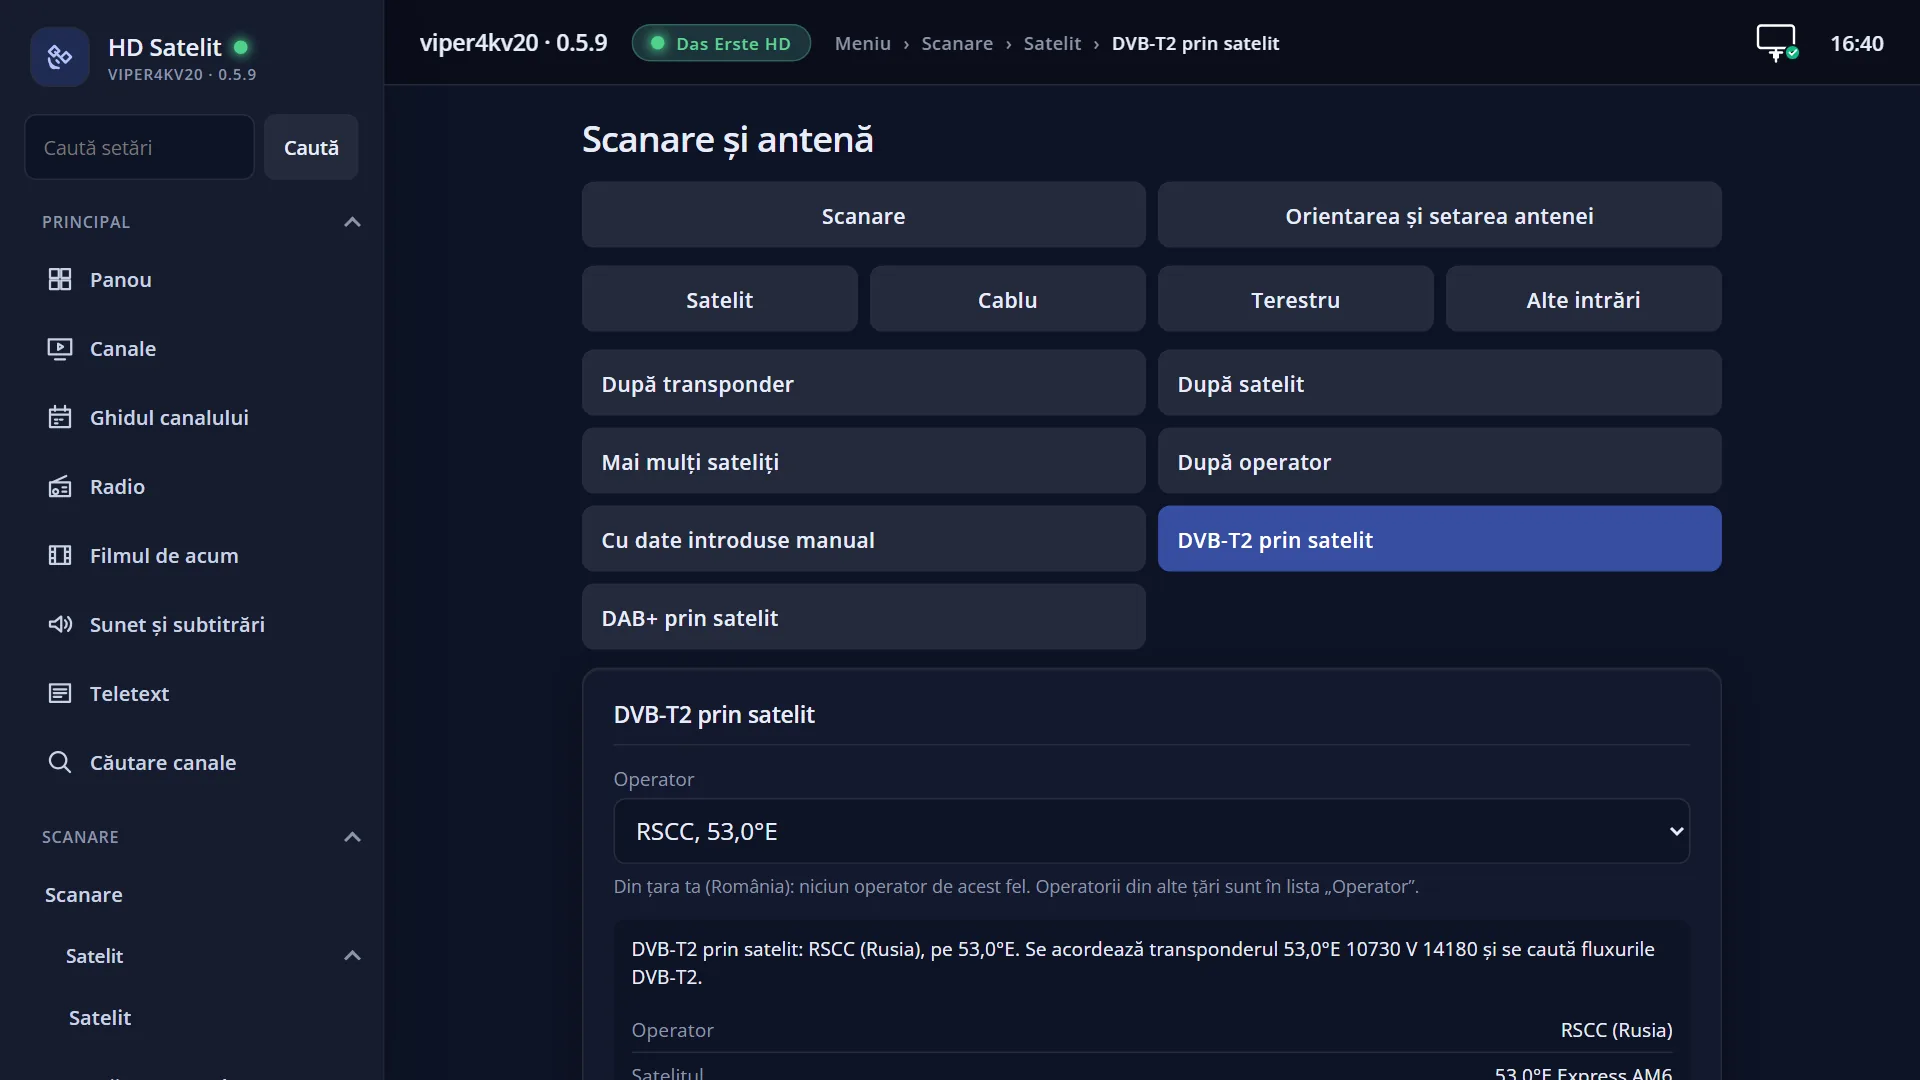
The “Streams and settings” row (or the BLUE key) opens the DVB-T2 from satellite streams window. The same kind of scan is also in the web interface, on the /scanare/satelit/dvbt2 page.
How to get here
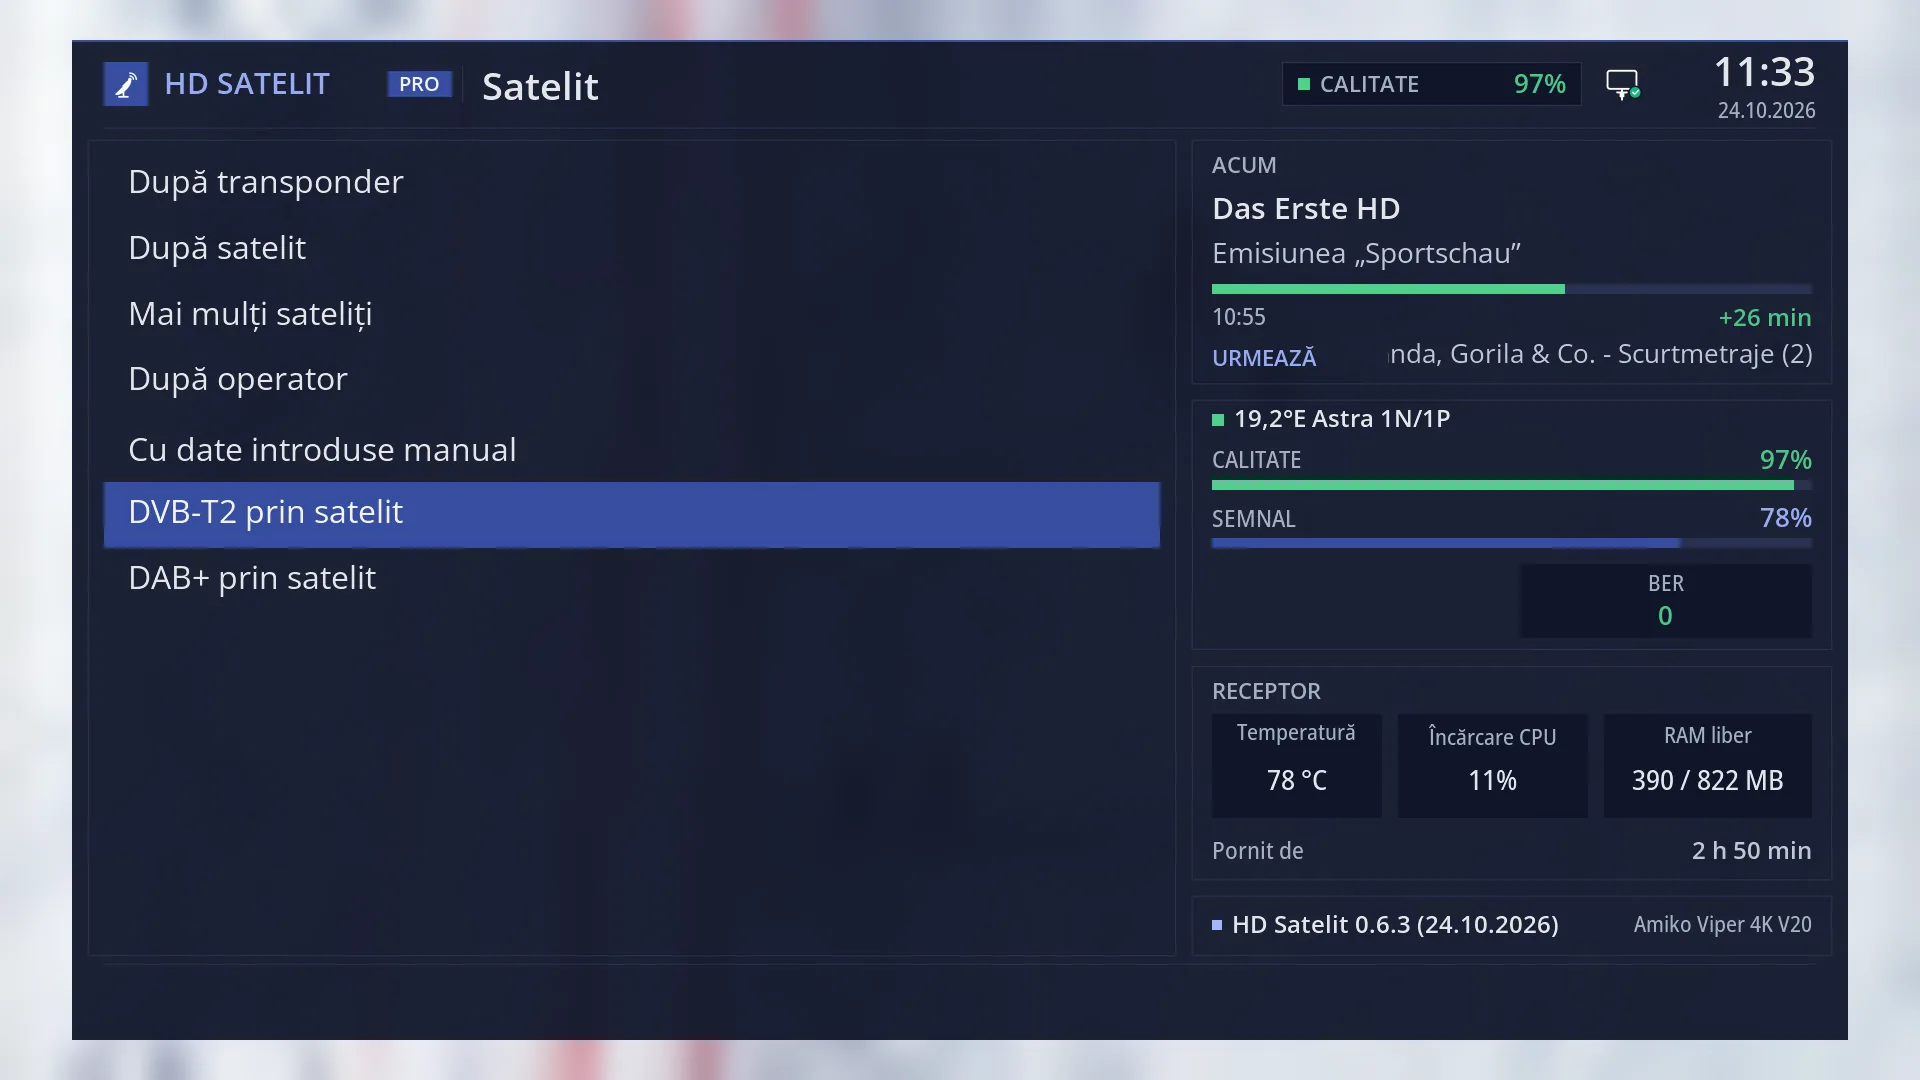
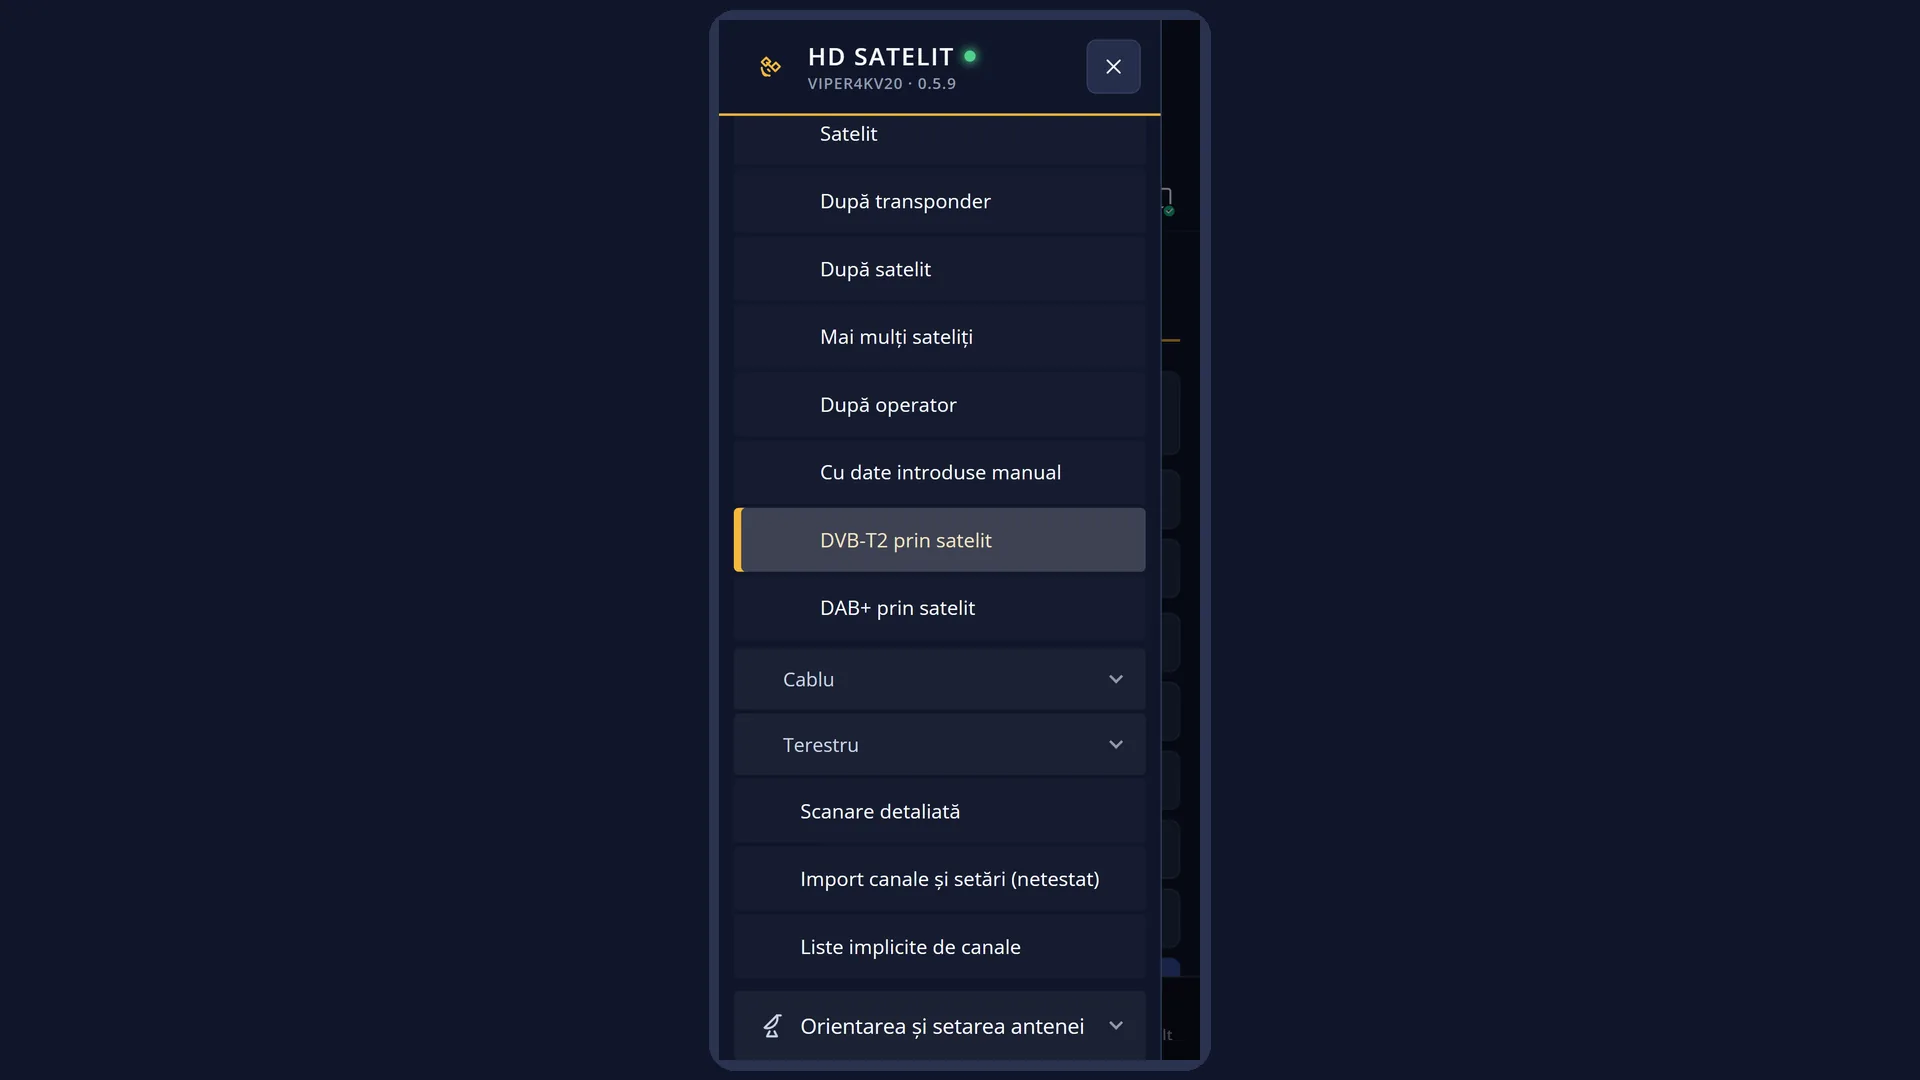
Path: Main menu > Channel scan > Satellite > DVB-T2 via satellite
Remote keys: MENU 1 1 6
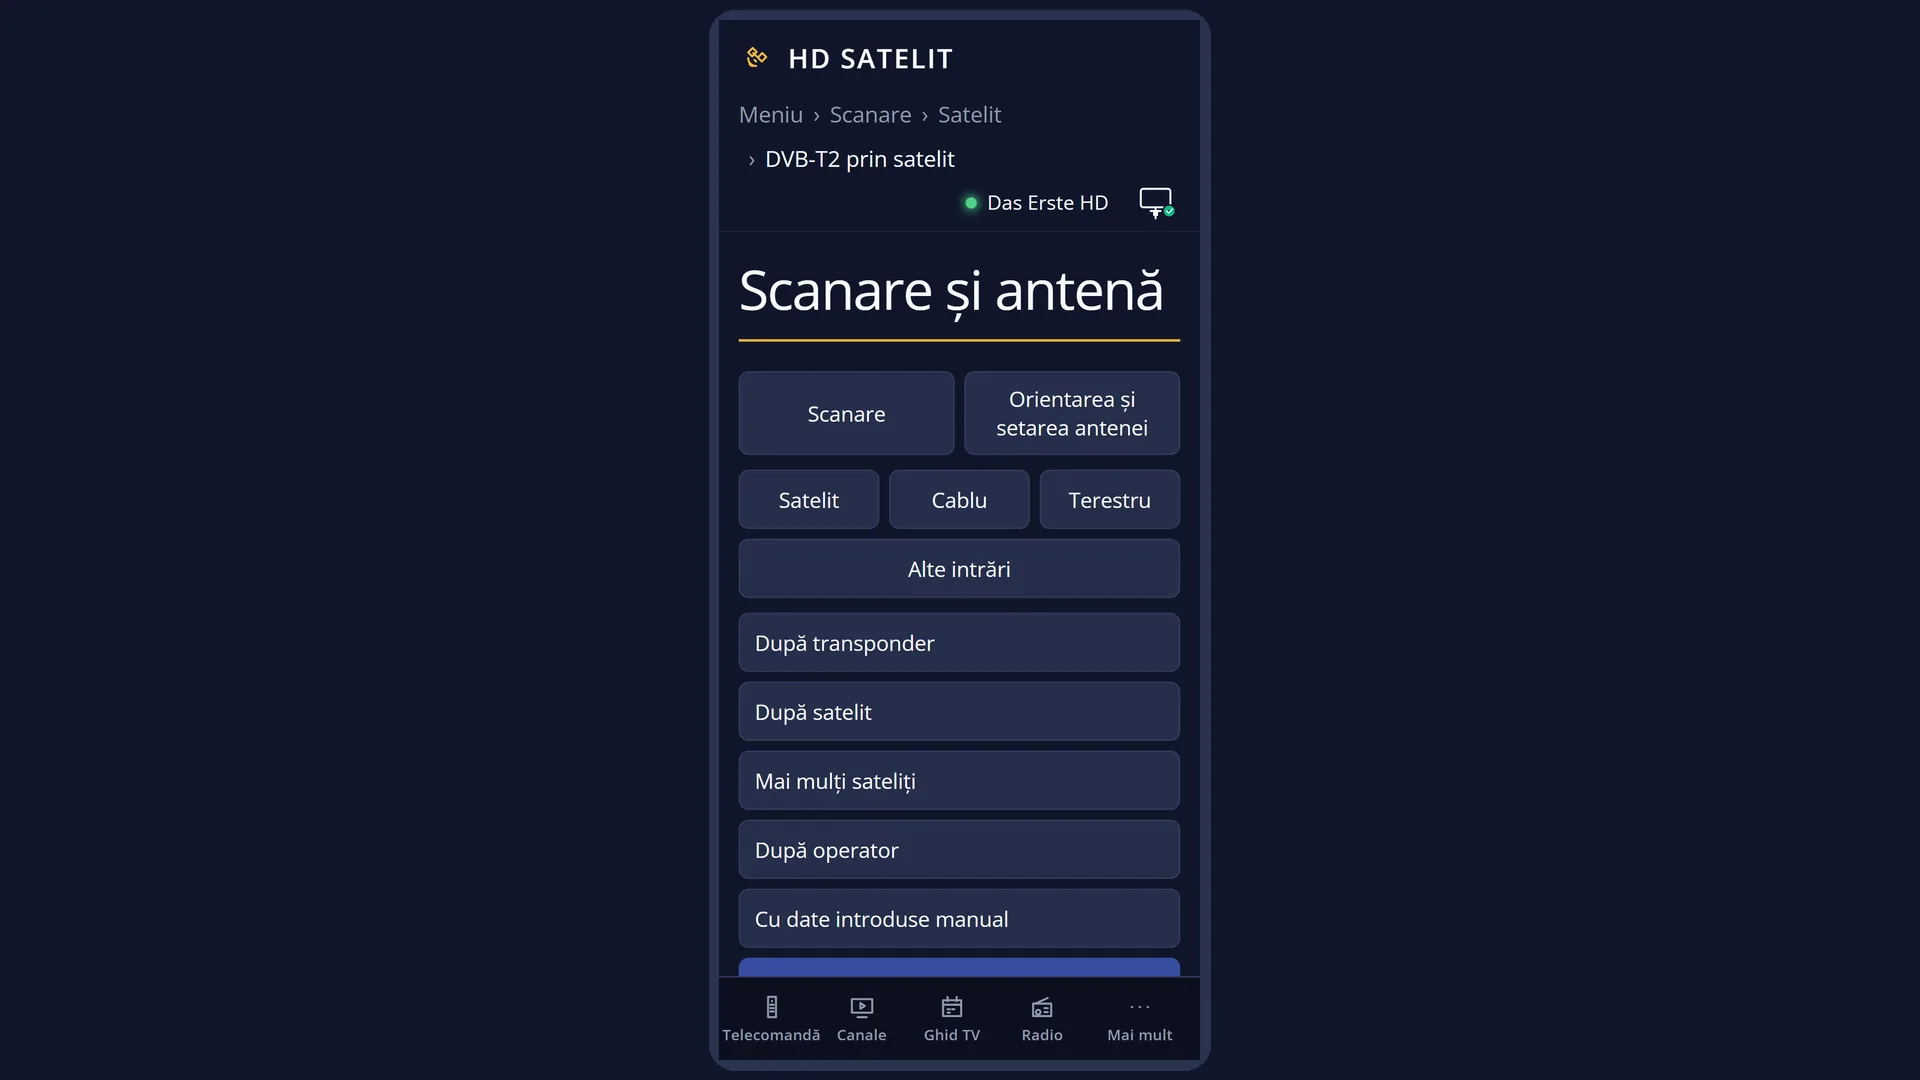
In the web interface: the /scanare/satelit/dvbt2 page (“Channel scan” tab, “Satellite” group, “DVB-T2 via satellite” button).
What you see on the screen
At the top: the title “Satellite scan: DVB-T2 prin satelit”, the time and the date. In the Pro theme, the blue square with the logo is to the left of the title.
The list has three rows: “Provider”, with the provider and the satellite position (for example “RSCC (Russia), 53.0°E”), “Streams and settings” and “Search now”.
Below the list is the preview: “DVB-T2 via satellite: RSCC (Russia), on 53.0°E. Tuning transponder 53.0°E 10730 V 14180 and searching for the DVB-T2 streams.” When a scan is not possible, it says why here.
Below that, in yellow, is the status line. For Romania: “Romania: no provider of this kind. Other countries: OK on the “Provider” row.”
At the bottom, the colour keys: RED “Back”, GREEN “Search now”, YELLOW “Change”, BLUE “Streams and settings”.
After “Search now”, the “DVB-T2: before scanning” screen opens: the rows “Provider”, “Satellite”, “Transponder”, “Dish” (for example “fixed, no turning”, “turns from 19.2°E, about … seconds” or “stays on 23.5°E”) and “Duration”, then “Start the scan” and “Cancel”. Below, the same plan is given in sentences.
During the scan the title is “DVB-T2: scan in progress”: the rows “Satellite”, “Step” (“tuning and turning the dish”, “looking for DVB-T2 multiplexes”, “saving what I found”, “reading the channel list”), the multiplexes found so far, with how many programmes each has, and “Stop the scan”. The status line shows how much time has passed.
At the end the title is “DVB-T2: channels found” (or “nothing found”, “the scan failed”): each multiplex, in yellow with its number of programmes, then its programmes, each with “TV” or “Radio” on the right, and at the bottom “Back to my channel” (or “Close”). If nothing was found, “Search again” appears.
Rows and settings
| Row | Values | Default | What it does |
|---|---|---|---|
| Provider | DVB-T2 multiplexes (Cyprus), 39.0°E, Zeonbud (Ukraine), 9.0°E, MX-7 (Ukraine), 23.5°E, MX-7, second position (Ukraine), 4.8°E, Rai mux B (Italy), 5.0°W, RSCC (Russia), 53.0°E | the first provider that the dish can see and the tuner can tune | The provider whose transponder is scanned. A provider you cannot scan right now is marked “(the dish does not see the satellite)” or “(the tuner does not choose the stream)”. The chosen provider is remembered separately from the one in “By provider” and the one in “DAB+ via satellite”. When you want the programmes of another provider. |
| Streams and settings | OK on this row (or the BLUE key) opens the DVB-T2 from satellite streams window: the streams the receiver knows, adding a stream by hand and their settings (see the “DAB+ and DVB-T2 from satellite in the list” page). When you want to see or add streams rather than scan. | ||
| Search now | OK on this row (or GREEN) opens the “DVB-T2: before scanning” screen with the scan plan. The scan only starts with “Start the scan”. After you have chosen the provider. | ||
| Dish (on the screen before the scan) | fixed, no turning, turns from …, about …, turns to …, up to …, stays on … | What the dish does during the scan. With a motor, the turning time is worked out from the distance between the satellites. When the dish position is not known, the longest time is given. | |
| The channel on screen during the scan | There is only one satellite tuner, so the channel on screen stops when the scan starts. At the end it does not start again by itself: you choose a programme that was found or “Back to my channel”. If you leave before choosing, your channel starts again. | ||
| The programmes found | They are saved in the channel list, under TV, in “DVB-T2 from satellite”. OK on a programme starts it (the dish stays on the scanned satellite); CH+ and CH- move on through that bouquet. |
Keys
| UP / DOWN | Move the cursor to the row above or below. From the last row, DOWN goes to the first, and the other way round. |
| LEFT / RIGHT | On “Provider”, go to the previous or next provider without opening the list. |
| OK | On “Provider” it opens the list of providers; on “Streams and settings” it opens the streams window; on “Search now” it opens the scan plan. |
| GREEN | Opens the scan plan from any row (the screen shows “Search now”). |
| YELLOW | On “Provider” it opens the list, like OK (the screen shows “Change”). On the other rows it does nothing. |
| BLUE | Opens the DVB-T2 from satellite streams window (the screen shows “Streams and settings”). |
| RED or EXIT | Closes the screen and takes you back to the Satellite menu. The chosen provider is remembered. |
| On the screen before the scan: GREEN / RED | GREEN (“Start”) starts the scan; RED (“Cancel”) or EXIT take you back without scanning. You can also choose “Start the scan” or “Cancel” with the arrow keys and OK. |
| During the scan: RED, EXIT or OK on “Stop the scan” | Stop the scan; the previous channel starts again. |
| At the end: OK on a programme, or GREEN | Start the chosen programme (GREEN, with the cursor not on a programme, starts the first one). The screen closes and the programme stays on screen. |
| At the end: RED or EXIT | Whatever the red key says: “Back to my channel” (the previous channel starts and the dish turns back) or “Close”. |
| At the end: BLUE | Shows the raw text of the scan: the detector's response and what went wrong while reading the lists (the screen shows “Raw text”). |
| At the end: LEFT / RIGHT | Move the cursor five rows at a time; the multiplex headings are skipped. |
Step by step
Search for a provider's DVB-T2 programmes
- Press MENU 1 1 6.
- On “Provider”, press OK, choose the provider (under its country heading) and press OK.
- Press GREEN and read the plan: the satellite, the dish and how long it takes.
- Press GREEN (“Start”) and wait: the steps and the multiplexes found appear on screen.
- At the end, press OK on a programme to watch it, or RED (“Back to my channel”).
Watch the programmes found later
- Open the TV channel list.
- Go into the “DVB-T2 from satellite” bouquet and start the programme you want.
Start the scan from your phone
- Open the receiver's web interface and go to /scanare/satelit/dvbt2.
- Choose the provider and press “Search now”: the page shows the plan (the satellite, the dish, how long it takes).
- Press “Start the scan”. The scan runs on the TV. At the end the page shows the programmes, each with its own button, plus “Back to my channel” and “Search again”.
Problems and solutions
The status line says “Romania: no provider of this kind. Other countries: OK on the “Provider” row.”
No DVB-T2 programmes are sent by satellite for Romania. You can search other countries' providers if your dish can see their satellite.
You see “…: multistream broadcast (several streams on the same transponder), and this receiver's satellite tuner cannot choose the stream. …”
The chosen provider cannot be scanned with your receiver's tuner. Choose a provider without the “(the tuner does not choose the stream)” mark.
You see “Your dish is fixed and only sees: …”
The provider's satellite is not on your dish. The message tells you which providers of the same kind are on your dish's satellites.
The end screen says “No signal on …. Check the dish and try again.”
The dish did not reach the satellite or the signal is too weak. Check the transponder in Signal finder (MENU 2 6), then choose “Search again”.
You see “The satellite tuner is busy with something else right now, for example a recording. Try again when it finishes.”
A recording or a network stream is using the tuner. Wait for it to finish, then search again.
You see “No DVB-T2 programme found on …. …”
The transponder no longer carries multiplexes or the signal is poor. Try another provider or add the streams by hand in “Streams and settings”.
You see “What I found could not be saved. Try again.”
The reason is shown below (for example “The receiver's memory is full.”). Free up some memory and search again.
You see “The stream detector did not start. Details in the log.”
Press GREEN (“Search again”). If it happens again, restart the interface (Menu > Power & Restart) and search again.
Related topics
- Satellite, all kinds of scan
- DAB+ via satellite
- DAB+ and DVB-T2 from satellite in the list
- Signal finder
- Dish location (for a motor)
- Matching web page: /scanare/satelit/dvbt2.
Differences between receivers
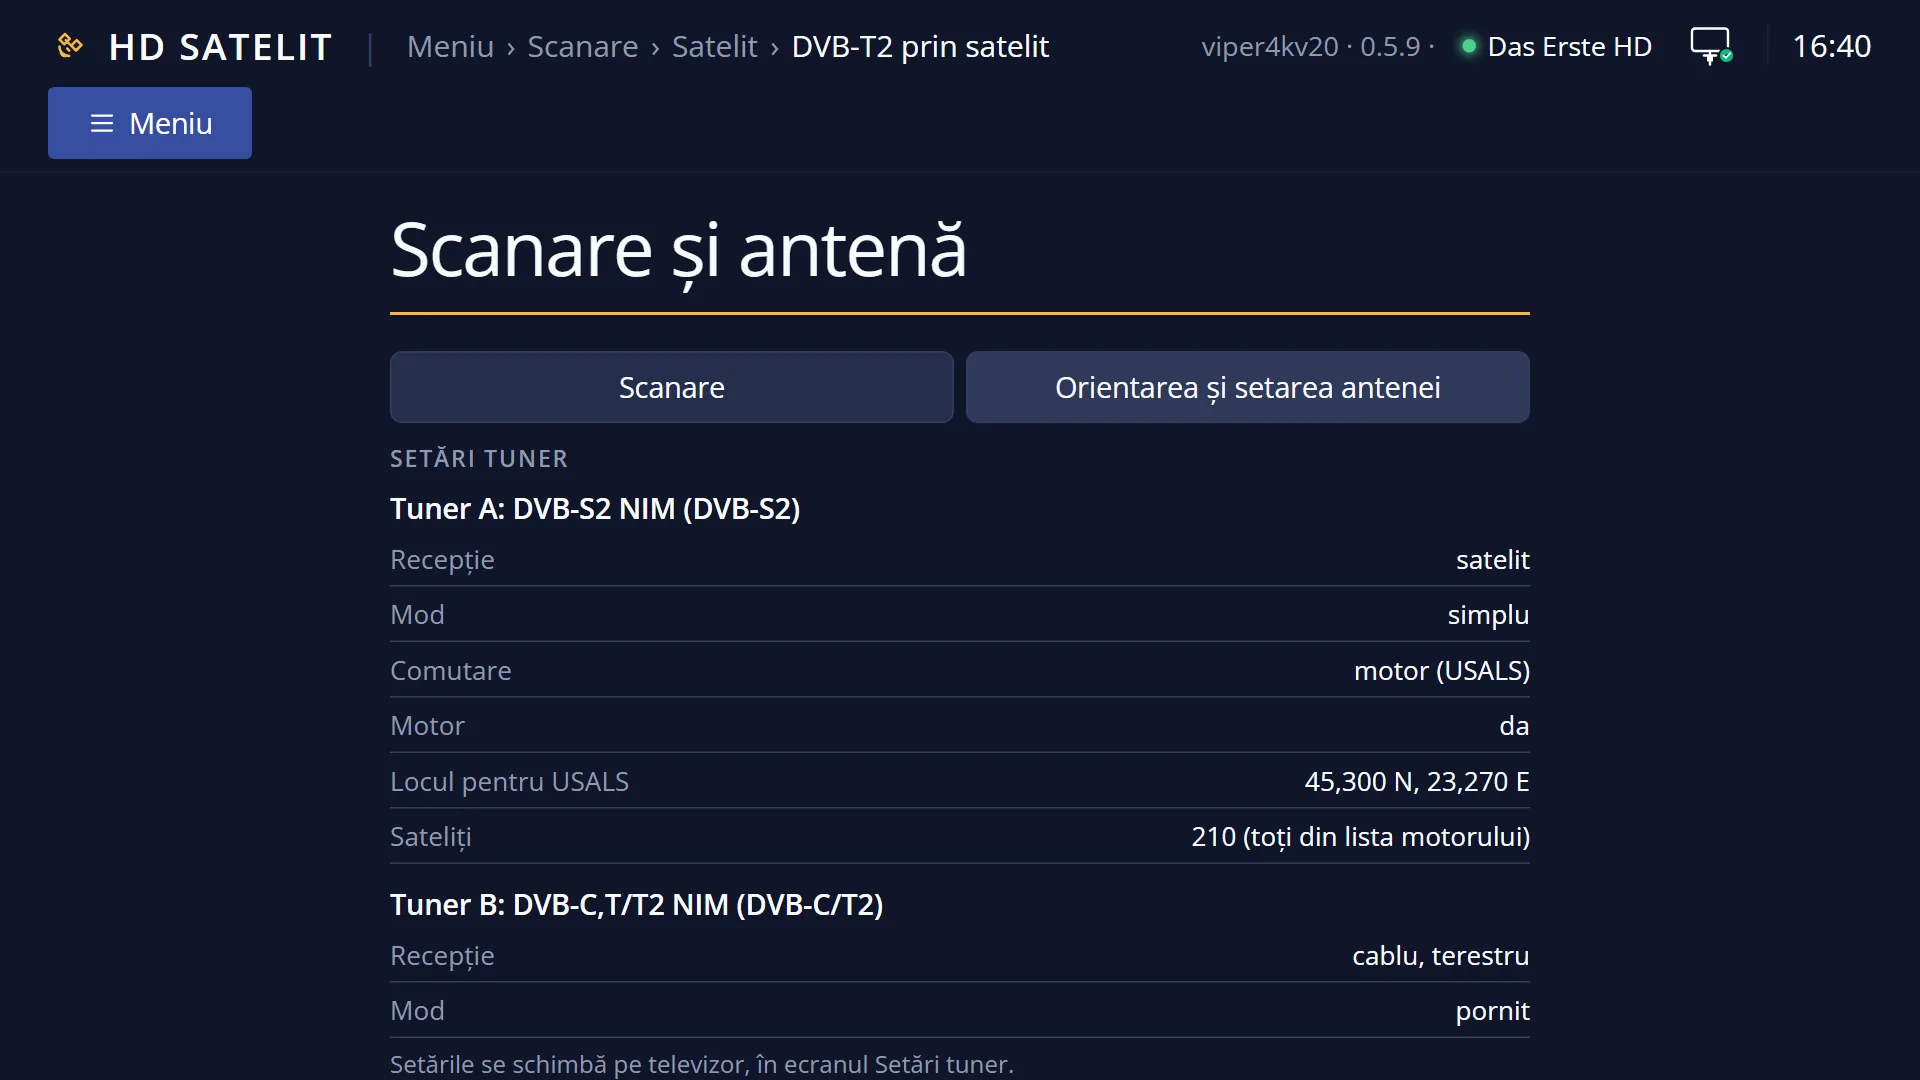
The Amiko Viper 4K V20 has only one satellite tuner (A): during the scan you cannot watch another satellite channel.