

Dish alignment and setup
English screenshots coming: some of the pictures below still show the receiver and the web interface in Romanian. The rows, keys and steps described on this page are the English ones.
What it is for
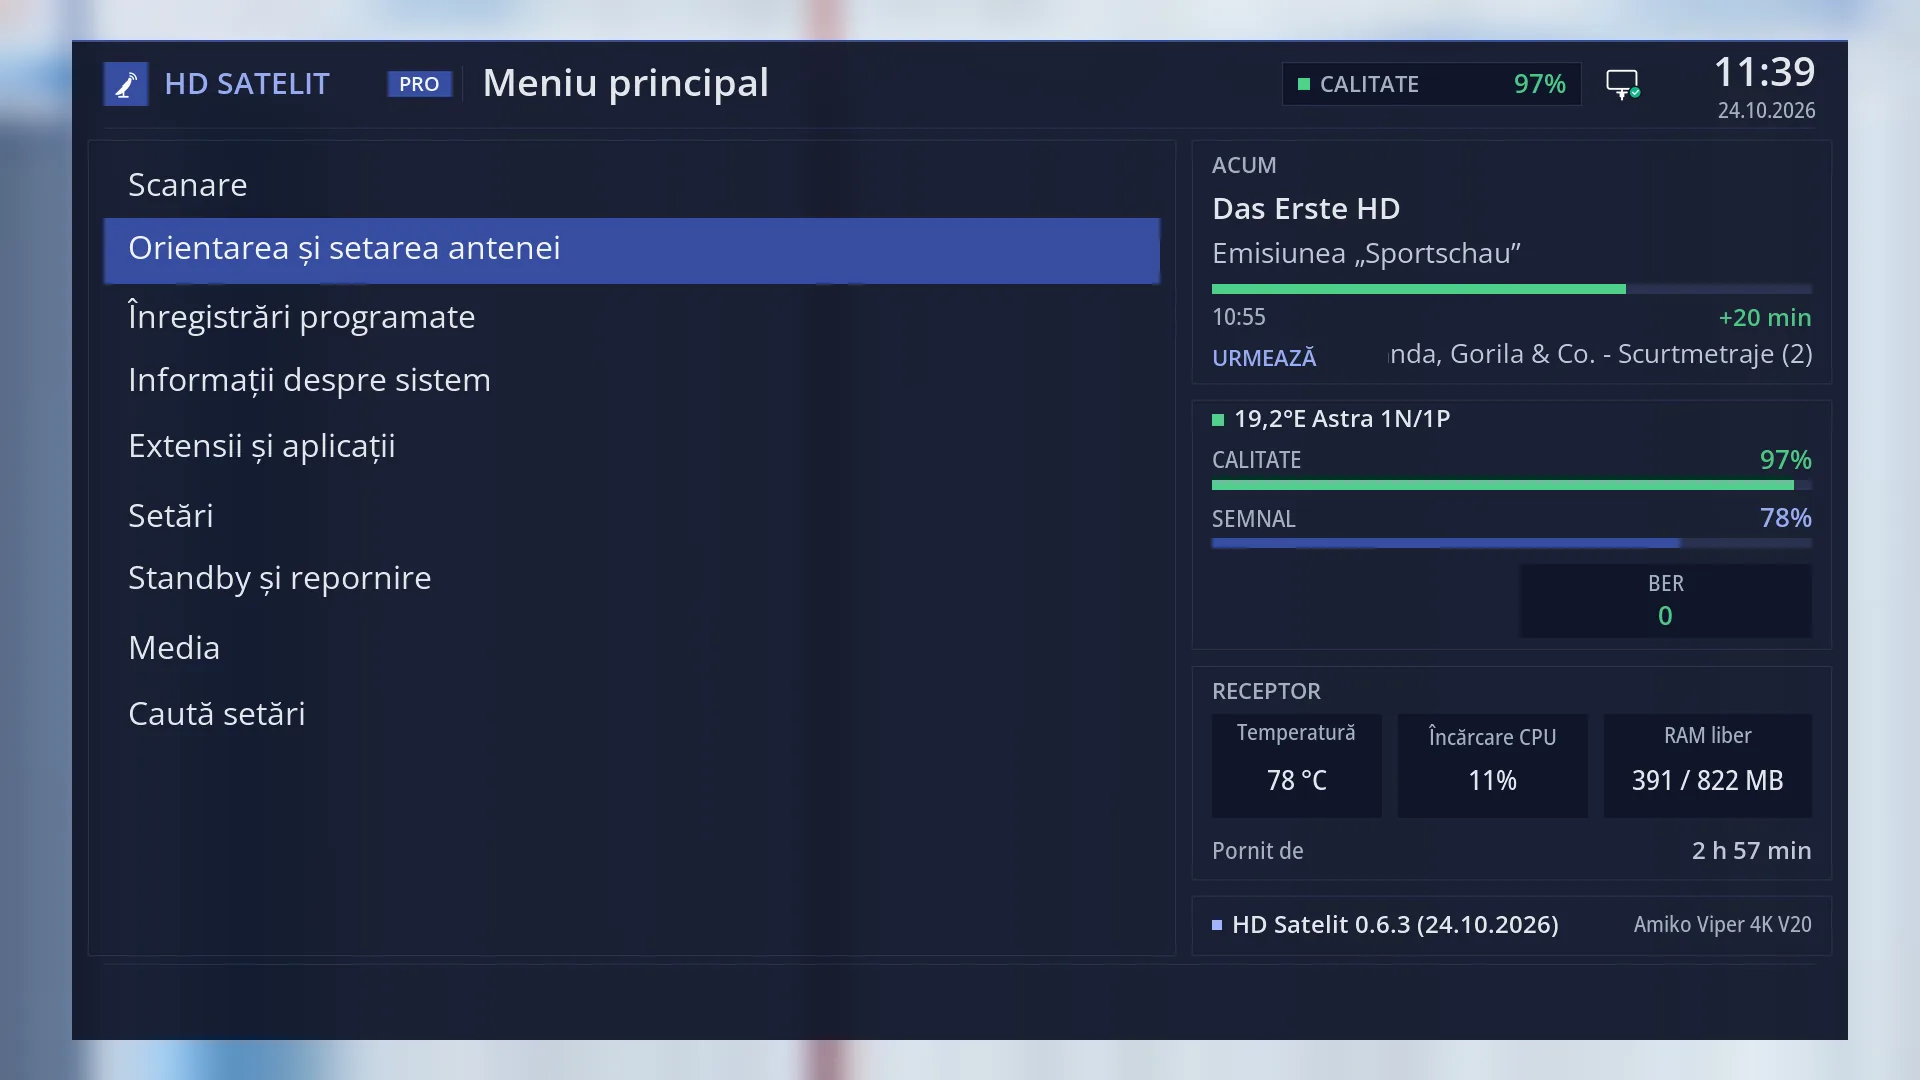
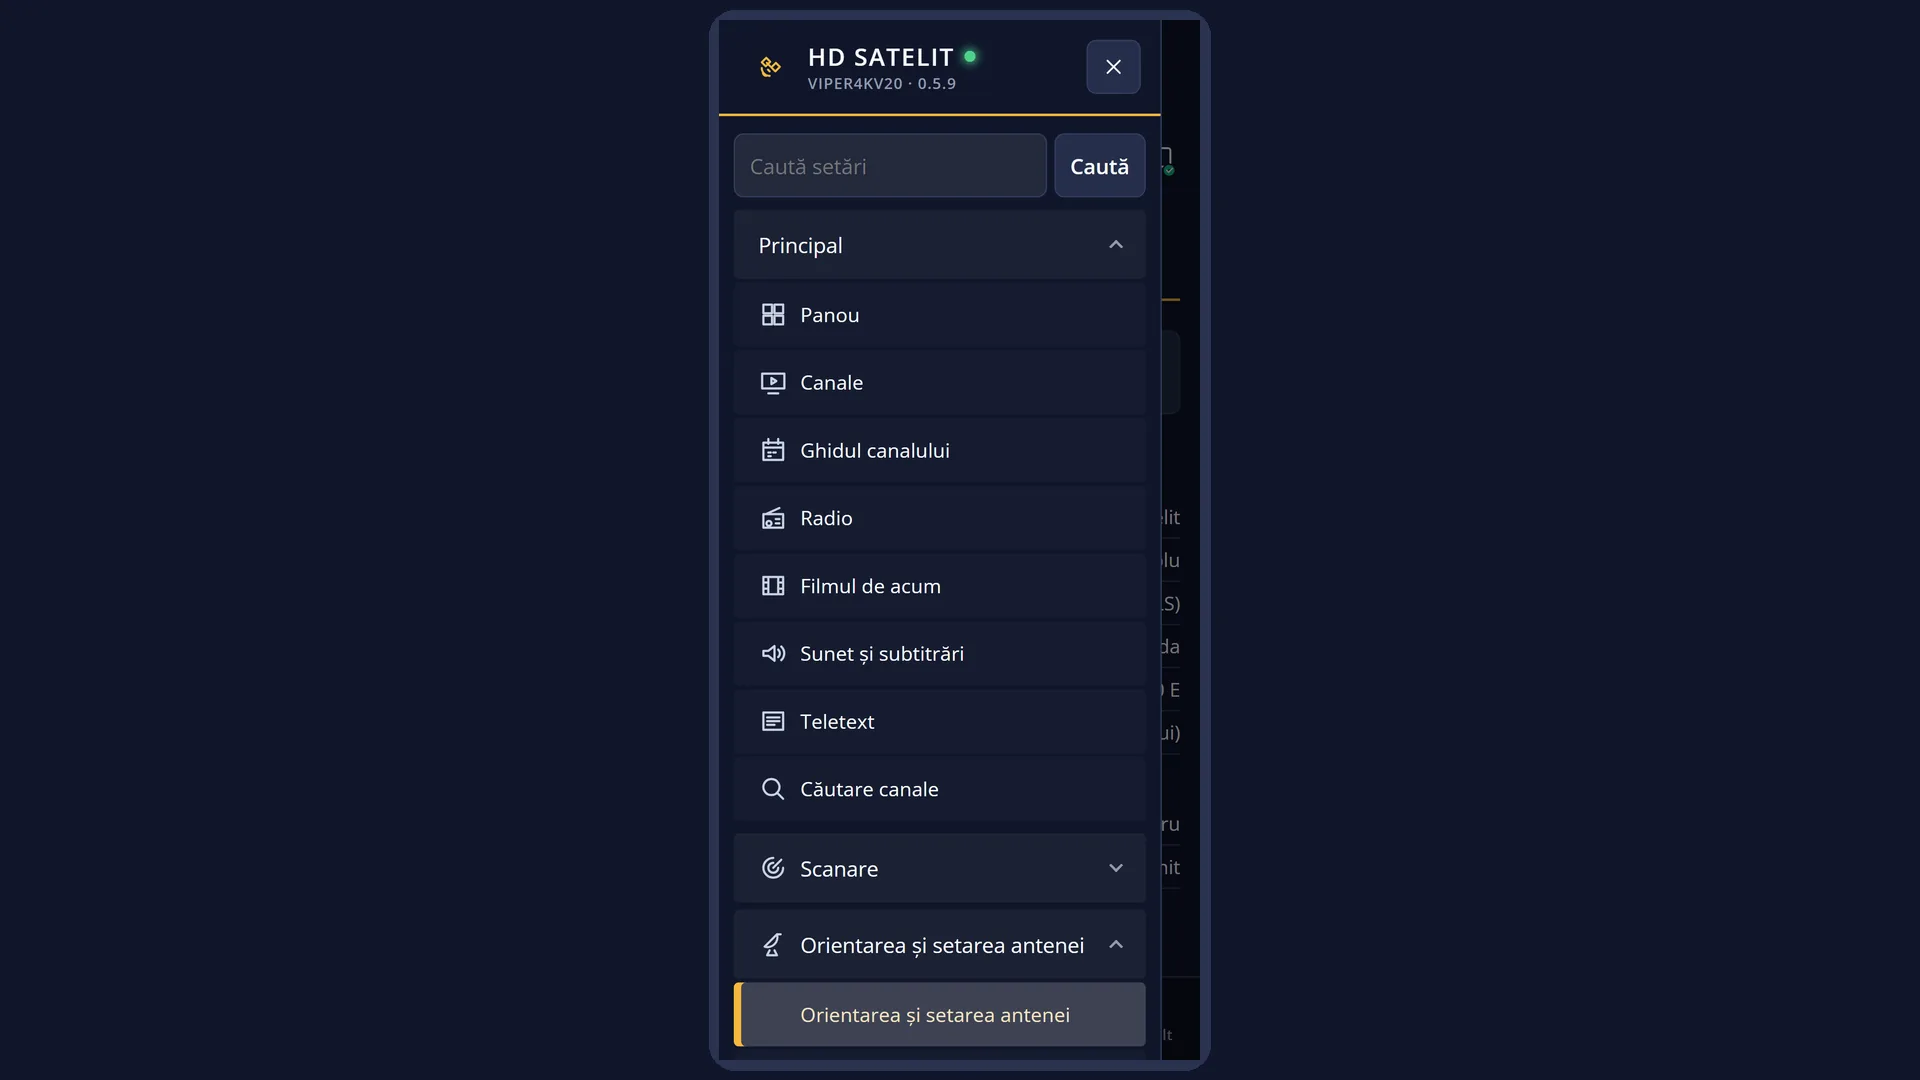
“Dish alignment and setup” is the second row of the main menu. It brings together everything to do with the dish: how it is connected to the receiver, which LNB it has, the motor, your location, the alignment angles, the signal for pointing the dish and the DiSEqC switch test.
Start here at first installation (before your first channel scan), when you add an LNB, a switch or a motor, and when you adjust the dish.
The rows are in the usual working order: first Tuner settings (how the dish is connected), then the LNB, the motor and location, the angles, the signal and the test.
Rows marked “(not tested)” are finished but have not yet been tried on the receiver.
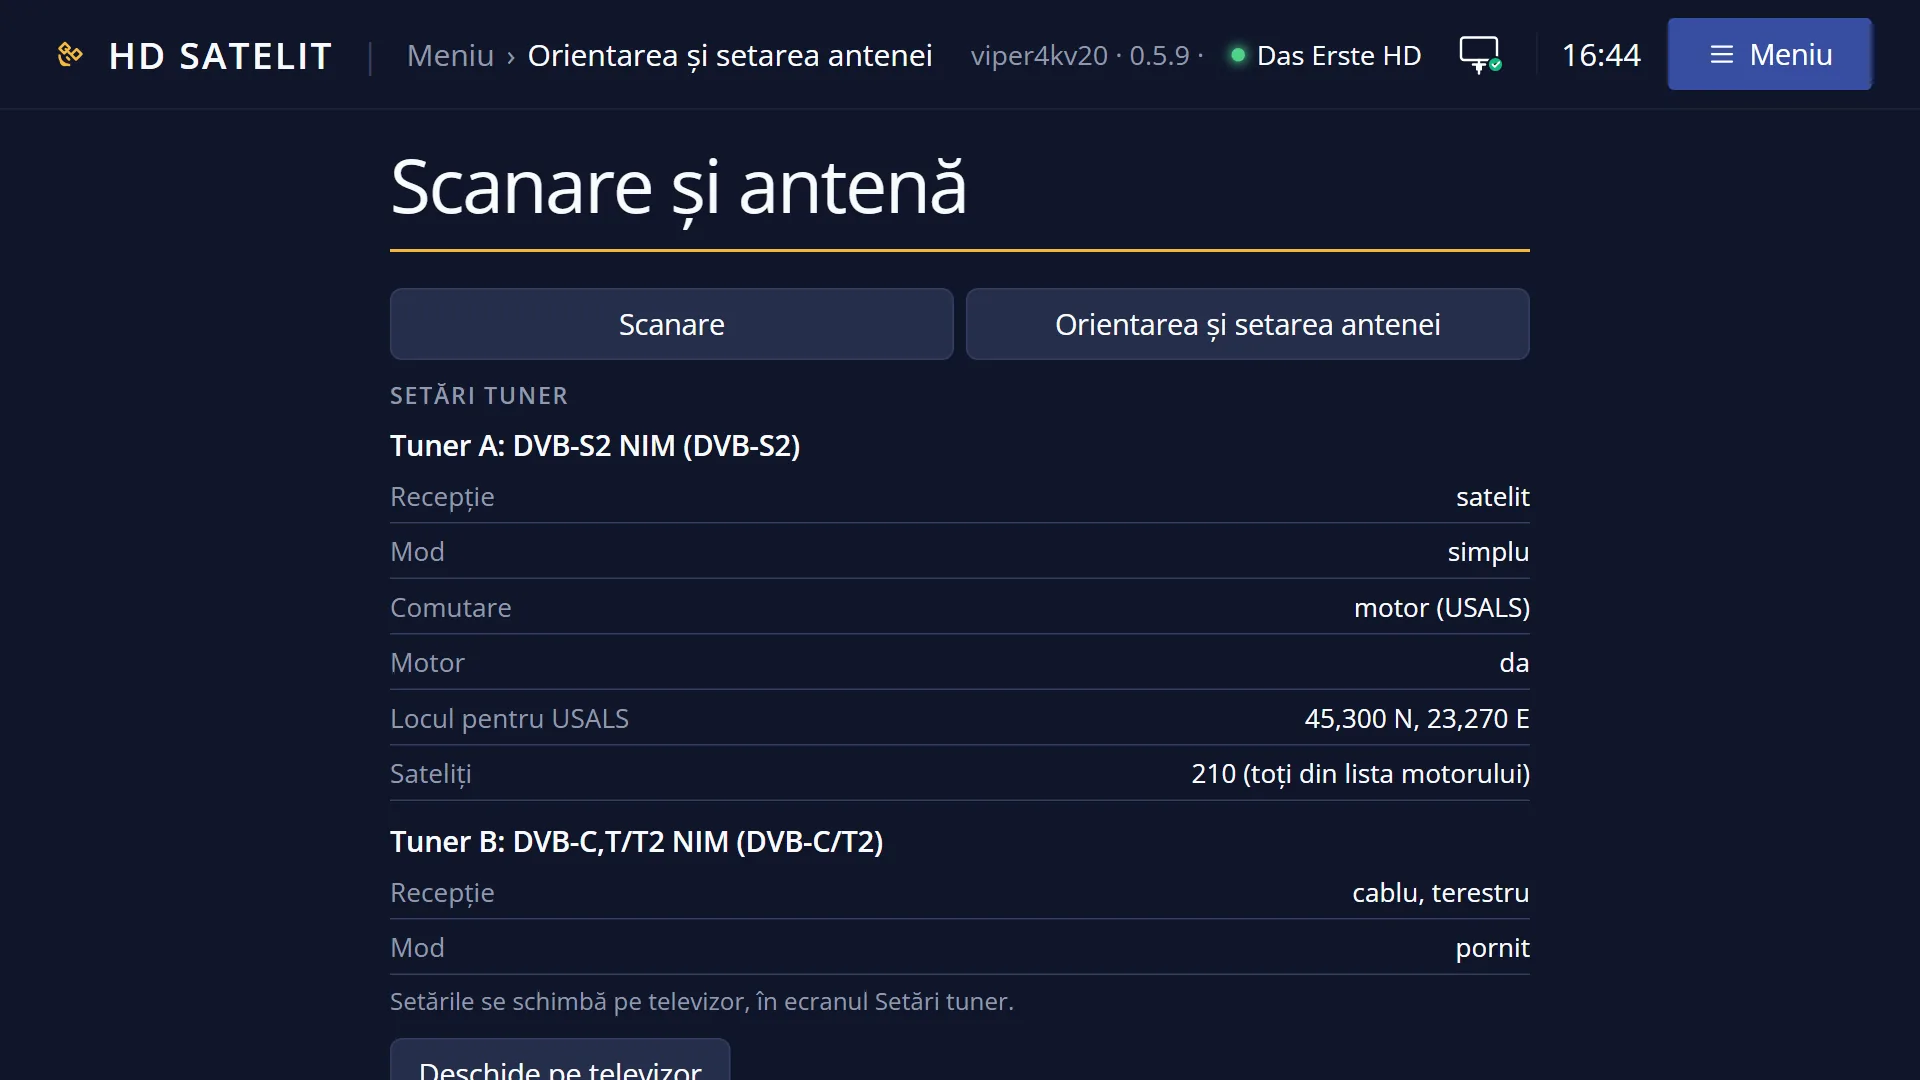
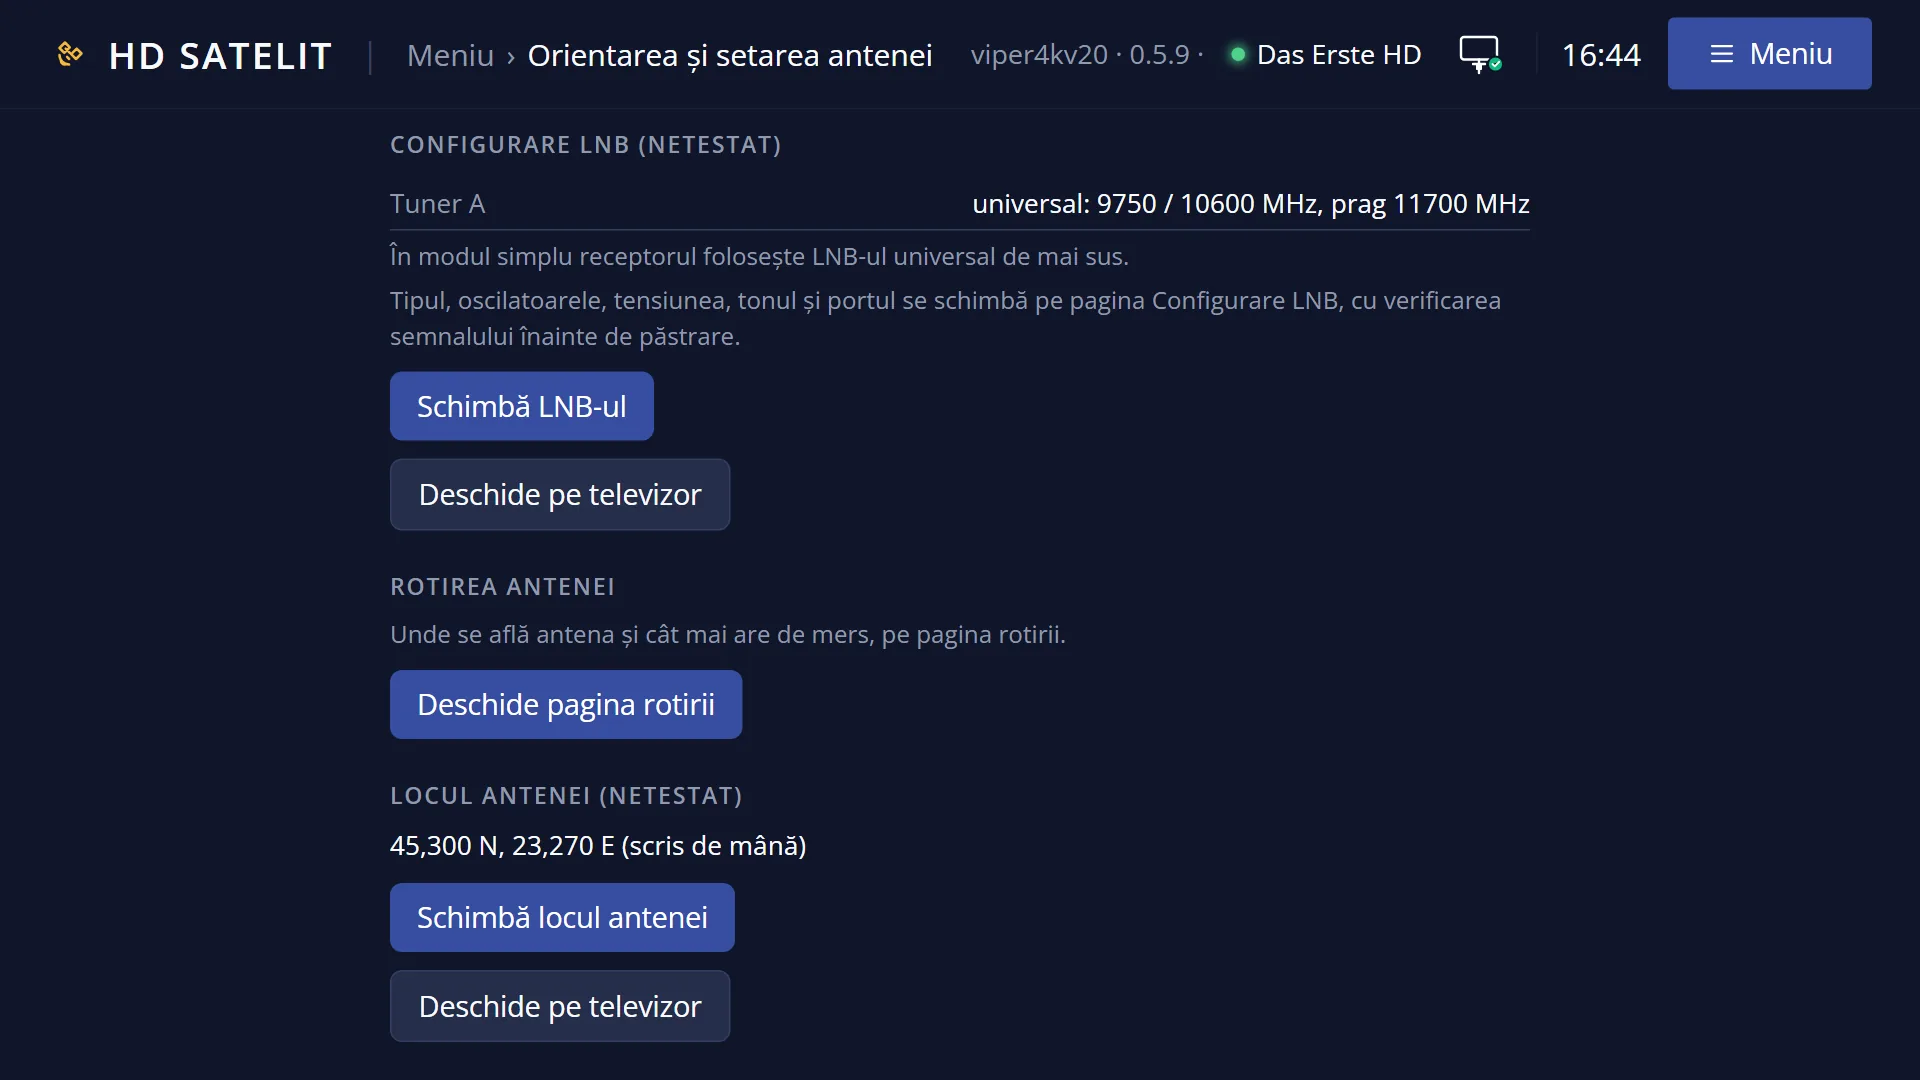
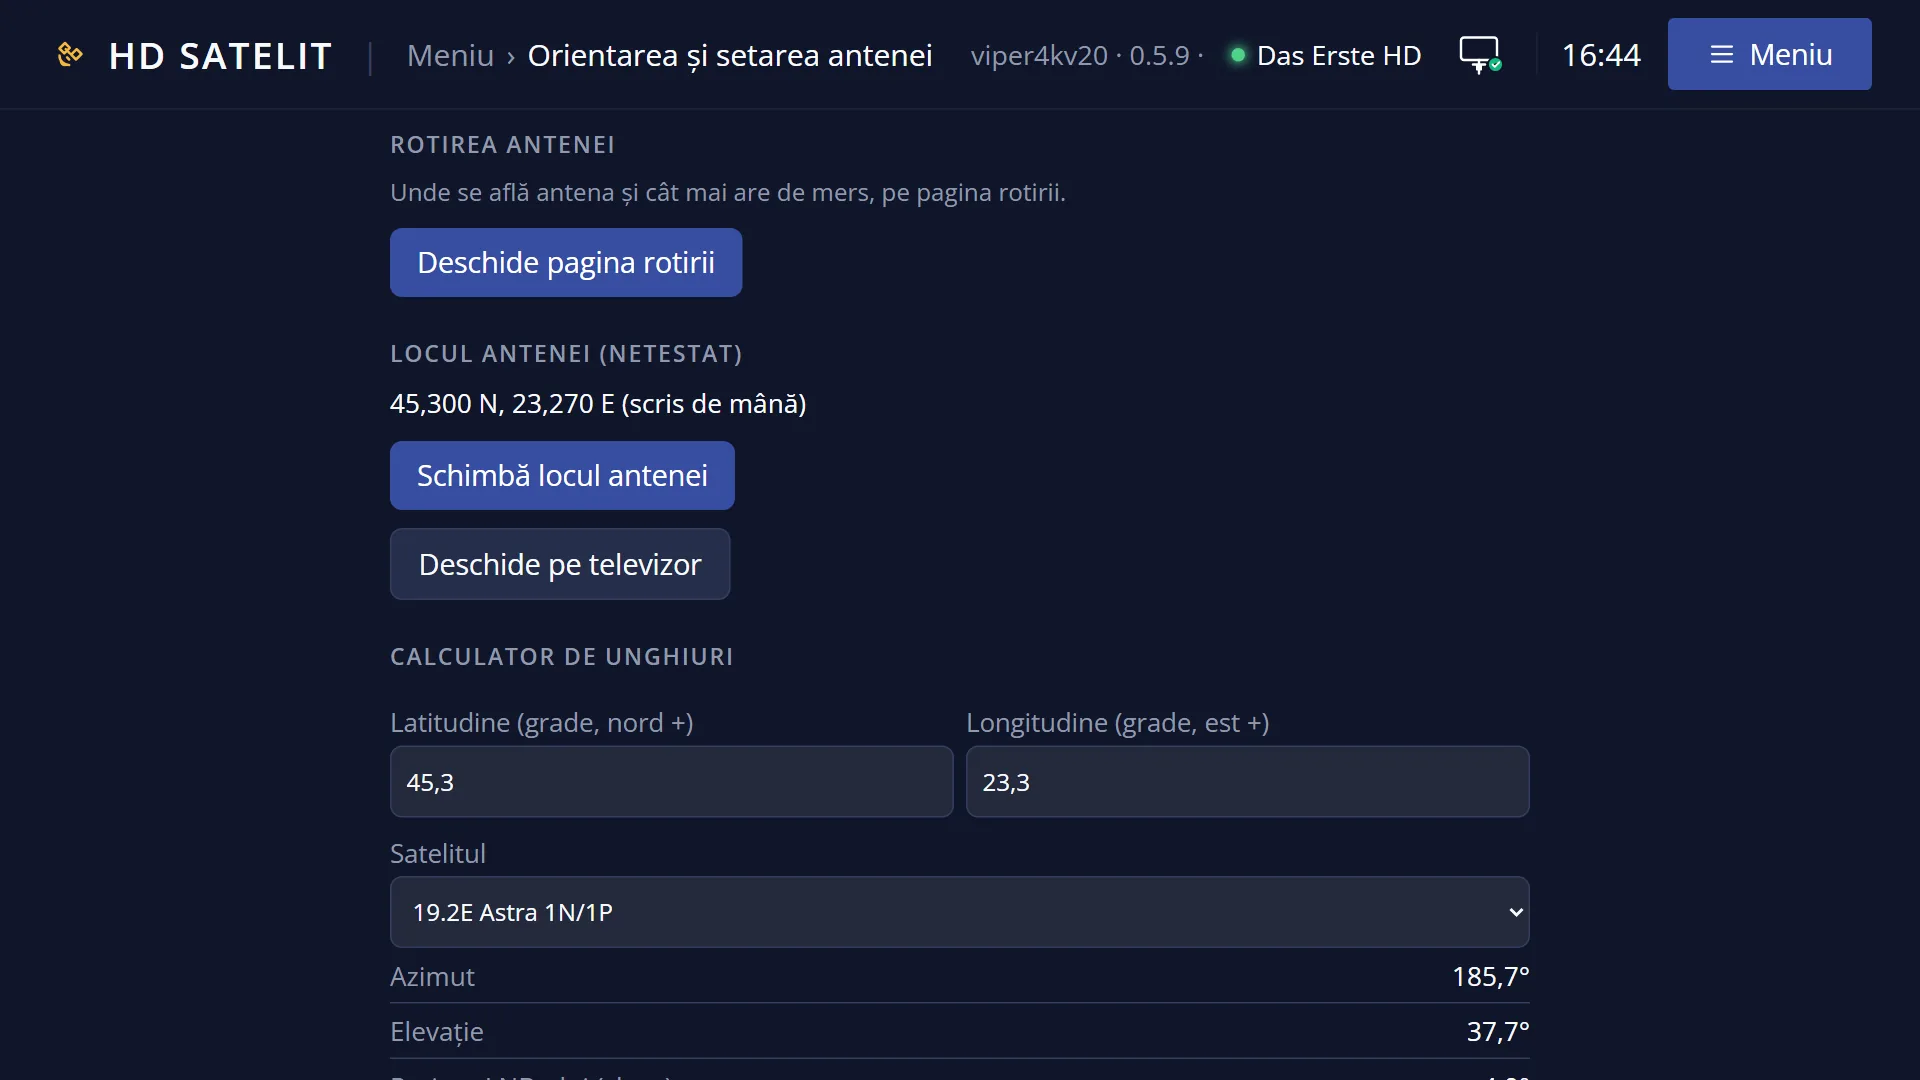
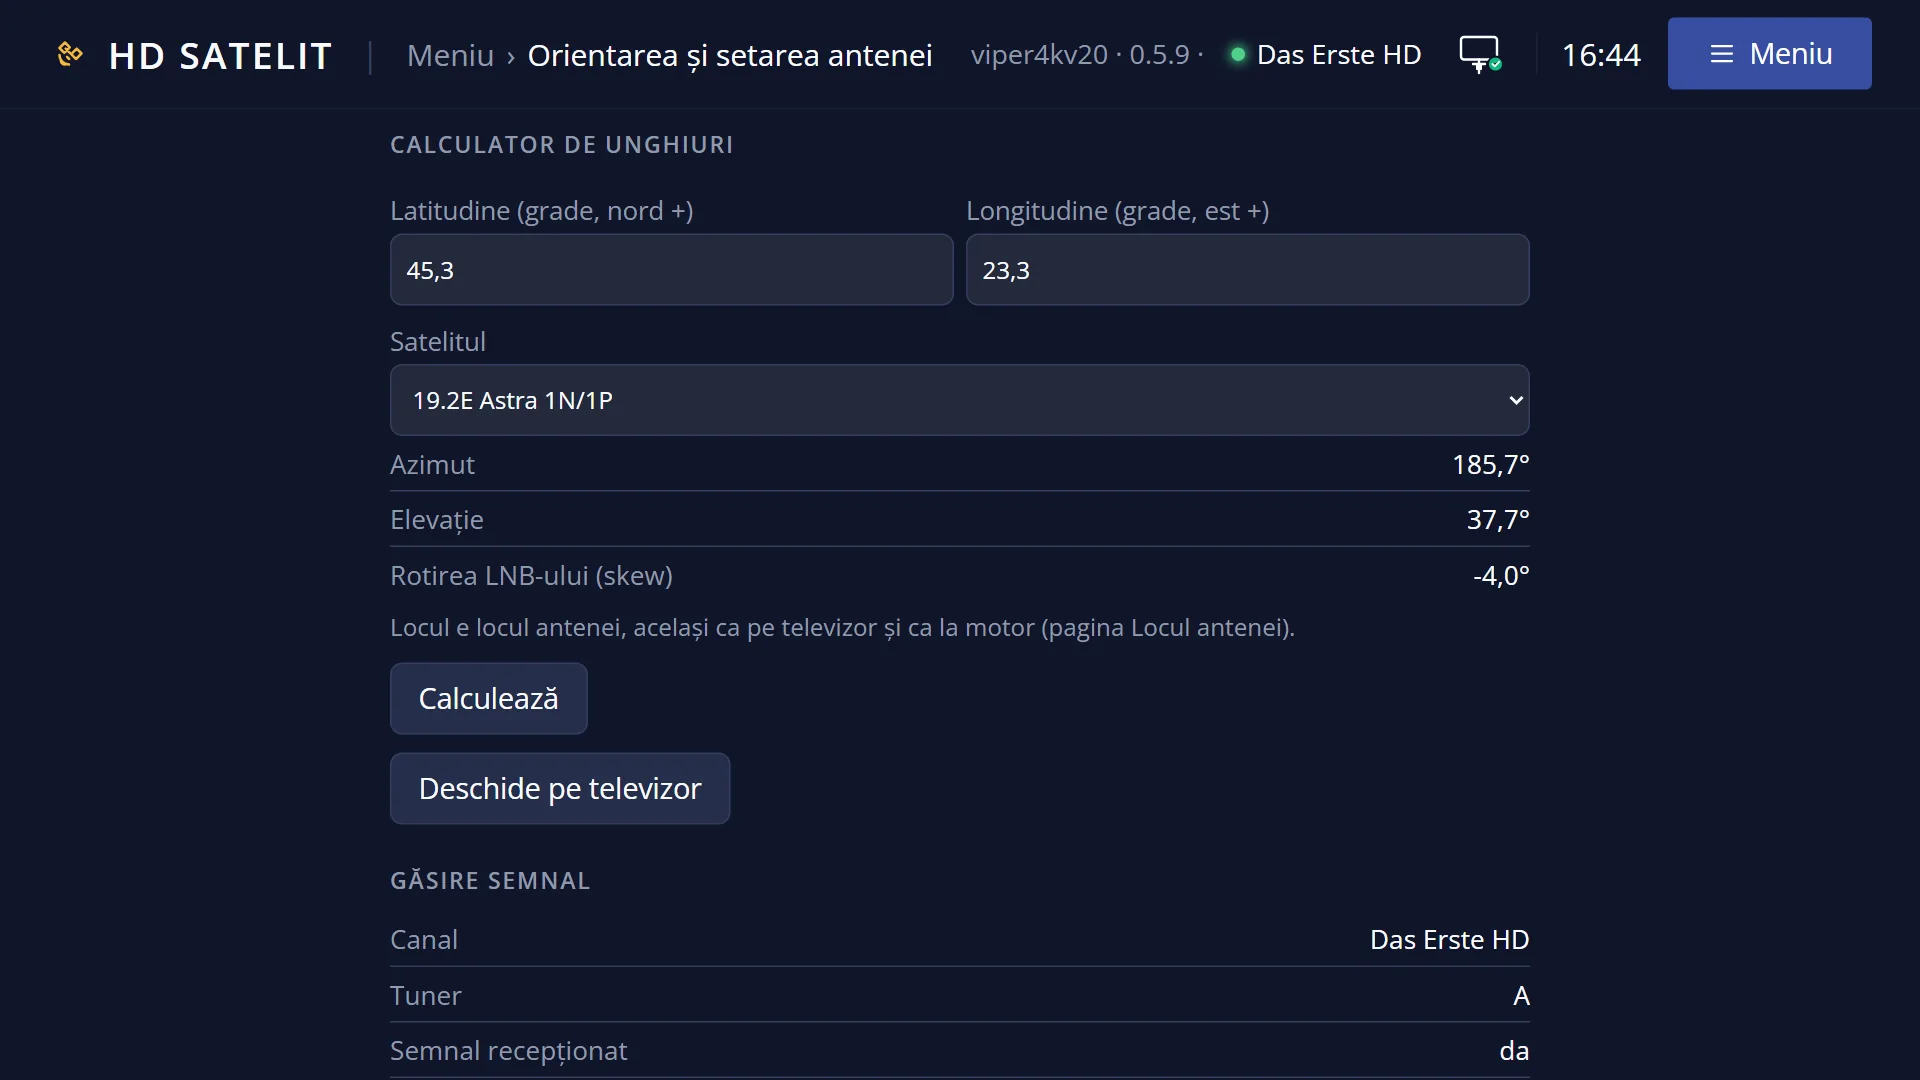
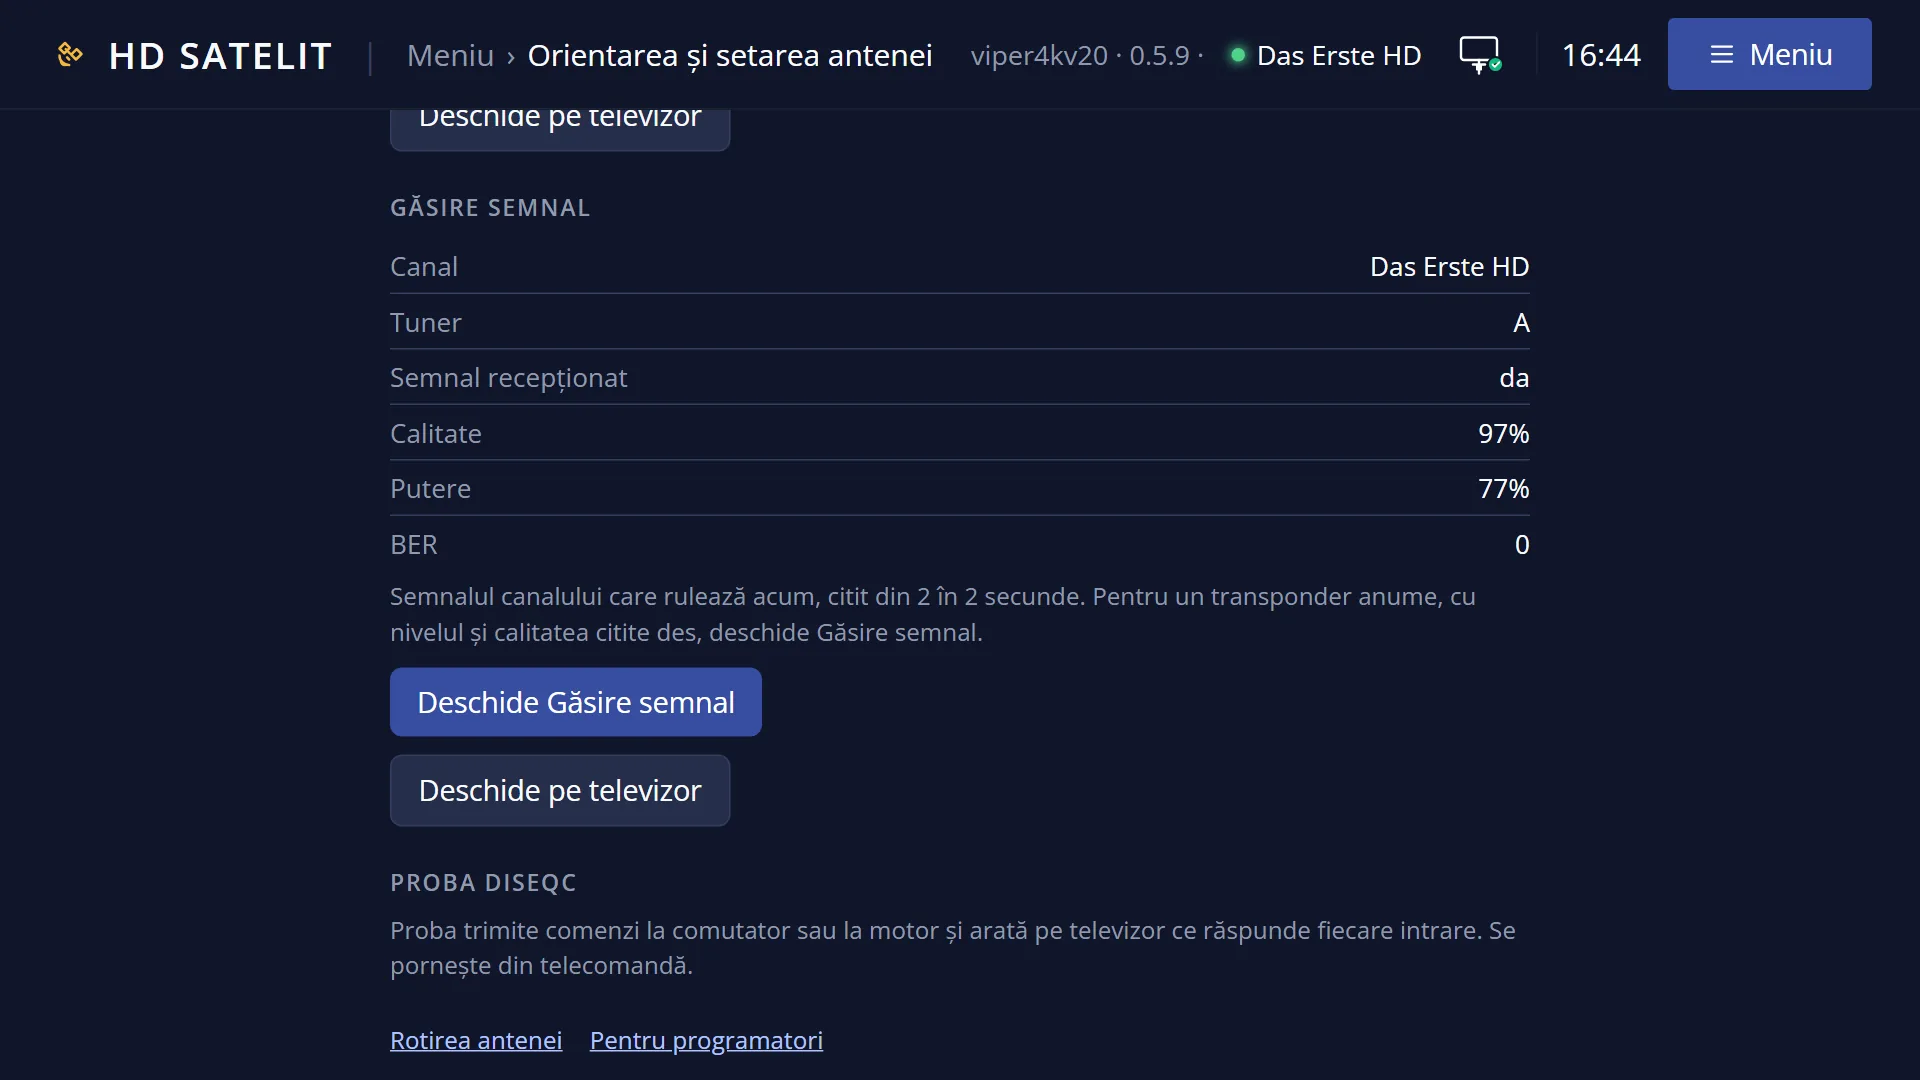
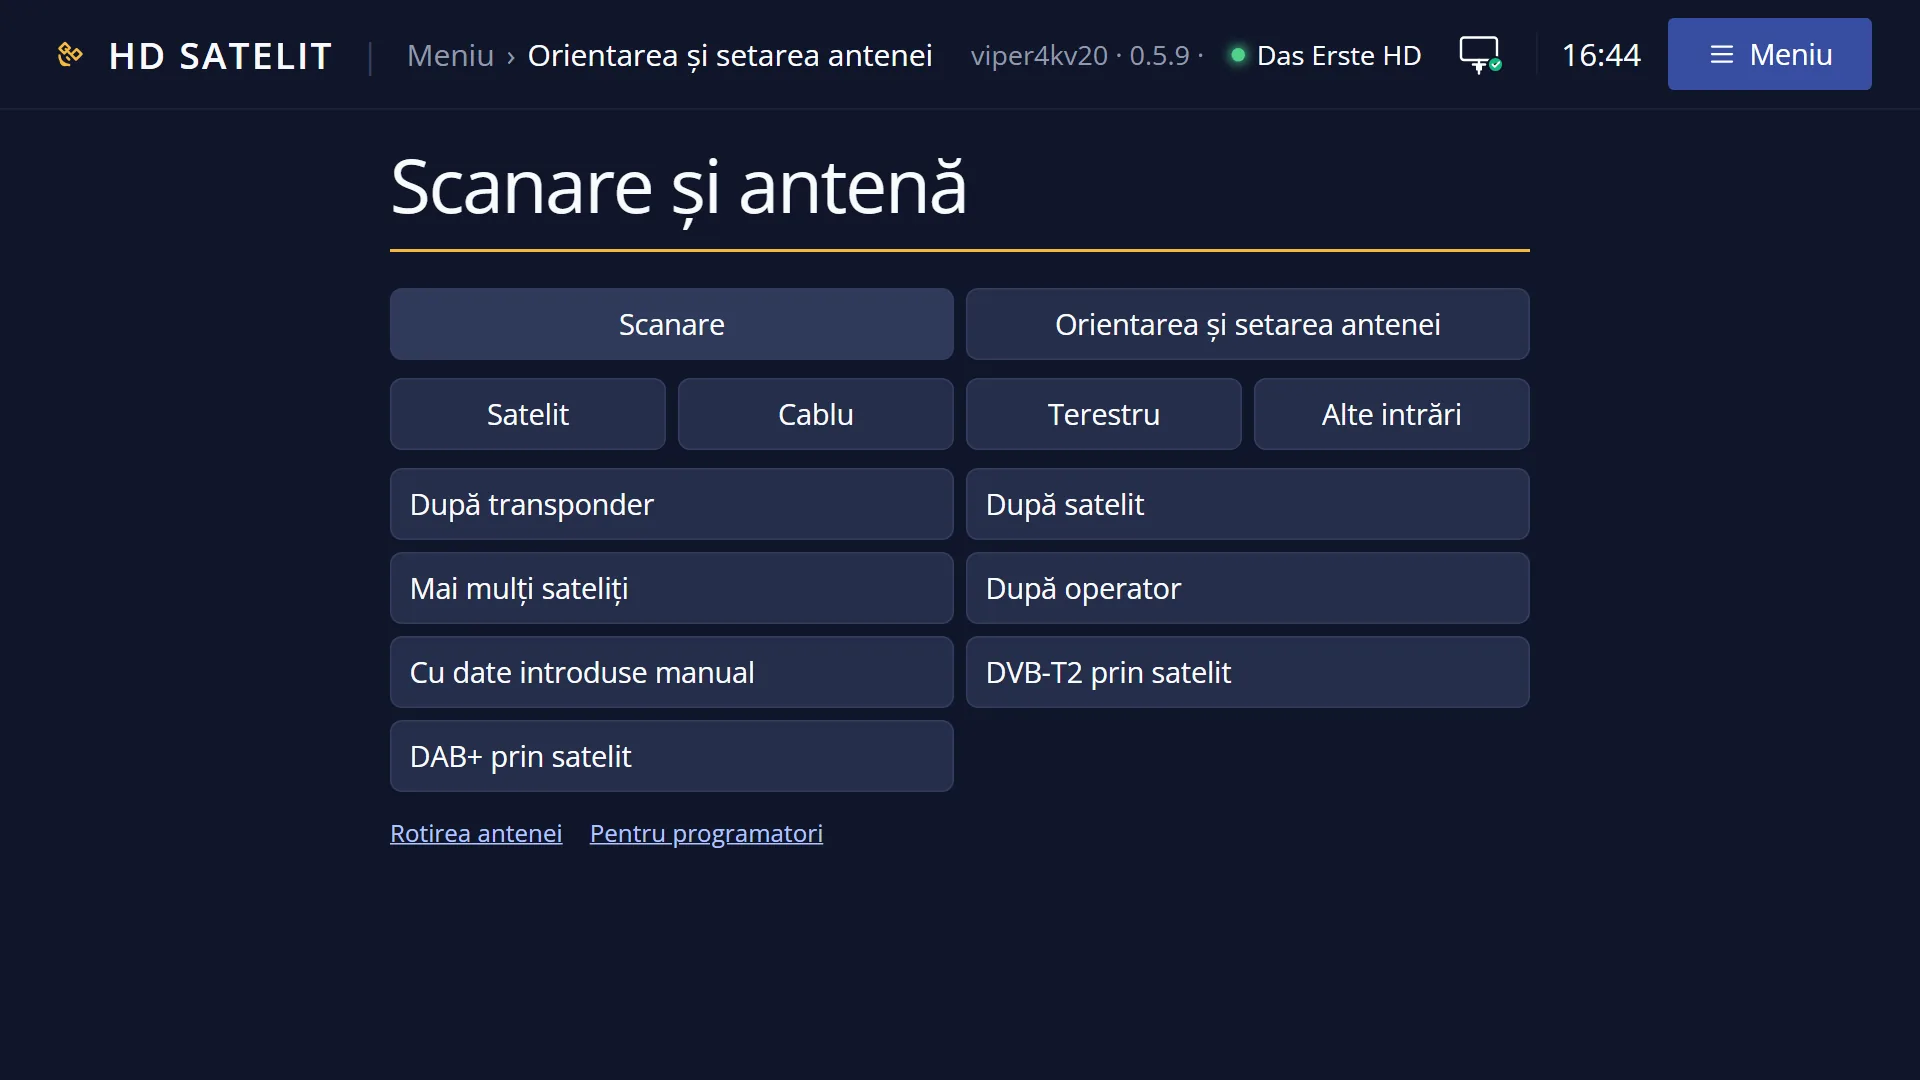
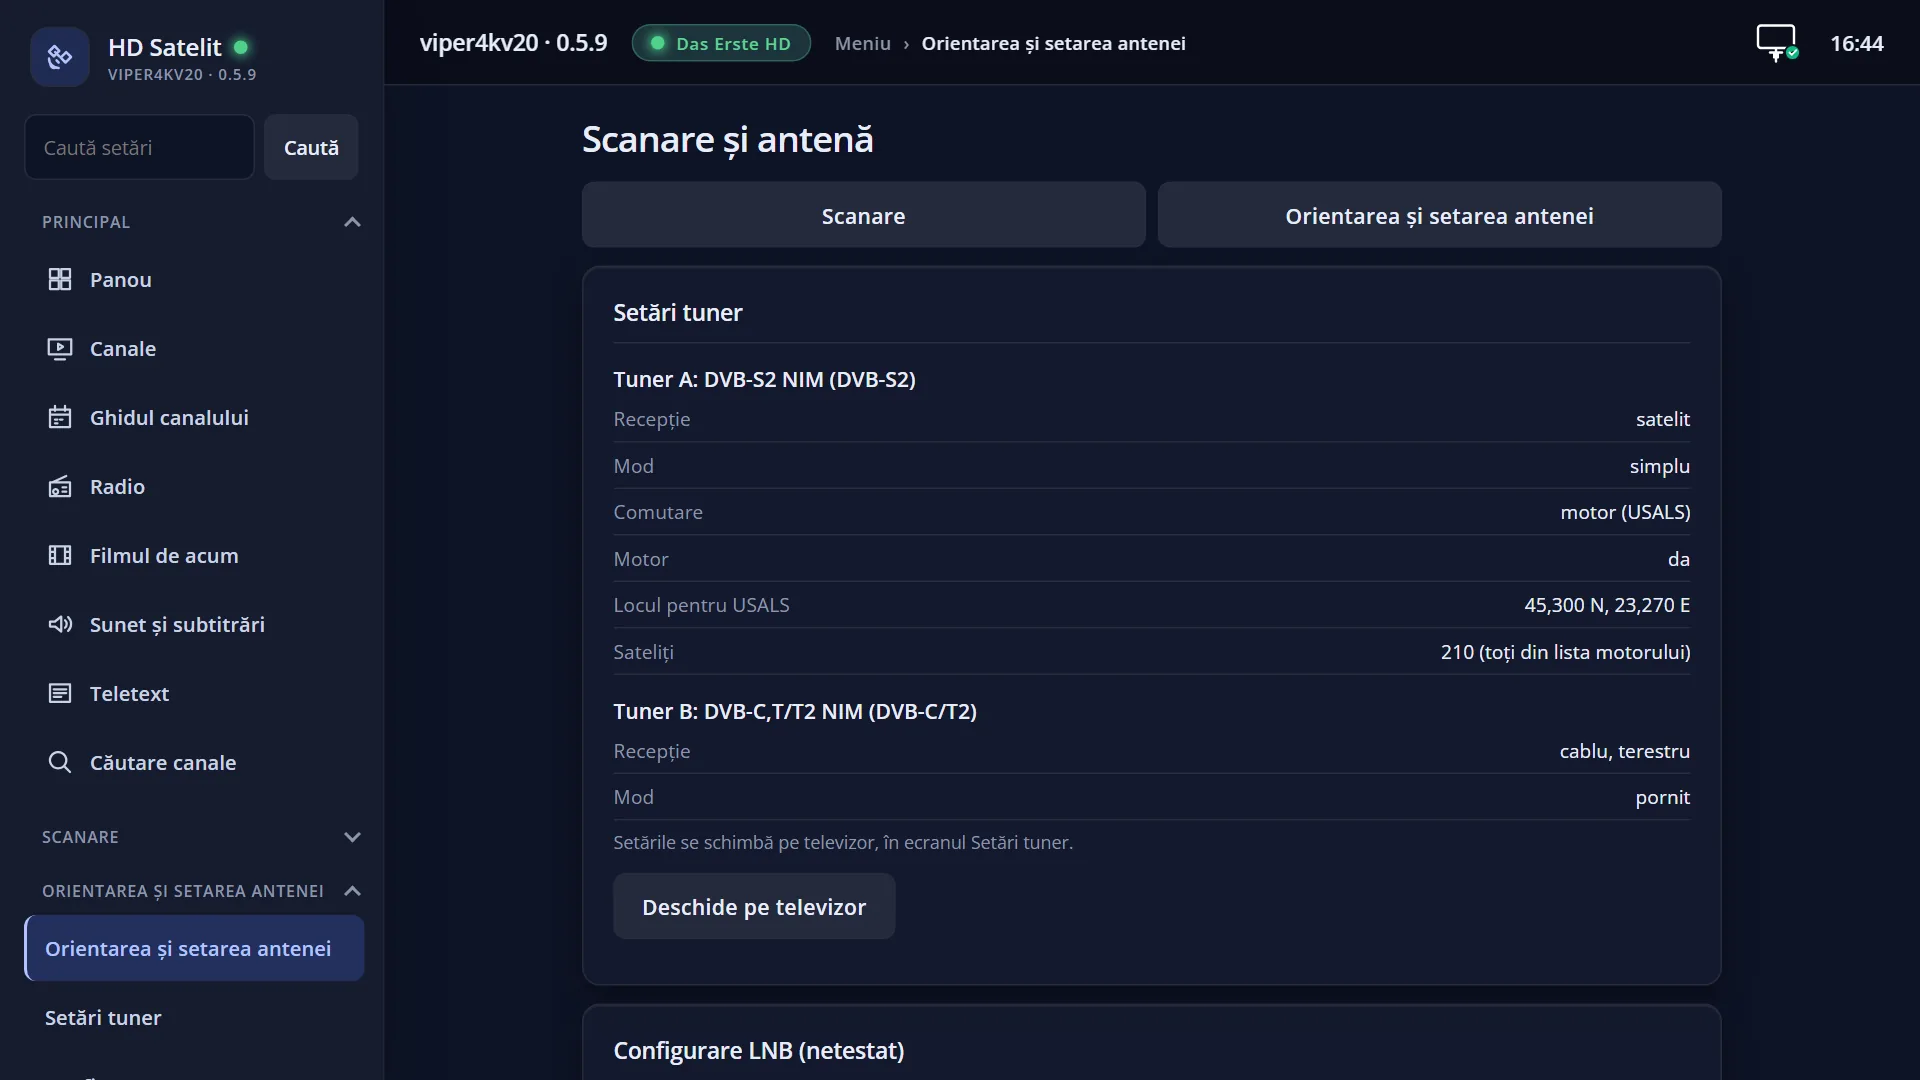
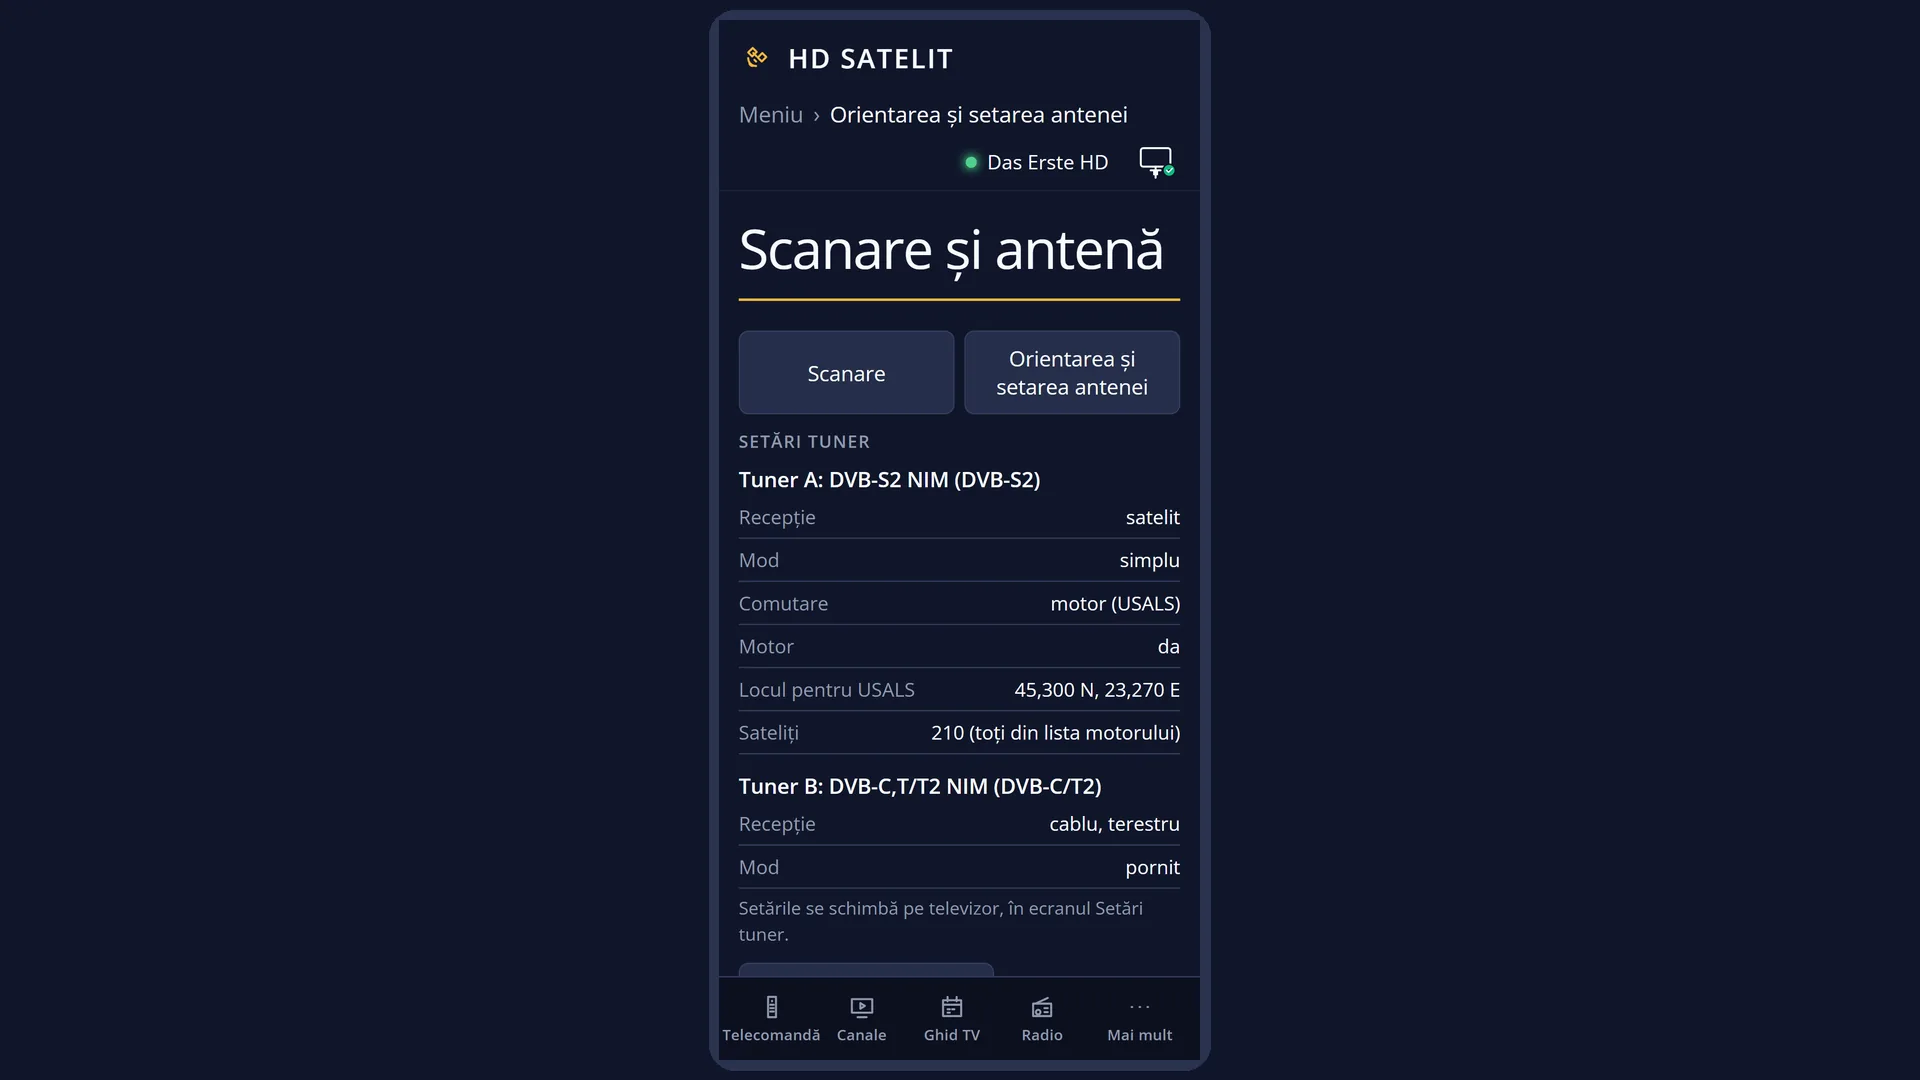
The same rows are in the web interface, on the /antena page, each with its own card: the tuner settings, the LNB, the location, the angle calculator, the current signal and links to their pages.
How to get here
Path: Main menu > Dish alignment and setup
Keys on the TV: MENU 2
In the web interface: the /antena page (title “Channel scan and dish”, tab “Dish alignment and setup”).
What you see on the screen
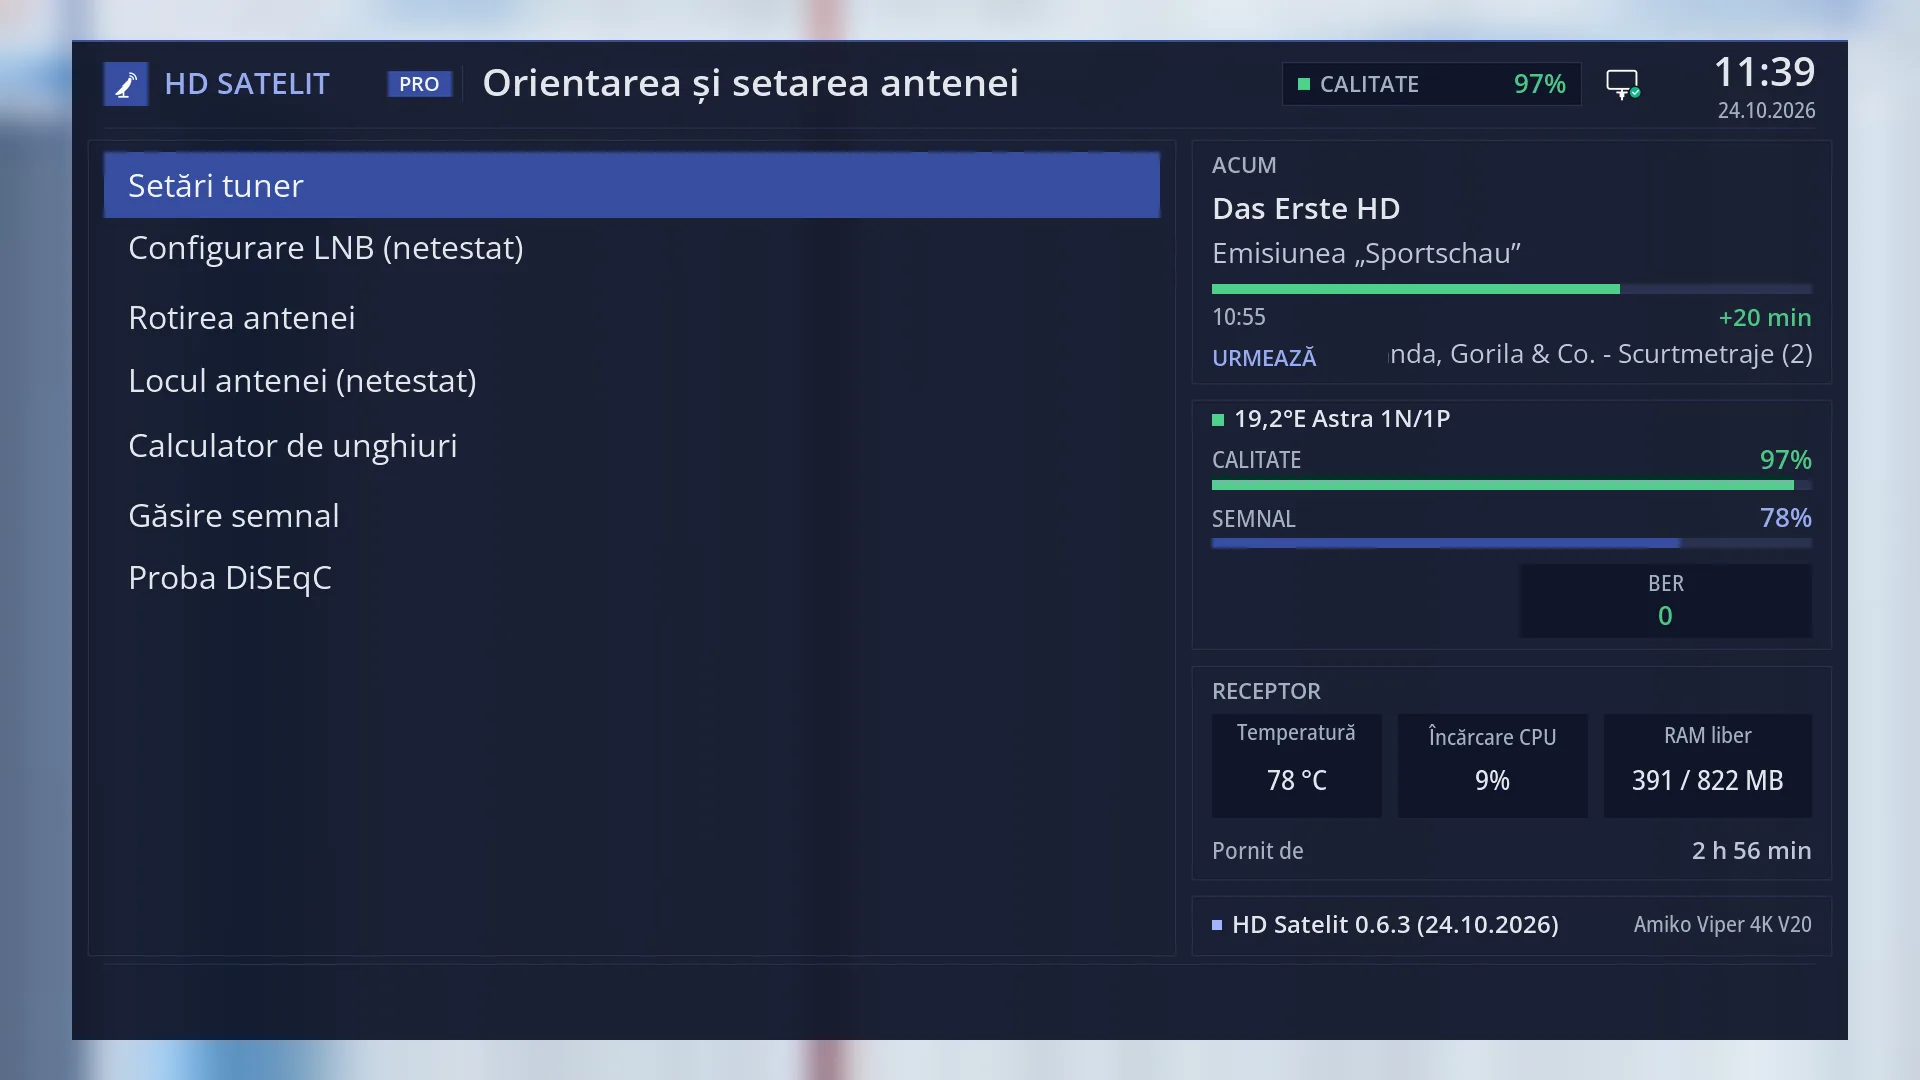
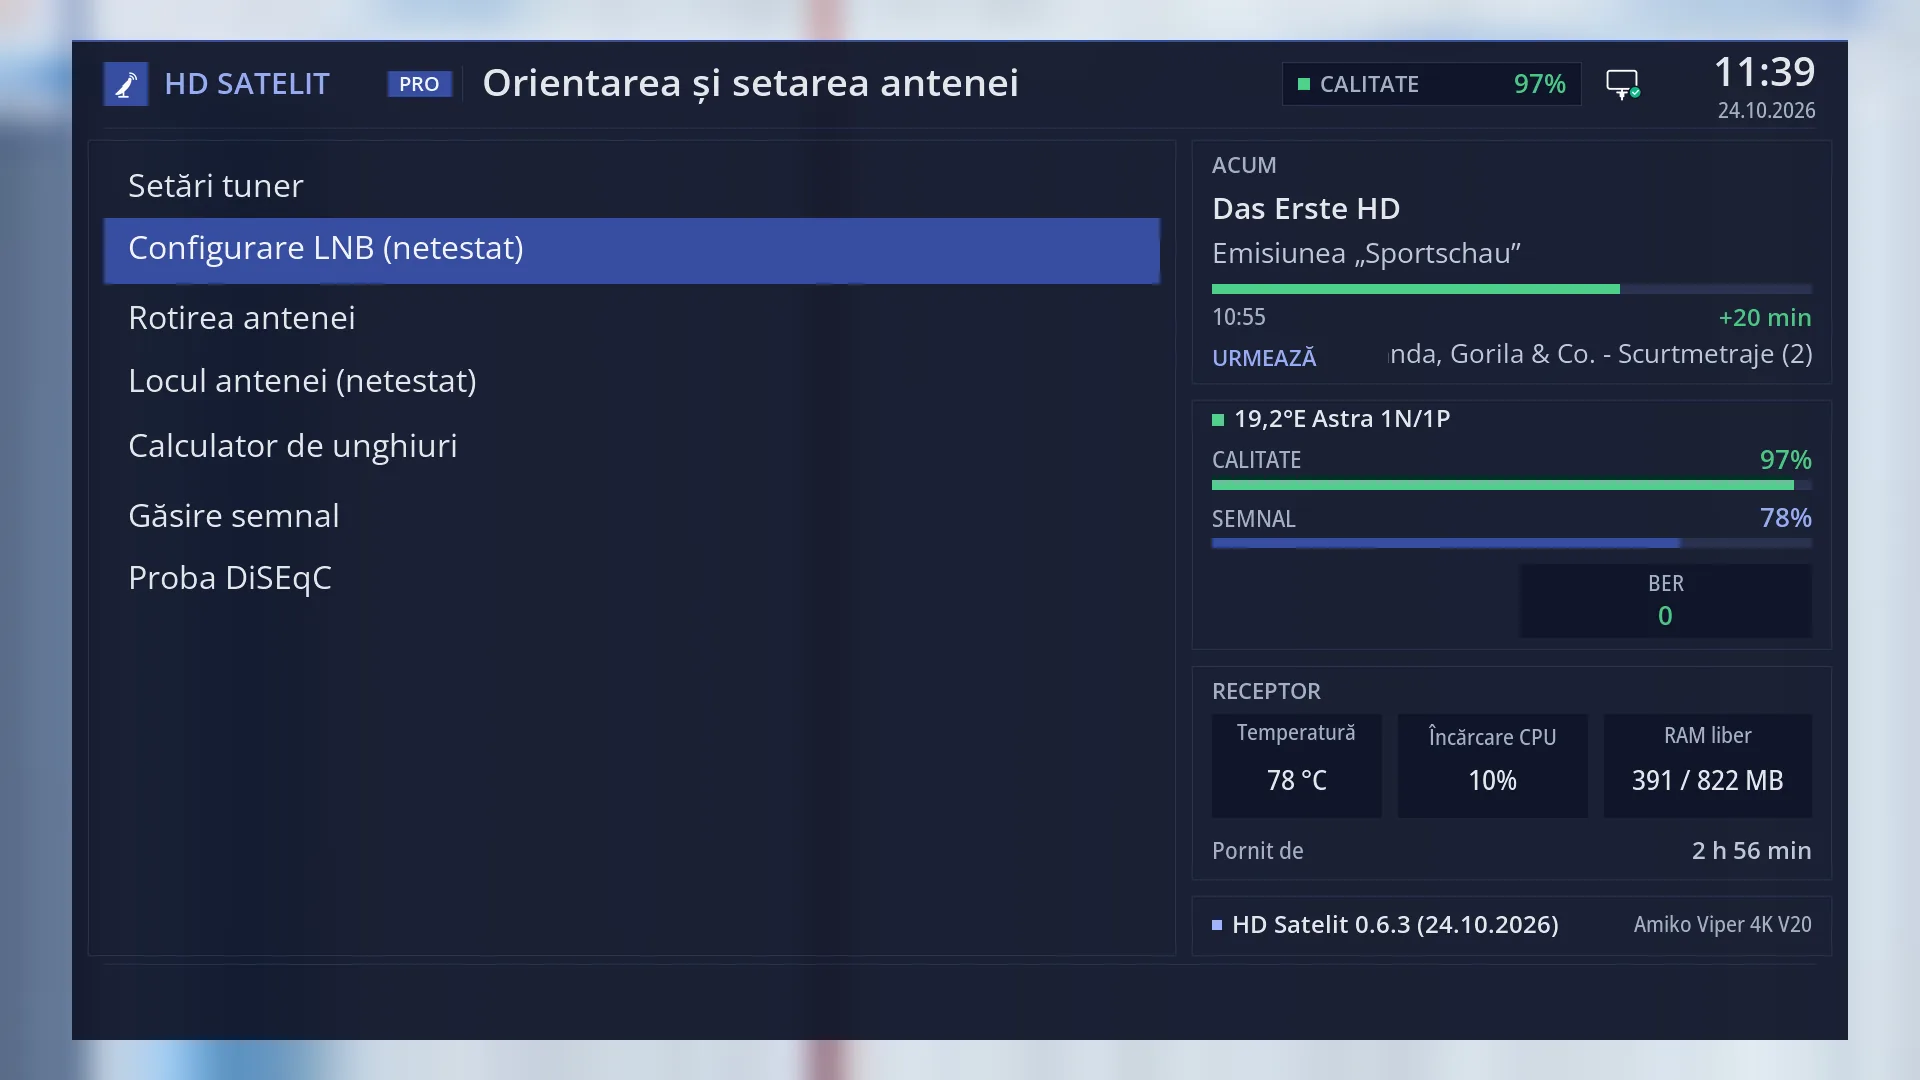
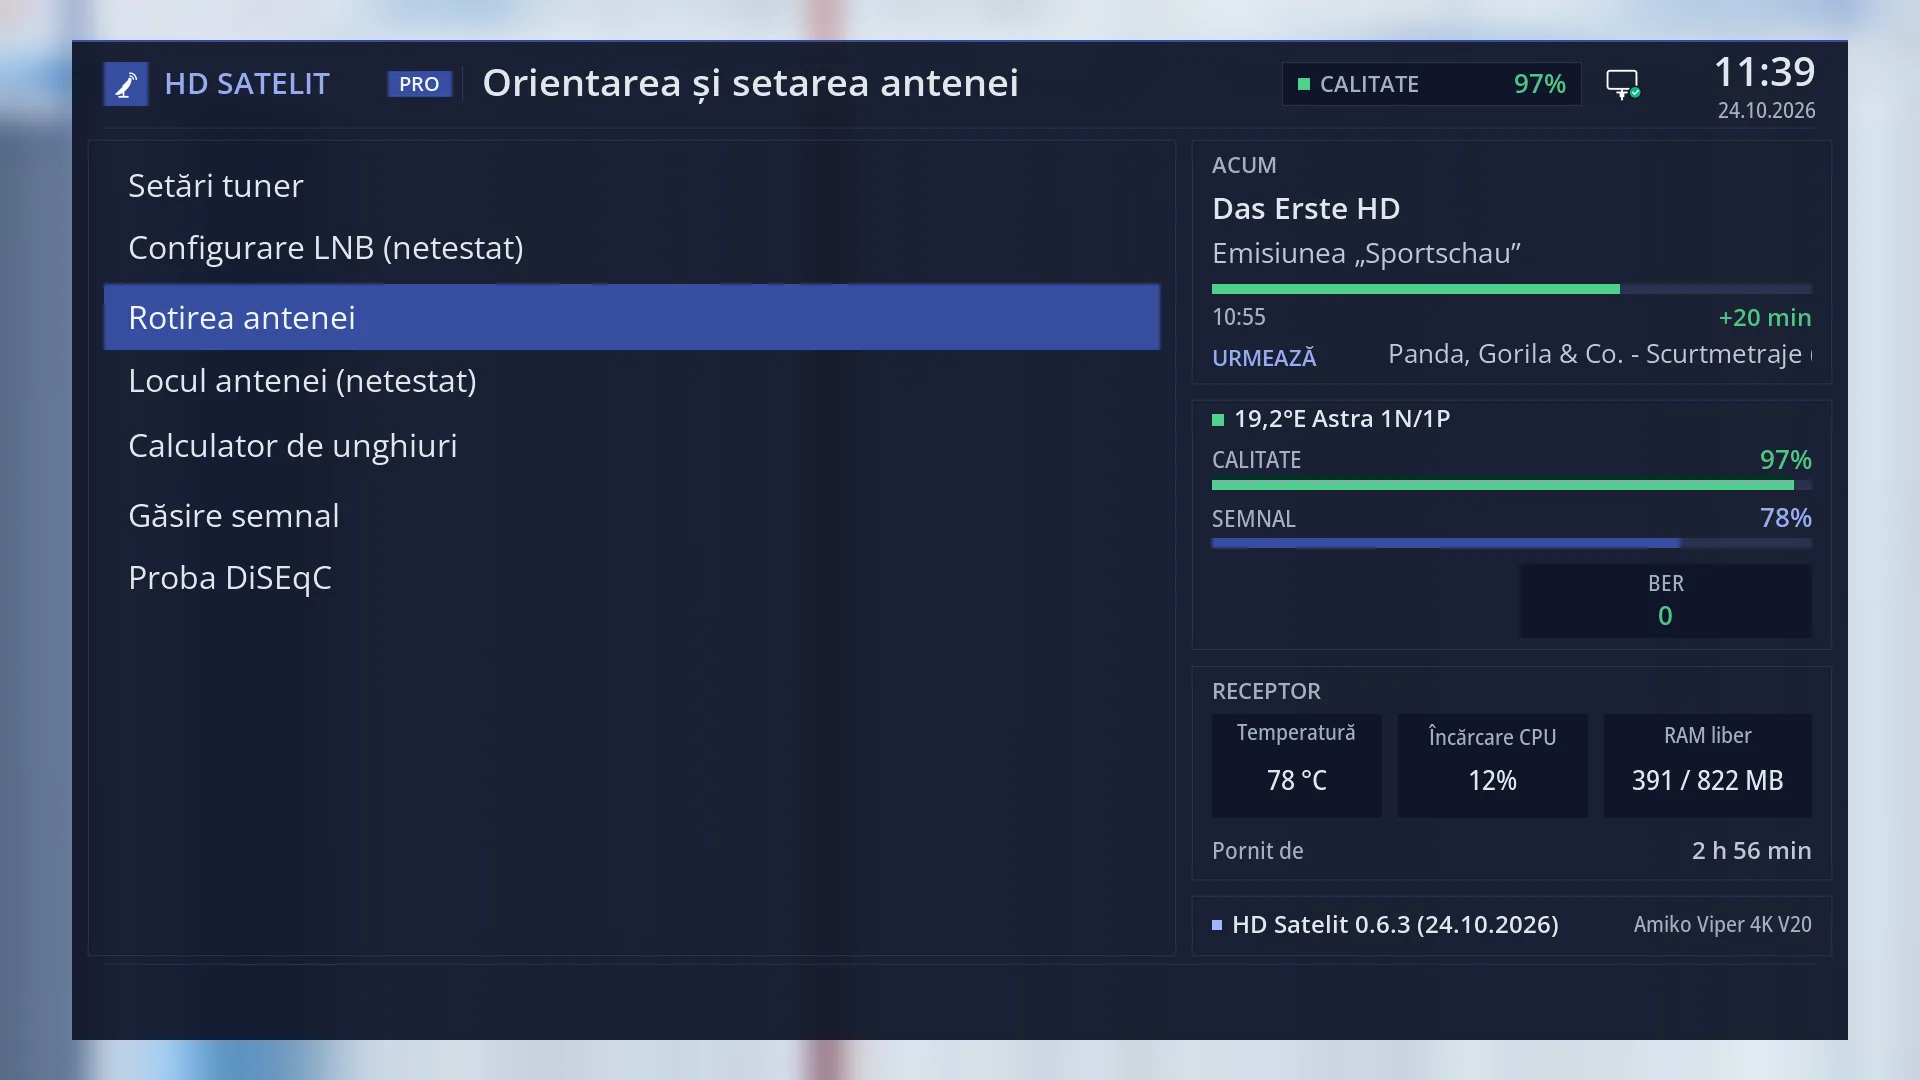
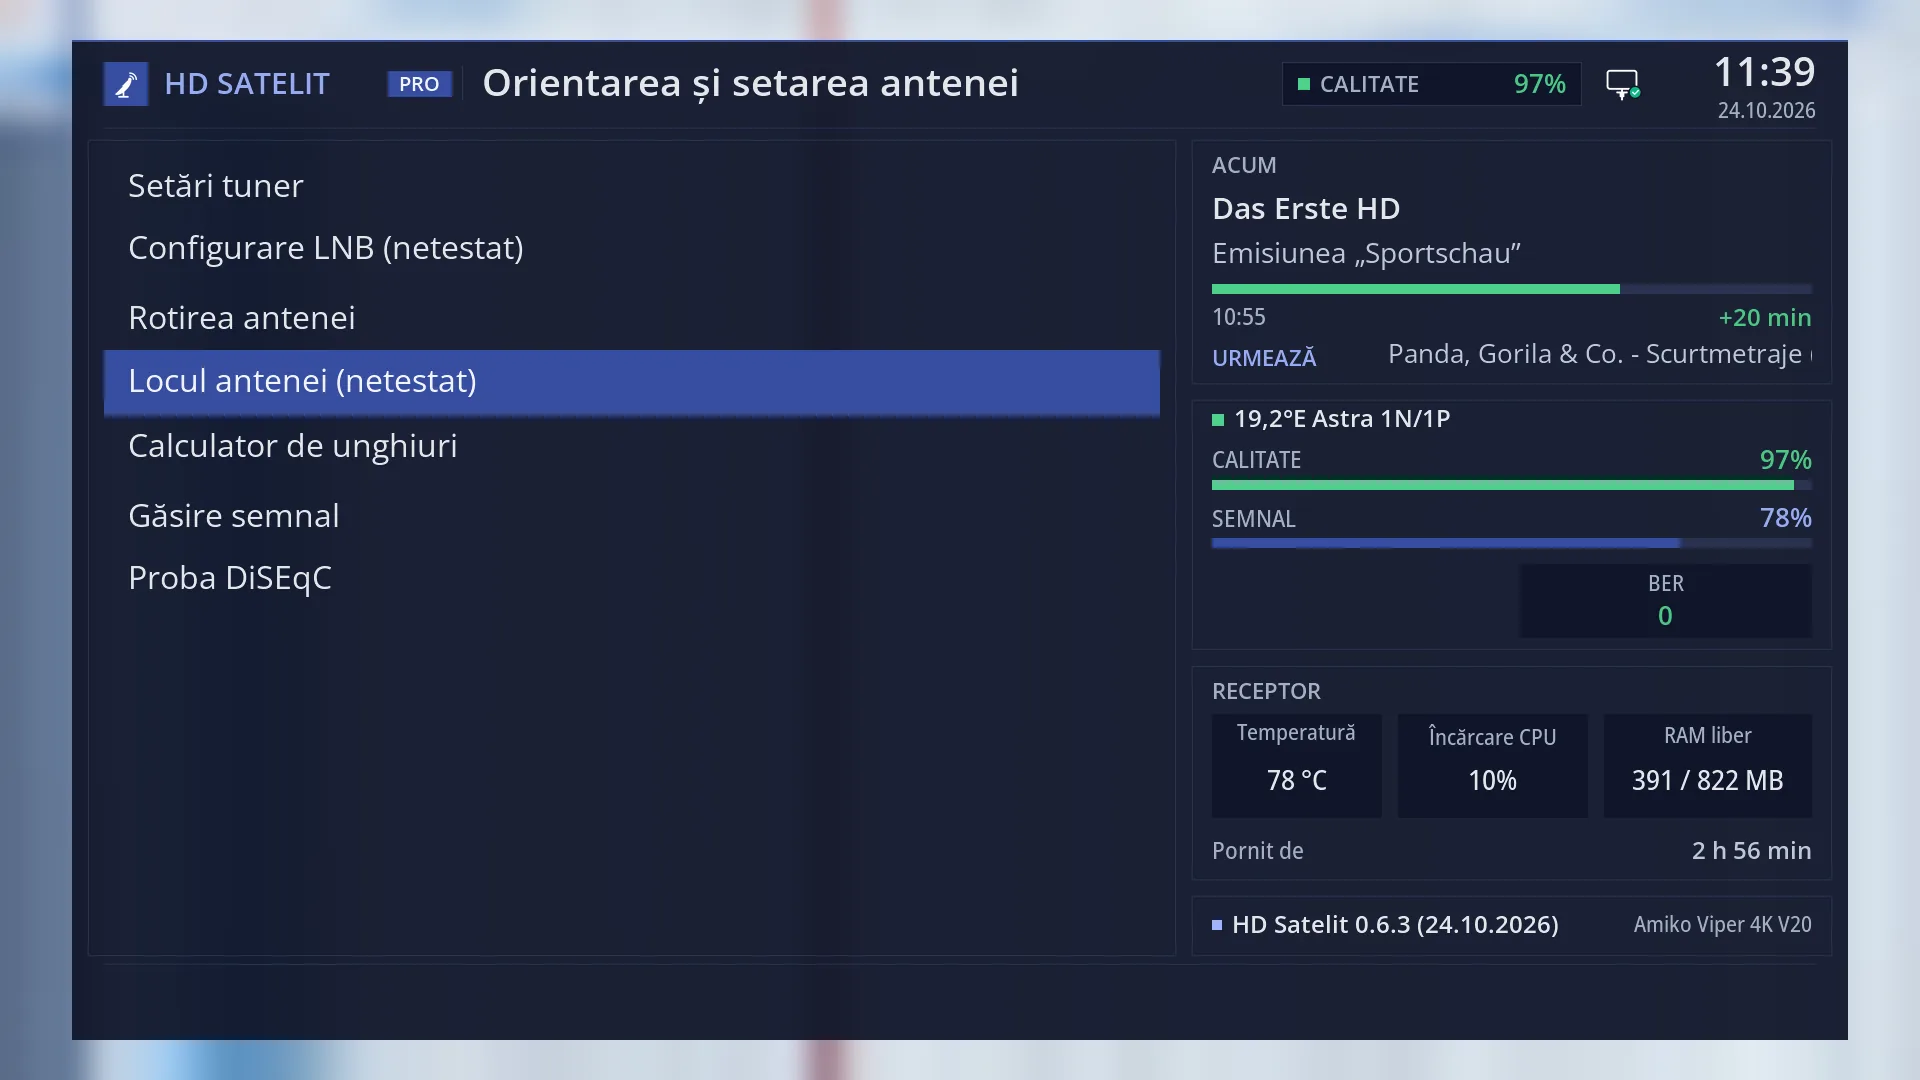
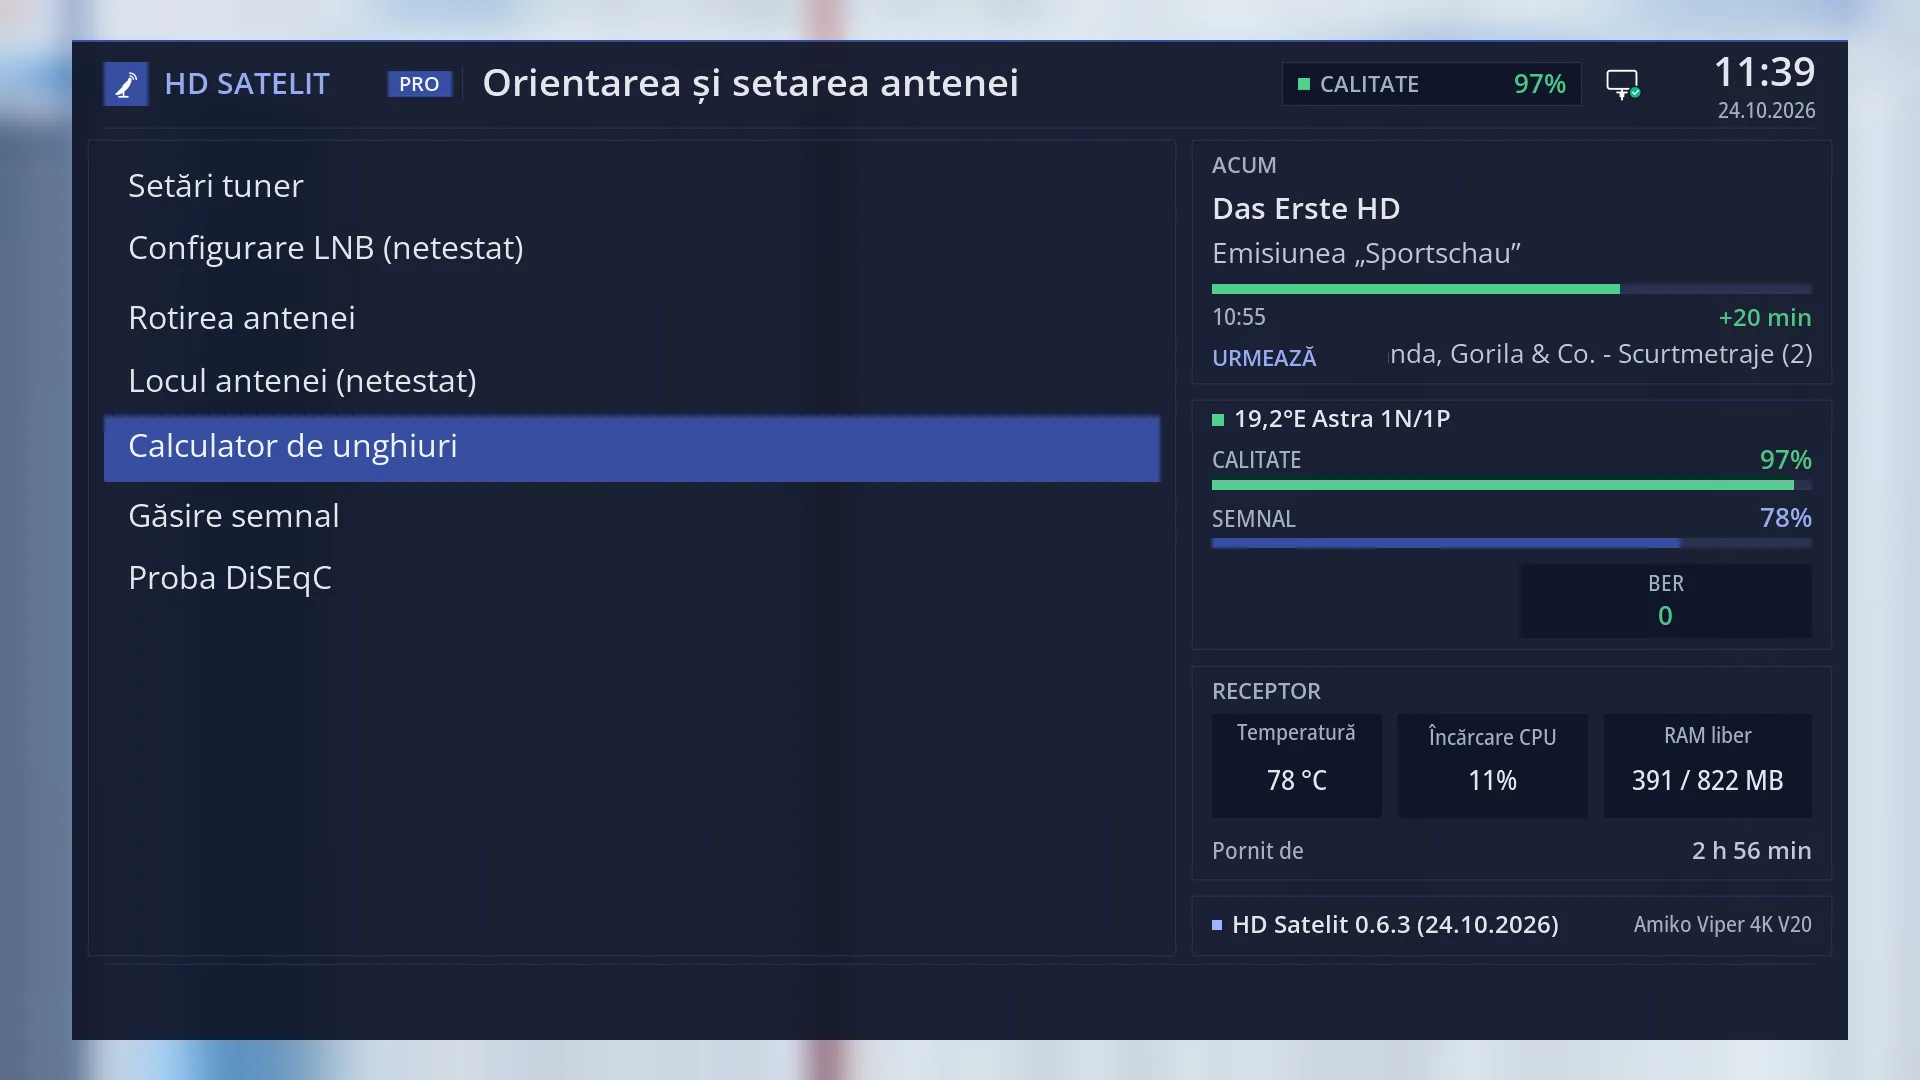
At the top you see the title “Dish alignment and setup”, the clock and the date. In the Pro theme, “HD SATELIT” with the “PRO” label appears on the left, and on the right you see the signal quality of the current channel and the network icon.
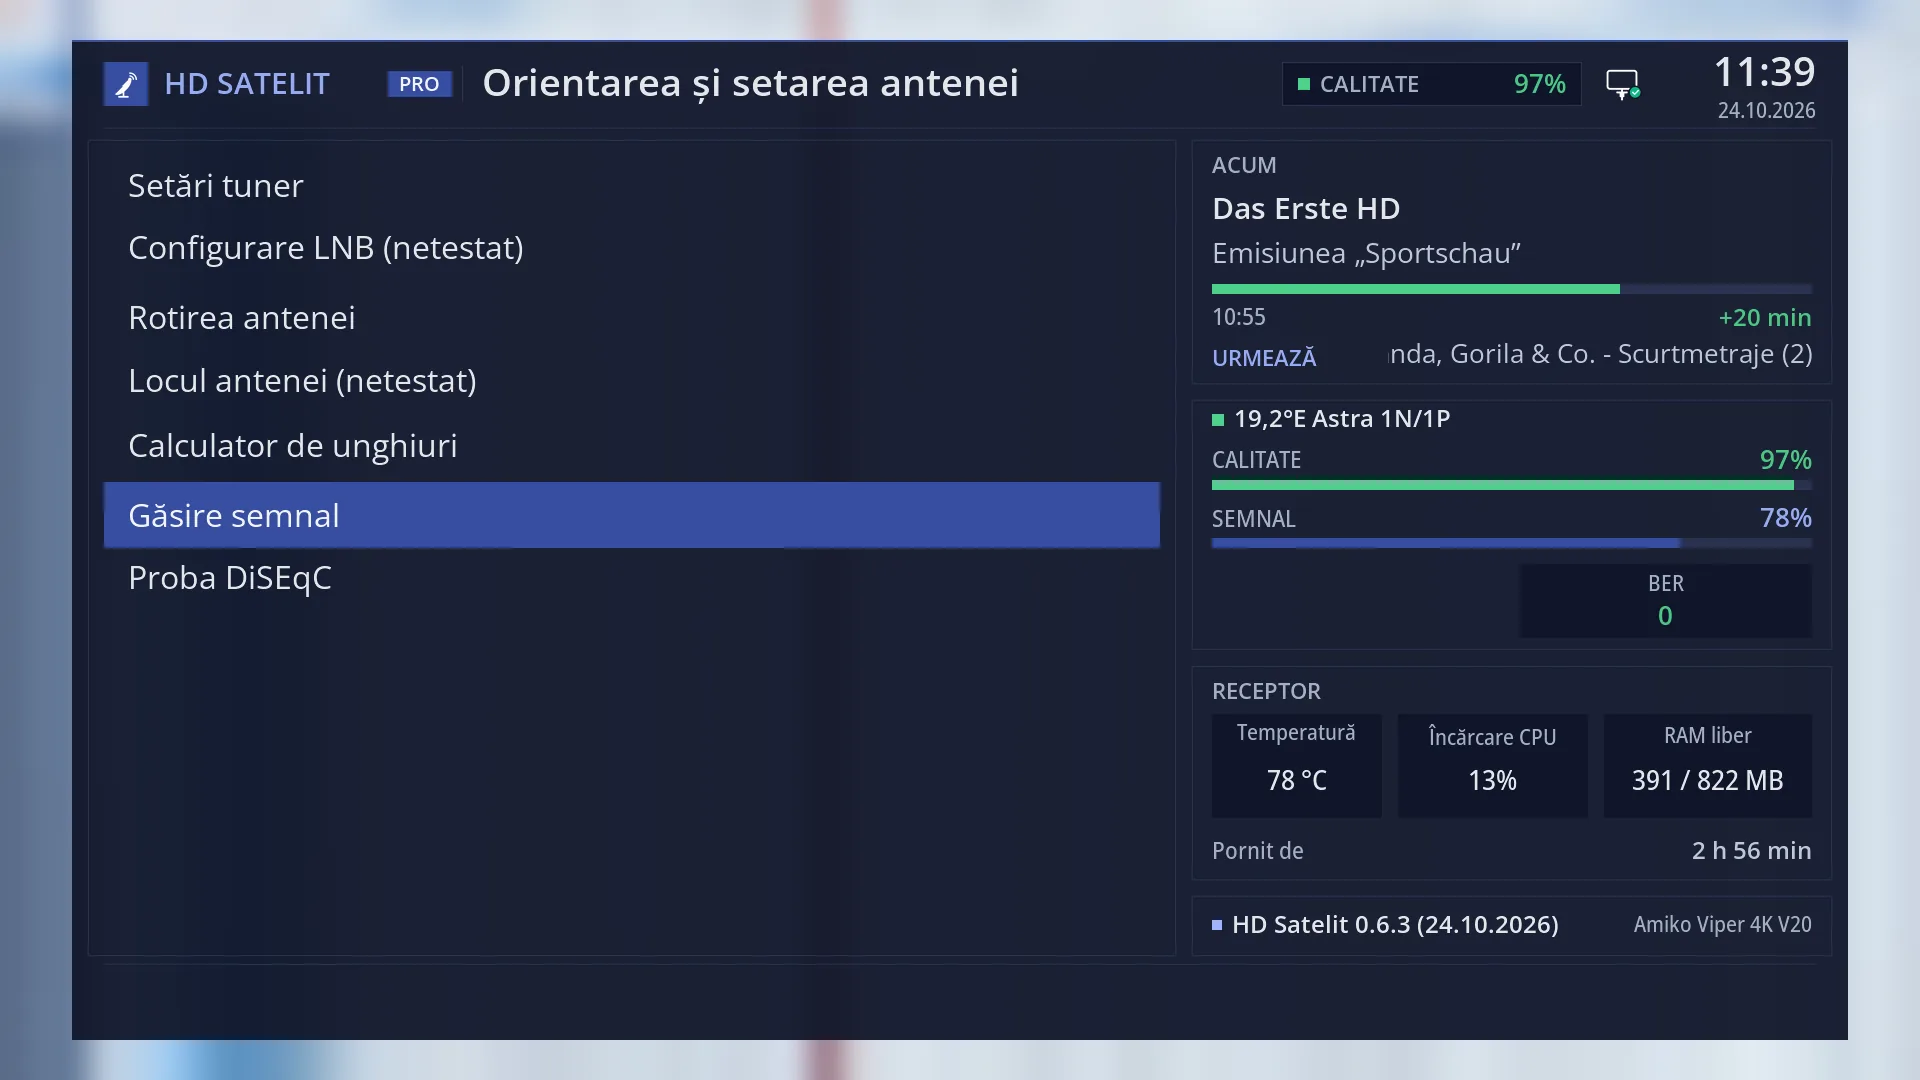
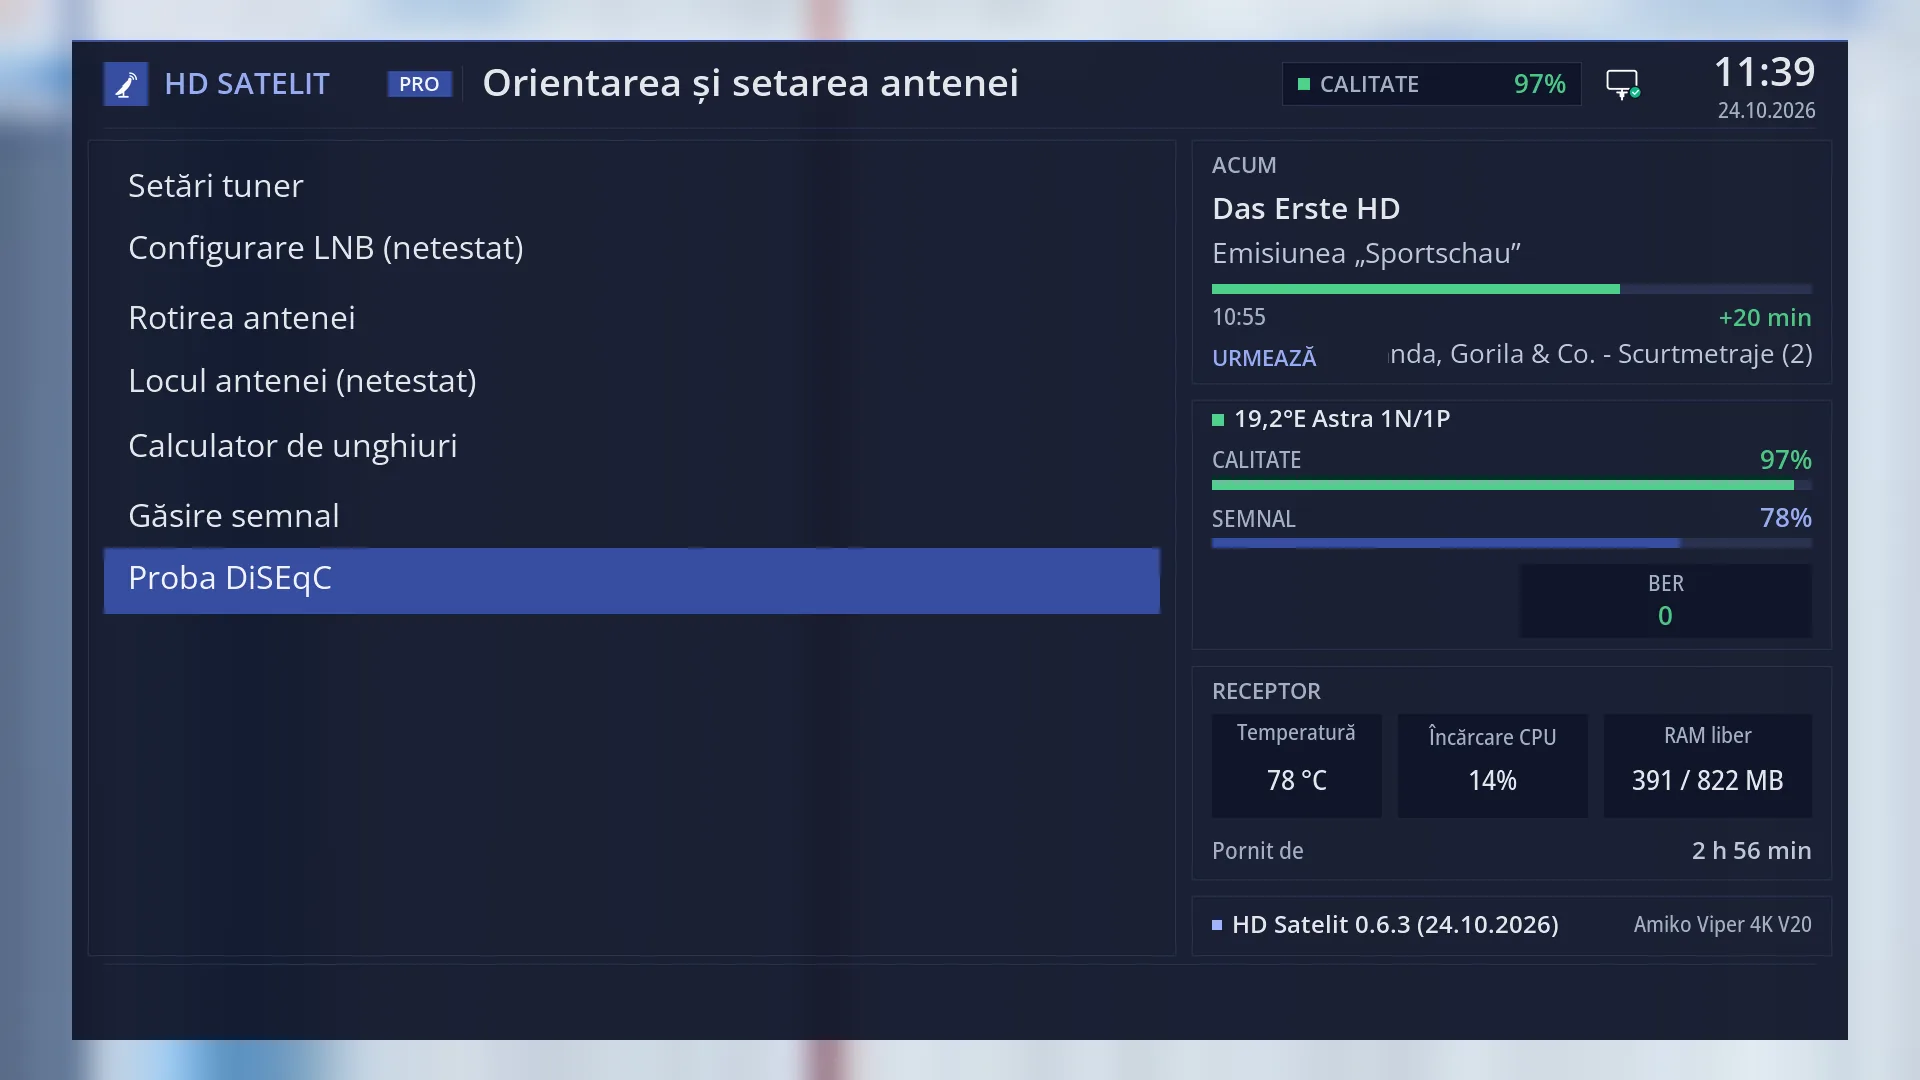
On the left is the list: “Tuner settings”, “LNB configuration (not tested)”, “Dish rotation”, “Dish location (not tested)”, “Angle calculator”, “Signal finder” and “DiSEqC test”. The selected row has a blue background.
In the Pro theme, the right side shows the same four boxes as the main menu. The middle box shows the satellite of the current channel, “Quality”, “Signal” and “BER”, so you can see the signal before and after you work on the dish.
In tile view (YELLOW key), each row is a tile with its icon, name and number.
Rows and settings
| Row | Values | Default | What it does |
|---|---|---|---|
| 1 Tuner settings | You tell the receiver how the dish is connected to each tuner: one LNB, a DiSEqC switch with two or four satellites, a motor, or nothing. This is the first step in any installation. At first installation or when you change anything on the dish. | ||
| 2 LNB configuration (not tested) | A simpler screen for the LNB: its type and oscillators, the voltage, the 22 kHz tone and the DiSEqC port. Before saving you see what will change. After applying, the receiver checks the signal and keeps the setting only if you answer Yes; otherwise it goes back to what it was. When you have an unusual LNB (for example C band) or a single LNB to replace. | ||
| 3 Dish rotation | A drawing of the motorised dish's arc and the motor controls: steps, continuous movement, go to satellite, stored positions and limits. When you have a motorised dish. | ||
| 4 Dish location (not tested) | Where you are (country and city, coordinates, or the location found via the internet), so that the USALS motor and the calculator know the angles. When you install the motor or move the receiver to another place. | ||
| 5 Angle calculator | Calculates, for your location, the dish alignment angles for a chosen satellite: azimuth, elevation and LNB skew. When you install or point the dish. | ||
| 6 Signal finder | Measures the signal of a transponder at short intervals (it starts with the current channel's transponder), so you can point the dish for the best signal. While you adjust the dish, or when a channel stops working and you want to check whether there is a signal. | ||
| 7 DiSEqC test | Goes through each satellite on the switch (or the motor) and shows on which band and polarisation the signal is good and where it is not. After you install a switch, or when one satellite on the switch does not work. |
Keys
| UP / DOWN | Moves the cursor to the row above or below. From the last row, DOWN goes to the first, and the other way round. |
| LEFT / RIGHT | Jump one page up or down. The submenu fits on one page, so you land on the first or last row. In tile view, they move the cursor to the tile on the left or right. |
| OK | Opens the selected row. |
| 1 ... 7 | Open the row with that number directly, without OK: 1 Tuner settings, 2 LNB configuration, 3 Dish rotation, 4 Dish location, 5 Angle calculator, 6 Signal finder, 7 DiSEqC test. |
| YELLOW | Switches the menu between list and tiles straight away. Your choice is remembered for all menus. |
| TTX (the screen shows TEXT) | Opens “Search settings”. |
| EXIT | Takes you back to the main menu. When you leave this submenu, the receiver saves any changed settings straight away. |
| MENU | Closes the whole menu and takes you back to TV. |
Step by step
First installation of a fixed dish
- MENU 2 1: set up the satellite tuner (for example “simple”, “Single”, satellite 19.2°E) and save with GREEN.
- MENU 2 5: look up the angles for your location in the calculator and point the dish accordingly.
- MENU 2 6: fine-tune the dish by the signal.
- Then scan for channels: MENU 1 1 2 (Channel scan > Satellite > By satellite).
Installing a motorised dish
- MENU 2 1: set the satellite tuner to “simple” with “Positioner”, then save.
- MENU 2 4: choose the dish location.
- MENU 2 3: set the motor limits and send the dish to a satellite with “Go to satellite”. Fine-tune with steps.
Checking the dish from your phone
- Open the receiver's web interface and go to /antena.
- Each menu row is a card: the tuner settings, the LNB, the location, the angle calculator, the current signal.
- The buttons on the cards open the screen's web page or the screen on the TV.
Problems and solutions
What does “(not tested)” next to “LNB configuration” and “Dish location” mean?
The screens are finished but have not yet been tried on the receiver. You can use them. Tuner settings does the same things for the LNB.
I don't know where to start.
Always with Tuner settings (key 1). Without it, the receiver does not know what dish it has, and the scan finds nothing.
The boxes on the right show no signal.
They show the signal of the channel that is playing now. If no channel is playing (for example before your first scan), use Signal finder (key 6).