

Detailed scan
English screenshots coming: some of the pictures below still show the receiver and the web interface in Romanian. The rows, keys and steps described on this page are the English ones.
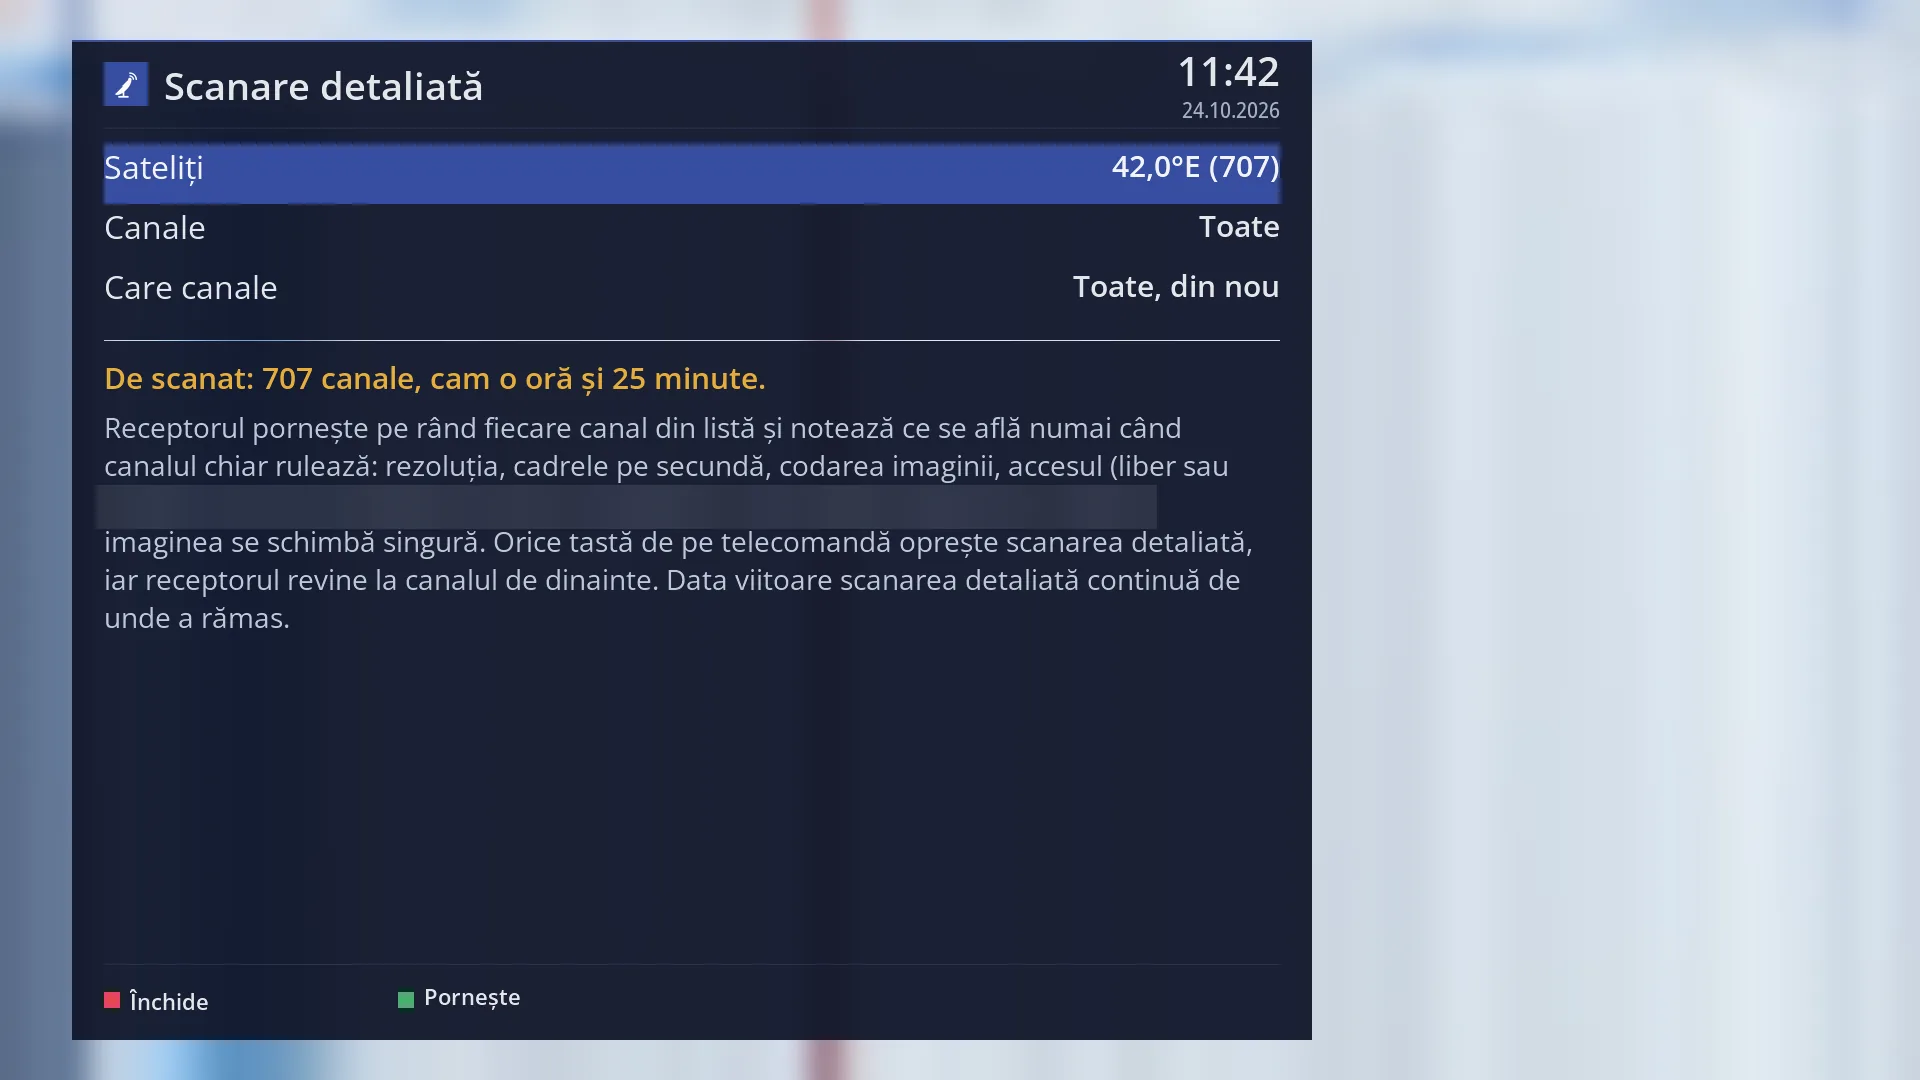
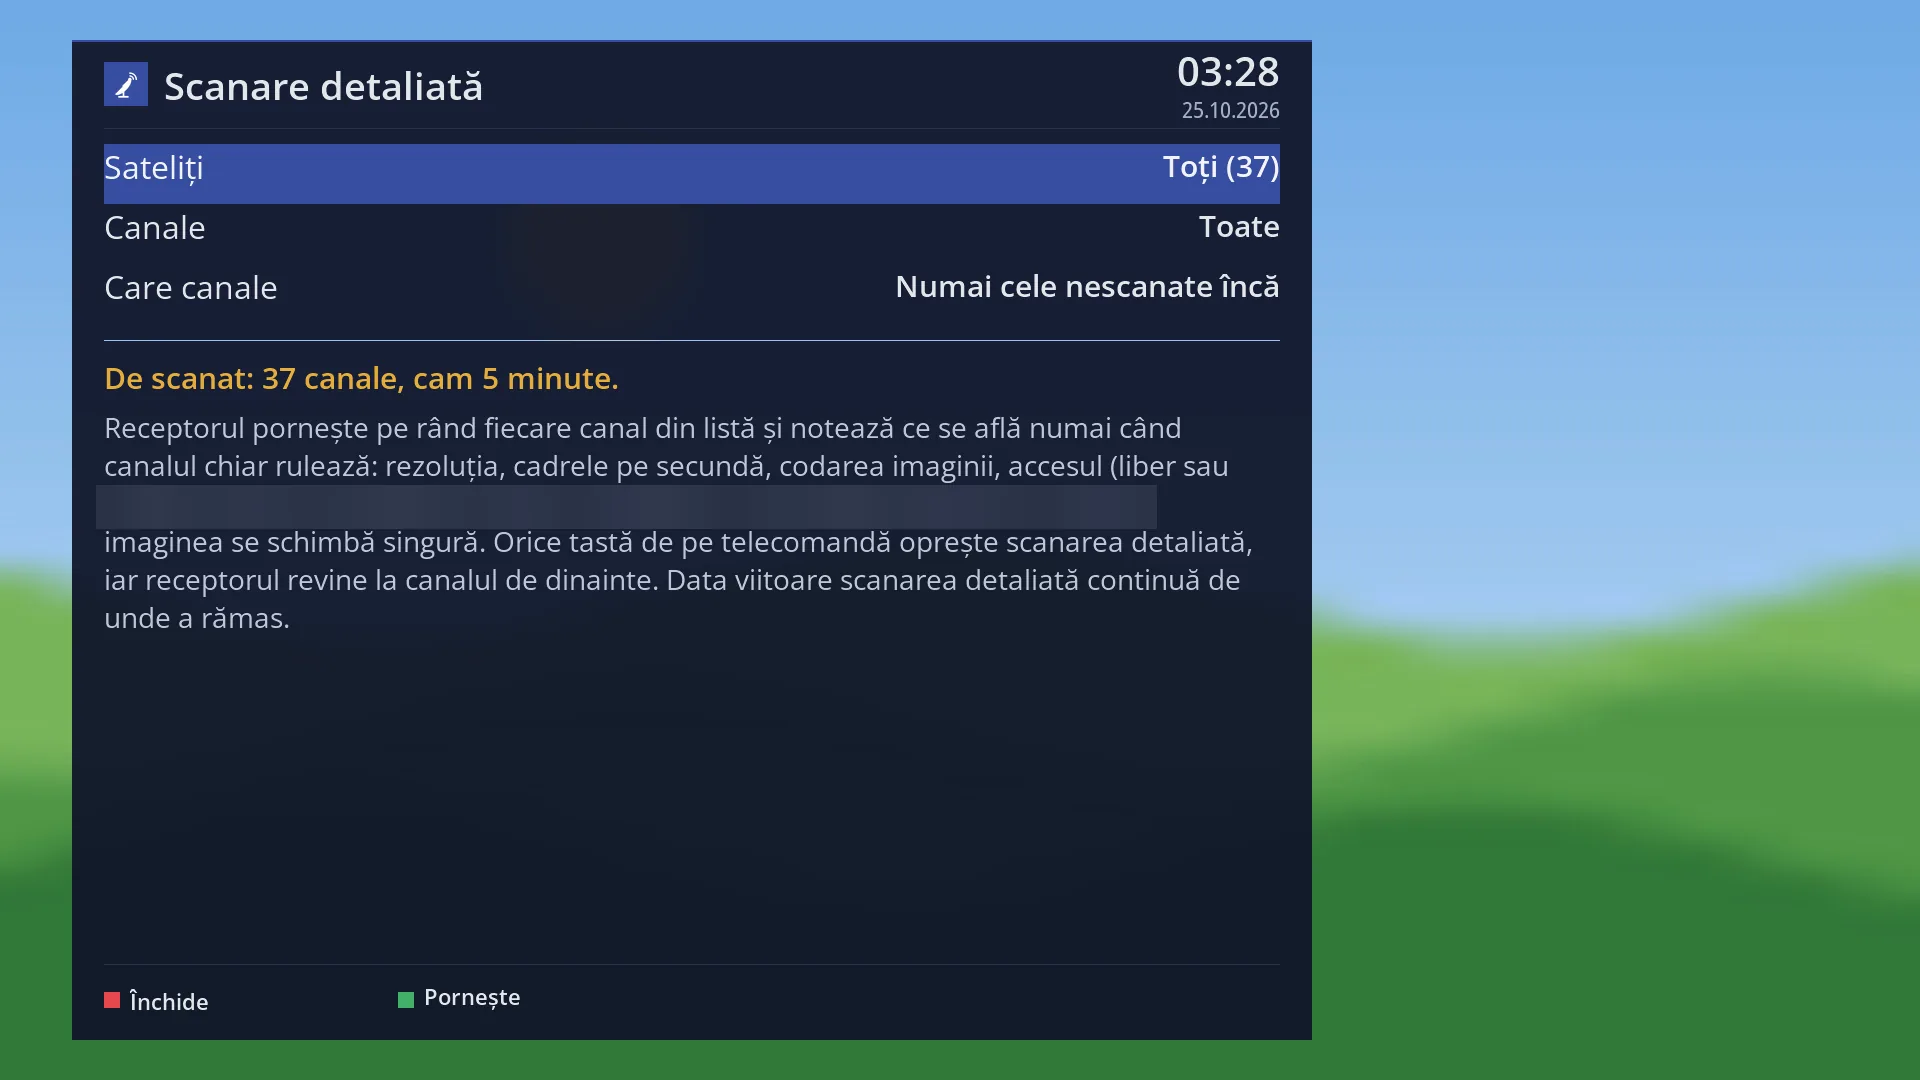
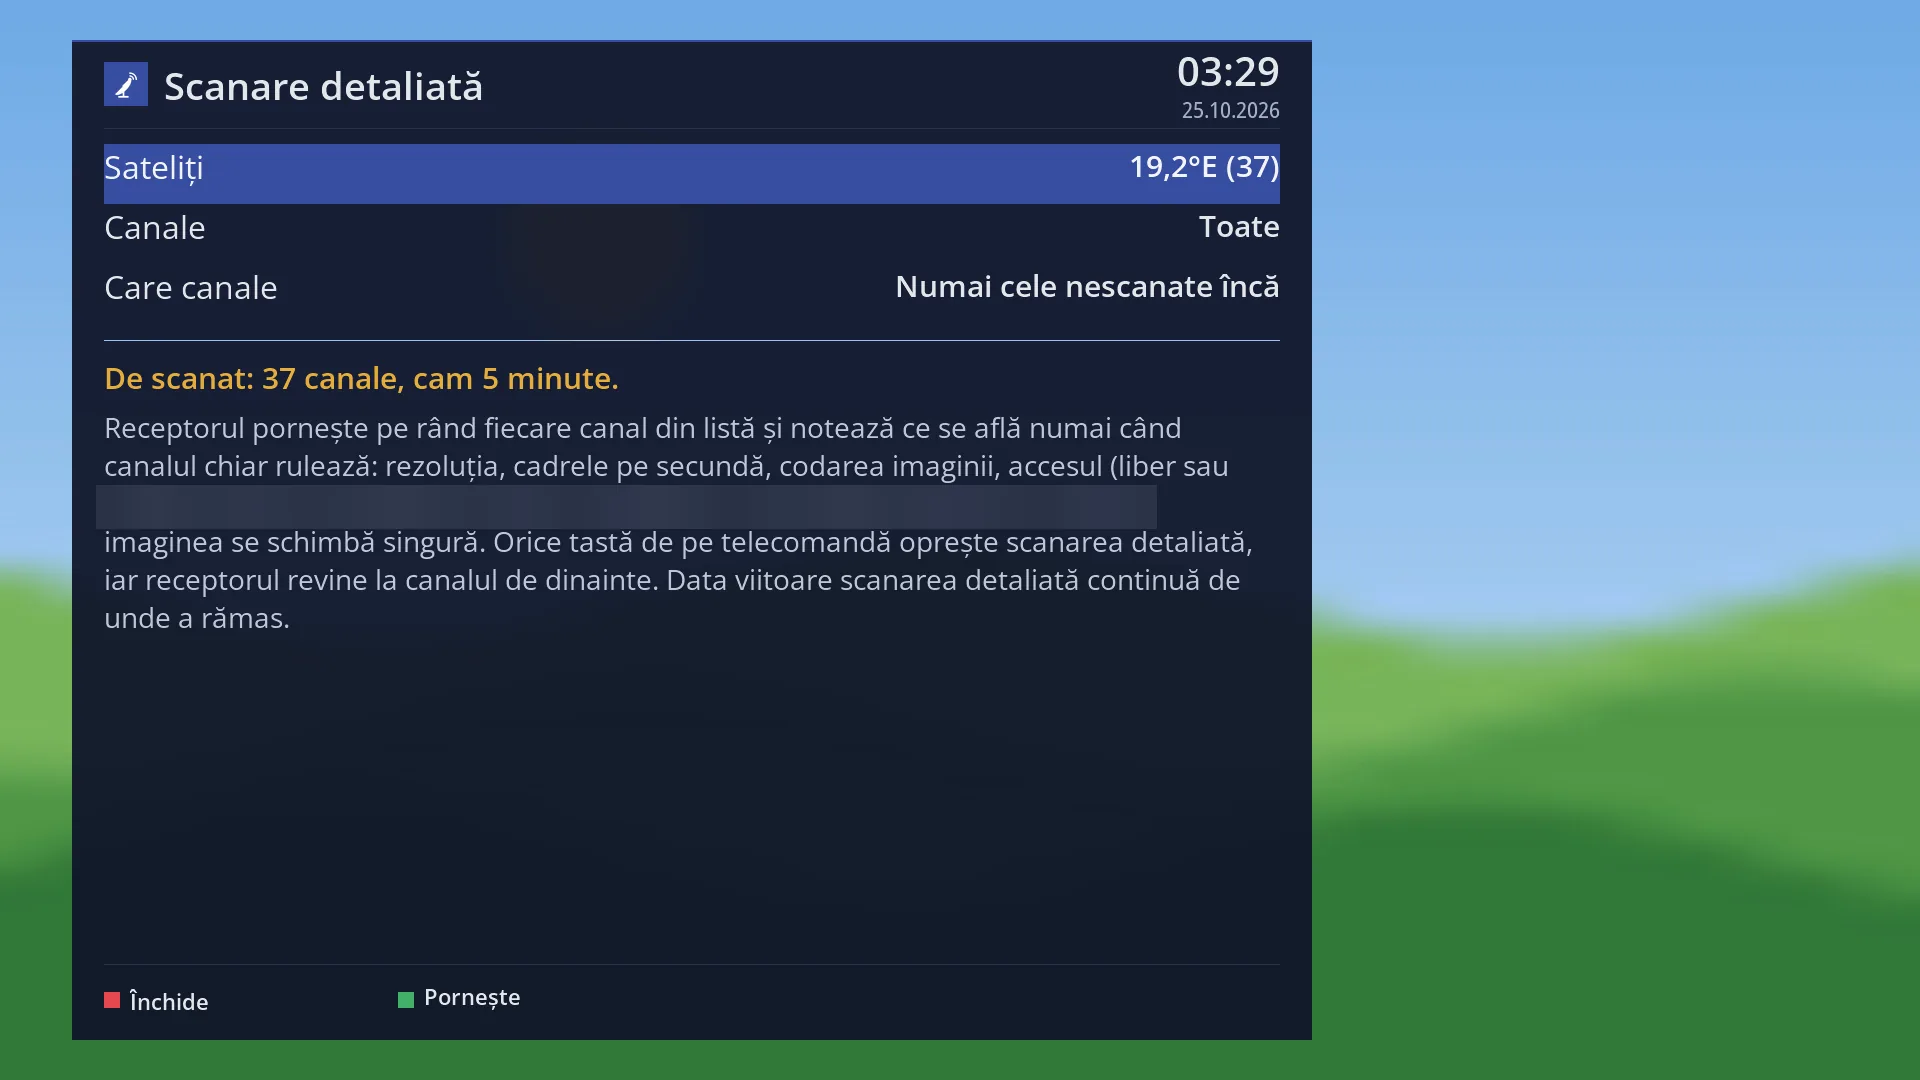
- 1 Satellites: all or one position, with the number of channels.
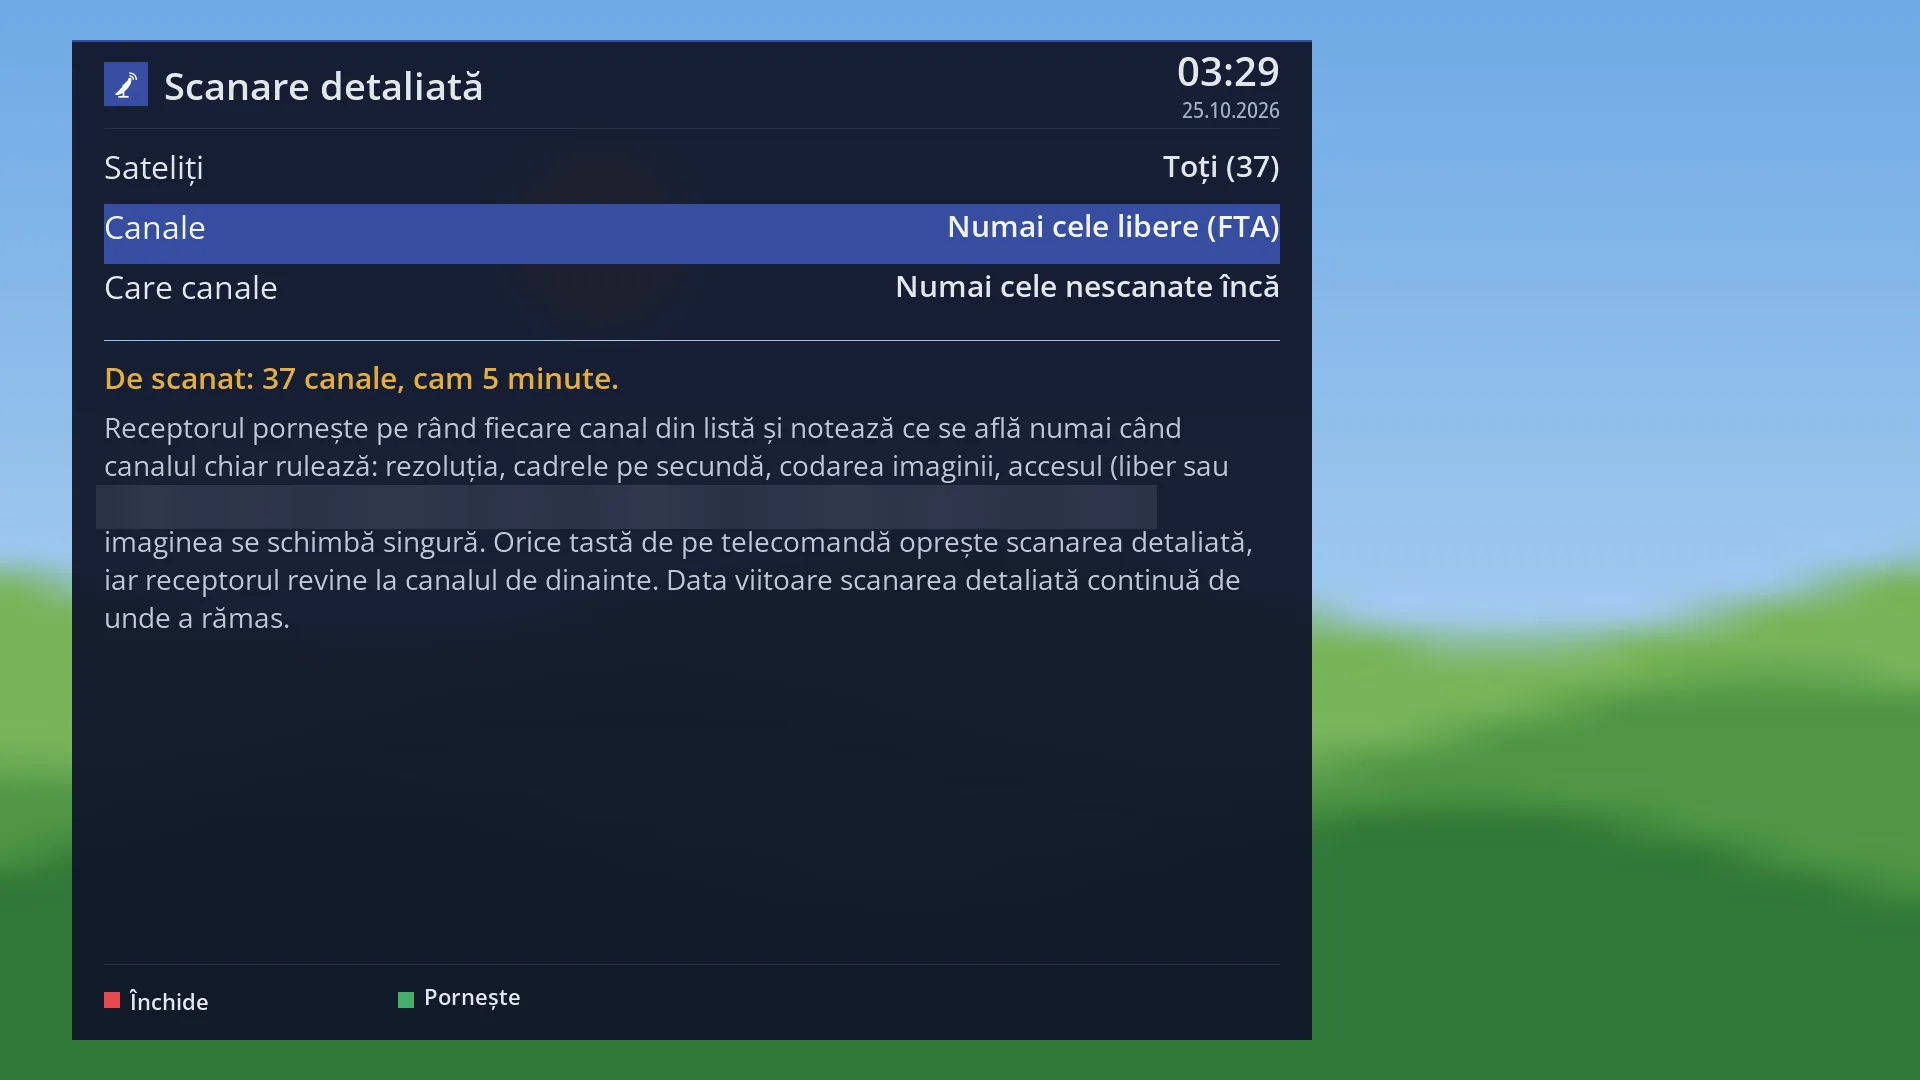
- 2 Channels: all or only free ones (FTA).
- 3 Which channels: only those not scanned yet, or all, again.
- 4 The plan: how many channels and roughly how long it takes.
- 5 What the detailed scan does and how to stop it.
- 6 RED closes, GREEN starts (or continues).
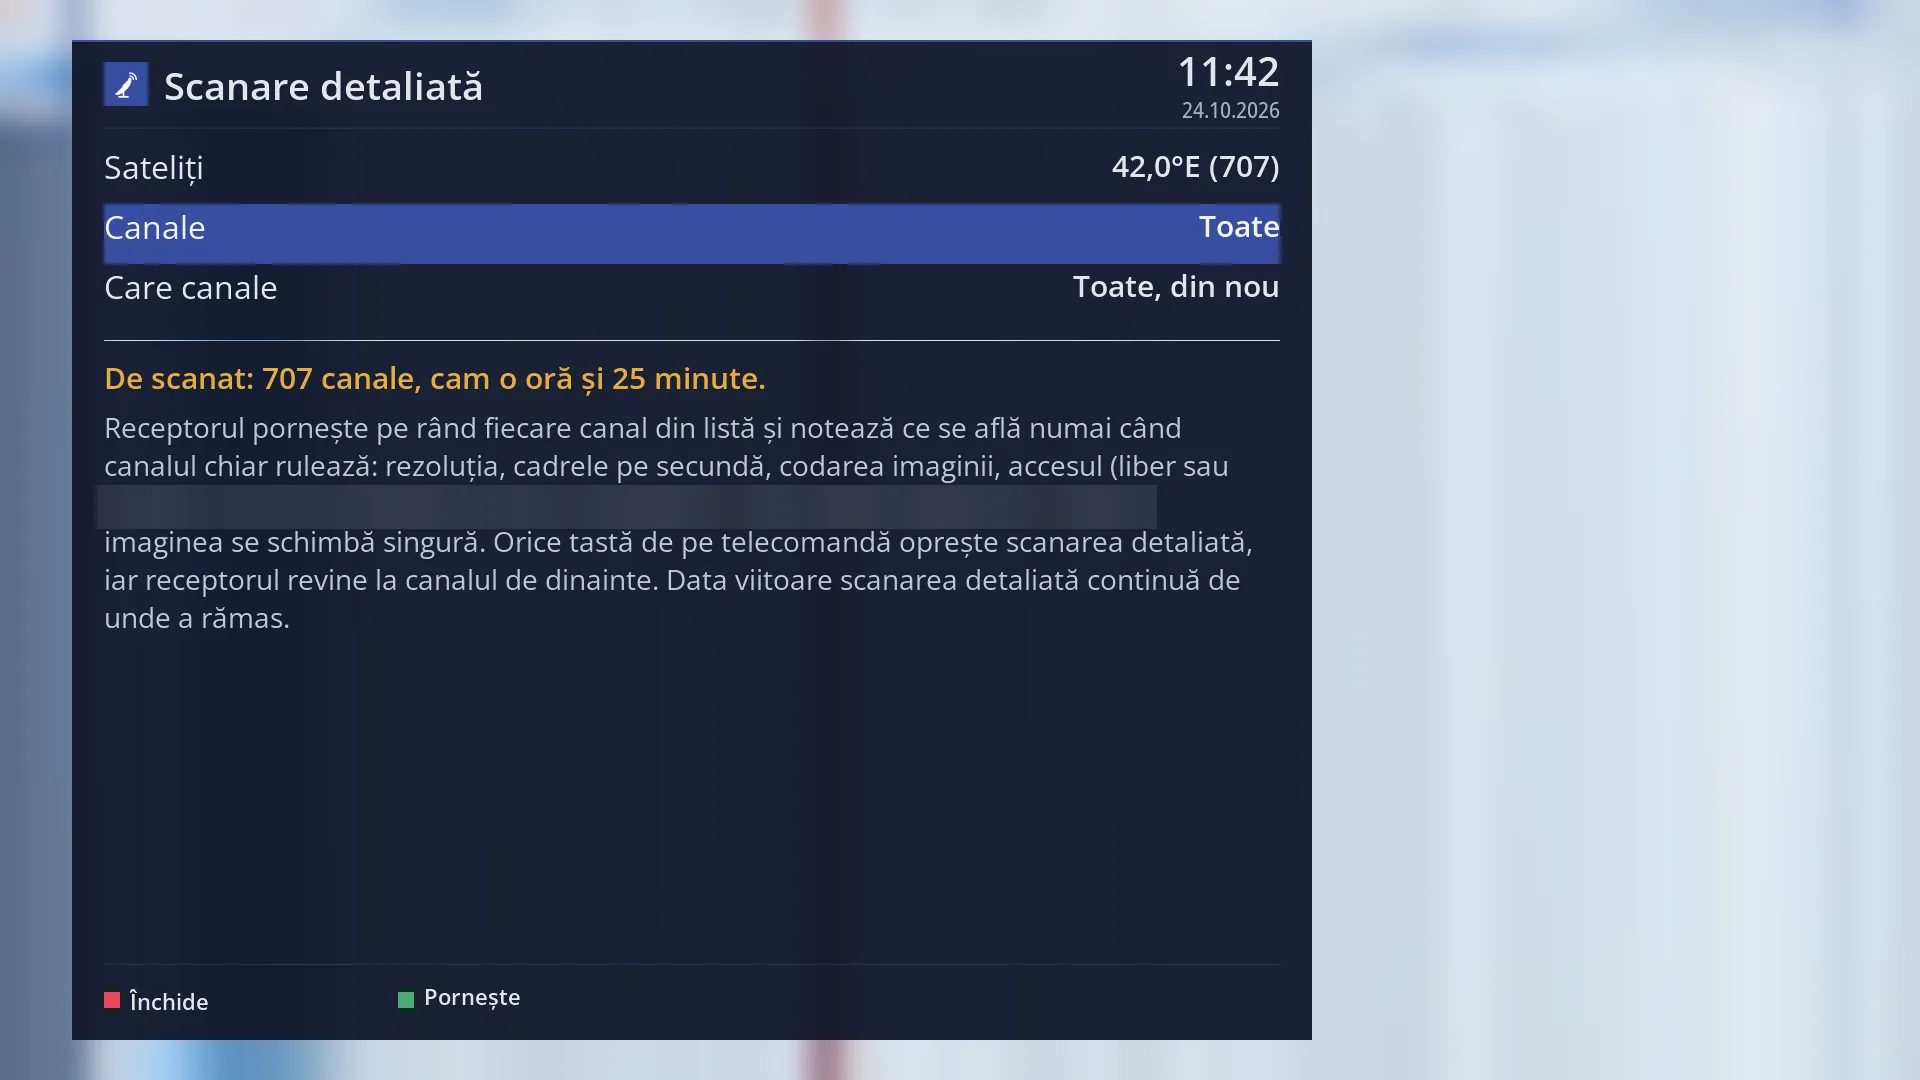
- 1 Selected row: “Channels: All”.
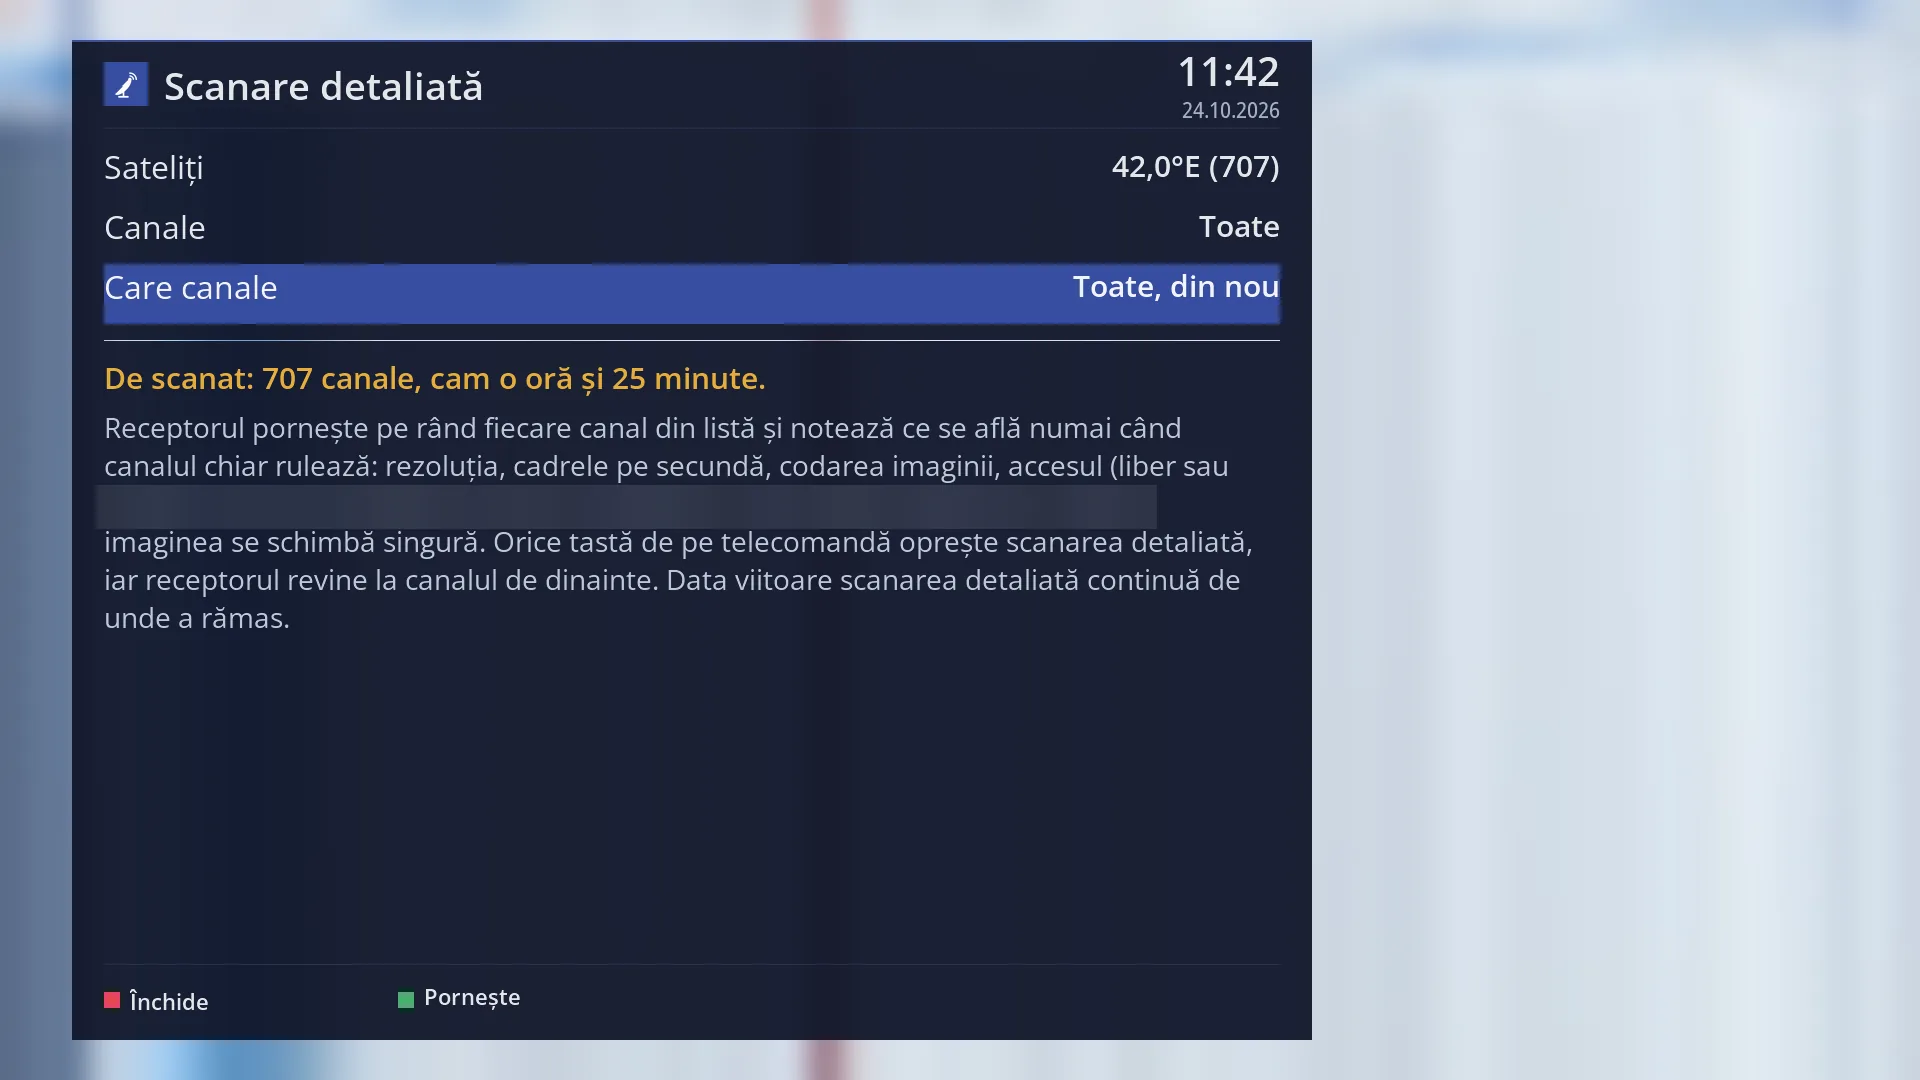
- 1 Selected row: “Which channels: All, again”.
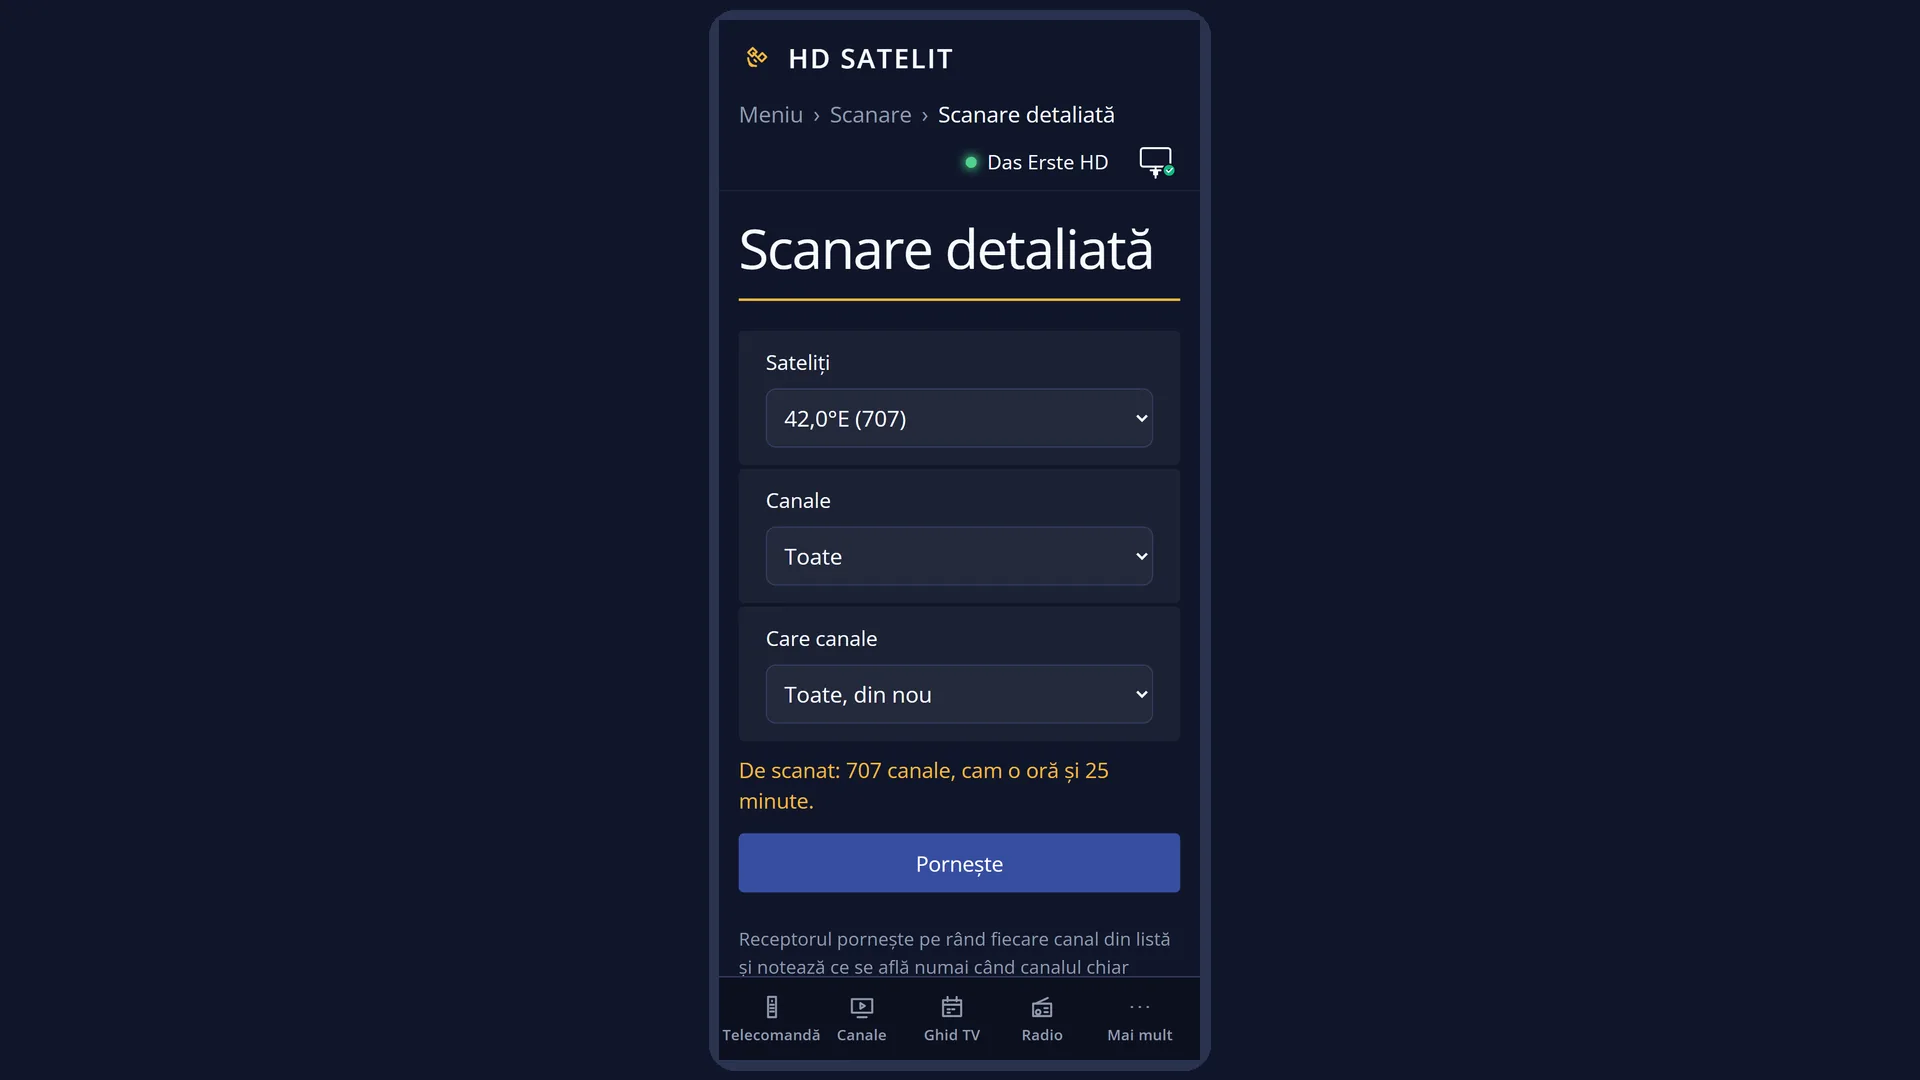
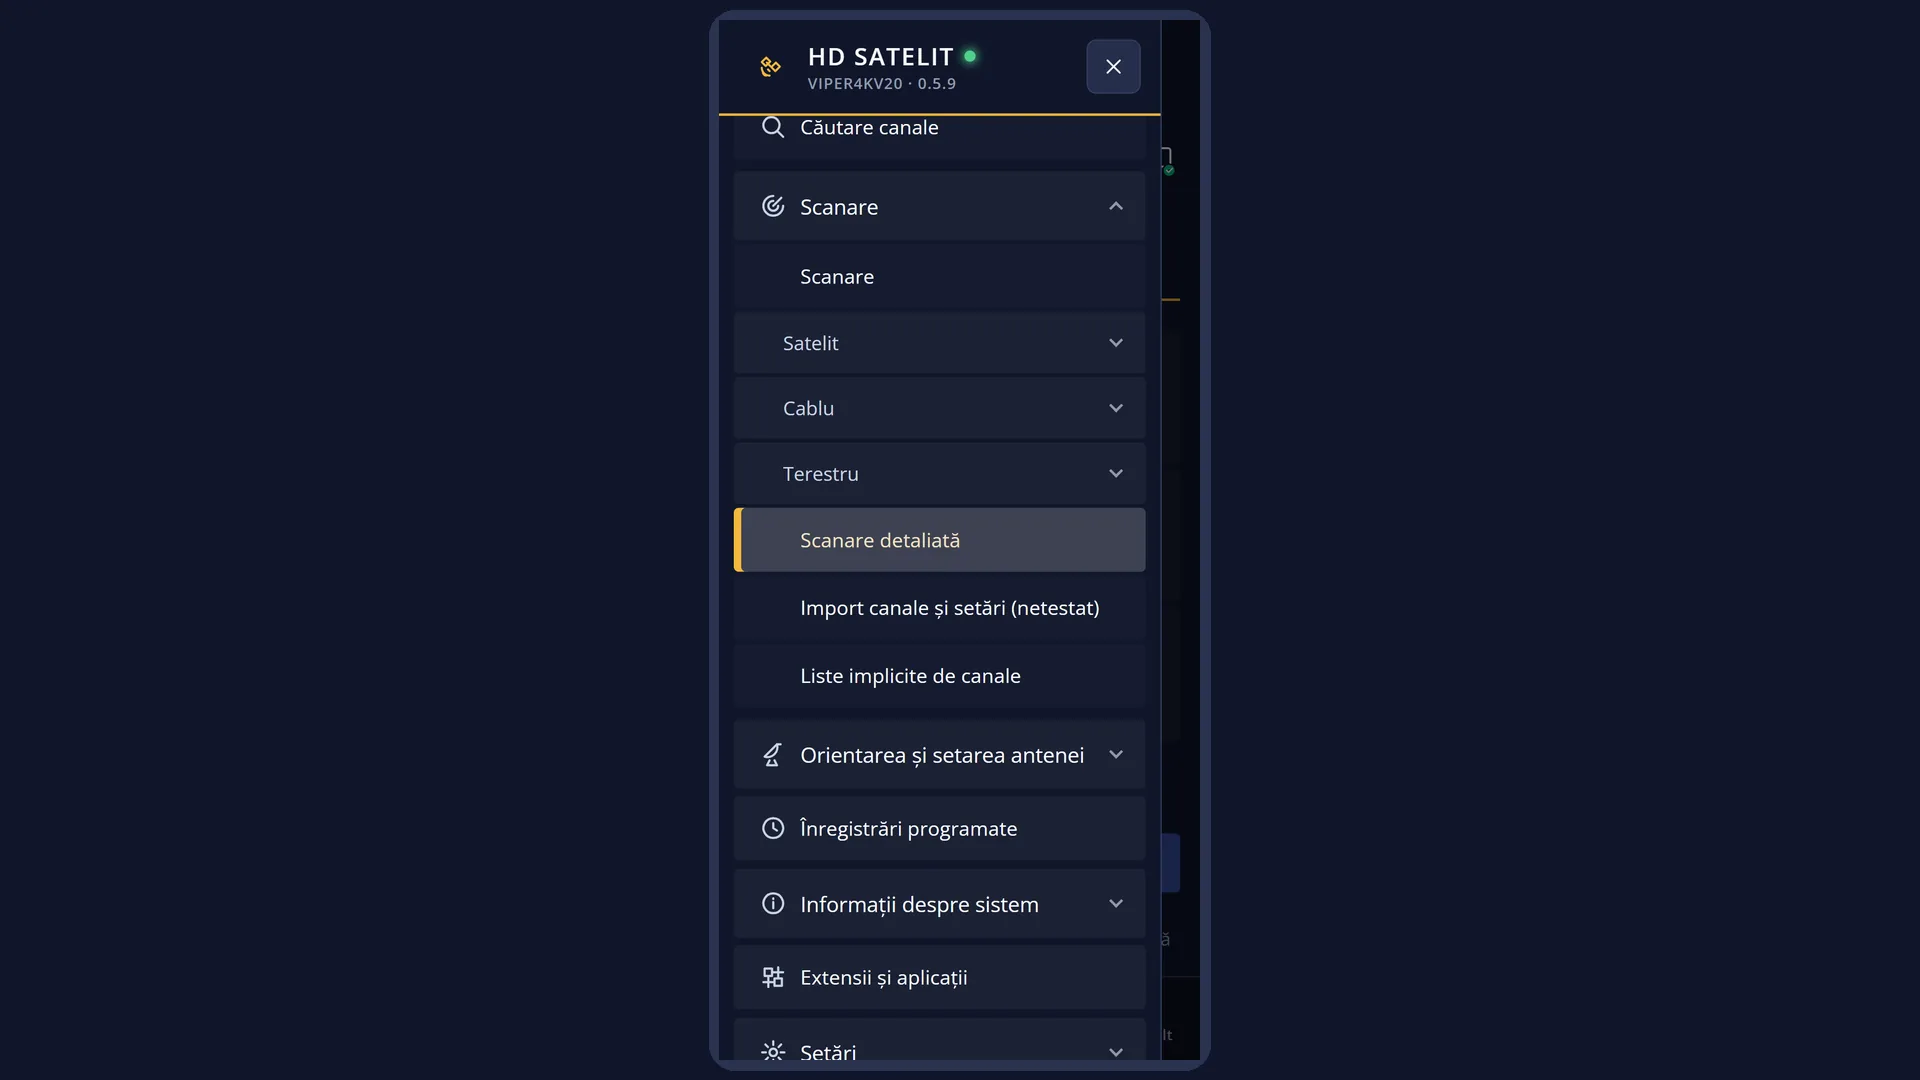
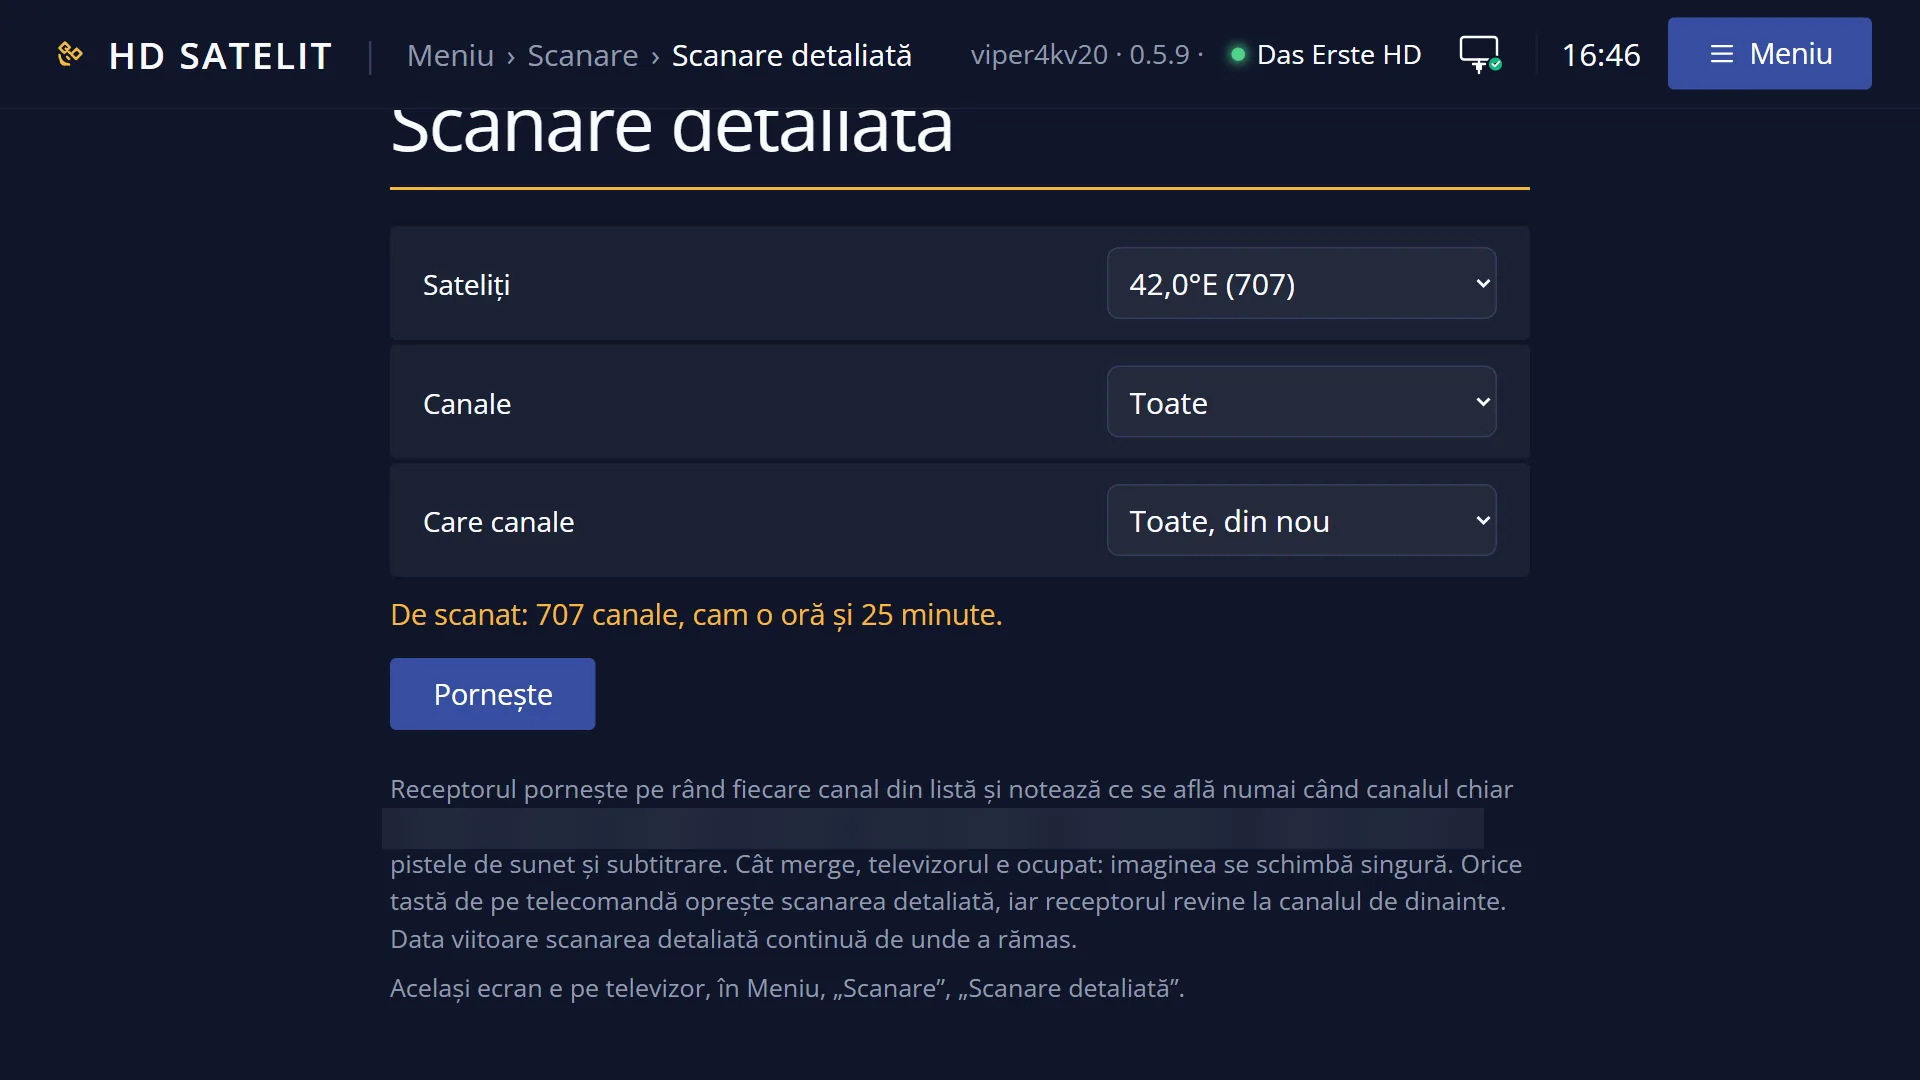
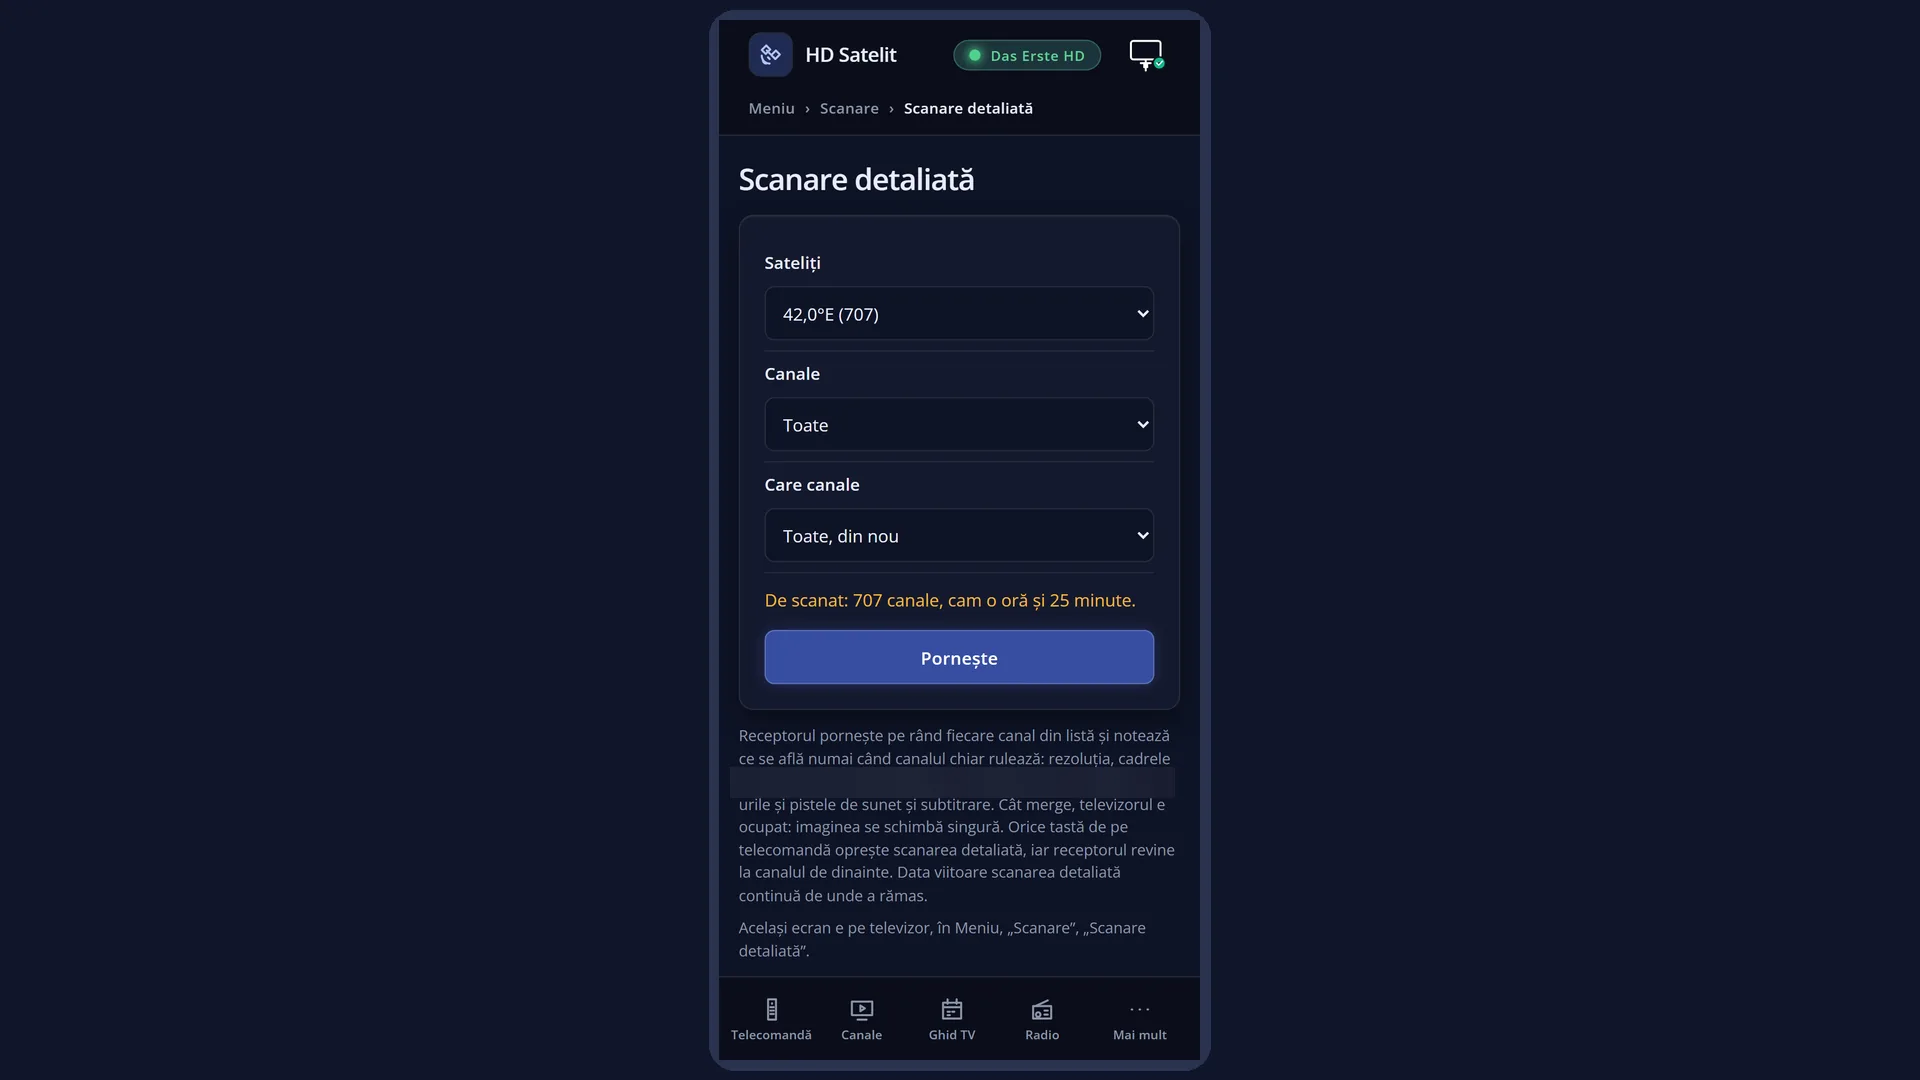
What it is for
“Detailed scan” does not look for new channels. It takes the satellite channels already found and tunes to them one by one. Only when a channel actually works does it record what it finds: the resolution, frames per second, video coding, the PIDs and the audio and subtitle tracks.
The recorded data stays in the receiver. It is used, for example, by “Channel search”, which shows you the channels and lets you filter them by resolution, coding and tracks.
While it runs, the TV is busy: the picture changes by itself from one channel to the next. Any key on the remote stops it, and the receiver goes back to the channel you had before. Next time, the detailed scan carries on from where it stopped.
It can take a long time (more than an hour on a satellite with hundreds of channels), so it is best to start it when you are not watching TV. The screen tells you beforehand how many channels there are and roughly how long it will take.
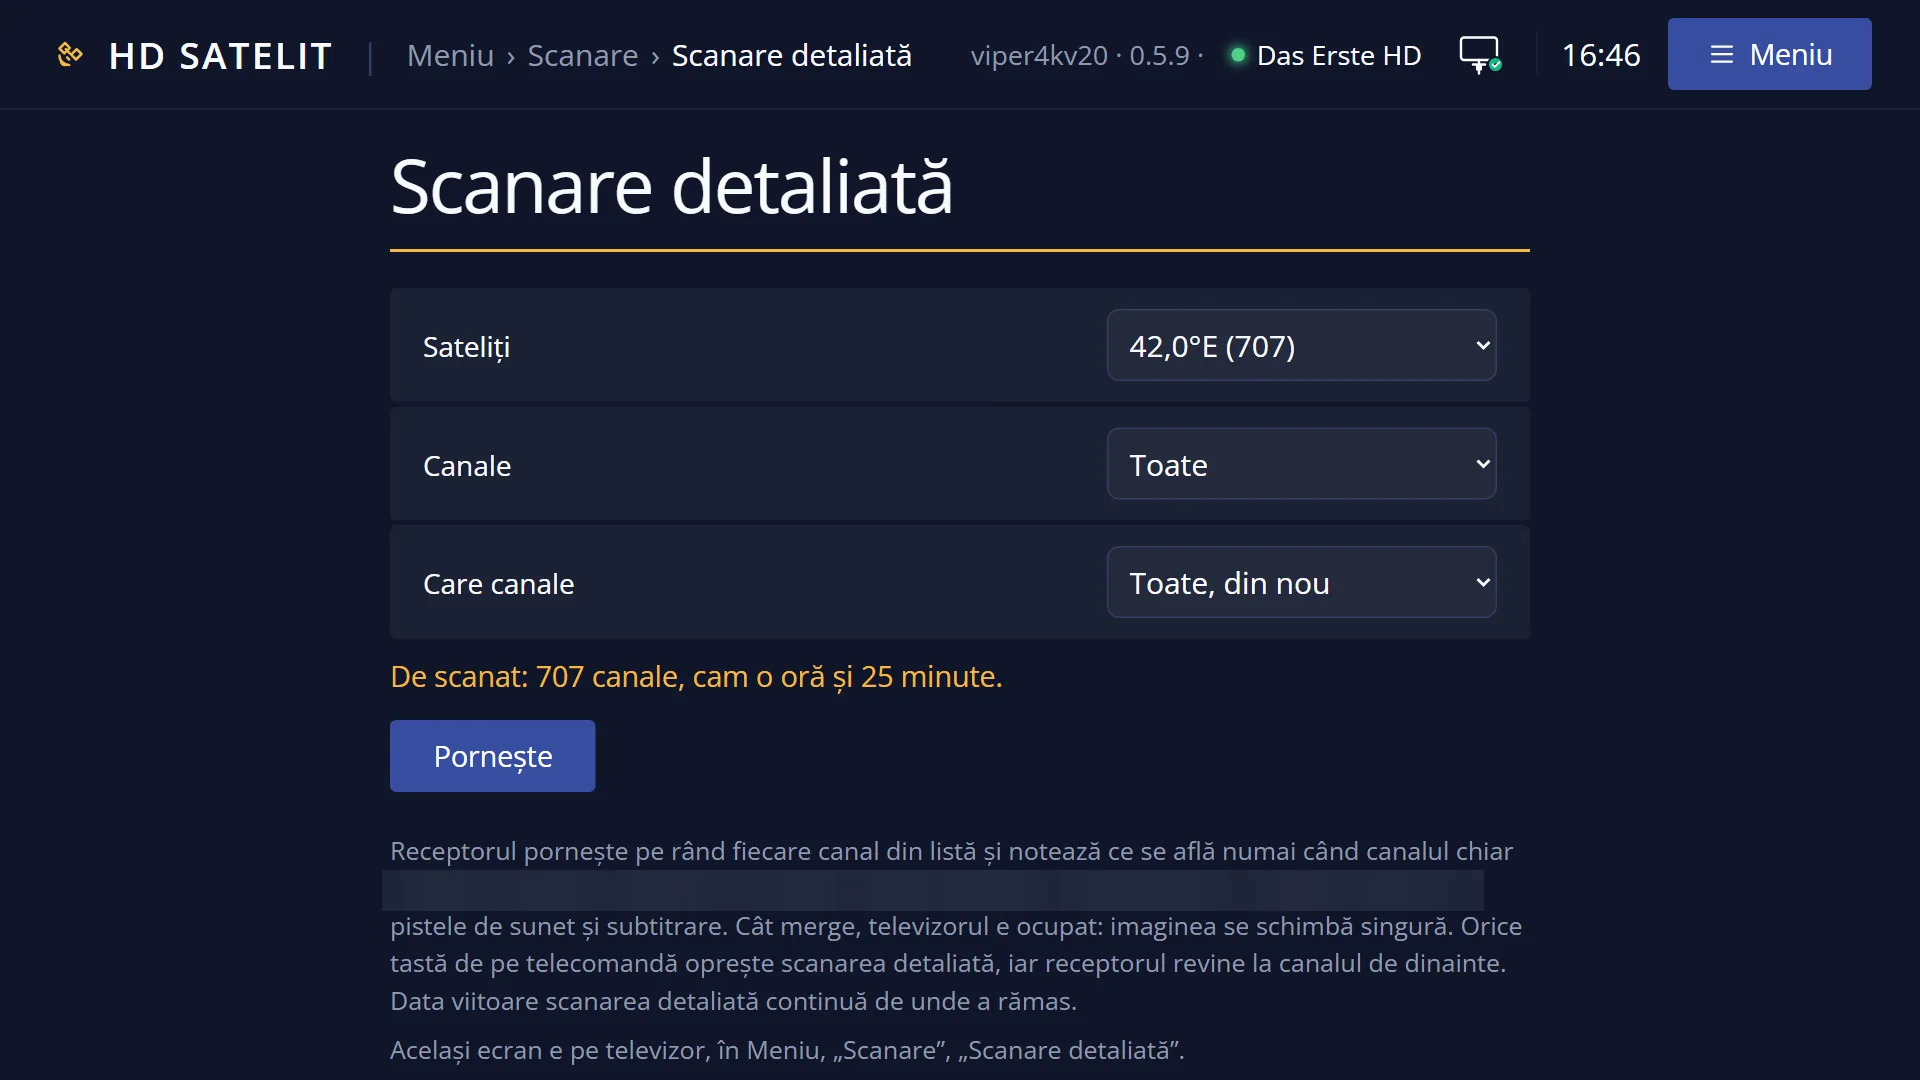
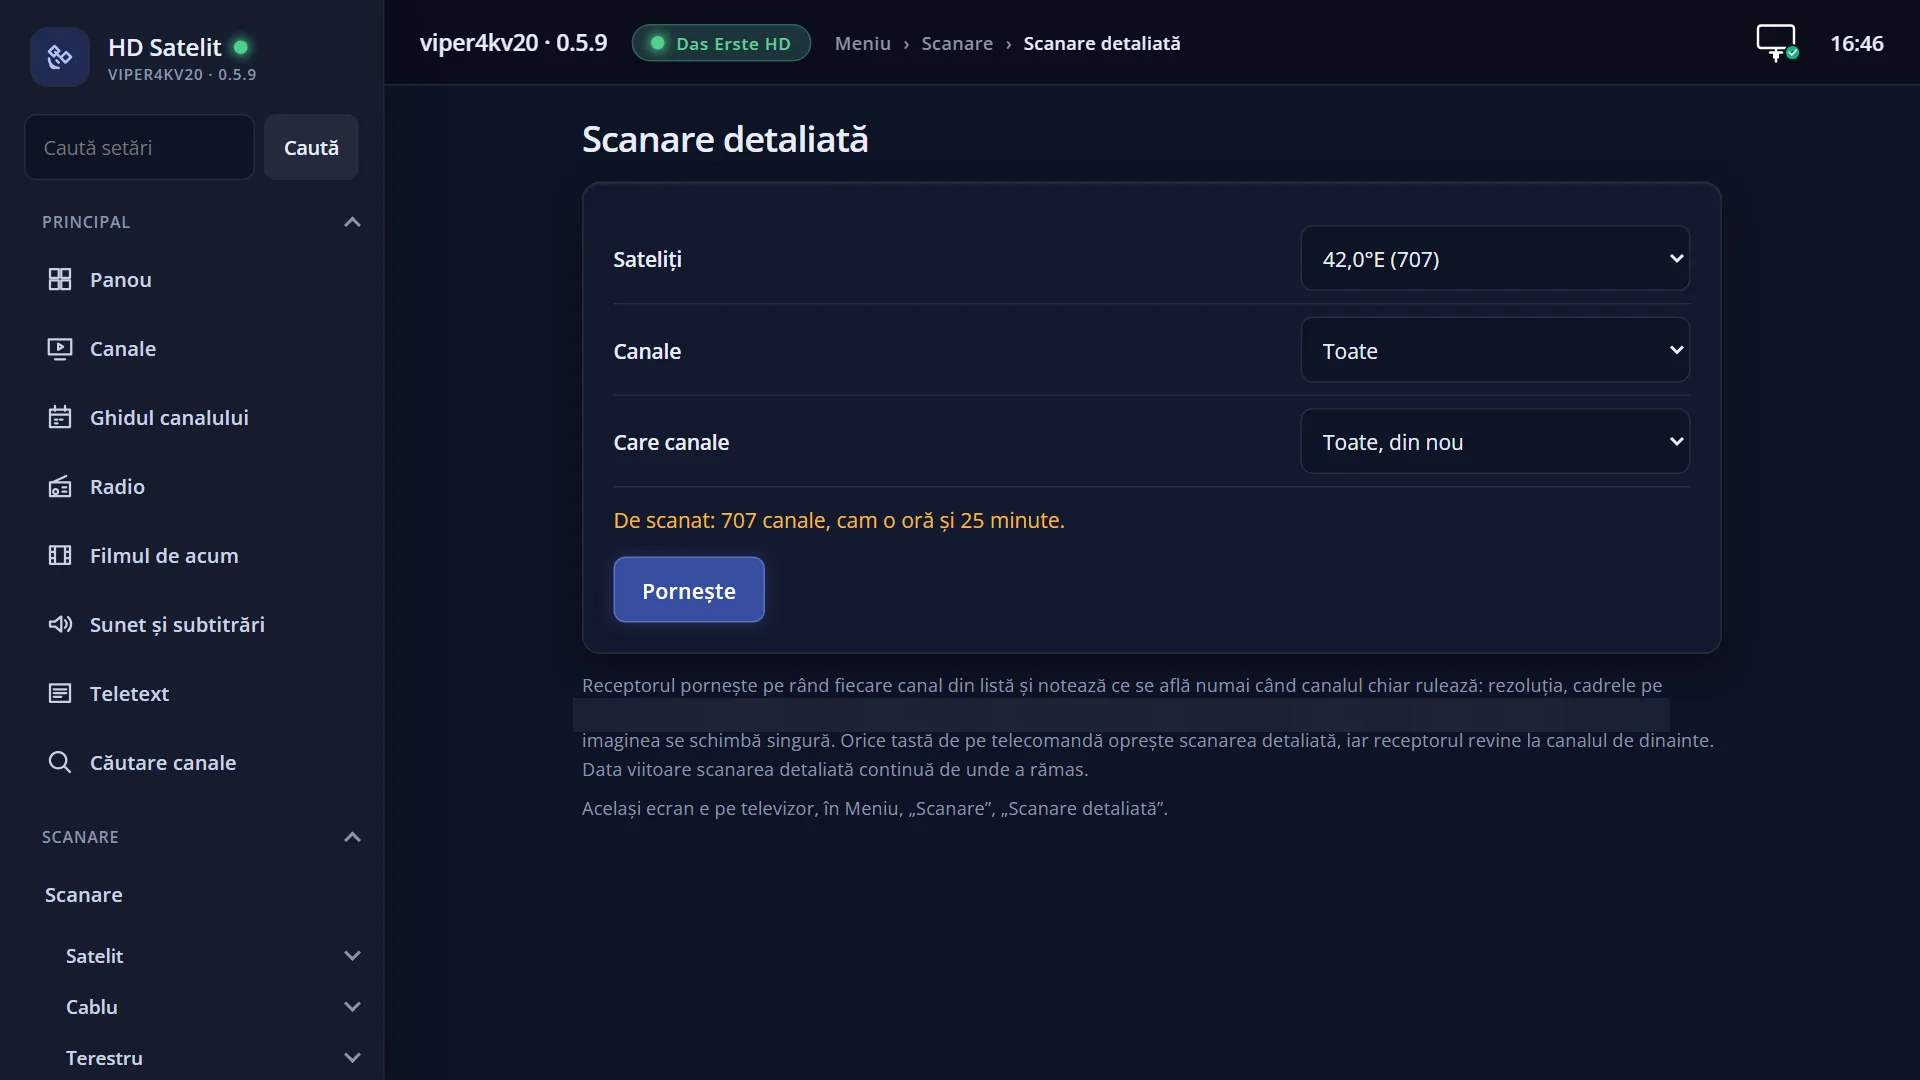
You can also start it from the web interface, on the /scanare-detaliata page. The progress shows both on the TV and on the page.
How to get here
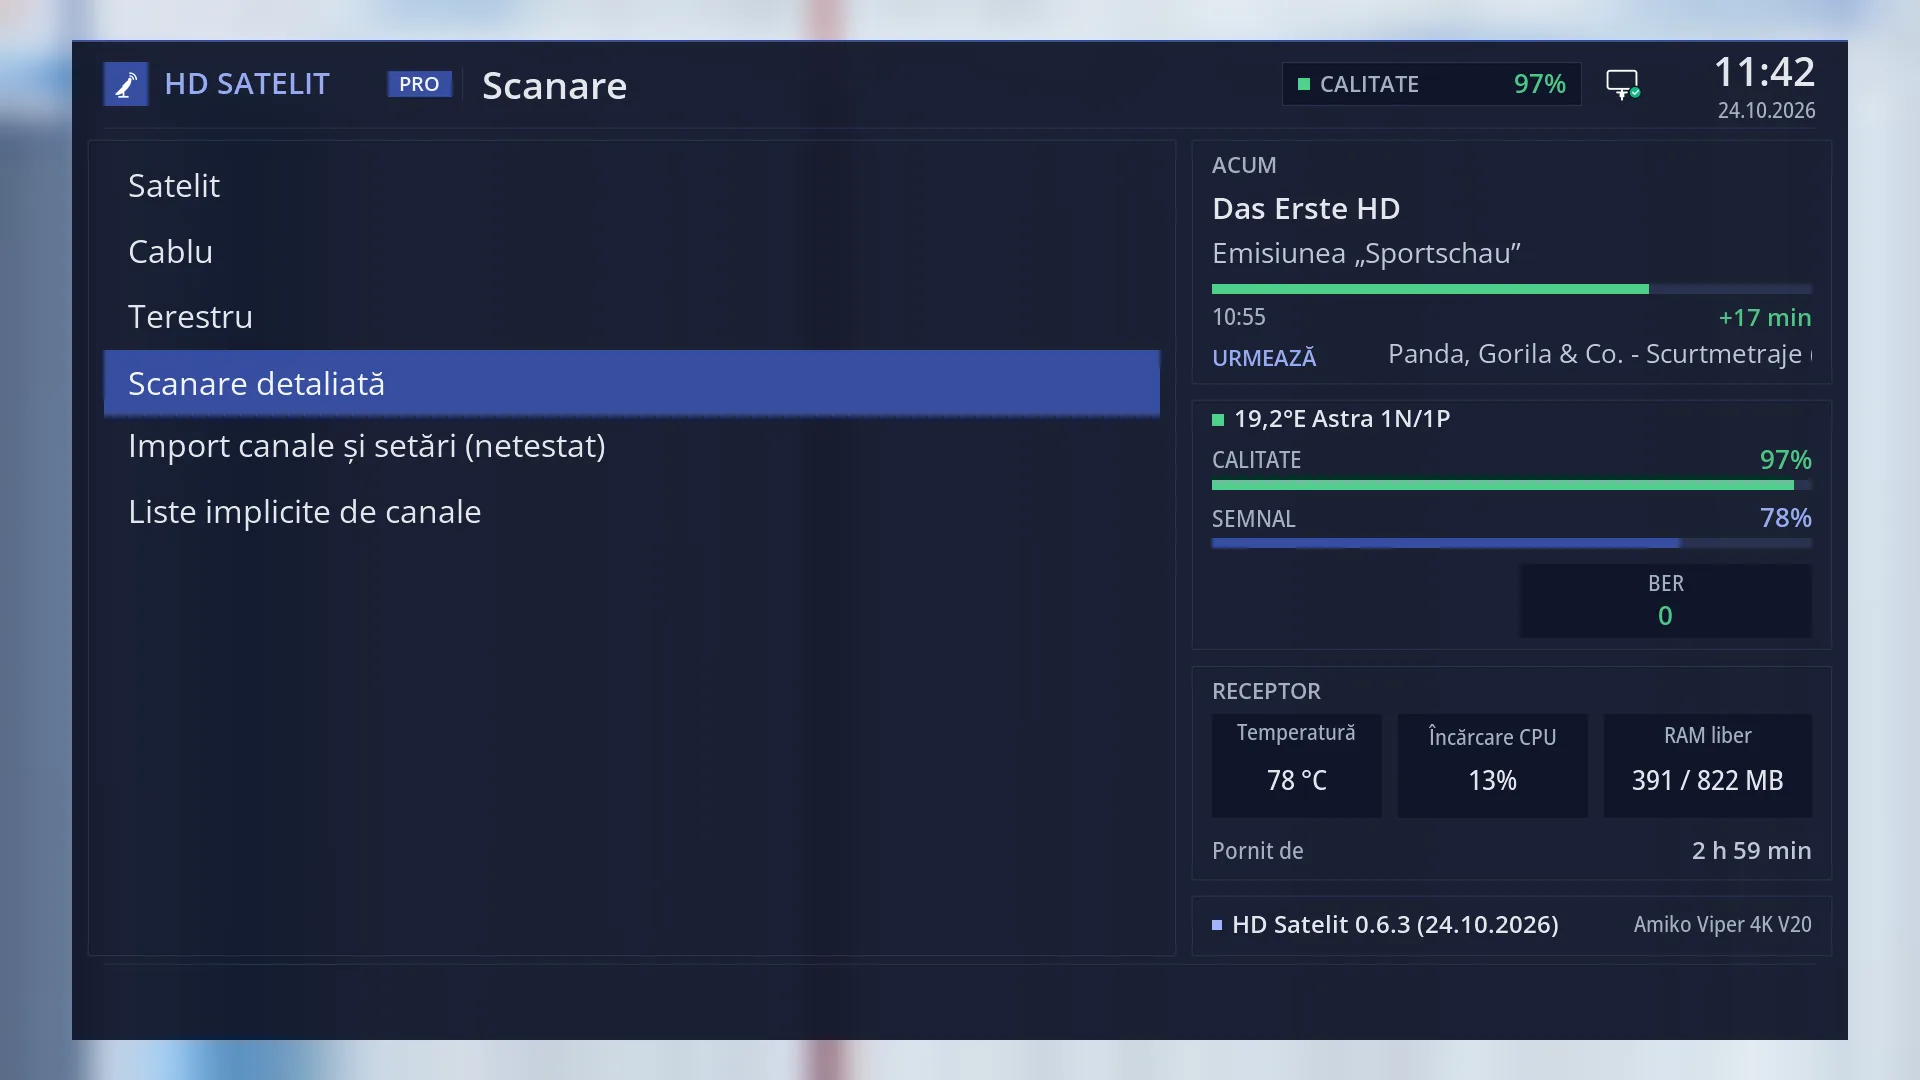
Path: Main menu > Channel scan > Detailed scan
Keys on the remote: MENU 1 4
In the web interface: the /scanare-detaliata page (the old address /culegere-canale also leads there).
What you see on the screen
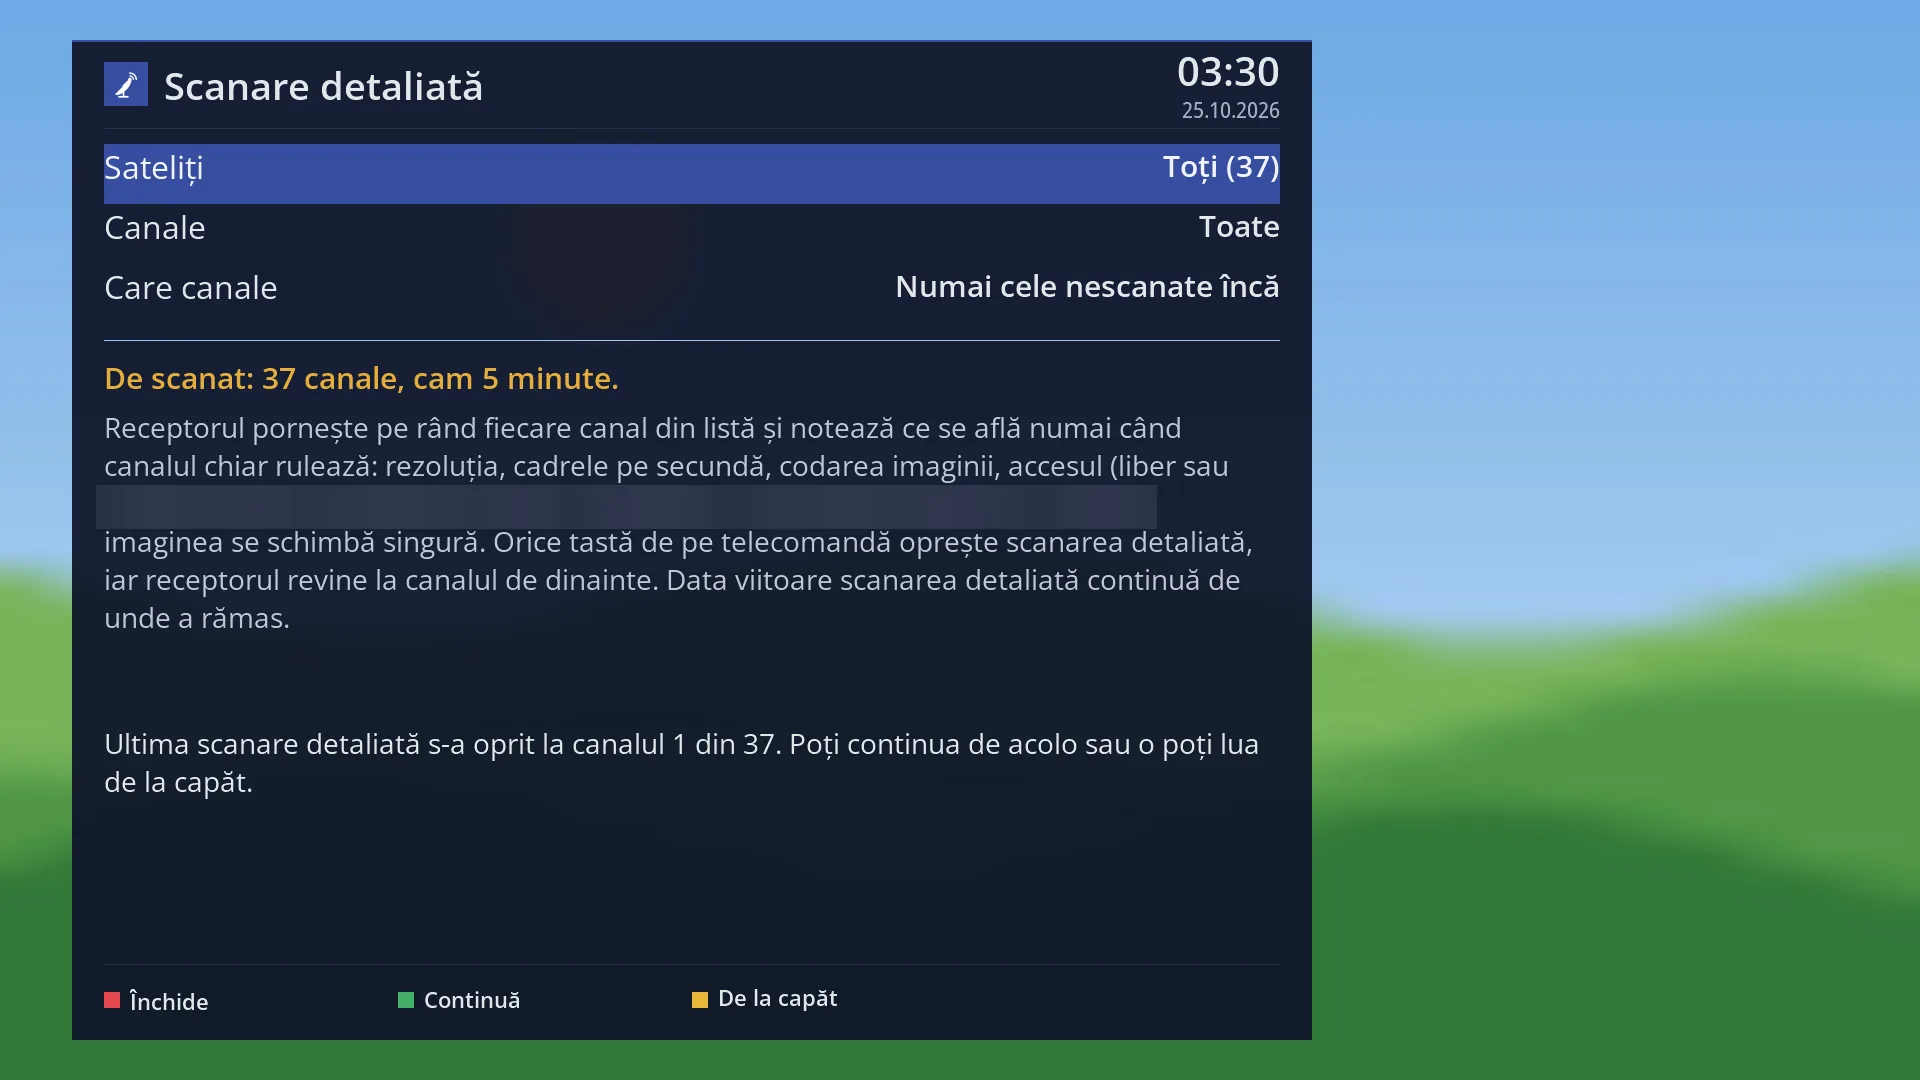
At the top: the title “Detailed scan”, the time and the date.
Three rows of choices: “Satellites” (All or one position, with the number of channels in brackets, for example “19.2°E (707)”), “Channels” and “Which channels”. The value is on the right of the row.
Below them, in yellow, the plan: “To scan: 707 channels, about 1 hour and 25 minutes.” With a motor and several positions, this is added: “The dish turns to … positions in turn.” When there is nothing to do: “Nothing to scan with these choices.” The plan is worked out again each time you change a choice.
Below that, an explanation of what the detailed scan does and how to stop it.
When the last run stopped before the end, there is also the line “The last detailed scan stopped at channel … of …. You can continue from there or start over.”, and the keys become GREEN “Continue” and YELLOW “Start over”.
At the bottom, the keys: RED “Close”, GREEN “Start” (or “Continue”) and, only when resuming, YELLOW “Start over”.
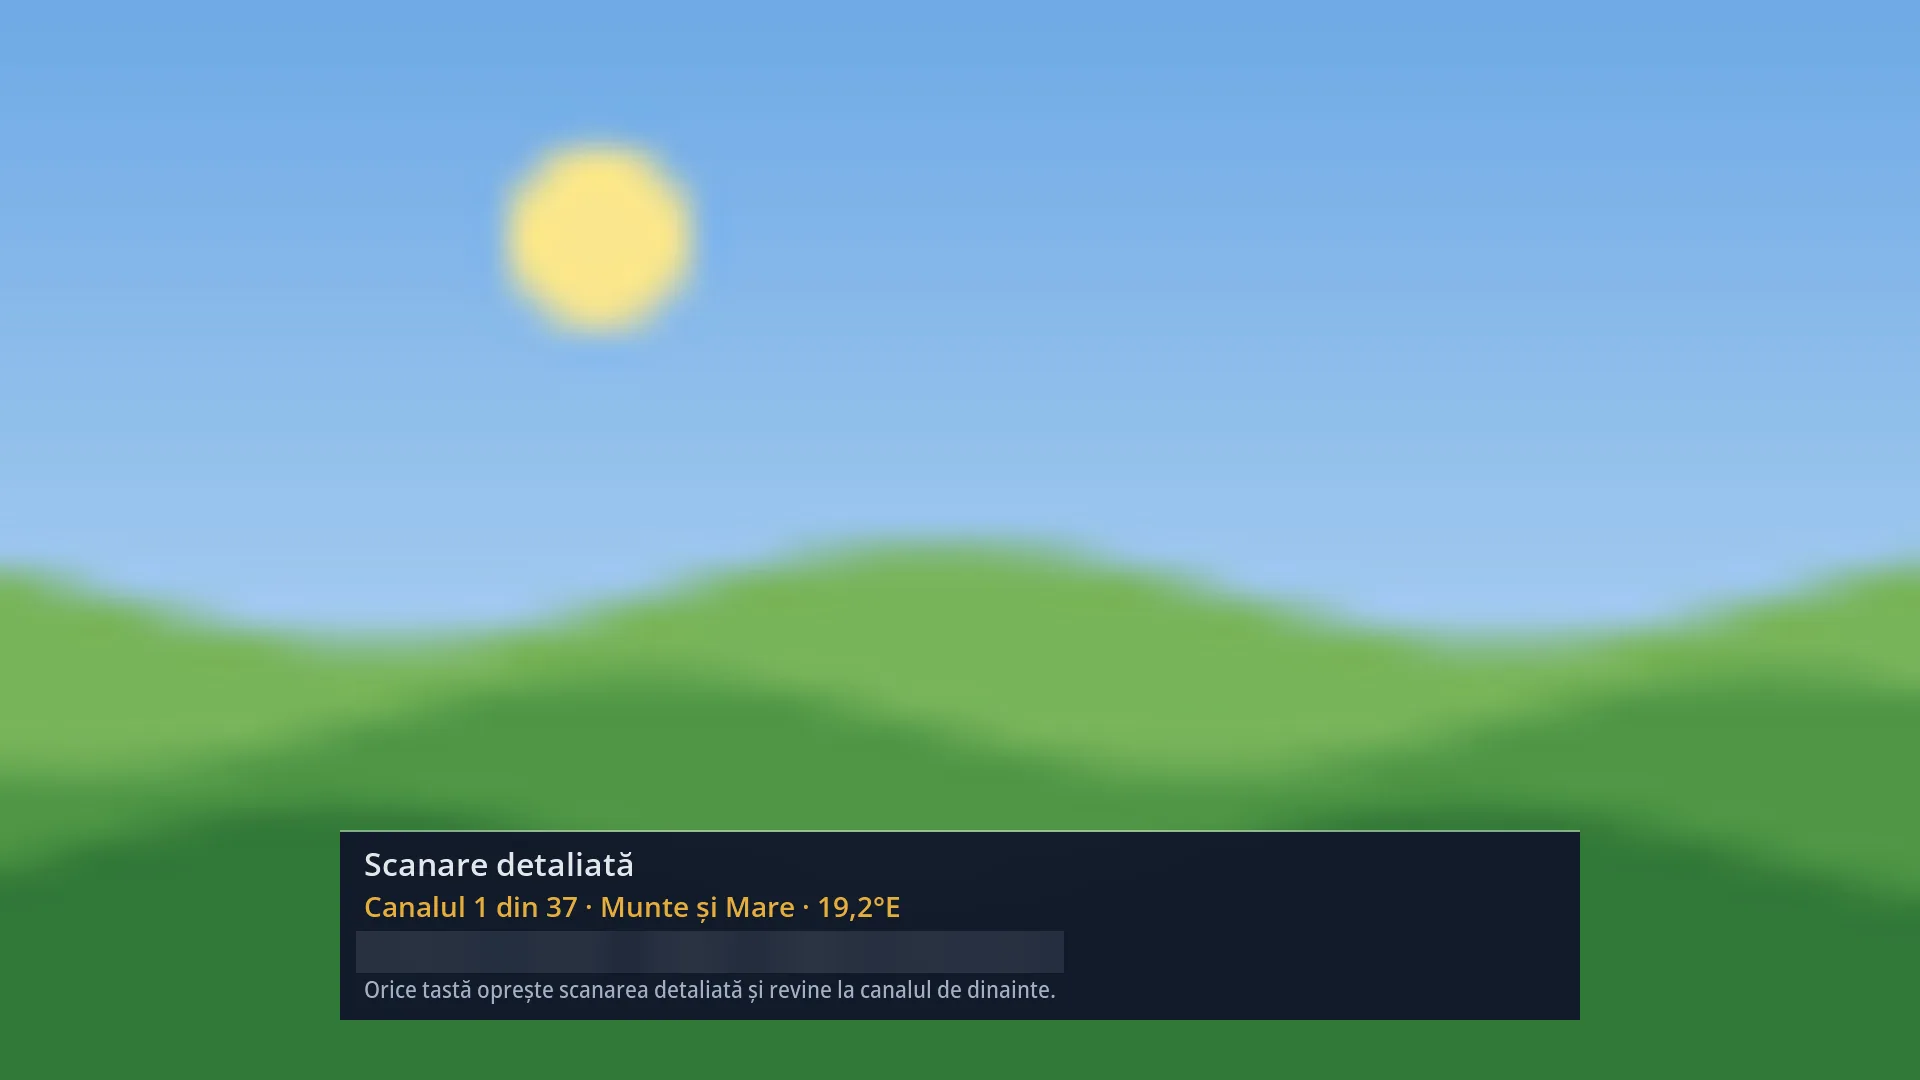
While it runs, the menu closes and a narrow window sits at the bottom of the screen, over the picture. It shows “Detailed scan”, then “Channel 12 of 707 · channel name · position” (or “The dish is turning to …”), the time left with the counts (“scanned”, “no signal” and the others) and the tip “Any key stops the detailed scan and returns to the previous channel.”
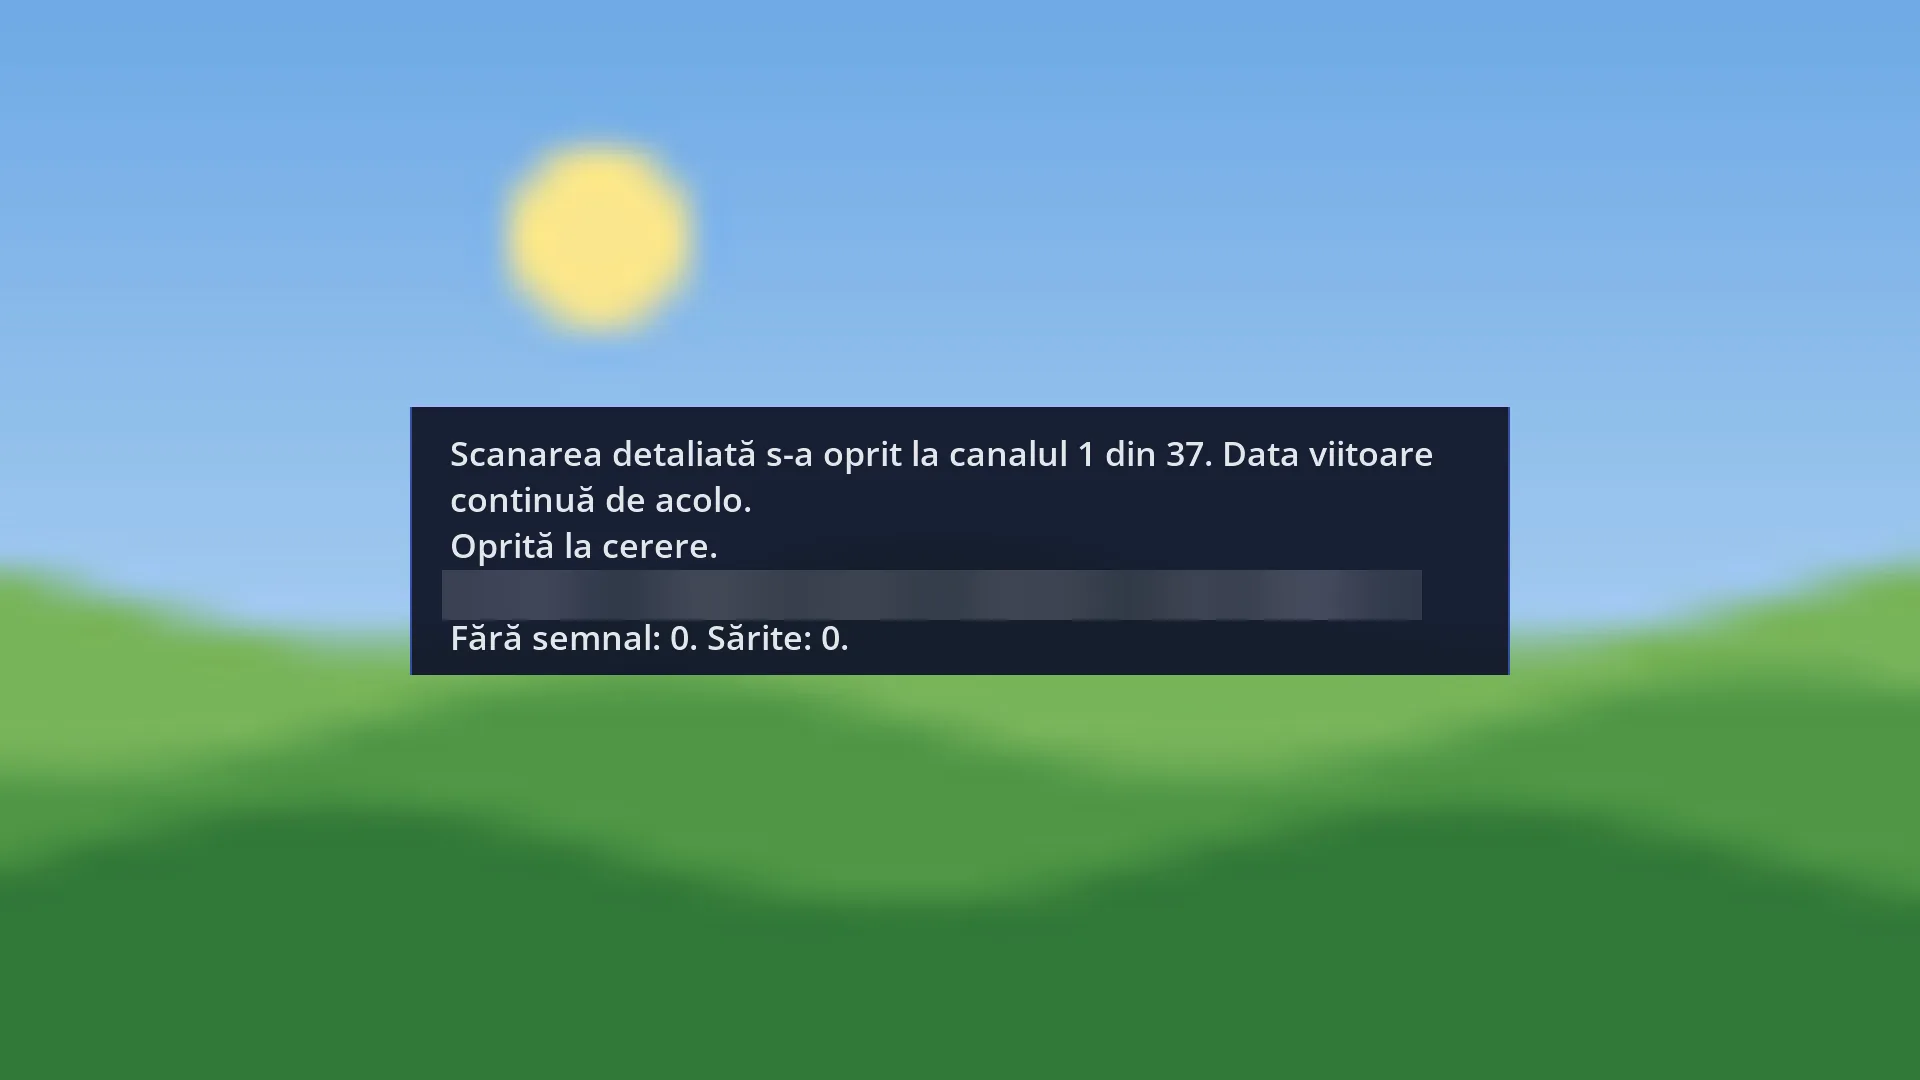
At the end (or when it is stopped) a message appears: “The detailed scan is finished.” or “The detailed scan stopped at channel … of …. Next time it continues from there.” It also shows the reason it stopped and the counts (“Scanned”, “No picture”, “No signal”, “Skipped” and a count for channels that are not free). The message closes by itself after 30 seconds.
Rows and settings
| Row | Values | Default | What it does |
|---|---|---|---|
| Satellites | All (the number of all channels), a position from the list, for example “19.2°E (707)” | All | Which channels are included: those of all the satellites in your list, or only those of one position. The brackets show how many channels each one has. The positions are in order, from west to east. When you only want the satellite you usually watch, so that the scan is shorter. |
| Channels | All, Only free ones (FTA) | All | “All”: every TV and radio channel on the chosen satellites. “Only free ones (FTA)”: only the channels you can watch freely, with nothing extra; the scan is shorter. When you are only interested in free channels. |
| Which channels | Only those not scanned yet, All, again | Only those not scanned yet | “Only those not scanned yet”: skips the channels the receiver already knows everything about (from an earlier detailed scan or from when you watched them). “All, again”: takes all of them, to bring the data up to date. “All, again” after stations have changed something (for example, moved to HD). |
| Resuming | Continue (GREEN), Start over (YELLOW) | After a run is stopped, the receiver remembers the channel where it stopped. With the same choices and the same channel list, GREEN “Continue” starts from there; YELLOW “Start over” starts from the first channel. After you stopped it with a key, or a recording stopped it. | |
| Channel order | The receiver starts from the position the dish is on now, goes towards the nearer end of the arc, then towards the other end, so that the dish passes each position only once. On each transponder it takes the TV channels first, then radio. A transponder with no signal is skipped along with all its channels. |
Keys
| UP / DOWN | Moves the cursor to the row above or below; from the last row, DOWN goes to the first. |
| LEFT / RIGHT | Changes the value of the selected row. The plan is worked out again as soon as you stop. |
| OK or GREEN | Starts the detailed scan (on screen: “Start”), or continues it from where it stopped (“Continue”). |
| YELLOW | Only when it can be resumed: starts it from the first channel (“Start over”). |
| RED or EXIT | Closes the screen (“Close”). |
| Any key (during the detailed scan) | Stops the run and puts back the previous channel. What has been recorded so far is kept, and next time it continues from there. |
| OK or EXIT (on the final message) | Closes the message and takes you back to the choices screen. |
Step by step
Run a detailed scan of new channels overnight or when you are not watching
- Press MENU 1 4.
- Leave “Which channels” on “Only those not scanned yet” and choose the satellite (or All).
- Read the plan: how many channels and how long it takes. Press GREEN.
- Leave the receiver alone until the final message. If you need the TV, press any key: the run stops and you can continue it another time.
Continue a stopped detailed scan
- Press MENU 1 4, with the same choices as last time.
- Below the explanation, it says where it stopped. Press GREEN (“Continue”).
- To start from the first channel, press YELLOW (“Start over”).
Start it from your phone
- Open the receiver's web interface and go to /scanare-detaliata.
- Choose the satellites, the channels and which channels; the plan below is worked out again.
- Press “Start”. The progress shows on the page, with the progress bar. “Stop” stops it, and the previous channel comes back on the TV.
Problems and solutions
The message “Not possible during a recording: the tuner is busy.” or “A recording starts soon. Start the detailed scan after it.” appears
The detailed scan changes channels, so it does not work while a recording is running or about to start. Start it after the recording.
The message “The track reading is running now. Start the detailed scan after it.” appears
“Update tracks” in Channel search also uses the tuner. Wait for it to finish, then start the detailed scan.
The message “The receiver is in standby. Turn it on first.” appears (usually from the web page)
Switch the receiver on with the remote, then start the detailed scan.
The plan says “Nothing to scan with these choices.”
With “Only those not scanned yet”, all the chosen channels have already been scanned. Set “Which channels” to “All, again” or choose another satellite.
The plan says “The channel list cannot be read.”
The receiver does not have a satellite channel list yet. Do a scan first (Menu > Channel scan > Satellite).
The detailed scan stopped by itself (“A recording is starting.”, “The receiver went into standby.”, “Someone else changed the channel.”).
It is stopped so that it does not get in the way of what someone else is doing with the receiver. What has been recorded is kept; start it again and choose “Continue”.
“Continue” does not appear, even though I stopped it.
Resuming only works with the same choices and the same channel list. If you changed the choices or did a channel scan in the meantime, the run starts from the beginning.
Cable channels or channels from the terrestrial aerial are not included.
The detailed scan only takes the satellite channels from the list. DAB+ and DVB-T2 stations sent via satellite and internet channels are not included either.
Related topics
- Channel scan
- Channel search (filters by resolution and tracks, “Update tracks”)
- Dish rotation
- Channel Information (data for the current channel)
- Matching web page: /scanare-detaliata.