

By satellite
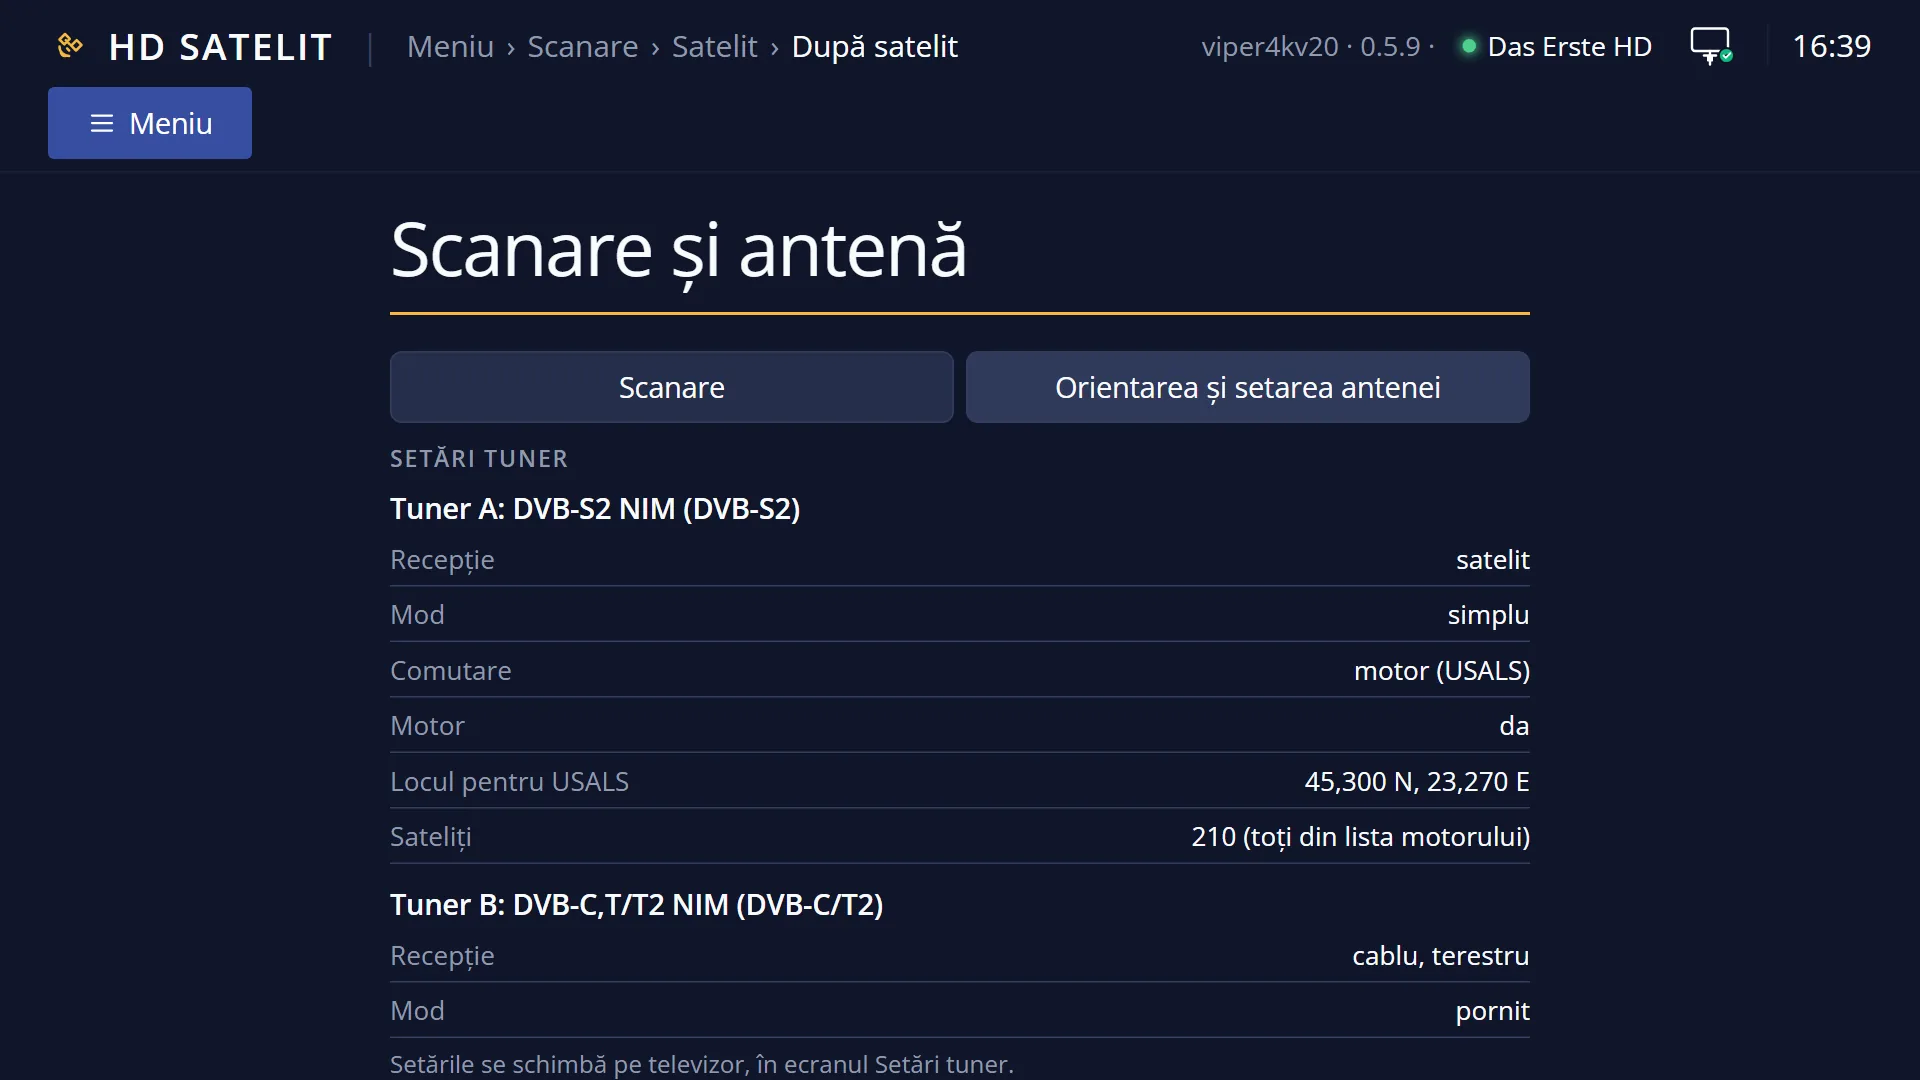
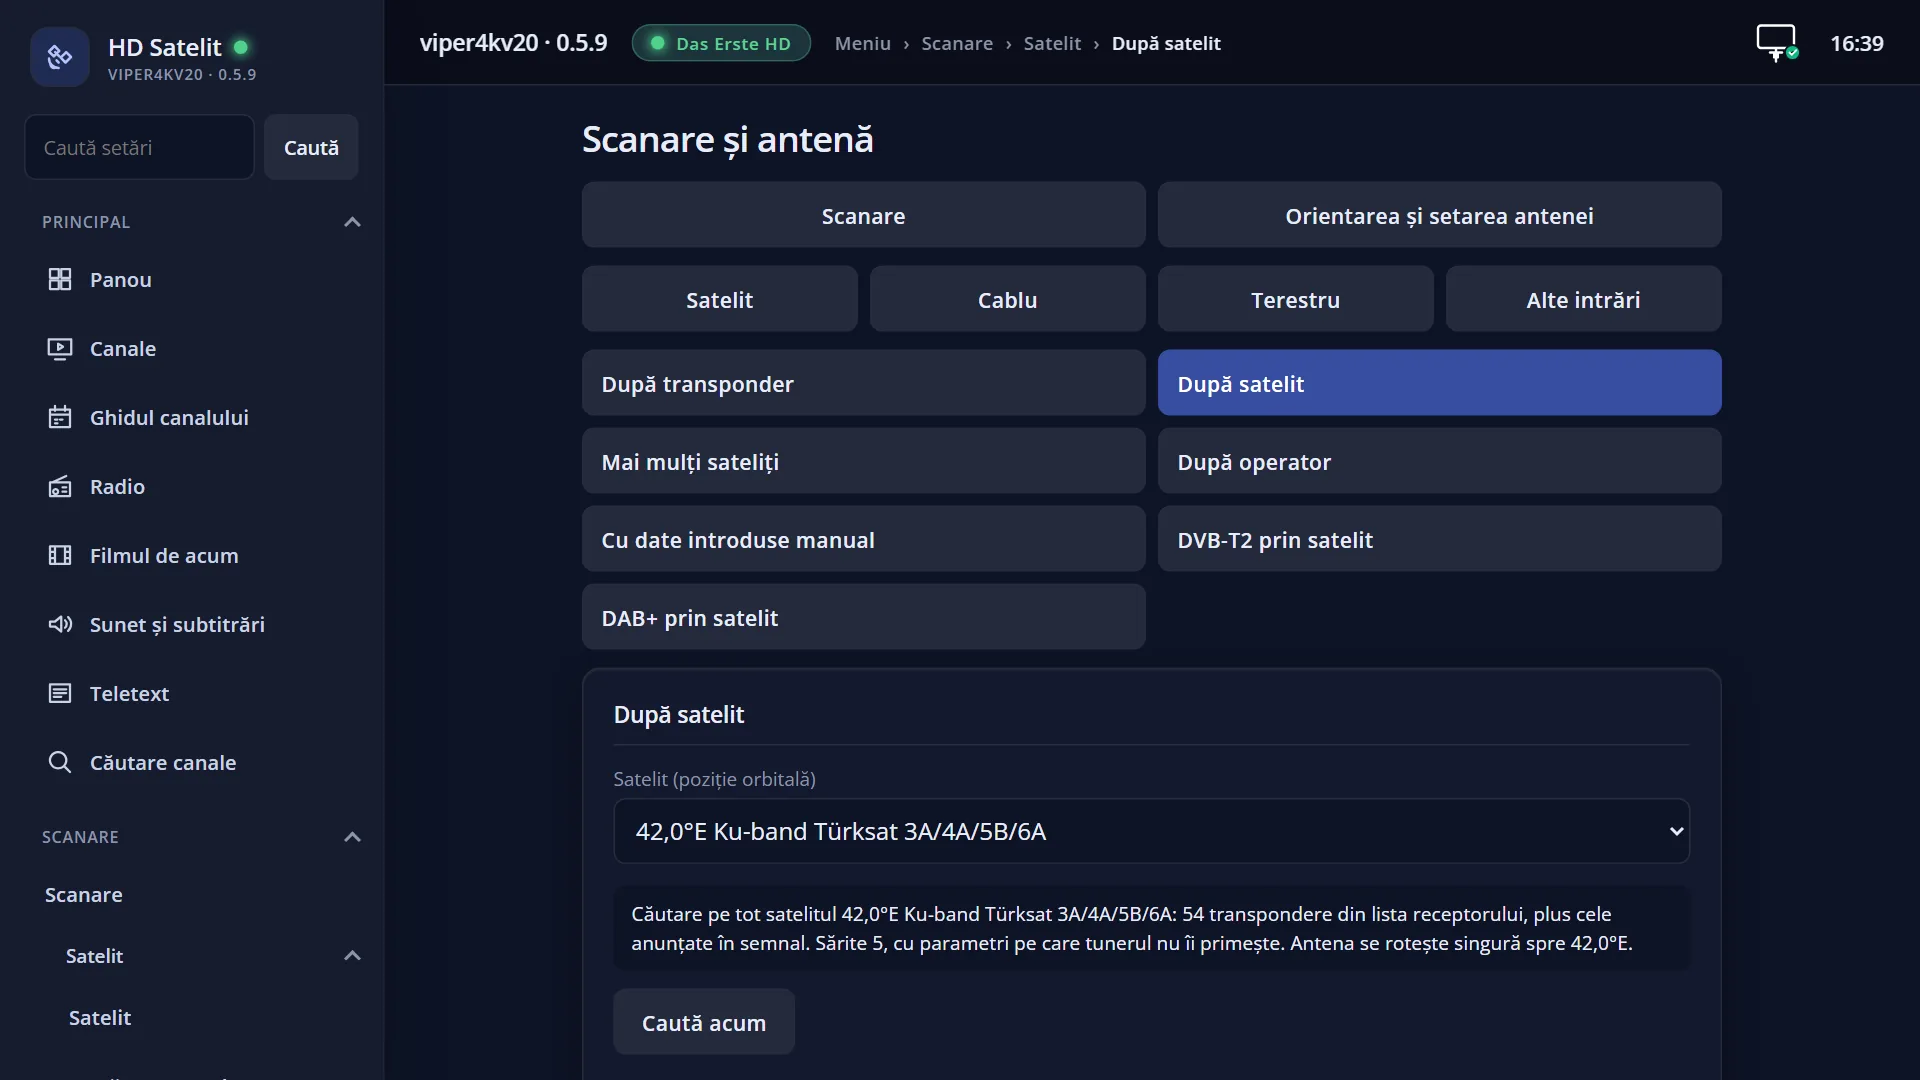
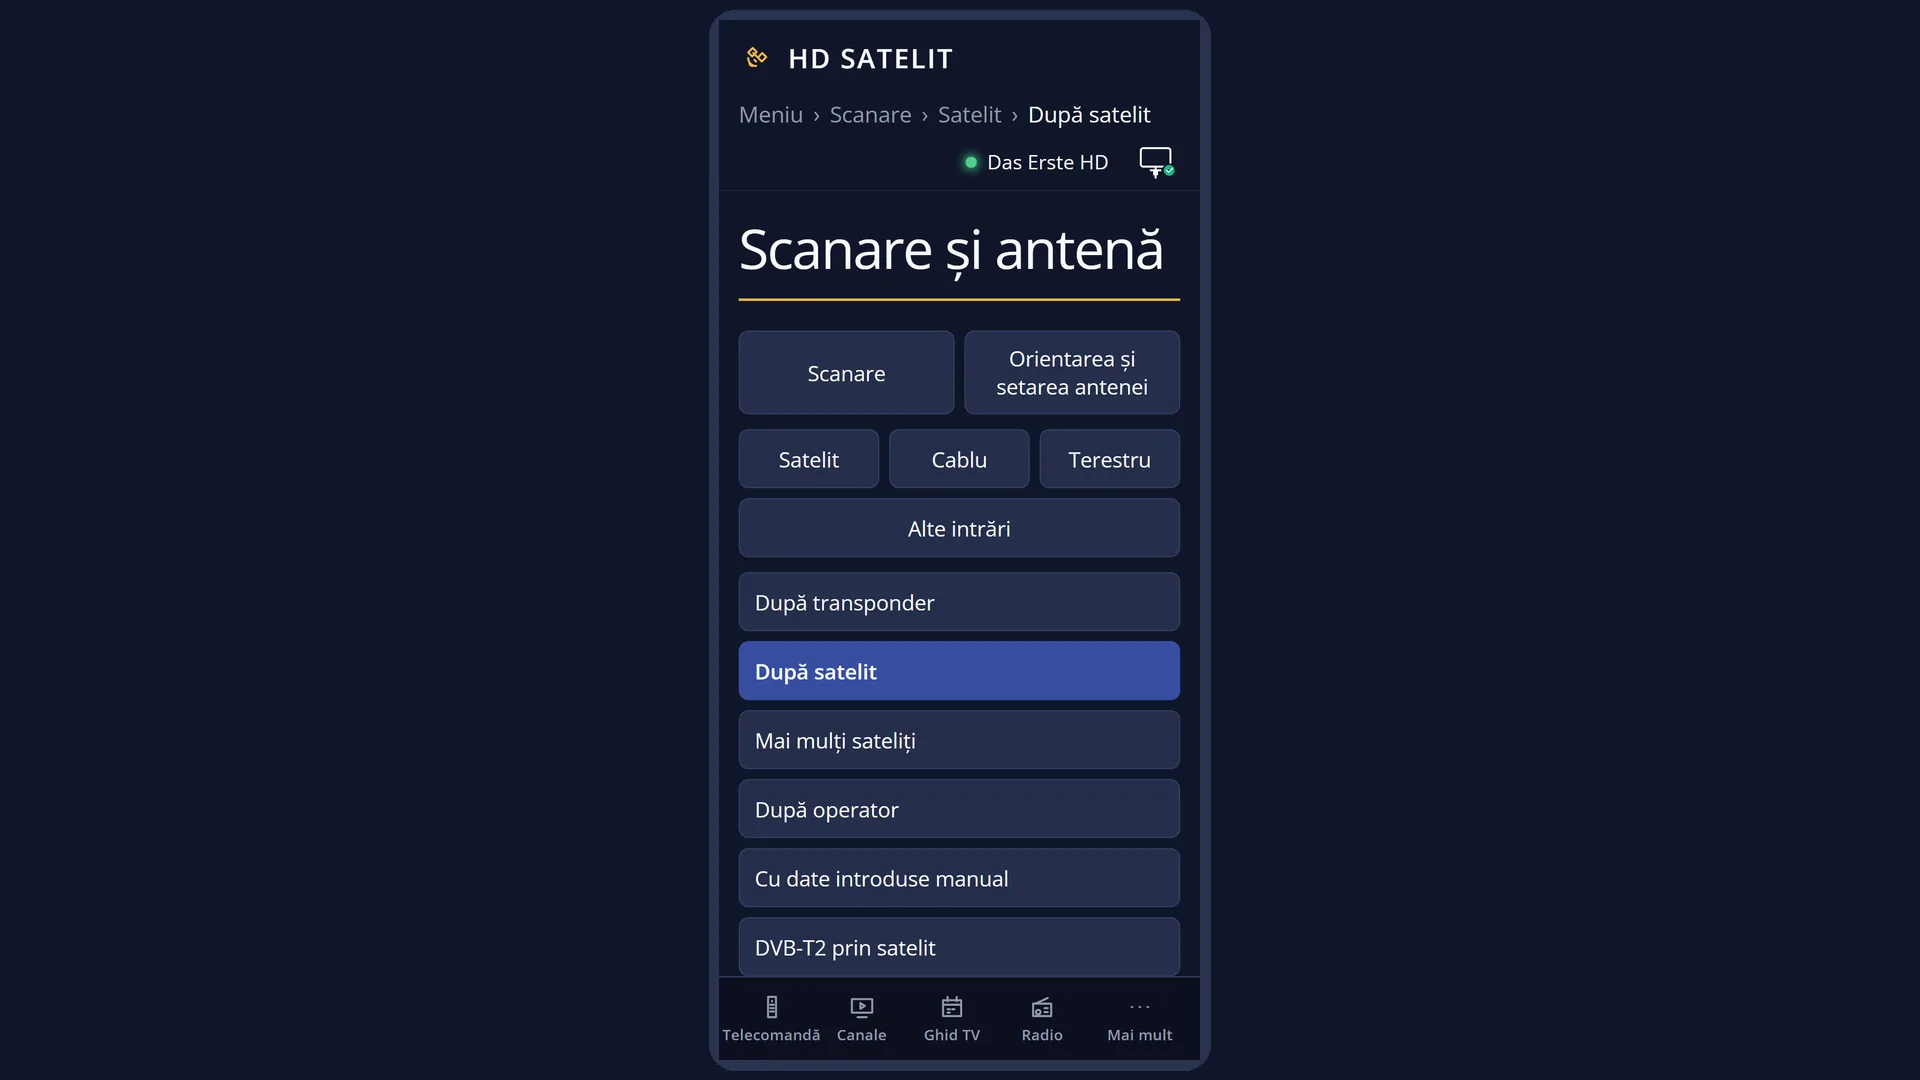
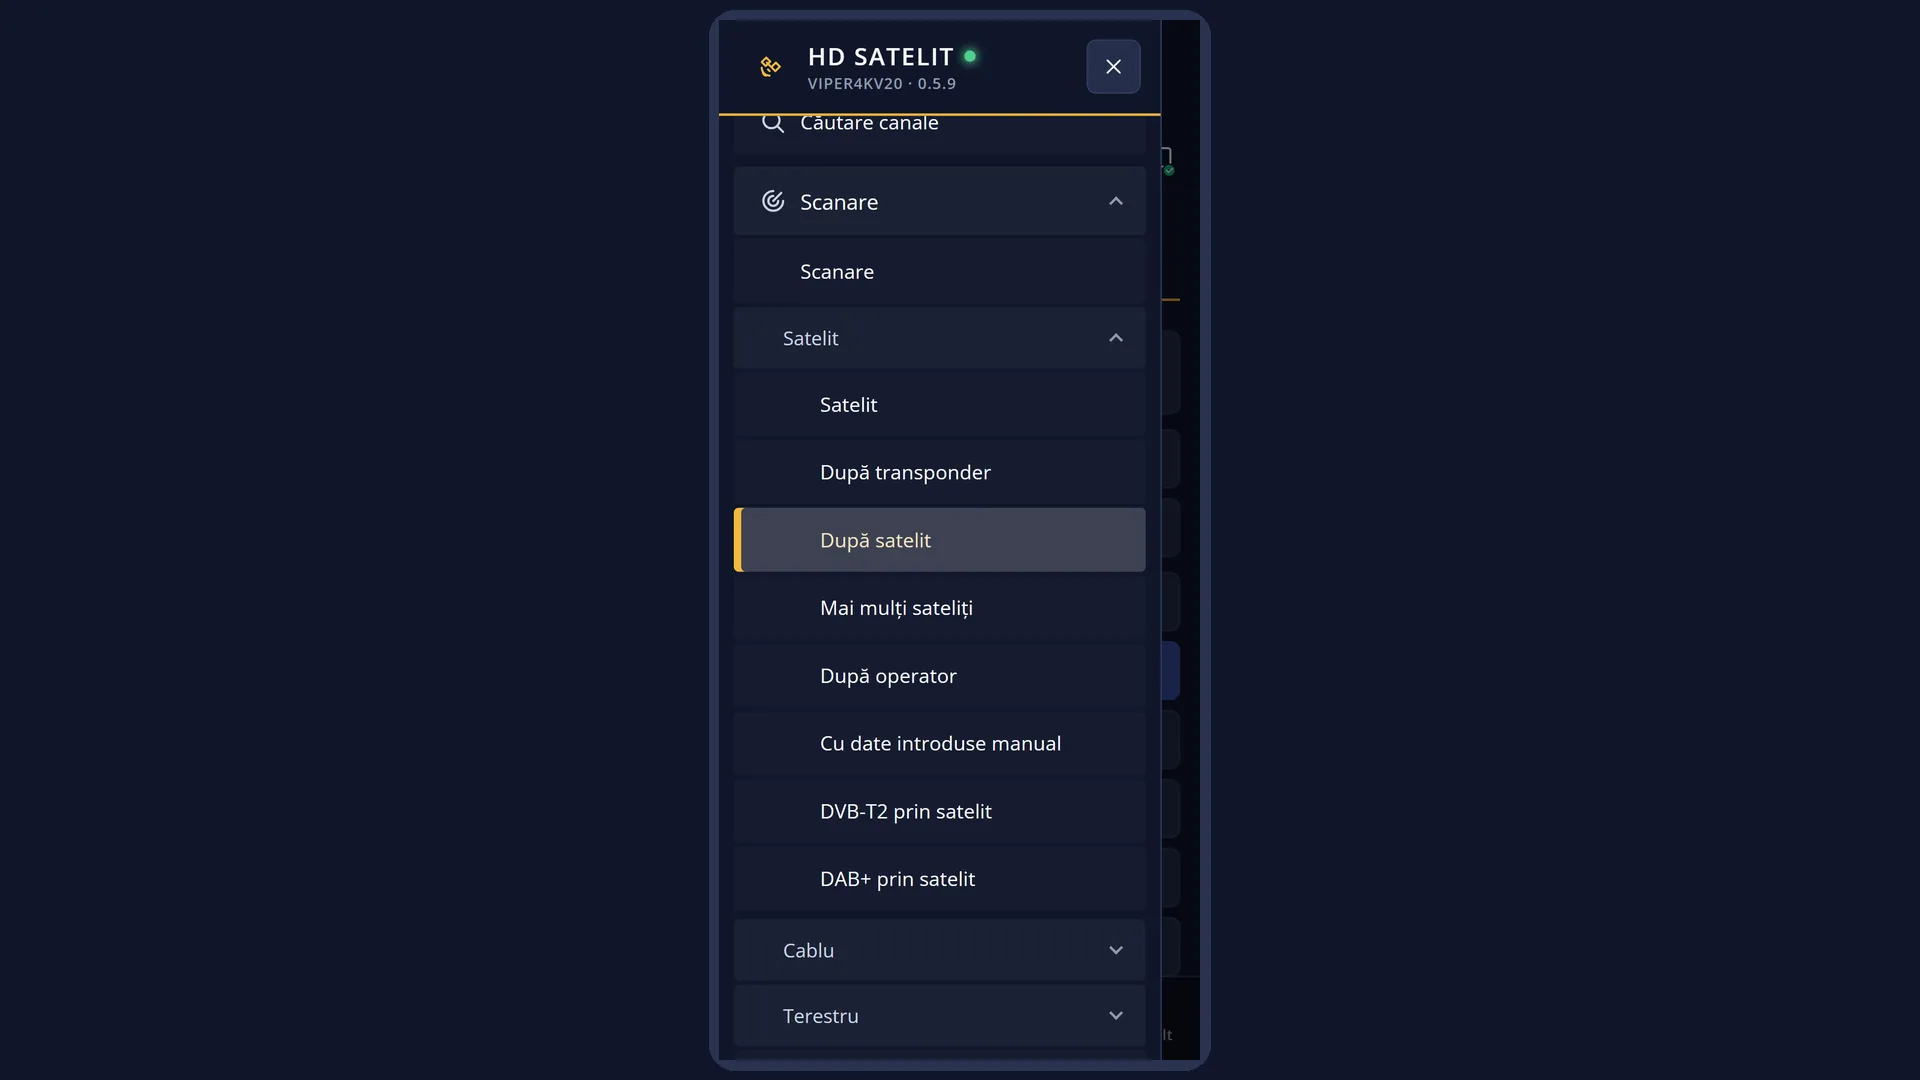
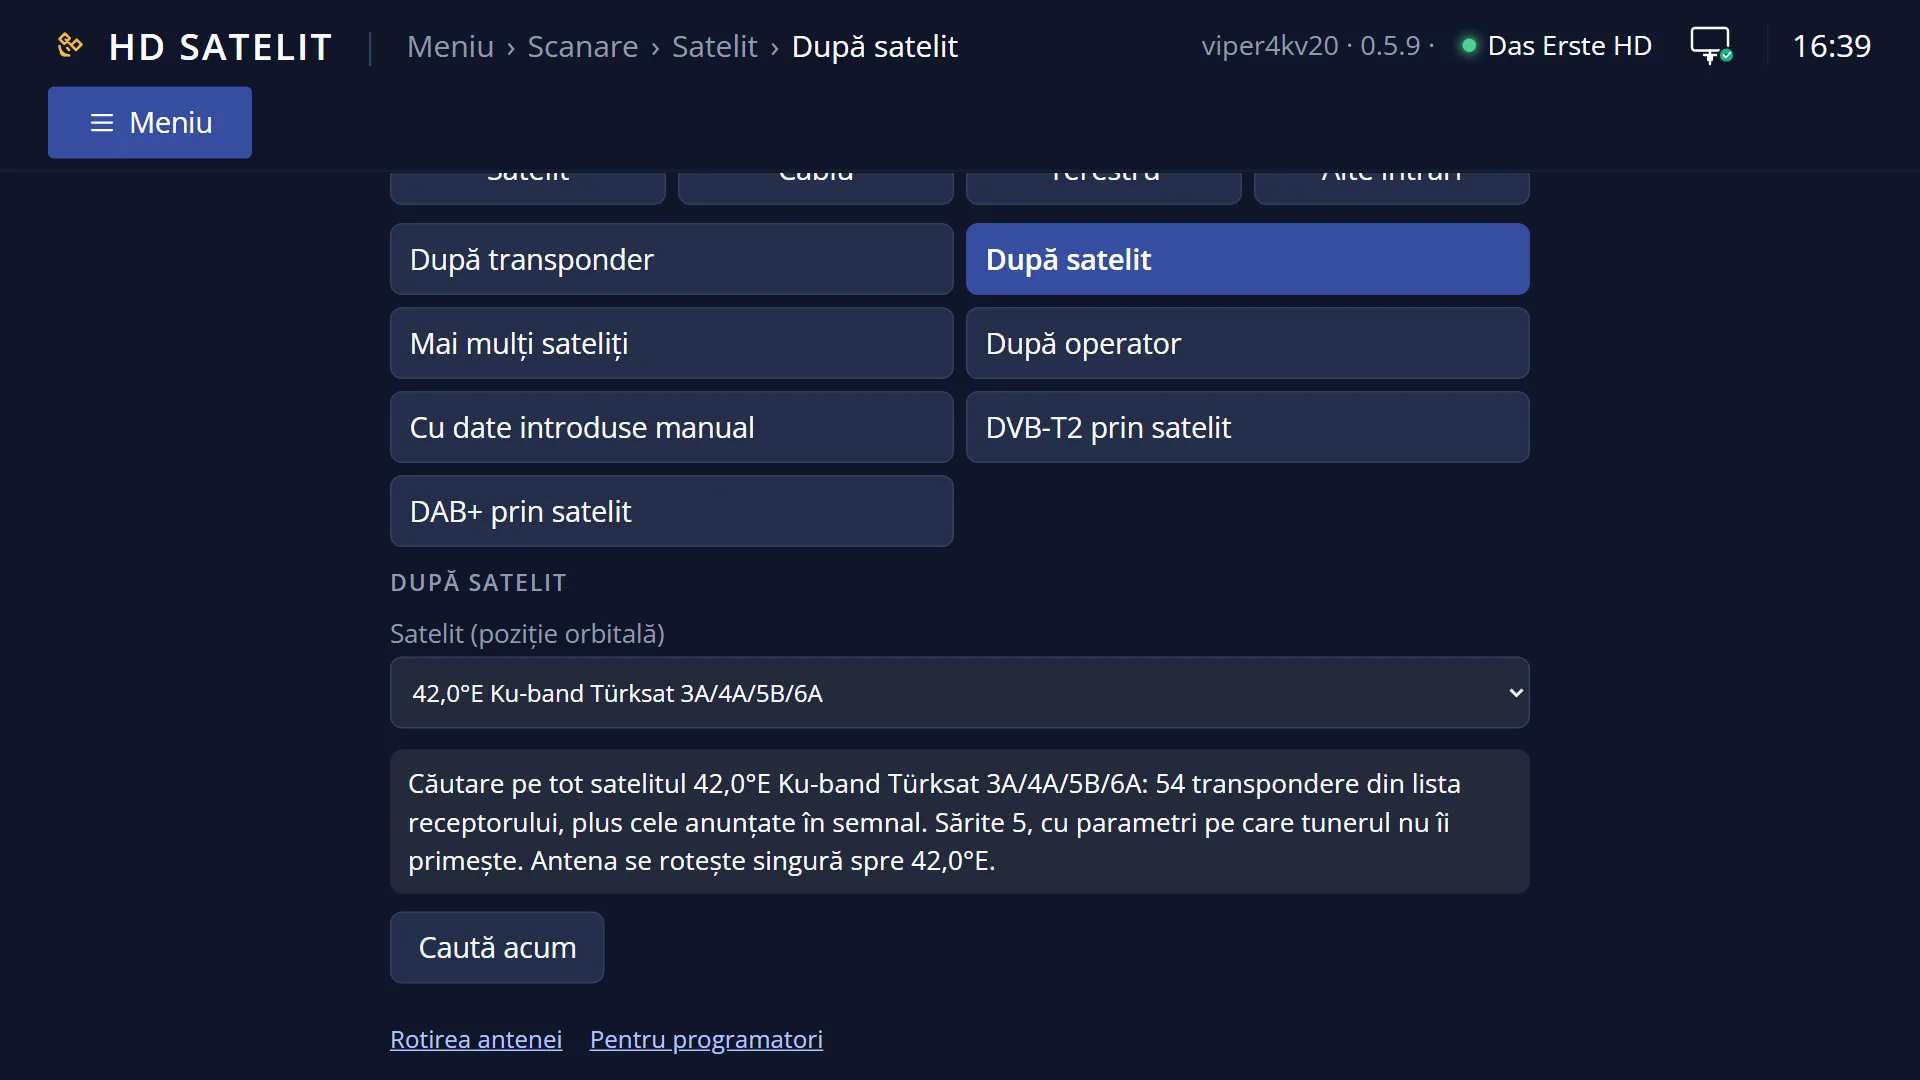
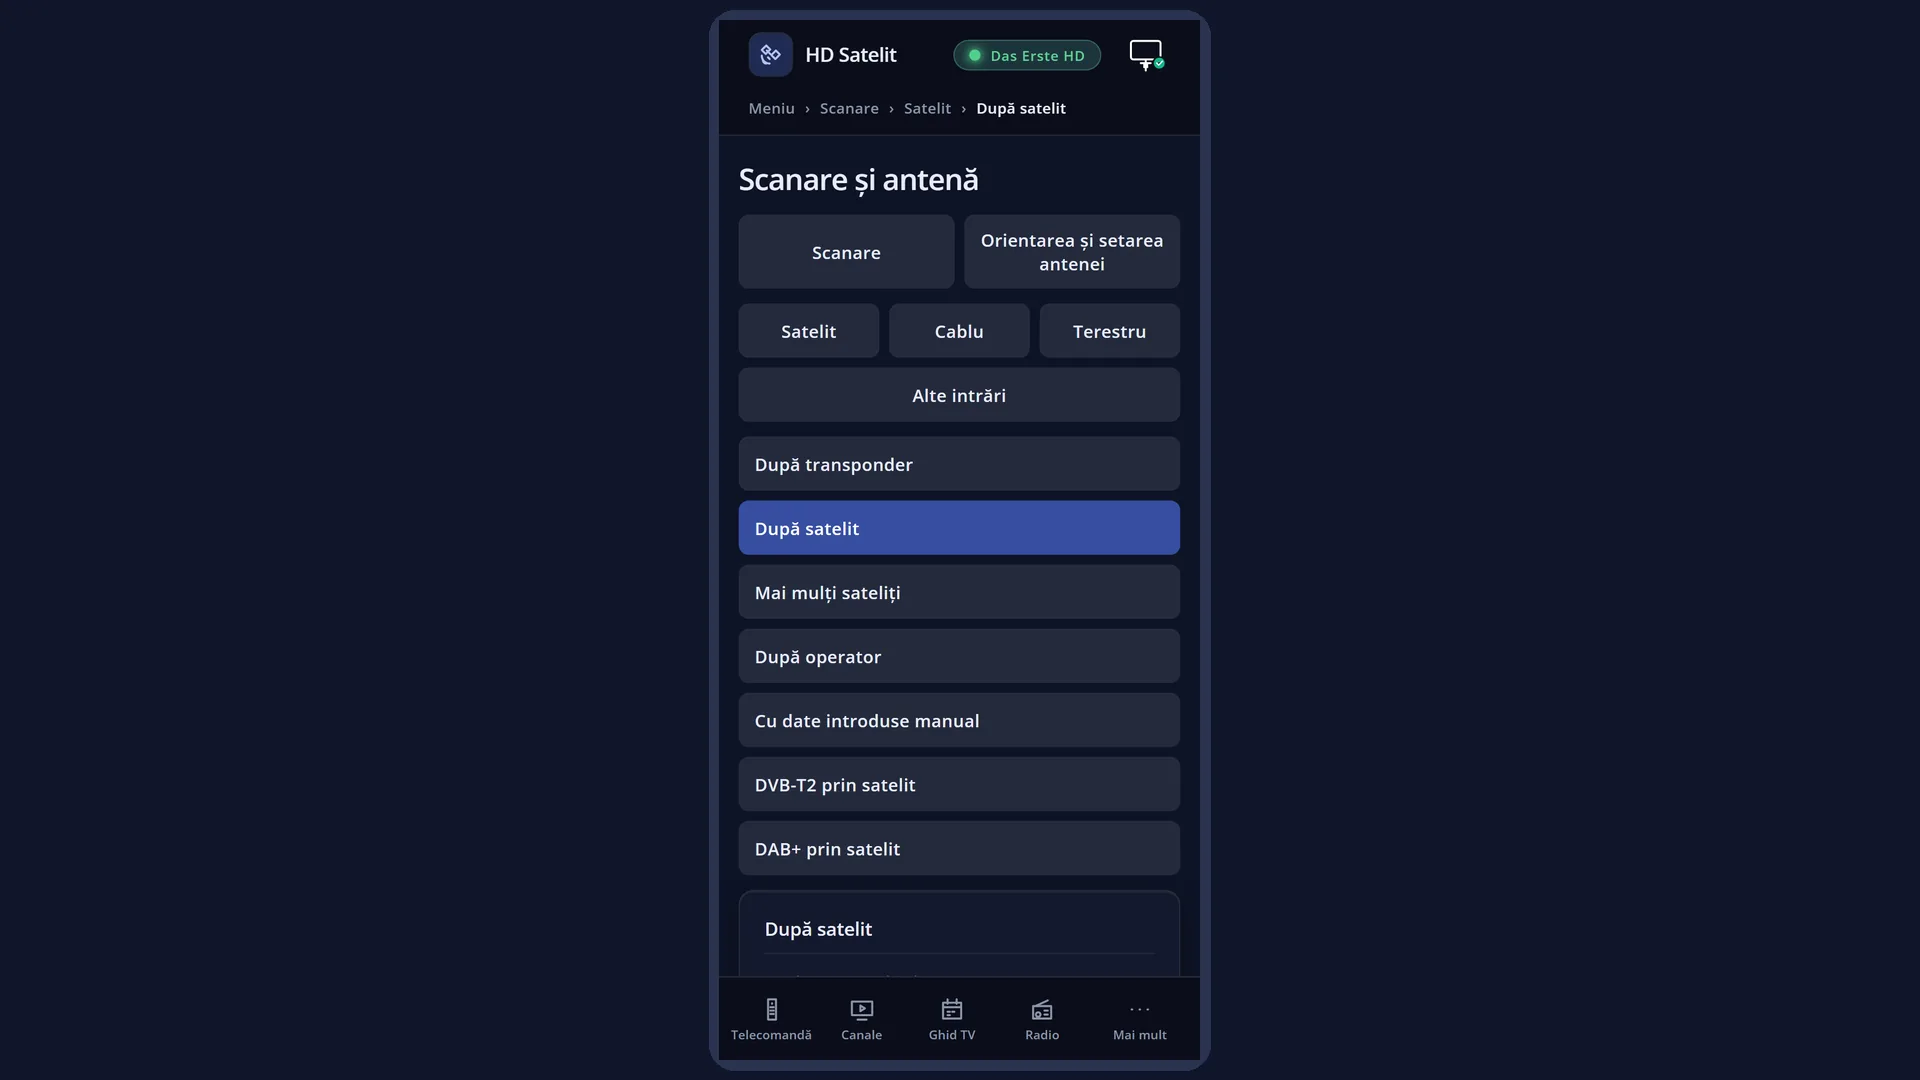
Screenshots are being added: so far 3 from the receiver and 7 from the web interface; the aim is at least 5 of each, with arrows and frames, and, where a setting changes what you see, a before and after comparison.
English screenshots coming: some of the pictures below still show the receiver and the web interface in Romanian. The rows, keys and steps described on this page are the English ones.
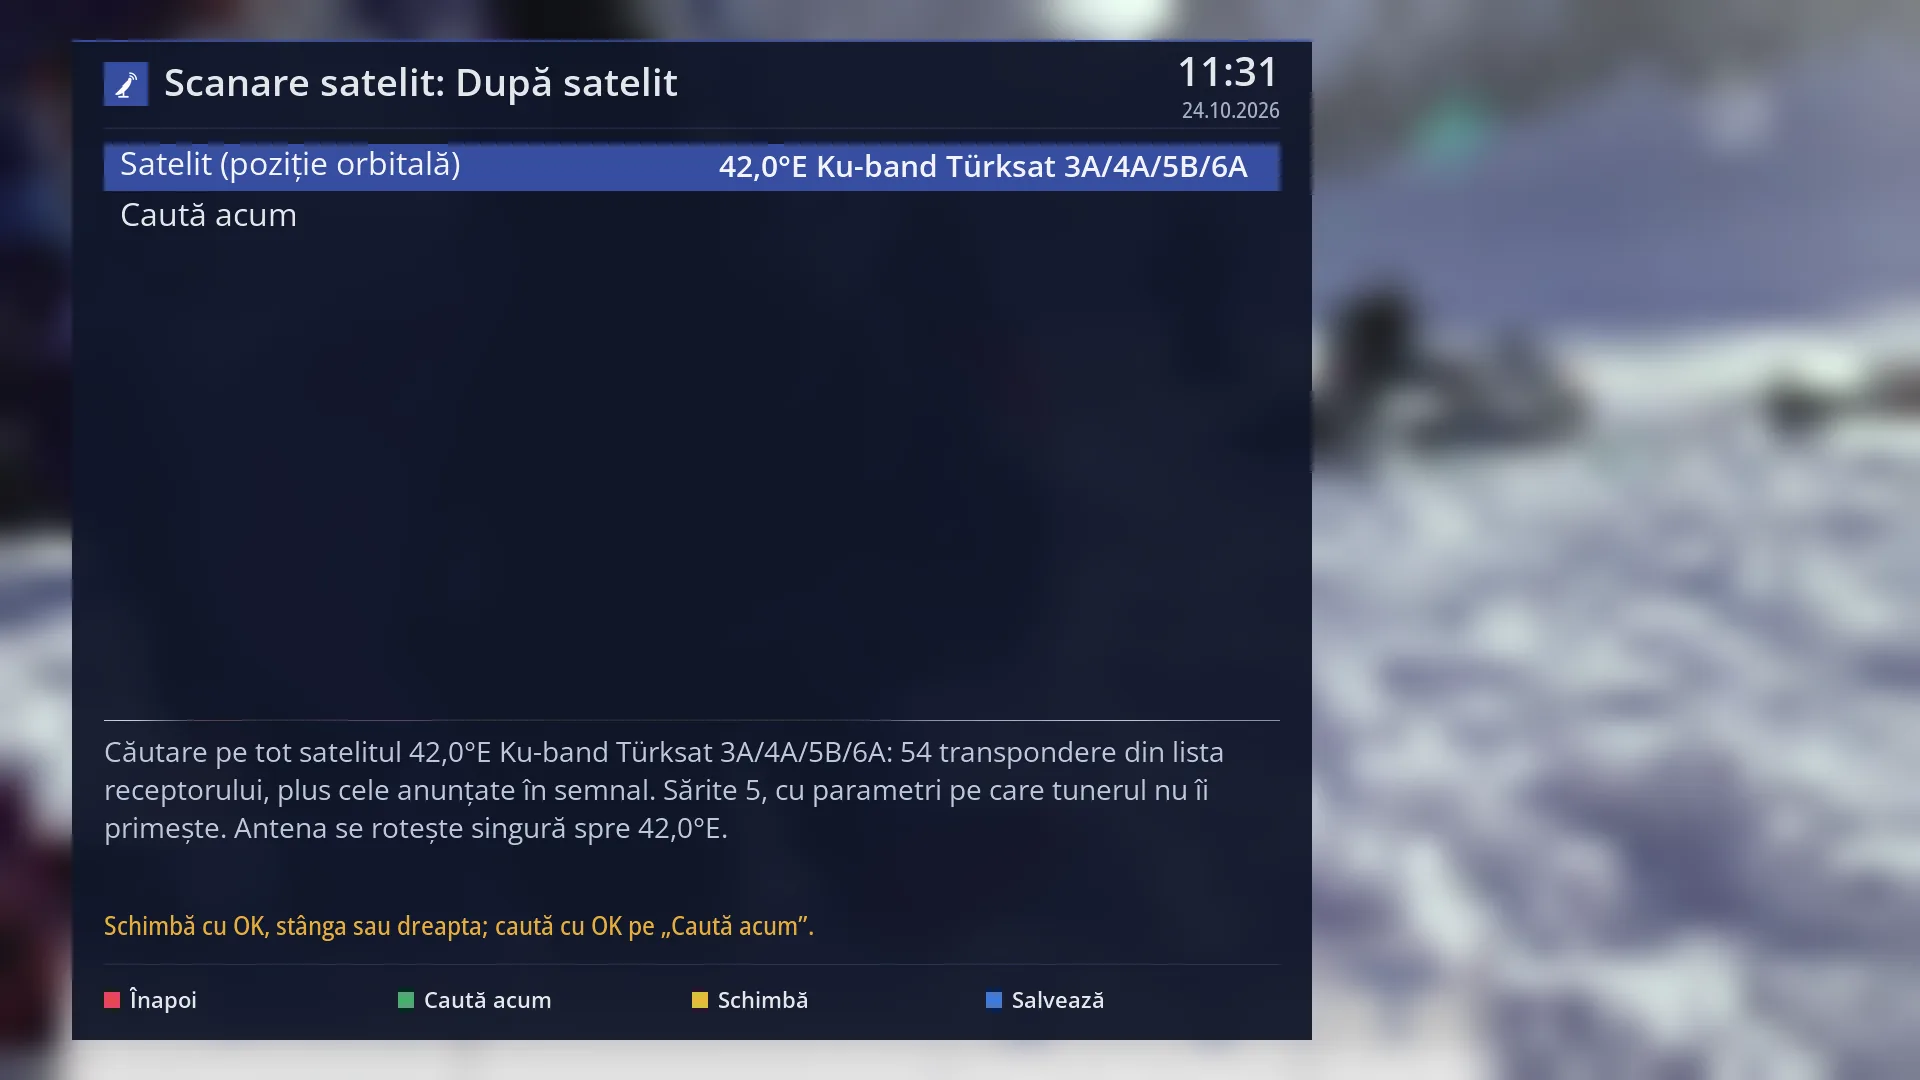
- 1 Type of search: satellite, whole satellite.
- 2 The satellite being searched.
- 3 OK here starts the search.
- 4 How many transponders are searched, how many are skipped and, with a motor, where the dish turns.
- 5 The status row: what the keys do, or the last message.
- 6 RED back, GREEN search, YELLOW change, BLUE save.
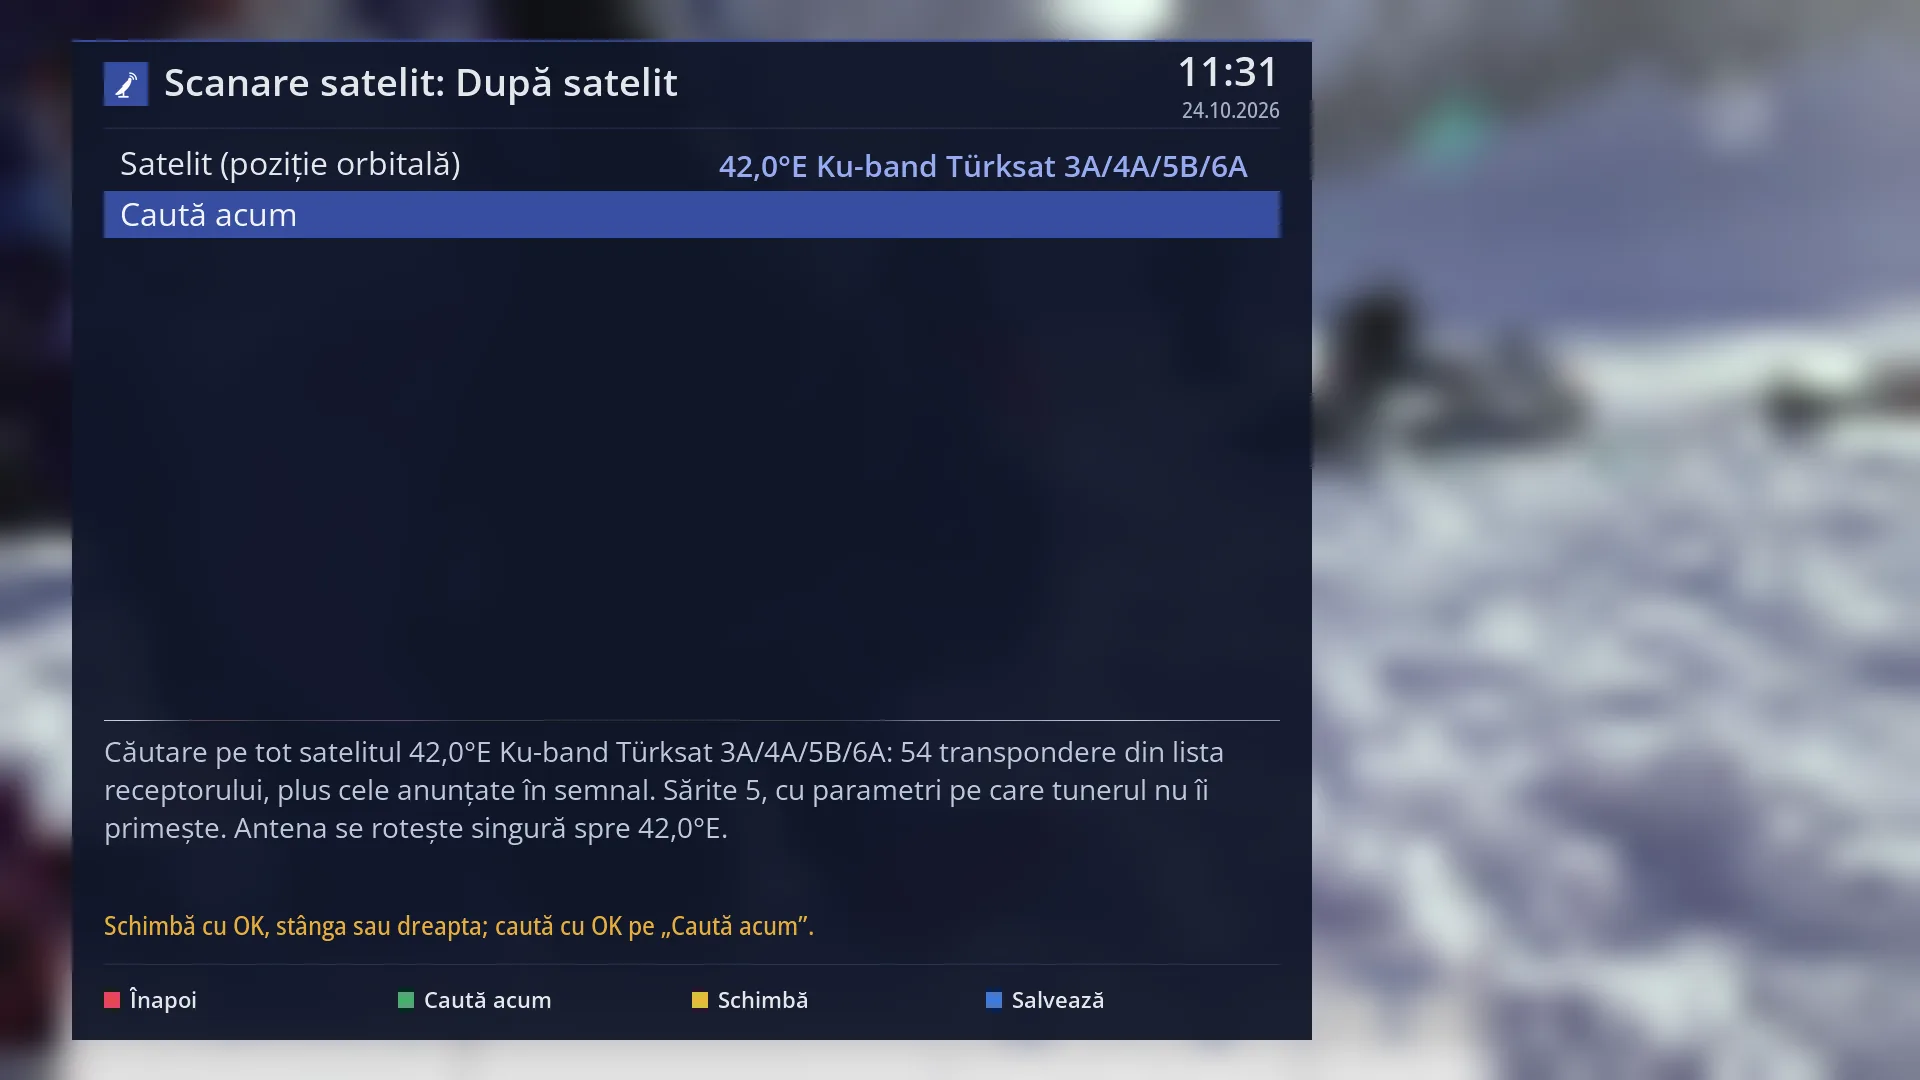
- 1 The selected row: “Search now”.
What it is for
“By satellite” searches the whole of the chosen satellite: all the transponders in the receiver's list for it, plus those the providers announce in the signal. This is the usual search after you have pointed the dish at a satellite.
You only choose the satellite. The preview tells you in advance how many transponders from the receiver's list will be searched and how many are skipped because the tuner cannot receive them.
With a motorised dish, the dish turns towards the satellite by itself when the search starts, and the list contains all satellites. With a fixed dish, the list only contains the satellites your dish can see, as set in Tuner settings.
To search several satellites at once, use “Several satellites”. For a single transponder, use “By transponder”.
The channels found are added to the channel list; the existing ones are not deleted. The same kind of search is also available in the web interface, on the /scanare/satelit/satelit page.
How to get here
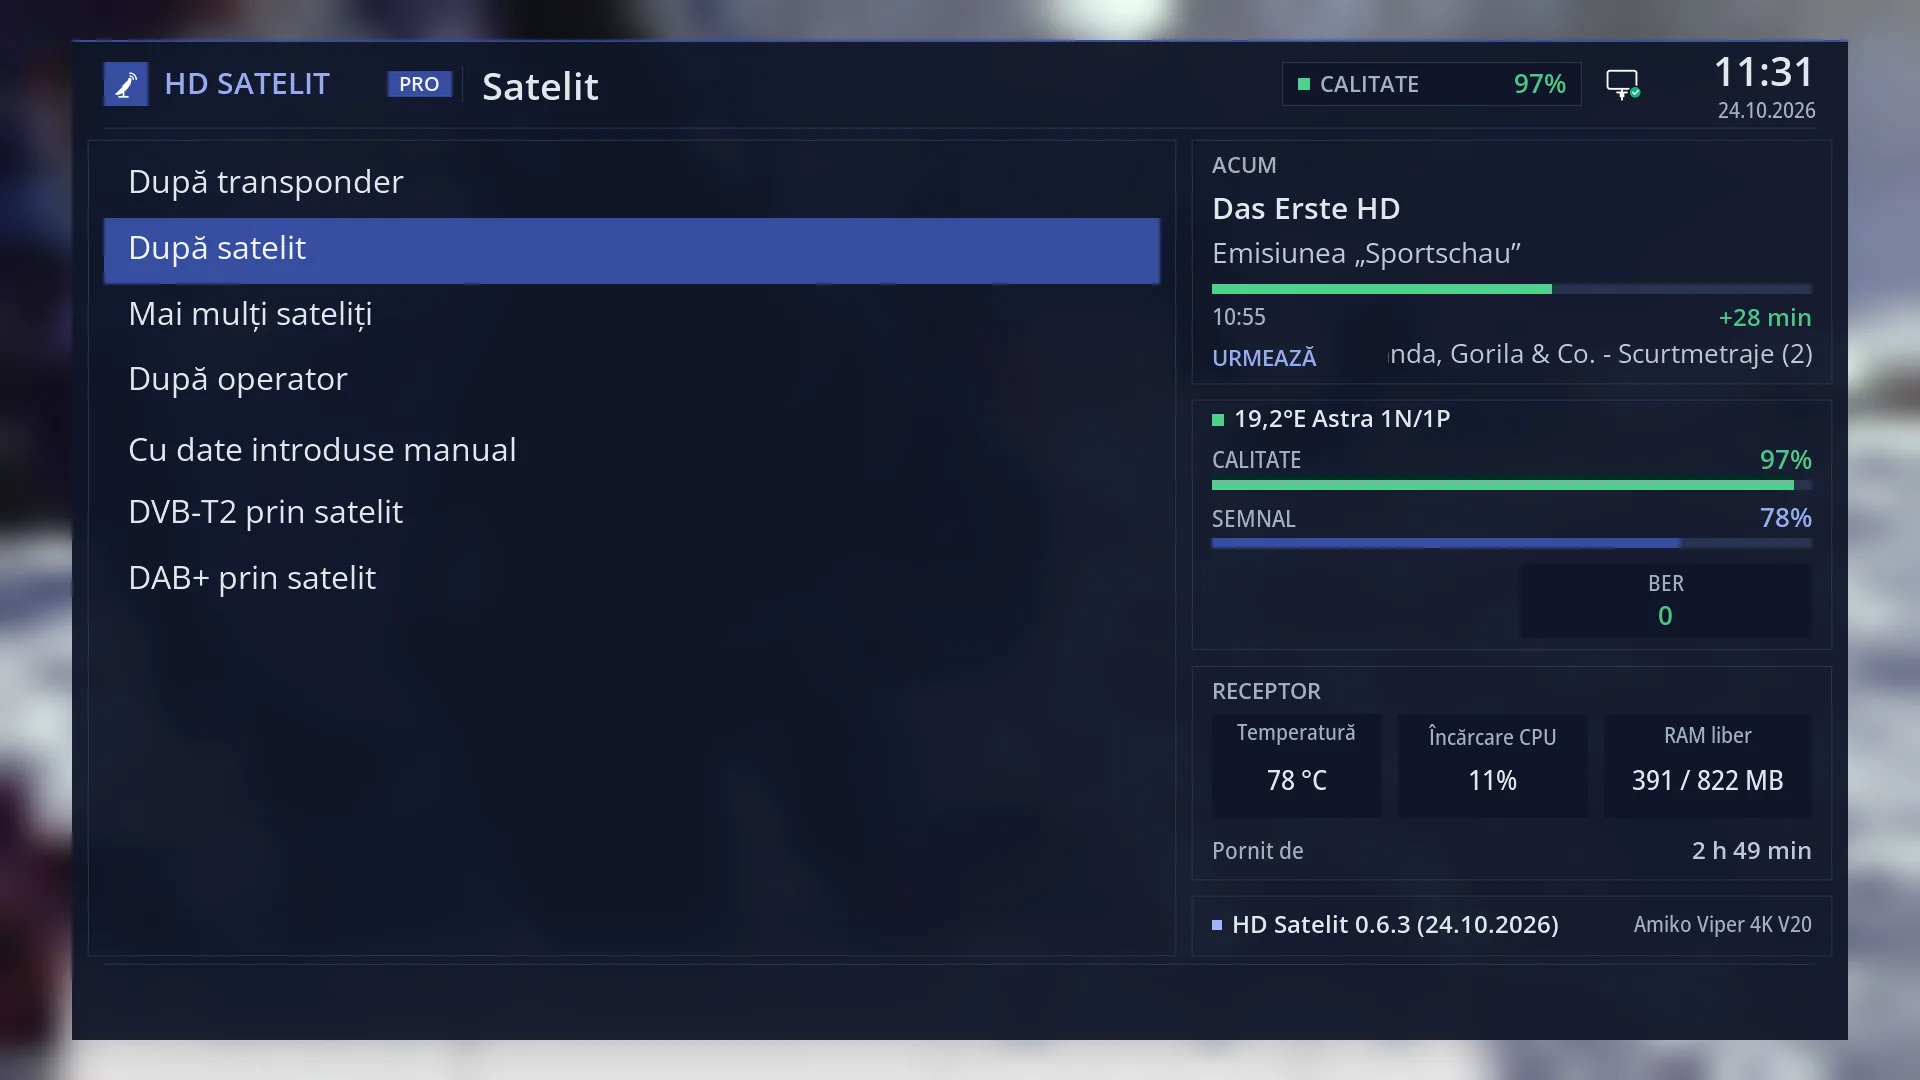
Path: Main menu > Channel scan > Satellite > By satellite
Keys on the TV: MENU 1 1 2
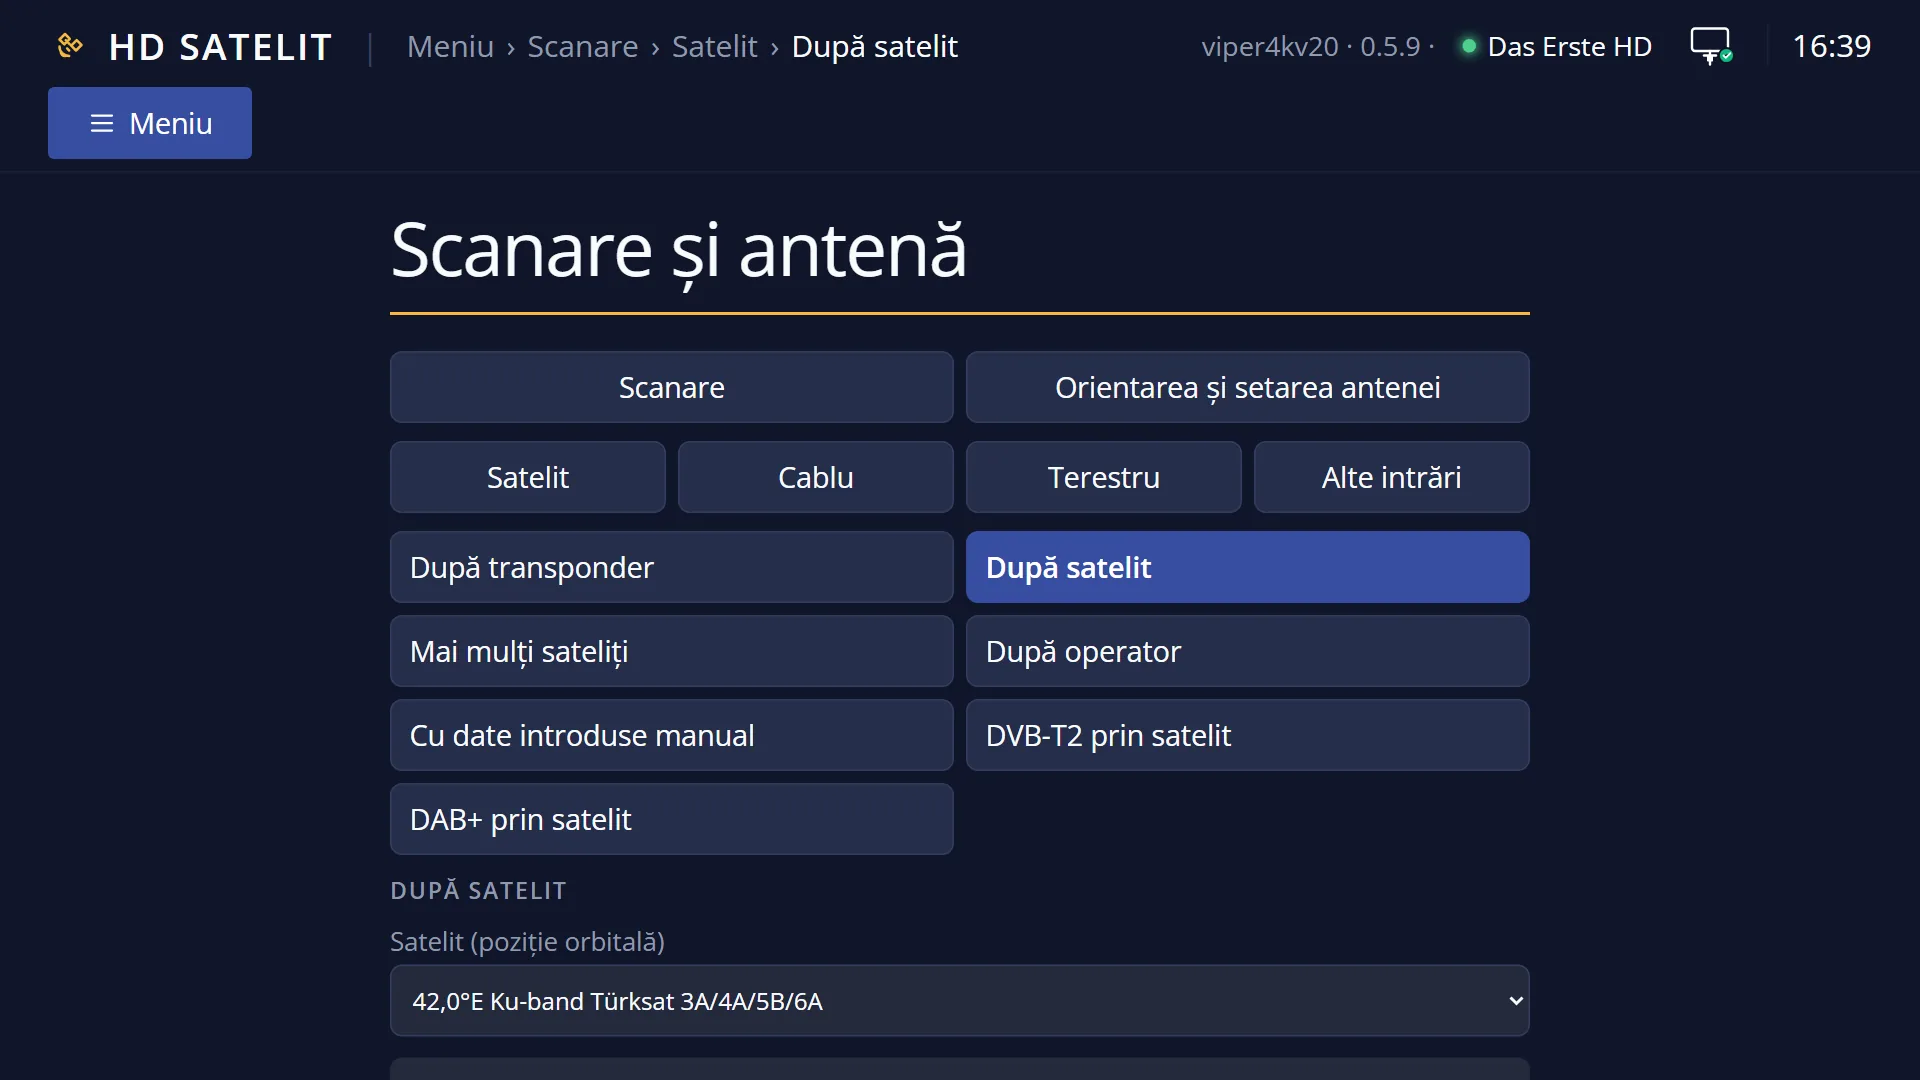
In the web interface: the /scanare/satelit/satelit page (the “Channel scan” tab, the “Satellite” group, the “By satellite” button).
What you see on the screen
At the top, the title “Satellite scan: By satellite”, the time and the date. In the Pro theme, the blue square with the logo is to the left of the title.
The list has two rows: “Satellite (orbital position)”, with the chosen satellite on the right (for example “19.2°E Astra 1N/1P”), and “Search now”.
Below the list is the preview: “Search on the whole satellite 19.2°E Astra 1N/1P: 120 transponders from the receiver's list, plus those announced in the signal.”, then, if applicable, “Skipped 3, with parameters the tuner does not accept.” and, with a motor, “The dish turns by itself towards 19.2°E.”. When a search is not possible, the reason is shown here.
Below that, in yellow, is the status row: “Change with OK, left or right; search with OK on “Search now”.” or the last message (“The configuration has been saved.”).
At the bottom are the colour keys: RED “Back”, GREEN “Search now”, YELLOW “Change”, BLUE “Save”.
With more than six satellites, OK on “Satellite” opens the satellite list across the whole window, with RED “Back” and GREEN “Choose” at the bottom.
Once the search starts, the “Channel search” screen opens: at the top, the satellite name and the transponder being tried now, the moving dots, the percentage and the number of channels found, the progress bar, “Time left” and “Transponders: x of y”, and below them the last channels found.
At the end a summary appears: “Channels found” and how many are new, how many are TV (HD, 4K) and how many are radio, “Transponders scanned” and how many had “no signal”, “Satellite: …”, “Duration” and, when the providers send their network, the “Operator network” box.
Rows and settings
| Row | Values | Default | What it does |
|---|---|---|---|
| Satellite (orbital position) | the satellites of your dish, shown with their position, for example “19.2°E Astra 1N/1P”; with a motor, all satellites in the receiver's list | 19.2°E, if the dish can see it; otherwise the dish's first satellite | The satellite that is searched in full. If no satellite is set in Tuner settings, the row shows “19.2°E (default, no satellite configured on the tuner)” and the search tells you what to do. When you search on another satellite. |
| Skipped transponders | This is not a row on the screen. From the satellite's list, the receiver skips transponders with values the tuner cannot receive (symbol rate below 1000 or above 60000 kSymb/s, APSK modulations, DVB-S2 without FEC) and, if the tuner cannot select the stream, those with several streams. The preview tells you how many there are. | ||
| Search now | OK on this row starts the search, the same as the GREEN key. Before the search starts, the chosen satellite is remembered. With a motor, the dish starts turning towards the satellite. After you have chosen the satellite. | ||
| Channels found | They are written to the channel list only at the end of the search. The existing channels are not deleted; those found again are updated. You can find them in the channel list under Satellites, under the satellite name. |
Keys
| UP / DOWN | Moves the cursor between “Satellite” and “Search now”. From the last row, DOWN goes to the first, and the other way round. |
| LEFT / RIGHT | On “Satellite”, they switch to the previous or next satellite without opening the list. |
| OK | On “Satellite”, it opens the satellite list when there are more than six, otherwise it moves to the next one. On “Search now”, it starts the search. |
| GREEN | Starts the search from any row (the screen shows “Search now”). |
| YELLOW | On “Satellite”, it does the same as OK (the screen shows “Change”). On “Search now”, it does nothing. |
| BLUE | Remembers the chosen satellite and shows “The configuration has been saved.” (the screen shows “Save”). |
| RED or EXIT | Closes the screen and takes you back to the Satellite menu. The chosen satellite is remembered in this case too. |
| In the satellite list: OK or GREEN | Chooses the highlighted satellite and closes the list. RED or EXIT close it without any change. |
| EXIT (on the “Channel search” screen) | During the search, it stops it; the channels found so far are not written to the list. After the end, it closes the result. |
| OK (on the “Channel search” screen) | After the end, it closes the result. While the search is running, it does nothing. |
Step by step
Searching the whole satellite
- Press MENU 1 1 2.
- On “Satellite (orbital position)”, choose the satellite with LEFT, RIGHT or OK.
- Read the preview: how many transponders will be searched and, with a motor, where the dish turns.
- Press GREEN and let the search finish. Read the summary and press EXIT. When asked about the tracks, choose Yes or No.
Searching again after the frequencies have changed
- Press MENU 1 1 2: the satellite from last time is already selected.
- Press GREEN. The old channels stay, the ones that have moved are updated and the new ones are added.
Starting the search from your phone
- Open the receiver's web interface and go to /scanare/satelit/satelit.
- Choose the satellite; below it you see the same preview as on the TV.
- Press “Search now” and follow the search in the “The search on the TV” card. “Stop the search” stops it.
Problems and solutions
The message “The satellite tuner has no satellite configured. Set up the dish in “Tuner settings”, then come back here.” appears.
Tell the receiver how the dish is connected: Menu > Dish alignment and setup > Tuner settings (MENU 2 1). Then come back here.
The message “Your dish is fixed and only sees: …, so you cannot search from here.” appears.
The chosen satellite is not on your dish. Choose one of the satellites named in the message, or add it in Tuner settings if the dish really can see it.
The message “The dish location is not set, so the motor does not know which way to turn the dish. …” appears.
Choose the country and the city in Dish location (MENU 2 4), then search again.
The message “Satellite … has no transponders in the receiver's list, so there is nothing to search.” appears.
The receiver has no transponders in its list for this satellite. Use “Enter data manually” (MENU 1 1 5) to search a known transponder of the satellite, or update the image.
The summary says “No transponder had a signal. Check the antenna, the LNB, the cable and the tuner settings (DiSEqC, motor).”
The dish is not pointed at the chosen satellite. Check the signal in Signal finder (MENU 2 6) and the settings in Tuner settings (the DiSEqC switch, the motor).
The search takes a long time.
A whole satellite has tens or hundreds of transponders, and each one without a signal takes a few seconds. “Time left” on the search screen is worked out as the search goes on. For a few specific channels, “By transponder” is quicker.
I stopped the search with EXIT and I have no new channels.
Channels are written to the list only at the end of the search. Start it again and let it finish.
Related topics
- Satellite, all kinds of search
- Several satellites
- By transponder (satellite)
- Tuner settings
- Signal finder
- Dish location (for a motor)
- Channel search (channel tracks after a scan)
- Matching web page: /scanare/satelit/satelit.
Differences between receivers
On the Amiko Viper 4K V20, the satellite search uses its only satellite tuner, tuner A.