

Satellite
English screenshots coming: some of the pictures below still show the receiver and the web interface in Romanian. The rows, keys and steps described on this page are the English ones.
What it is for
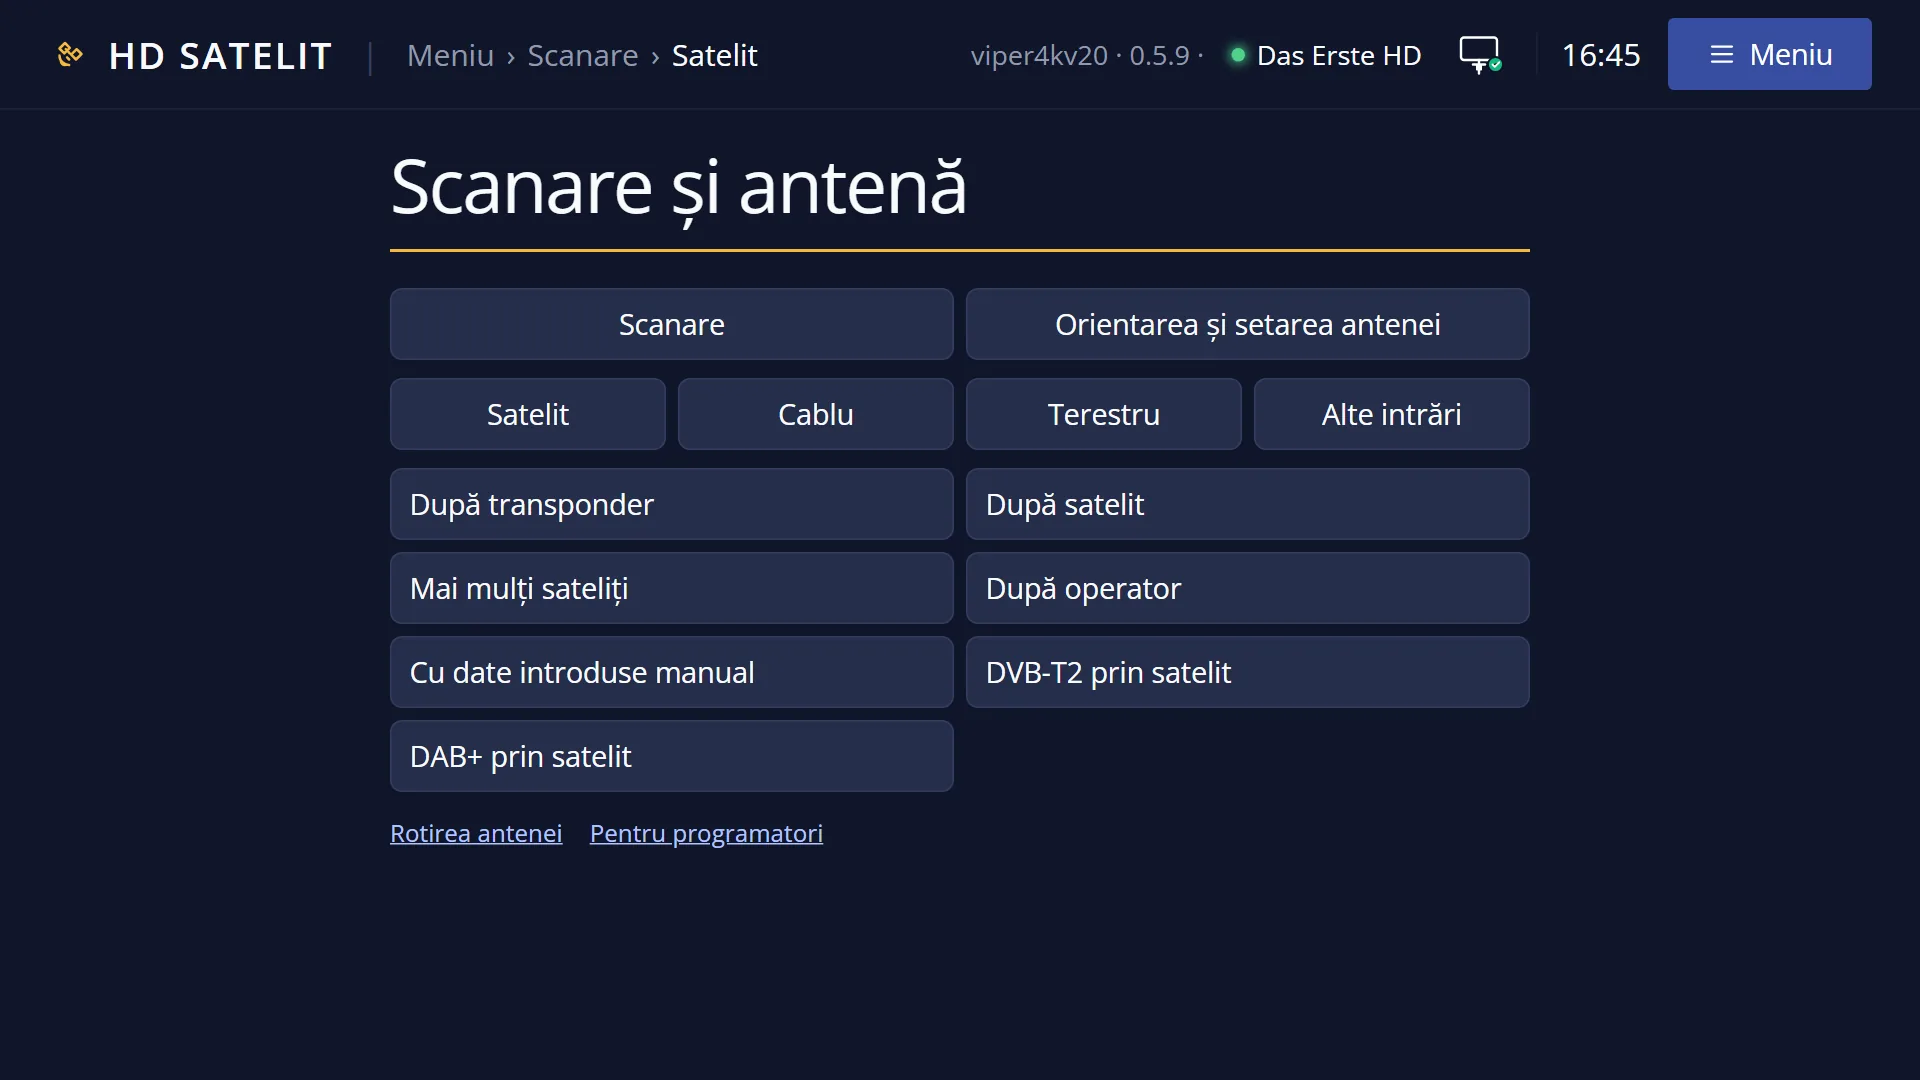
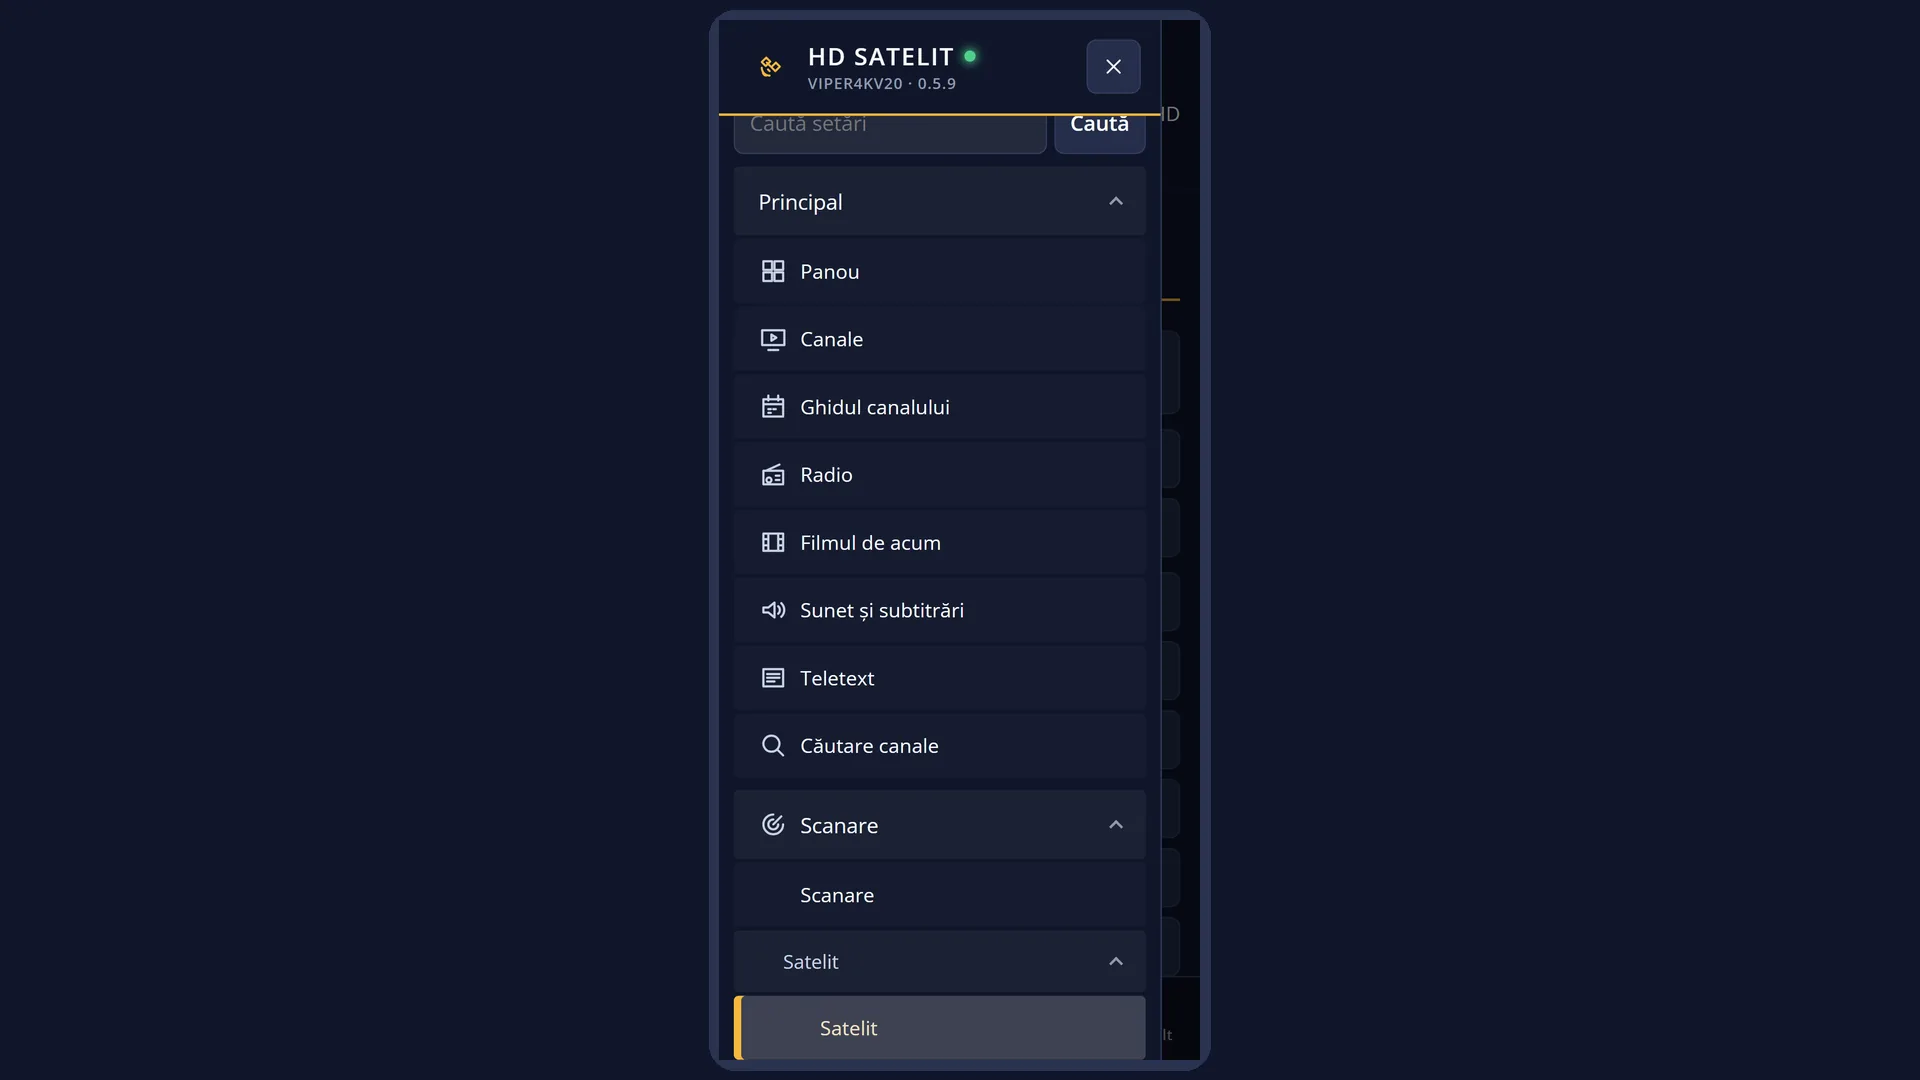
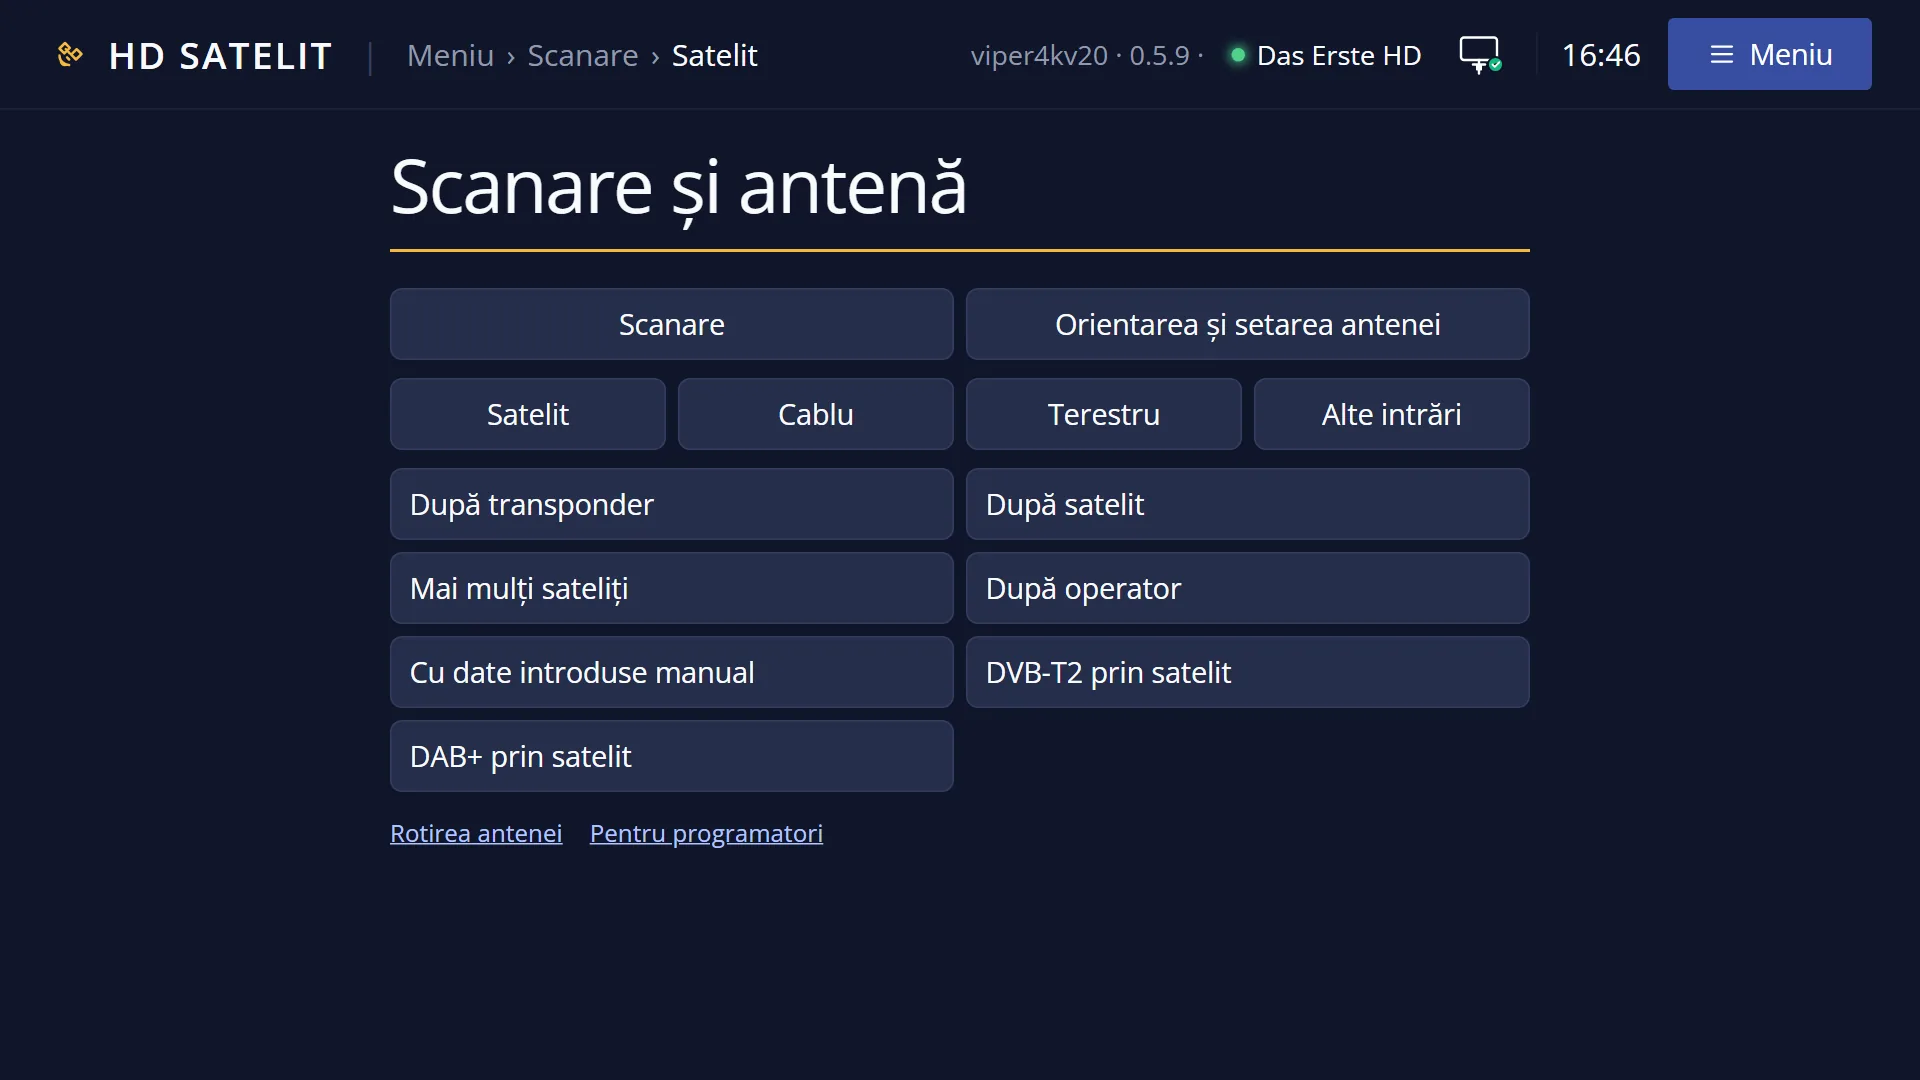
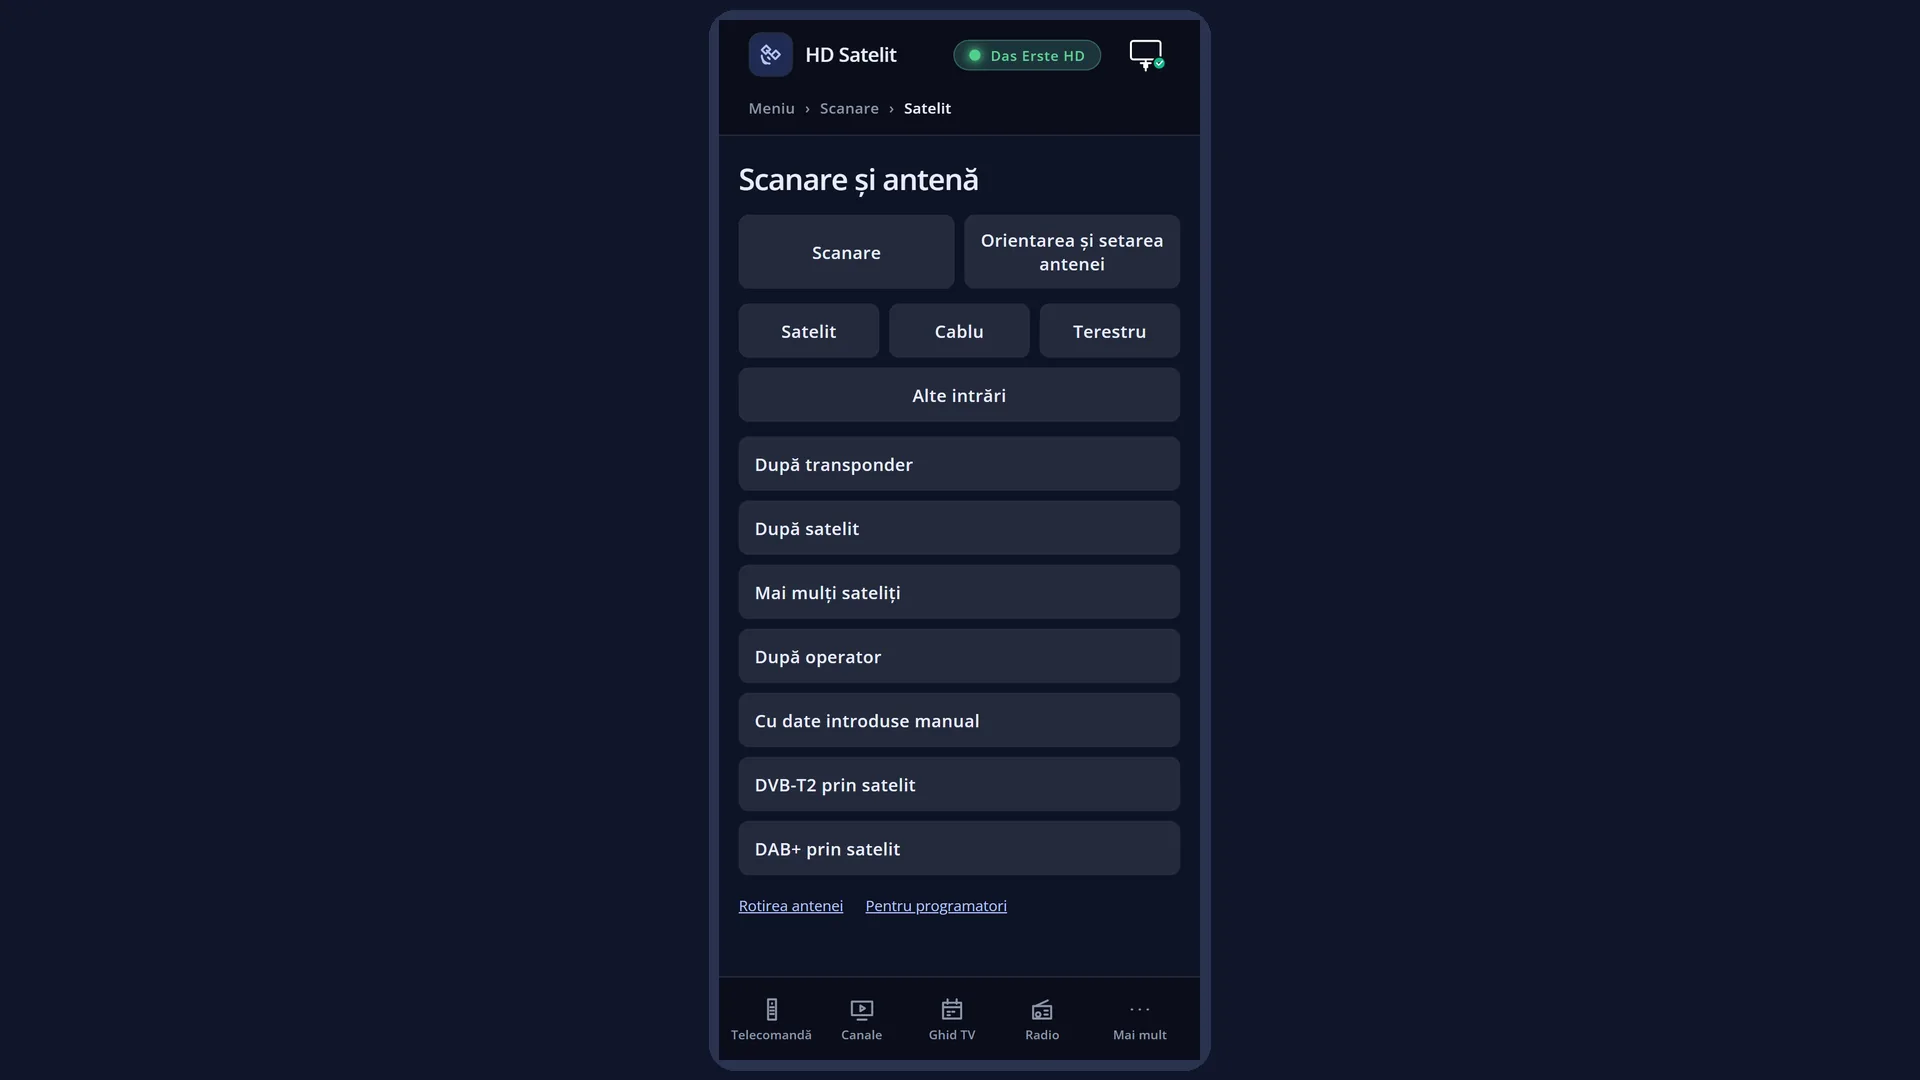
The “Satellite” submenu groups the seven kinds of satellite search. They are all on the same level, in the order in which they are usually used.
You choose the kind based on what you know: a specific transponder, a whole satellite, several satellites at once, a provider's package, the data of a transponder that you type in yourself, or the special searches for DVB-T2 television and DAB+ radio sent via satellite.
Each kind shows in advance, below the list, what it will search for. For satellites your dish cannot see, it tells you clearly why the search is not possible. With a motor, the dish turns by itself towards the chosen satellite.
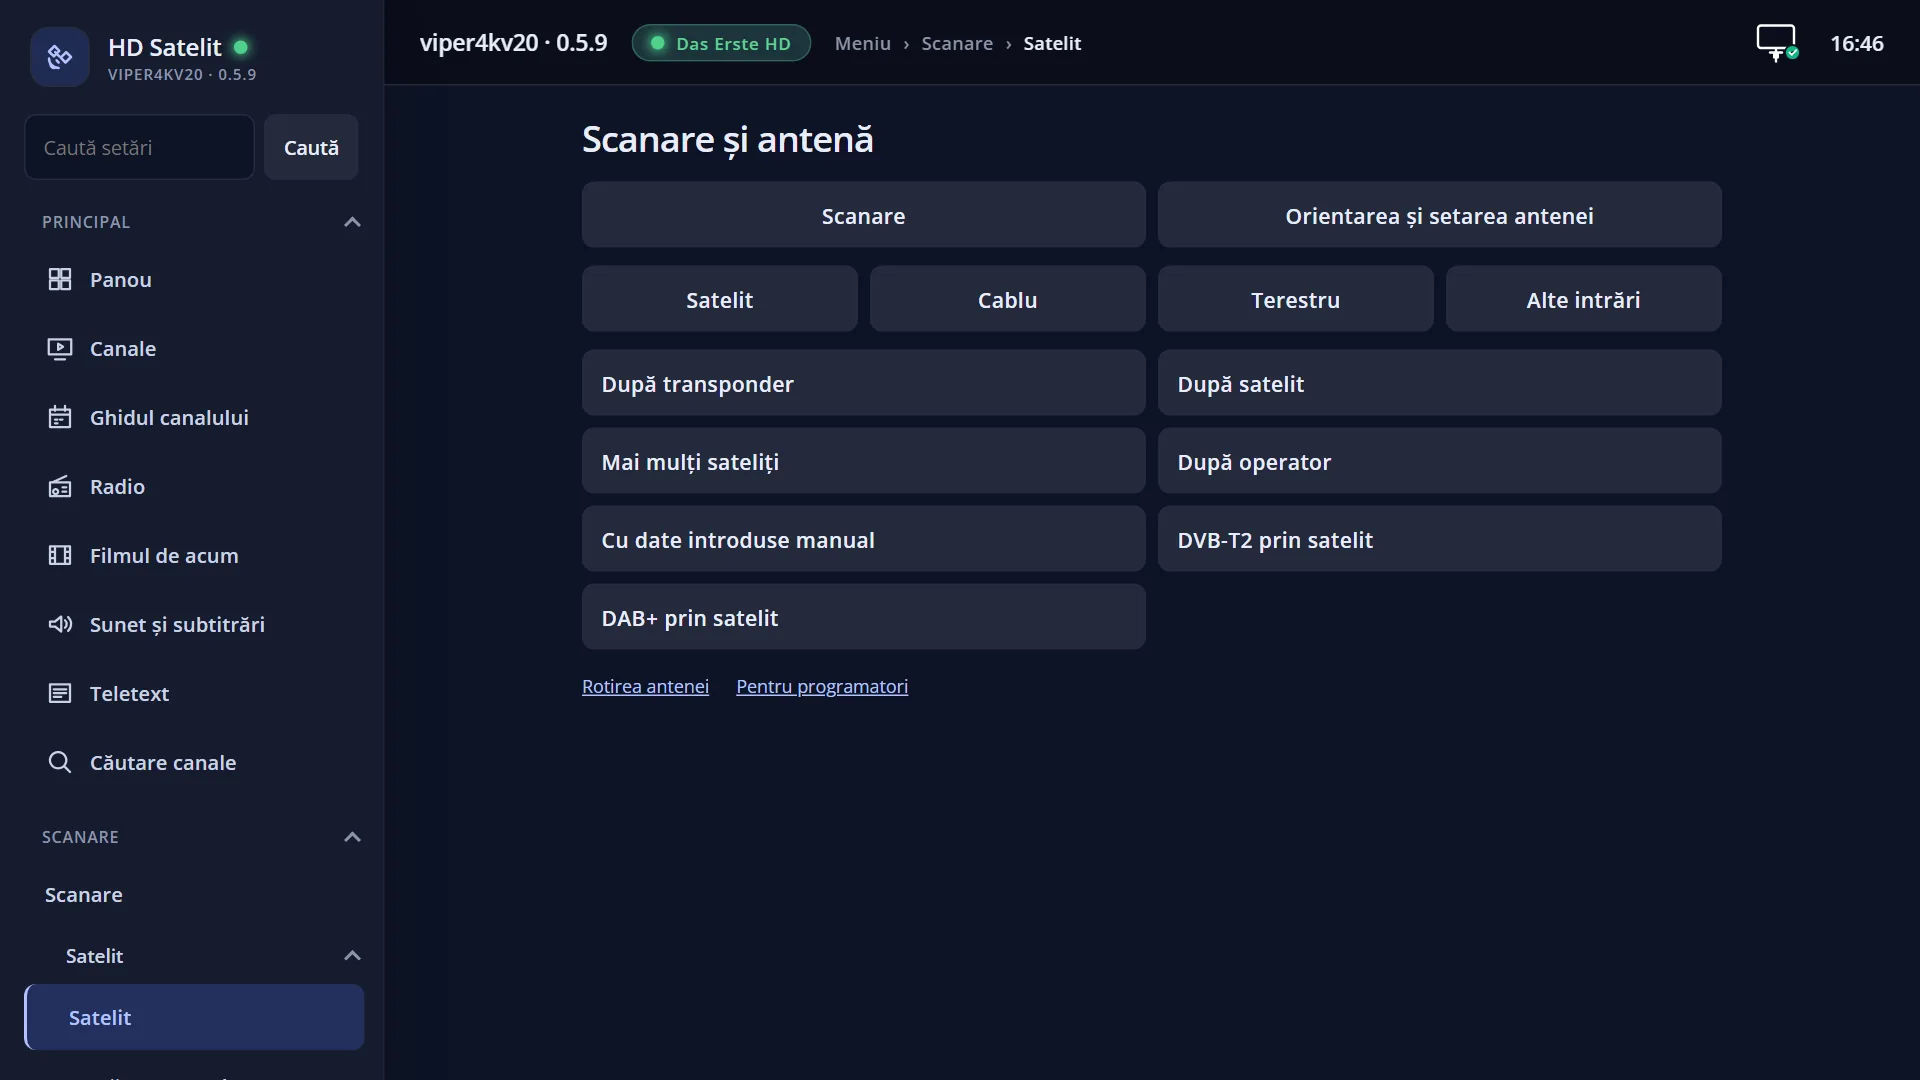
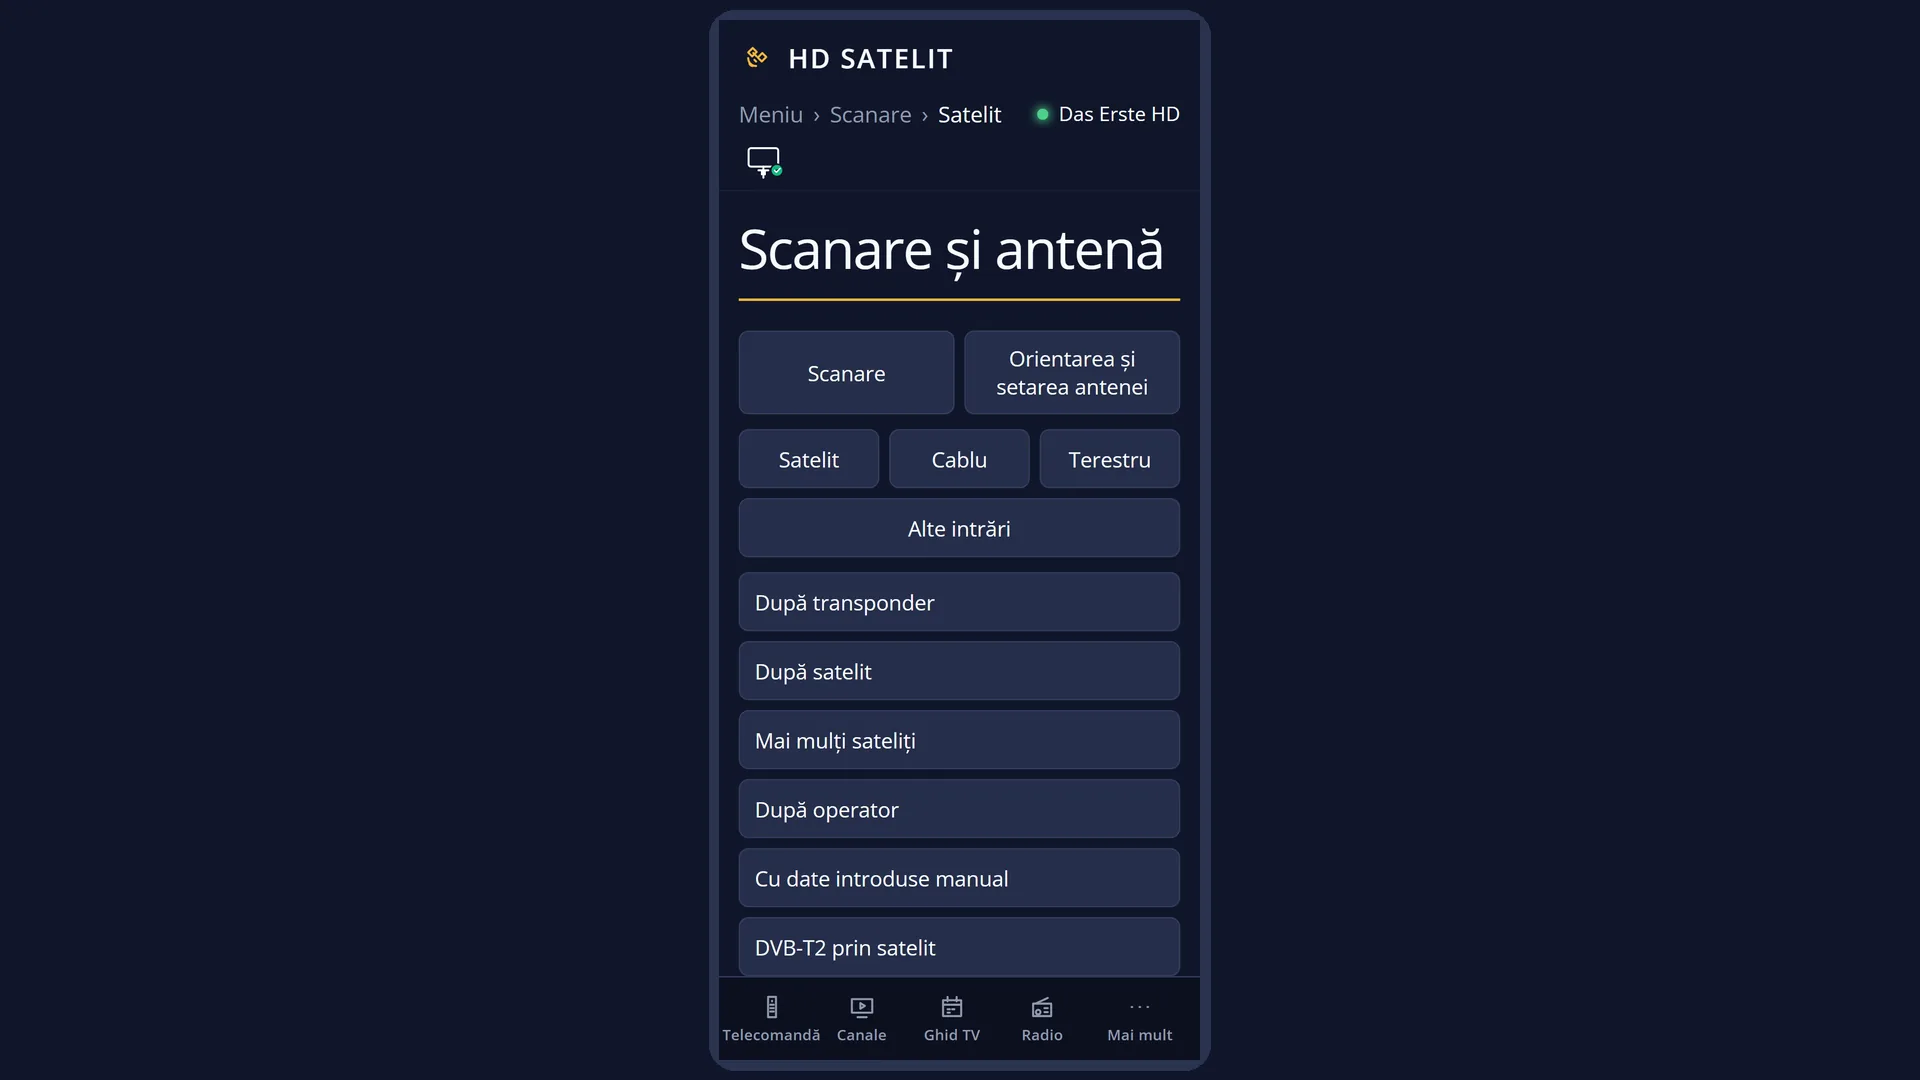
The same submenu is also in the web interface, on the /scanare/satelit page, with the same kinds and the same rows.
How to get here
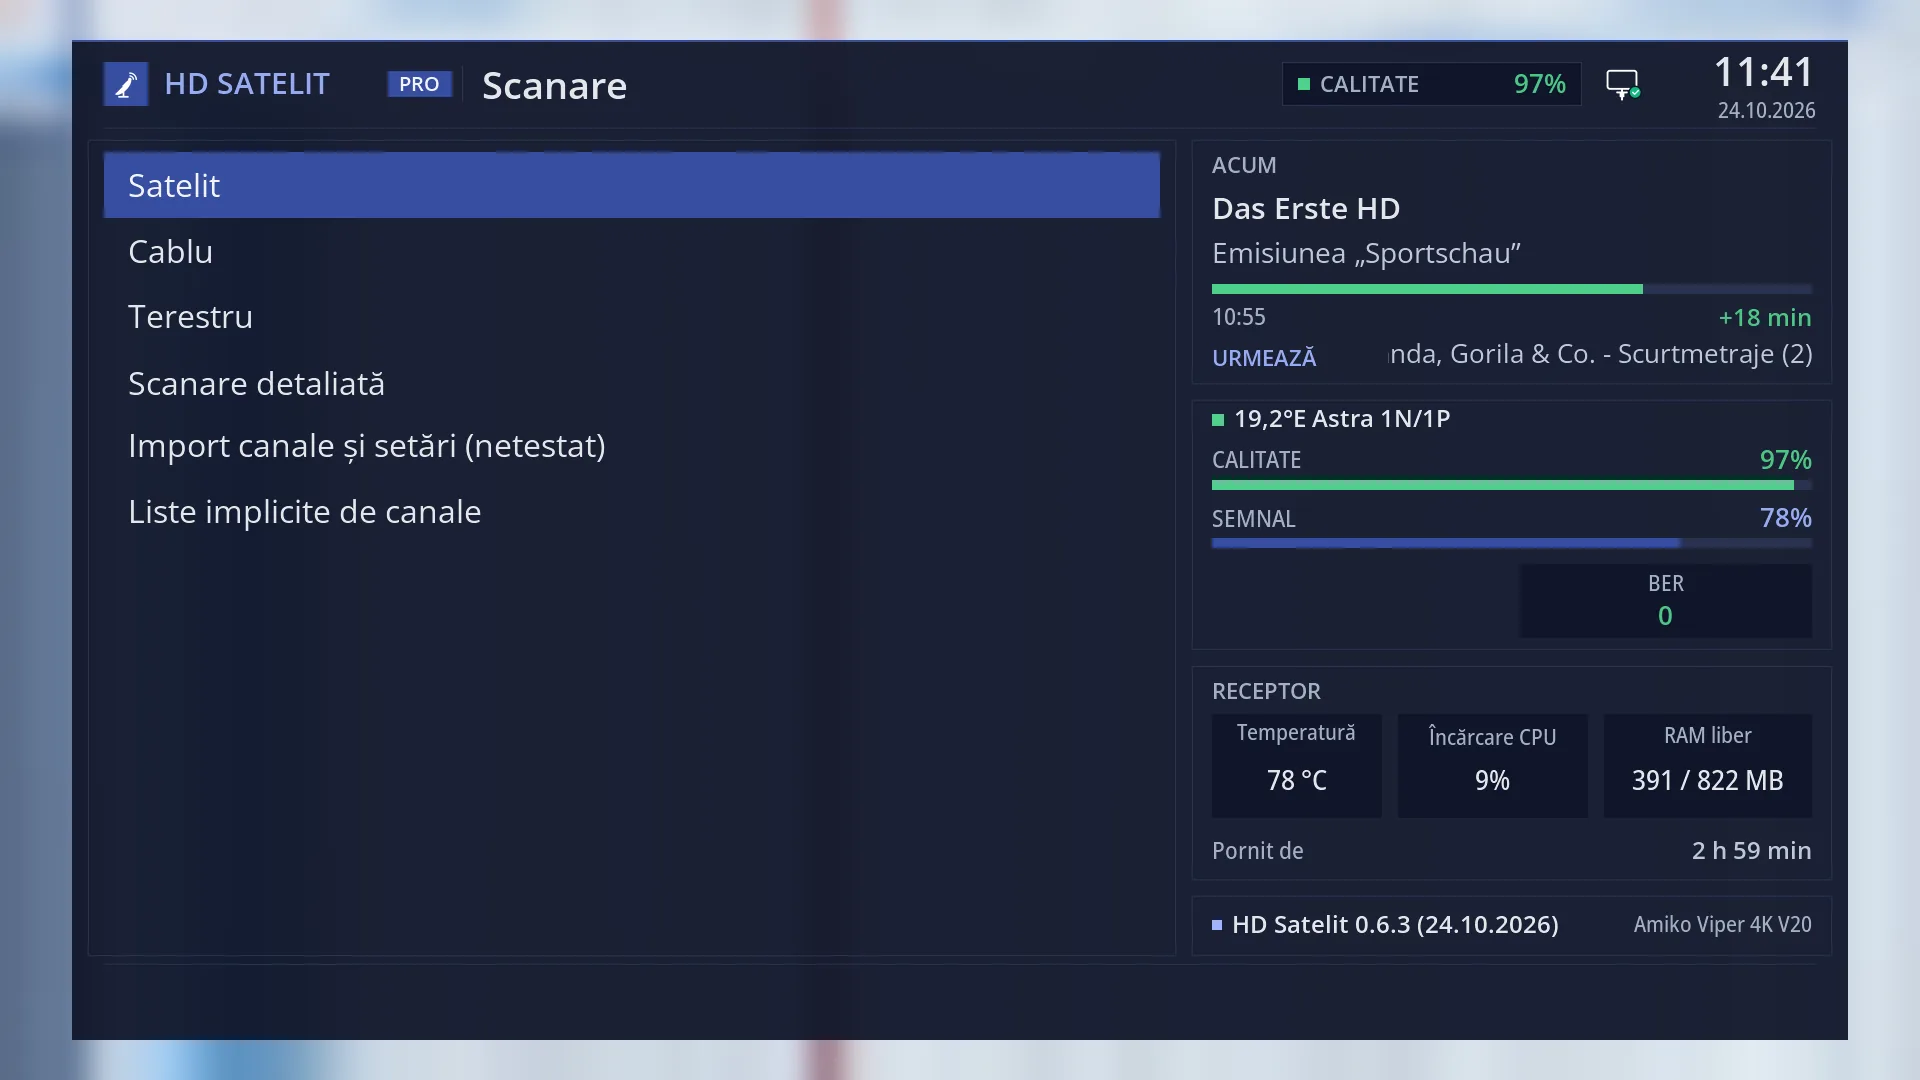
Path: Main menu > Channel scan > Satellite
Keys on the TV: MENU 1 1
In the web interface: the /scanare/satelit page (“Channel scan” tab, “Satellite” group).
What you see on the screen
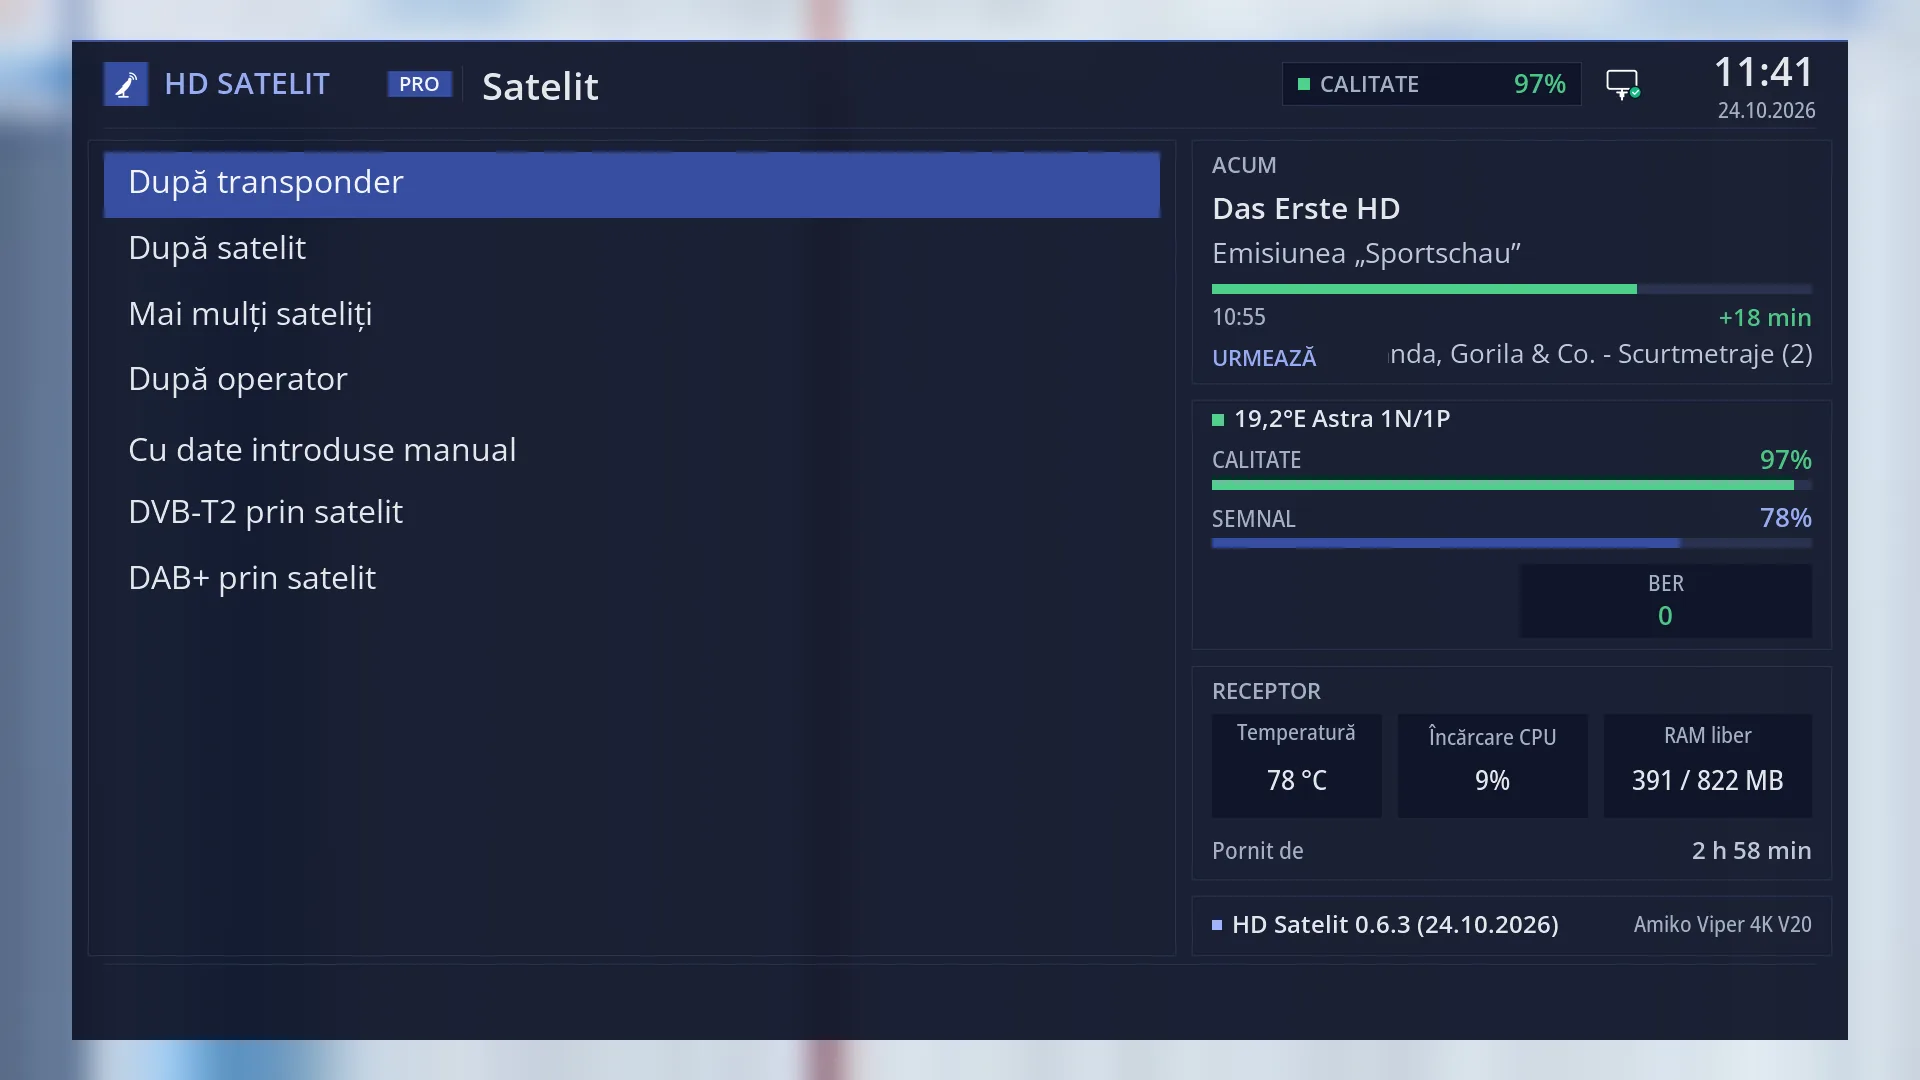
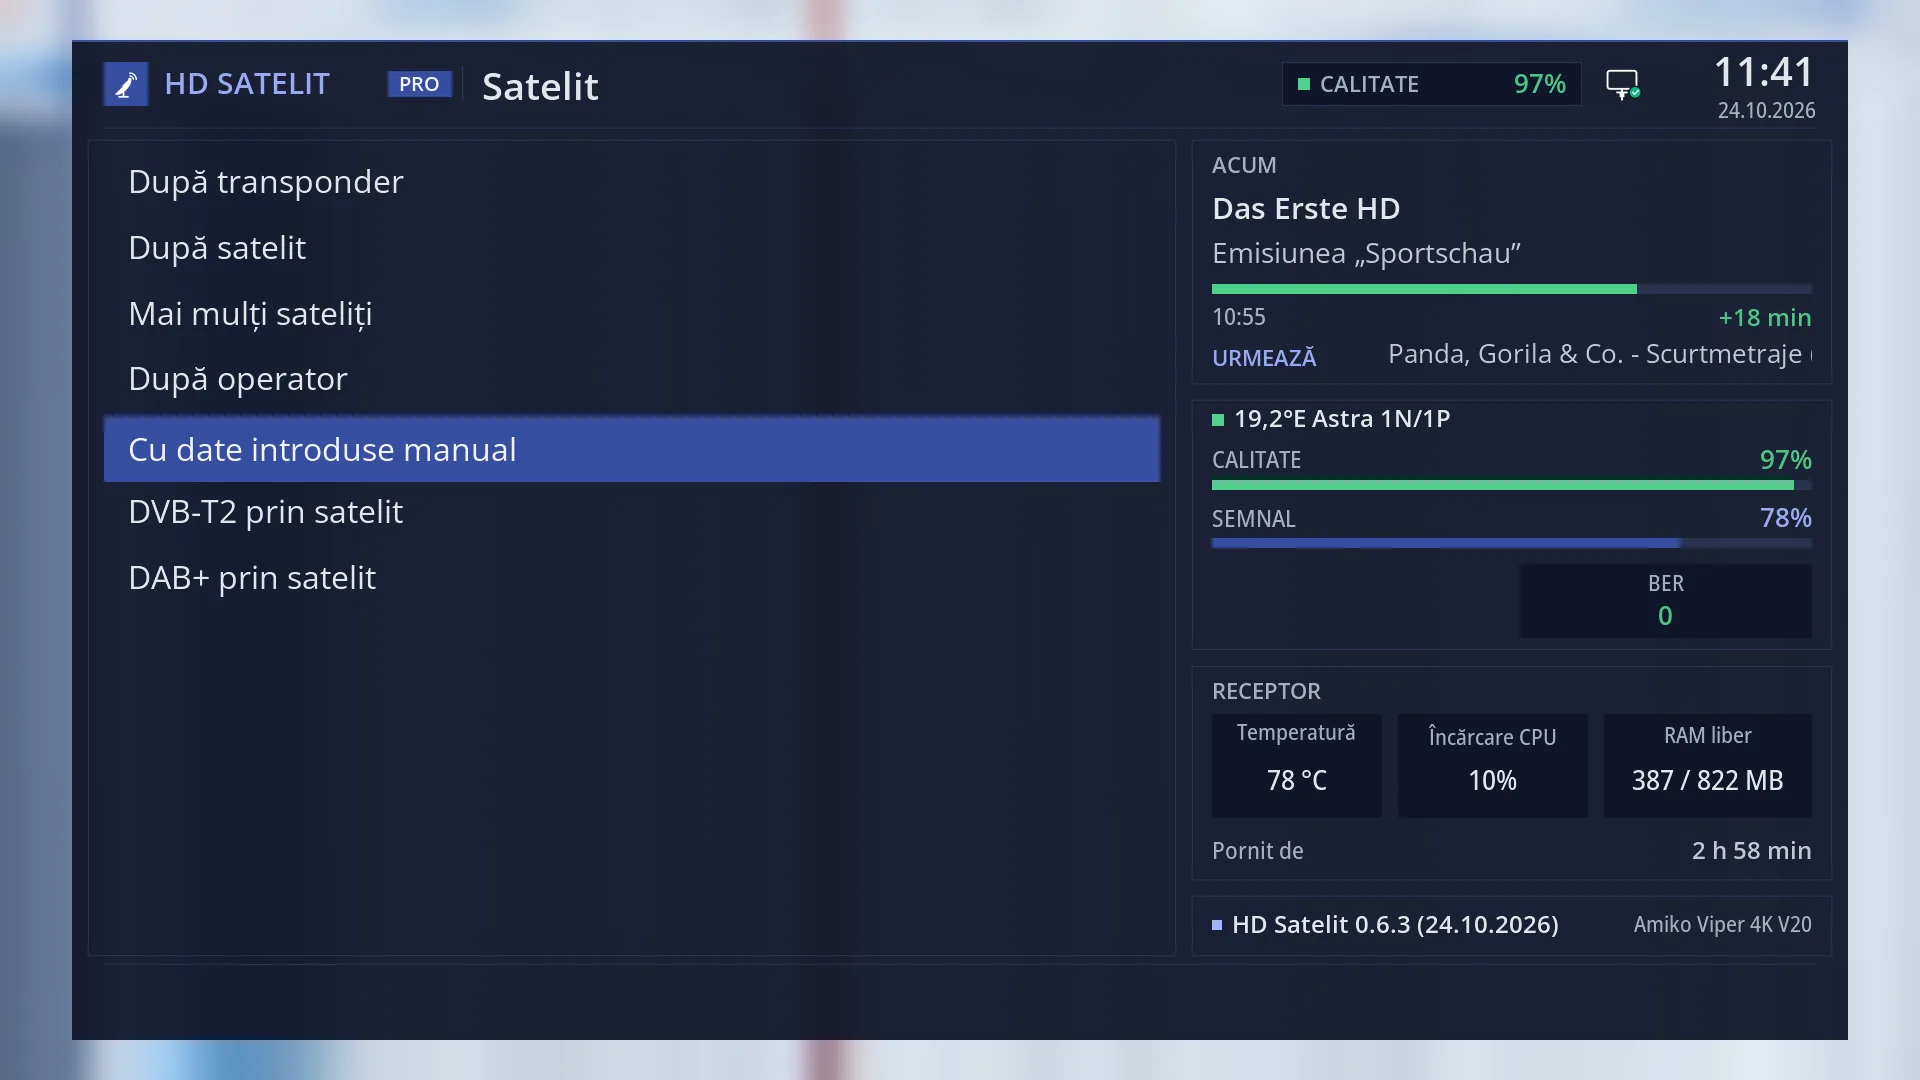
At the top: the title “Satellite”, the clock and the date. In the Pro theme, “HD SATELIT” with the “PRO” label appears on the left, and on the right you see the signal quality of the current channel and the network icon.
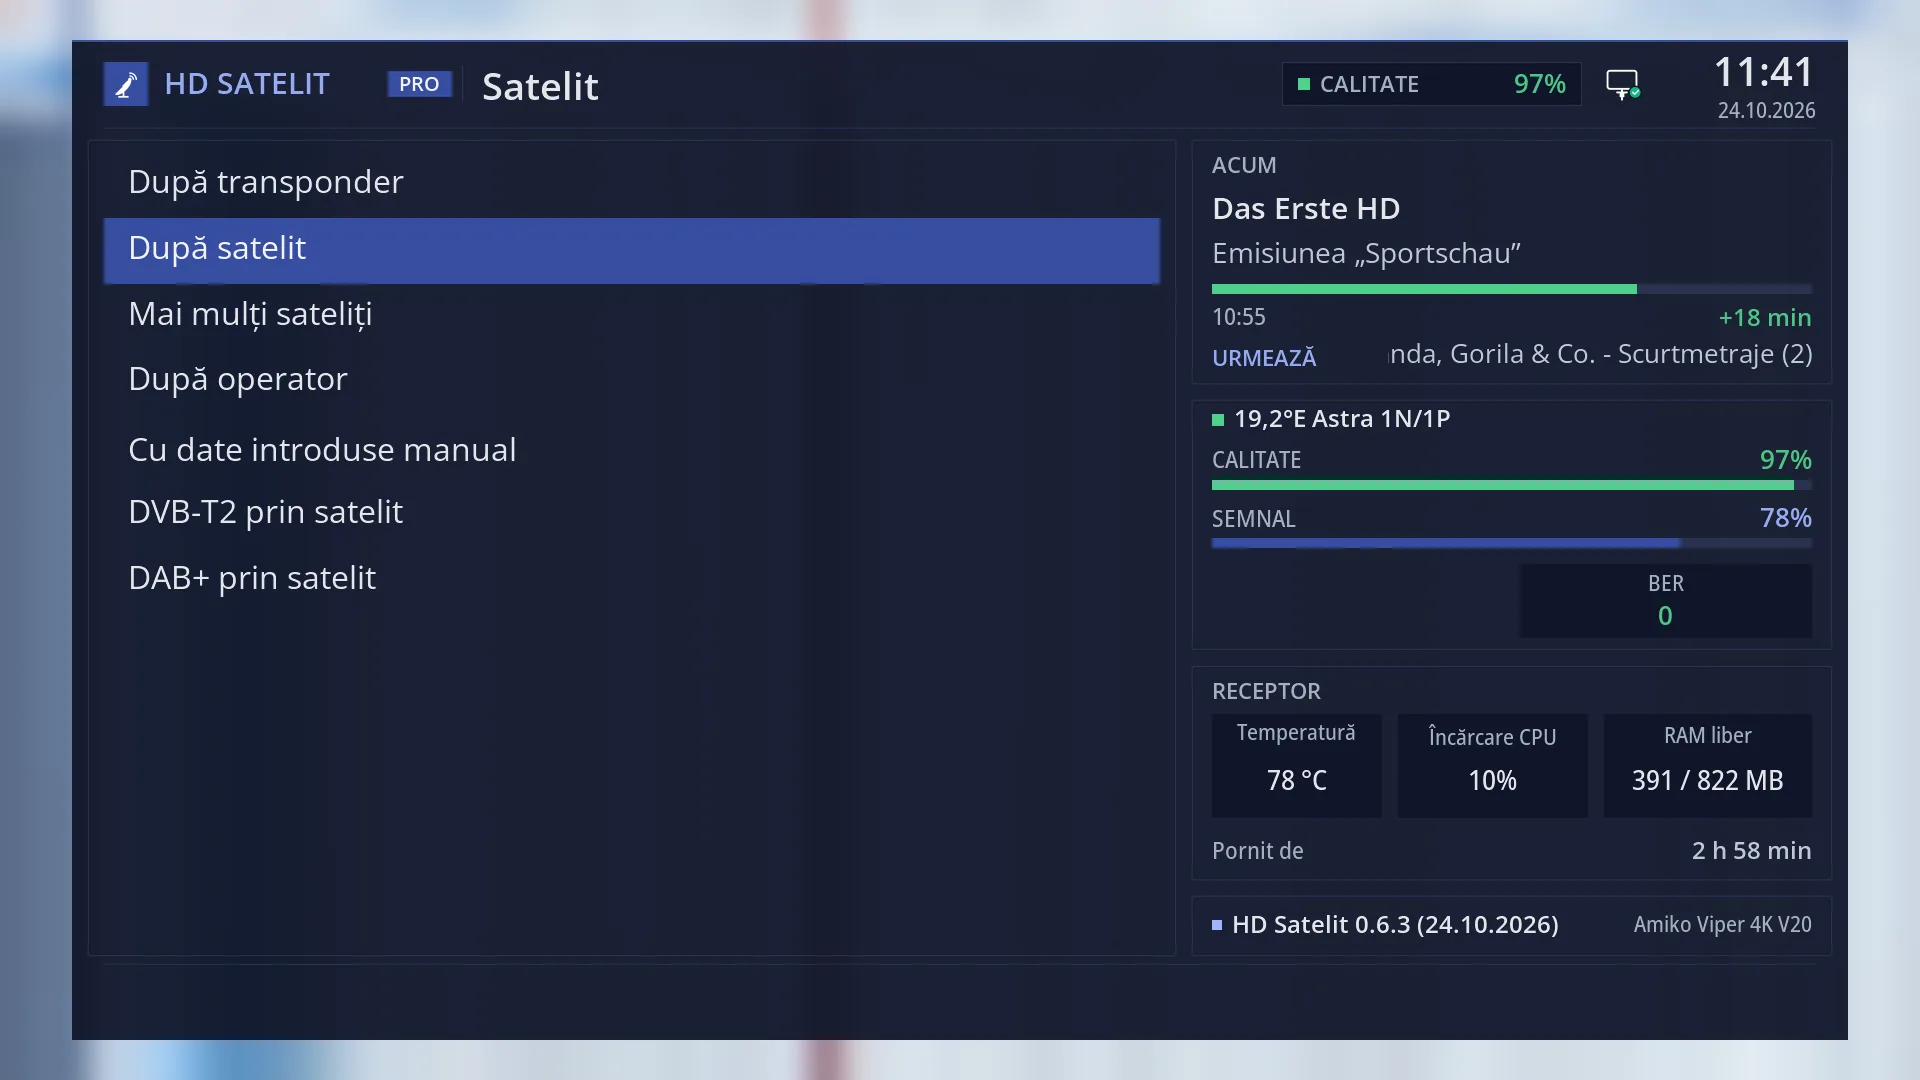
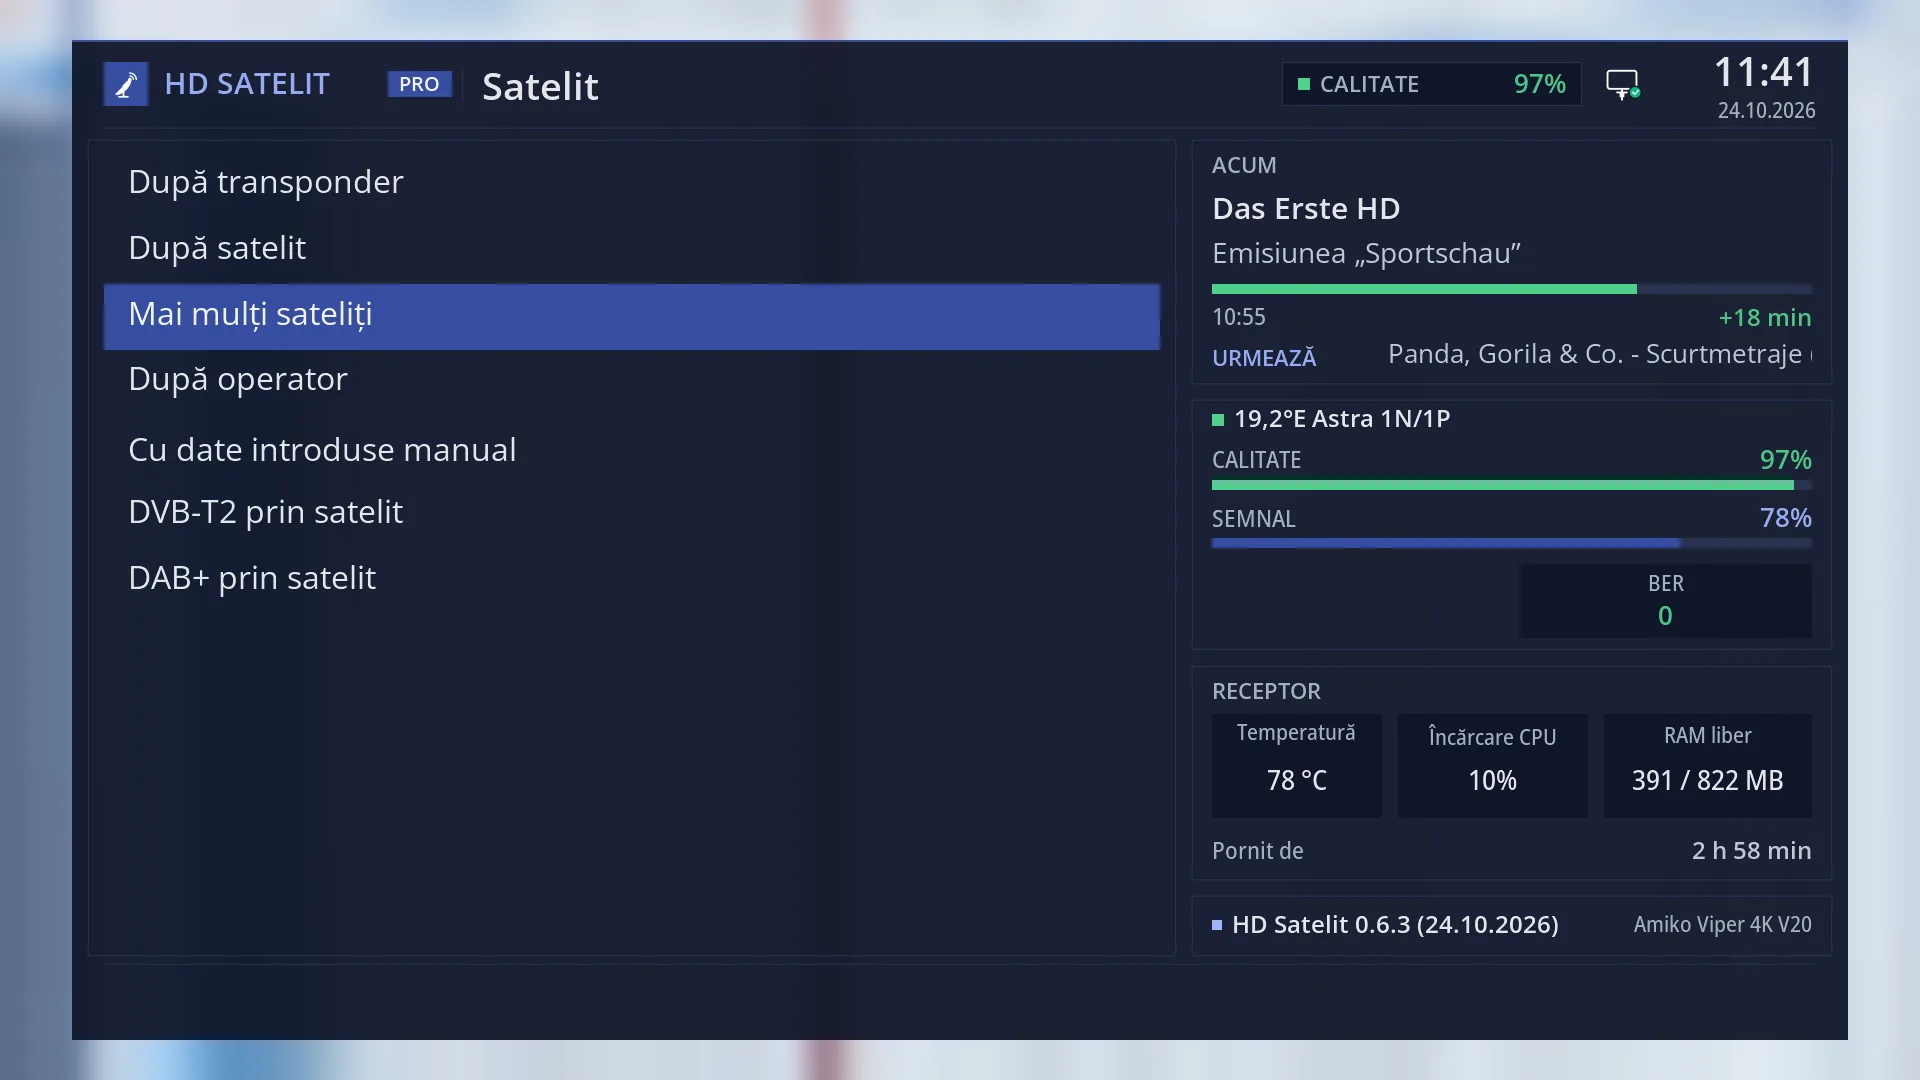
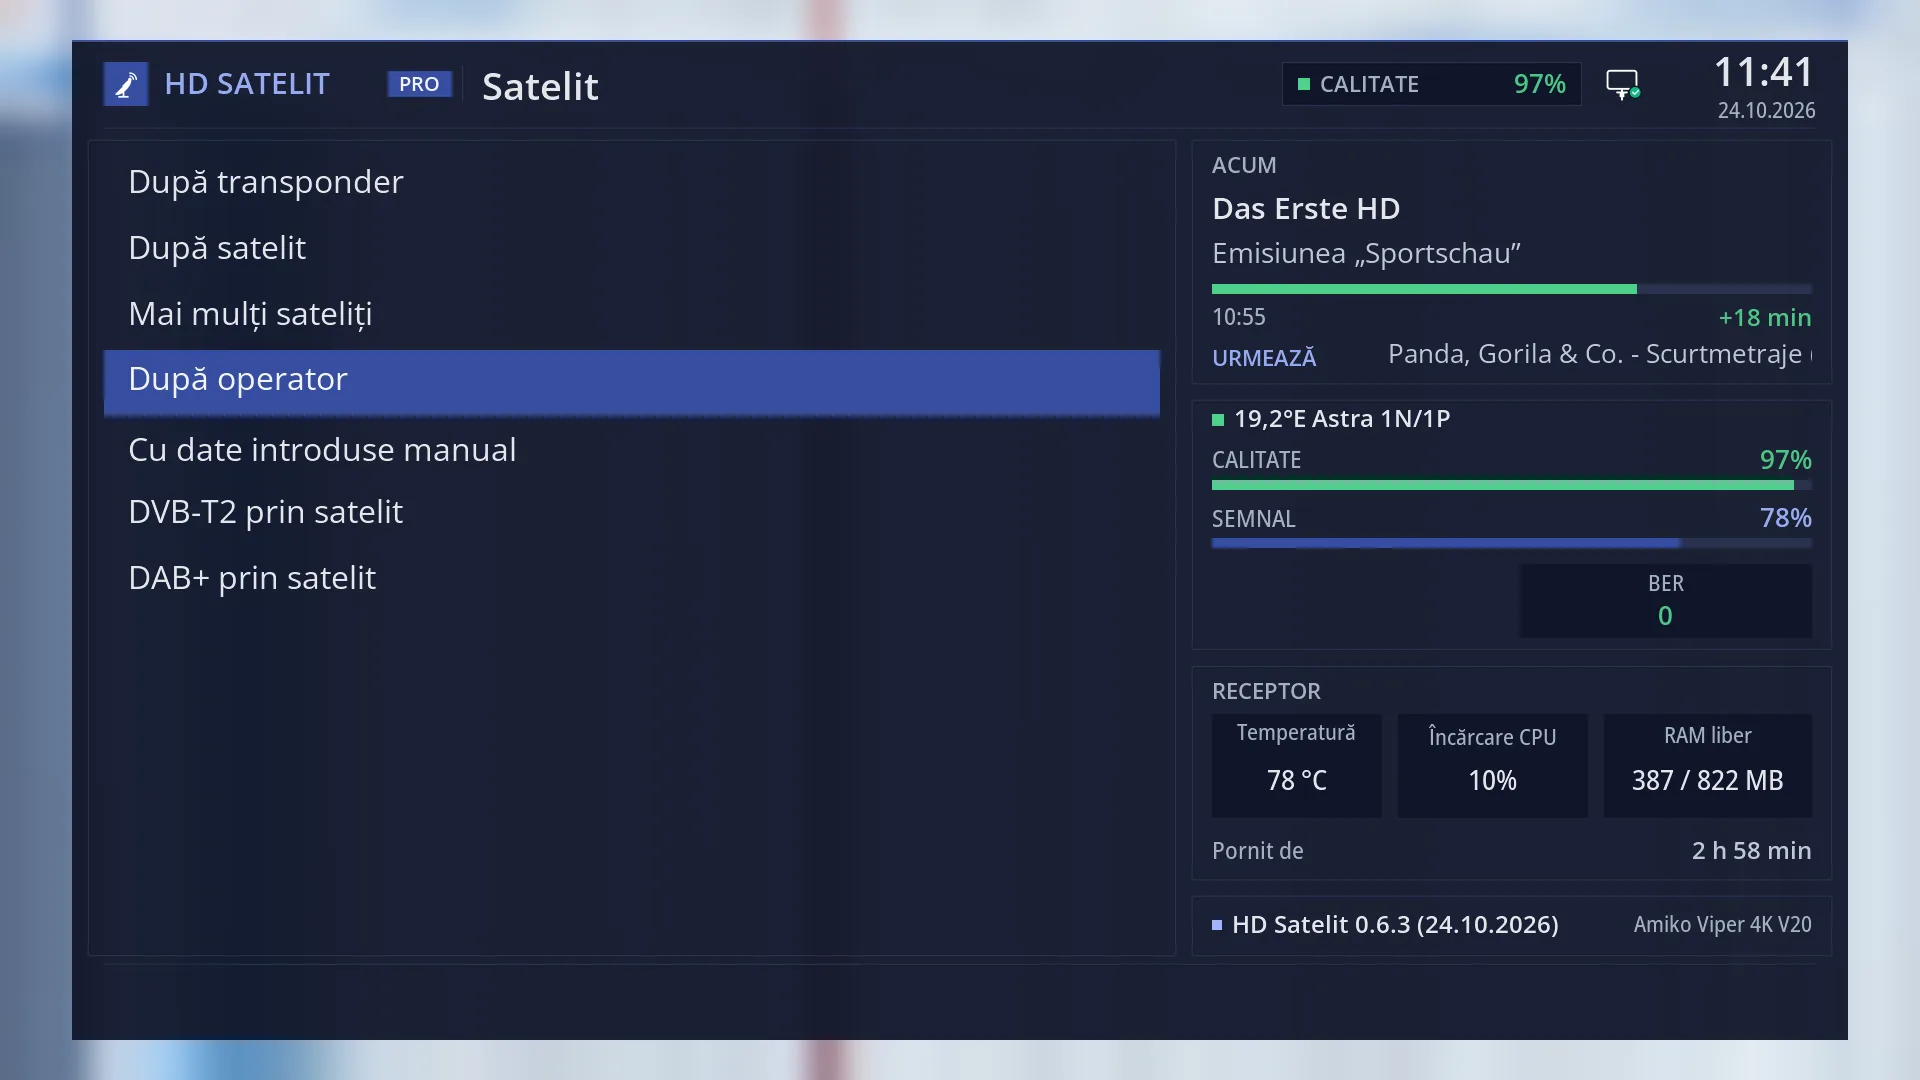
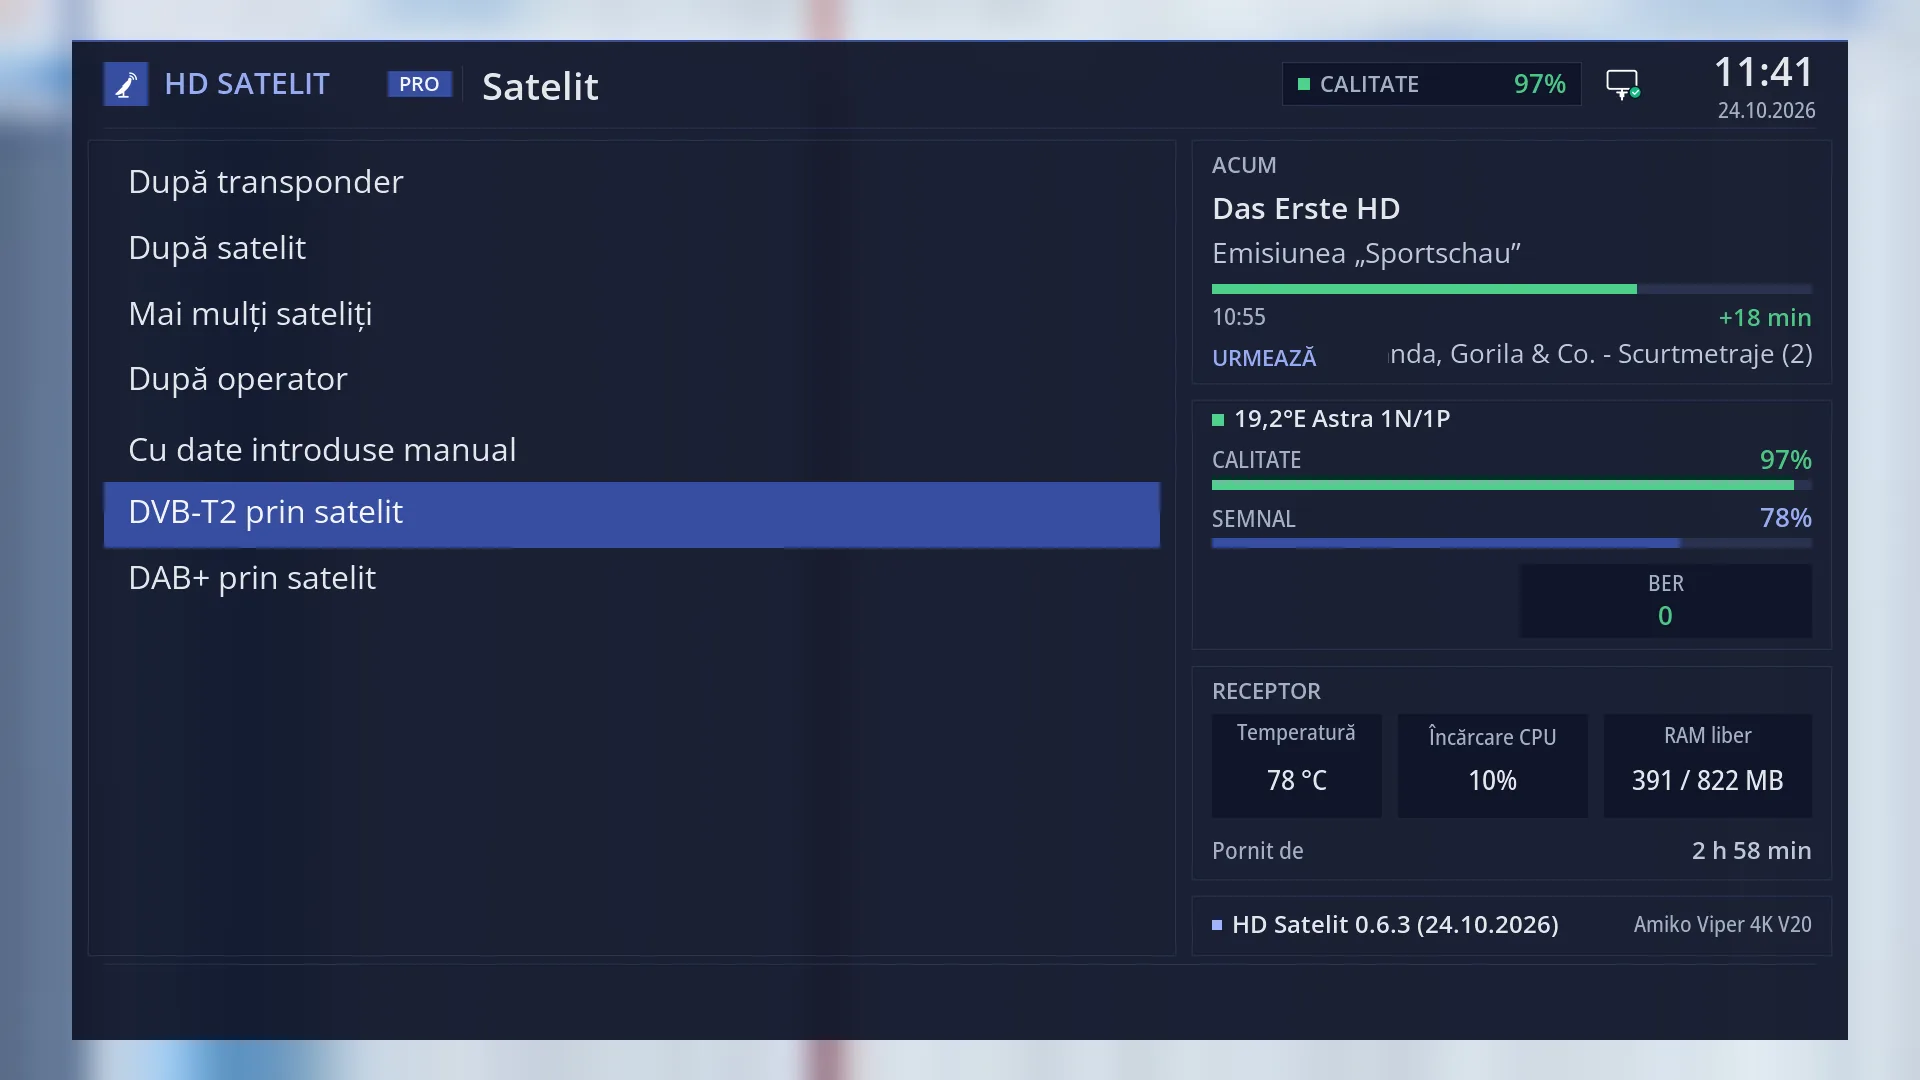
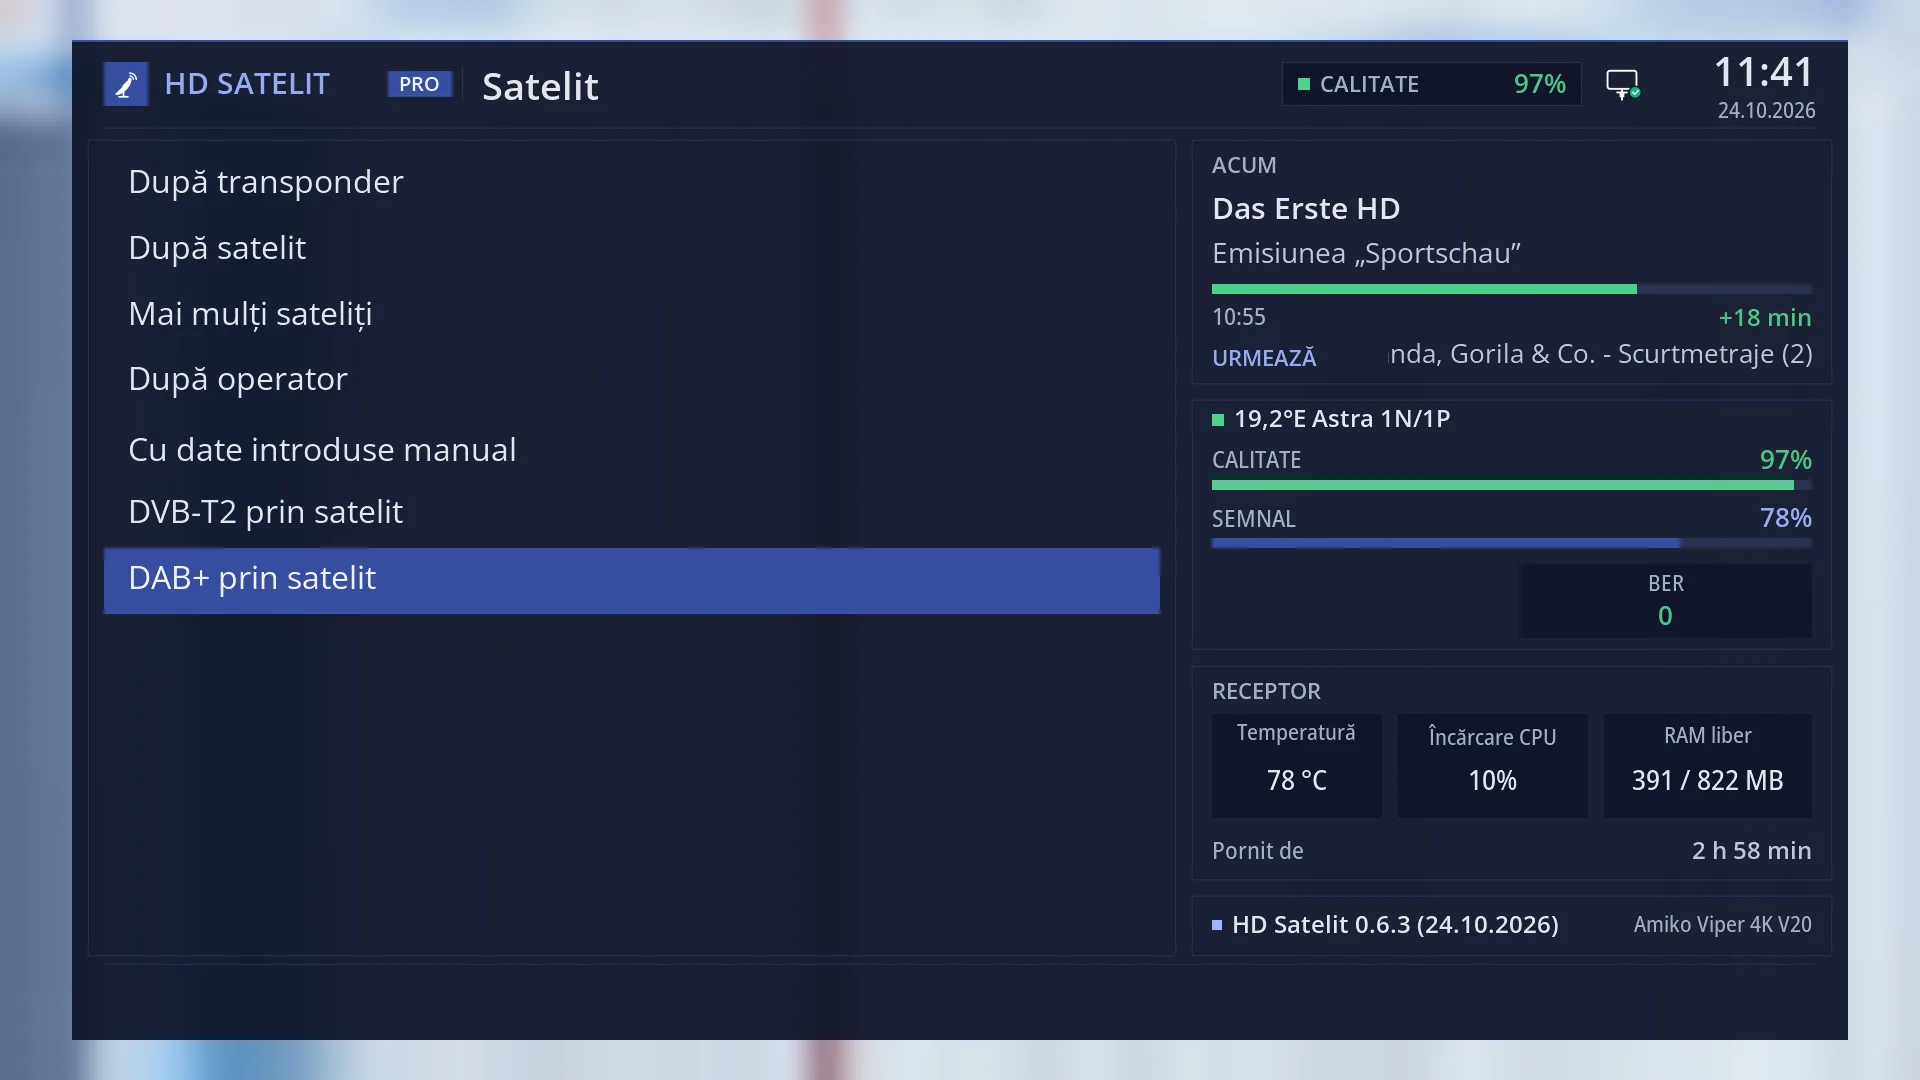
On the left, the list of the seven kinds: “By transponder”, “By satellite”, “Several satellites”, “By provider”, “Enter data manually”, “DVB-T2 via satellite” and “DAB+ via satellite”. The selected row has a blue background.
In the Pro theme, the right side shows the same four boxes as the main menu. The middle box shows the satellite of the current channel (for example “19.2°E Astra 1N/1P”) and the signal quality, so you can see at a glance which satellite the dish is pointing at.
In the tile view (YELLOW key), each kind is a tile with its icon, name and number.
Rows and settings
| Row | Values | Default | What it does |
|---|---|---|---|
| 1 By transponder | You choose the satellite and a transponder from its list. Optionally, the transponders announced in the signal are added too. When you only want to update the channels on one transponder. | ||
| 2 By satellite | Searches all known transponders of the chosen satellite, plus those announced in the signal. At first installation, or when you want all the channels of a satellite. | ||
| 3 Several satellites | You tick several satellites and the receiver searches them one after another, in a single search. When the dish sees several satellites (through a DiSEqC switch or a motor) and you want all their channels at once. | ||
| 4 By provider | You choose the provider from the list (those from your country come first). The receiver starts from the provider's transponder and adds the rest by itself, based on what the provider announces in the signal. When you have a package from a satellite provider and want exactly its channels. | ||
| 5 Enter data manually | You type in the frequency, polarisation, symbol rate, FEC, system and modulation of a transponder (and the stream, for transponders with several streams). When the transponder is not in the receiver's list, for example a new one or an occasional transmission. | ||
| 6 DVB-T2 via satellite | Searches for the DVB-T2 television streams sent via satellite by a provider chosen from the list. It first shows the plan (where the dish turns, how long it takes) and asks you to confirm. When you want the programmes in those streams in your channel list. | ||
| 7 DAB+ via satellite | The same, for DAB+ digital radio sent via satellite. When you want a provider's DAB+ radio stations in your list. |
Keys
| UP / DOWN | Moves the cursor to the row above or below. From the last row, DOWN goes to the first row, and the other way round. |
| LEFT / RIGHT | Jump one page up or down. The submenu fits on one page, so you reach the first or the last row. In the tile view, they move the cursor to the tile on the left or right. |
| OK | Opens the selected kind of search. |
| 1 ... 7 | Open the kind with that number directly, without OK: 1 By transponder, 2 By satellite, 3 Several satellites, 4 By provider, 5 Enter data manually, 6 DVB-T2 via satellite, 7 DAB+ via satellite. |
| YELLOW | Switches the menu from the list to tiles or back, straight away. The choice is remembered for all menus. |
| TTX (TEXT on the screen) | Opens “Search settings”. |
| EXIT | Takes you back to the Channel scan submenu. |
| MENU | Closes the whole menu and takes you back to TV. |
Step by step
Searching for all the channels of a satellite
- Press MENU 1 1 2 (By satellite).
- Choose the satellite the dish is pointing at (for example 19.2°E).
- Press GREEN and let the search finish.
Searching for your provider's package
- Press MENU 1 1 4 (By provider).
- Choose the provider from the list. Providers from your country come first.
- Press GREEN: the receiver starts from the provider's transponder and adds the rest by itself.
Choosing the kind from your phone
- Open the receiver's web interface and go to /scanare/satelit.
- Press the button for the kind you want. Below it, the form appears with the same rows as on the TV, along with the preview.
- Press “Search now”. The search runs on the TV and the page shows its progress.
Problems and solutions
The search screen says “The satellite tuner has no satellite configured. Set up the dish in “Tuner settings”, then come back here.”
First tell the receiver how the dish is connected: Menu > Dish alignment and setup > Tuner settings (MENU 2 1), then come back.
The screen says “Your dish is fixed and only sees: … so you cannot search from here.”
The chosen satellite is not among those you set in Tuner settings. Choose one of those shown, or add the satellite in Tuner settings (for example on a port of the DiSEqC switch).
The screen says the position “is not in the motor's list”.
Add the satellite to the motor's list in Tuner settings (MENU 2 1).
I don't know which kind to choose.
“By satellite” (key 2) searches everything on the dish's satellite. “By provider” (key 4) is better when you have a specific package.
Related topics
Differences between receivers
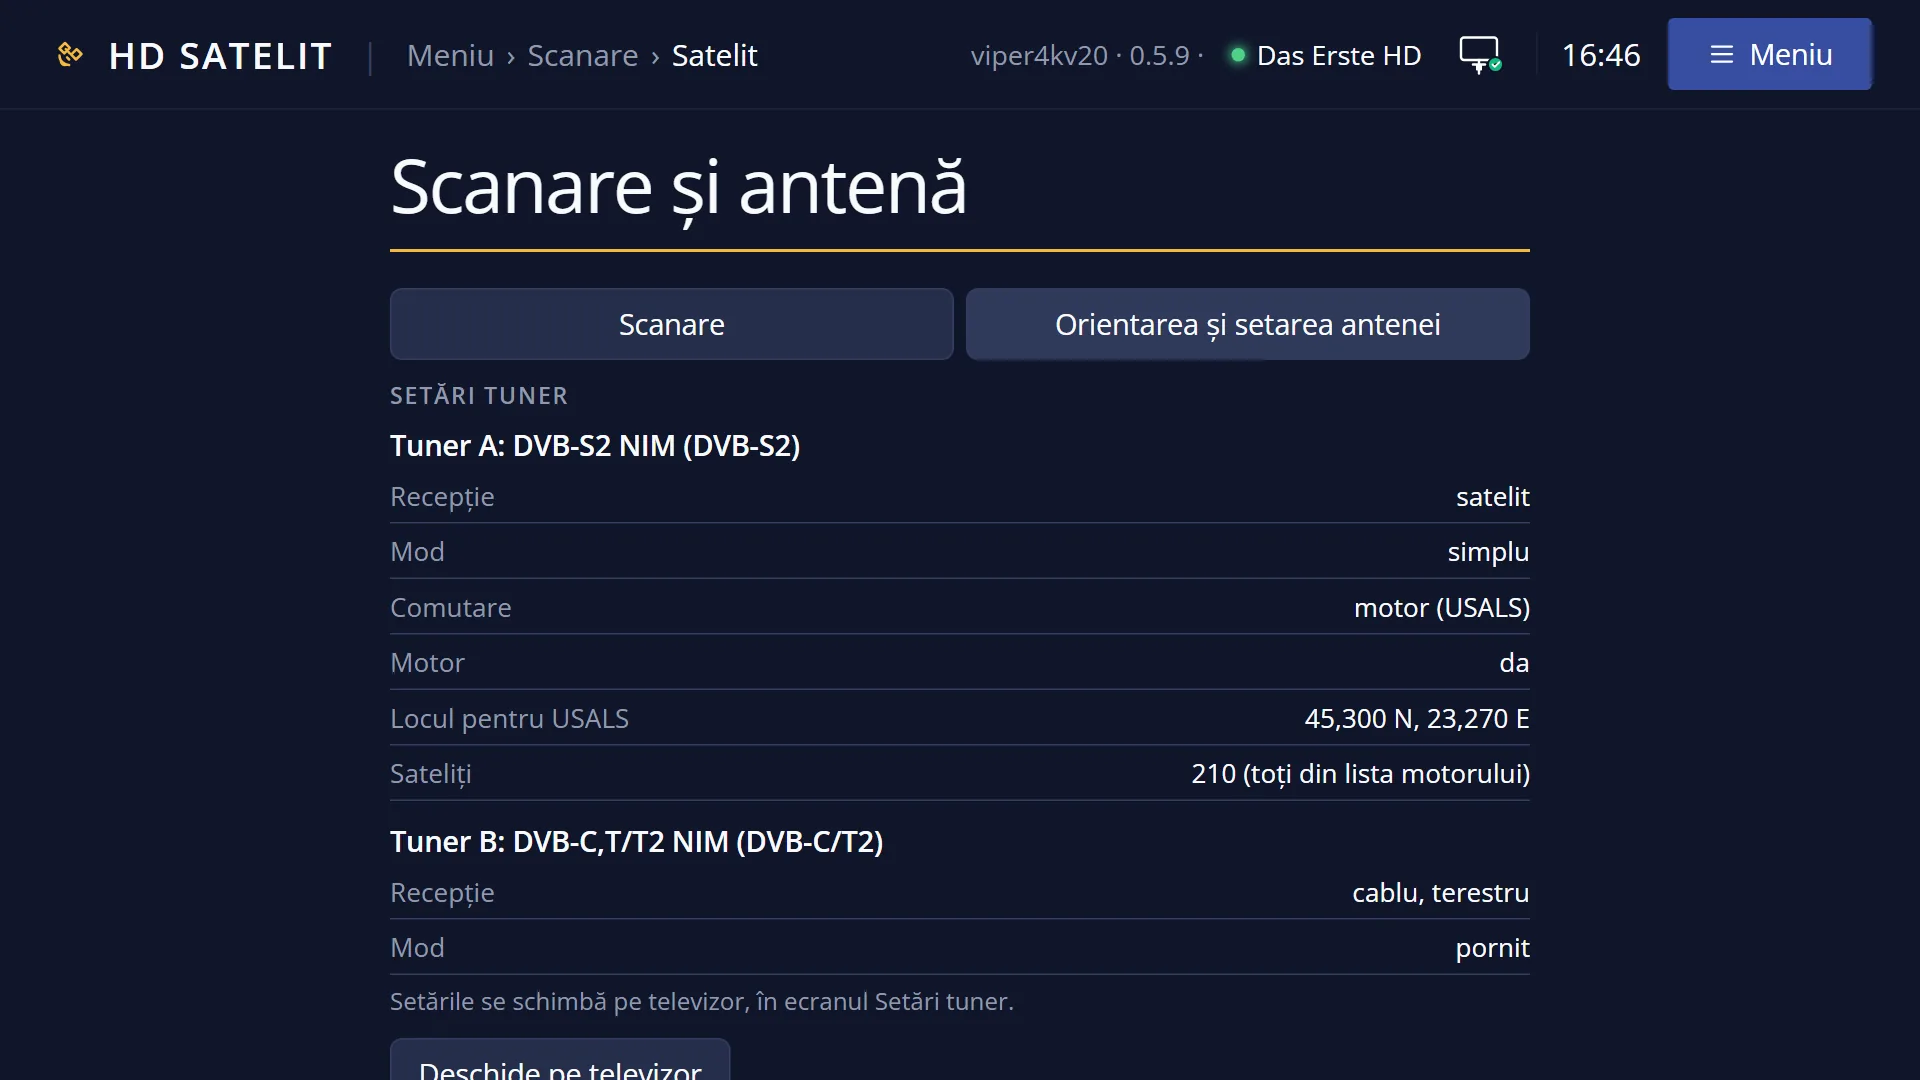
The Amiko Viper 4K V20 has a single satellite tuner (tuner A, DVB-S2). All satellite searches are done on it.