

Settings copy
English screenshots coming: some of the pictures below still show the receiver and the web interface in Romanian. The rows, keys and steps described on this page are the English ones.
What it is for
“Settings copy” saves a copy of the receiver's channels and settings to a USB stick or a disk. You can then get them back after a new image, after a reset to factory defaults or after a mistake.
The copy contains: the channels, the bouquets, the DAB+ and DVB-T2 lists, the timers, the interface settings, the network and Wi-Fi (with the passwords), SSH access from the computer and the settings of the chosen translation service. The copy holds the Wi-Fi passwords, so keep the USB stick safe.
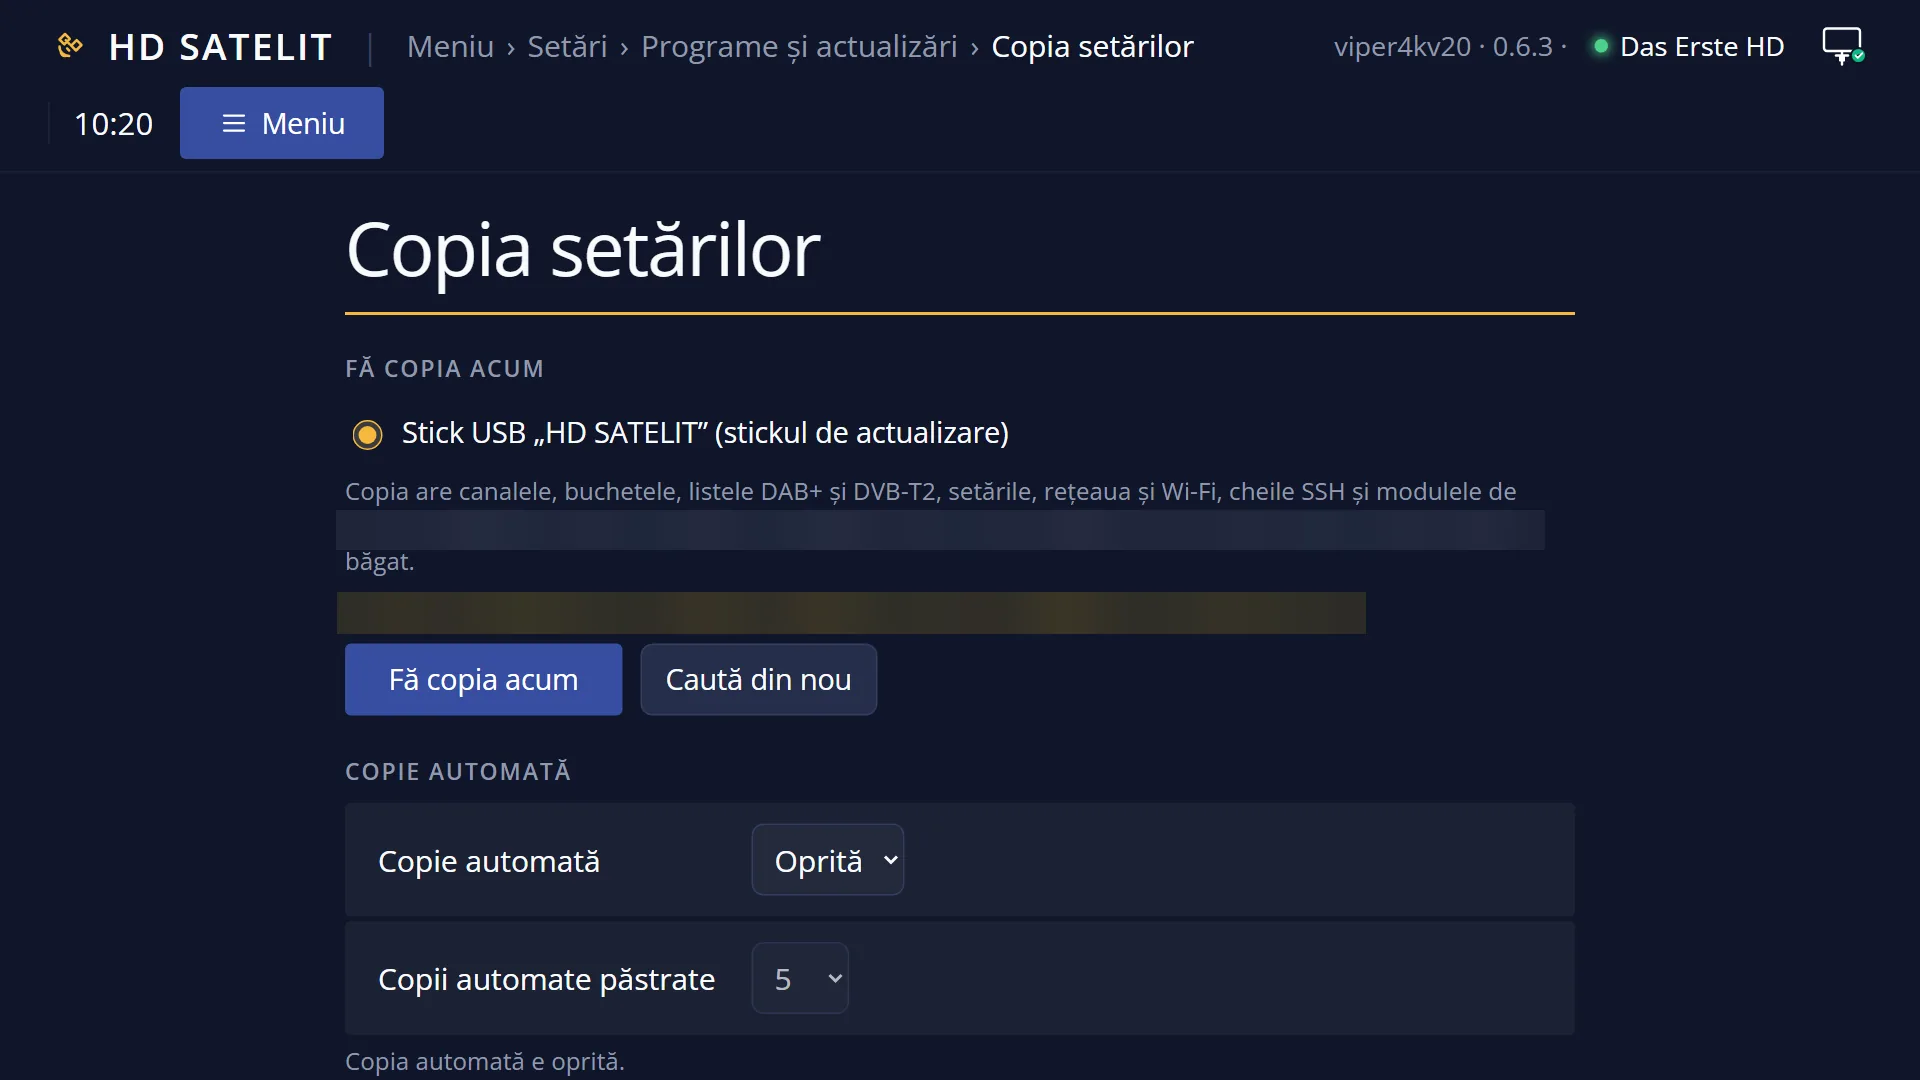
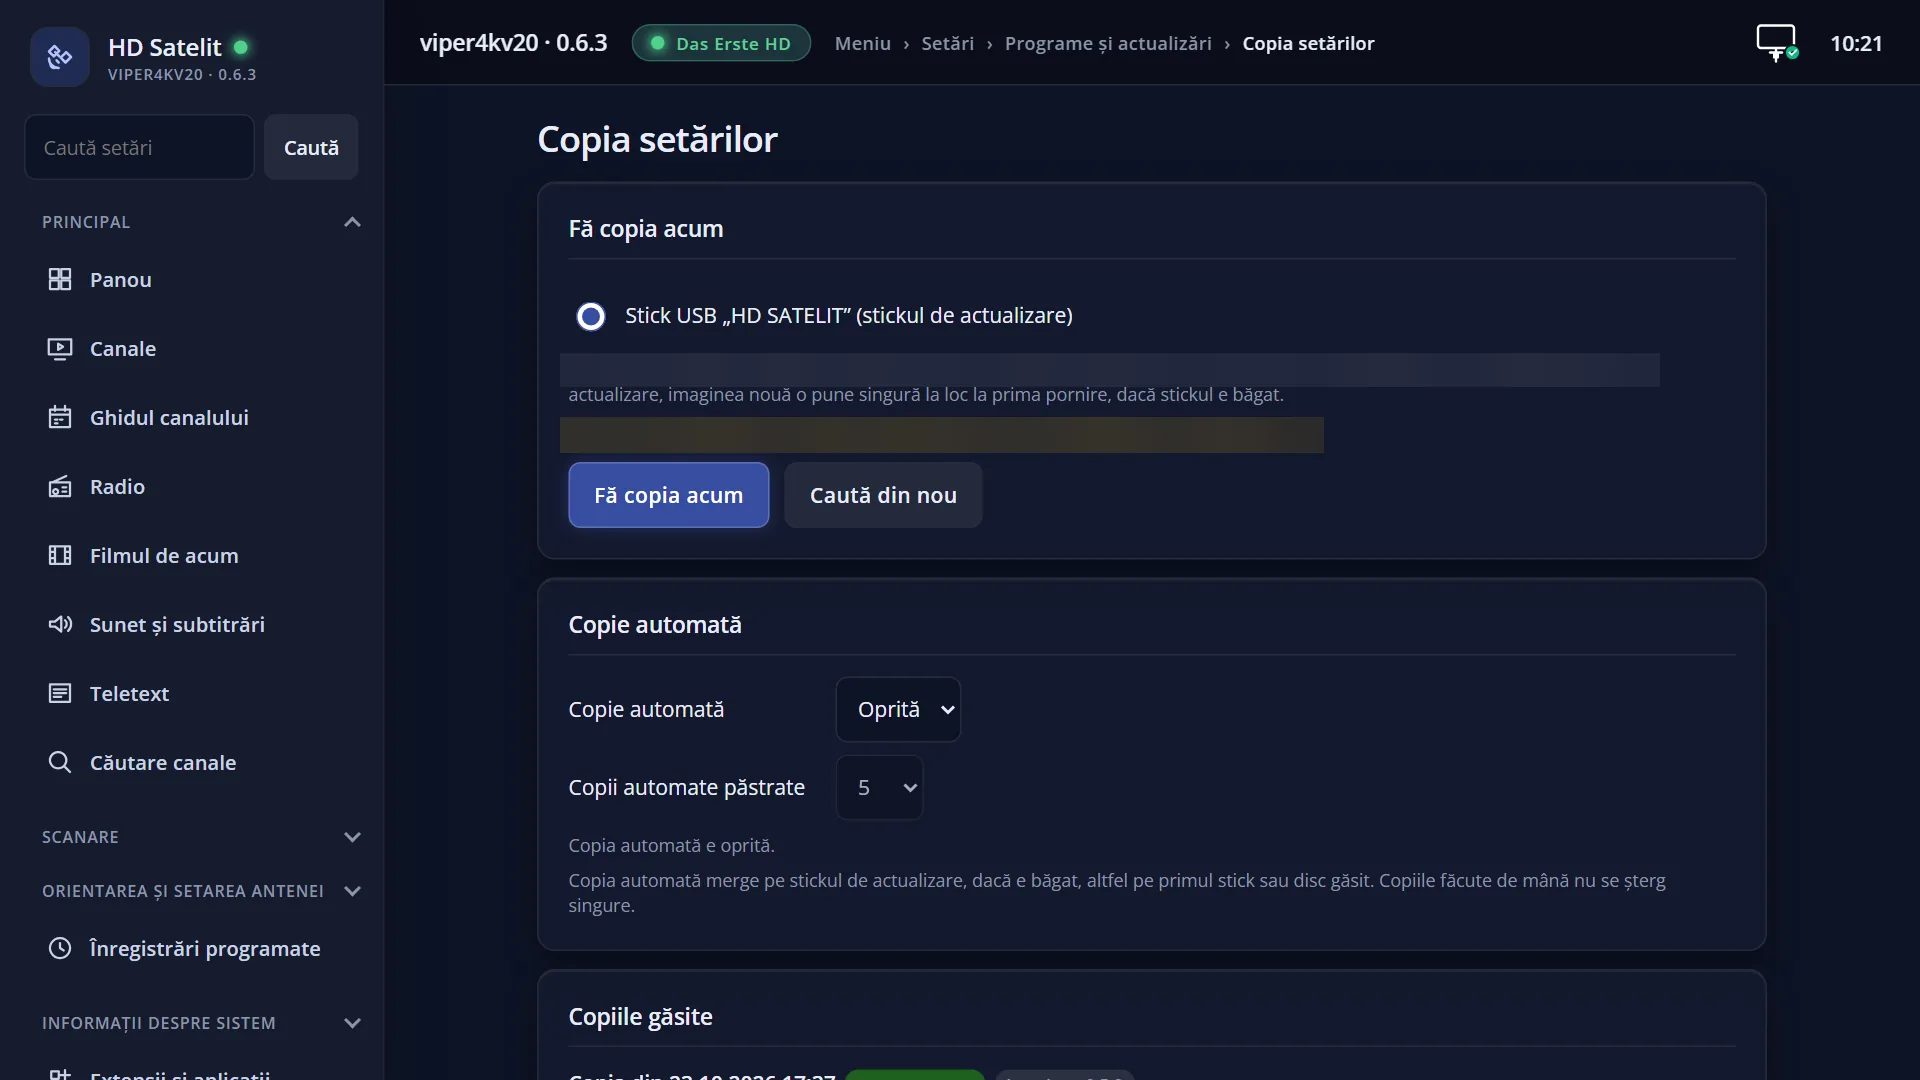
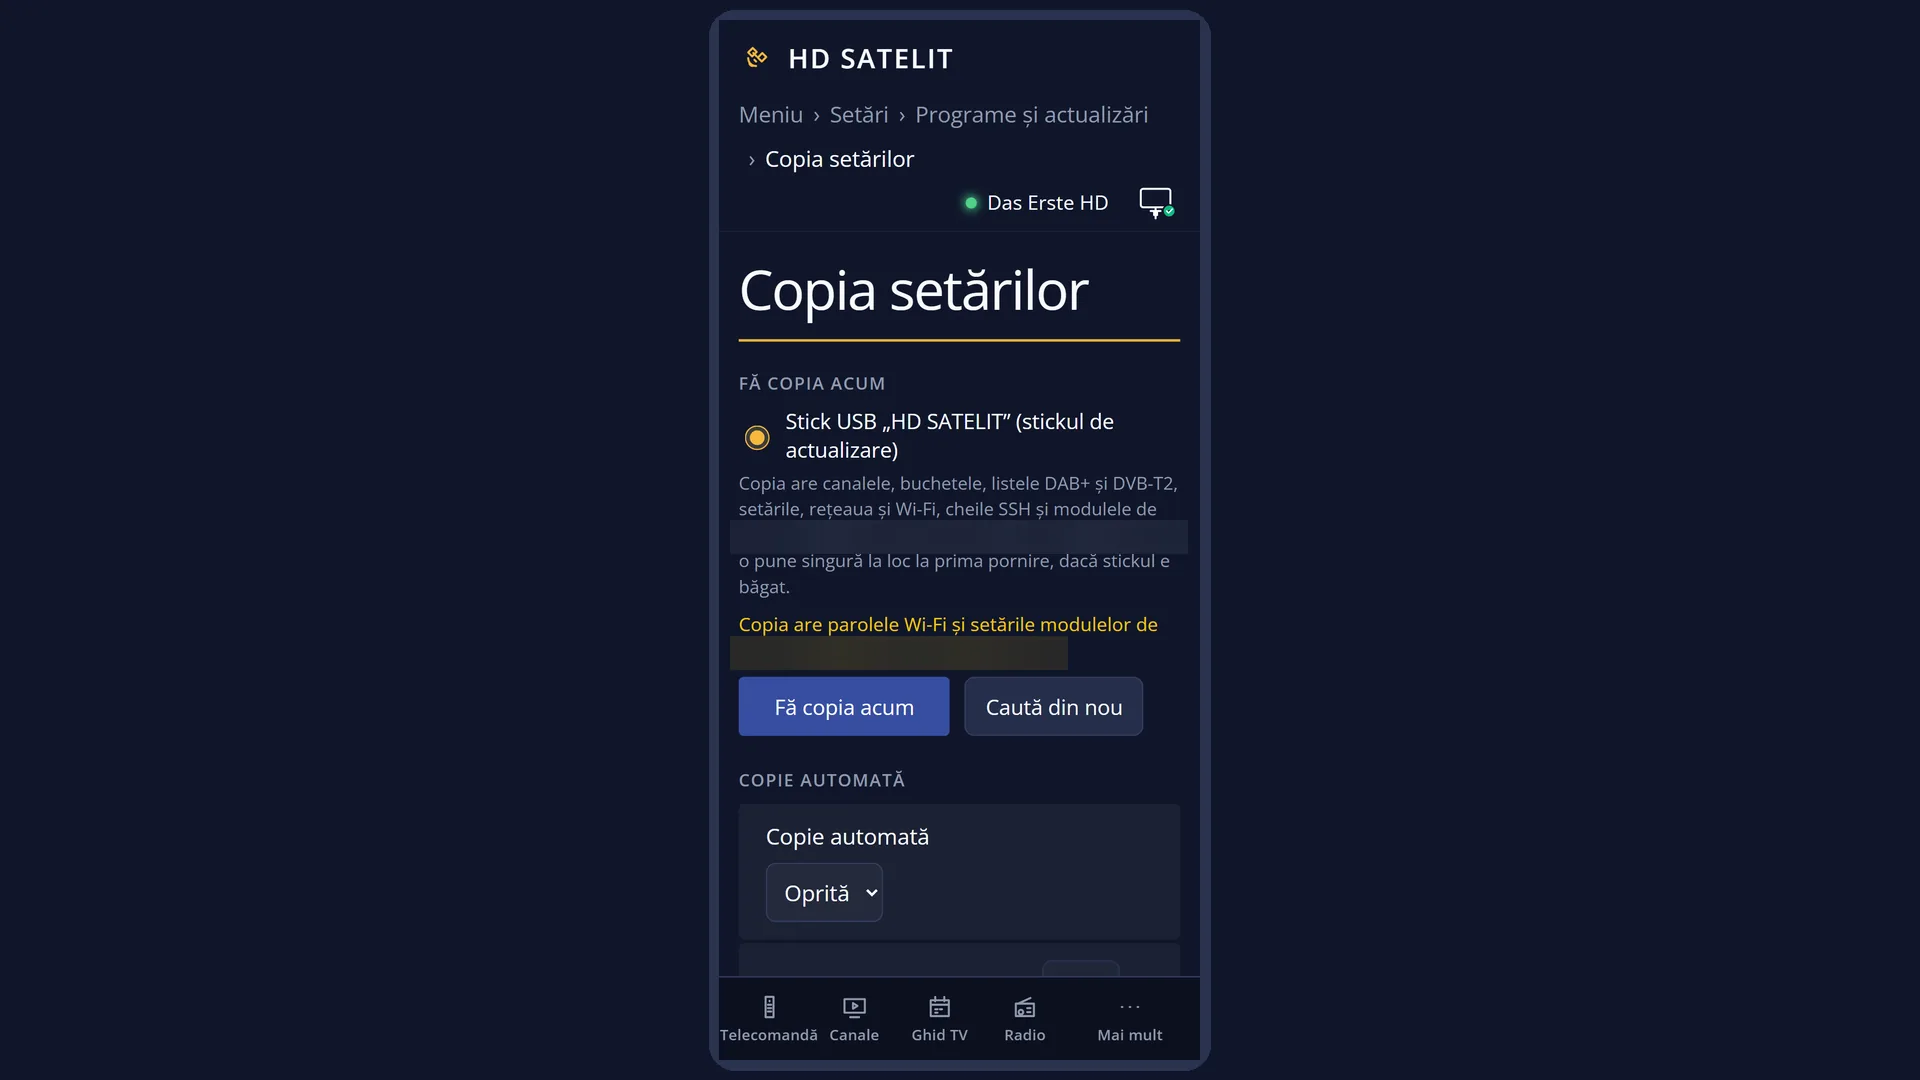
The copy is made on request (the “Make the copy now” row) or by itself, once a day (the “Automatic copy” row).
After you write a new image, with the USB stick in the receiver, the copy of this receiver is put back by itself at the first start, without asking anything. The installation steps on the website say the same: in step 2 you make the copy here, then you write the image, and the channels and settings come back by themselves.
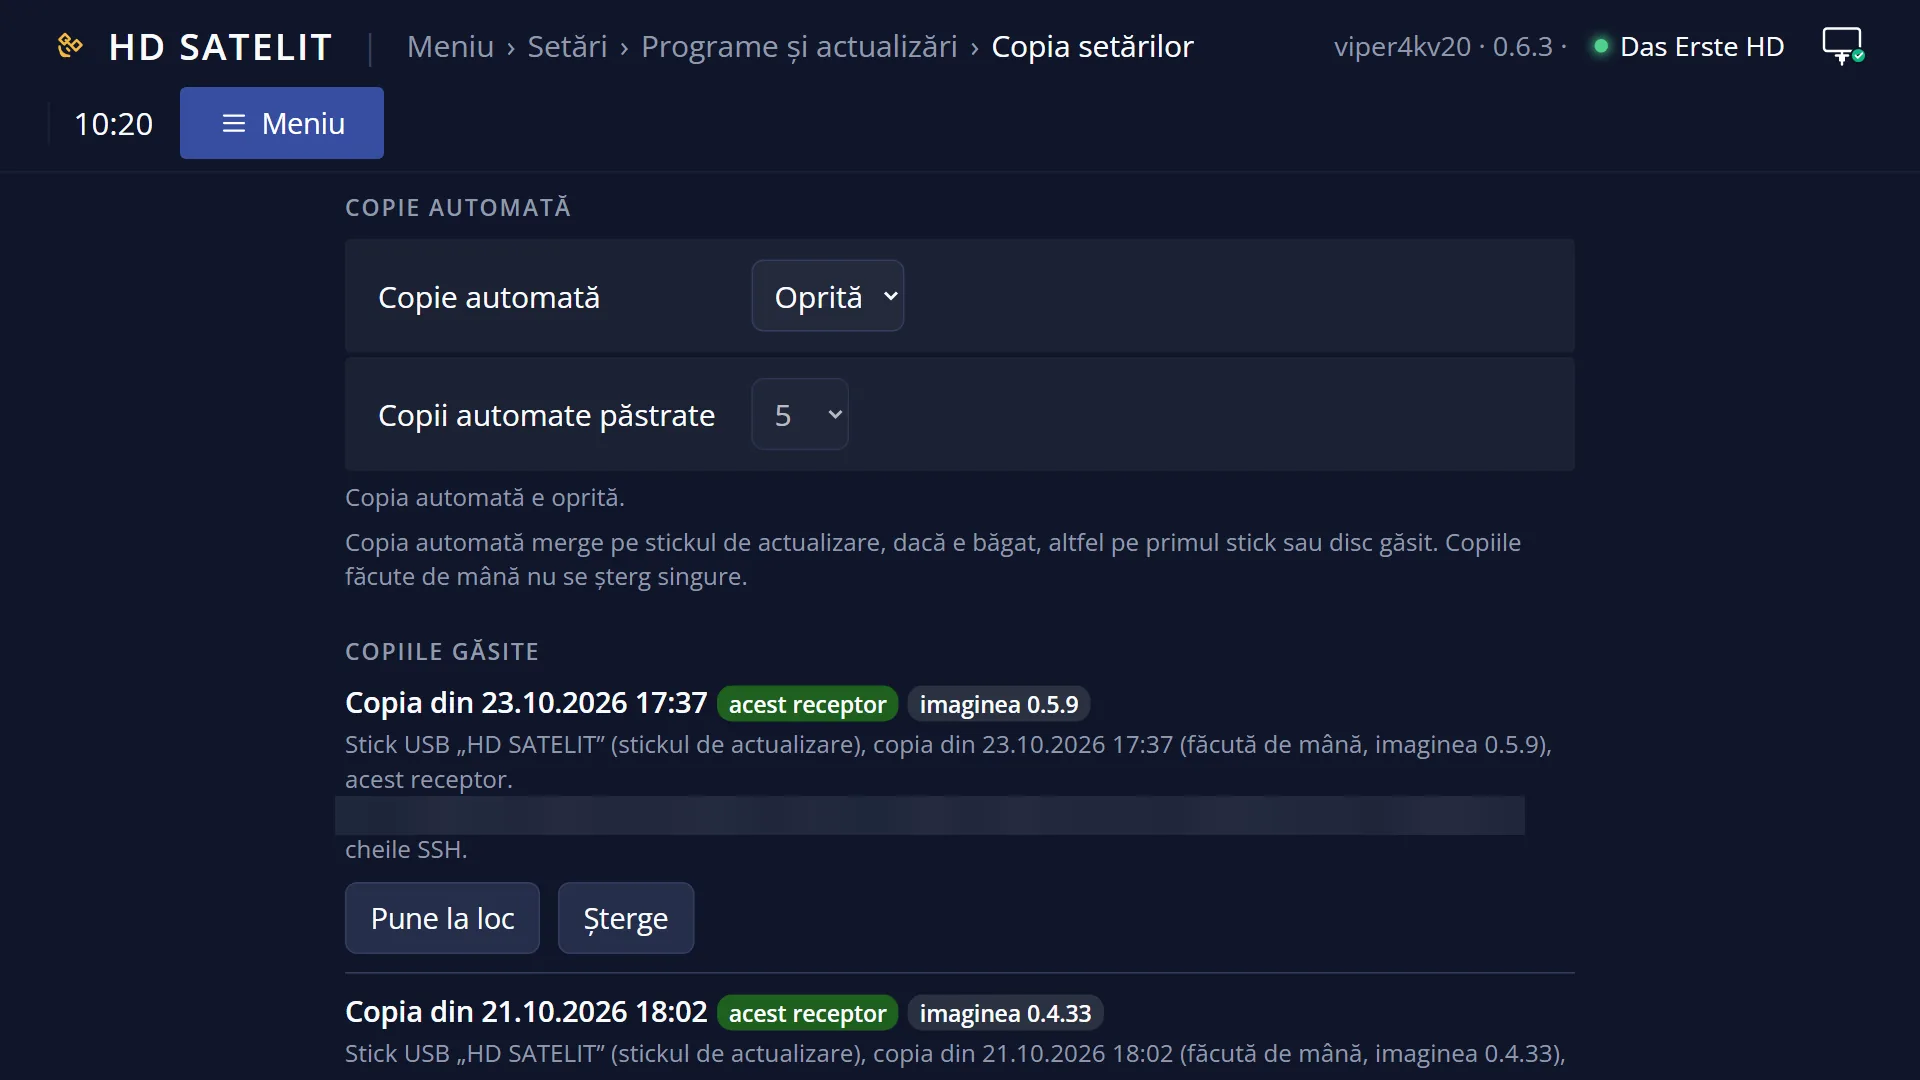
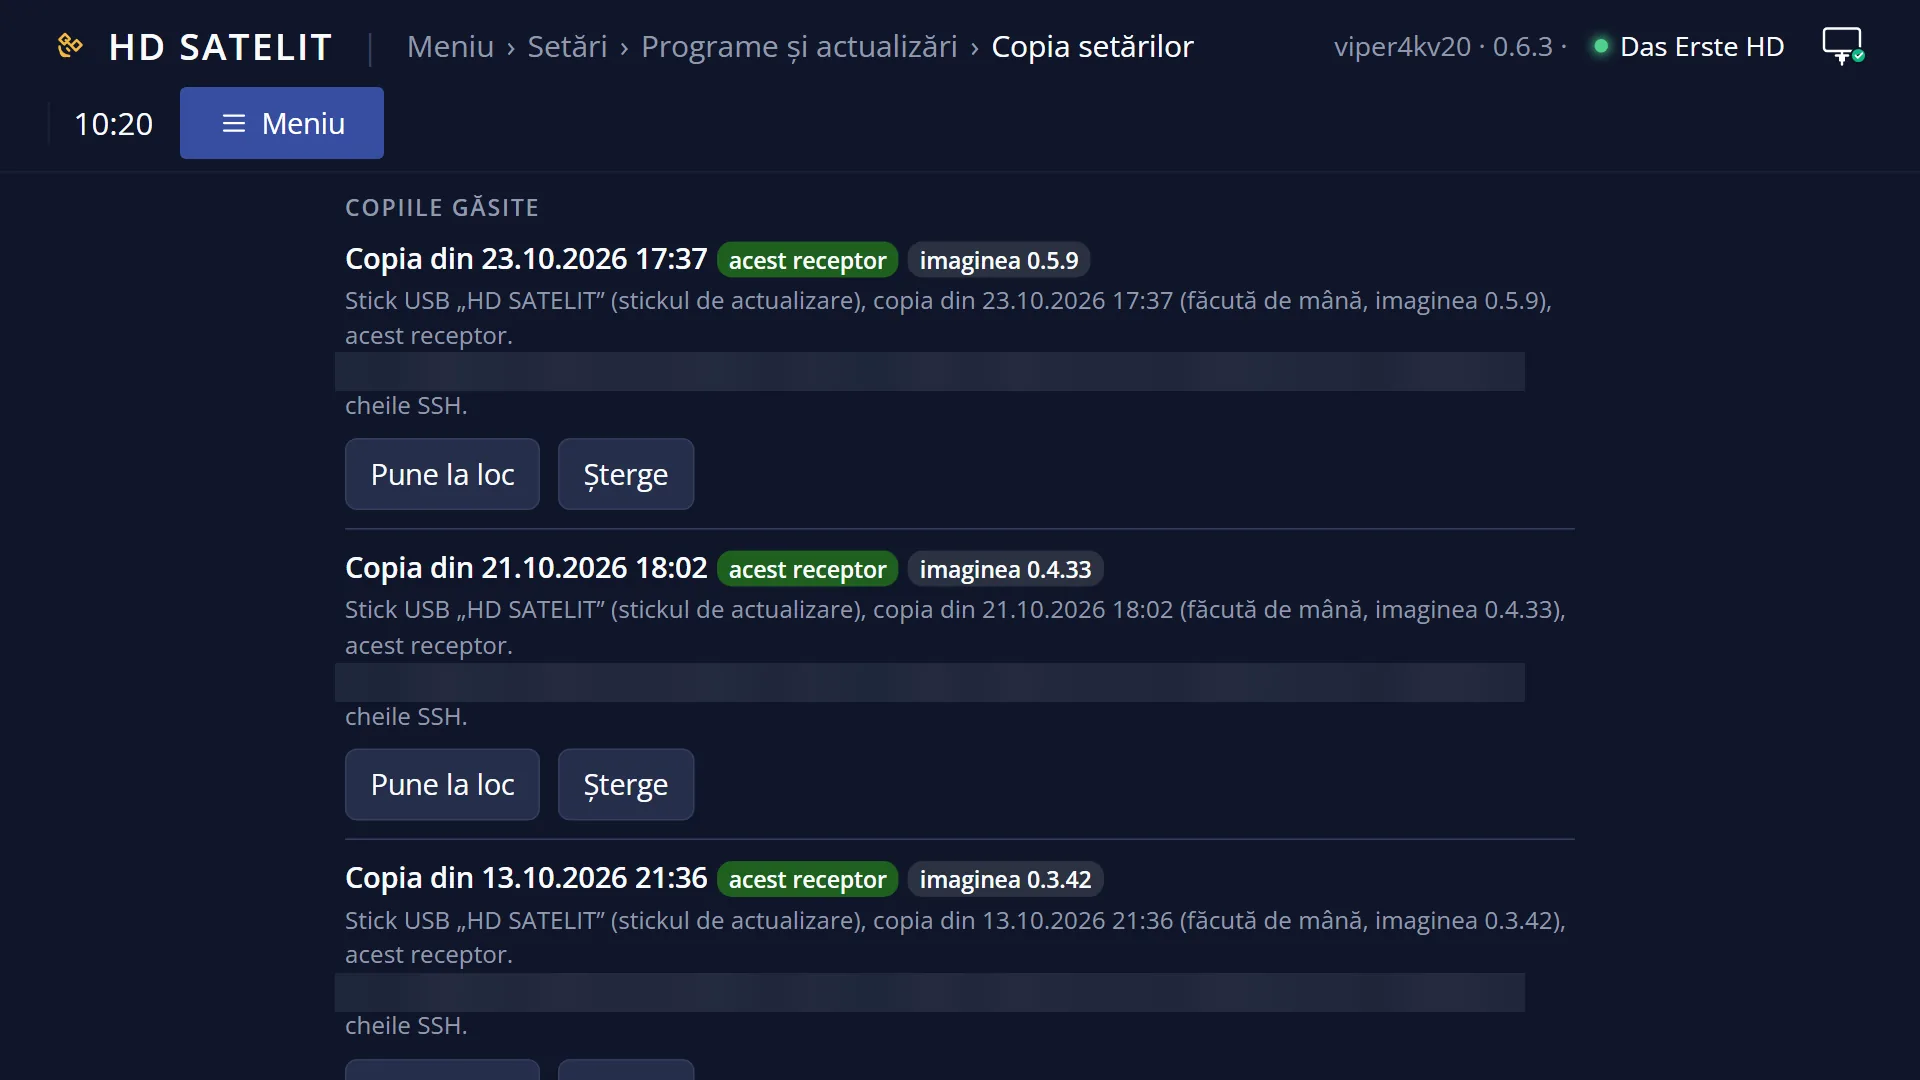
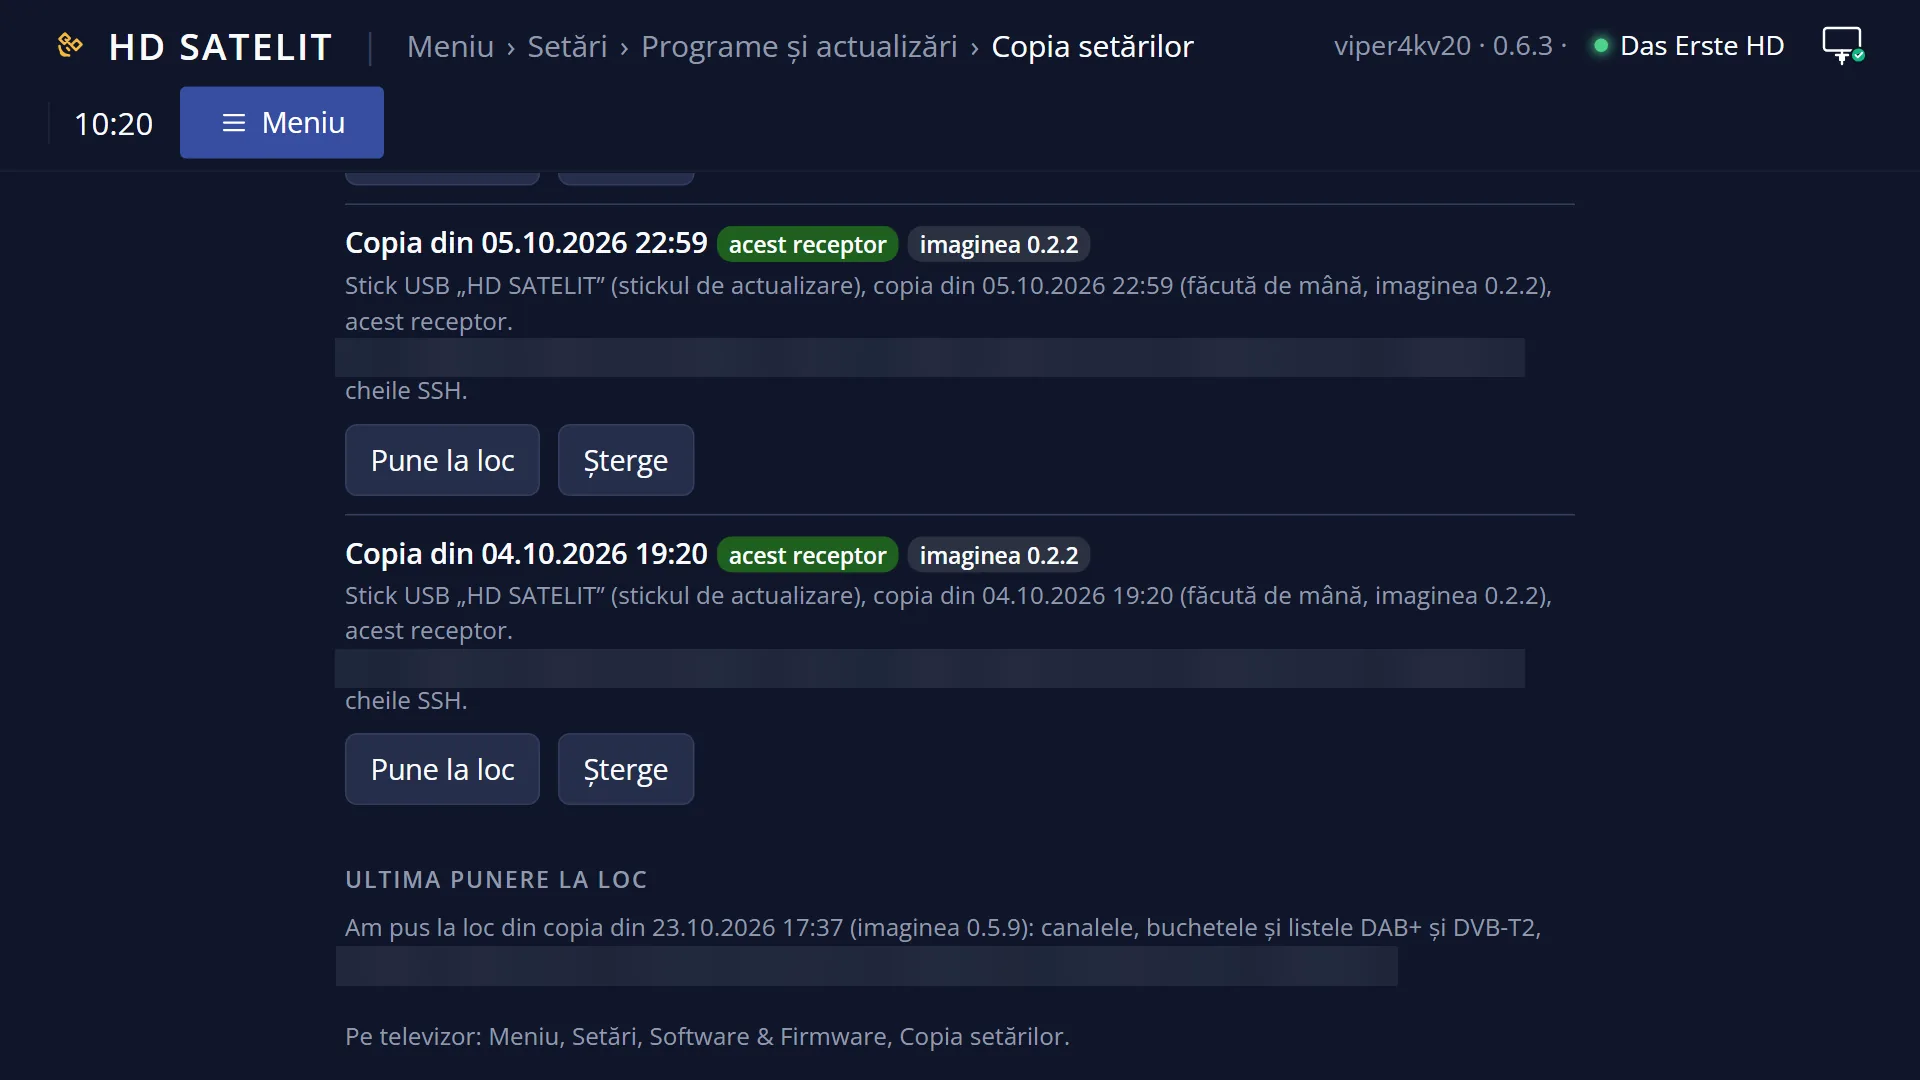
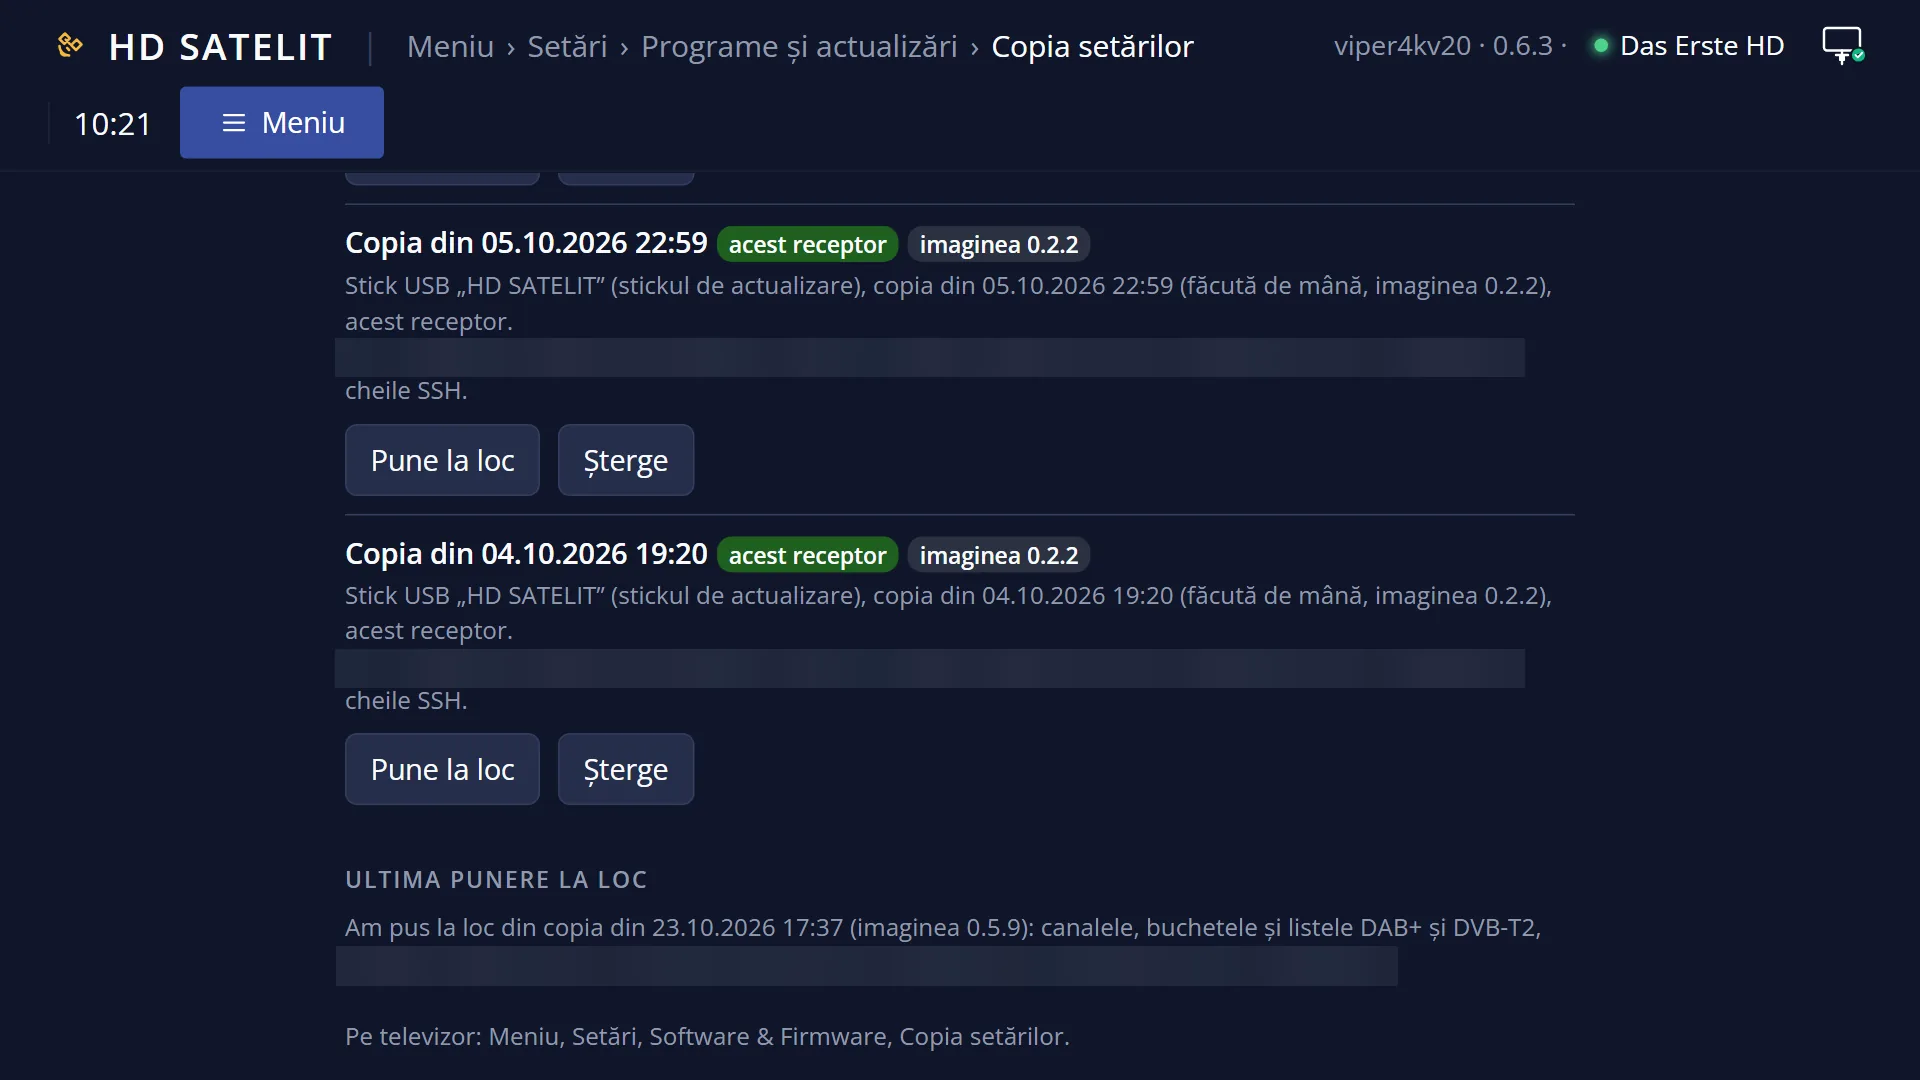
Here you also see the copies found on USB sticks and disks, and you can put them back manually or delete them. A copy made on another receiver brings back only the channels and the DAB+ and DVB-T2 lists.
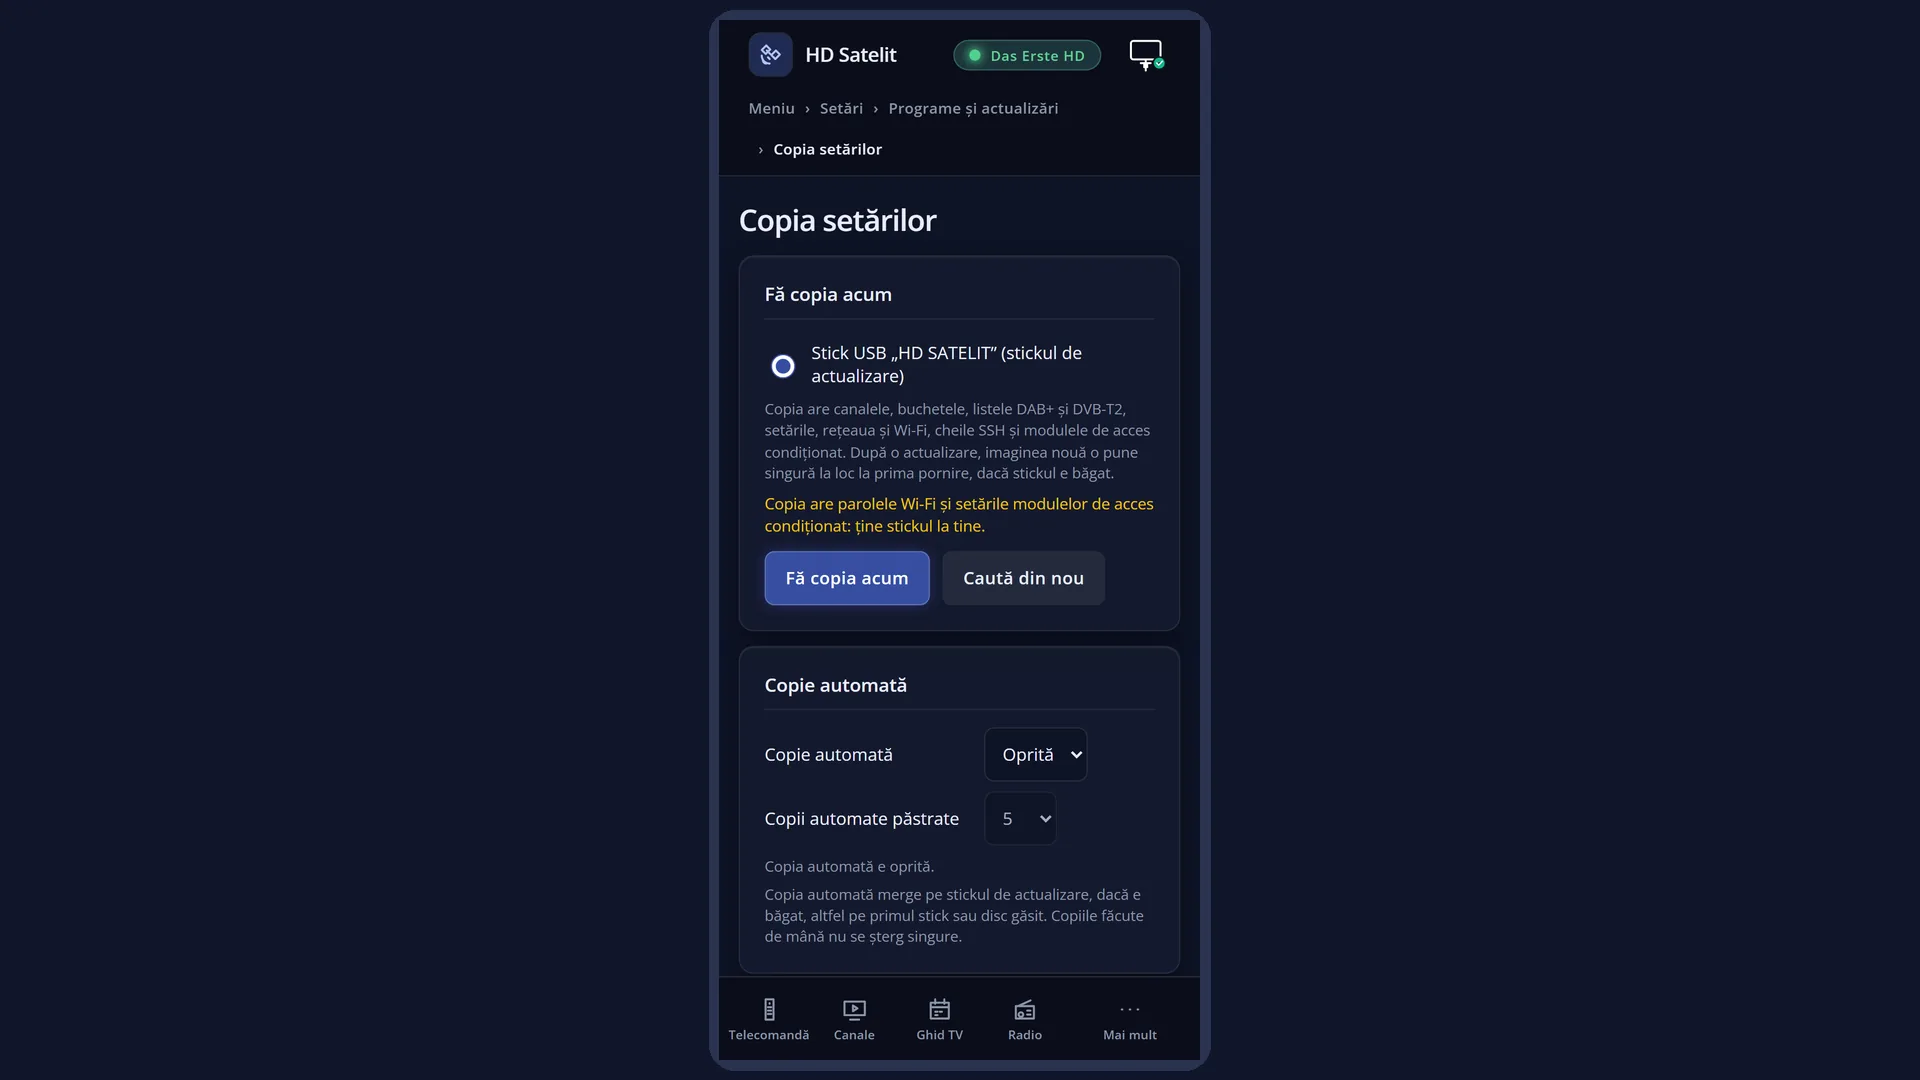
You can make the same copy from the web interface, on the /copie-setari page.
How to get here
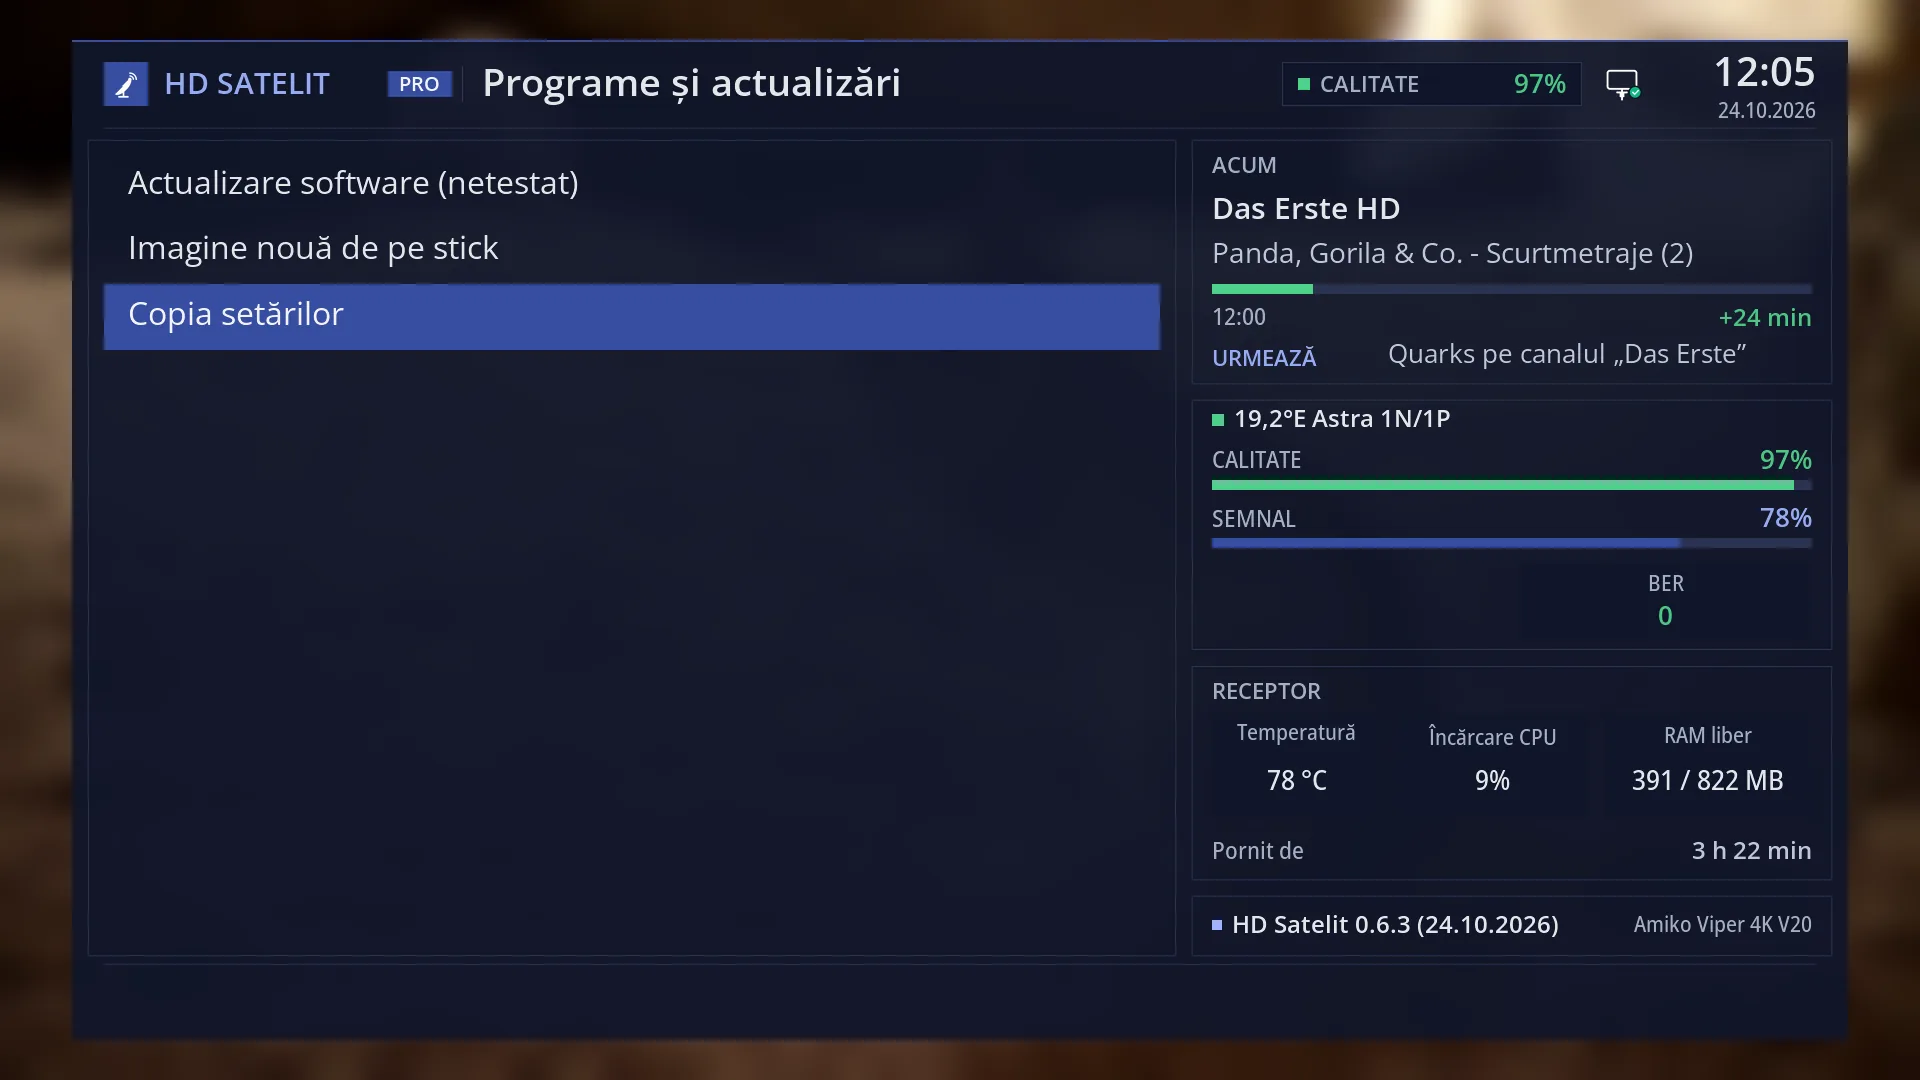
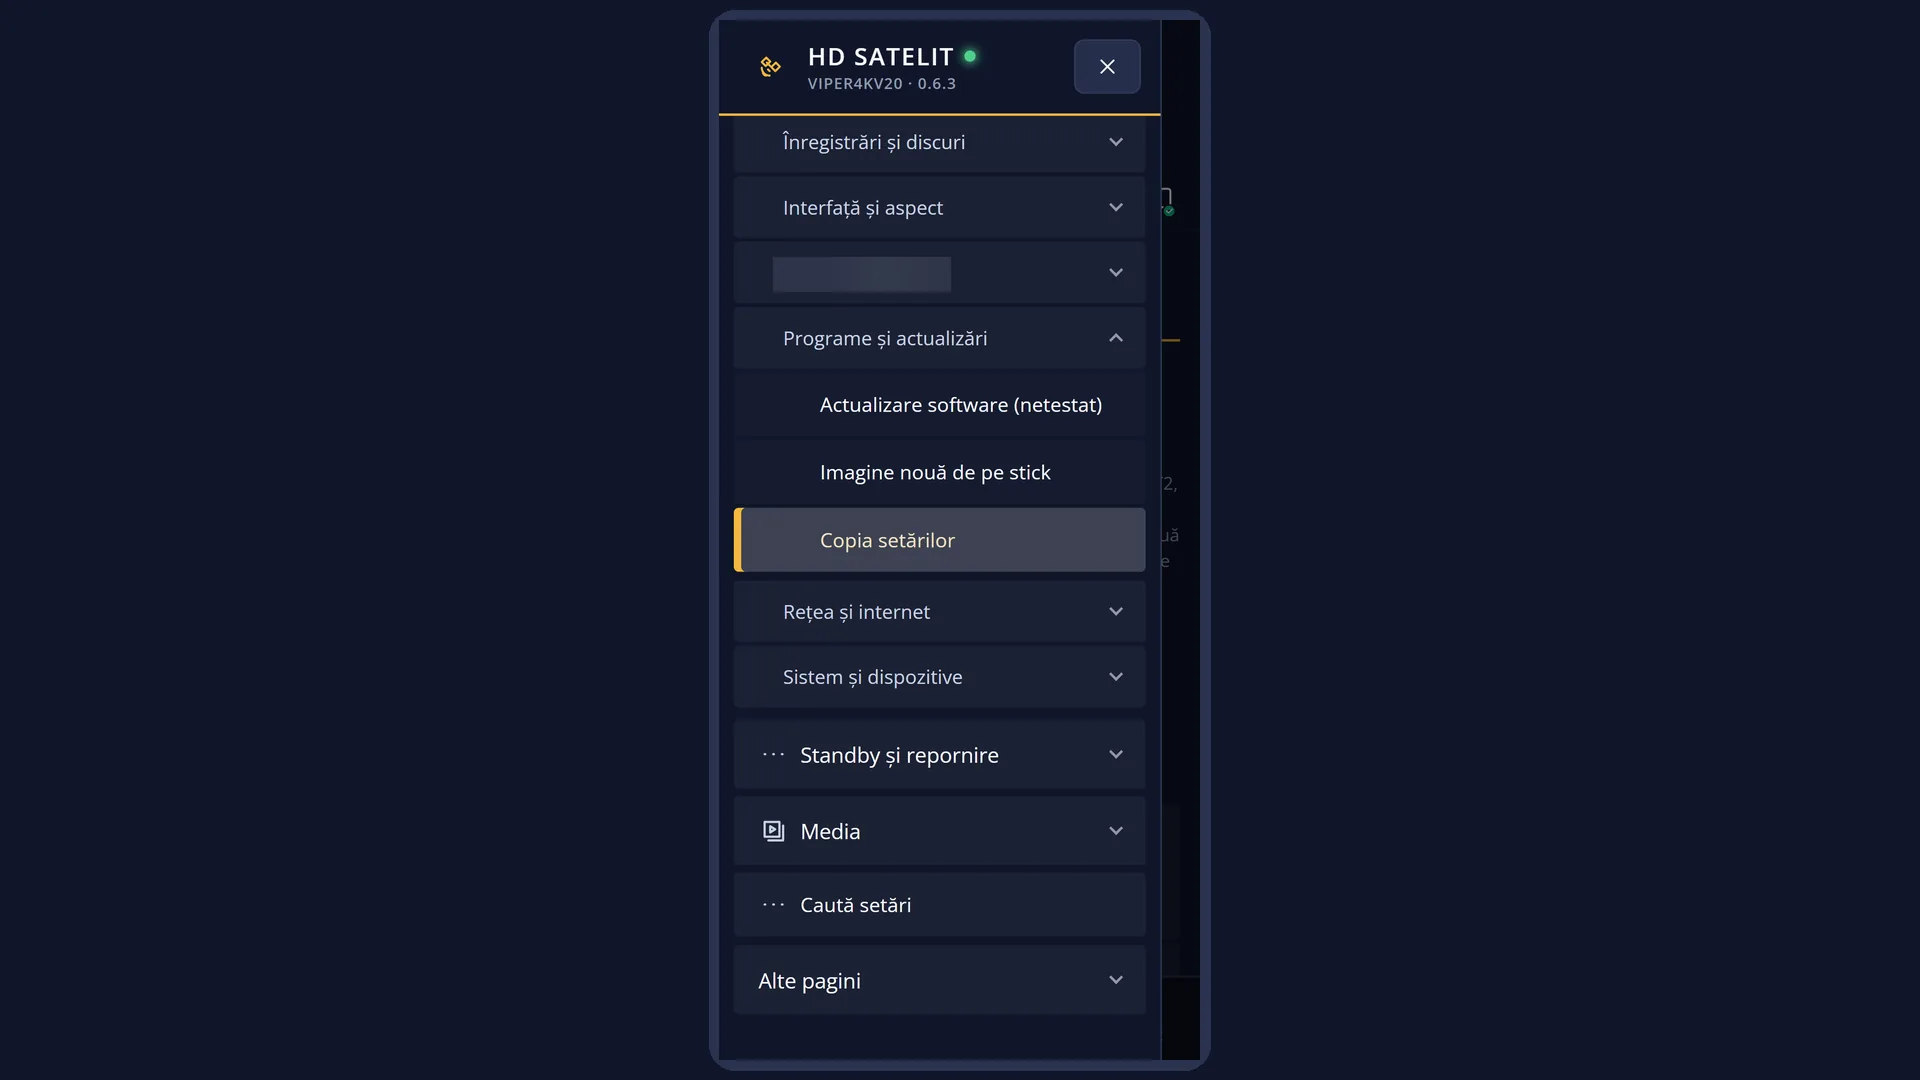
Path: Main menu > Settings > Software & Firmware > Settings copy (the third row).
Keys on the remote: MENU 6 8 3.
From search: MENU 9, then type “copia”.
In the web interface: the /copie-setari page.
What you see on the screen
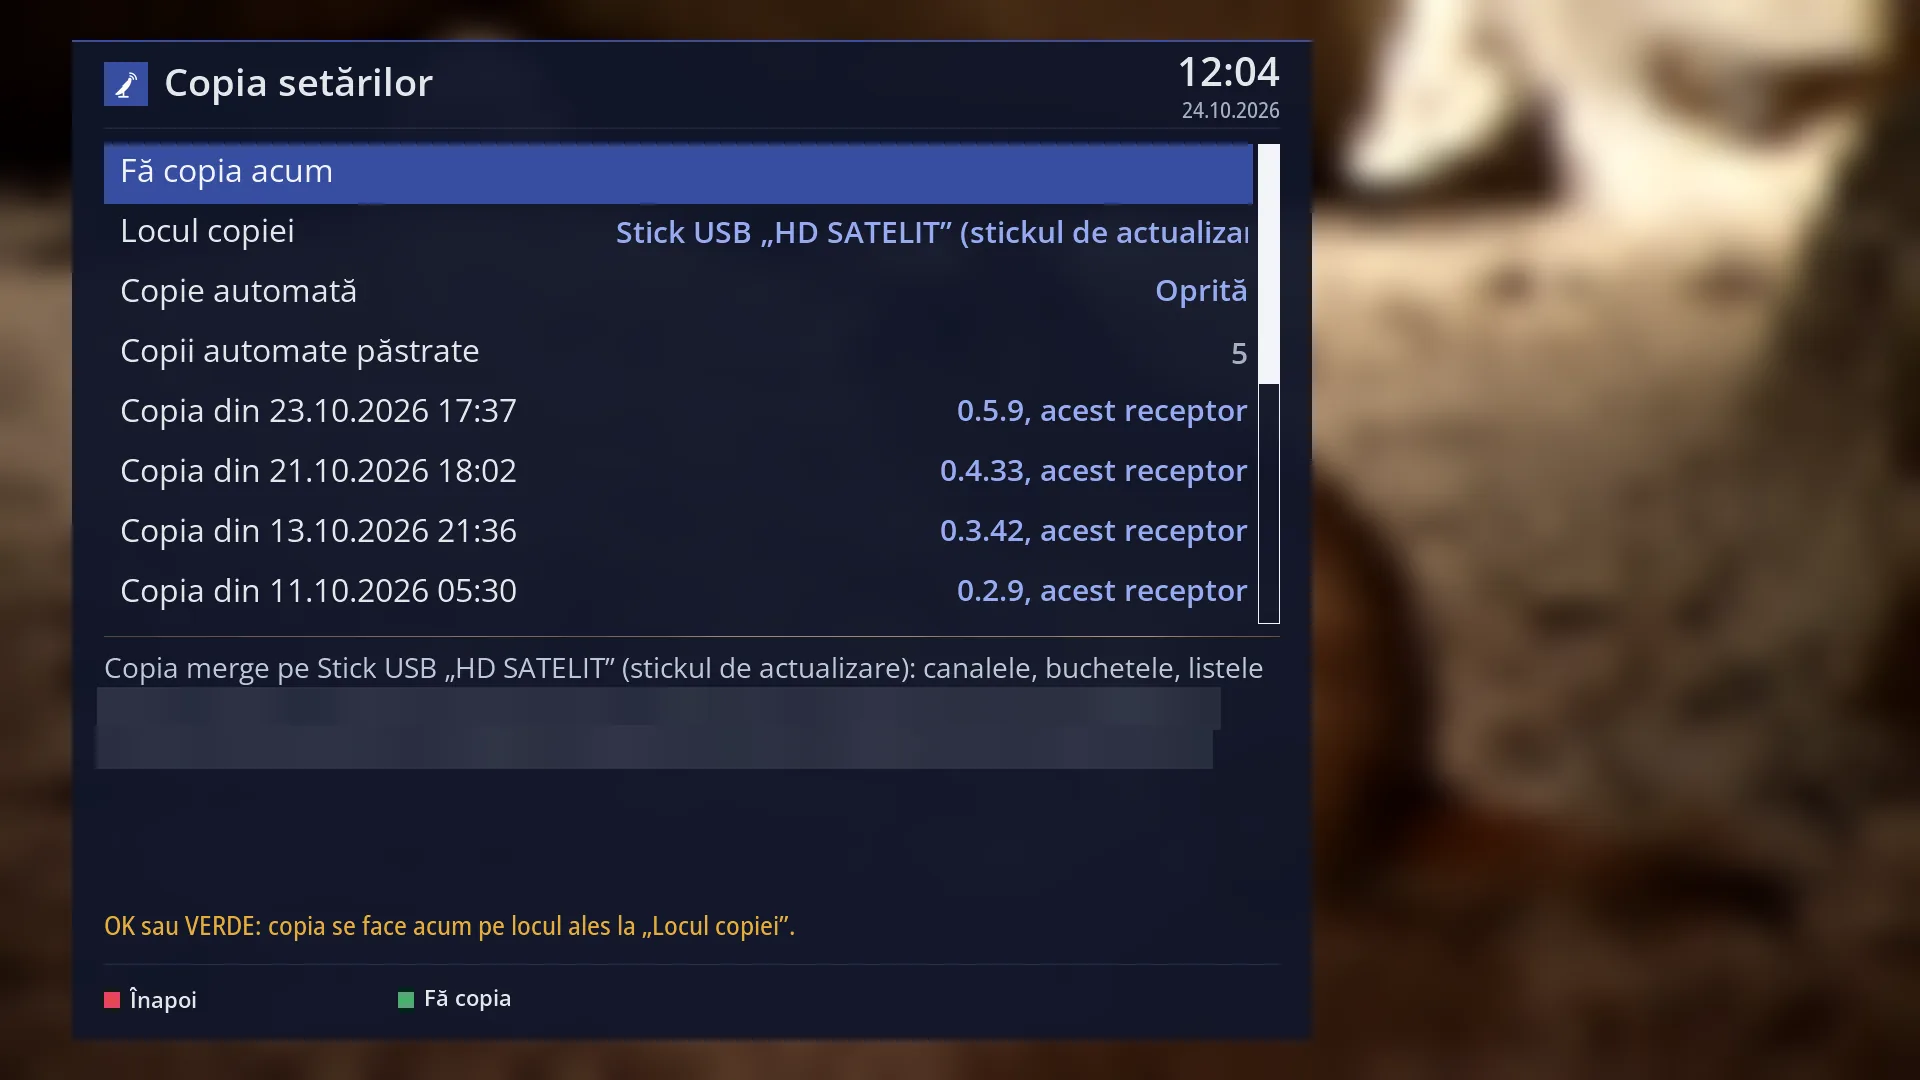
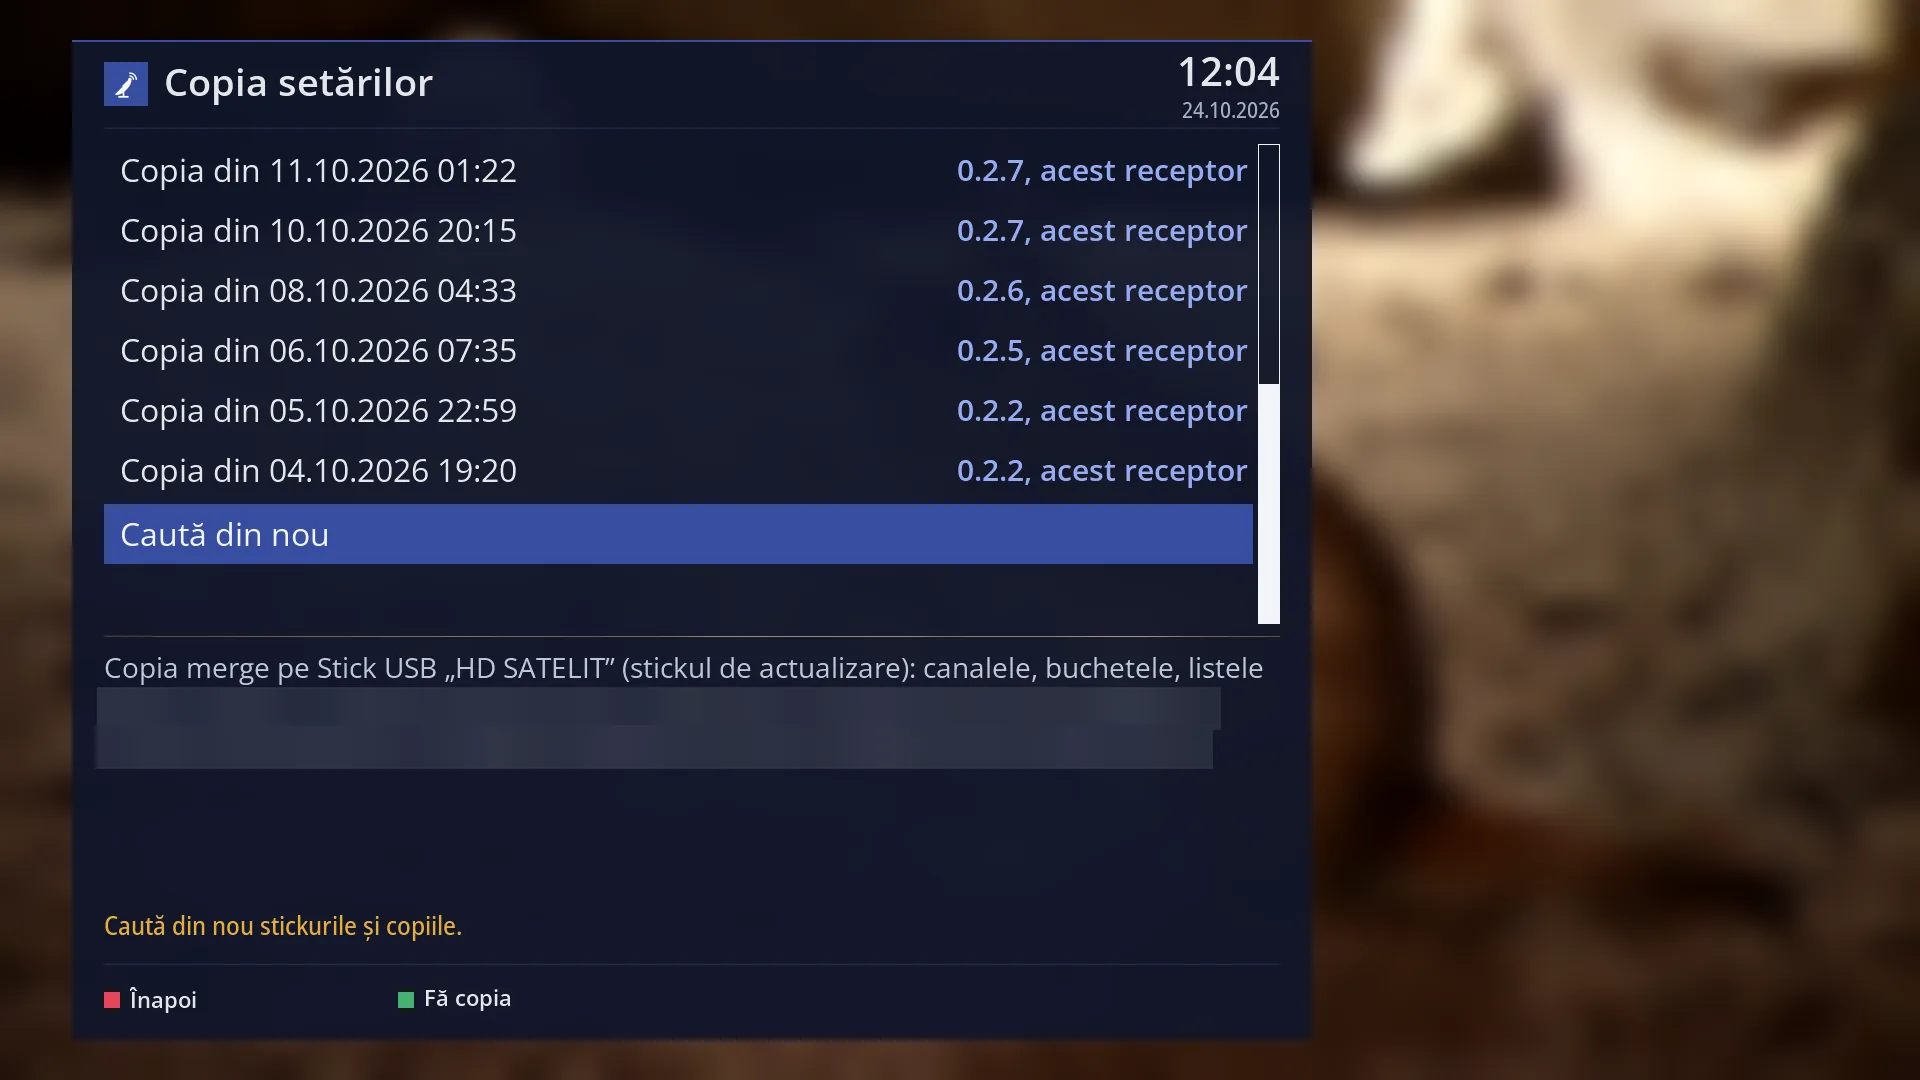
At the top, the title “Settings copy”, the time and the date.
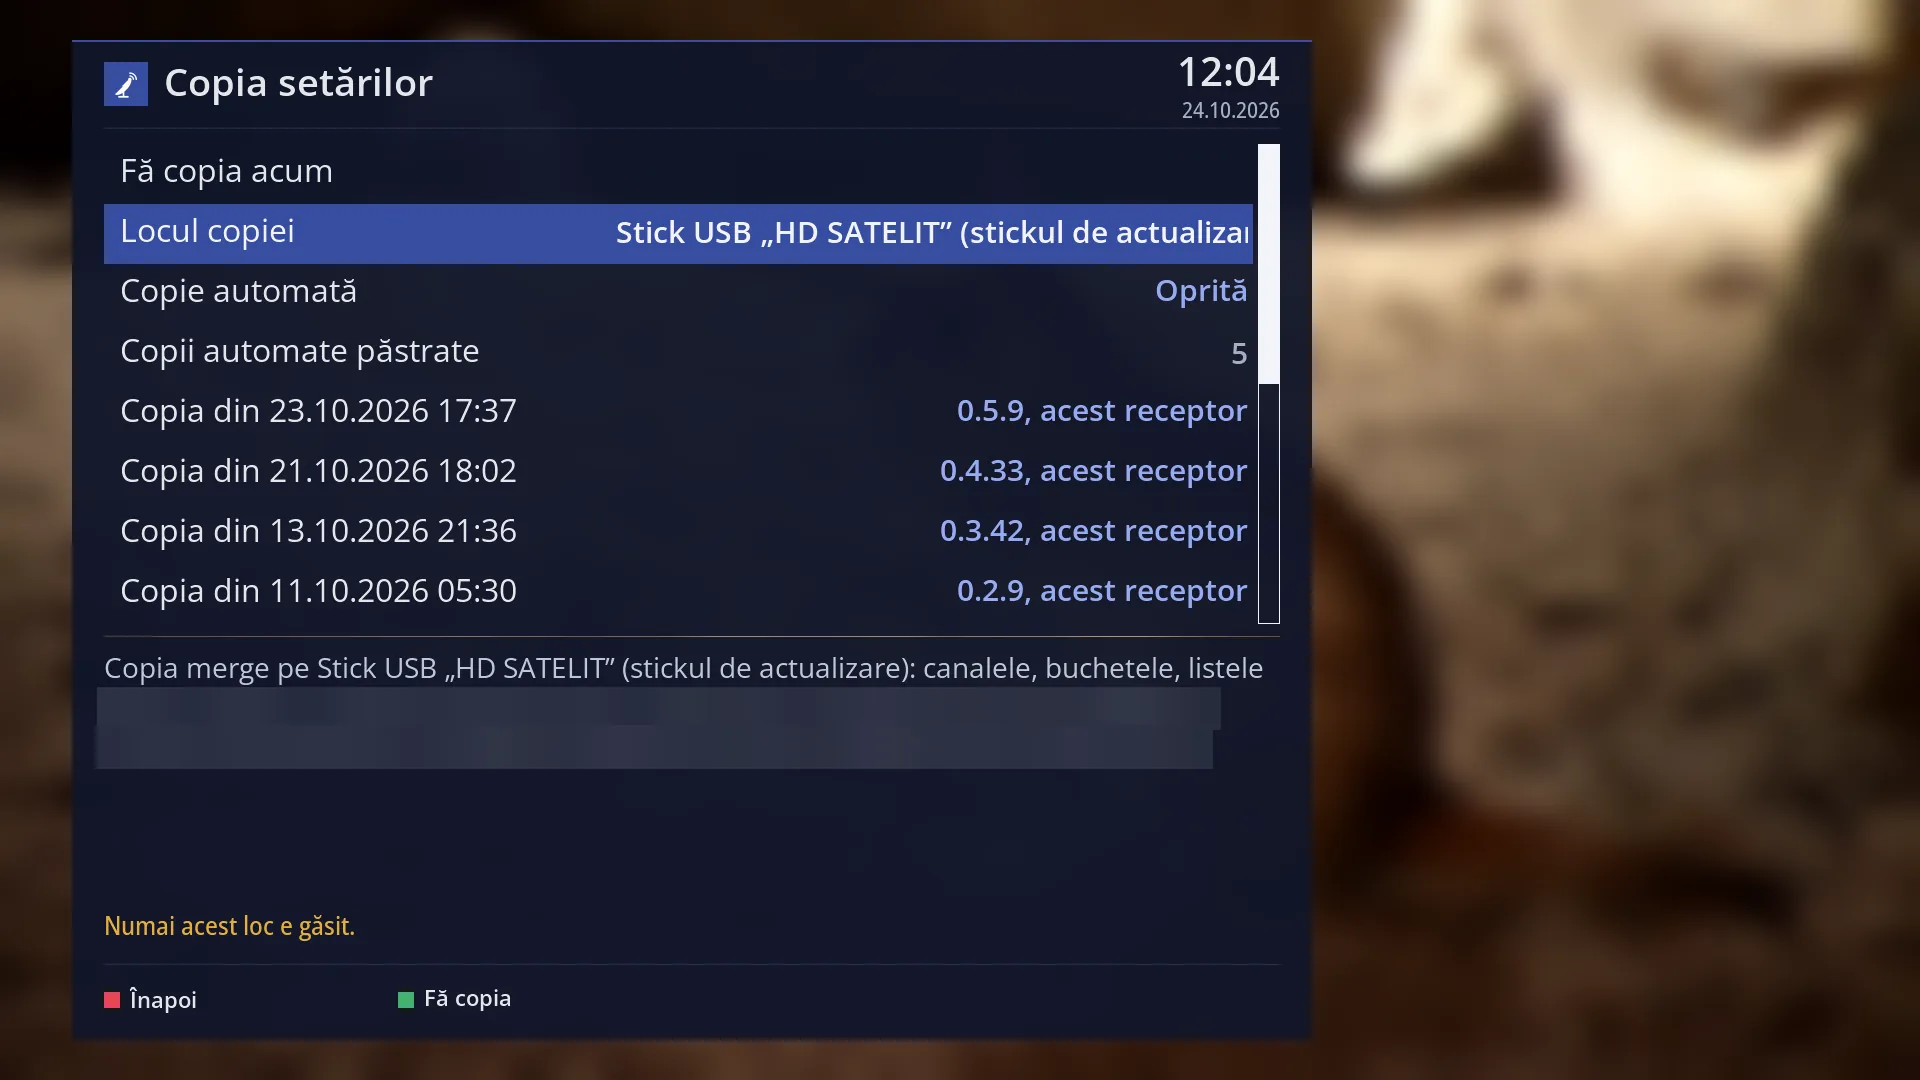
The list, eight rows per screen, with the scroll bar on the right: the row name on the left, its value on the right. The selected row has a blue background.
The first four rows are always the same: “Make the copy now”, “Copy location”, “Automatic copy” and “Automatic copies kept”.
Below them, one row for each copy found, newest first: “Copy from 21.10.2026 18:02”, with the version of the image it was made in on the right and “this receiver” or “another receiver” (in fainter text). If there is no copy, “No copy found” appears.
The last row is “Search again”. When a copy is waiting to be put back, “Cancel putting back” also appears above it, in yellow.
Below the line, the explanation of the selected row: where the copy goes and what it contains; for a selected copy, where it is, when it was made, from which version, what it contains and whose receiver it belongs to. After a copy, its messages also appear here, for example “The copy is ready: 23.10.2026 14:50.”.
The yellow row above the keys tells you what OK does on the selected row and shows short messages (“Making the copy on …”, “The automatic copy is made daily …”).
At the bottom, the colour keys: RED “Back”, GREEN “Make the copy” (only when a location has been found and no copy is already in progress), YELLOW “Put back” and BLUE “Delete” (only on a copy row).
When you open the screen, the receiver searches for USB sticks, disks and the copies on them. While it searches, “Copy location” shows “Searching…”.
Rows and settings
| Row | Values | Default | What it does |
|---|---|---|---|
| Make the copy now | empty, in progress… | OK or GREEN makes the copy now in the location chosen under “Copy location”. The copy goes into the hdsatelit folder on the USB stick or disk, with the date and time in its name. While it is being written, the row shows “in progress…” and the GREEN key disappears. When it finishes, “The copy is ready:” with the date and time appears below the line, and the new copy appears first in the list. Before a new image, before a reset to factory defaults, after you have sorted your channels. | |
| Copy location | USB stick “name” (the update stick), USB stick “name”, Memory card “name”, Disk “name”, Searching…, no stick or disk | the update stick, if it is in the receiver; otherwise the first USB stick, then the disk | Where the copy is written. The name is the label of the USB stick or disk. “The update stick” is the USB stick that already has the image folders (amiko/viper4kv20 or e2/update): this is where you put the copy before a new image. LEFT and RIGHT go through the locations found; OK opens their list when there are several. With only one location, the bottom row says “Only this place was found.”; with none, the value is “no stick or disk” and OK searches again. When you have several USB sticks or a disk and want the copy on a different one from the one selected. |
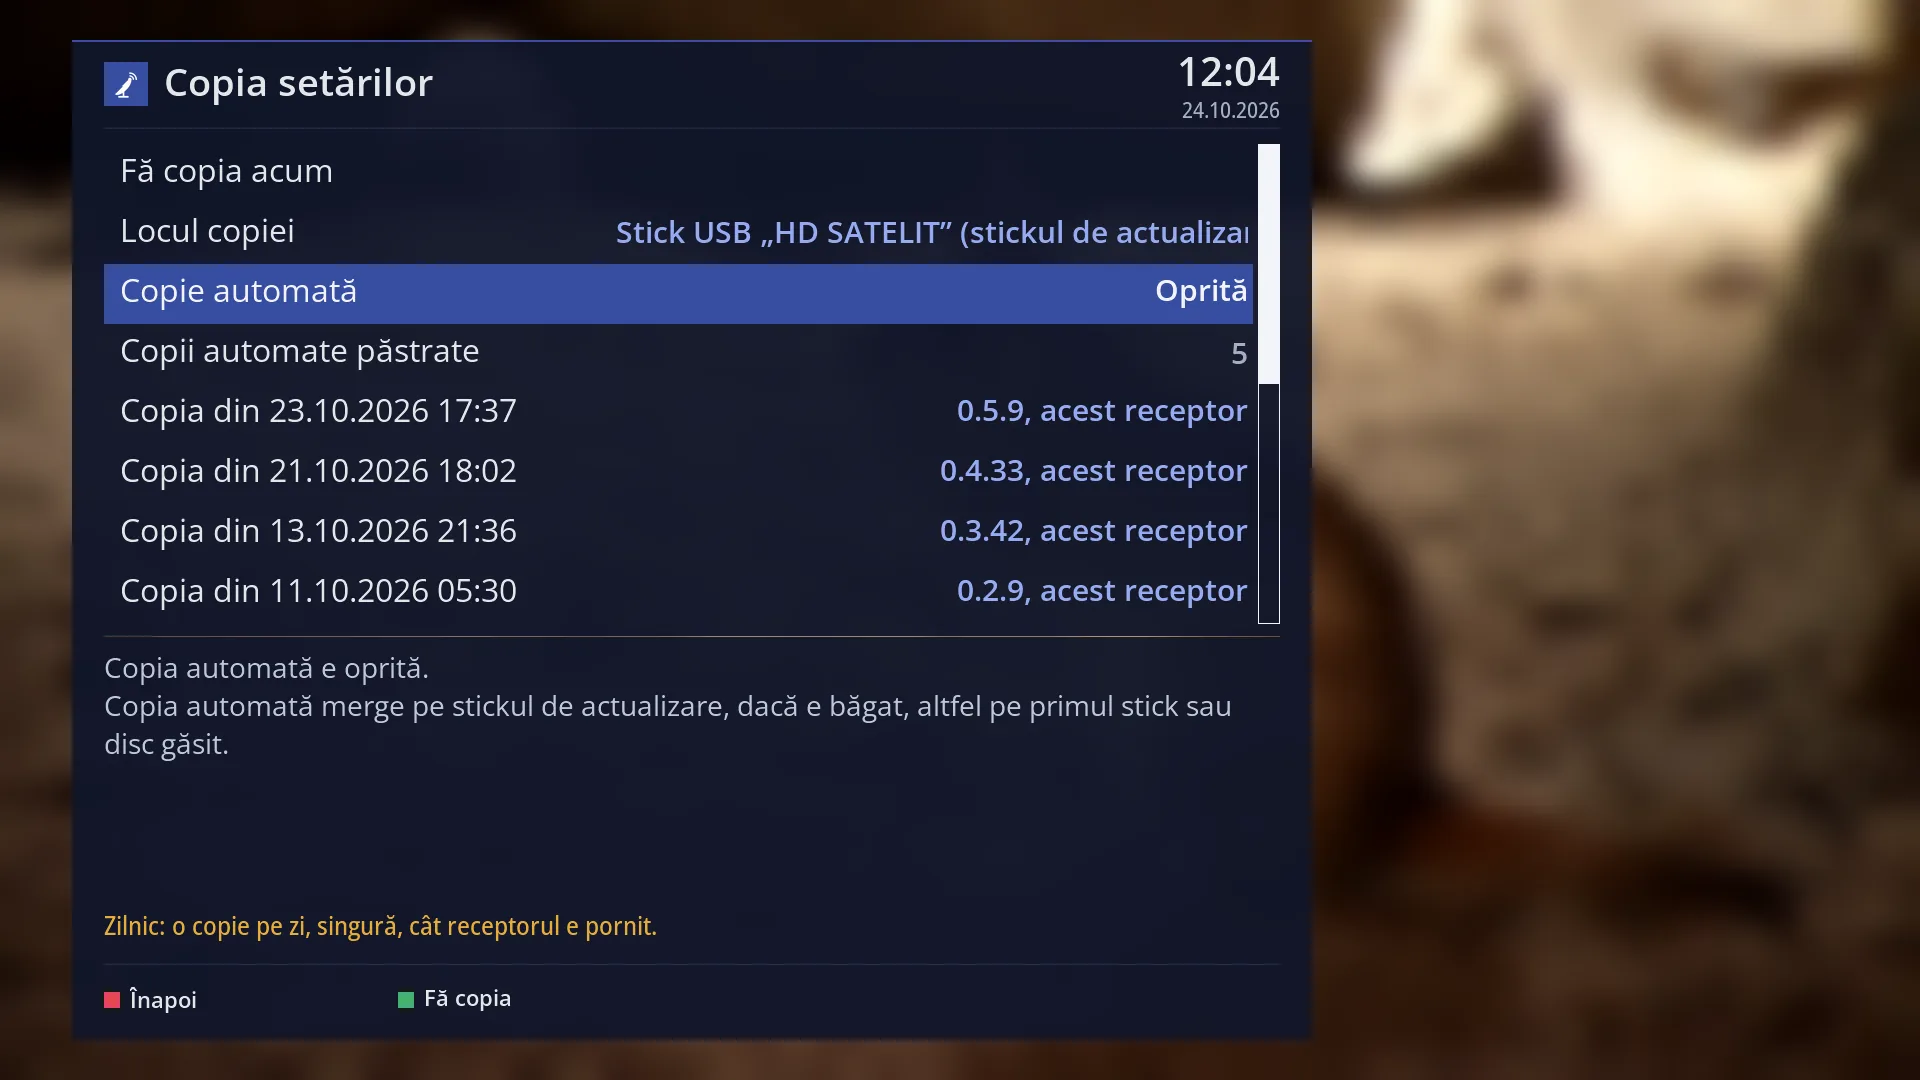
| Automatic copy | Off, Daily | Off | Daily: the receiver makes one copy a day by itself, while it is switched on. The first check is ten minutes after start-up, then every quarter of an hour; the copy is made when a day has passed since the previous automatic copy. It goes to the update stick, if it is plugged in, otherwise to the first USB stick or disk found. Without a USB stick or disk, nothing is done. When you want to always have a recent copy without having to think about it. |
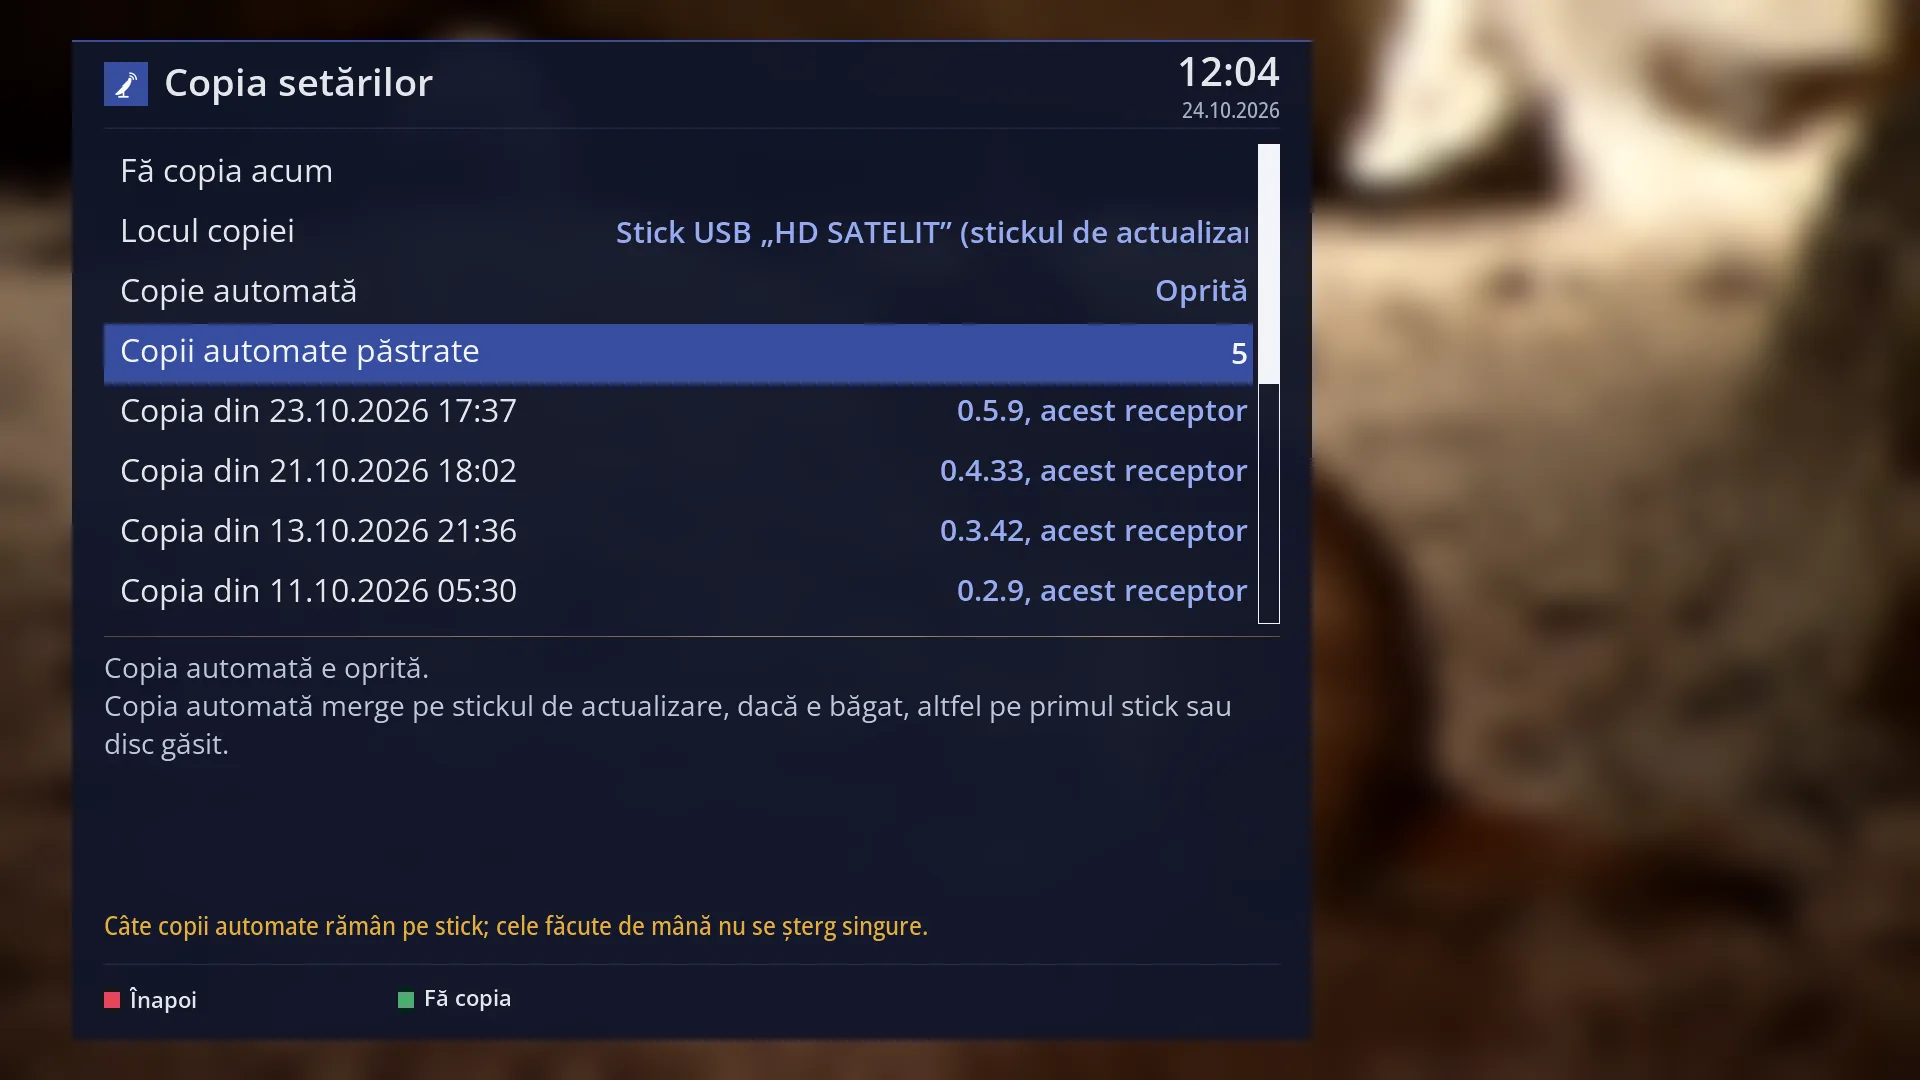
| Automatic copies kept | 1, 2, 3, 4, 5, 6, 7, 8, 9, 10 | 5 | How many automatic copies of this receiver stay on the USB stick or disk; after each new automatic copy, the oldest ones over that number are deleted by themselves. Copies made manually are never deleted by themselves. While the automatic copy is off, the value is shown in fainter text. When the USB stick is filling up or you want to be able to go further back. |
| Copy from <date and time> | <version>, this receiver, <version>, another receiver | A copy found on a plugged-in USB stick or disk. “This receiver” means the same network card and the same model: then everything is put back. “Another receiver” means only the channels and the DAB+ and DVB-T2 lists are put back. Below the line you see the location, the date, whether it is automatic or made manually, the image version and what it contains. OK opens the choice “Put back from the copy” / “Delete the copy”; YELLOW puts it back, BLUE deletes it, both after a question with “No” selected. When you want to go back to the channels and settings from a particular day. | |
| No copy found | Appears when there is no copy on the plugged-in USB sticks and disks. The row does nothing. | ||
| Cancel putting back | Appears only when you have asked for a copy to be put back and the interface has not restarted yet. OK cancels the request: “The copy will not be put back.”. When you change your mind before the restart. | ||
| Search again | Searches again for USB sticks, disks and the copies on them, for example after you have plugged in a USB stick with the screen open. After you have plugged in or removed a USB stick. | ||
| Automatic putting back at the first start | this receiver's copy, a copy from the same model (channels only), no copy | After a new image is written, at the first start and before the interface, the receiver waits up to 20 seconds for the USB sticks and searches for copies on USB sticks and disks. It takes the newest copy of this receiver; if there is none, the newest copy from the same model, and from that it puts back only the channels. It puts it back without asking anything. The TV then shows for 20 seconds what was put back, for example “Put back from the copy from 21.10.2026 18:02 (image 0.4.33): the channels, the bouquets and the DAB+ and DVB-T2 lists, the settings, the network and Wi-Fi.”. If the network in the copy is different from the one in the image, the message says “The receiver restarts once now, so the network from the copy takes effect.” and the receiver restarts by itself, once only. If there is no HD Satelit copy, the receiver searches for a copy from another image and asks you “I found the channels and settings from another image. Shall I bring them over?”. | |
| What is not put back | When you put a copy back manually, the current resolution and the version seen under “What's new” stay as they are now. Debugging, graphics acceleration and IPv6 are never taken from the copy: they stay as the image sets them. The satellite list stays the one in the image. From another receiver, the settings, the network, the timers and anything specific to that device are not put back. |
Keys
| OK | On “Make the copy now”: makes the copy. On “Copy location”: the list of locations (when there are several). On “Automatic copy” and “Automatic copies kept”: the next value. On a copy: the choice “Put back from the copy” / “Delete the copy”. On “Cancel putting back”: cancels the request. On “Search again”: searches again. |
| GREEN | “Make the copy”: makes the copy now in the chosen location, from any row. |
| YELLOW | “Put back”, only on a copy row: it asks first, with “No” selected: “Put back the copy from …? The interface restarts and puts it back. If the network in the copy is different, the receiver restarts once more by itself.” For a copy from another receiver, the question says that only the channels and the DAB+ and DVB-T2 lists are put back. |
| BLUE | “Delete”, only on a copy row: it asks first “Delete the copy from … on …? It cannot be brought back.”, with “No” selected. |
| LEFT / RIGHT | Changes the value on “Copy location”, “Automatic copy” and “Automatic copies kept”. |
| UP / DOWN | Moves the cursor; DOWN on the last row goes to the first, UP on the first row goes to the last. |
| RED or EXIT | “Back”: closes the screen. A copy that has started still finishes after the screen is closed. |
Step by step
Making a copy on a USB stick before a new image
- If the USB stick needs formatting (FAT32), format it on the computer first: formatting erases everything, including the copy.
- Put the USB stick in the receiver and press MENU 6 8 3.
- On the “Copy location” row, check the USB stick; if it is a different one, choose yours with LEFT or RIGHT.
- Go to “Make the copy now” and press OK or GREEN.
- Wait for the message “The copy is ready:” with the date and time below the line. Only then remove the USB stick, if you need to.
The copy comes back by itself after the new image
- Leave the USB stick with the copy in the receiver when you write the new image, as in the installation steps on the website.
- At the first start, the receiver puts back its newest copy by itself, without asking anything, before the interface starts.
- The TV shows for 20 seconds what was put back. If the network in the copy is different, the receiver restarts once, by itself.
- If no copy was put back, the setup wizard appears, as at any first start.
Putting a copy back manually
- Press MENU 6 8 3 and wait for the copies to appear.
- Use DOWN to go to the copy you want; below the line, check the date, the version and whether it says “this receiver”.
- Press YELLOW (or OK and “Put back from the copy”).
- At the question, go to “Yes” and press OK: the interface restarts and puts the copy back.
Turning on the daily copy
- Leave a USB stick or a disk in the receiver all the time.
- Press MENU 6 8 3, go to “Automatic copy” and press RIGHT: the value becomes “Daily”.
- On “Automatic copies kept”, choose how many copies are kept (default 5).
Problems and solutions
“Copy location” shows “no stick or disk”.
Plug in a USB stick or a disk, wait a few seconds and choose “Search again”. If it still does not appear, try another port or a USB stick formatted as FAT32.
The message “There is not enough space on the chosen drive (about … MB needed).” appears.
Free up space on the USB stick (for example, delete old copies from the list with BLUE) or choose another location.
The message “The copy could not be written to the drive (…). Nothing changed on the receiver.” appears.
Usually the USB stick was removed, or it is full or faulty. Plug it back in, check it on the computer and make the copy again. An unfinished copy does not appear in the list.
After the new image, the channels and settings did not come back.
The USB stick must be in the receiver at the first start; the receiver waits for it only briefly. Plug in the USB stick, press MENU 6 8 3, choose the copy and press YELLOW. If the USB stick has a copy from another image rather than one made here: Main menu > Channel scan > Import channels and settings (MENU 1 5), with the USB stick in the receiver.
The copy appears with “another receiver”.
The copy comes from another device (a different network card or a different model). Only the channels and the DAB+ and DVB-T2 lists are put back from it; you set the settings, the network and the rest again yourself.
After putting back, the message says “The copy is not whole (…); nothing was put back.”.
The copy's files are damaged on the USB stick. Nothing has changed on the receiver. Put back an older copy and check the USB stick on the computer.
The message says “The chosen copy was no longer on the drive at the restart; nothing was put back.”.
The USB stick was removed before the restart. Plug it back in and ask for the copy to be put back again.
“Cancel putting back” appears in the list.
A copy is waiting for the interface to restart. Restart the interface (MENU 7 3) to put it back, or press OK on the row to cancel.
The automatic copy is not made.
Check that “Automatic copy” is set to “Daily”, that there is a USB stick or a disk in the receiver and that the receiver's clock is correct. The first check is ten minutes after start-up.
The YELLOW and BLUE keys do not appear.
They work only on a copy row. Move the cursor to a copy with DOWN.
Related topics
- Installation steps on the Amiko Viper 4K V20: /receptoare/amiko-viper-4k-v20/descarca/
- New image from USB stick
- Software update
- What's new
- Restart Box
- Channels from another image
- Import channels and settings
- Reset to Factory Defaults
- Matching web page: /copie-setari.