

Signal finder
Screenshots are being added: so far 1 from the receiver and 6 from the web interface; the aim is at least 5 of each, with arrows and frames, and, where a setting changes what you see, a before and after comparison.
English screenshots coming: some of the pictures below still show the receiver and the web interface in Romanian. The rows, keys and steps described on this page are the English ones.
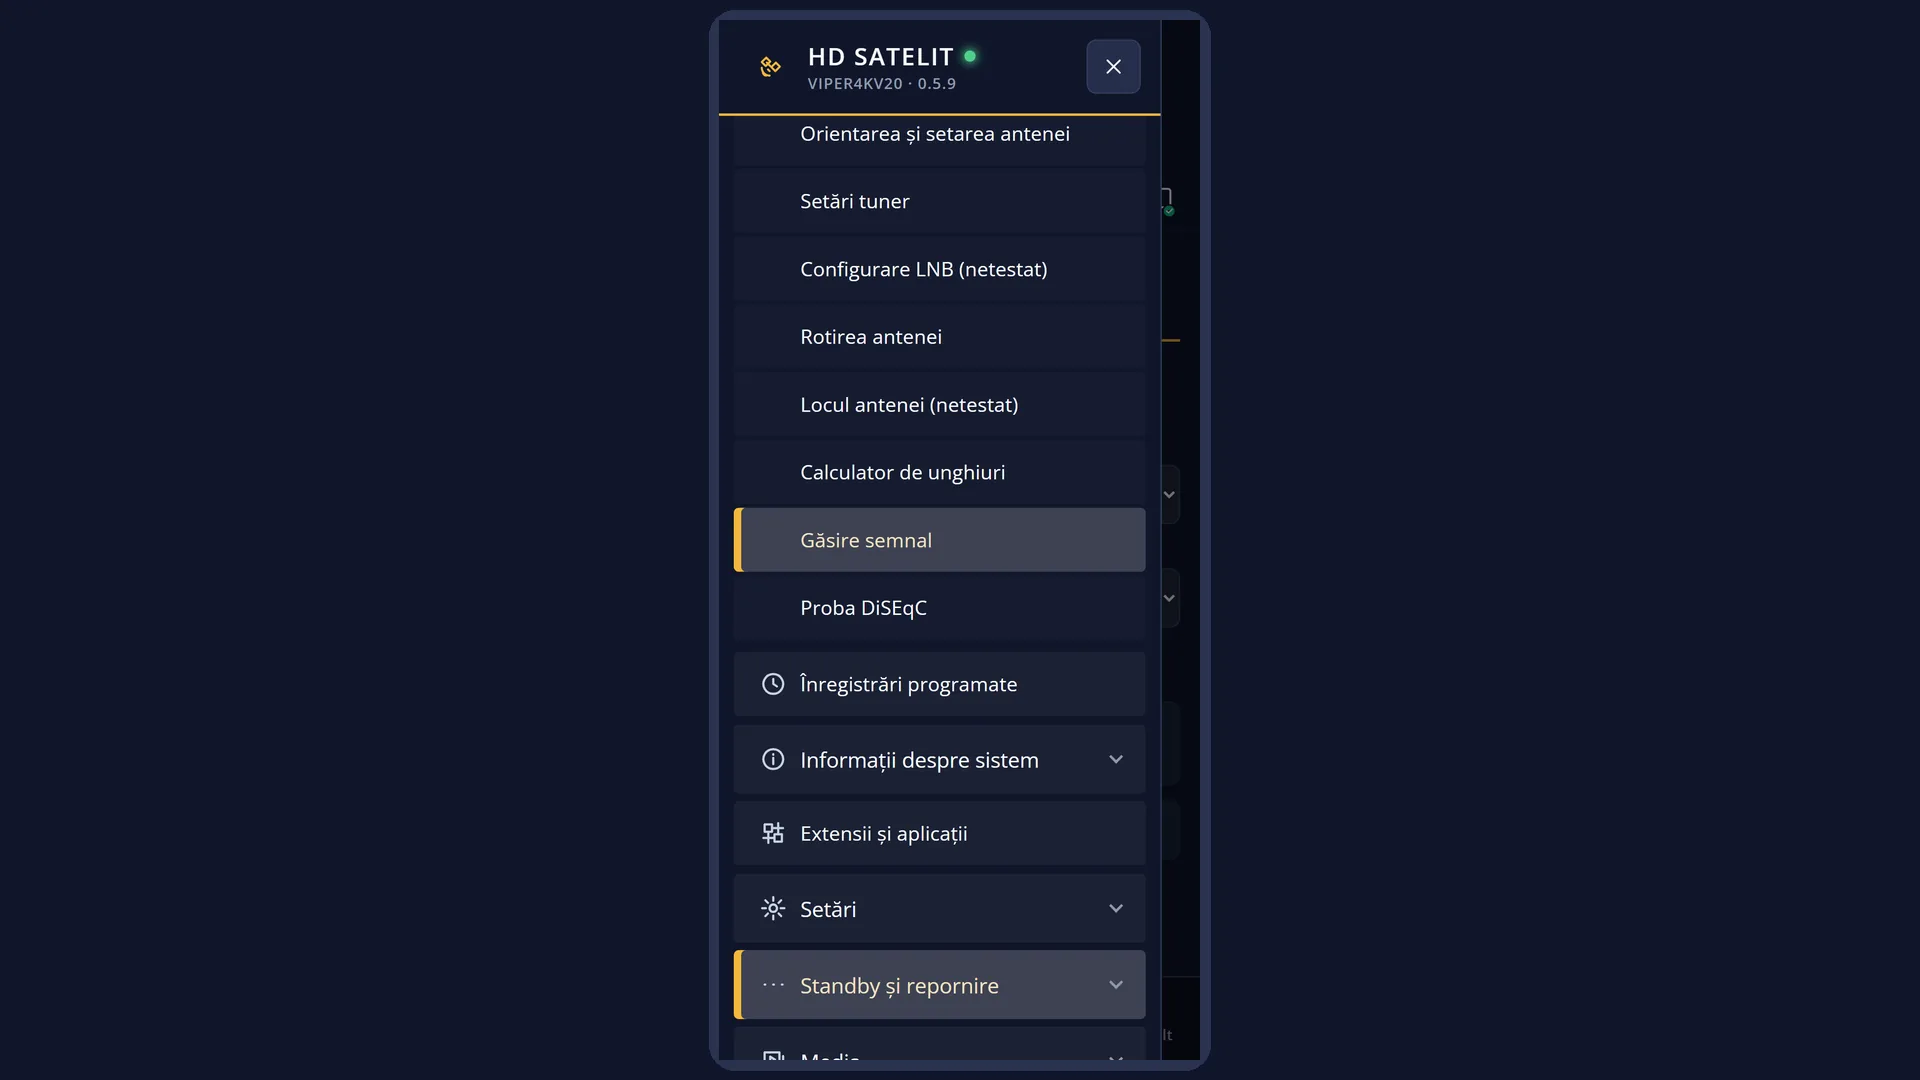
What it is for
“Signal finder” measures the signal of a satellite transponder live: quality, level and errors, several times a second. It helps you align the dish: you move it slowly and watch the quality until it is at its highest.
It opens by measuring the transponder of the channel on screen, so if the dish is fine you see “Signal locked” straight away. You can choose another satellite and another transponder from the receiver's list, or enter a transponder by hand.
At the top, a short verdict tells you what is happening (“Signal locked”, “No signal”, “Waiting for the motor”). Below it are the tips: the best quality in the last 10 seconds, whether the network in the signal belongs to the chosen satellite, and whether the signal seems too strong.
The channel on screen stops only if it is using the tuner, and it starts again when you leave. The GREEN key takes the measured transponder to the satellite scanner so you can search it for channels.
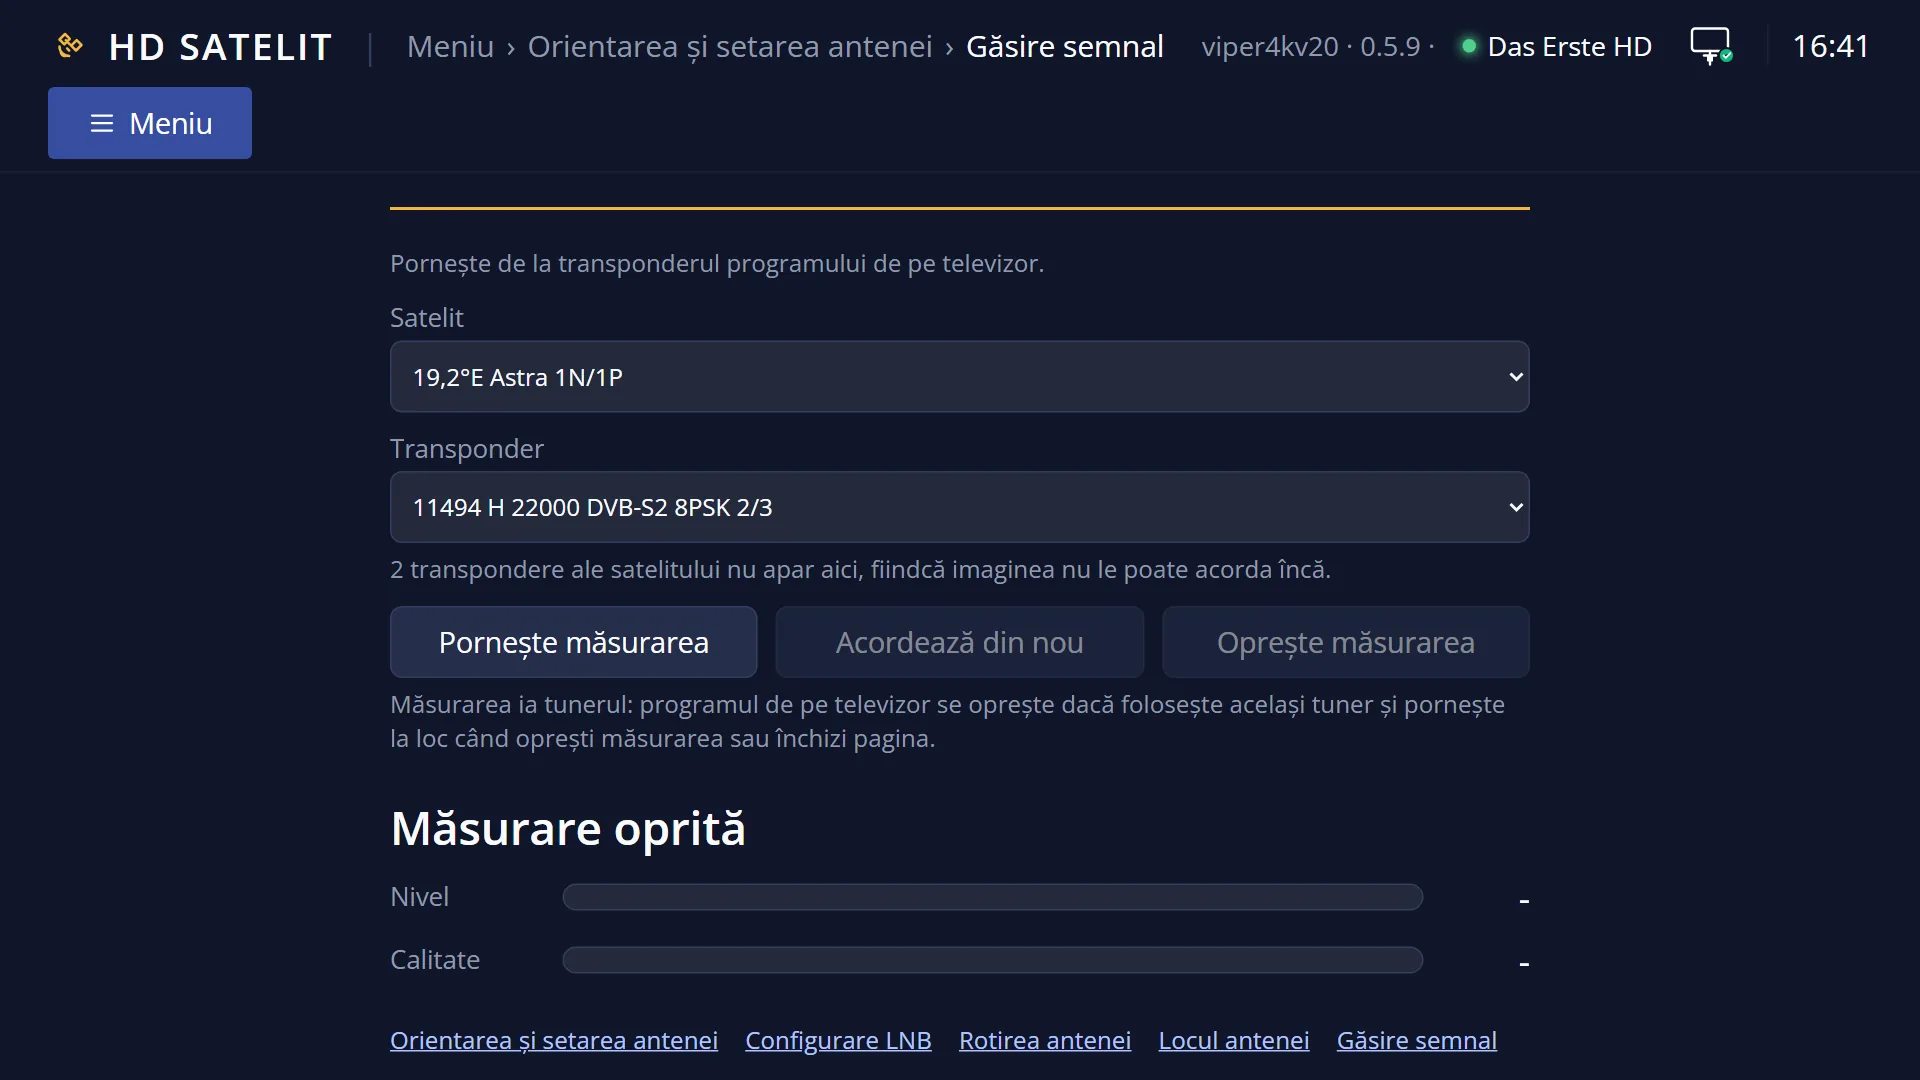
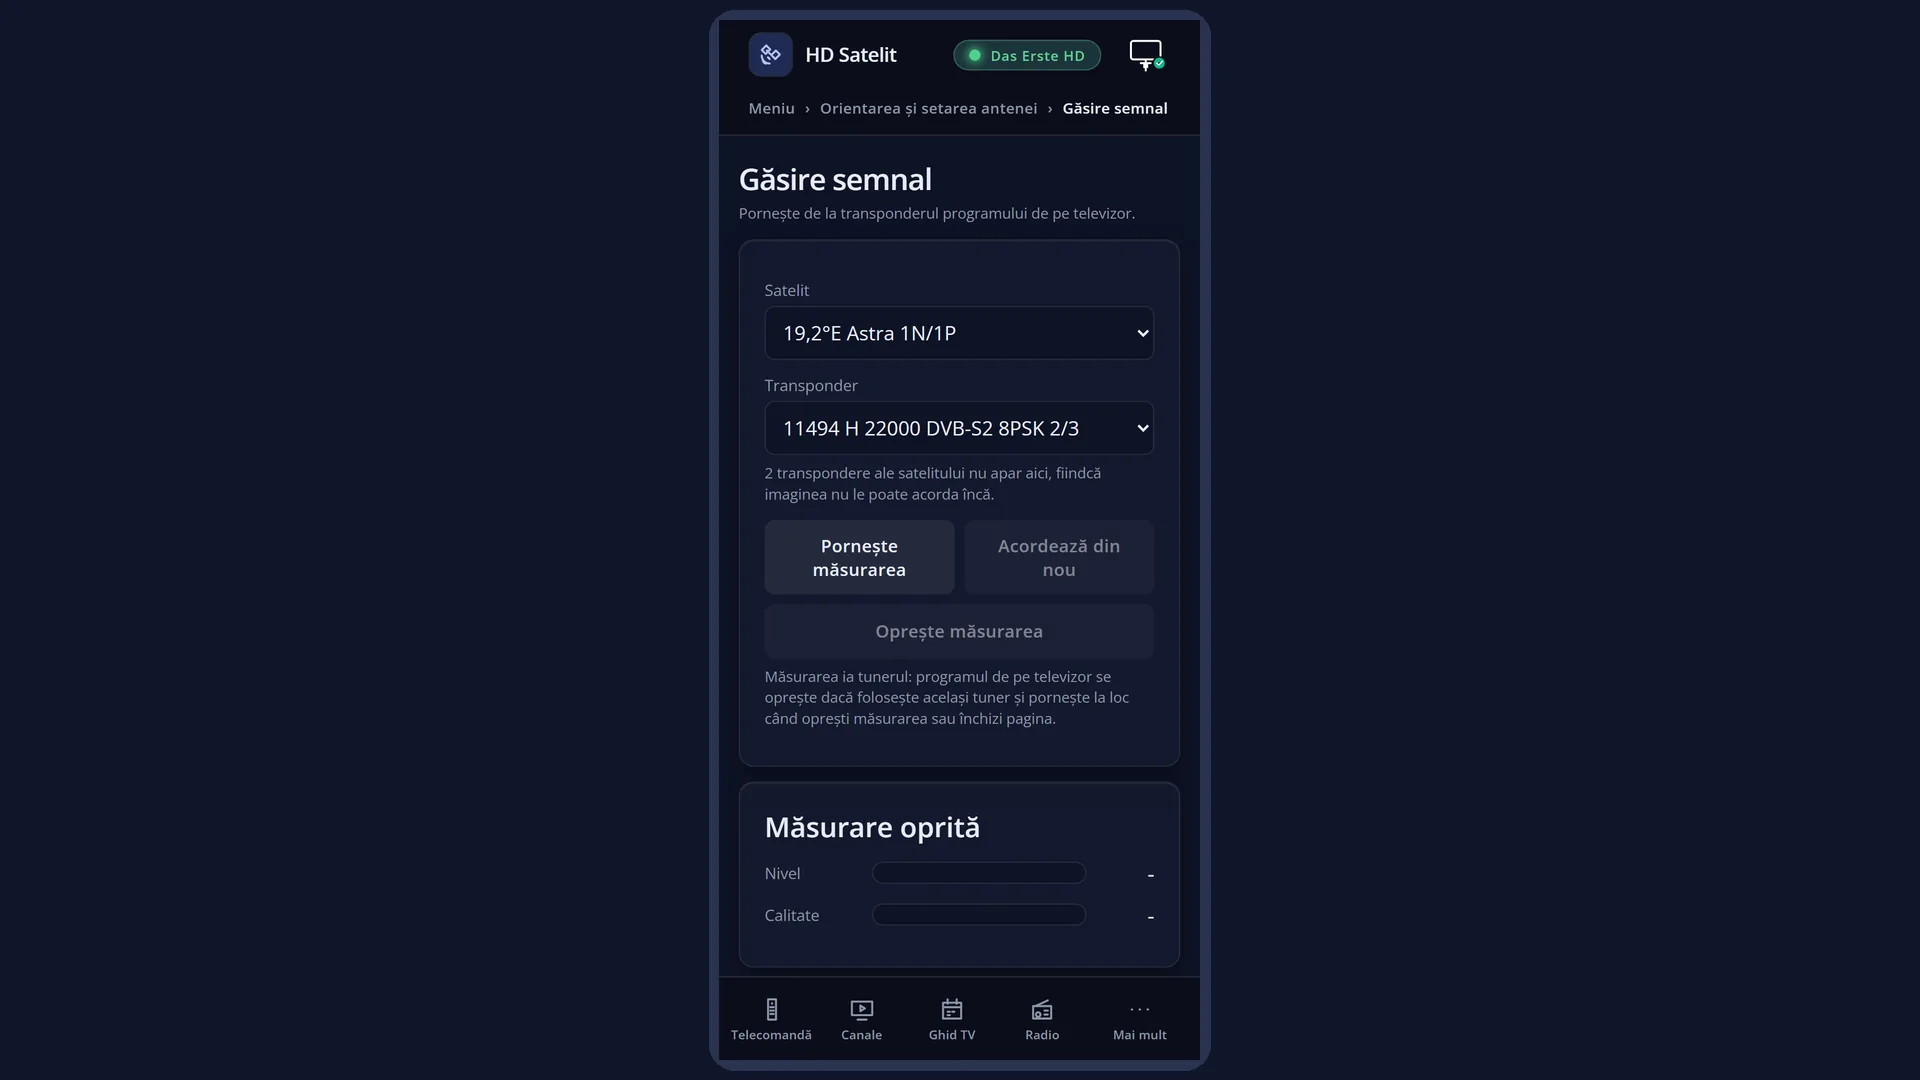
You cannot control the motor from here (use “Dish rotation” for that), but tuning to another satellite turns a motorised dish, and the screen shows how far it still has to go. The same measurement is also in the web interface, on the /antena/semnal page.
How to get here
Path: Main menu > Dish alignment and setup > Signal finder
Keys on the remote: MENU 2 6
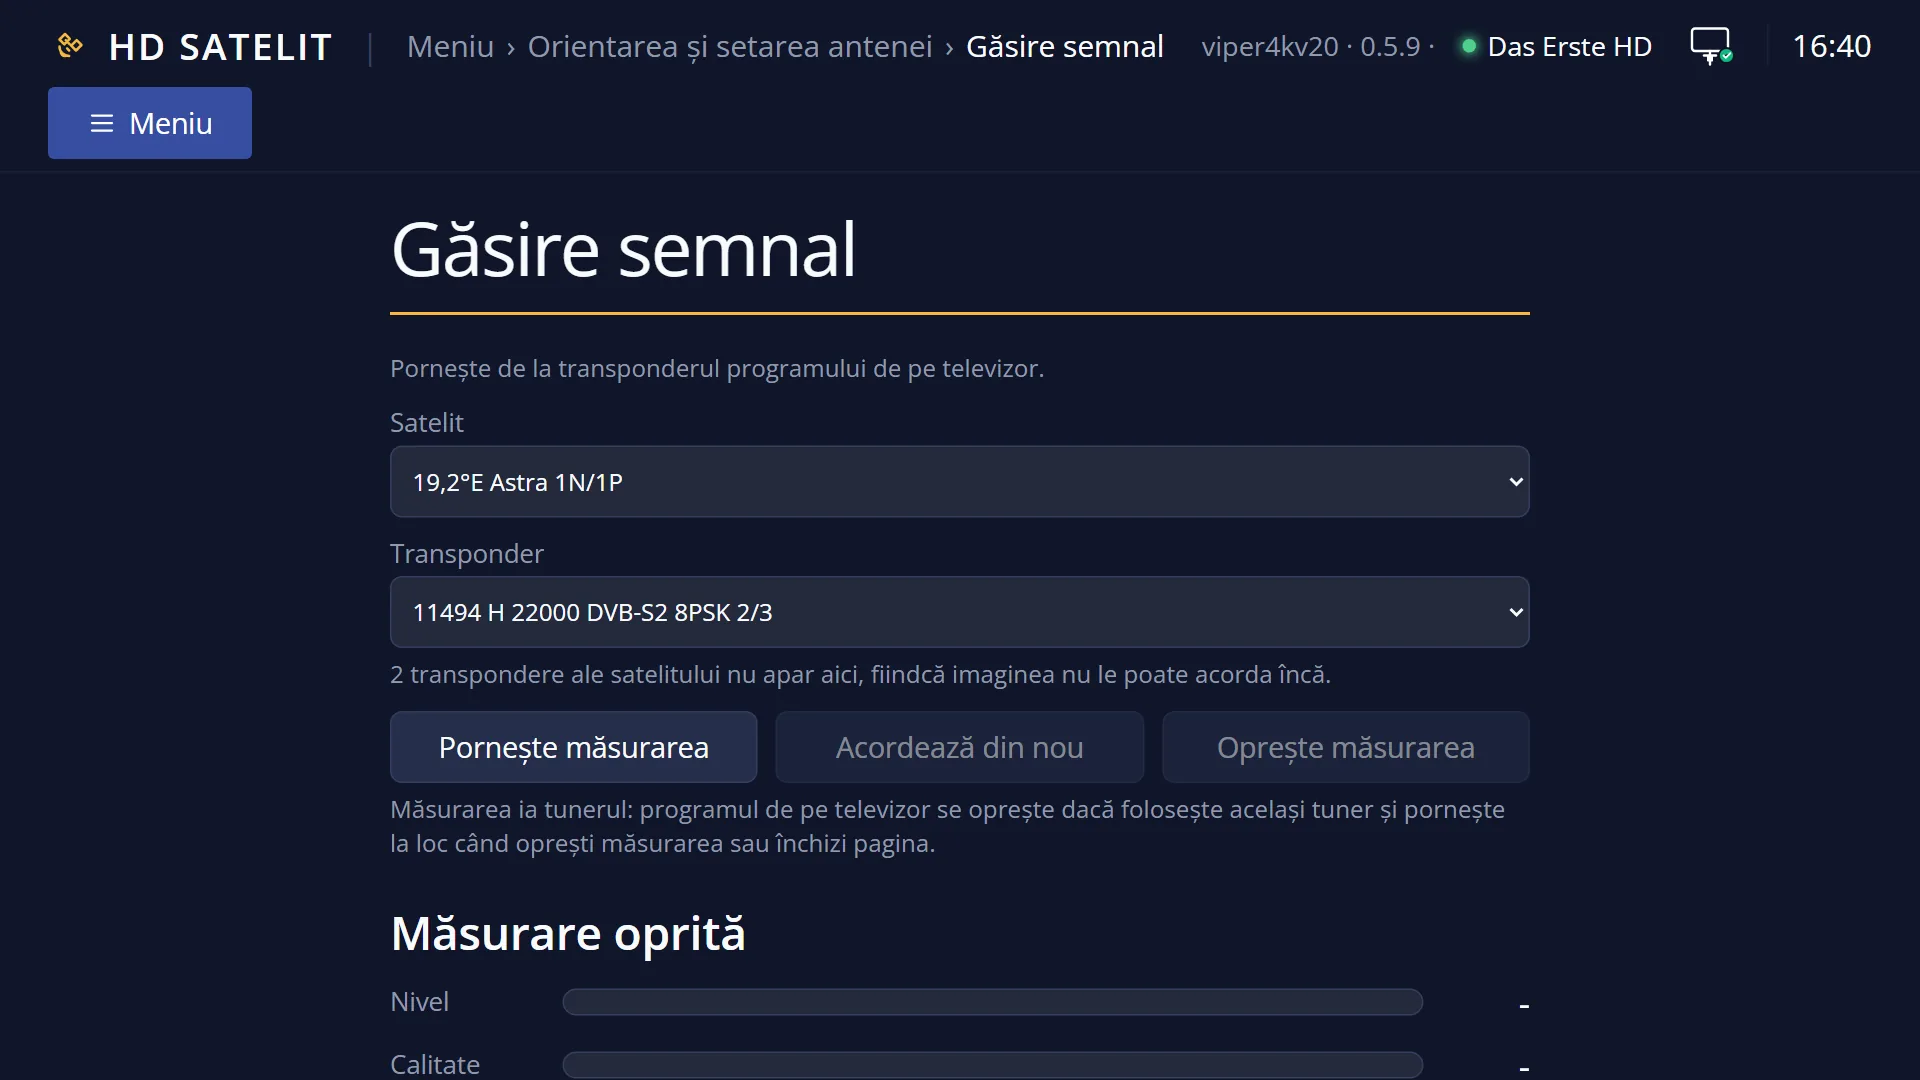
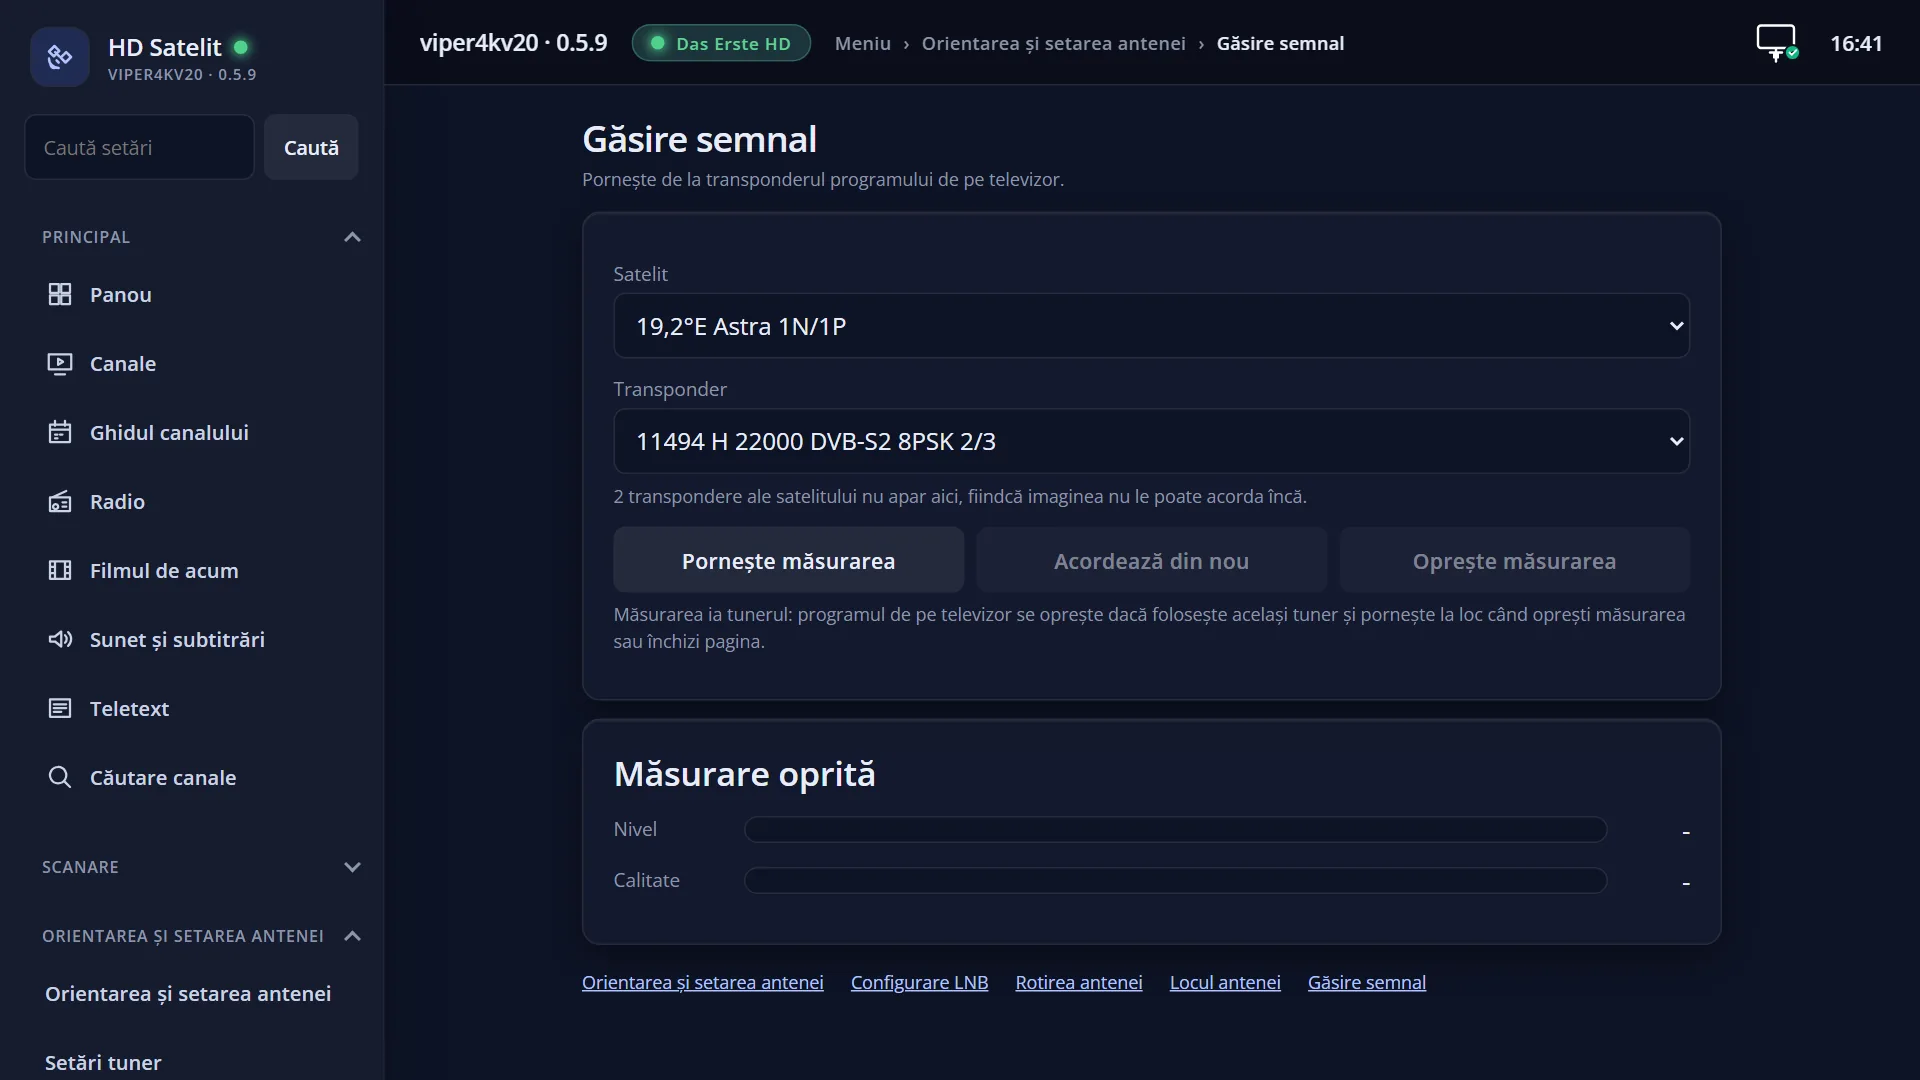
In the web interface: the /antena/semnal page, or the /antena page, “Signal finder” card, “Open Signal finder” button.
What you see on the screen
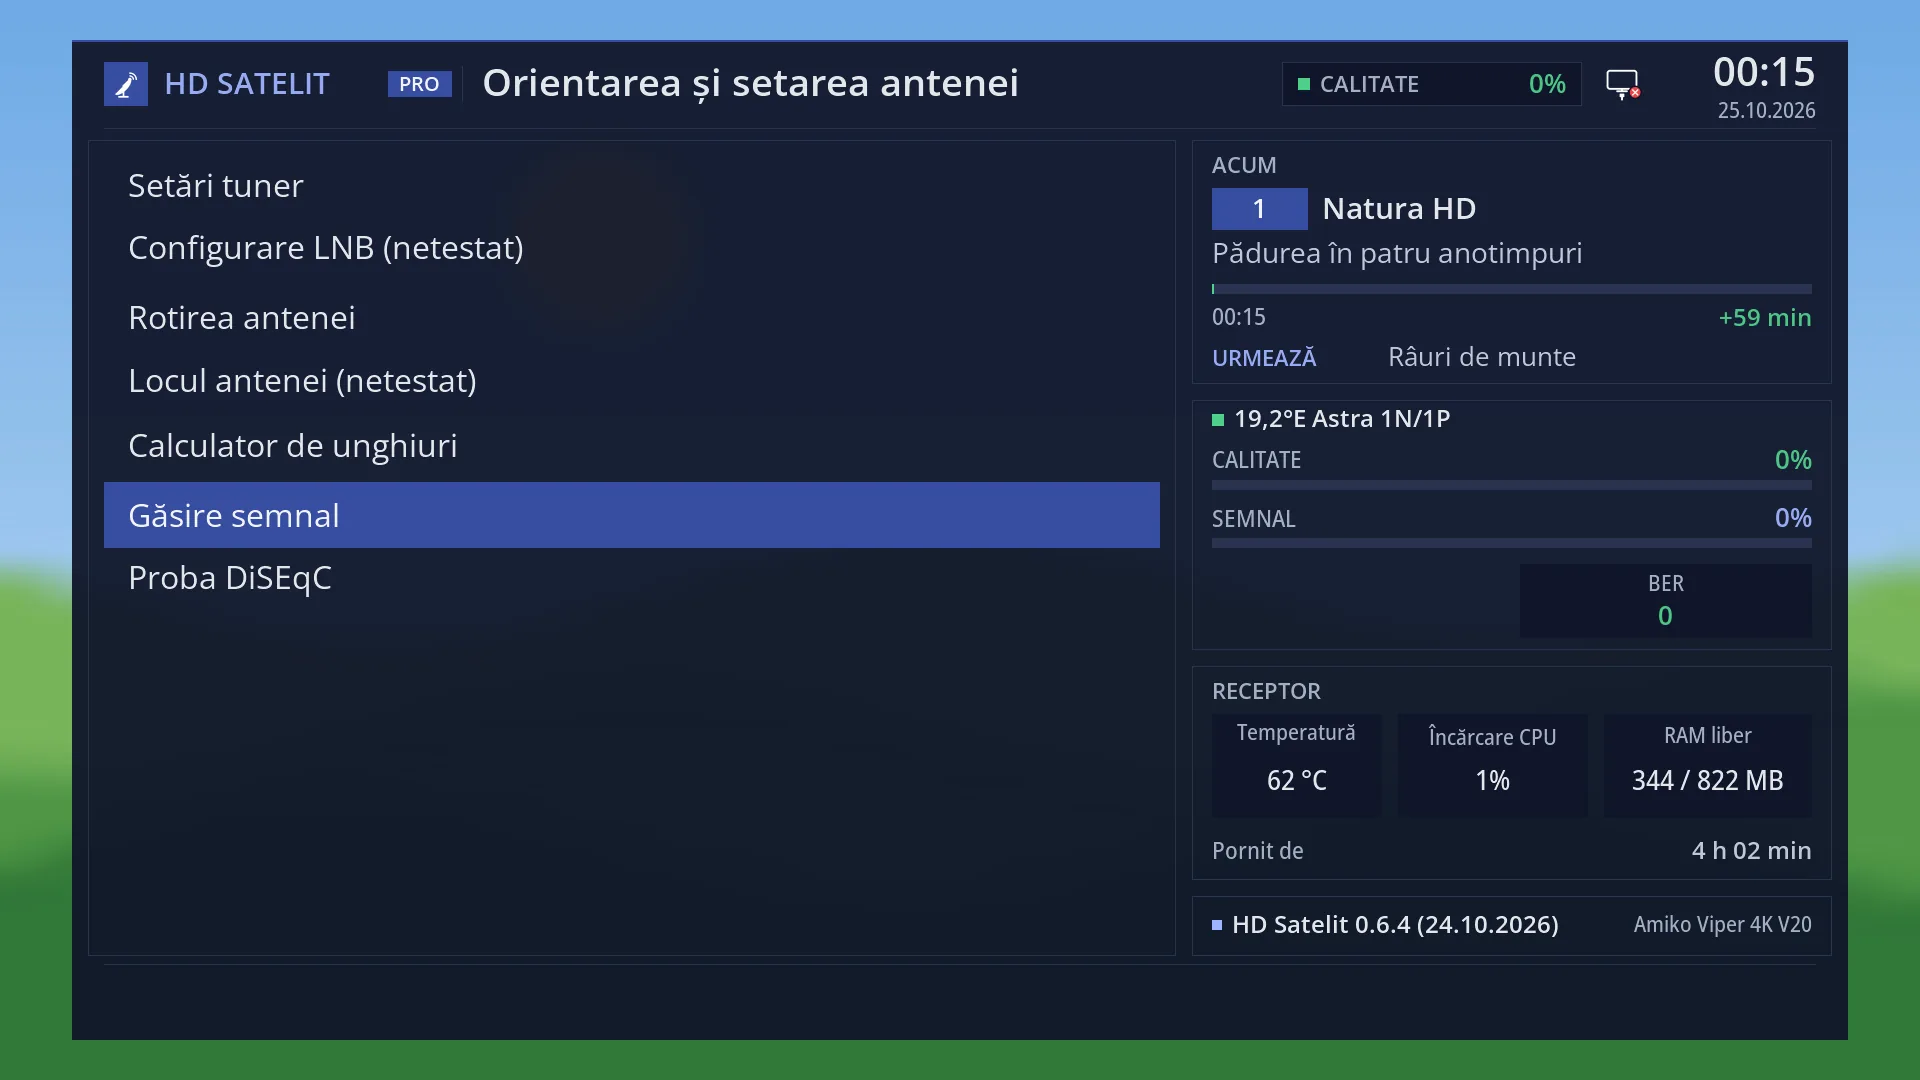
At the top: the title “Signal finder”, the time and the date. The screen is wide: your choices on the left, the signal on the right.
At the top left, in light blue, the verdict: “Signal locked”, “No signal”, “Signal lost”, “Tuning”, “Waiting for the motor”, “The tuner is busy”, “The tuner is recording”, “A recording is coming up”, “Cannot tune”, “No satellite configured” or “Measurement stopped”.
Below the verdict are the “Satellite” and “Transponder” rows (and “Tuner”, if the receiver has more than one satellite tuner). With “Entered by hand” you also get “Frequency (MHz)”, “Symbol rate (kSymb/s)”, “Polarization”, “System” and, depending on the system, “FEC” or “Modulation”, “FEC”, “Roll-off” and “Pilot”.
Below the list are up to two tips, the most important first, for example “Best quality in the last 10 s: 78%.”, “Network confirmed: the TS ID and ON ID are the ones in the satellite list.” or “No signal in 5 s. Trying again by itself every 8 s (attempt 2). Move the dish slowly.”.
On the right is the title “Signal” with a square that turns green when the signal is locked, then three rows with a bar and a number: “Quality”, “Signal” (the level) and “BER” (the errors). Below them: “Dish:” (the satellite position, or “towards …” while the dish is turning), “TS ID:” and “ON ID:” (the transponder and network numbers, read from the signal).
At the bottom, the keys: RED “Close”, GREEN “Search channels”, YELLOW “Tune again”. If no satellite is configured, GREEN, YELLOW and the bars are missing.
Rows and settings
| Row | Values | Default | What it does |
|---|---|---|---|
| Satellite | the satellites of your dish; with a motor, all satellites, with those below your local horizon at the end, marked “(below horizon)” | the satellite of the channel on screen; otherwise the dish's first satellite | The satellite being measured. With a motor, choosing another satellite turns the dish towards it (the verdict is “Waiting for the motor” until it gets there). When you point the dish at another satellite. |
| Transponder | the satellite's transponders from the receiver's list, for example “11766 V 27500 DVB-S2 8PSK 3/4”, Entered by hand | the transponder of the channel on screen; otherwise the first in the list | The transponder being measured. Transponders the image cannot tune yet are left out of the list, and the tip below the list says how many. “Entered by hand” shows rows for values you enter yourself, starting from the previous transponder. When you want a strong, easy to receive transponder on the satellite you are looking for. |
| Frequency (MHz) / Symbol rate (kSymb/s) | numbers; entered with the digit keys, the first digit starts a new number | 11766 and 27500, or the values of the previous transponder | Only with “Entered by hand”. The transponder values as published by the providers. Tuning happens when you leave the row or press OK, not at every digit. For a transponder that is not in the list. |
| Polarization | Horizontal, Vertical, Circular left, Circular right | Horizontal | Only with “Entered by hand”. The polarisation of the transponder. According to the transponder data. |
| System | DVB-S, DVB-S2 (only if the tuner supports it) | DVB-S | Only with “Entered by hand”. With DVB-S there is a single “FEC” row (Auto, 1/2, 2/3, 3/4, 5/6, 7/8); with DVB-S2 you get “Modulation” (QPSK, 8PSK), “FEC” (1/2 … 9/10, no Auto), “Roll-off” (0.35, 0.25, 0.20) and “Pilot” (Auto, Off, On). According to the transponder data. |
| Quality, Signal, BER | percentages; BER, the number of errors | Quality shows how clean the signal is: use it to align the dish. Signal (the level) can be high even with no quality, for example on another satellite. A low BER means few errors. The figures are read several times a second. | |
| Dish, TS ID, ON ID | “Dish:” shows the satellite position or, while the motor is turning, where it is heading. TS ID and ON ID are the transponder and network numbers, read from the signal (“reading”, “not read”). When they match the satellite's list, the tip says “Network confirmed”; a different ON ID means the dish may be on another satellite. | ||
| The channel on screen | If it was using the same tuner, it stops while you measure and starts again when you leave. A timer recording takes priority: the measurement stops by itself a minute and a half before, and if the recording is less than 10 minutes away the screen warns you in advance. |
Keys
| UP / DOWN | Moves the cursor to the row above or below. Leaving a row with a changed number starts tuning. |
| LEFT / RIGHT | On rows with choices, changes the value (tuning starts after a moment). On number rows, moves the cursor between digits. |
| 0 ... 9 | On frequency and symbol rate, they enter the number; the first digit starts a new number. |
| OK | On “Satellite” and “Transponder” (and on long lists), opens the selection list. On the other rows, tunes again, like YELLOW. |
| YELLOW | “Tune again”: tunes the changed values now or, if nothing has changed, tunes the same transponder once more. |
| GREEN | “Search channels”: opens the satellite scanner with this transponder, in “Enter data manually” mode. When you come back, the measurement continues. |
| RED or EXIT | “Close”: stops the measurement and starts the previous channel again. If the dish is still turning, it first asks whether you want to leave (the motor would stop midway). |
| BLUE | Does nothing here. |
Step by step
Aligning a fixed dish
- Use Angle calculator (MENU 2 5) to find the azimuth and elevation for your satellite, and point the dish as close to them as you can.
- Press MENU 2 6, choose your satellite on “Satellite” and one of its transponders on “Transponder”.
- Move the dish very slowly, a little at a time, and watch “Quality” and the square next to “Signal”. Wait a moment after each movement.
- When the verdict is “Signal locked”, look for the highest quality; the tip “Best quality in the last 10 s” helps you get back to the peak. Then tighten the dish.
Checking that the dish is on the right satellite
- Choose the satellite and a transponder from the list.
- Wait for TS ID and ON ID to be read: “Network confirmed” means you are on the chosen satellite; a different ON ID means the dish is on another satellite.
Searching for the channels of the measured transponder
- With the signal locked, press GREEN (“Search channels”).
- In the scanner, check the preview and press GREEN.
- At the end, close the result with EXIT and leave the scanner: you come back here and the measurement continues.
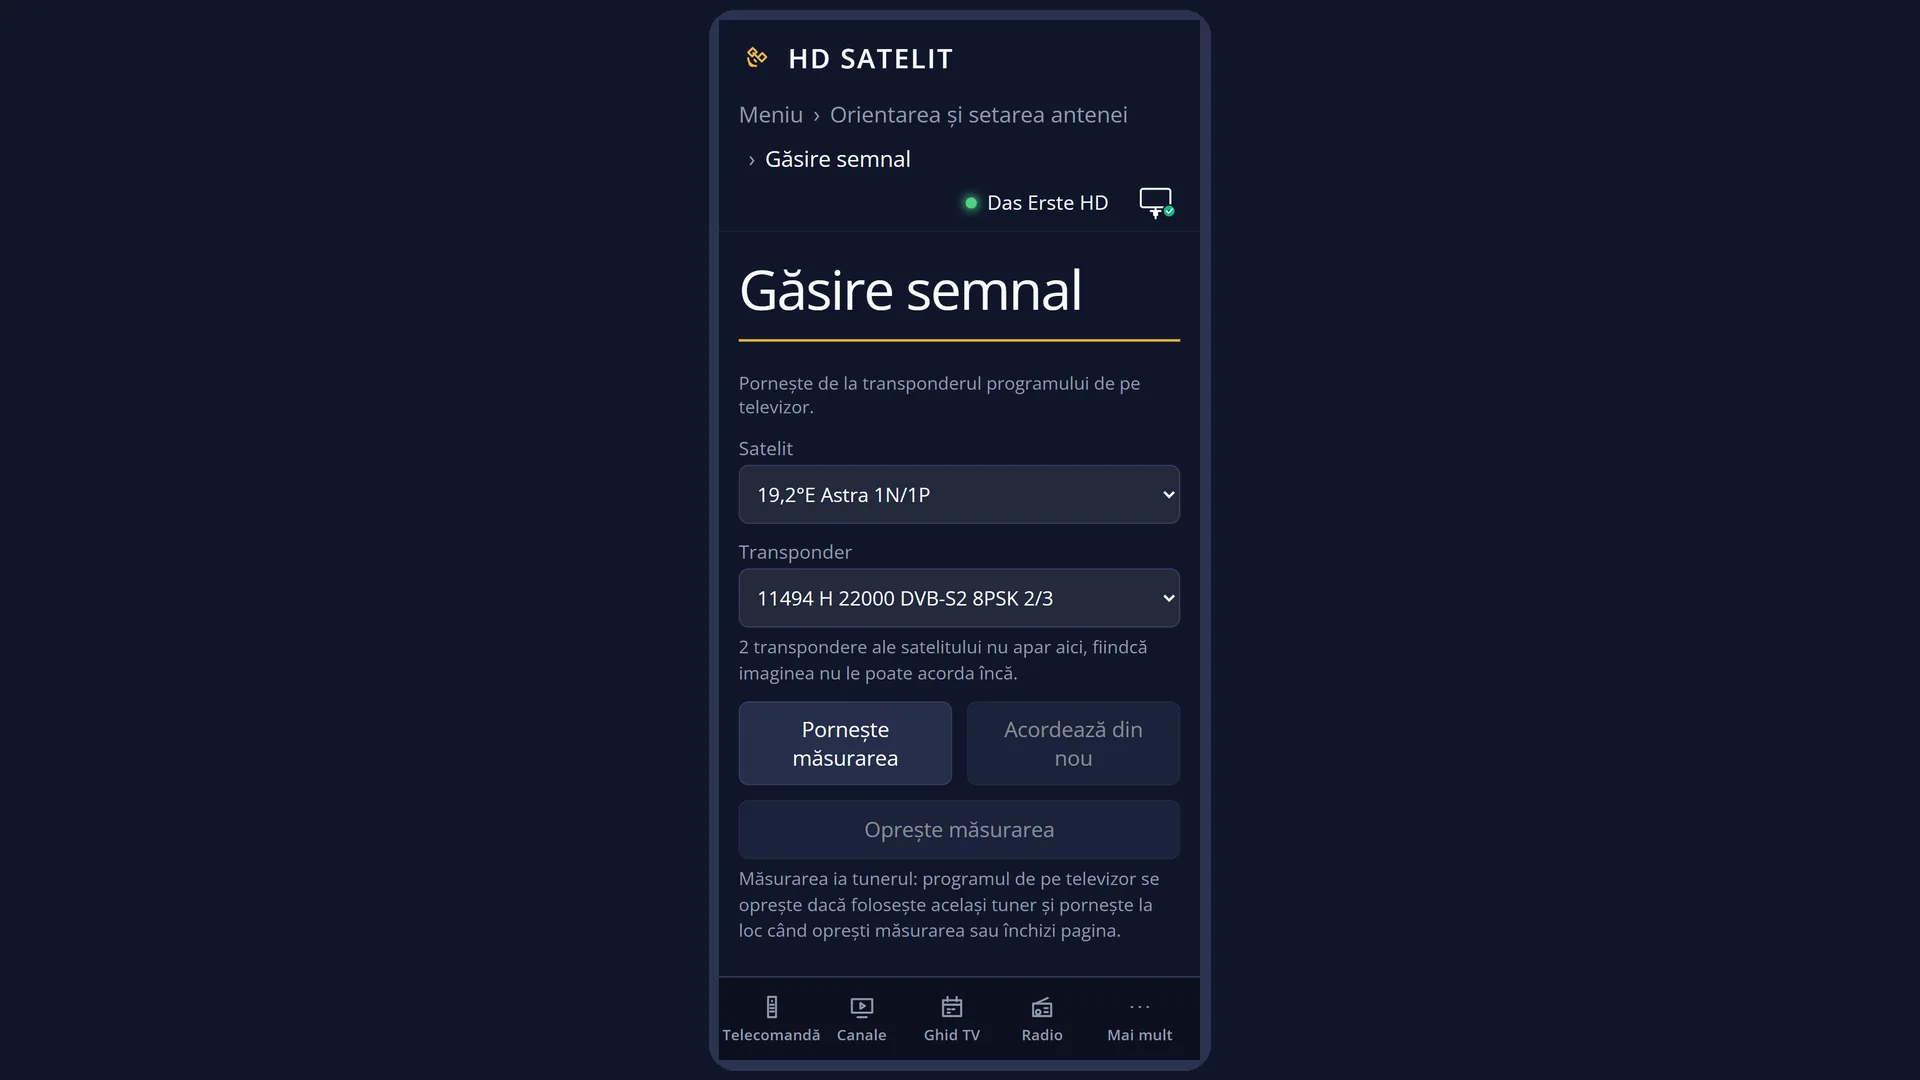
Measuring from your phone, next to the dish
- Open the receiver's web interface on your phone and go to /antena/semnal (the screen on the TV must be closed).
- Choose the satellite and transponder and press “Start the measurement”.
- Watch the “Level” and “Quality” bars while you move the dish. “Stop the measurement” gives the tuner back and the channel on the TV starts again; if you close the page, the measurement stops by itself after 30 seconds.
Problems and solutions
The verdict is “No satellite configured” and the bars are missing.
Set up the dish in Tuner settings (MENU 2 1), then come back here.
The verdict is “No signal”.
The dish is not on the satellite, the LNB is not getting power or the cable is faulty. Move the dish slowly; the receiver retries by itself every few seconds. Also check the LNB type in LNB configuration (MENU 2 2).
You see “The level is at the tuner's maximum, but the signal does not lock: it may be too strong or interference. Try an inline attenuator.”
The incoming signal is too strong or there is interference. Fit an attenuator on the cable, or check whether another device is interfering with the cable.
You see “ON ID …, while the satellite list has …. The dish may be on another satellite.”
The dish is on a neighbouring satellite. Move it slowly towards the satellite you want and watch TS ID and ON ID again.
The verdict is “Cannot tune” and the tip says “The tuner cannot tune …: the frequency is outside the LNB band or the satellite is missing from the tuner settings.”
The transponder cannot be tuned with the current LNB and satellites. Check the LNB type (MENU 2 2) and the satellites in Tuner settings (MENU 2 1).
The verdict is “The tuner is recording” or “A recording is coming up”.
A recording needs the tuner. Measure after it has finished.
The verdict is “The tuner is busy” or “The tuner is used by a stream”.
A network stream (to a phone, a computer or the /tv page) or a plugin is using the tuner. Stop it, then press YELLOW.
The verdict is “Measurement stopped” after standby.
The receiver went into standby and released the tuner. Press YELLOW to measure again.
The web page says “Signal finder is open on the TV.”
The screen on the TV is using the measurement right now. Close it (RED or EXIT), then start the measurement from the page.
Related topics
Differences between receivers
The Amiko Viper 4K V20 has a single satellite tuner (A), so the “Tuner” row does not appear.
On the V20 the quality is shown only as a percentage: the image has no dB calculation for its tuner.