

Cable
English screenshots coming: some of the pictures below still show the receiver and the web interface in Romanian. The rows, keys and steps described on this page are the English ones.
What it is for
“Cable” brings together the five ways of searching for channels on cable television (DVB-C), that is, the cable that comes from your cable provider, not from the dish.
Choose the type according to how much you know about your network: “By provider” when your provider is in the list (in Romania: Digi, Vodafone, Nextgen), “Automatic” when you know one frequency of the network, “Whole band” when you know nothing, “By frequency” for a single frequency chosen from a list, and “Manual” when you have all the values of a frequency.
Whichever you choose, the channels found are added to the channel list. Existing channels are not deleted; channels found again are updated.
Each type remembers the values you used last time, so the next time you can start the search more quickly.
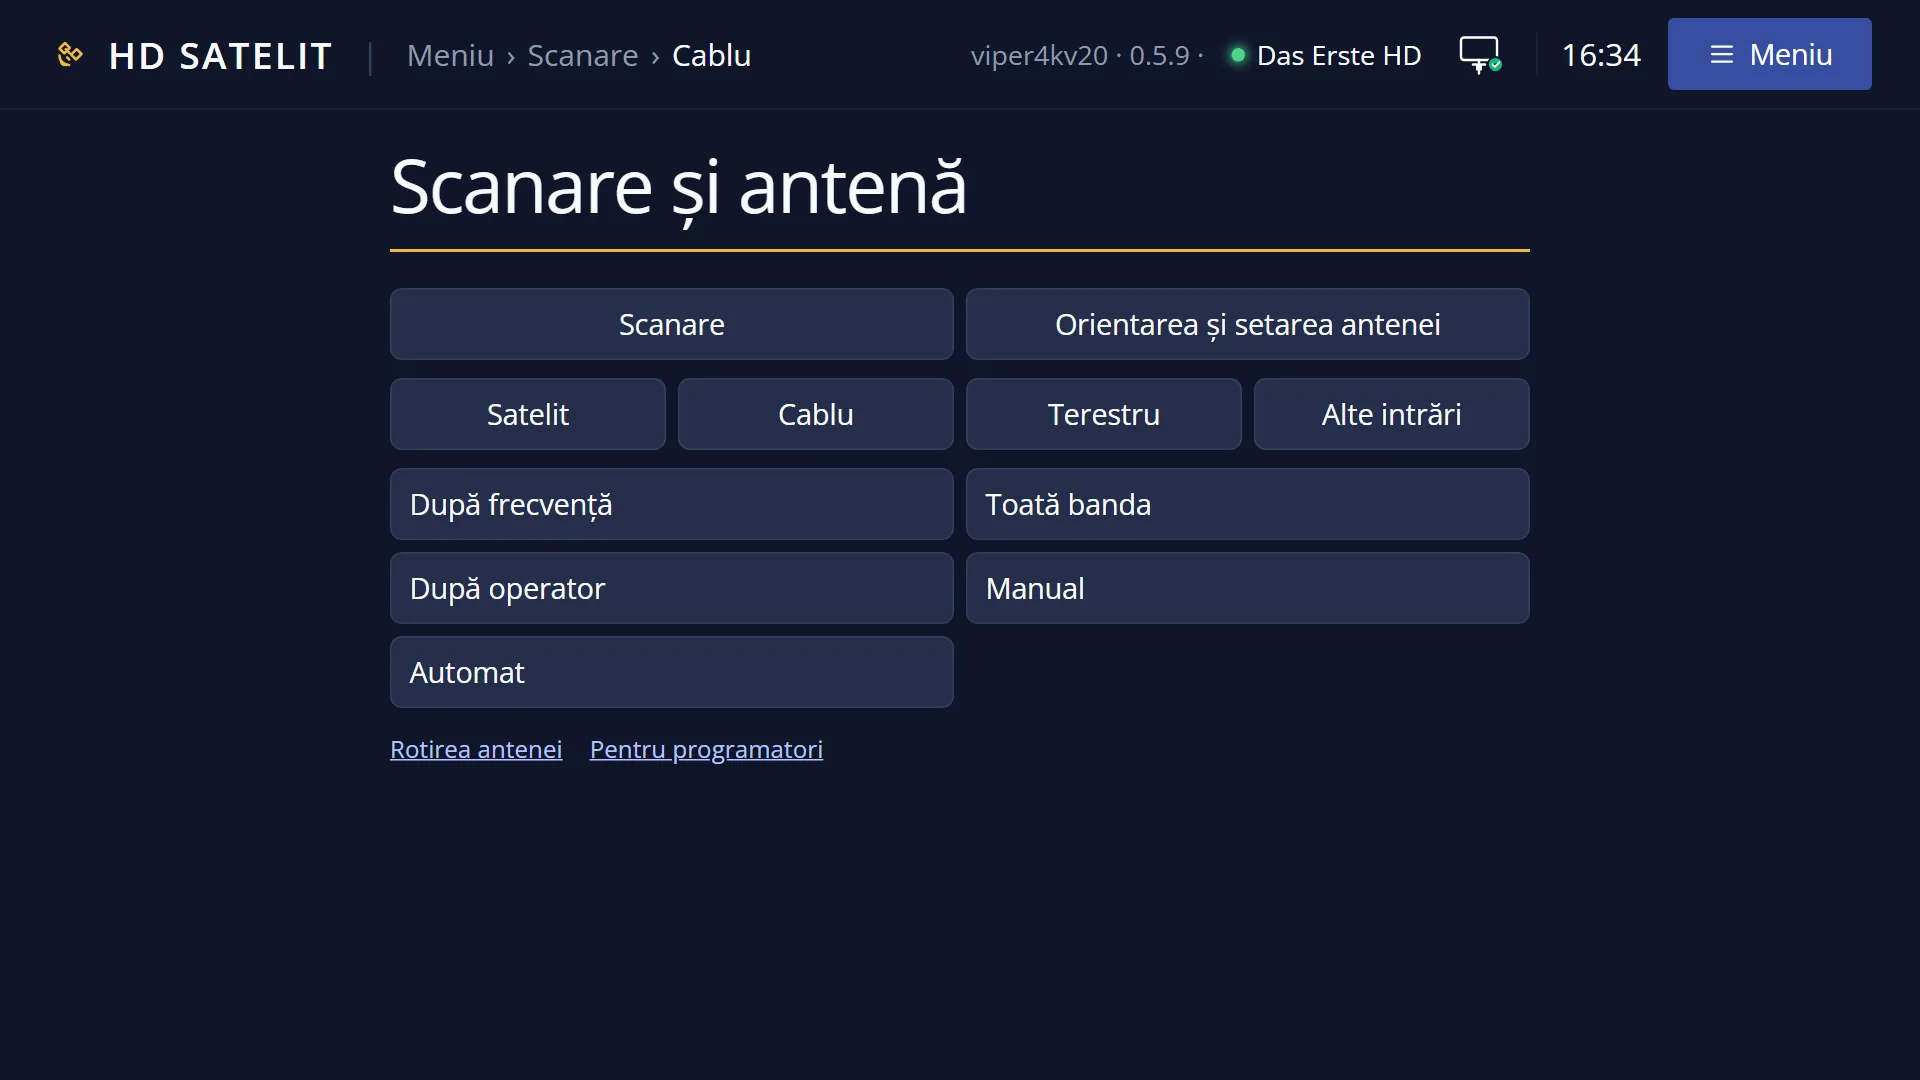
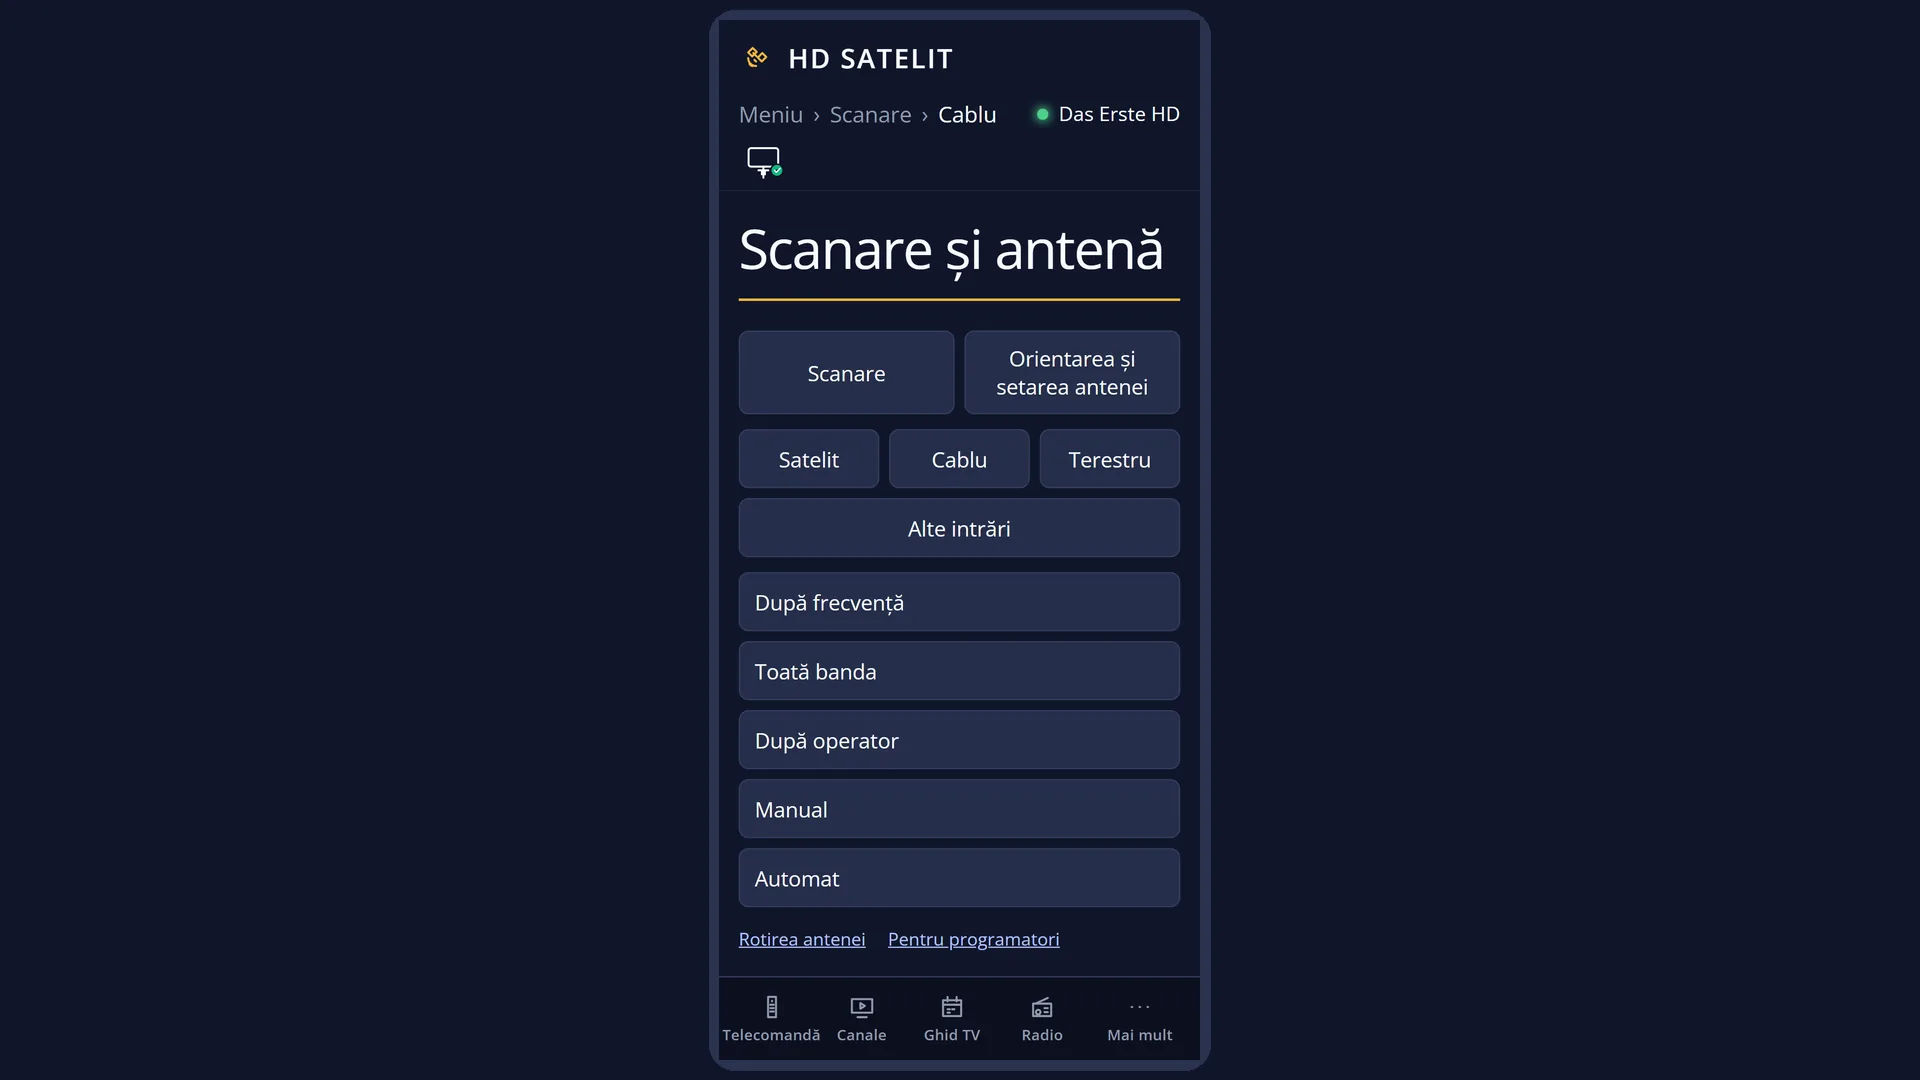
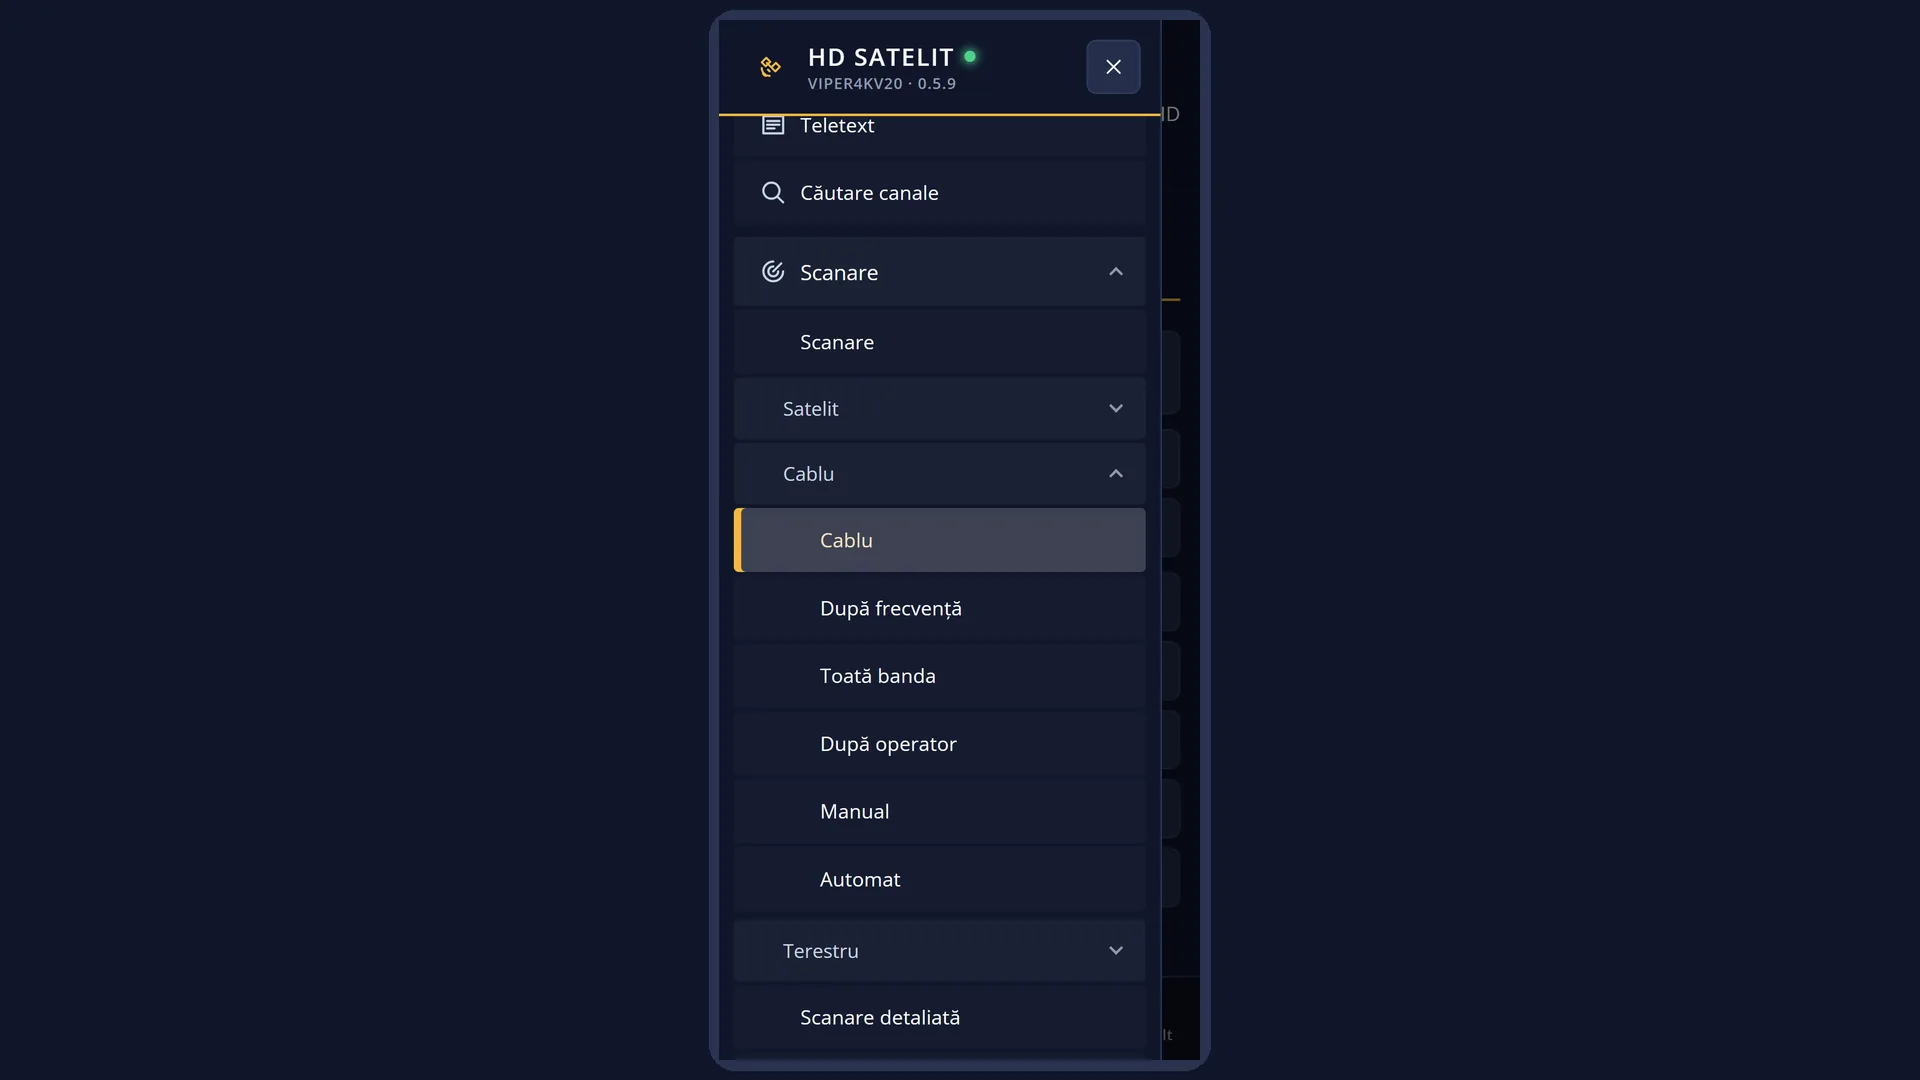
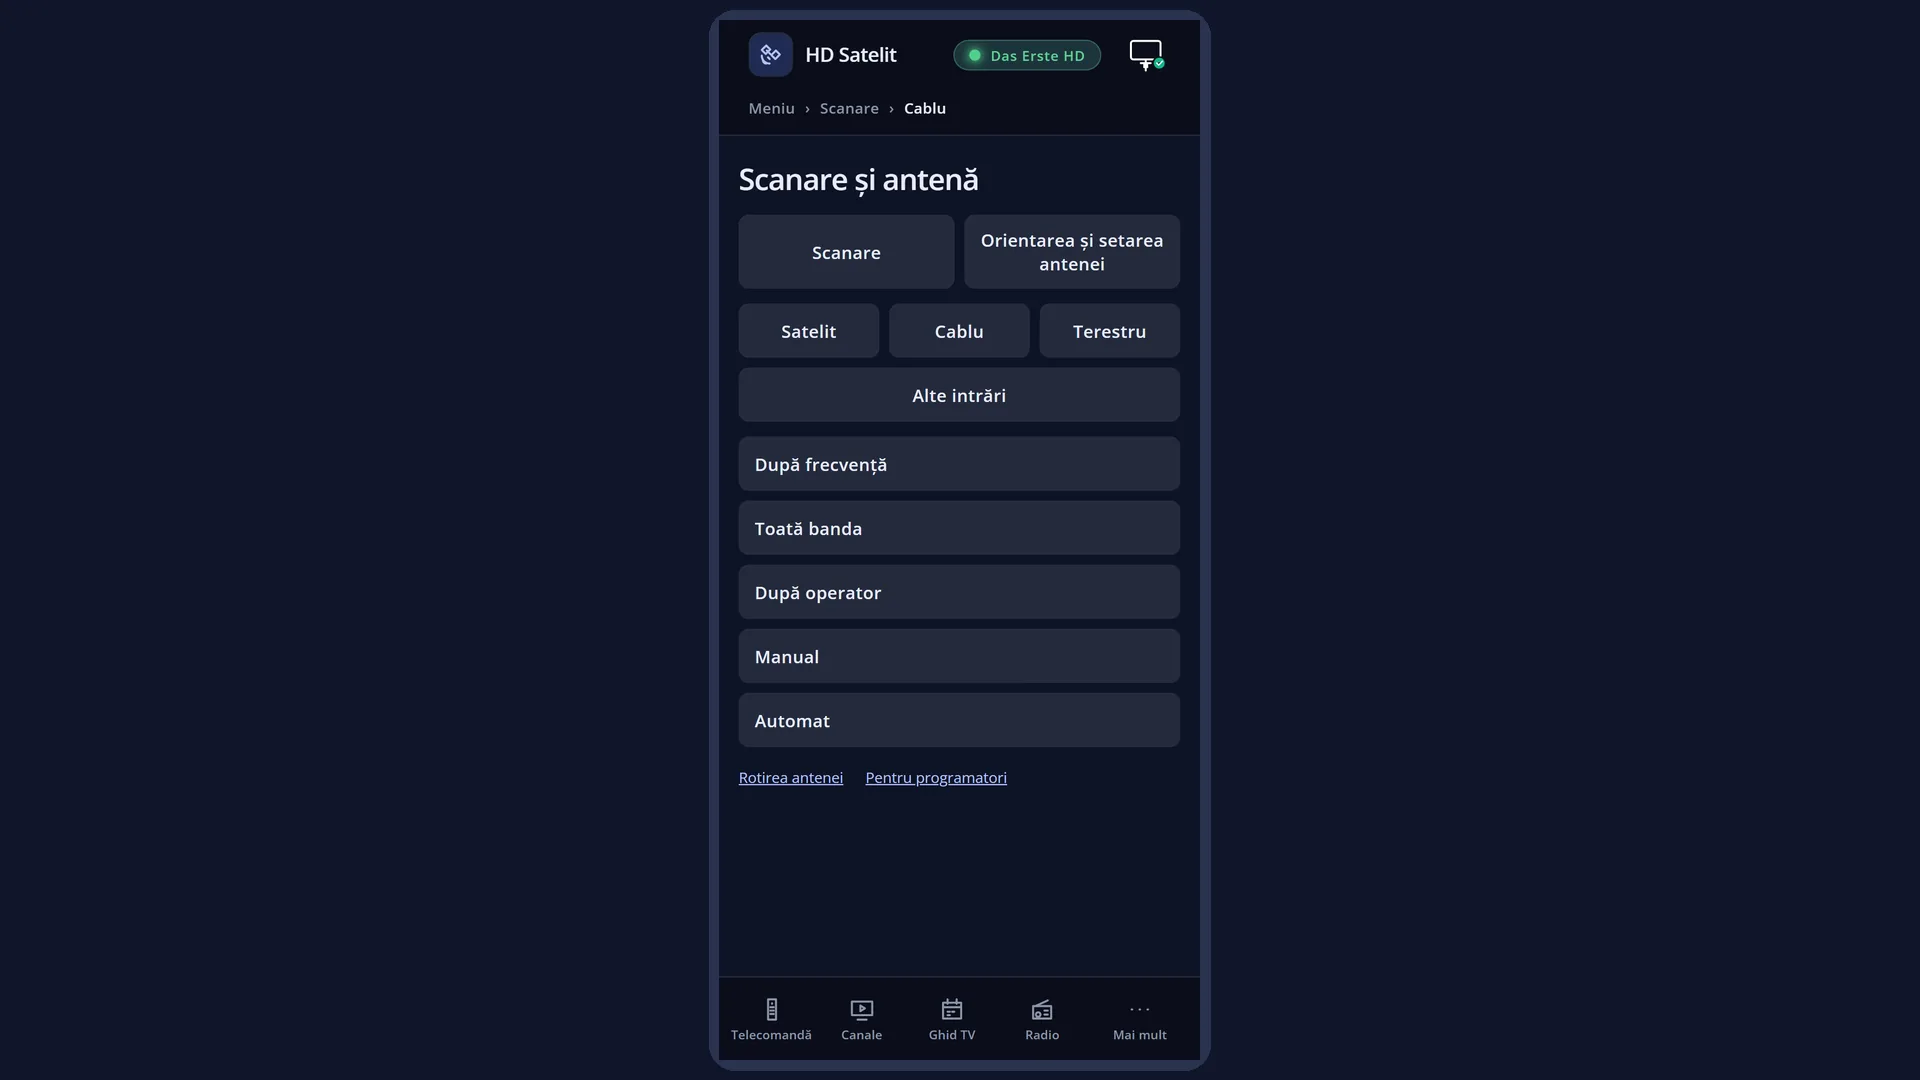
The same five types are also in the web interface, on the /scanare/cablu page. A search started from your phone runs on the TV, and the page shows its progress.
How to get here
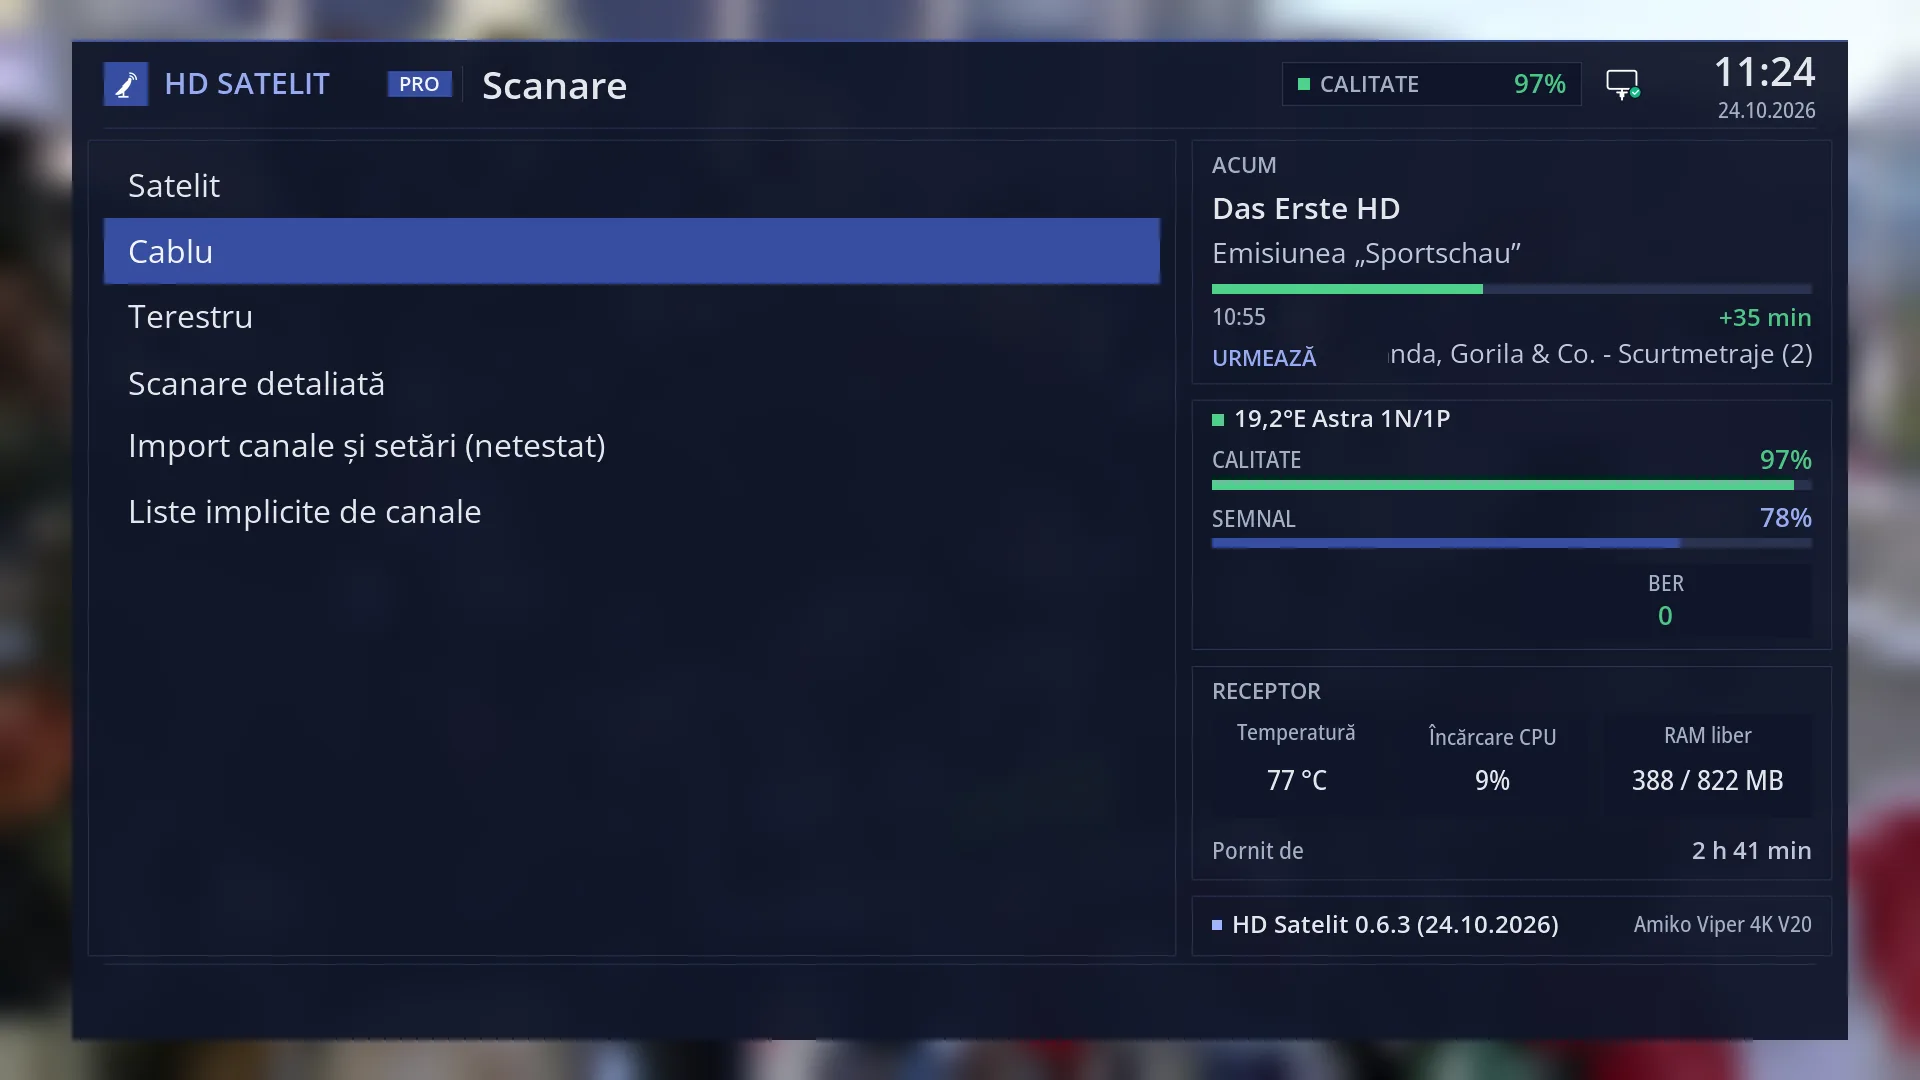
Path: Main menu > Channel scan > Cable
Keys on the remote: MENU 1 2
In the web interface: the /scanare/cablu page (“Channel scan” tab, “Cable” group).
What you see on the screen
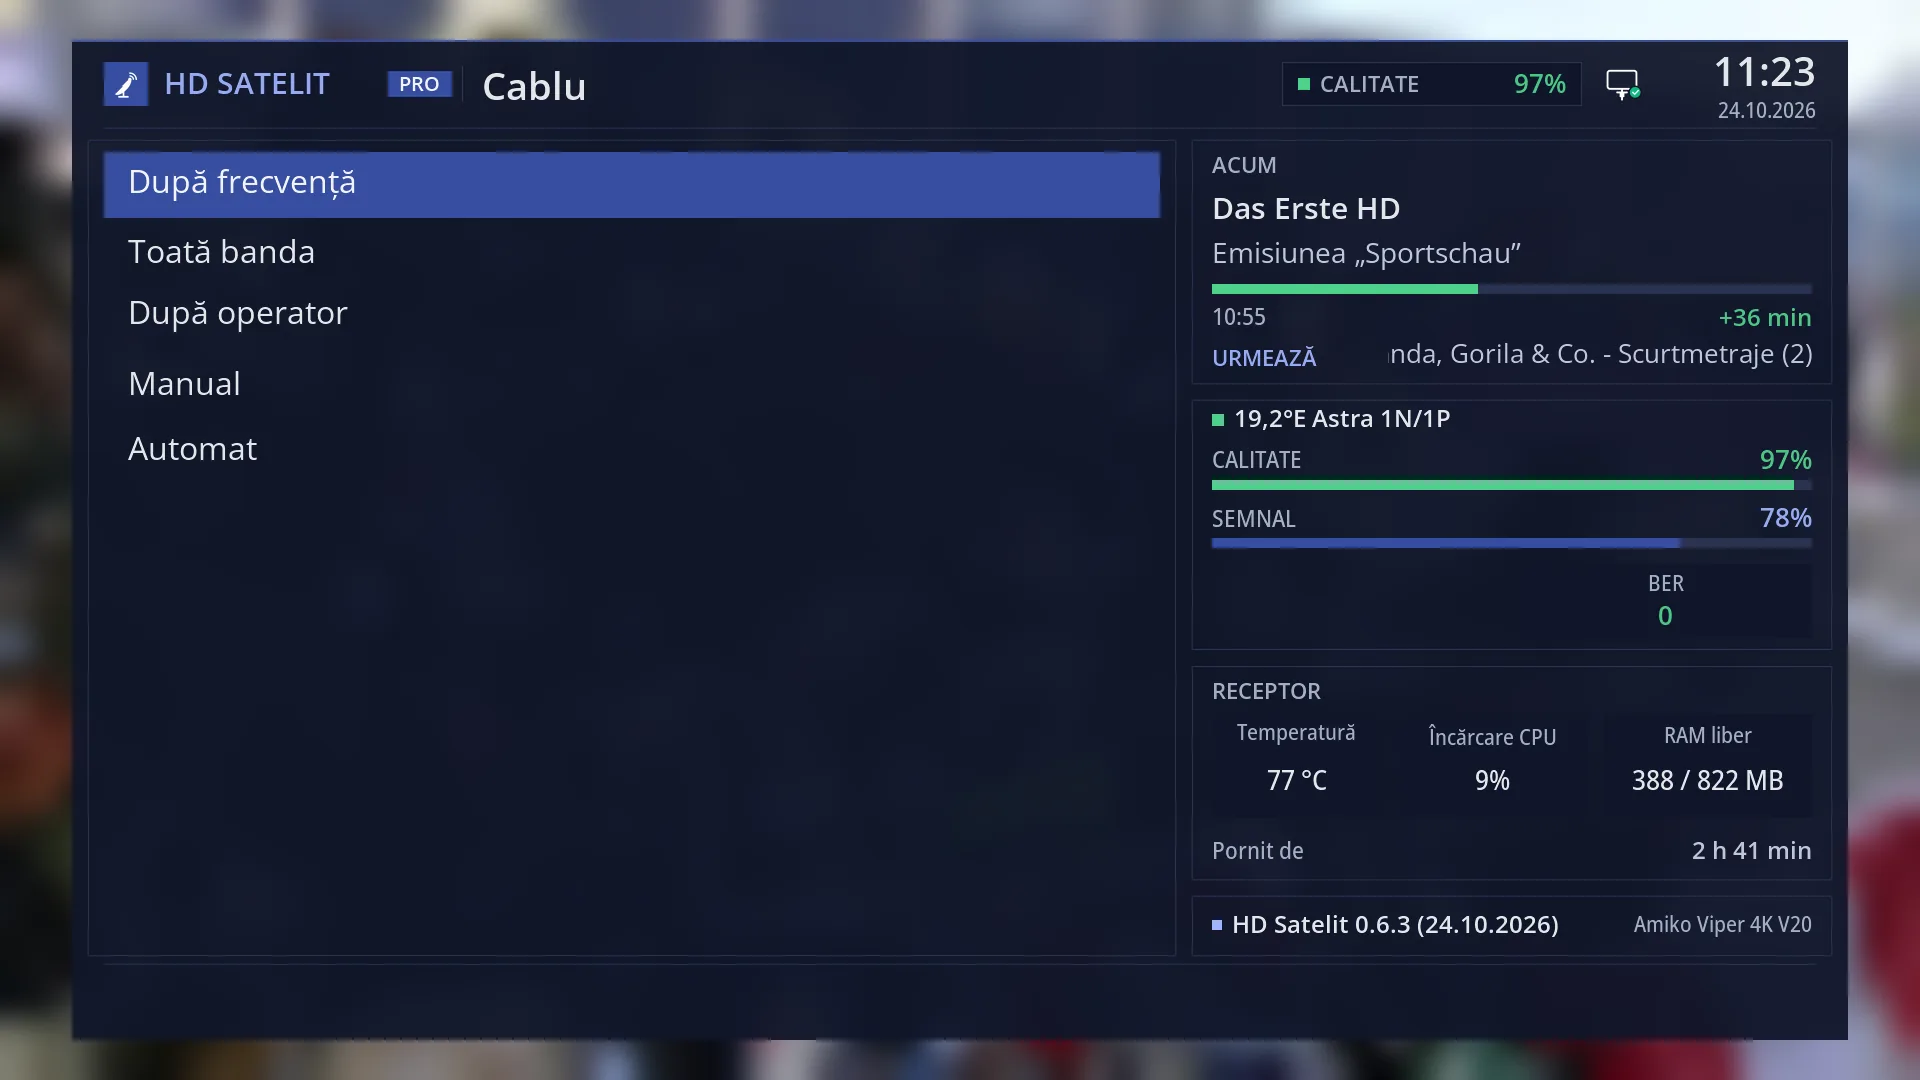
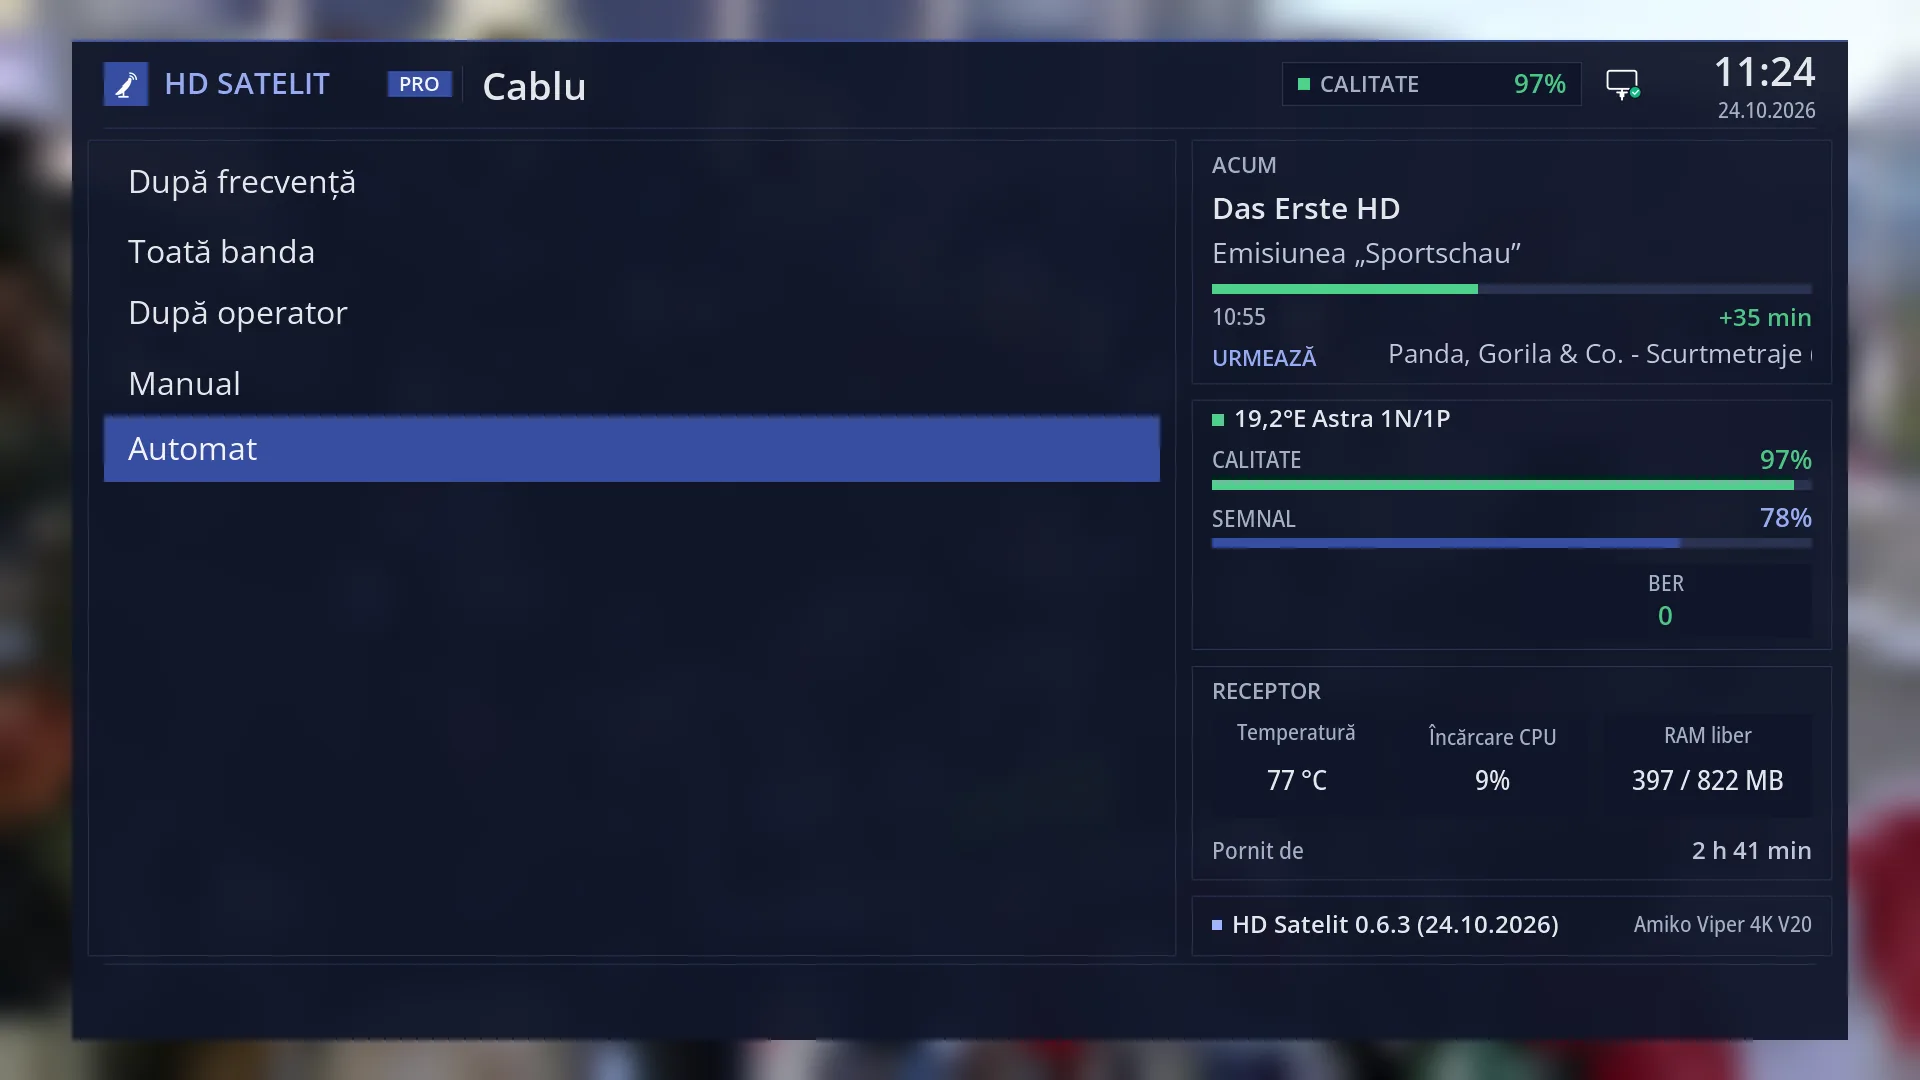
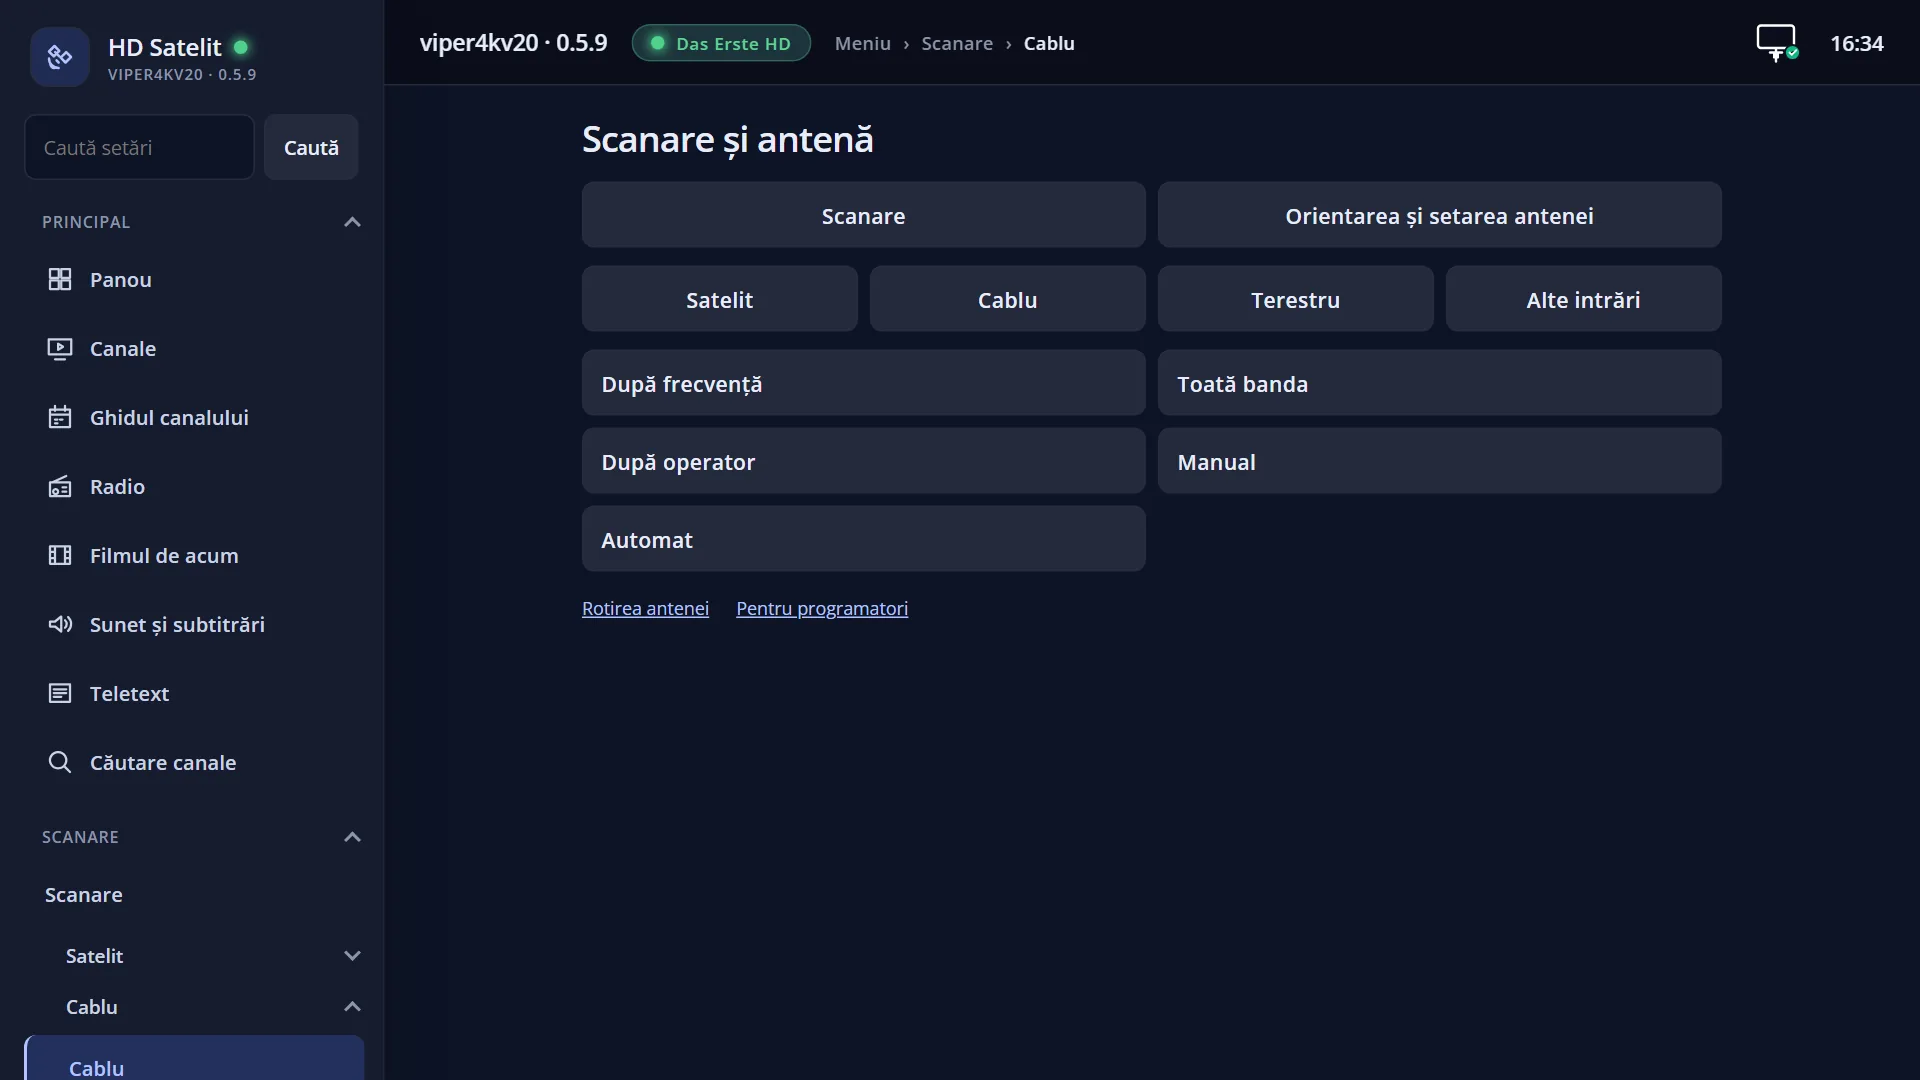
At the top, the title “Cable”. In the Pro theme, “HD SATELIT” appears to its left, and on the right are the Quality box for the current channel, the network icon, the time and the date.
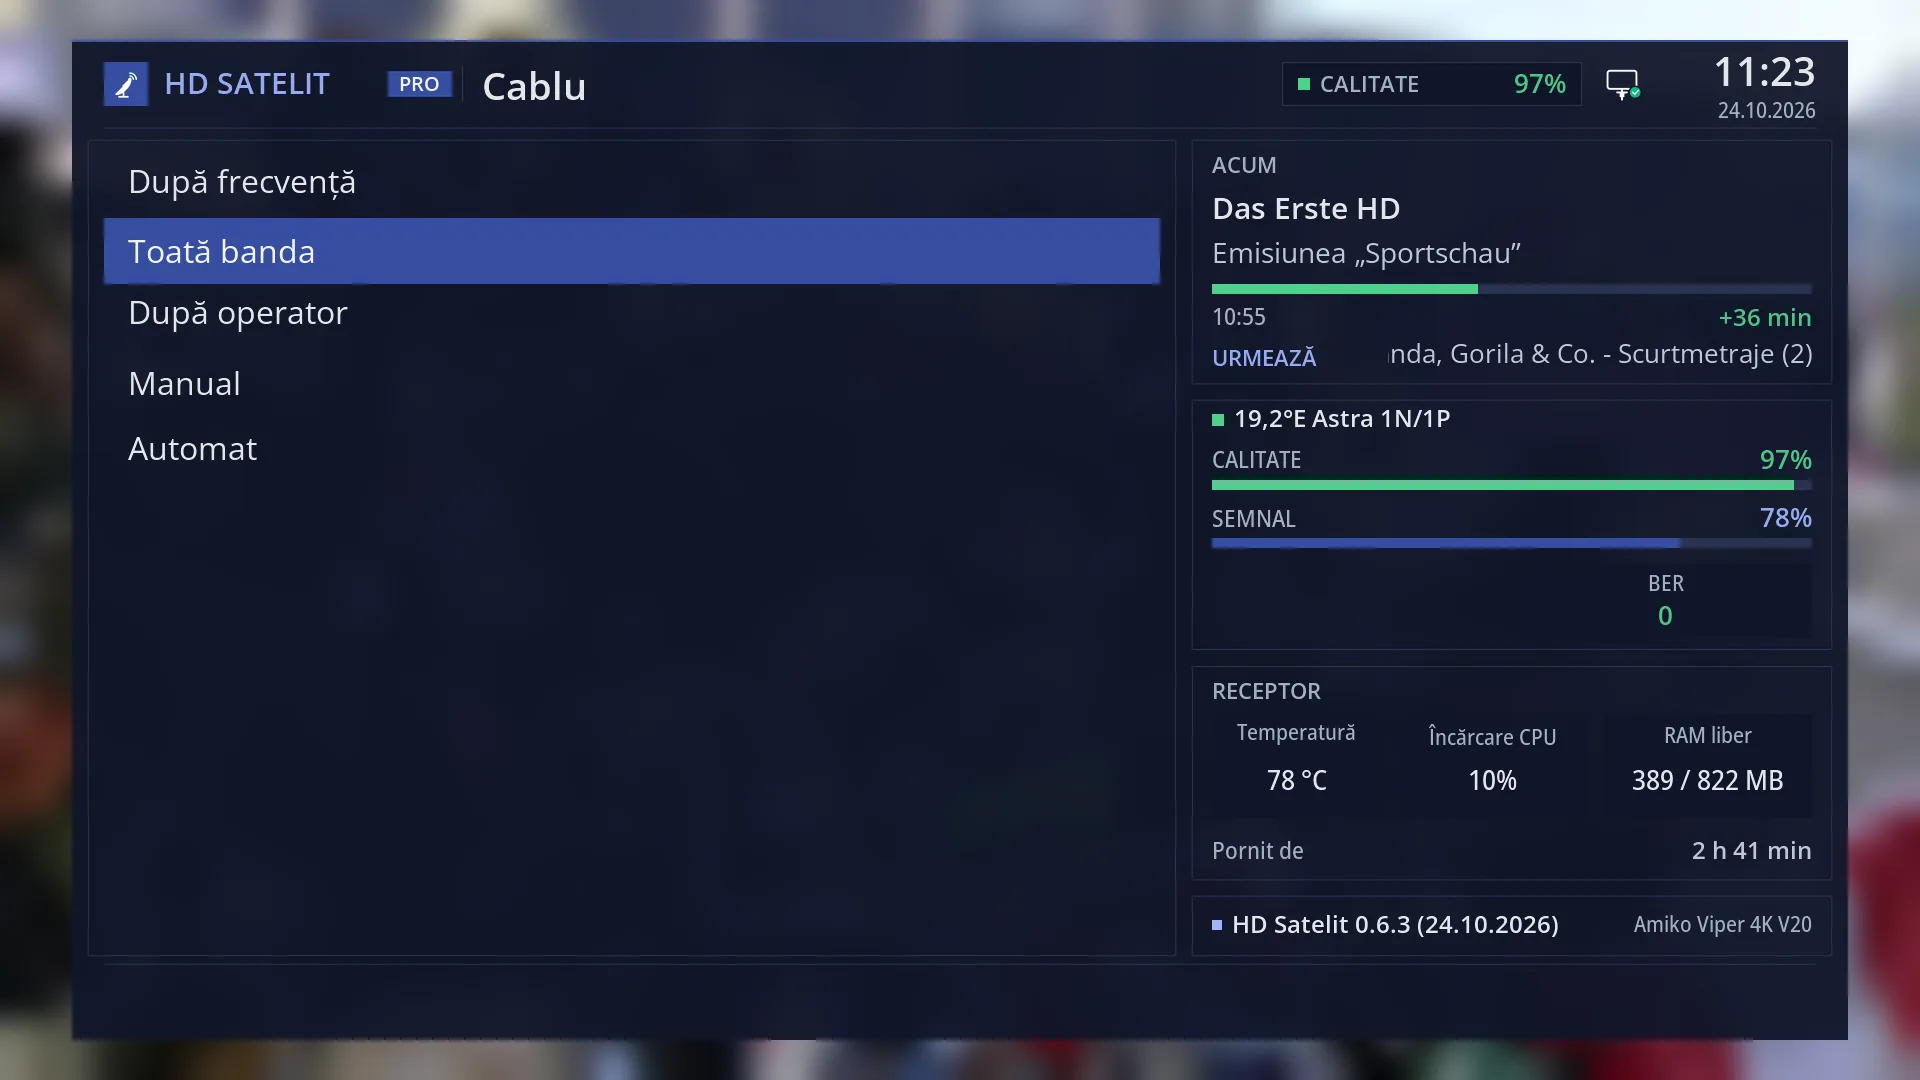
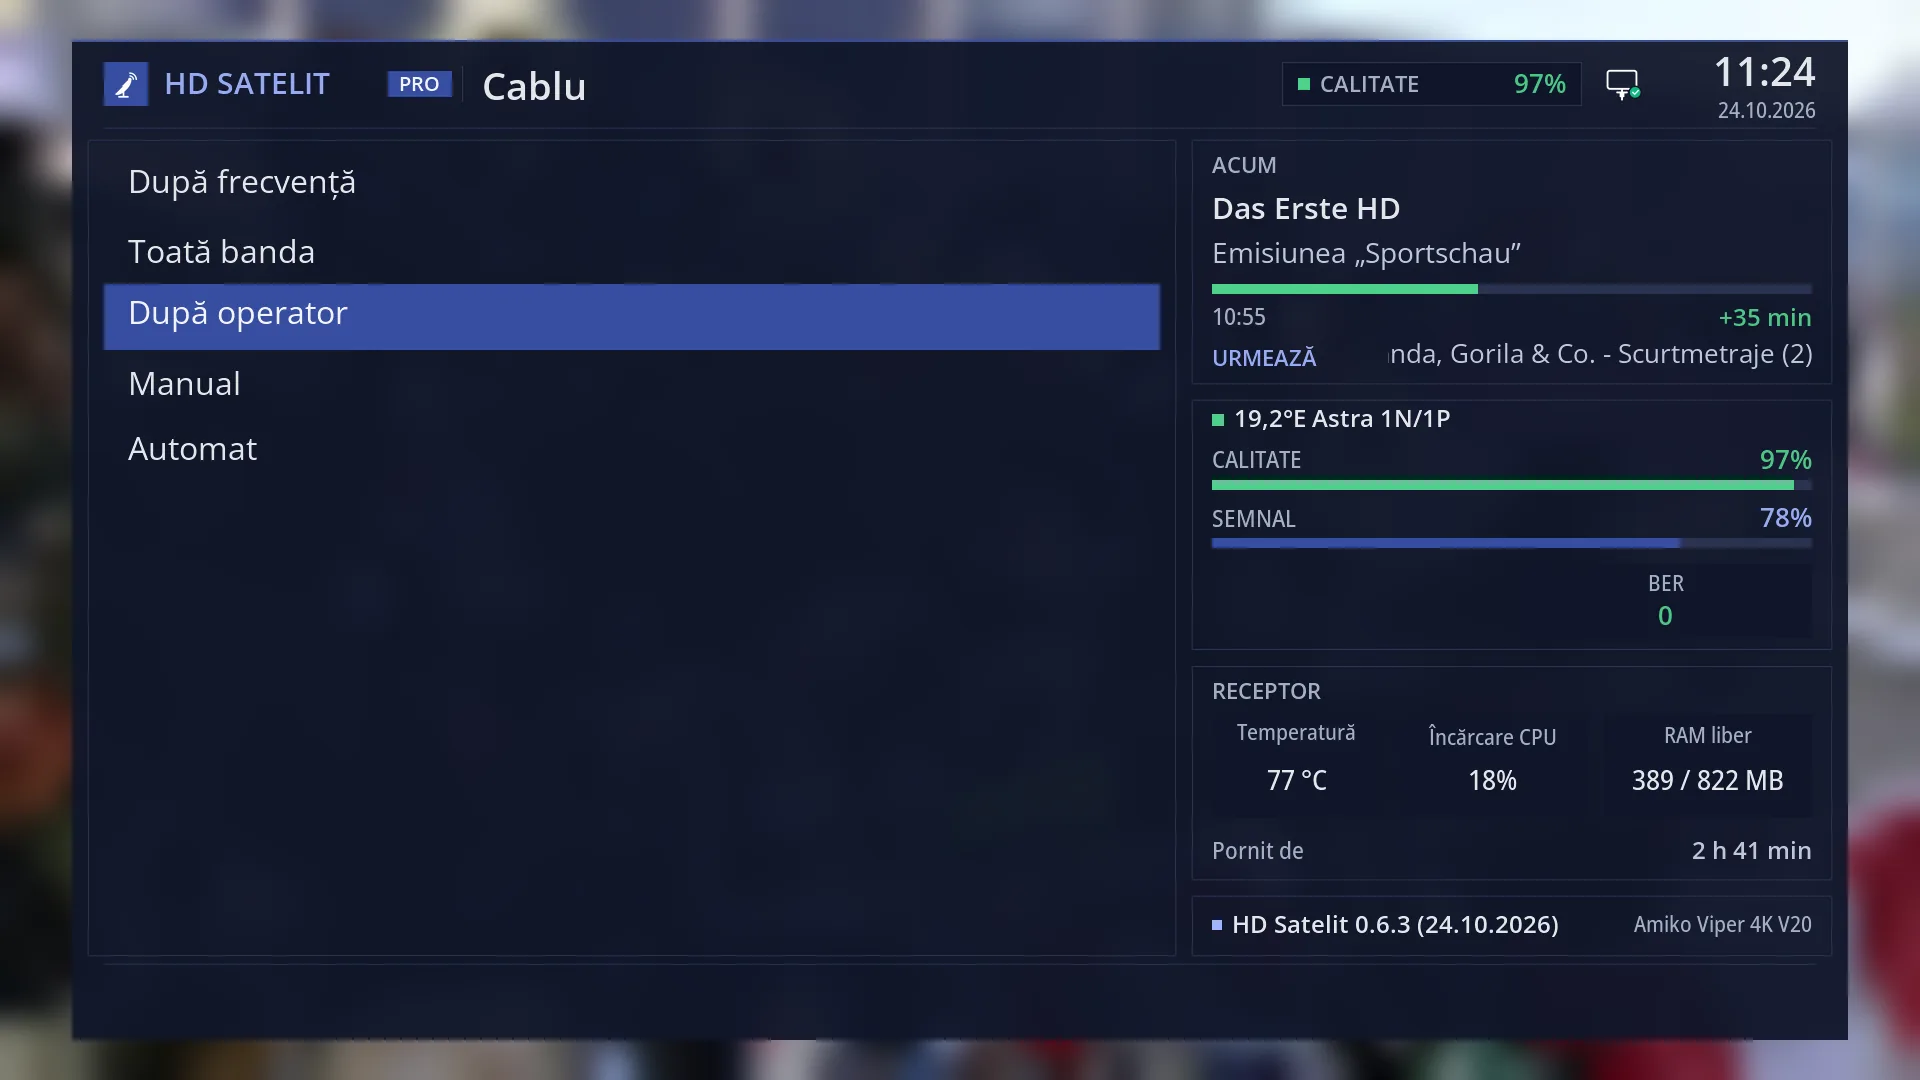
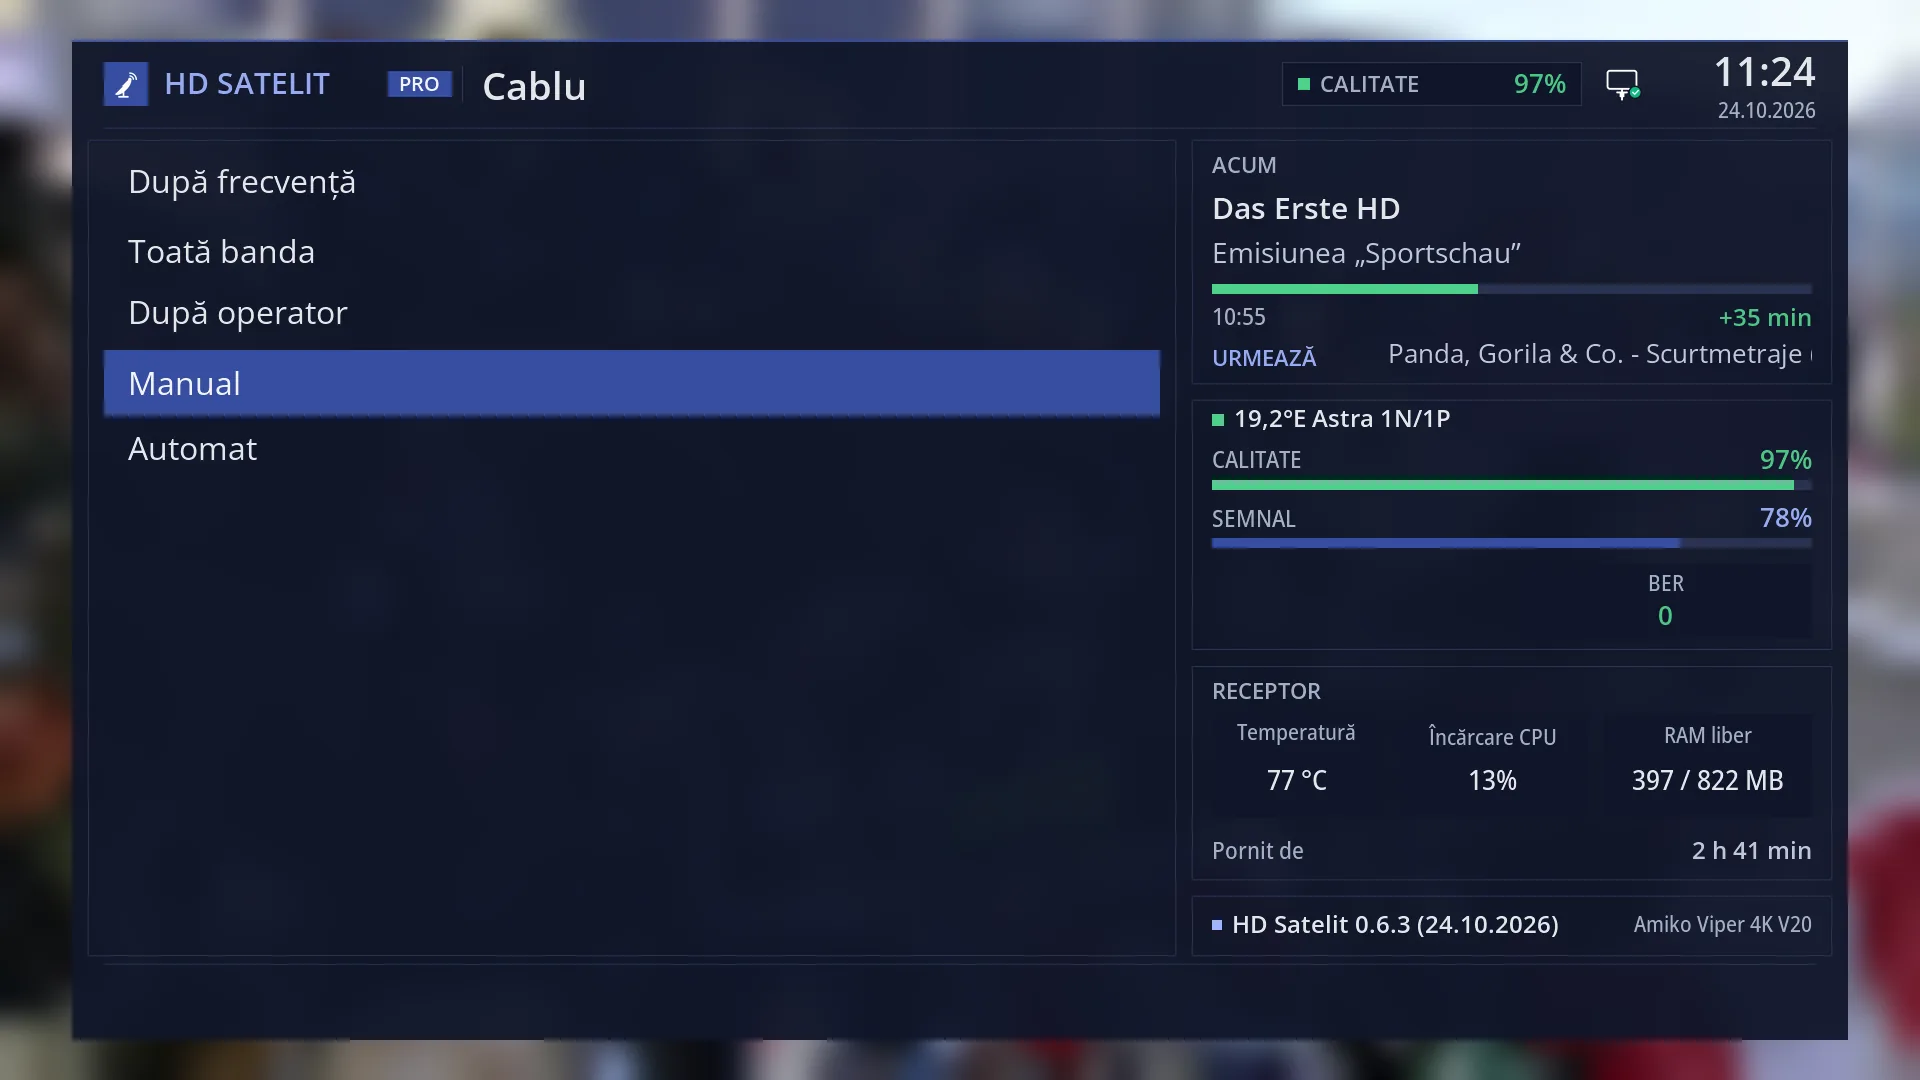
On the left, the five rows, in this order: “By frequency”, “Whole band”, “By provider”, “Manual”, “Automatic”. The selected row has a blue background.
On the right, in the Pro theme, the same boxes as in the main menu: “NOW” with the channel and the programme, the channel's satellite with Quality, Signal and BER, “Receiver” with the temperature, processor load, free memory and how long it has been on, and at the bottom the image version and the receiver name. In the Classic theme the menu is a simple list, without boxes.
The YELLOW key switches the menu to tiles (one large tile with its icon for each search type) and back to the list.
Rows and settings
| Row | Values | Default | What it does |
|---|---|---|---|
| By frequency | Searches a single frequency, chosen from a list: all cable frequencies from 122 to 858 MHz, in steps of 8 MHz, with the names of the providers in your country next to their frequencies. The receiver tries the symbol rate and modulation by itself. When you know which frequency the channels you are looking for are on. | ||
| Whole band | Goes through the whole cable band, 122-858 MHz in steps of 8 MHz, with the rates 6900 and 6875 kSymb/s and the modulations QAM256 and QAM64, plus the networks found in the signal. With the factory values it can take up to 31 minutes. When you do not know any of the provider's frequencies or when the provider does not publish them (for example Orange). | ||
| By provider | Starts from the known frequency of the chosen provider and adds all the frequencies its network announces in the signal. The providers in your country are first in the list (in Romania: Digi and Vodafone, starting on 306 MHz; Nextgen, starting on 706 MHz). When your provider is in the list: it is the quickest way to all its channels. | ||
| Manual | A single transponder, with the frequency, symbol rate and modulation you enter. Only the network name and the channel numbers are read from the signal, with no other frequencies. When you have all the values of a frequency (from the provider's website or from a TV that is already tuned) and you only want the channels on it. | ||
| Automatic | Starts from a frequency you enter, then searches all the frequencies announced in the signal, that is, the provider's whole network. When your provider is not in the list, but you know one of its frequencies. |
Keys
| UP / DOWN | Moves the cursor to the row above or below. From the last row, DOWN goes to the first, and the other way round. |
| LEFT / RIGHT | Jump one page up or down; the menu fits on one page, so you land on the first or last row. In the tile layout, they move the cursor to the tile on the left or right. |
| OK | Opens the selected search type. |
| 1 ... 5 | Open the type with that number directly, without OK: 1 By frequency, 2 Whole band, 3 By provider, 4 Manual, 5 Automatic. |
| YELLOW | Switches the menu from the list to tiles or back. Your choice is remembered for all menus. |
| TTX (TEXT on screen) | Opens “Search settings”, the search across the whole receiver menu. |
| EXIT | Takes you back to the “Channel scan” menu. |
| MENU | Closes the whole menu and takes you back to the TV picture. |
Step by step
Searching for your cable provider's channels
- Connect the cable from the cable socket to the receiver's cable input.
- Press MENU 1 2, then 3 (“By provider”).
- On the “Provider” row, check the provider (in Romania the factory setting is Digi). If it is a different one, press OK and choose it from the list.
- Press GREEN. Wait for the search to finish, read the summary and press EXIT.
Searching for channels without knowing anything about the network
- Press MENU 1 2 2 (“Whole band”).
- Leave the factory values and press GREEN.
- When asked about the duration (up to 31 minutes), choose Yes and let the search finish.
Starting the search from your phone
- Open the receiver's web interface and go to /scanare/cablu.
- Press the button for the type you want (for example “By provider”), fill in the rows and check the preview.
- Press “Search now”. You can follow the progress of the search in the “The search on the TV” card.
Problems and solutions
When searching, “The receiver has no de cablu tuner.” appears
Your receiver has no cable tuner, so it cannot search for cable channels.
When searching, “The de cablu tuner (…) is set to “not connected” in Tuner settings. Turn it on there, then come back here.” appears
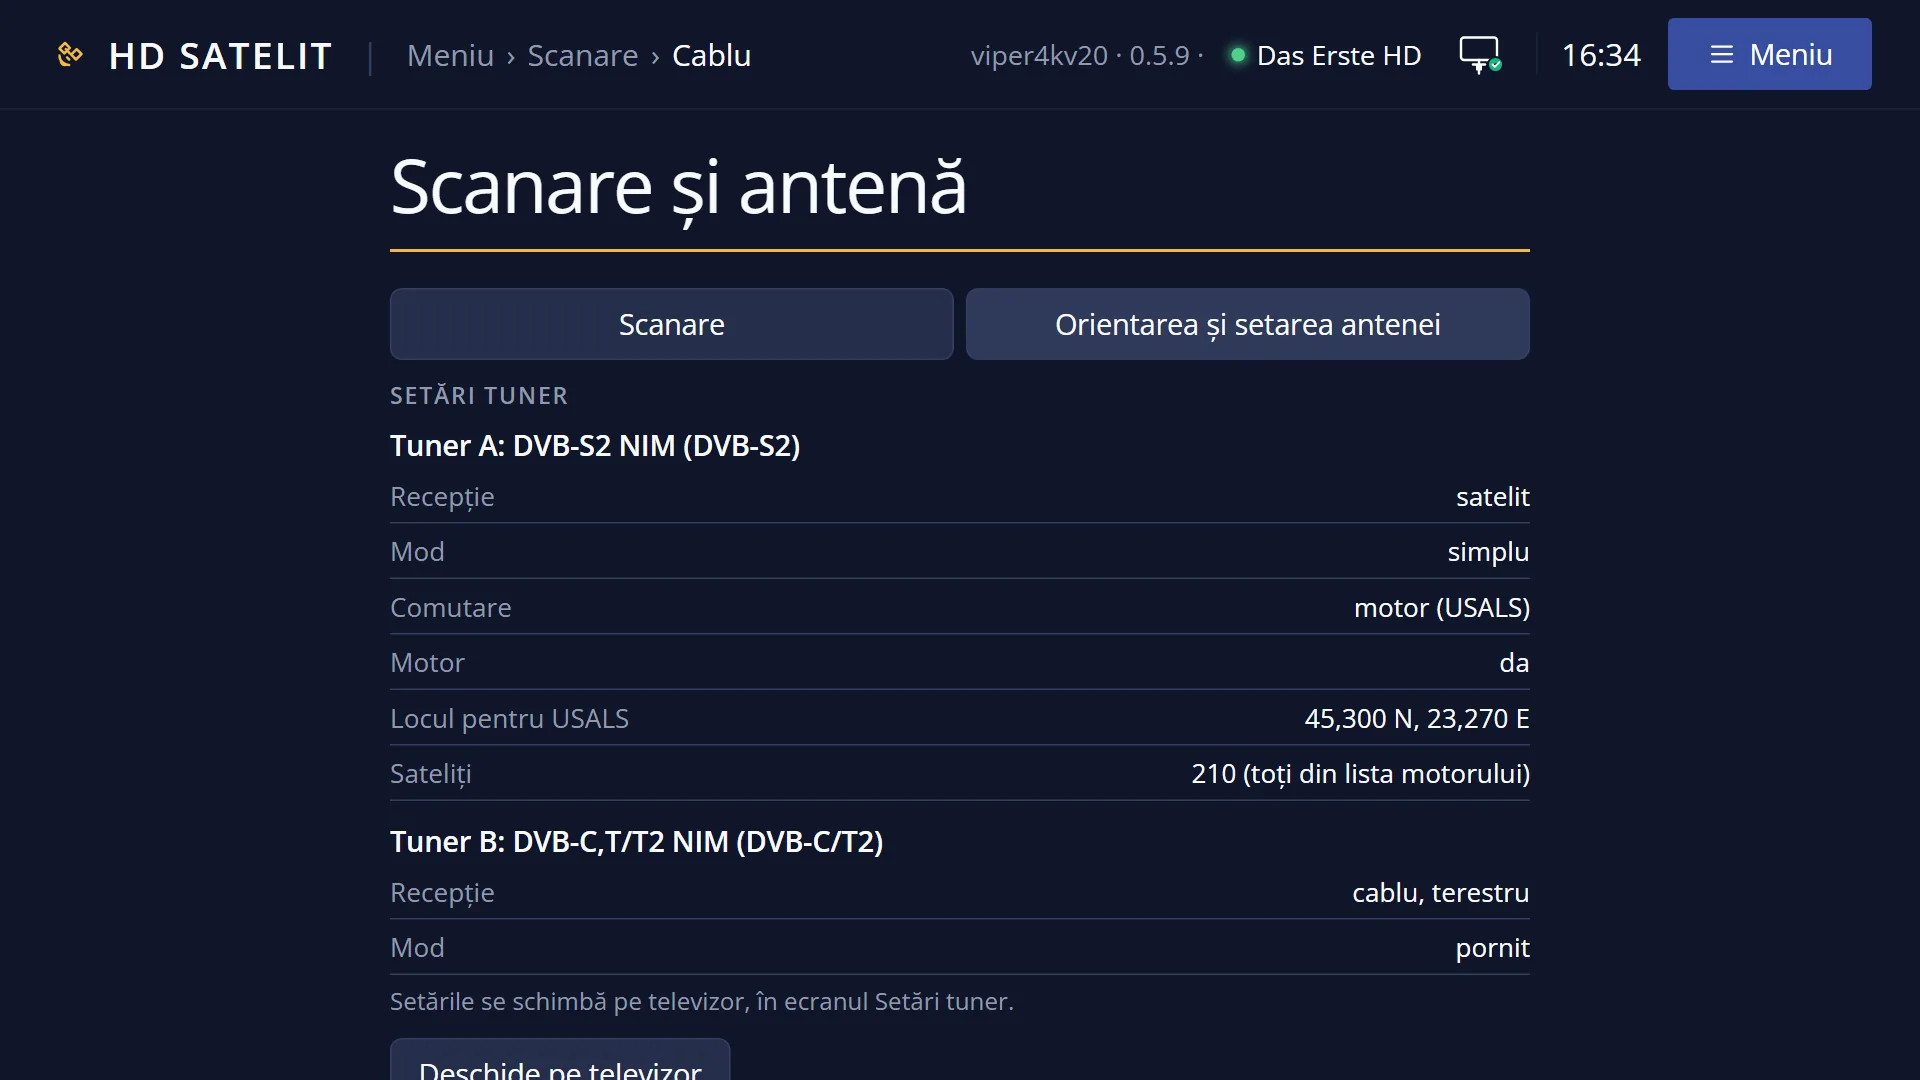
The cable tuner is turned off. Open Menu > Dish alignment and setup > Tuner settings (MENU 2 1), turn on the cable tuner, then come back here.
The summary says “No transponder had a signal.”
Check that the cable is plugged into the receiver's cable input (not the satellite input) and that the socket has a signal (it works on a TV). Then try “Whole band” with the factory values.
My provider is not in the “By provider” list.
If you know one of its frequencies, use “Automatic”: it starts there and reads the rest of the network from the signal. Otherwise use “Whole band”.
The search has finished, but I cannot find the new channels in my list.
Cable channels are in the channel list under Satellites › Cable. When the network sends channel numbers, the “Operator network” box at the end of the search tells you where the list in number order is (Satellites › Cable › network name).
The menu shows large tiles instead of rows.
Press YELLOW: the menu goes back to the list. The order and numbers of the types are the same in both layouts.
Related topics
Differences between receivers
On the Amiko Viper 4K V20, the cable tuner is tuner B, a combined cable and terrestrial tuner: cable and terrestrial searches use the same tuner.