

Several satellites
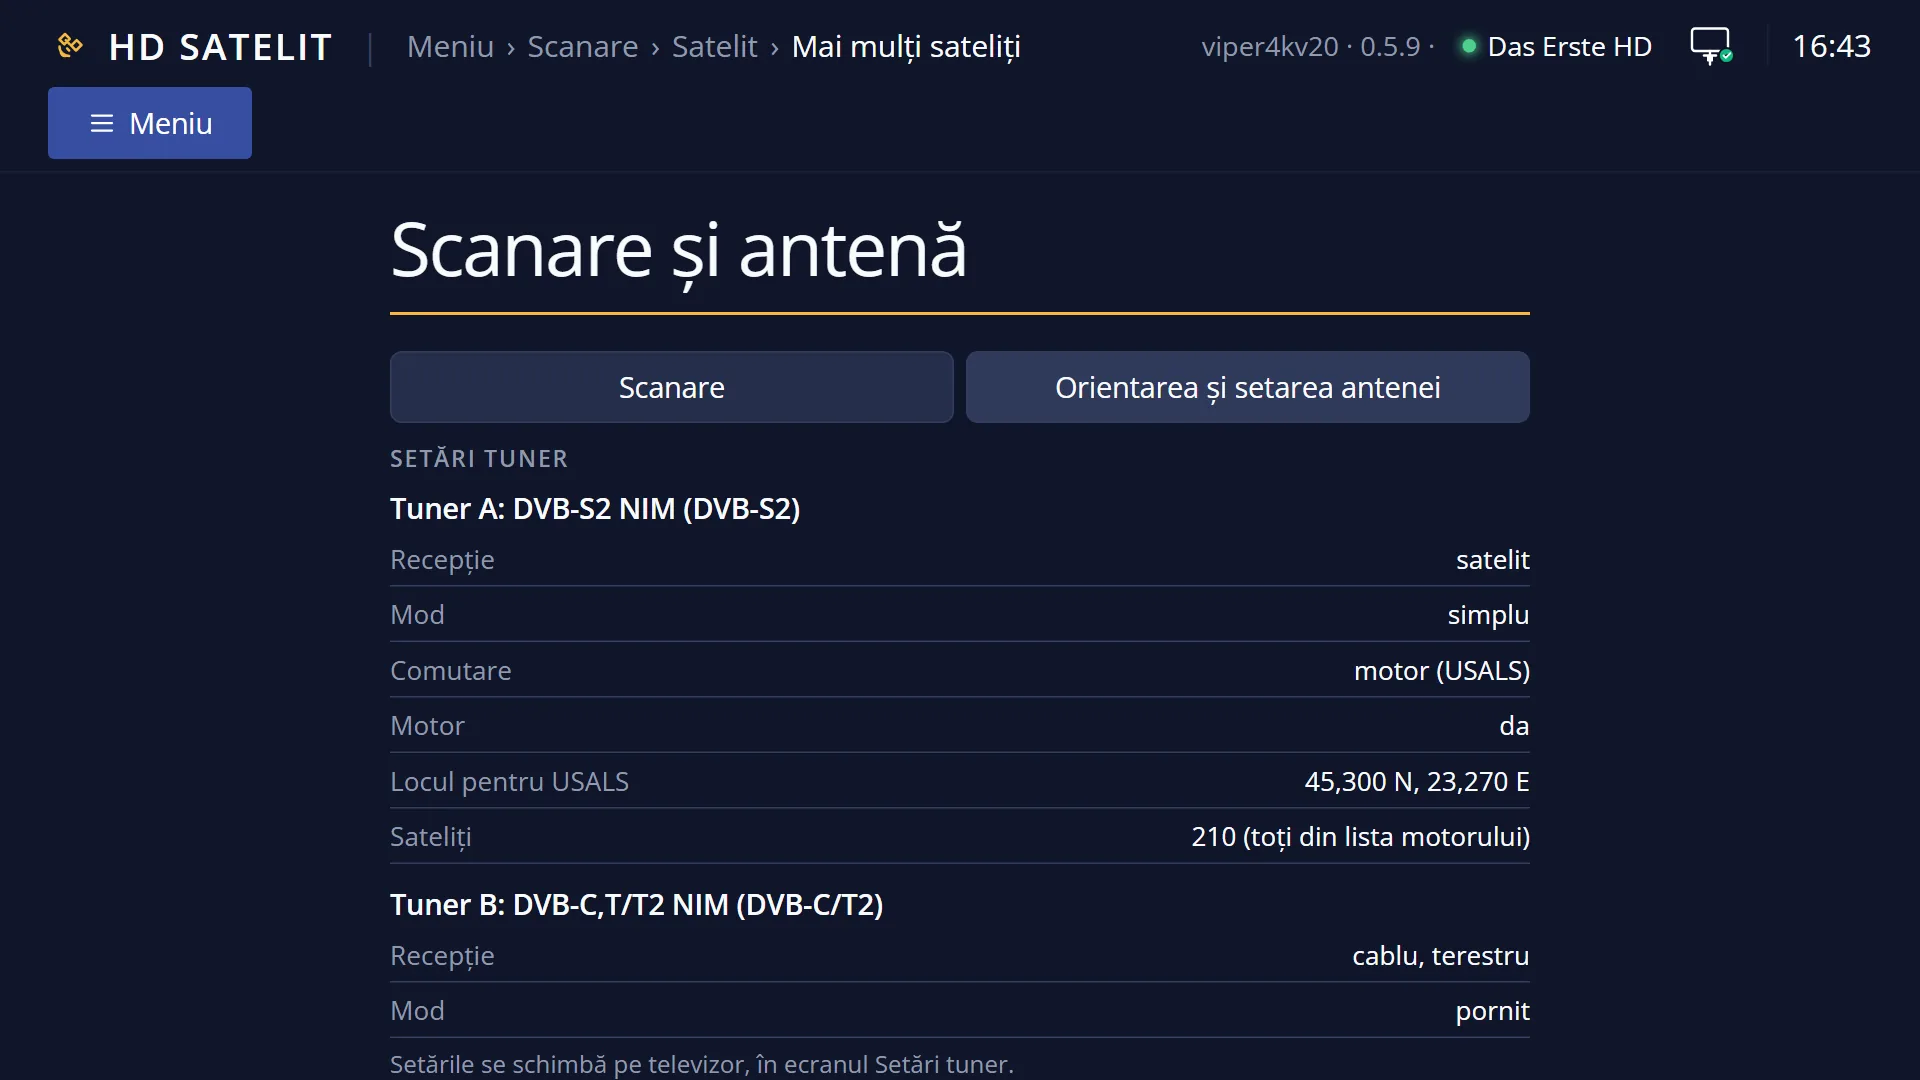
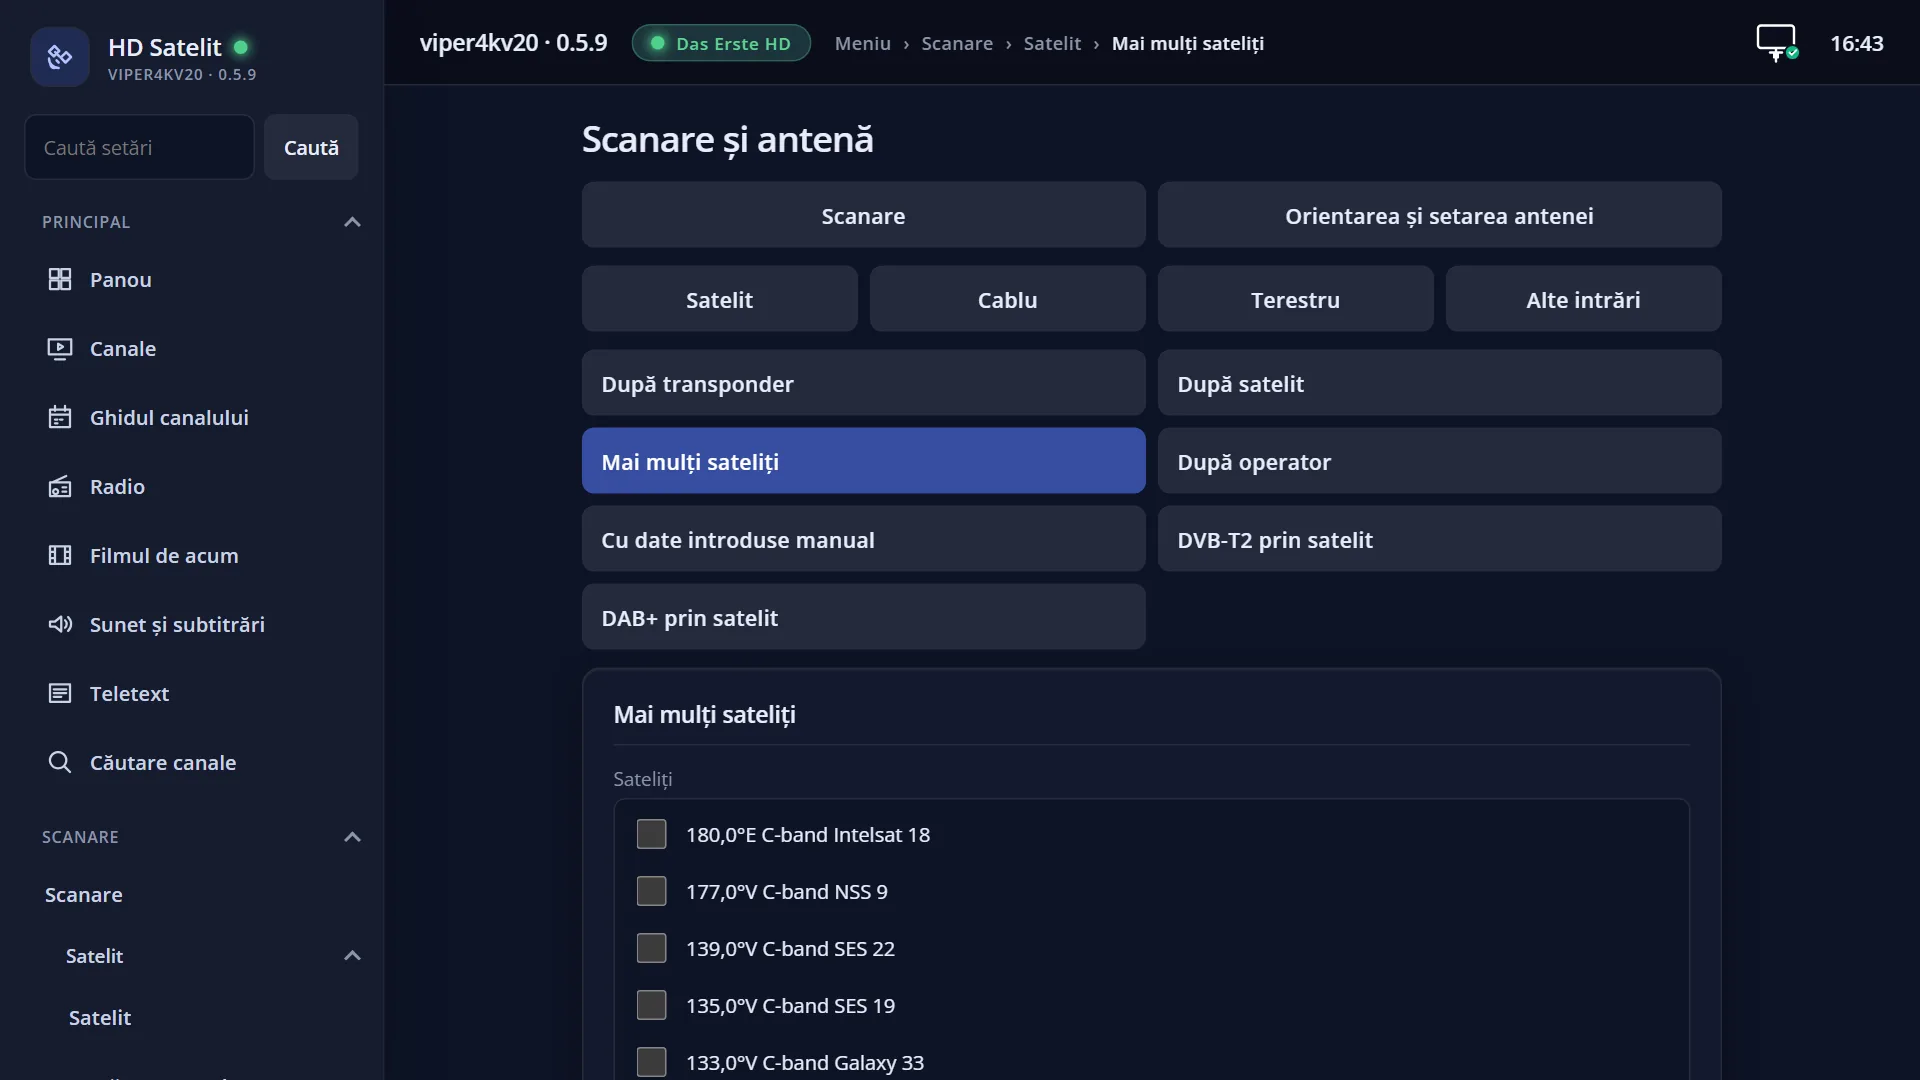
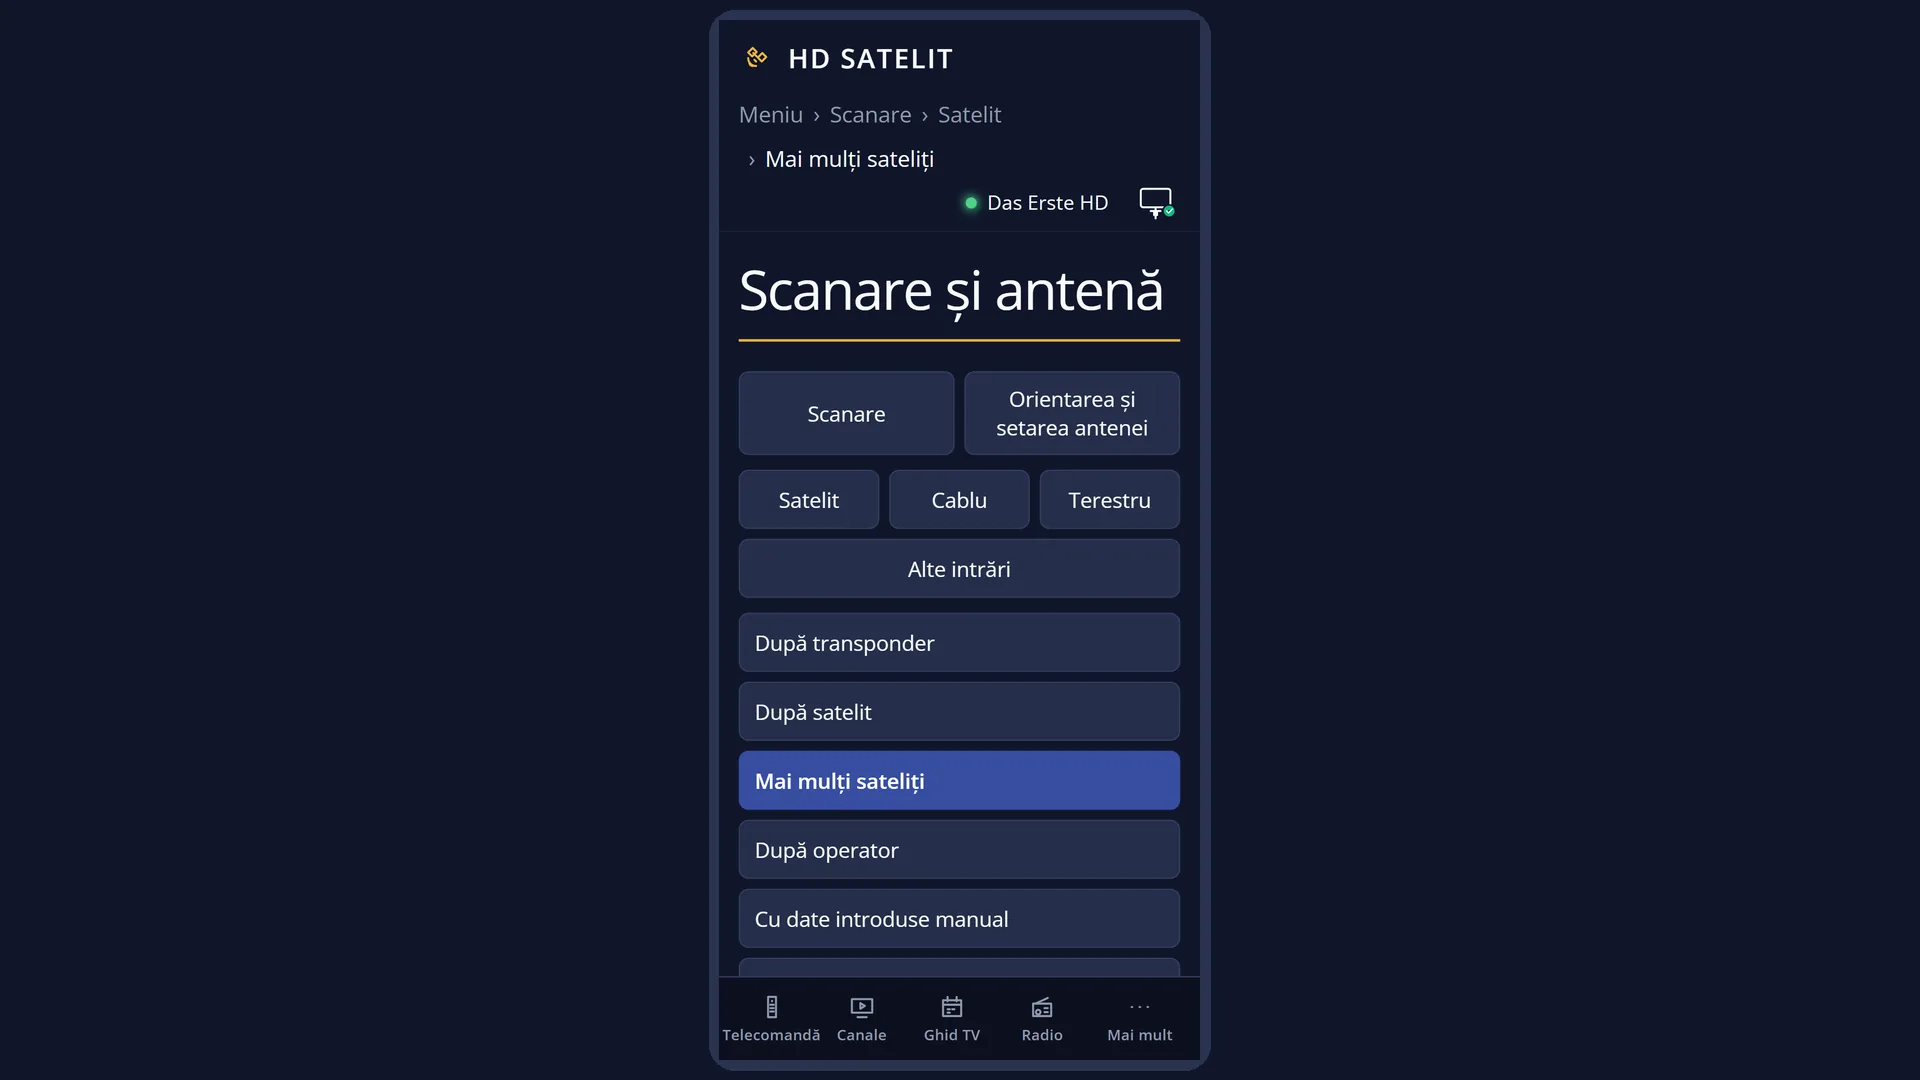
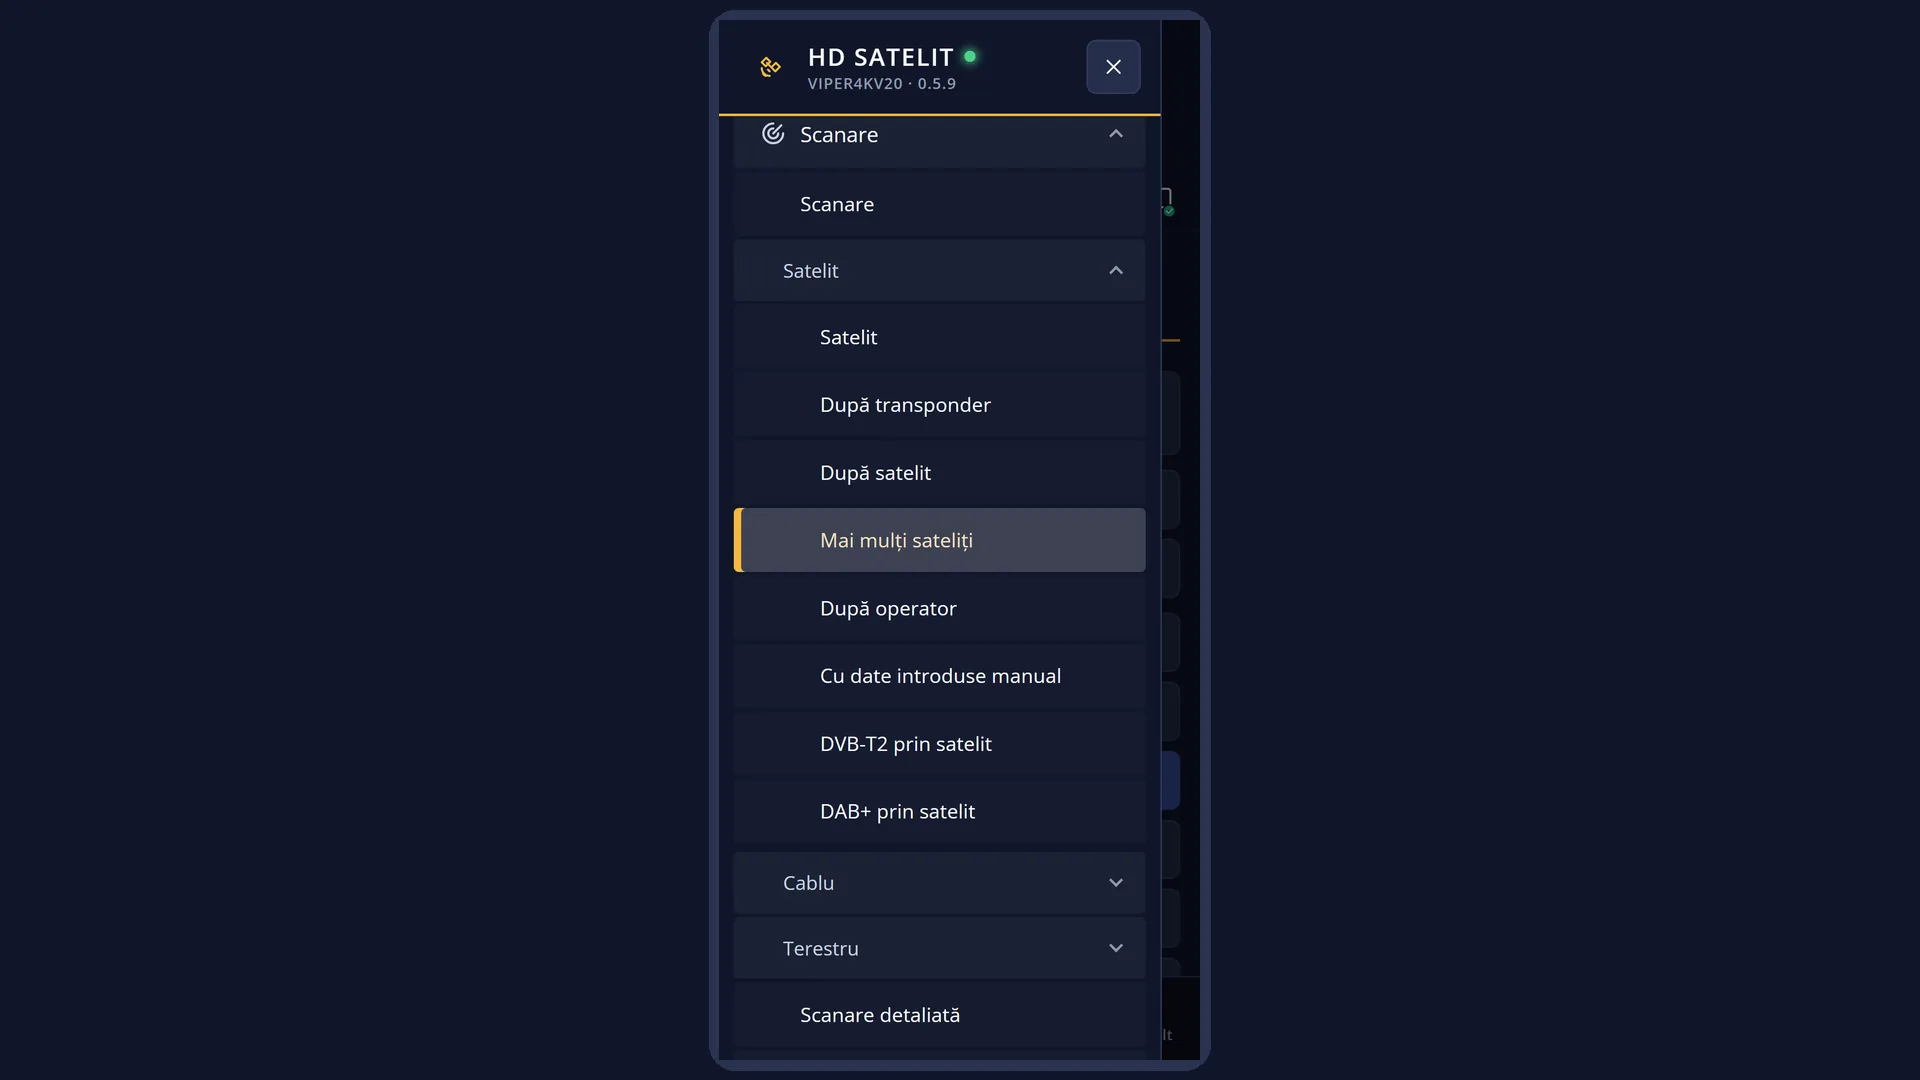
English screenshots coming: some of the pictures below still show the receiver and the web interface in Romanian. The rows, keys and steps described on this page are the English ones.
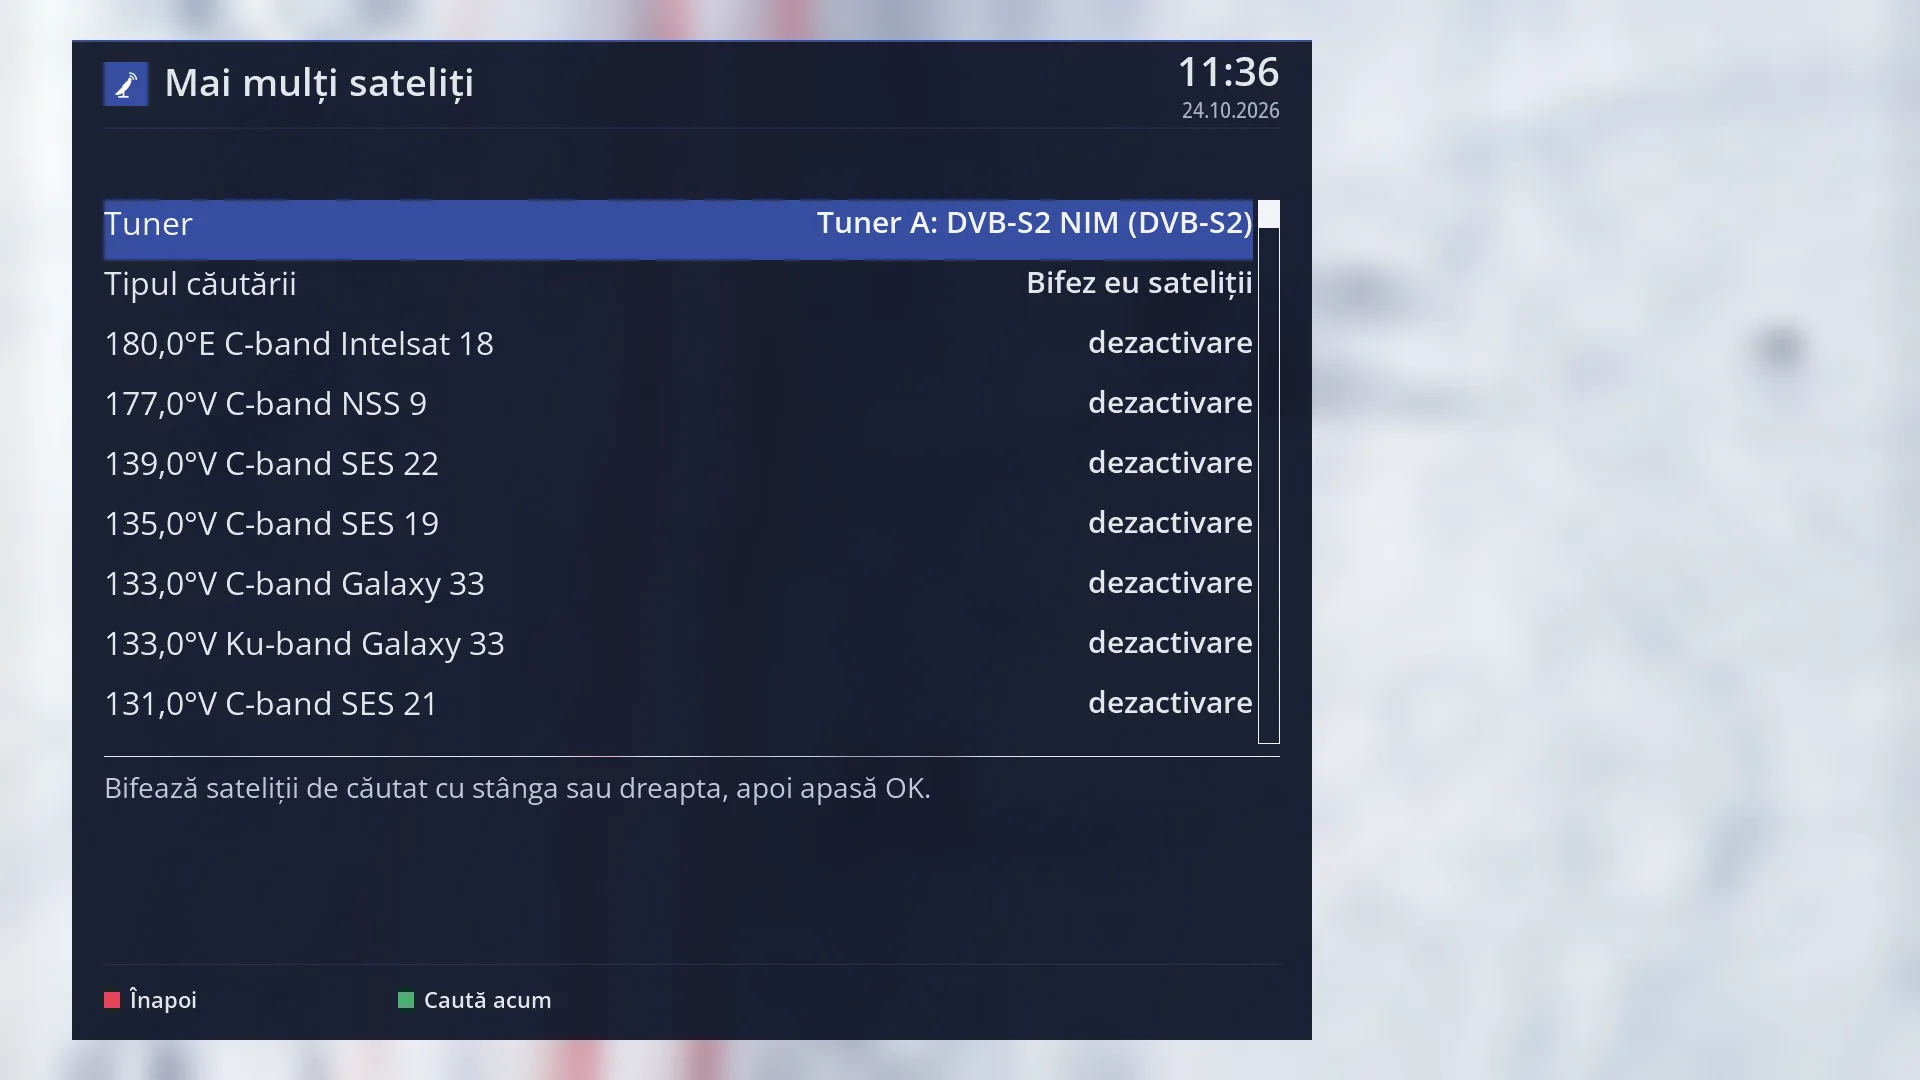
- 1 The tuner used for the scan.
- 2 Type of scan: you tick them yourself, or they all start ticked (only without a motor).
- 3 The satellites: “enable” is included in the scan, “disable” is not; LEFT or RIGHT changes it.
- 4 What to do: tick, then OK.
- 5 RED back, GREEN search.
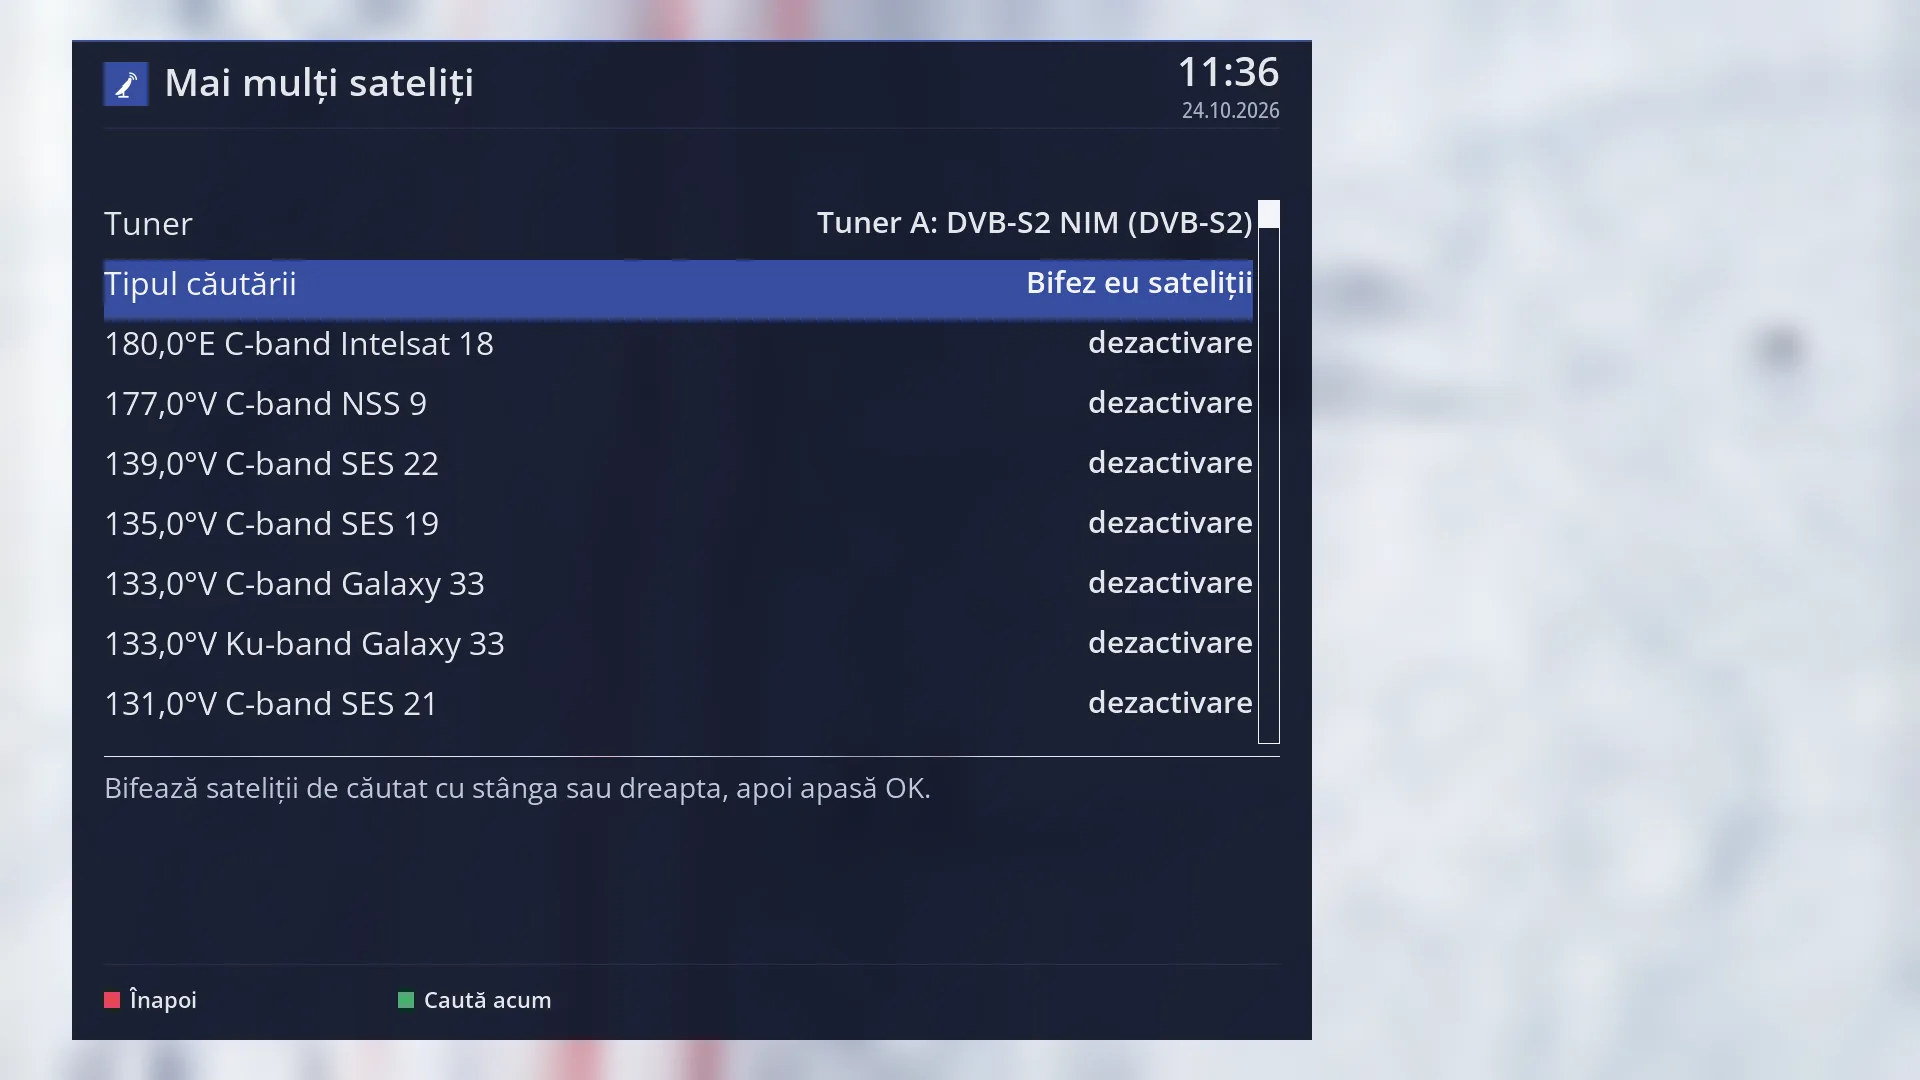
- 1 The selected row: “Type of scan: I tick the satellites myself”.
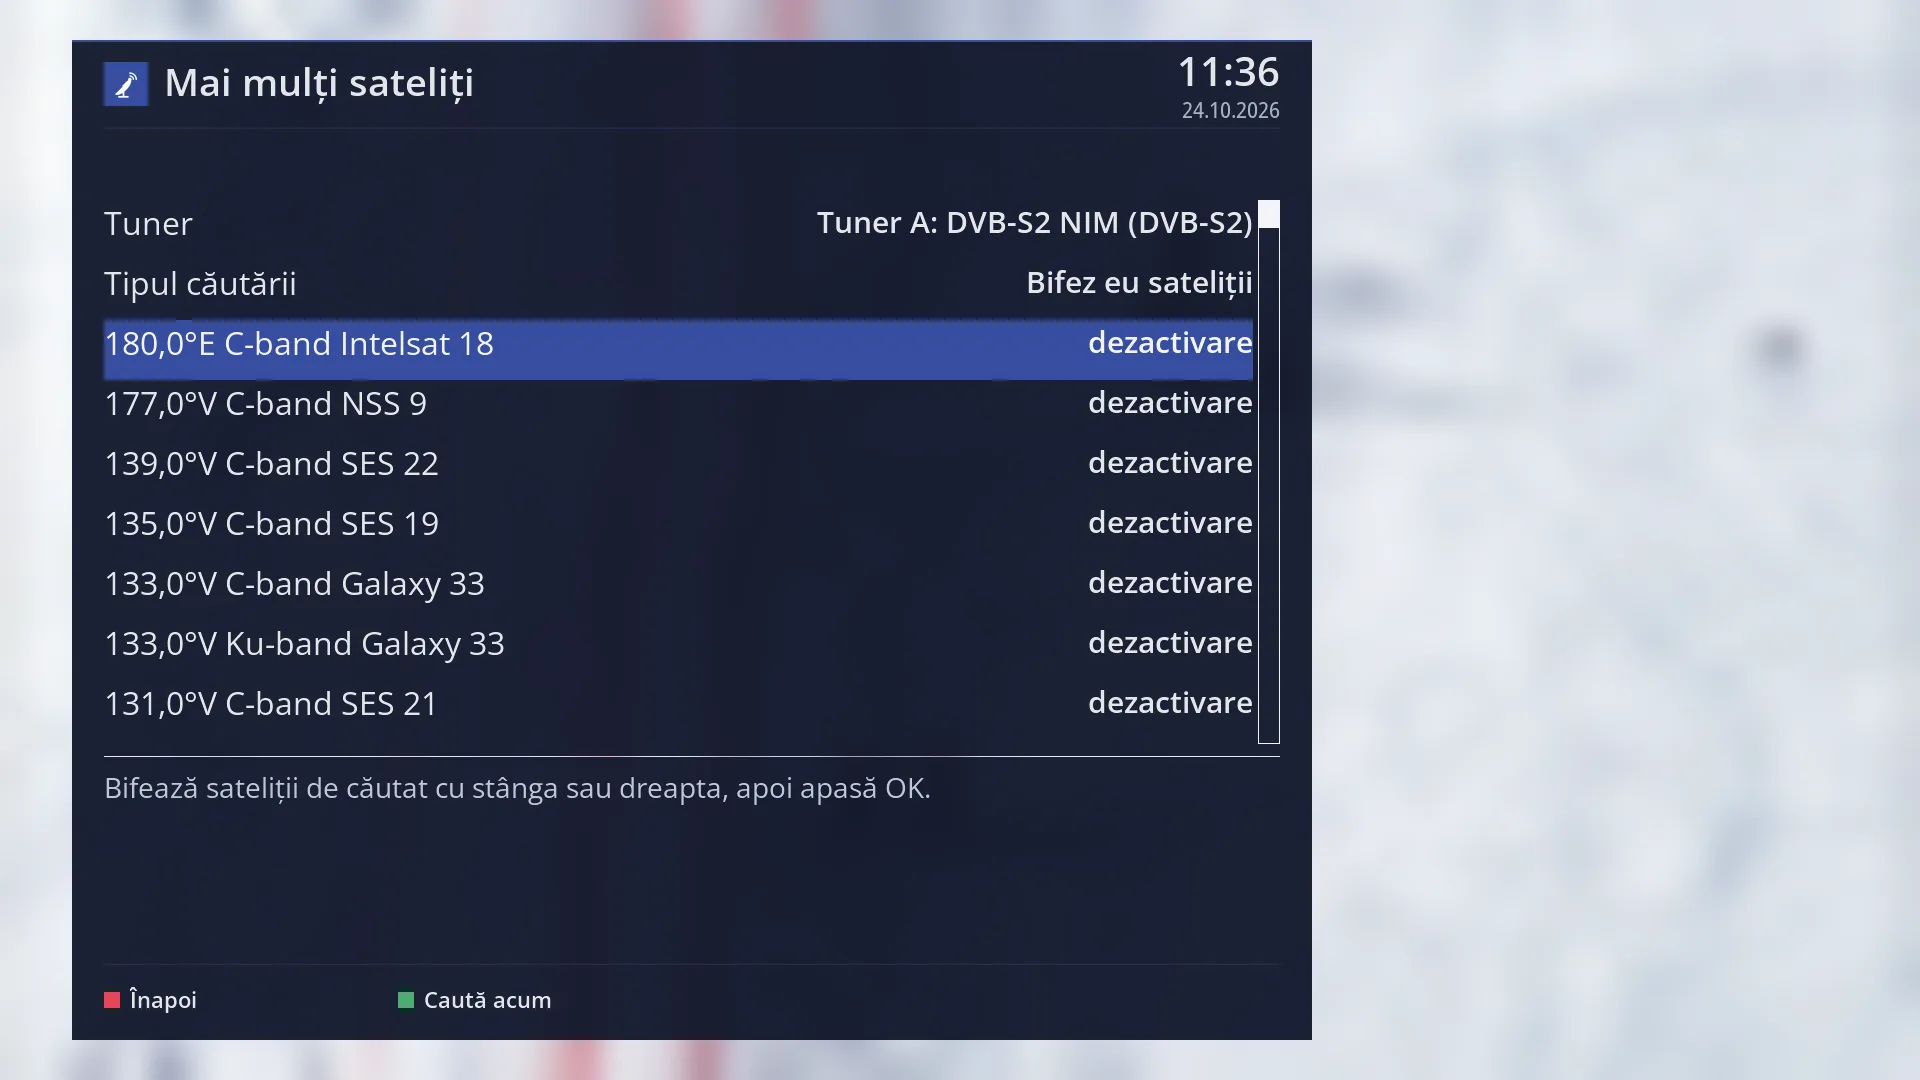
- 1 The selected row: “180.0°E C-band Intelsat 18: disable”.
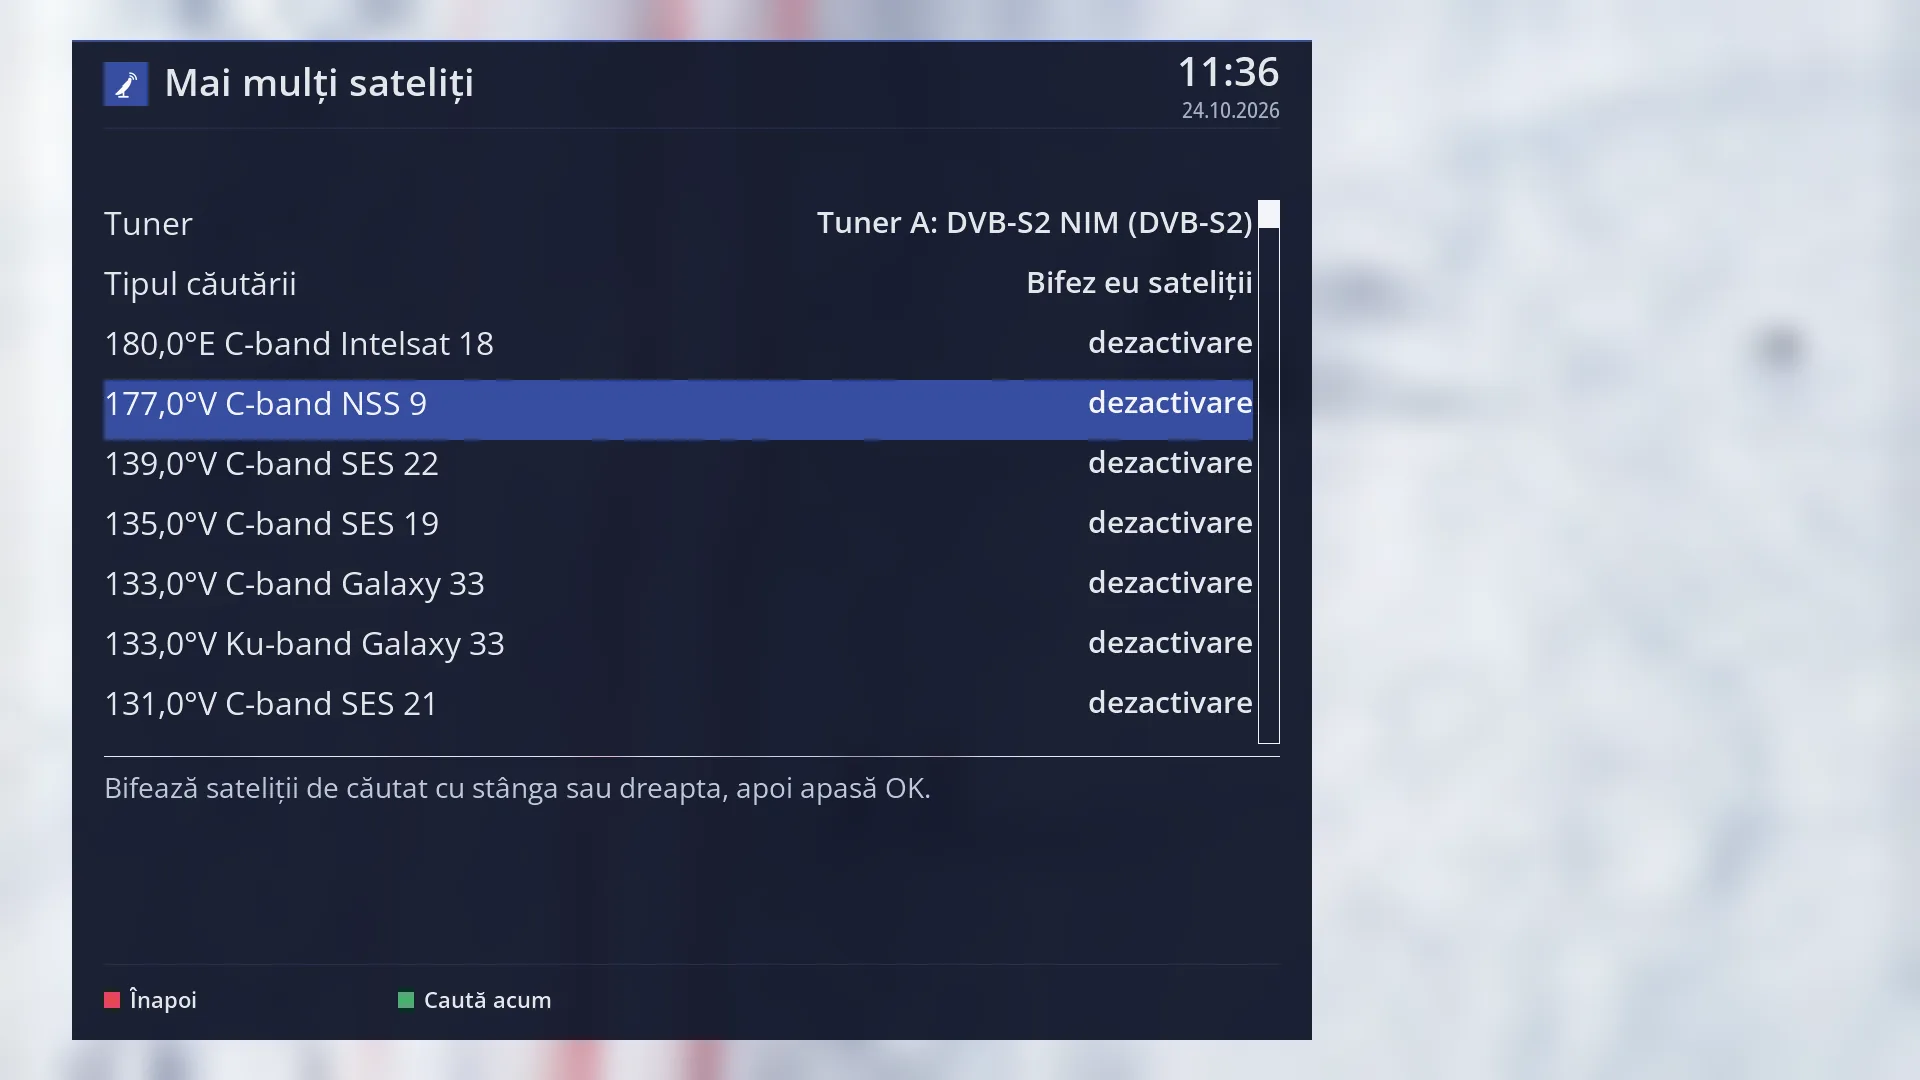
- 1 The selected row: “177.0°W C-band NSS 9: disable”.
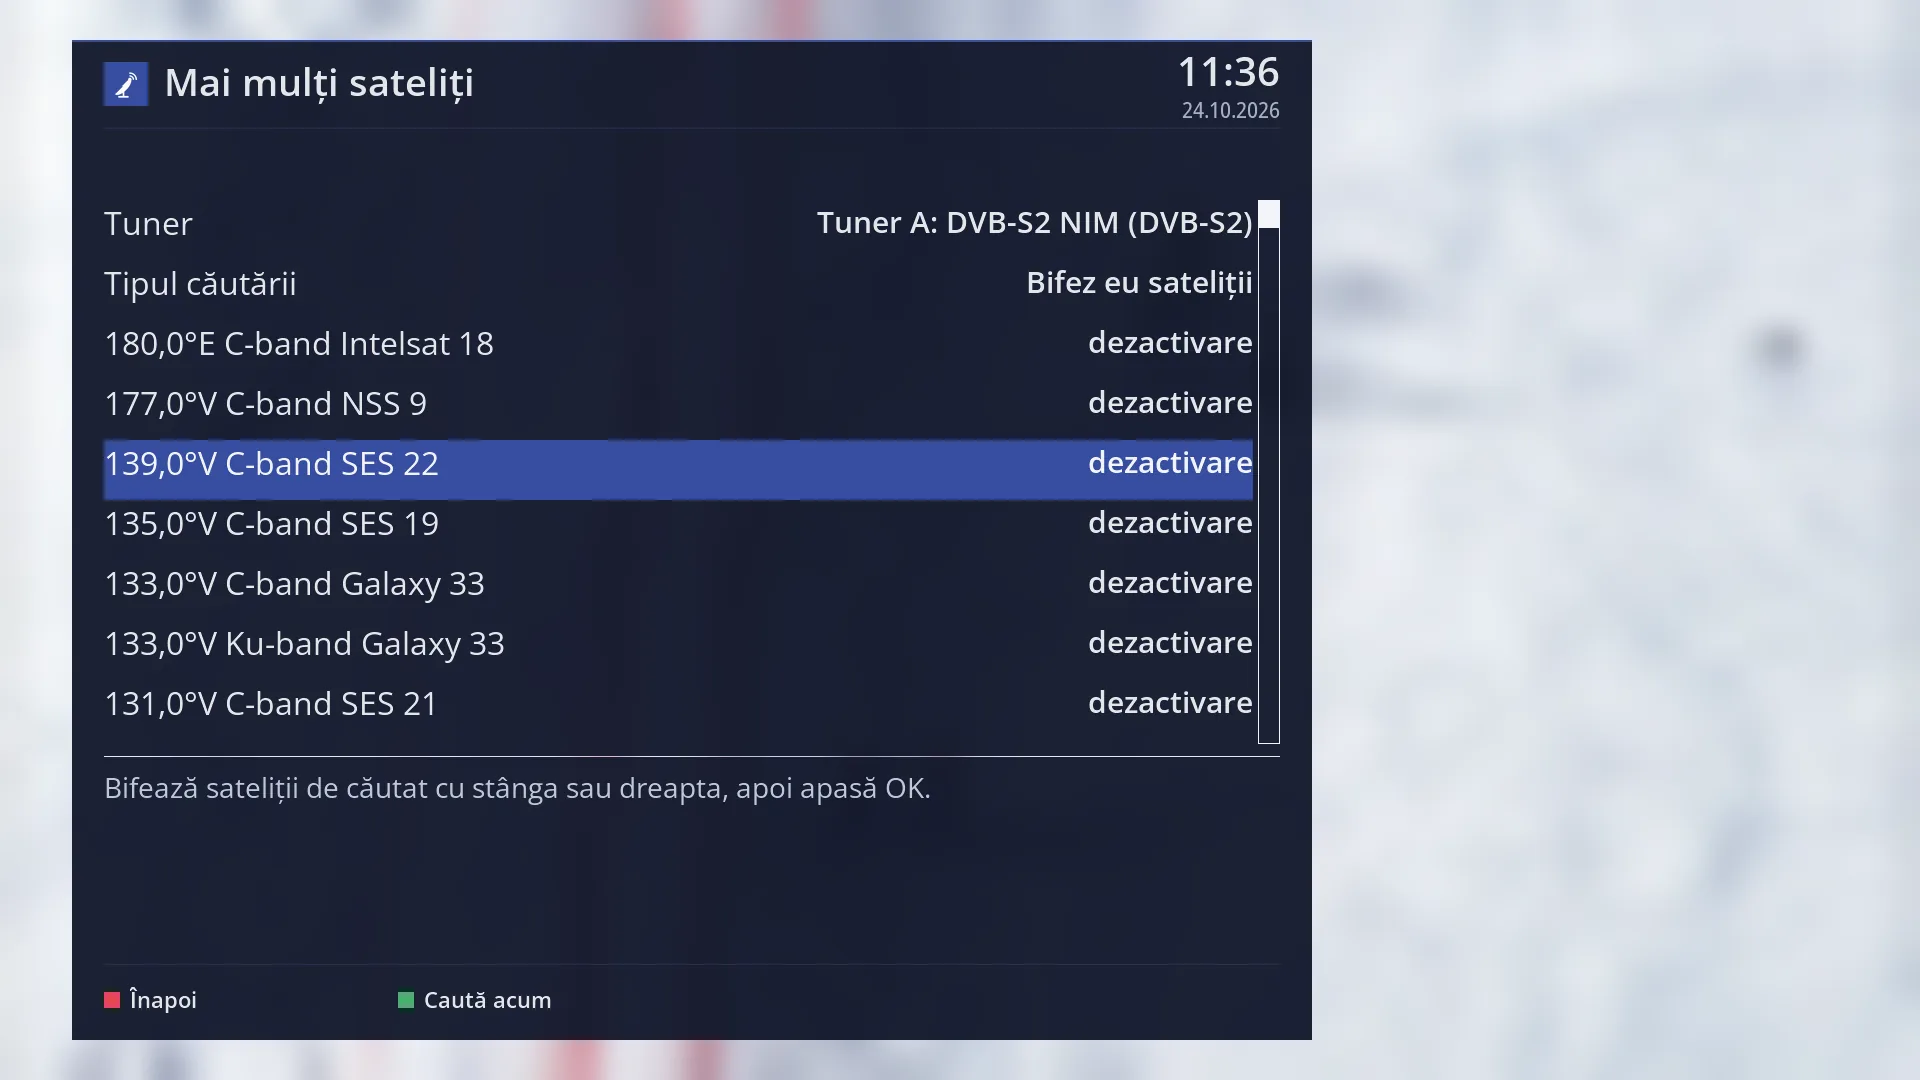
- 1 The selected row: “139.0°W C-band SES 22: disable”.
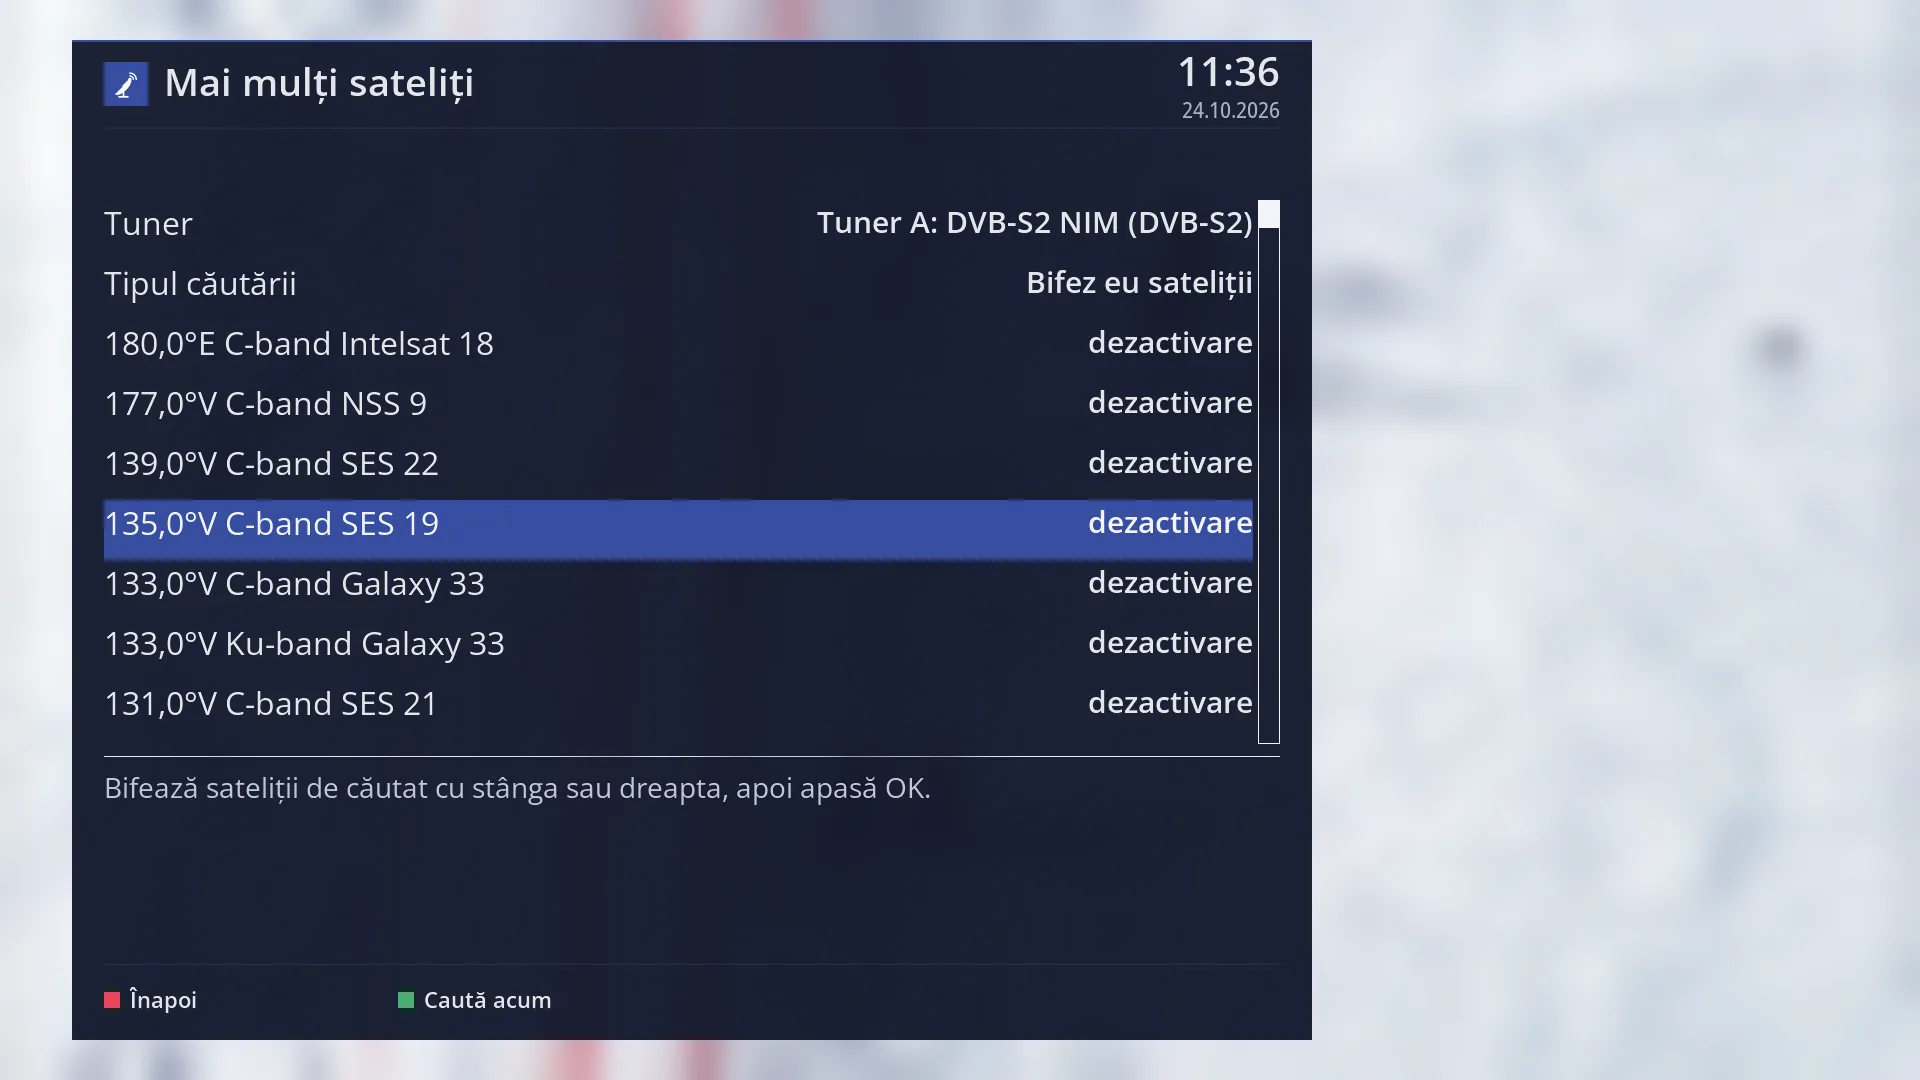
- 1 The selected row: “135.0°W C-band SES 19: disable”.
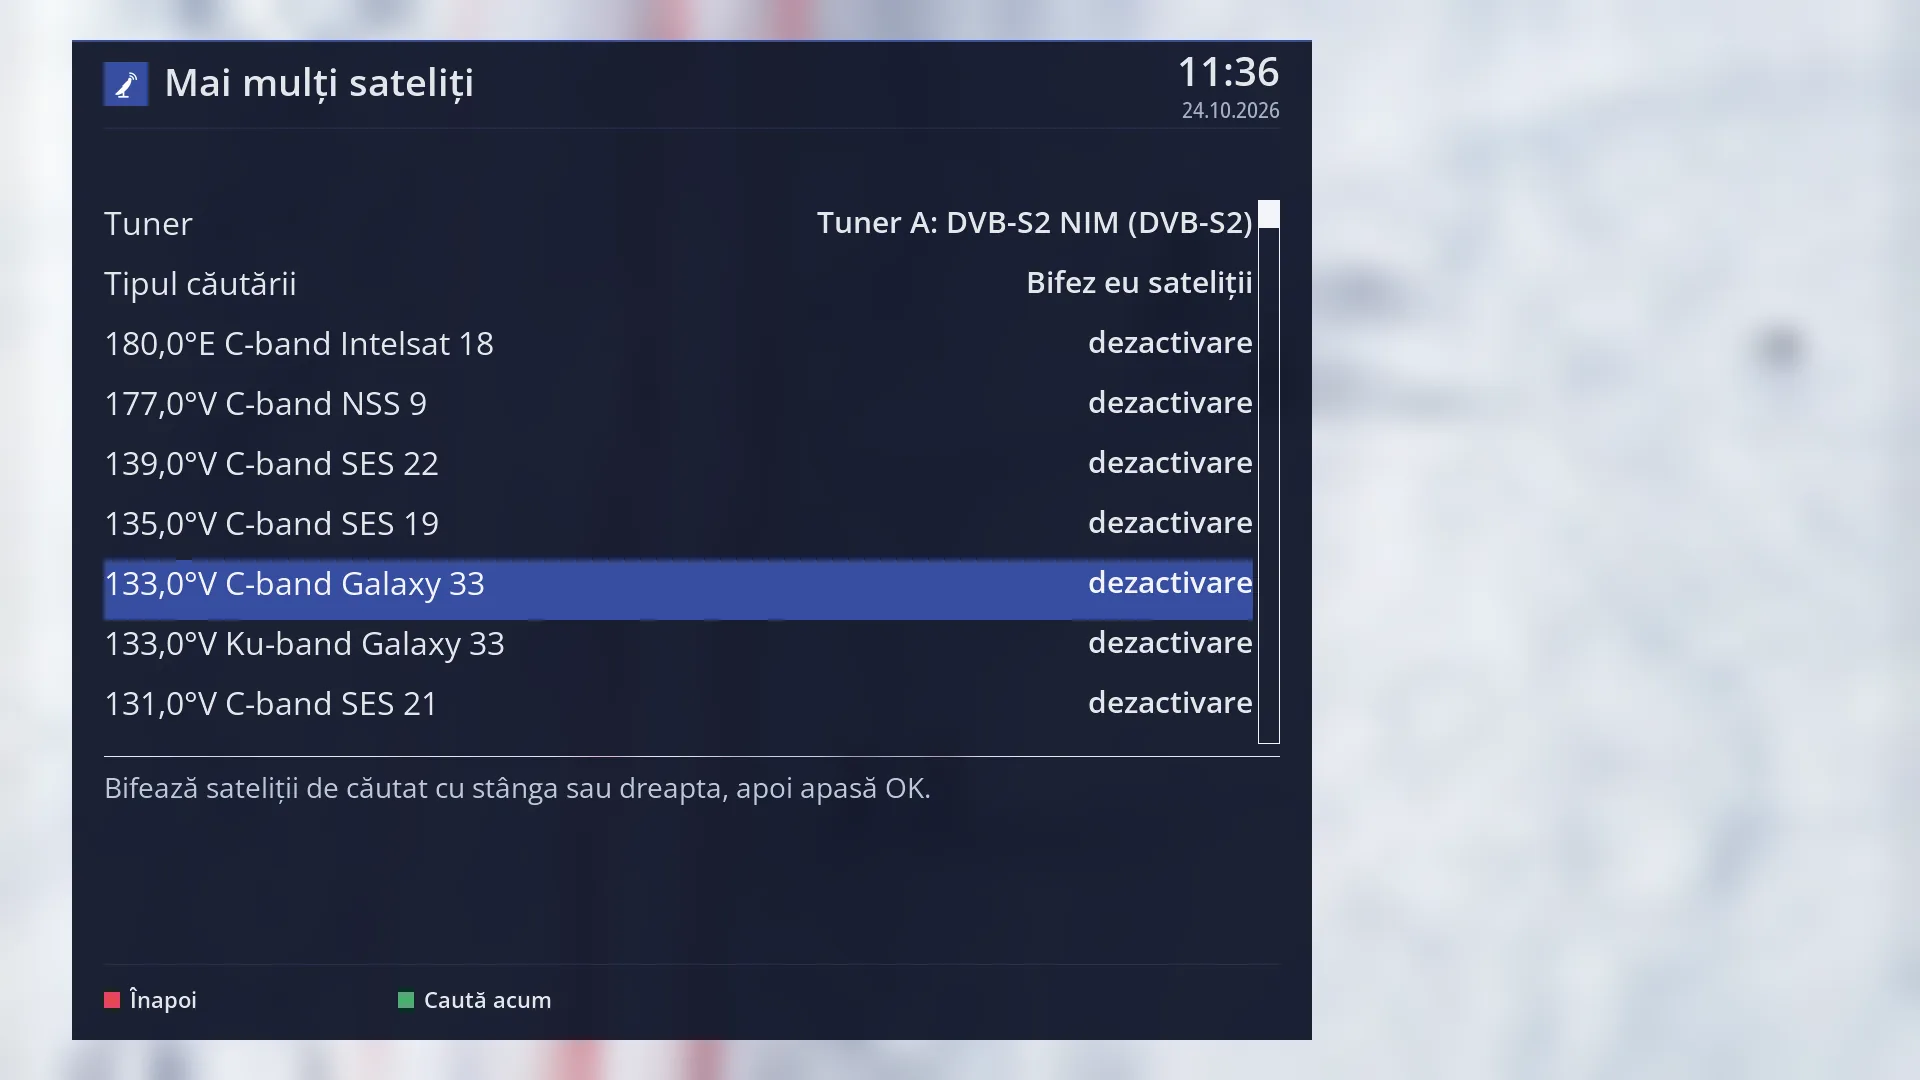
- 1 The selected row: “133.0°W C-band Galaxy 33: disable”.
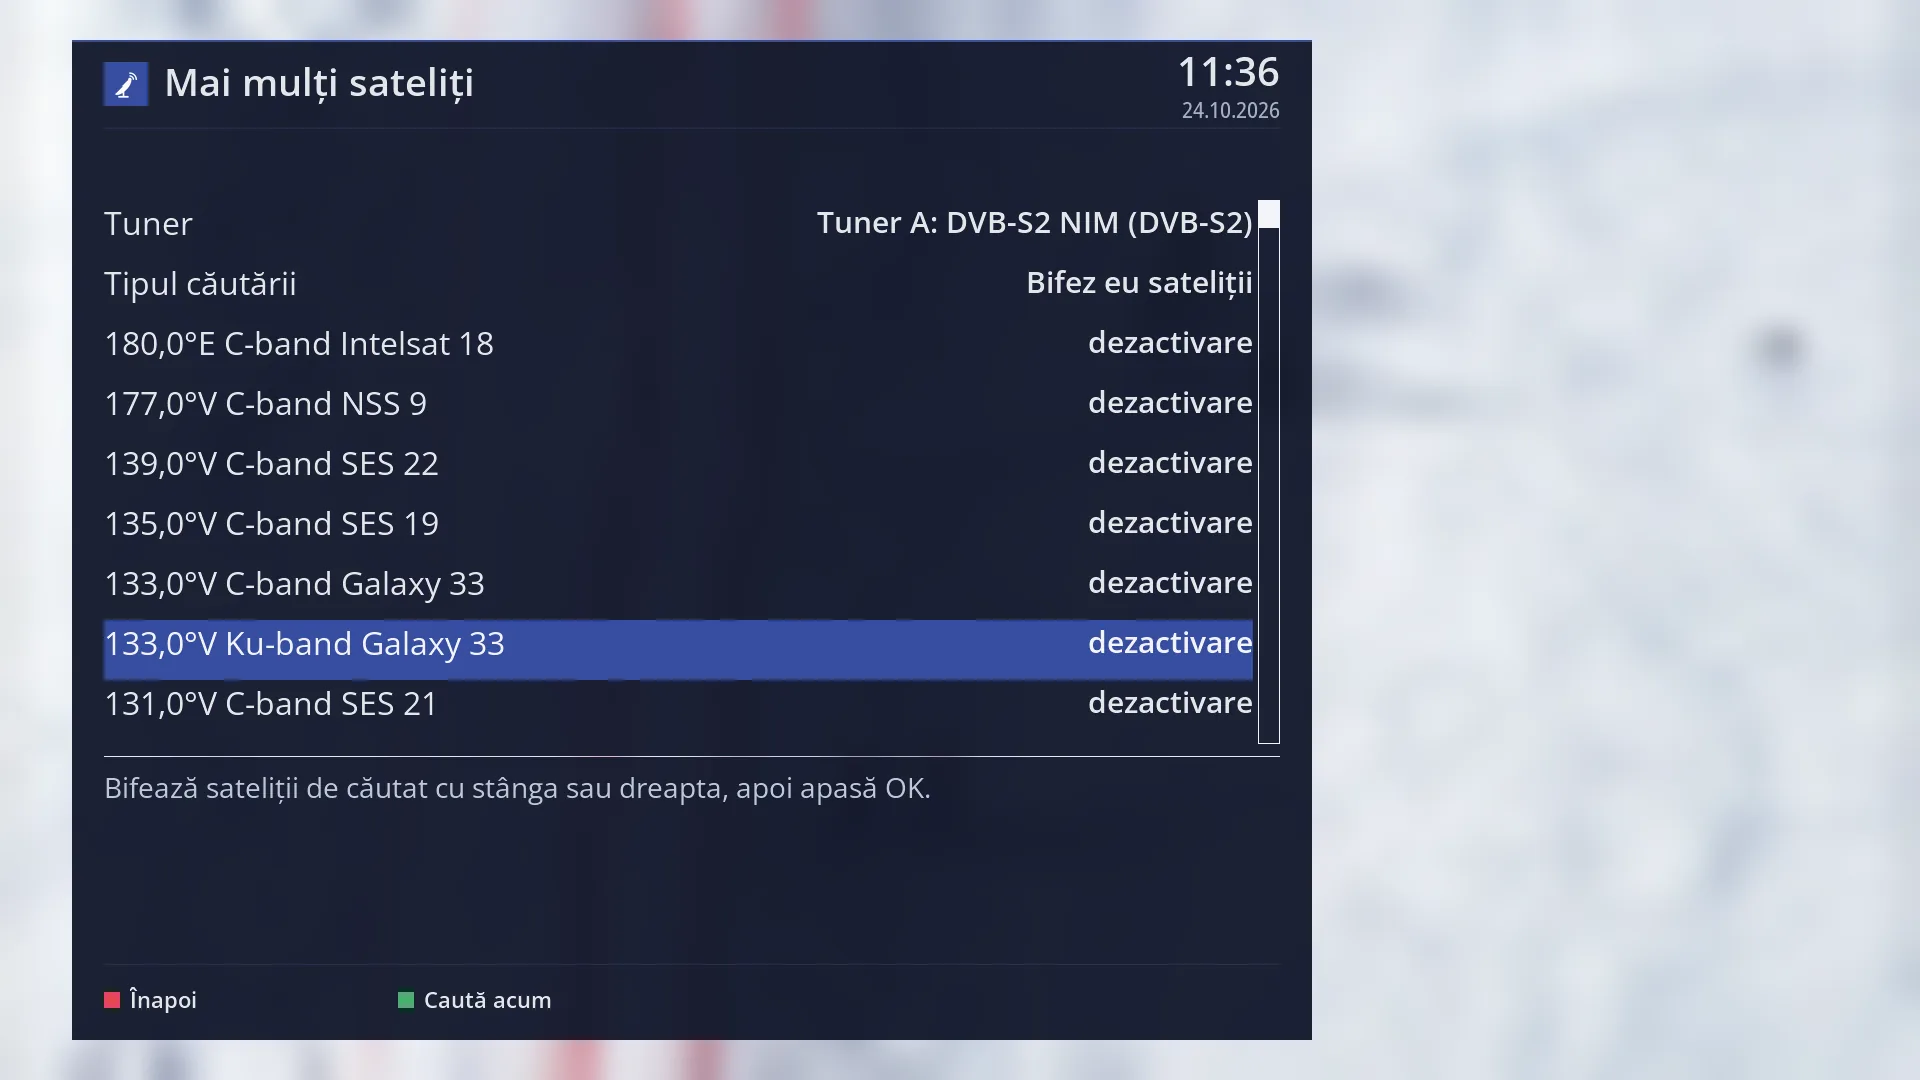
- 1 The selected row: “133.0°W Ku-band Galaxy 33: disable”.
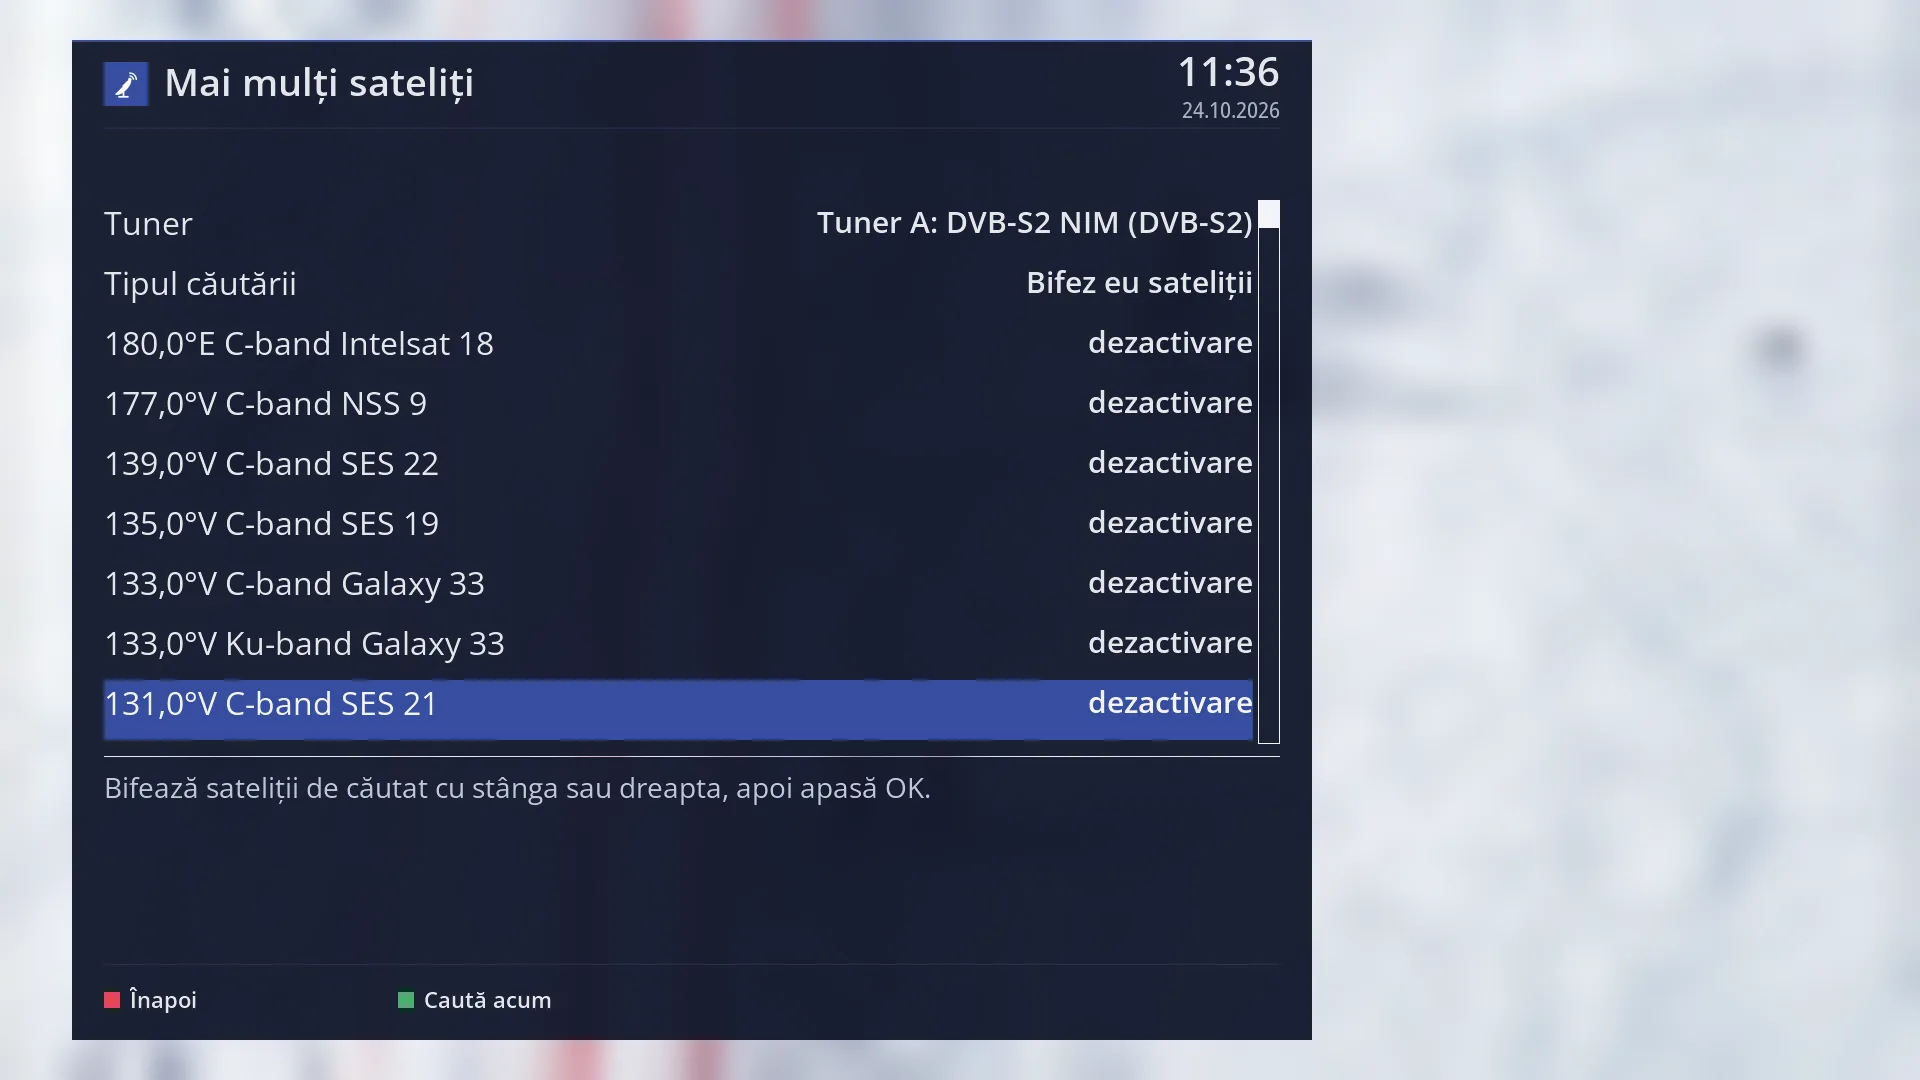
- 1 The selected row: “131.0°W C-band SES 21: disable”.
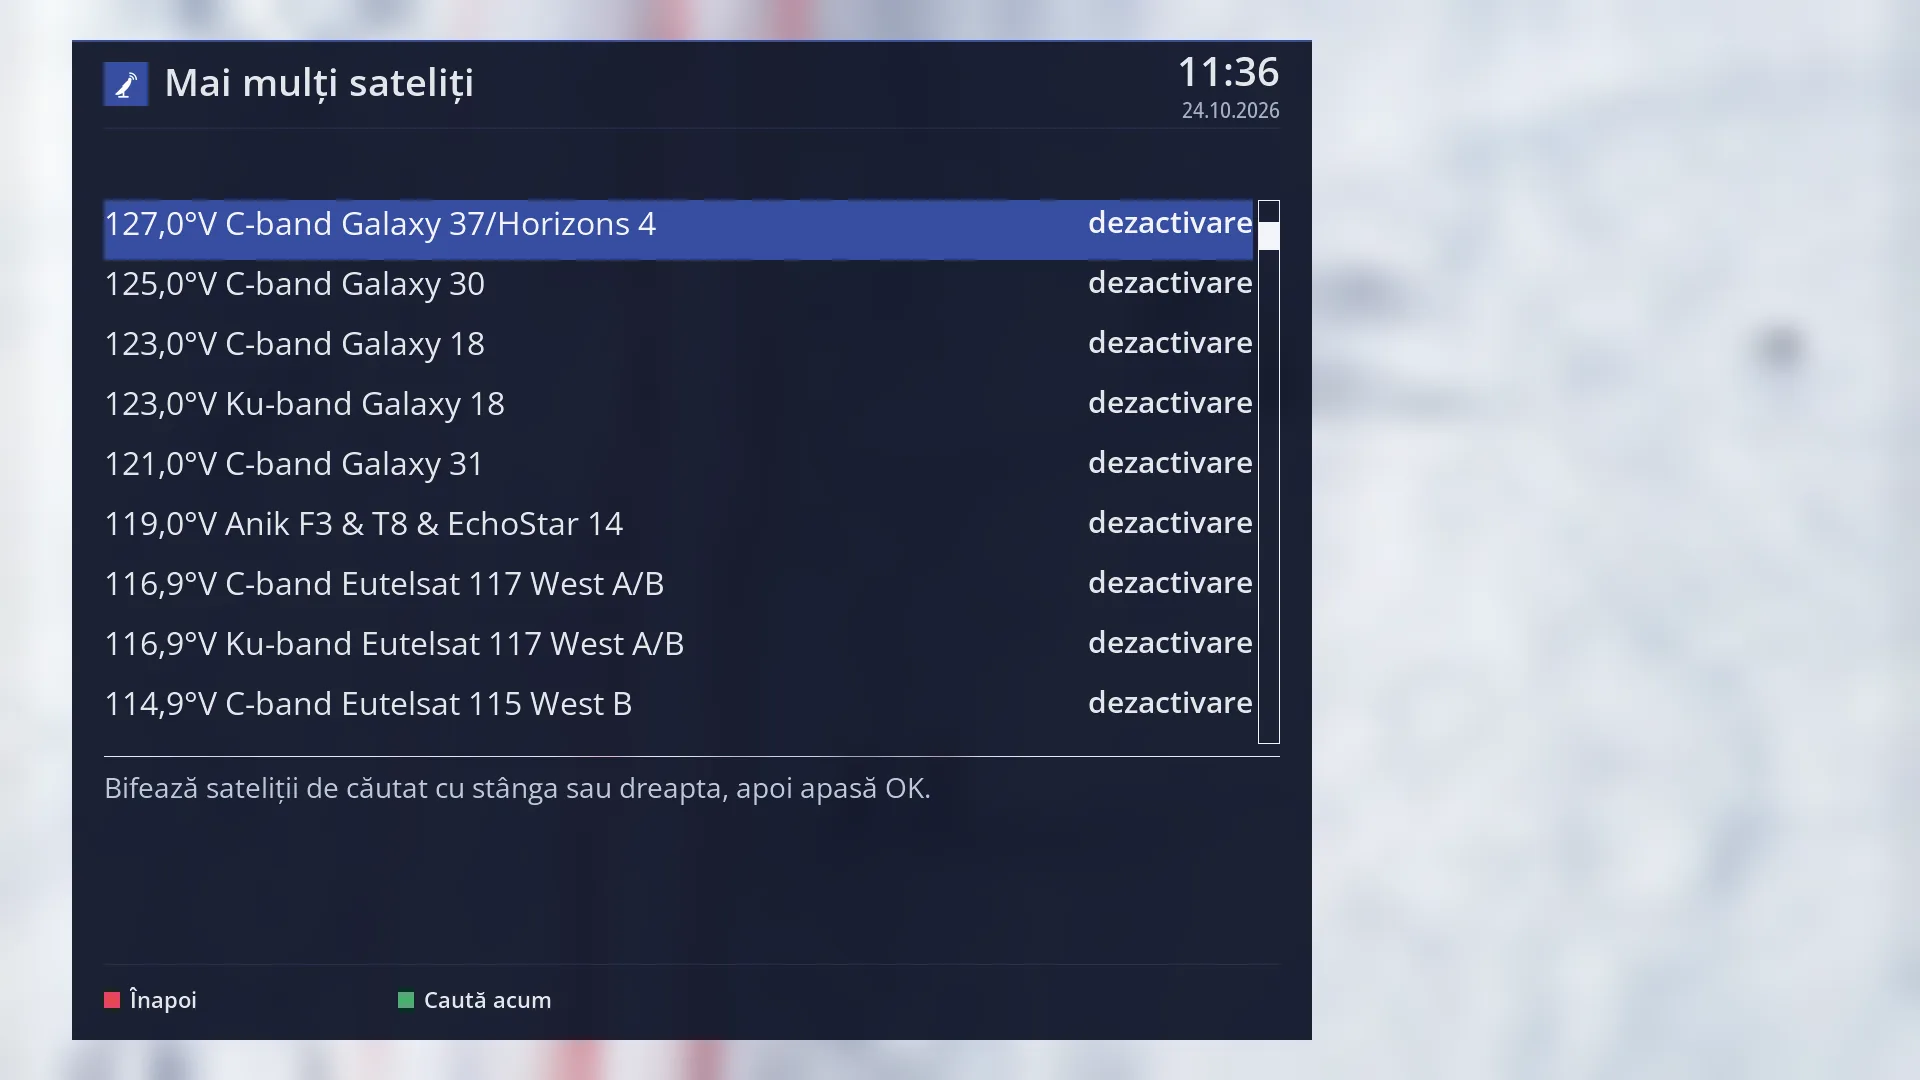
- 1 The selected row: “127.0°W C-band Galaxy 37/Horizons 4: disable”.
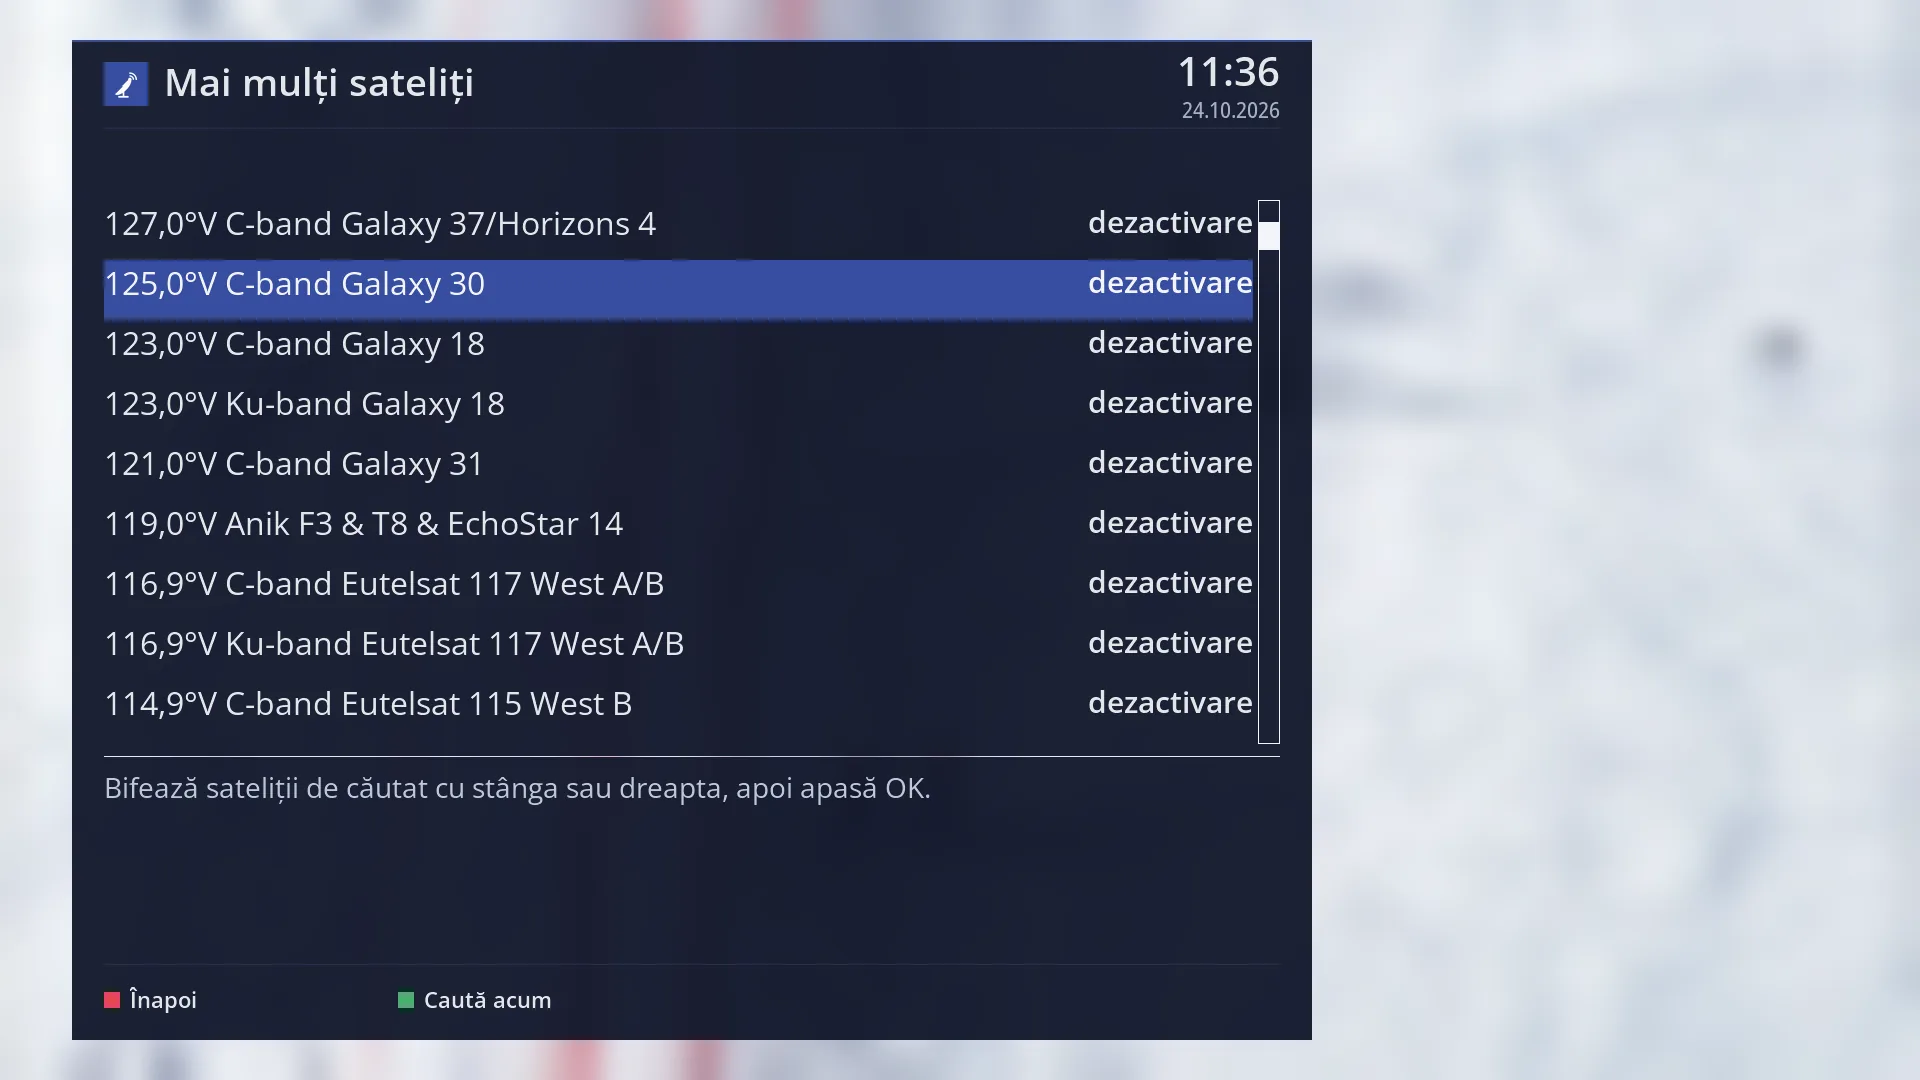
- 1 The selected row: “125.0°W C-band Galaxy 30: disable”.
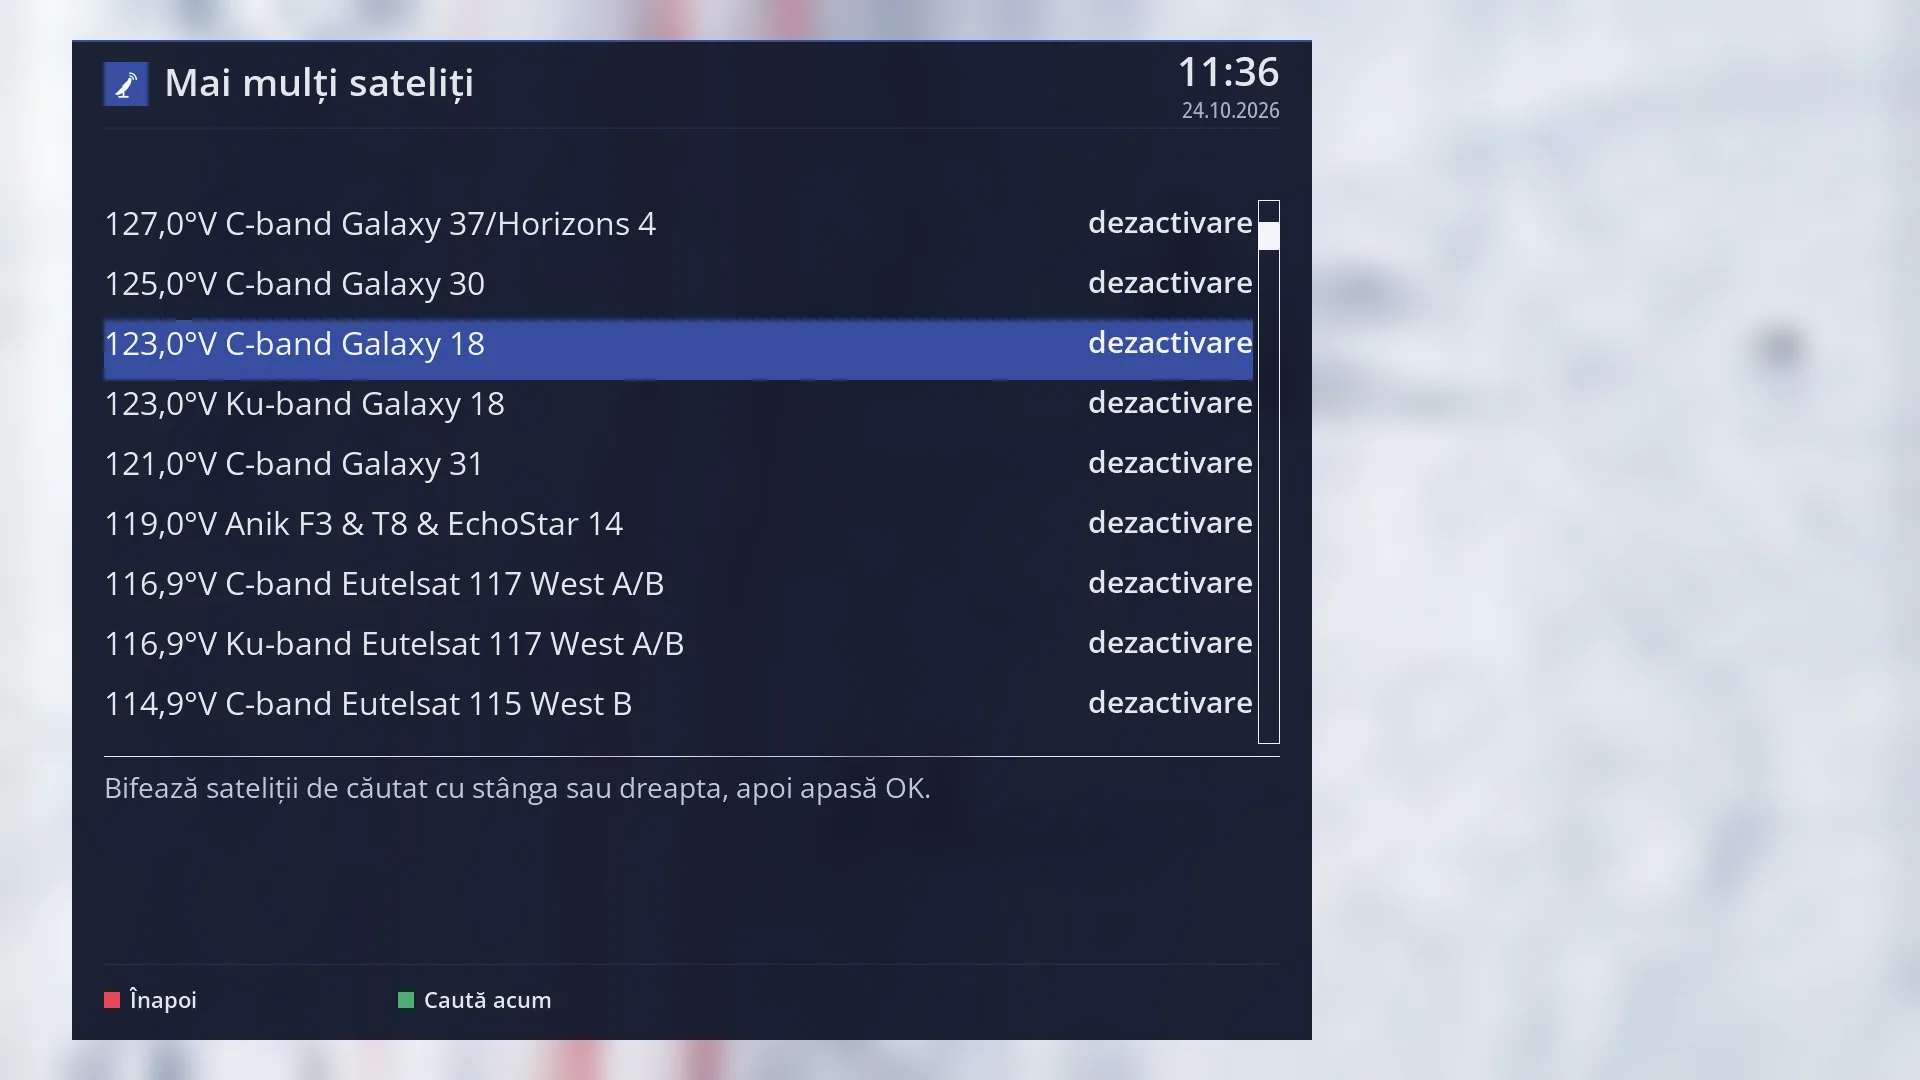
- 1 The selected row: “123.0°W C-band Galaxy 18: disable”.
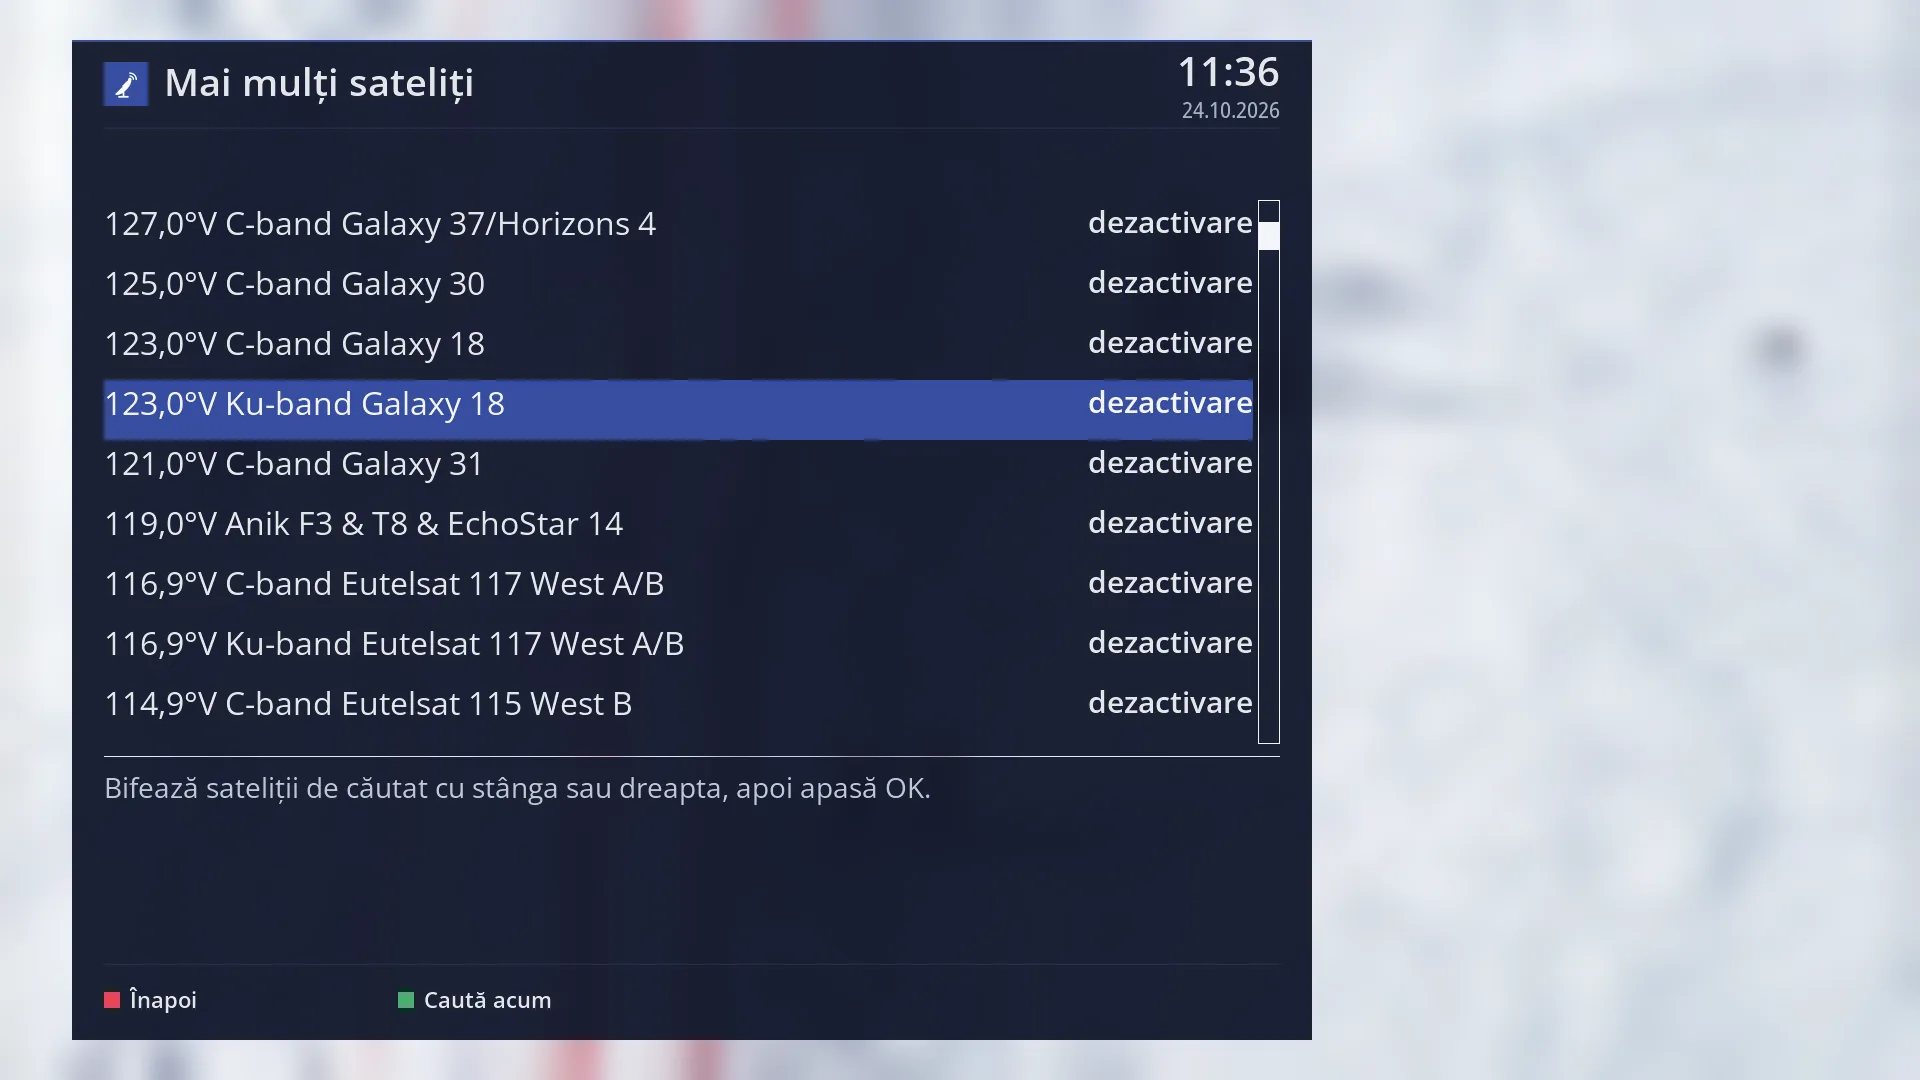
- 1 The selected row: “123.0°W Ku-band Galaxy 18: disable”.
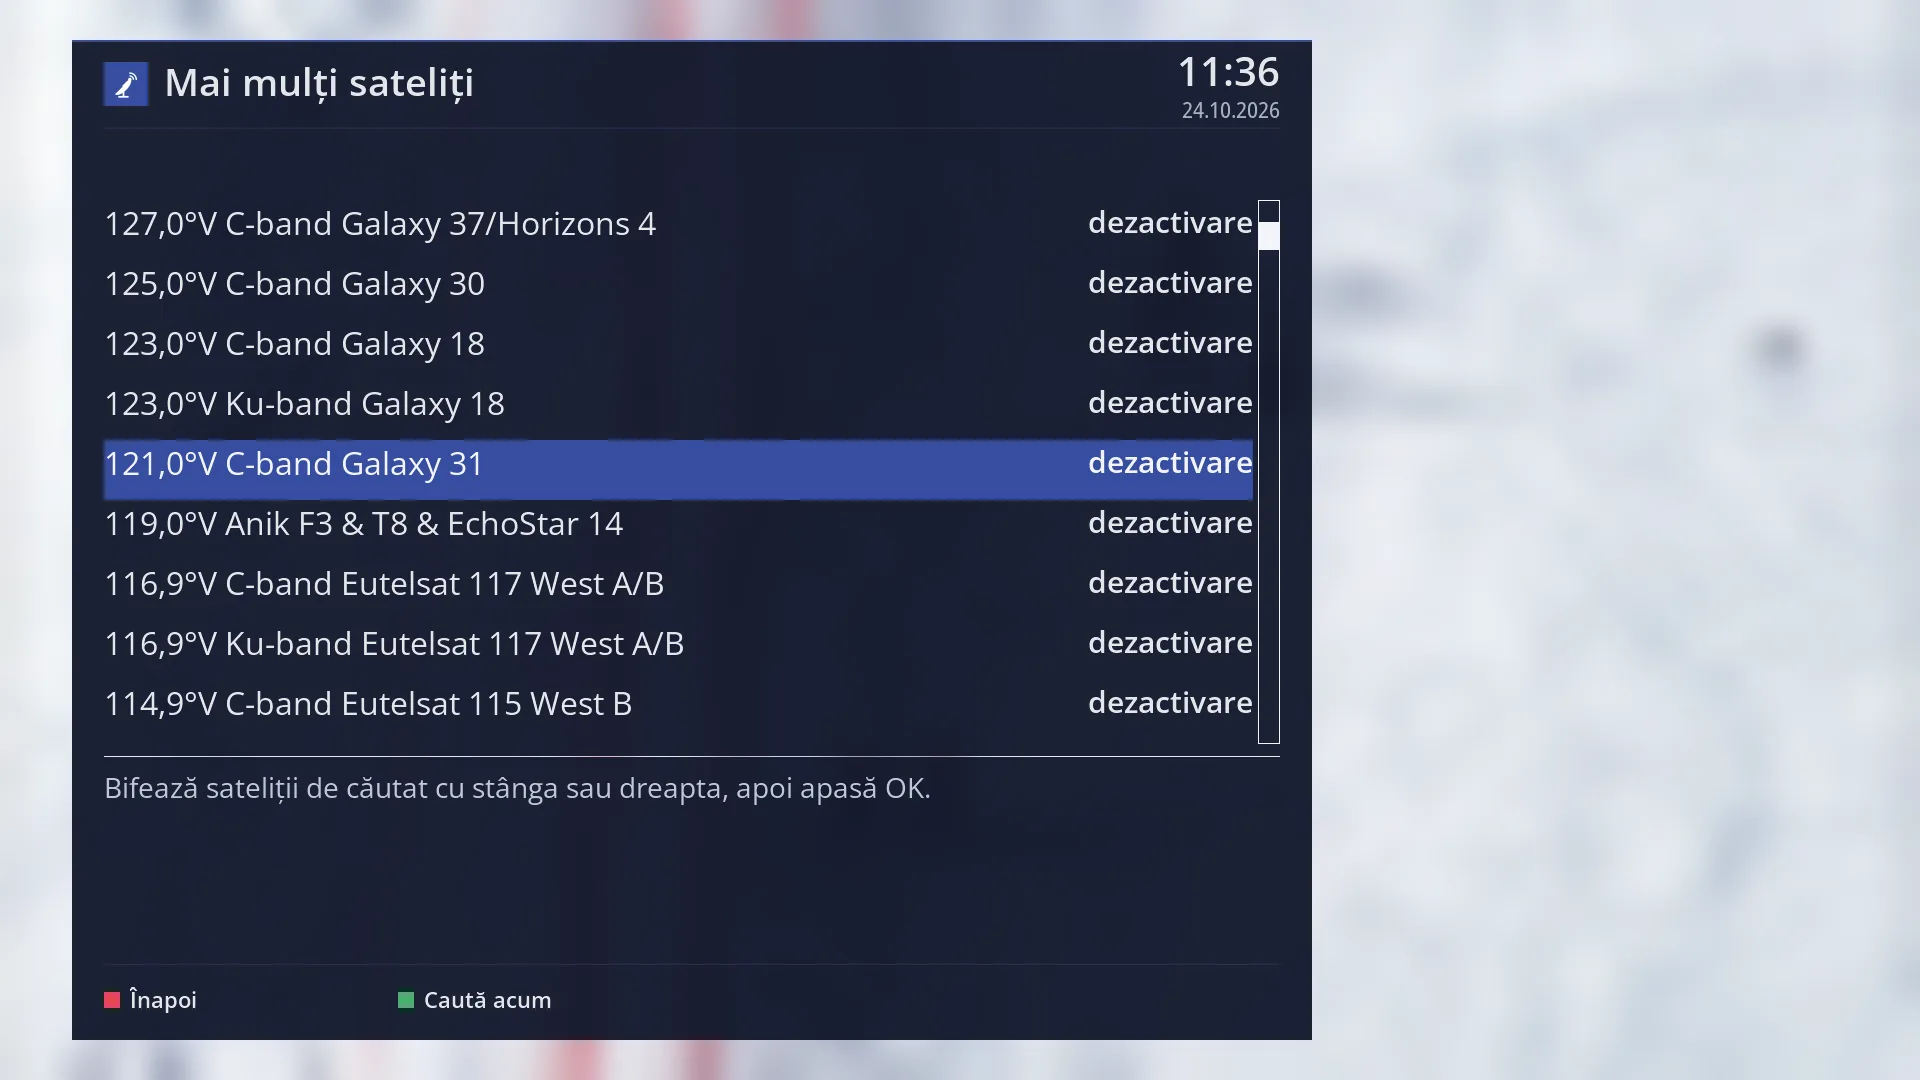
- 1 The selected row: “121.0°W C-band Galaxy 31: disable”.
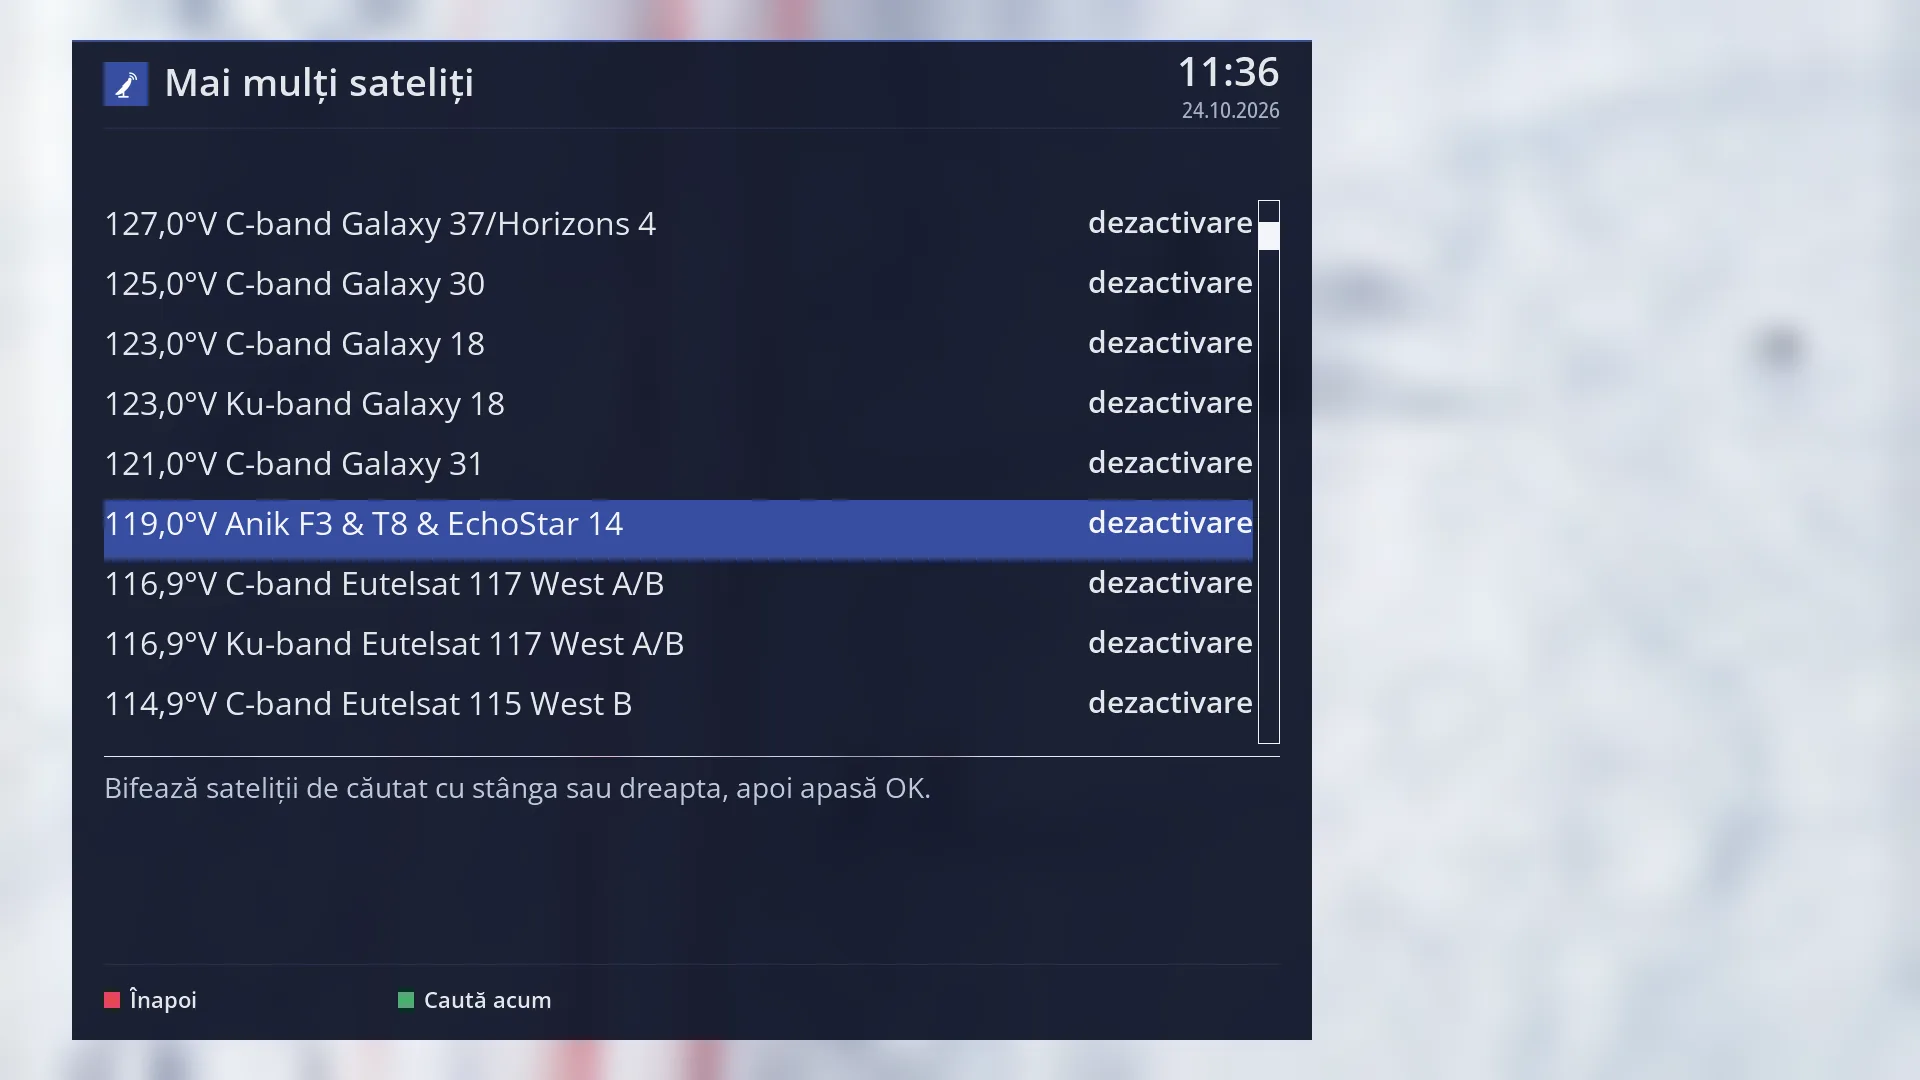
- 1 The selected row: “119.0°W Anik F3 &T8 & EchoStar 14: disable”.
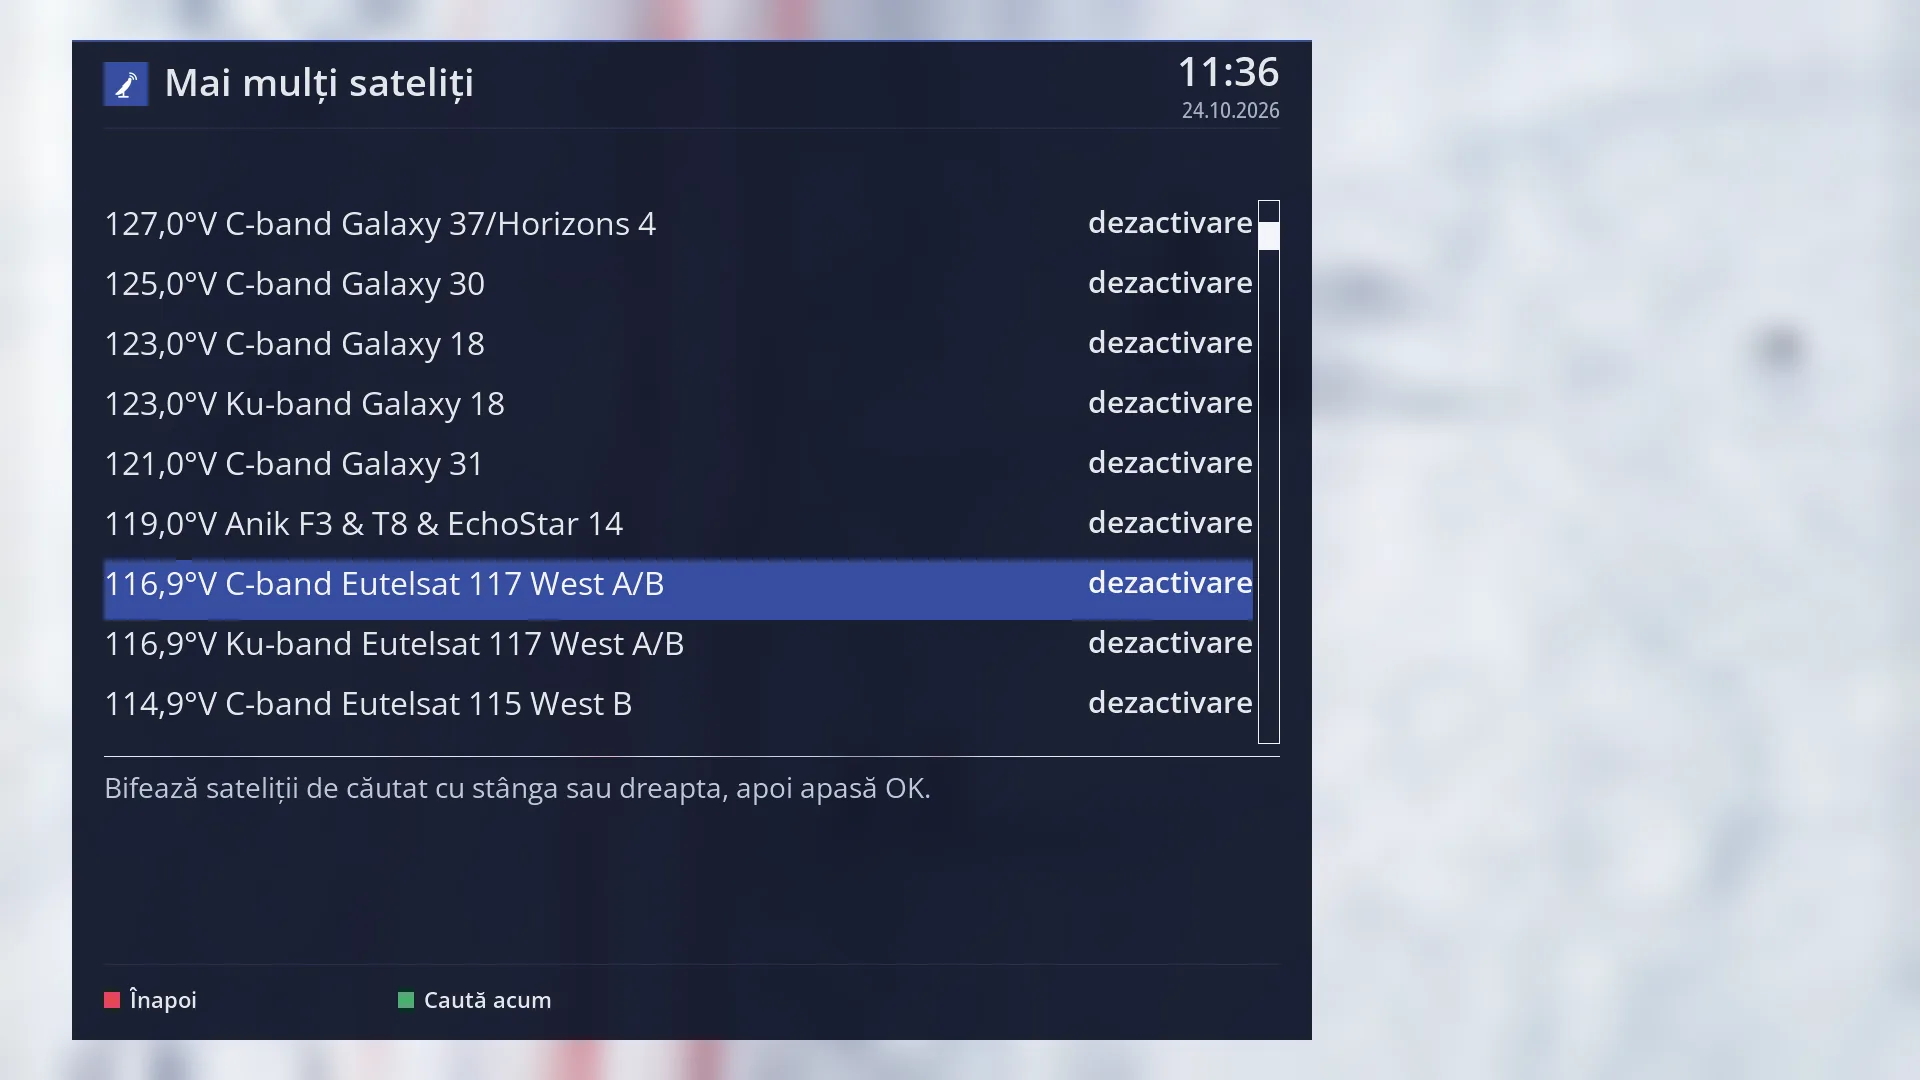
- 1 The selected row: “116.9°W C-band Eutelsat 117 West A/B: disable”.
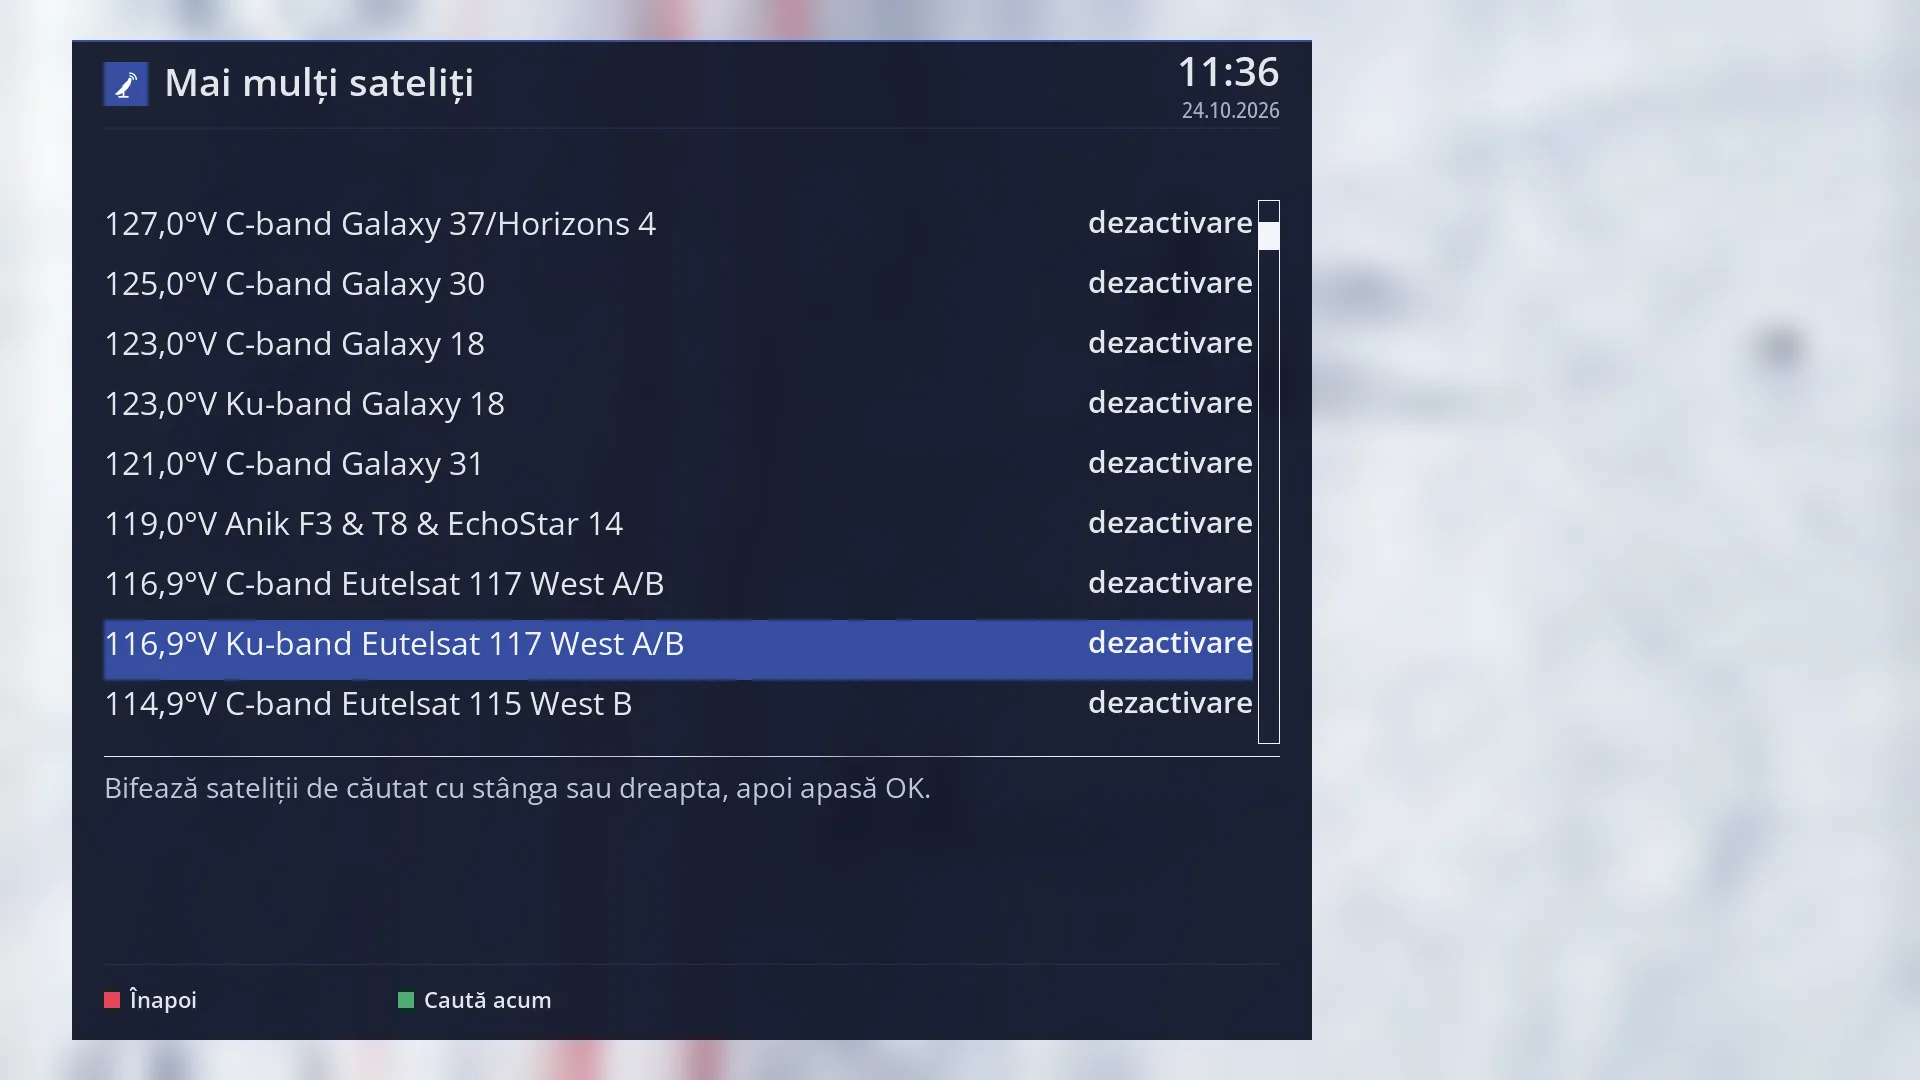
- 1 The selected row: “116.9°W Ku-band Eutelsat 117 West A/B: disable”.
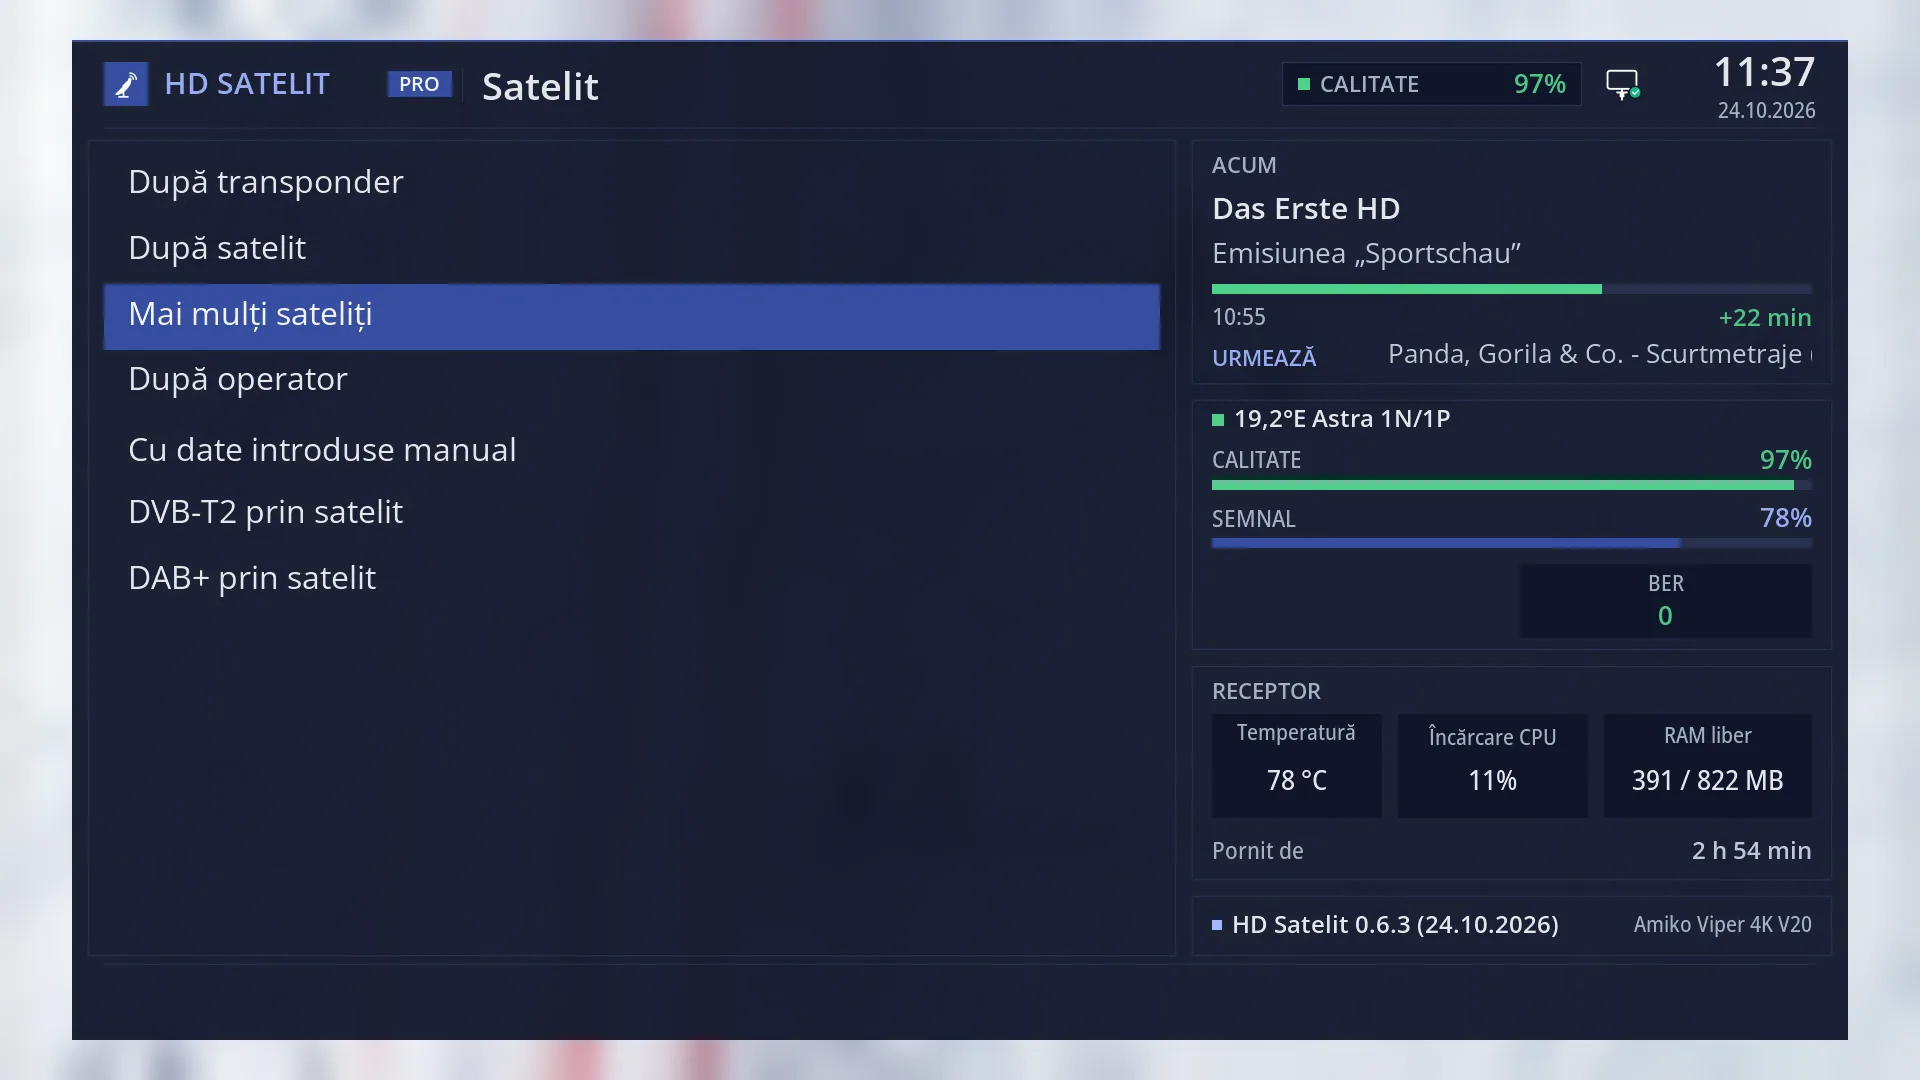
What it is for
“Several satellites” searches for channels on several satellites in one scan. You tick the satellites and press OK. The receiver then goes through all their known transponders, one satellite after another, plus the ones announced in the signal.
Use it when your dish receives several satellites, either through a DiSEqC switch (for example 19.2°E and 13°E on the same dish) or through a motor. With a single satellite, “By satellite” (MENU 1 1 2) is simpler.
With a fixed dish, the list only has the satellites you set in Tuner settings, and “Type of scan” can tick “All the dish's satellites” in one go. With a motor, the list has every satellite the receiver knows (over 200). So that the dish is not moved to positions it cannot see, the receiver does not offer to tick them all: you tick only the ones you want.
Before the scan starts, the receiver leaves out the transponders the tuner cannot receive, so it does not waste time on them.
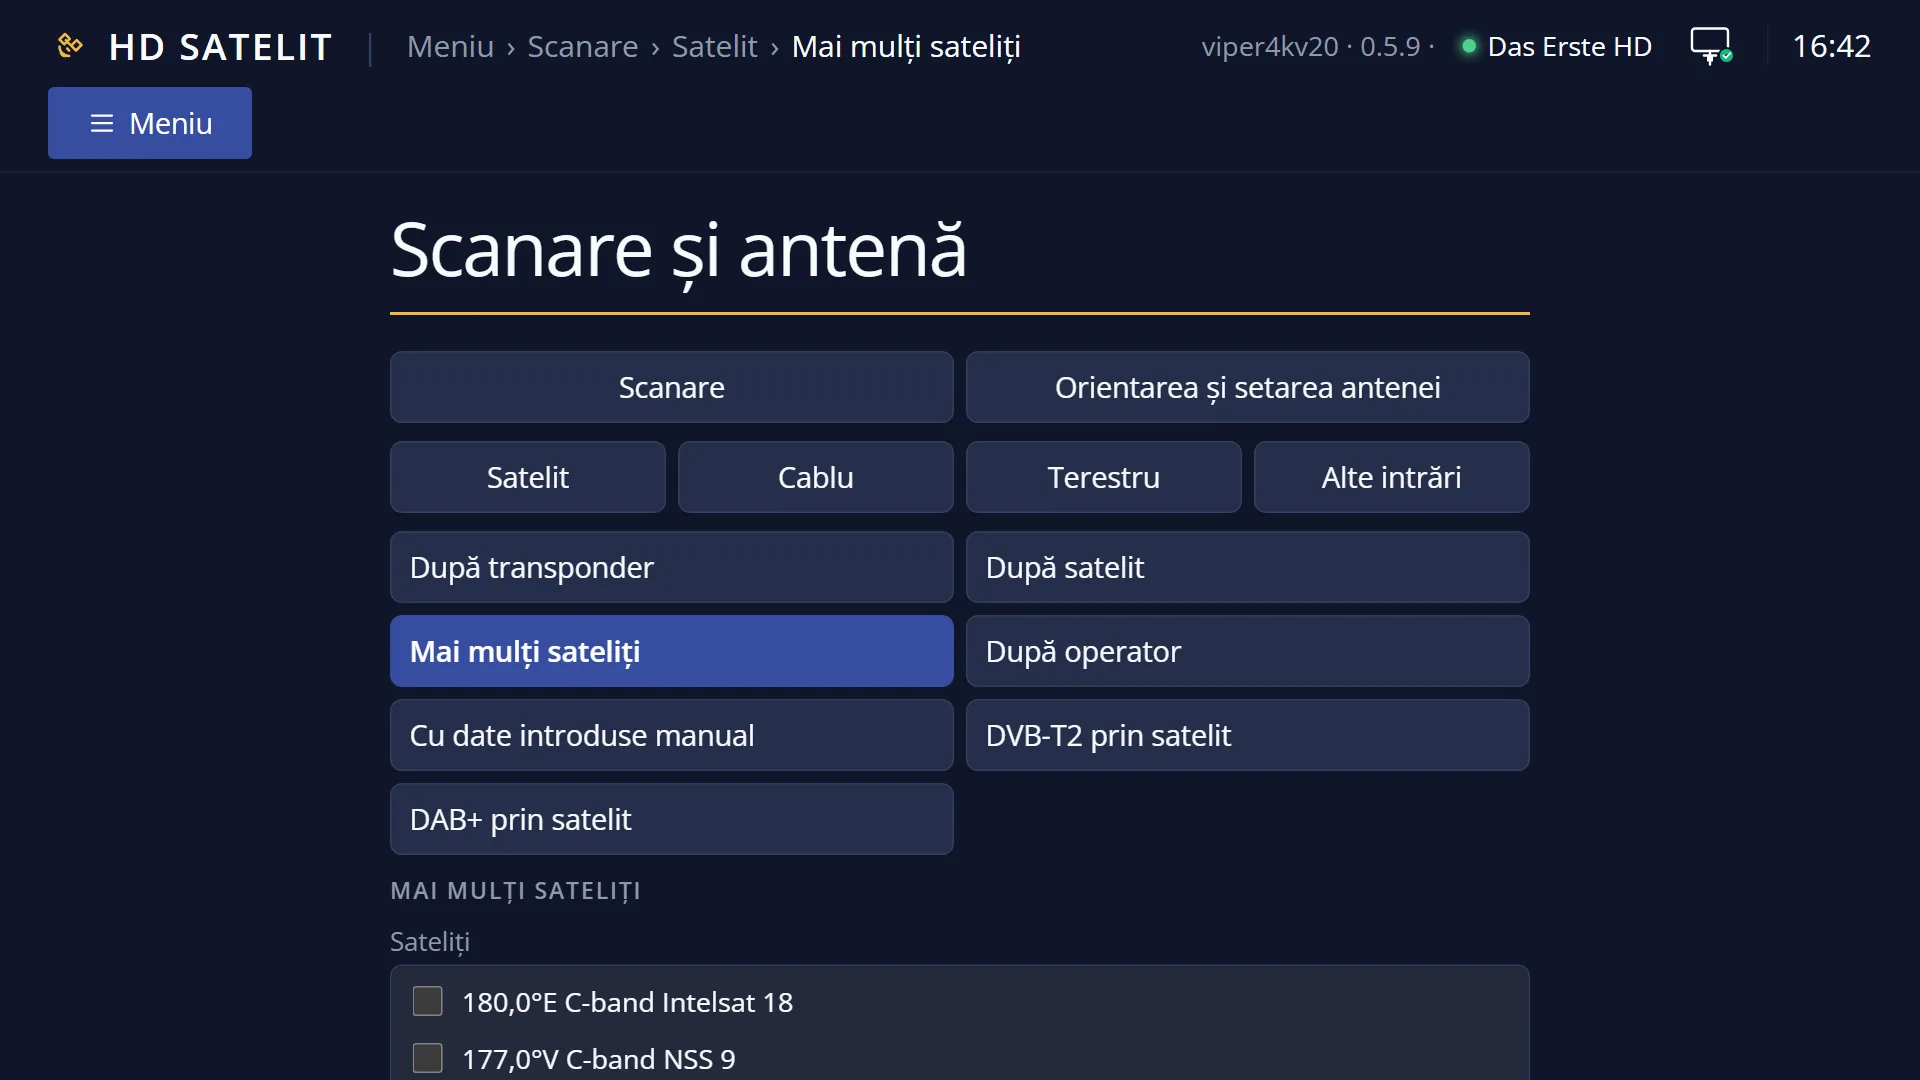
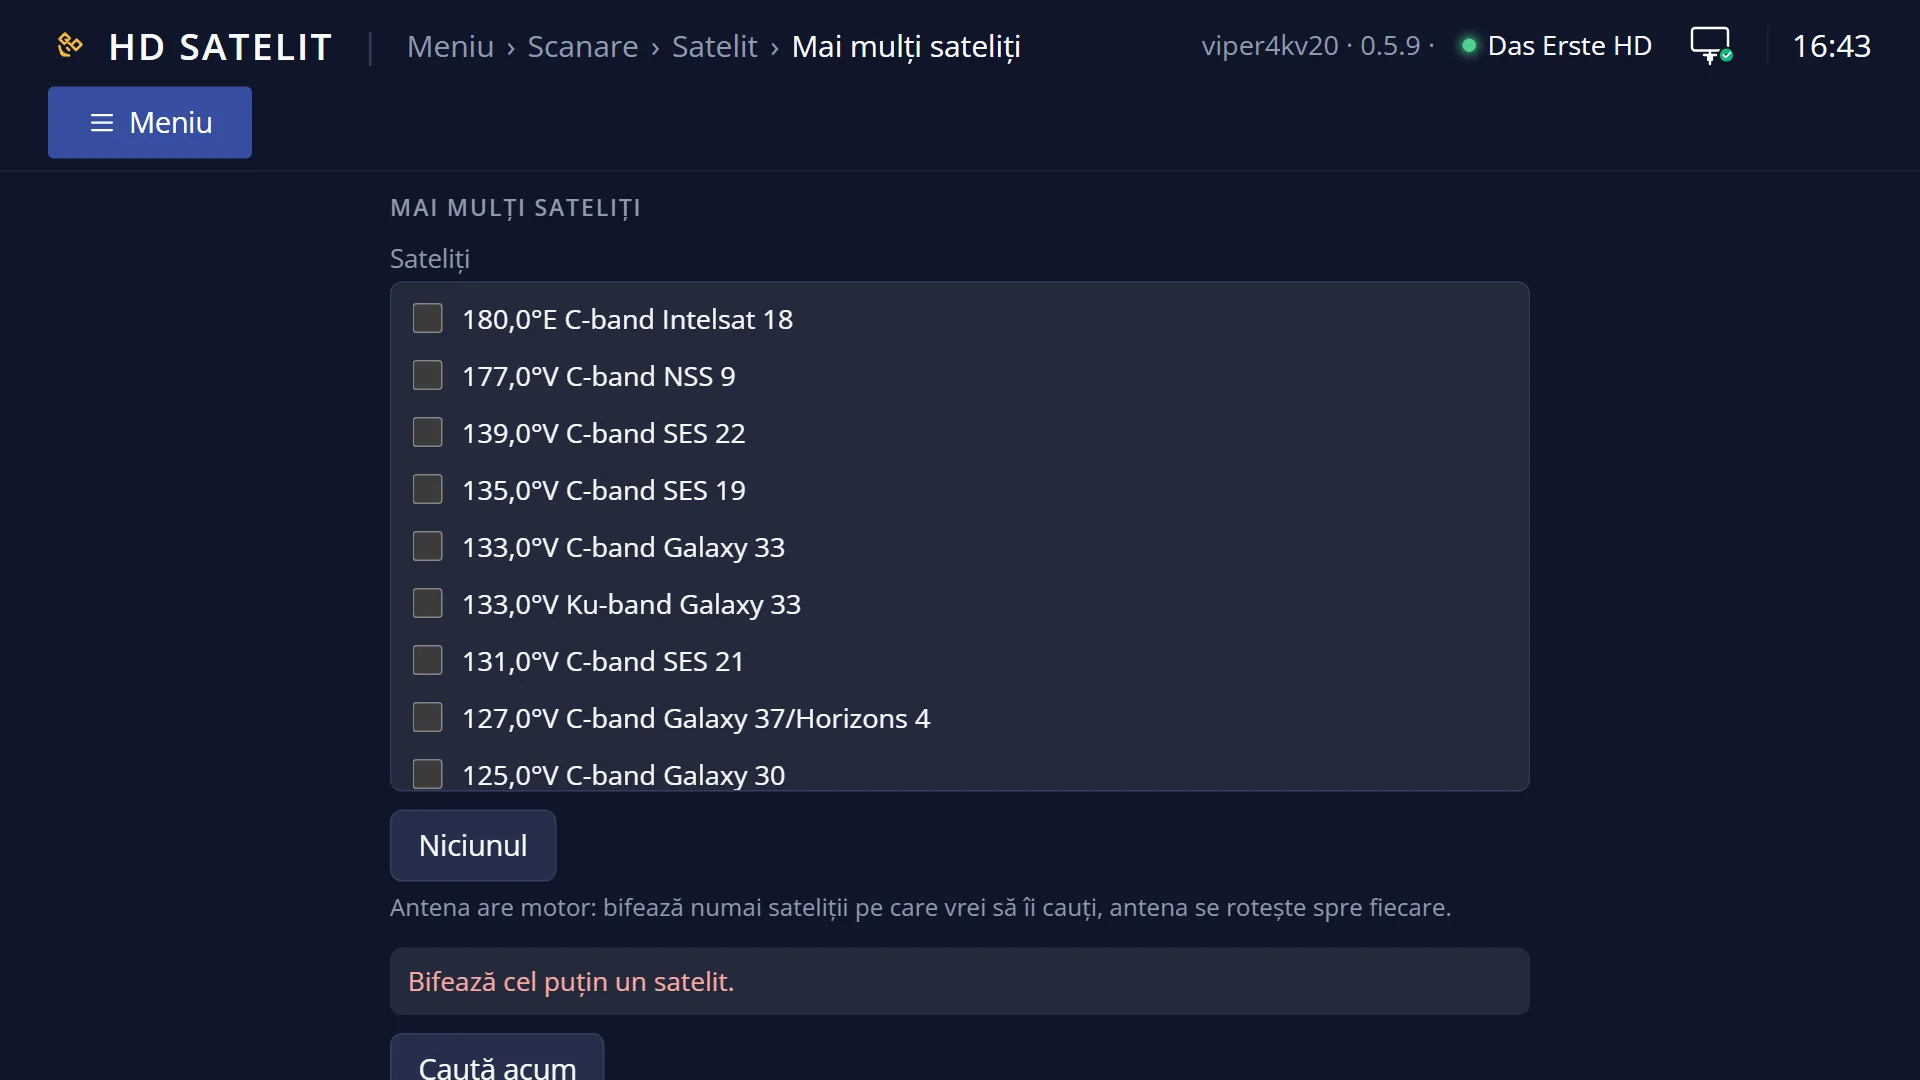
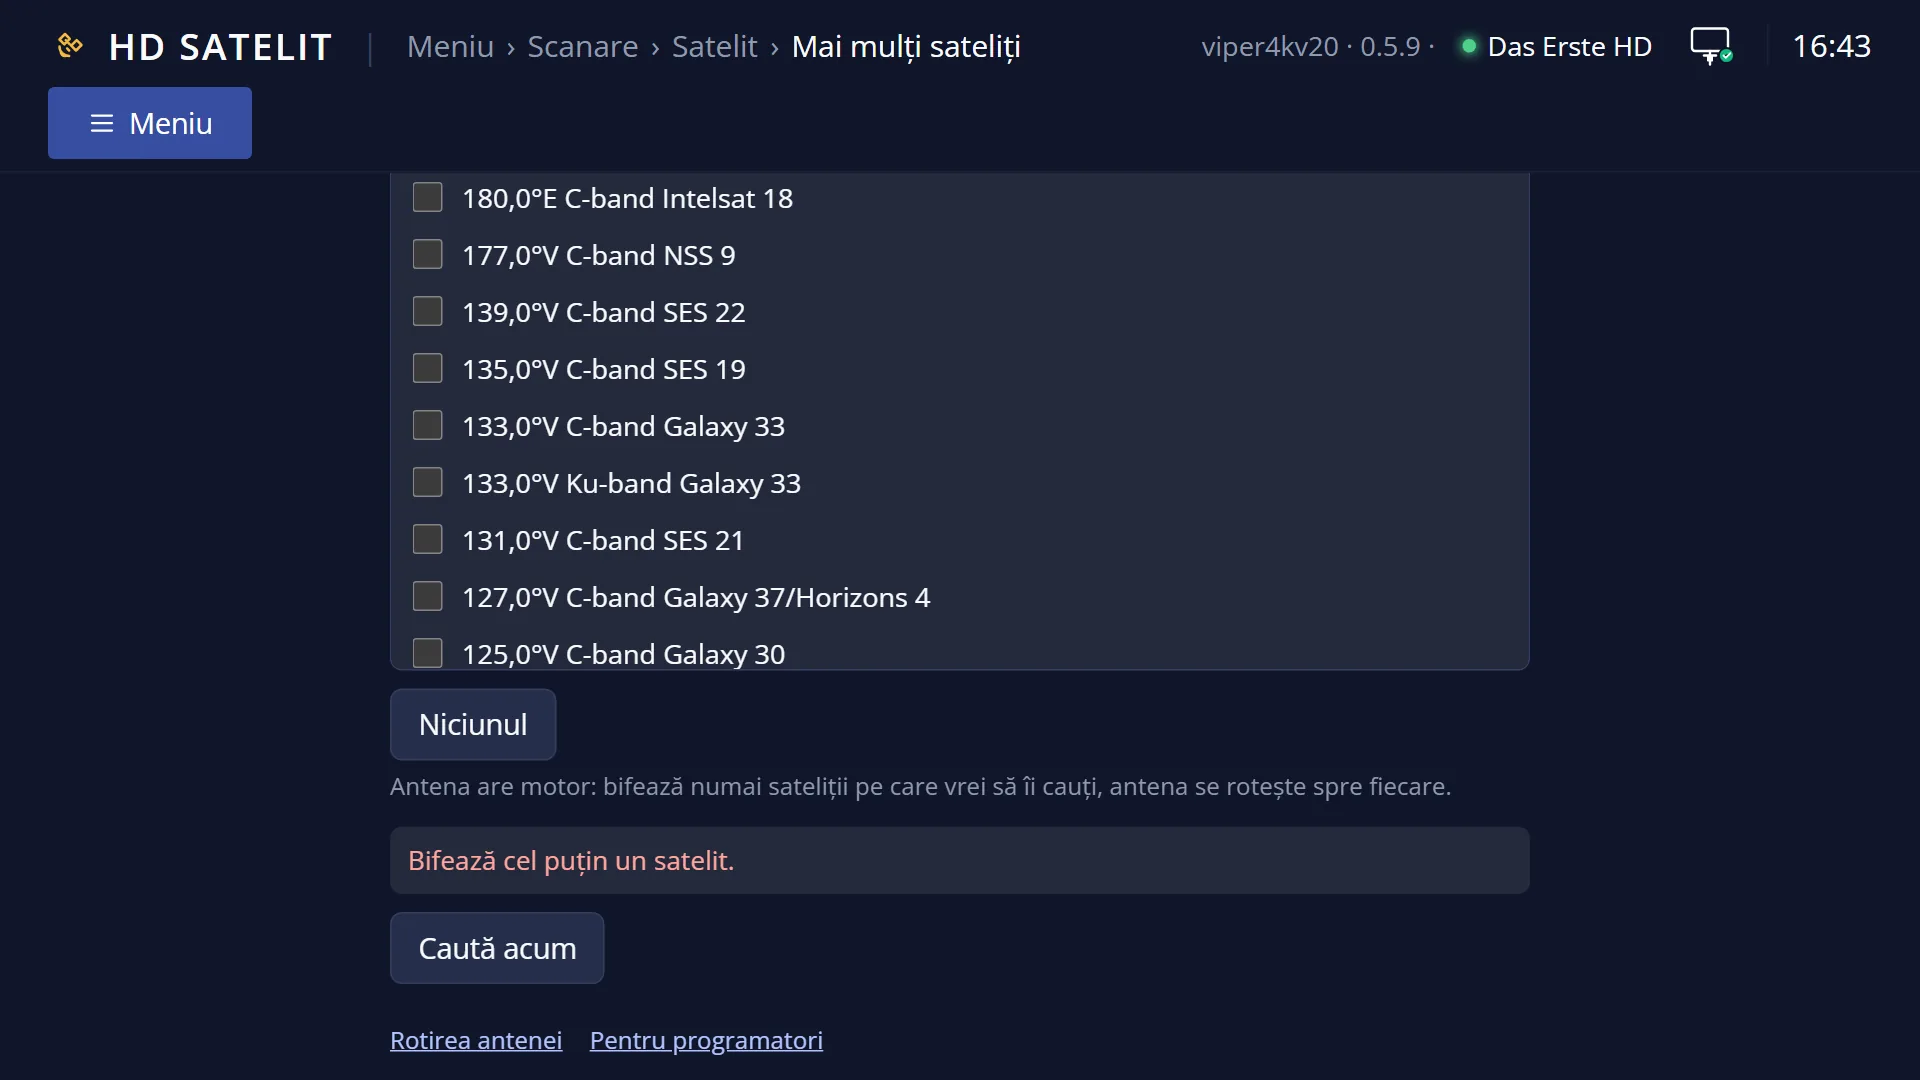
You can also start the same scan from the web interface, on the /scanare/satelit/mai-multi page, where you tick the satellites in a list.
How to get here
Path: Main menu > Channel scan > Satellite > Several satellites
Keys on the remote: MENU 1 1 3
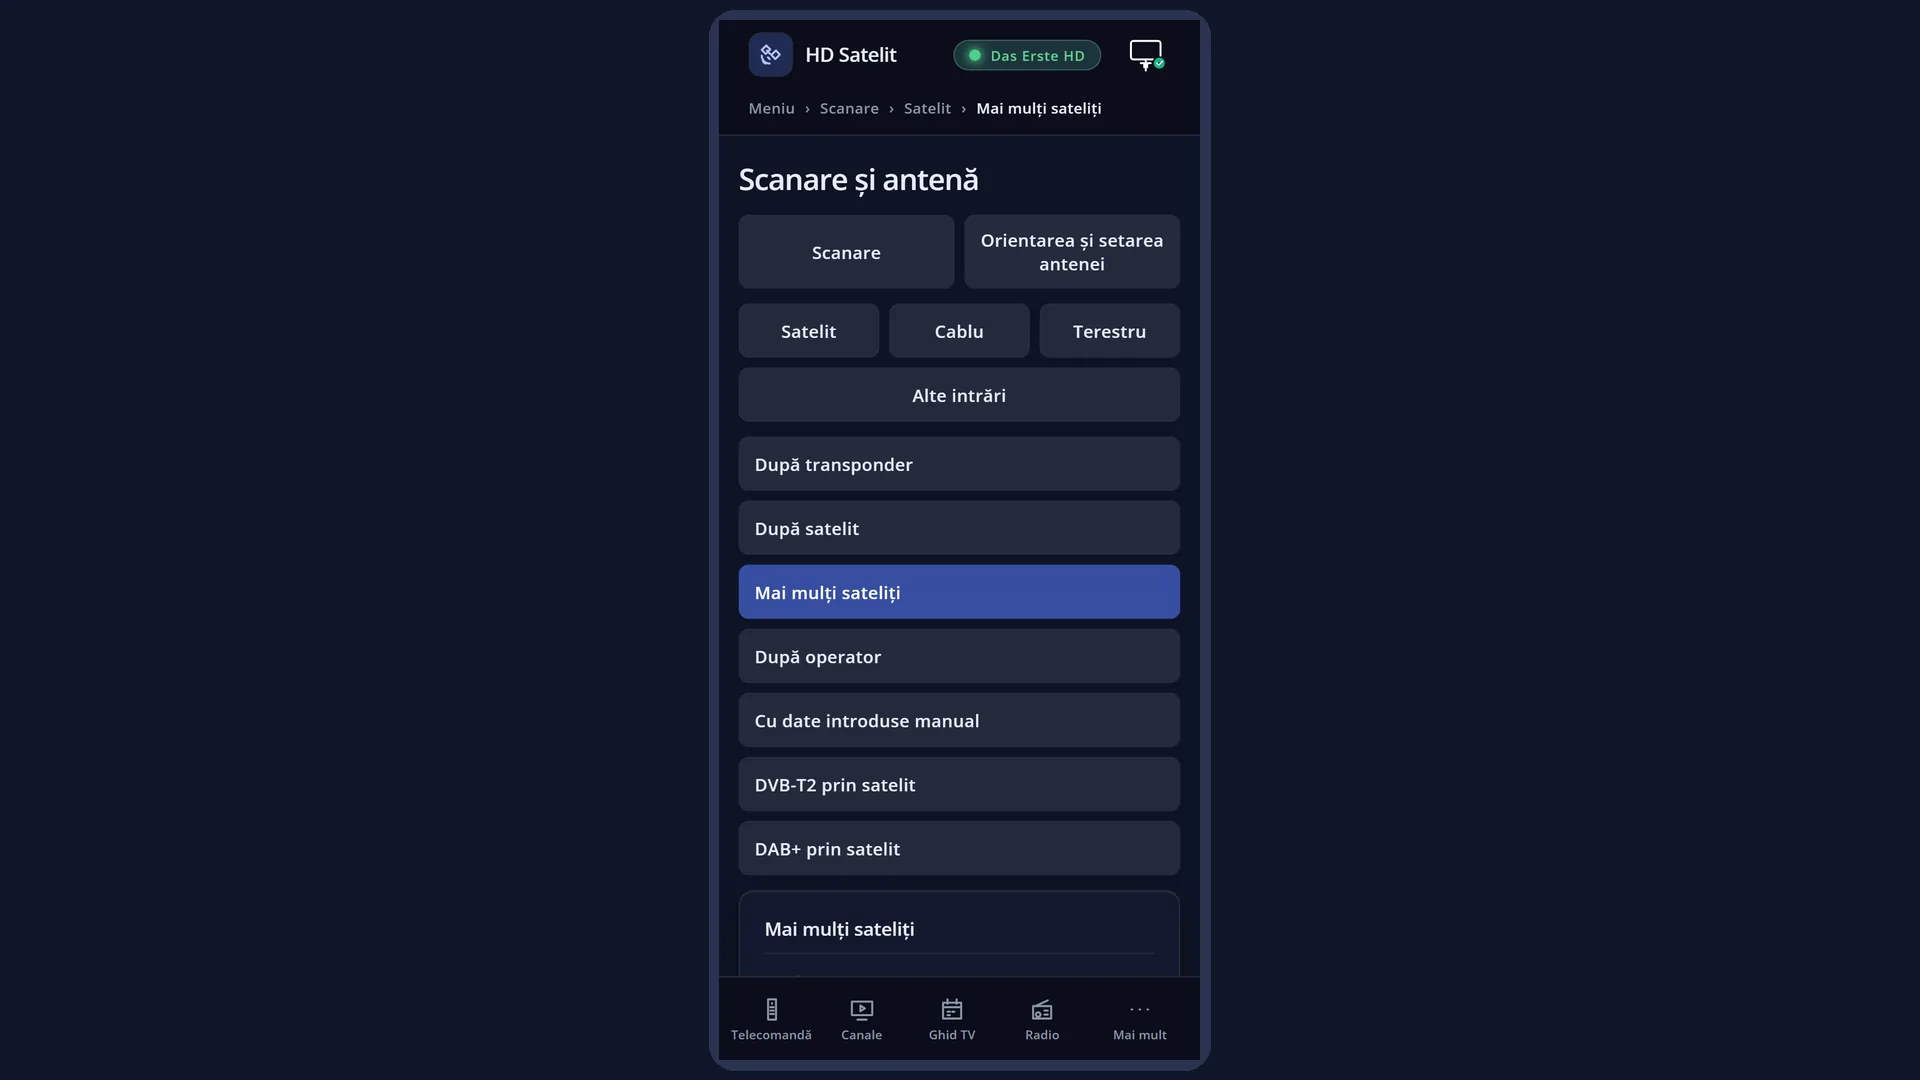
In the web interface: the /scanare/satelit/mai-multi page (the “Channel scan” tab, the “Satellite” group, the “Several satellites” button).
What you see on the screen
At the top: the title “Several satellites”, the time and the date.
The list of rows: “Tuner” (for example “Tuner A: DVB-S2 NIM (DVB-S2)”), “Type of scan”, then one row per satellite with its position and name (for example “19.2°E Astra 1N/1P”; W means west), and at the end “Network scan”, “Clear before scan” and “Only Free scan”. Nine rows fit on a page. A bar on the right shows where you are in the list.
To the right of each satellite you see “disable” (not included in the scan) or “enable” (included). When the screen opens, they are all on “disable”, unless you choose “All the dish's satellites, ticked”.
Below the list is the hint: “Tick the satellites to search with Left or Right, then press OK.”. If no satellite tuner is set up, it says “No satellite tuner configured. Set up the dish in “Tuner settings”.”.
At the bottom, the keys: RED “Back” and GREEN “Search now”.
Once the scan starts, the “Service scan” screen opens. It shows the satellite and transponder being tried now, the progress bar, “Time left”, “Transponders: x of y”, then the summary with “Channels found”, how many are new, “Transponders scanned”, how many had “no signal” and “Duration”.
Rows and settings
| Row | Values | Default | What it does |
|---|---|---|---|
| Tuner | the satellite tuners set up in Tuner settings | the first satellite tuner | The tuner used for the scan. Only the satellite tuners set up in Tuner settings appear (not the “not configured” ones). Changing the tuner rebuilds the list of satellites. Only on receivers with several satellite tuners connected to different dishes. |
| Type of scan | I tick the satellites myself, All the dish's satellites, ticked (only without a motor) | I tick the satellites myself | “I tick the satellites myself”: all satellites start unticked and you choose them. “All the dish's satellites, ticked”: they all start ticked and you untick the ones you do not want. With a motor, the second choice is not available. When your fixed dish receives a few satellites (through DiSEqC) and you want all their channels. |
| A satellite (for example “19.2°E Astra 1N/1P”) | disable, enable | disable | “enable”: the satellite is included in the scan, with all its transponders from the receiver's list. “disable”: it is left out. For each satellite you want to scan. |
| Network scan | yes, no | yes | “yes”: besides the known transponders, the receiver also adds the transponders the network announces in the signal (new ones it does not know yet). “no”: only the transponders in the receiver's list. Leave it on “yes”. Set “no” only for a shorter scan. |
| Clear before scan | no, yes, yes (keep feeds) | no | “no”: the channels found are added to the list and the existing ones stay. “yes”: first all channels of the ticked satellites are deleted, then the ones found now are added, so only the channels still broadcasting remain. “yes (keep feeds)”: the same, but some channels found earlier on transponders with their own numbering (usually occasional feeds) stay. Set “yes” when the list for the ticked satellites has filled up with channels that no longer exist. |
| Only Free scan | no, yes | no | “yes”: only free-to-view channels go into the list. “no”: all channels found go in. When you want a shorter list, with only channels you can watch without anything extra. |
Keys
| UP / DOWN | Moves the cursor to the row above or below. |
| CH+ / CH- | Jump one page up or down in the list. This gets you quickly to a satellite or to the last three rows. |
| LEFT / RIGHT | Changes the value of the selected row: ticks or unticks a satellite (“enable” / “disable”), changes the tuner, the type of scan or the other choices. |
| OK or GREEN | Starts the scan on the ticked satellites, from any row (the screen shows “Search now”). |
| RED or EXIT | Closes the screen without scanning (the screen shows “Back”). The ticks are lost. |
| EXIT (on the “Service scan” screen) | During the scan, it stops it without writing the channels to the list and without deleting anything. After the scan ends, it closes the result (OK does the same). |
Step by step
Scanning two satellites of a dish with a DiSEqC switch
- Press MENU 1 1 3.
- Use DOWN to go to the first satellite you want and press RIGHT: it shows “enable”. Do the same for the second one.
- Without a motor, you can simply set “Type of scan” to “All the dish's satellites, ticked”.
- Press OK or GREEN and let the scan finish.
Cleaning up the channels of some satellites
- Tick the satellites, as above.
- Use CH- to go to the end of the list and set “Clear before scan” to “yes”.
- Press OK. At the end of the scan, the old channels of the ticked satellites are replaced with the ones found now.
Ticking the satellites from your phone
- Open the receiver's web interface and go to /scanare/satelit/mai-multi.
- Tick the satellites in the “Satellites” list (without a motor you also have “Tick all”; “None” unticks them all). The preview tells you how many transponders will be scanned.
- Press “Search now”. From the page, the scan always includes the network scan and never clears anything.
Problems and solutions
You see “No satellite is ticked. Tick the satellites to search with Left or Right, then press OK.”
No satellite is on “enable”. Go to a satellite with UP or DOWN and press RIGHT, then OK.
Below the list it says “No satellite tuner configured. Set up the dish in “Tuner settings”.”
Open Menu > Dish alignment and setup > Tuner settings (MENU 2 1), tell the receiver how the dish is connected and which satellites it receives, then come back.
You see “The ticked satellites have … transponders in the receiver's list, but none with parameters the tuner accepts (…).”
The chosen satellites only have transponders this tuner cannot receive. Choose other satellites, or search for a specific transponder with “Enter data manually” (MENU 1 1 5).
The list has over 200 satellites and I cannot find mine.
Your dish has a motor, so the list has every known satellite, in order of position, starting from 180°E (W means west). Use CH+ and CH- to jump one page at a time. Or search the satellite with “By satellite” (MENU 1 1 2).
On the web page you see “The dish location is not set, so the motor does not know where to turn the dish. …”
With a motor, the receiver needs to know where the dish is. Choose the location in Menu > Dish alignment and setup > Dish location (MENU 2 4), then try again.
The scan takes a long time.
Each ticked satellite has dozens of transponders. Tick only the satellites you need. Setting “Network scan” to “no” makes it a little shorter.
After the scan I have old channels that no longer work.
Run the scan again with “Clear before scan” set to “yes”: the channels of the ticked satellites are replaced with the ones found.
Related topics
- Satellite, all types of scan
- By satellite
- Tuner settings (the dish's satellites, DiSEqC, motor)
- Dish location (for a motor)
- Dish rotation
- Matching web page: /scanare/satelit/mai-multi.
Differences between receivers
The Amiko Viper 4K V20 has a single satellite tuner (tuner A), so the “Tuner” row has only one value.