

Default channel lists
English screenshots coming: some of the pictures below still show the receiver and the web interface in Romanian. The rows, keys and steps described on this page are the English ones.
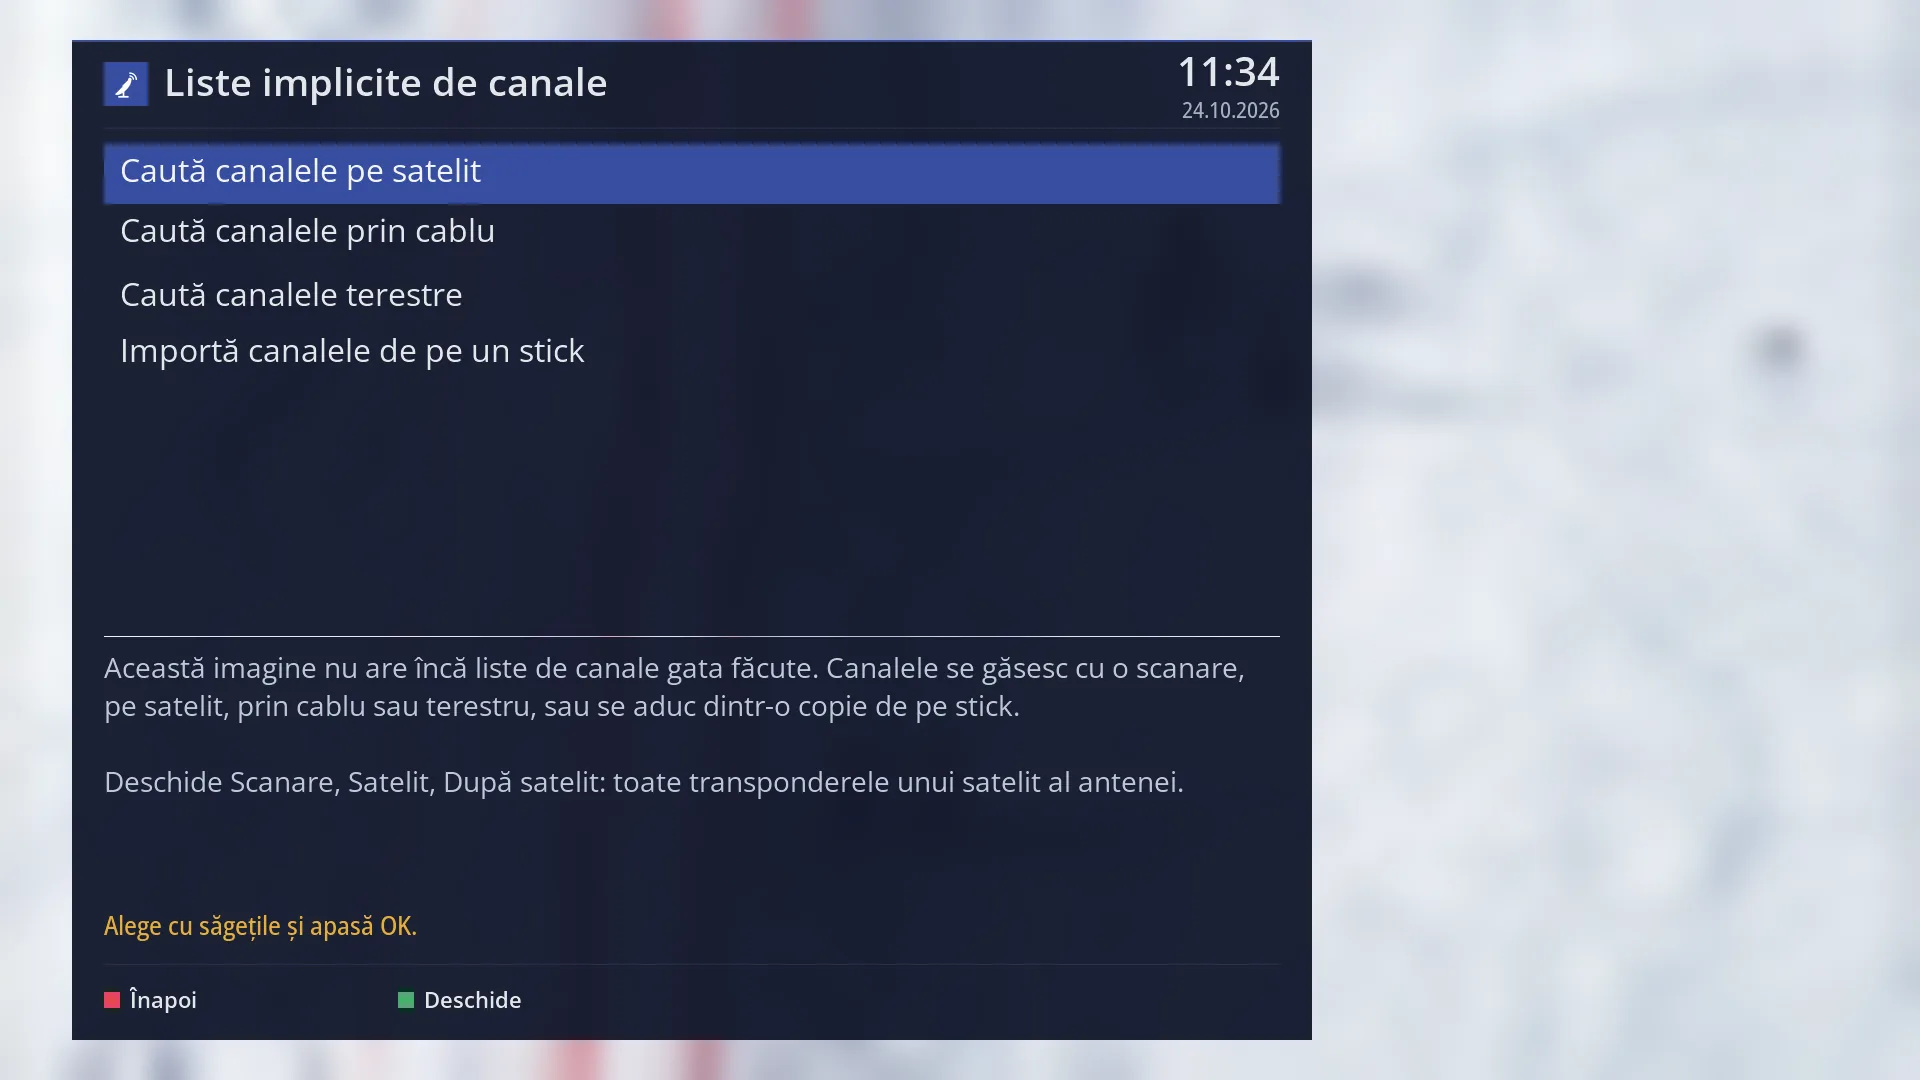
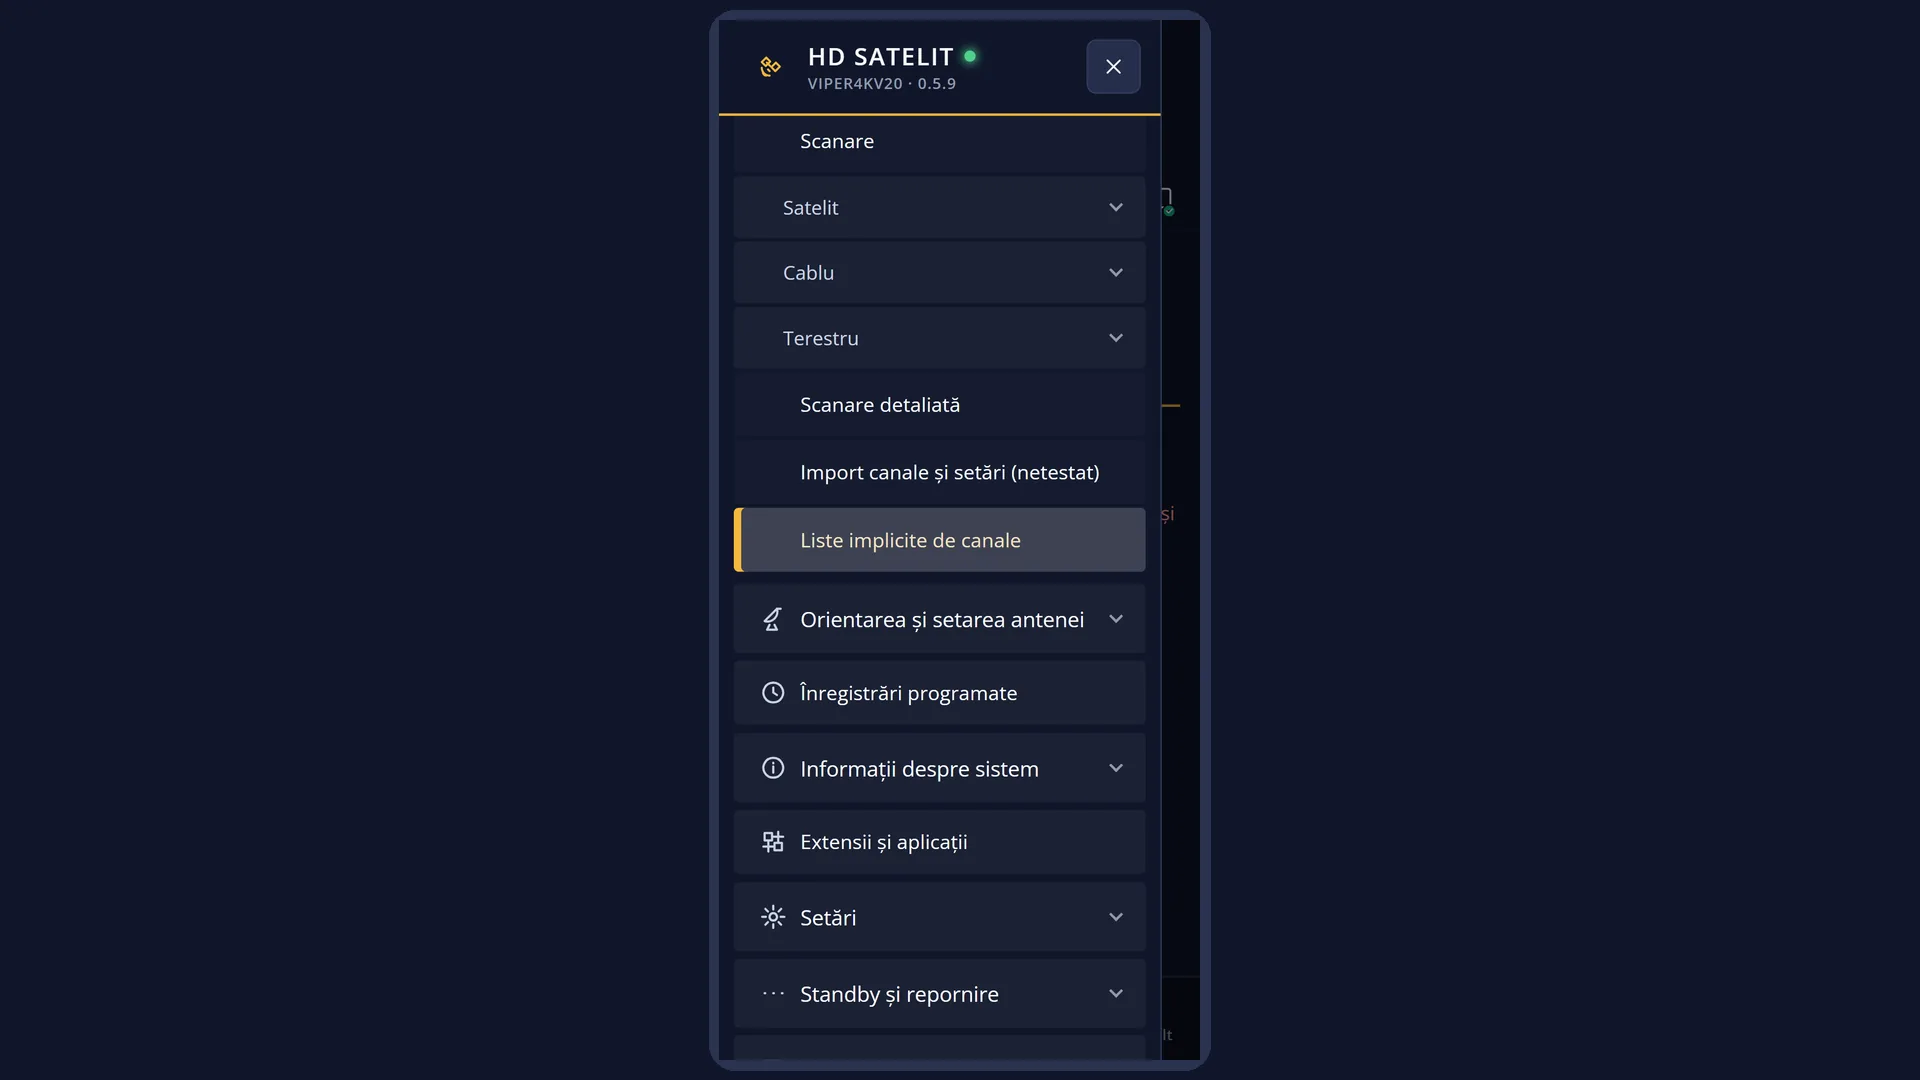
- 1 Satellite, cable or terrestrial scan (only for the receiver's tuners).
- 2 Import from a copy on a USB stick.
- 3 What the image has and what the selected row opens.
- 4 RED back, GREEN open.
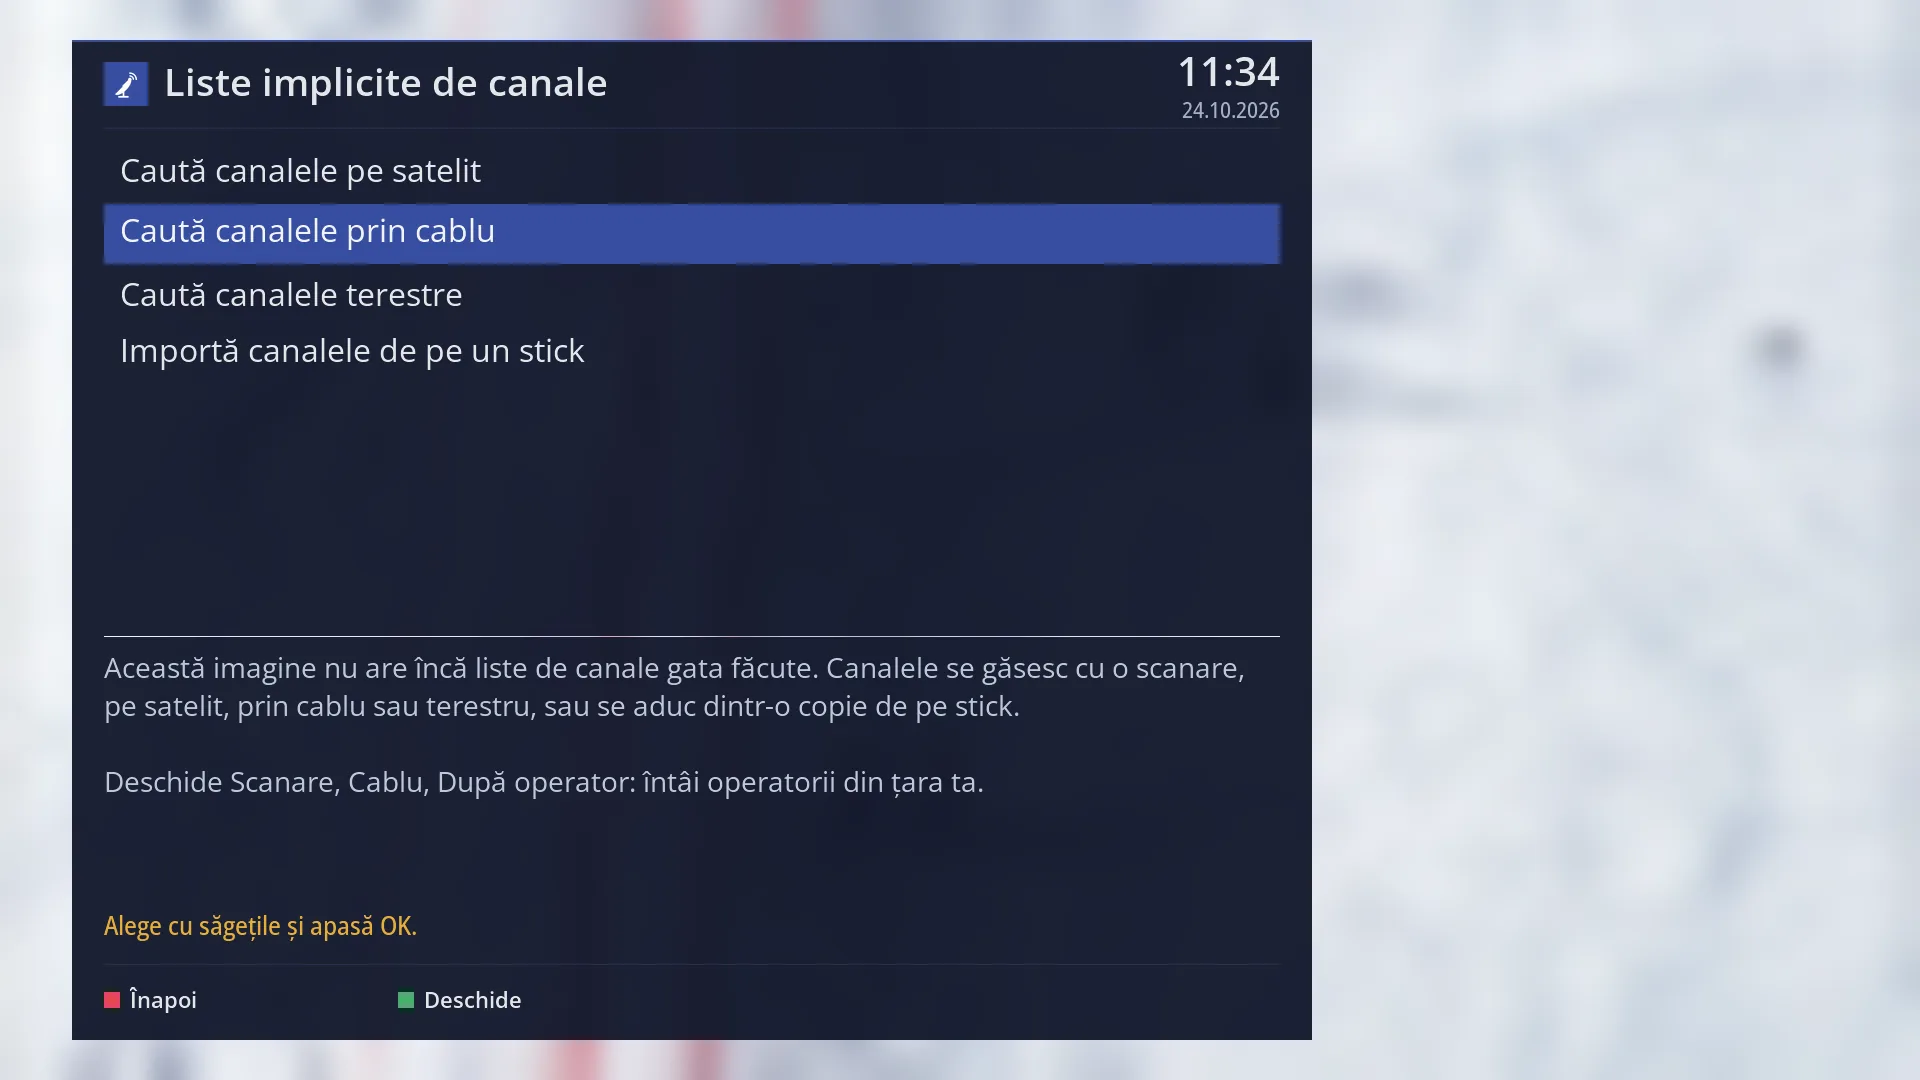
- 1 The selected row: “Search for cable channels”.
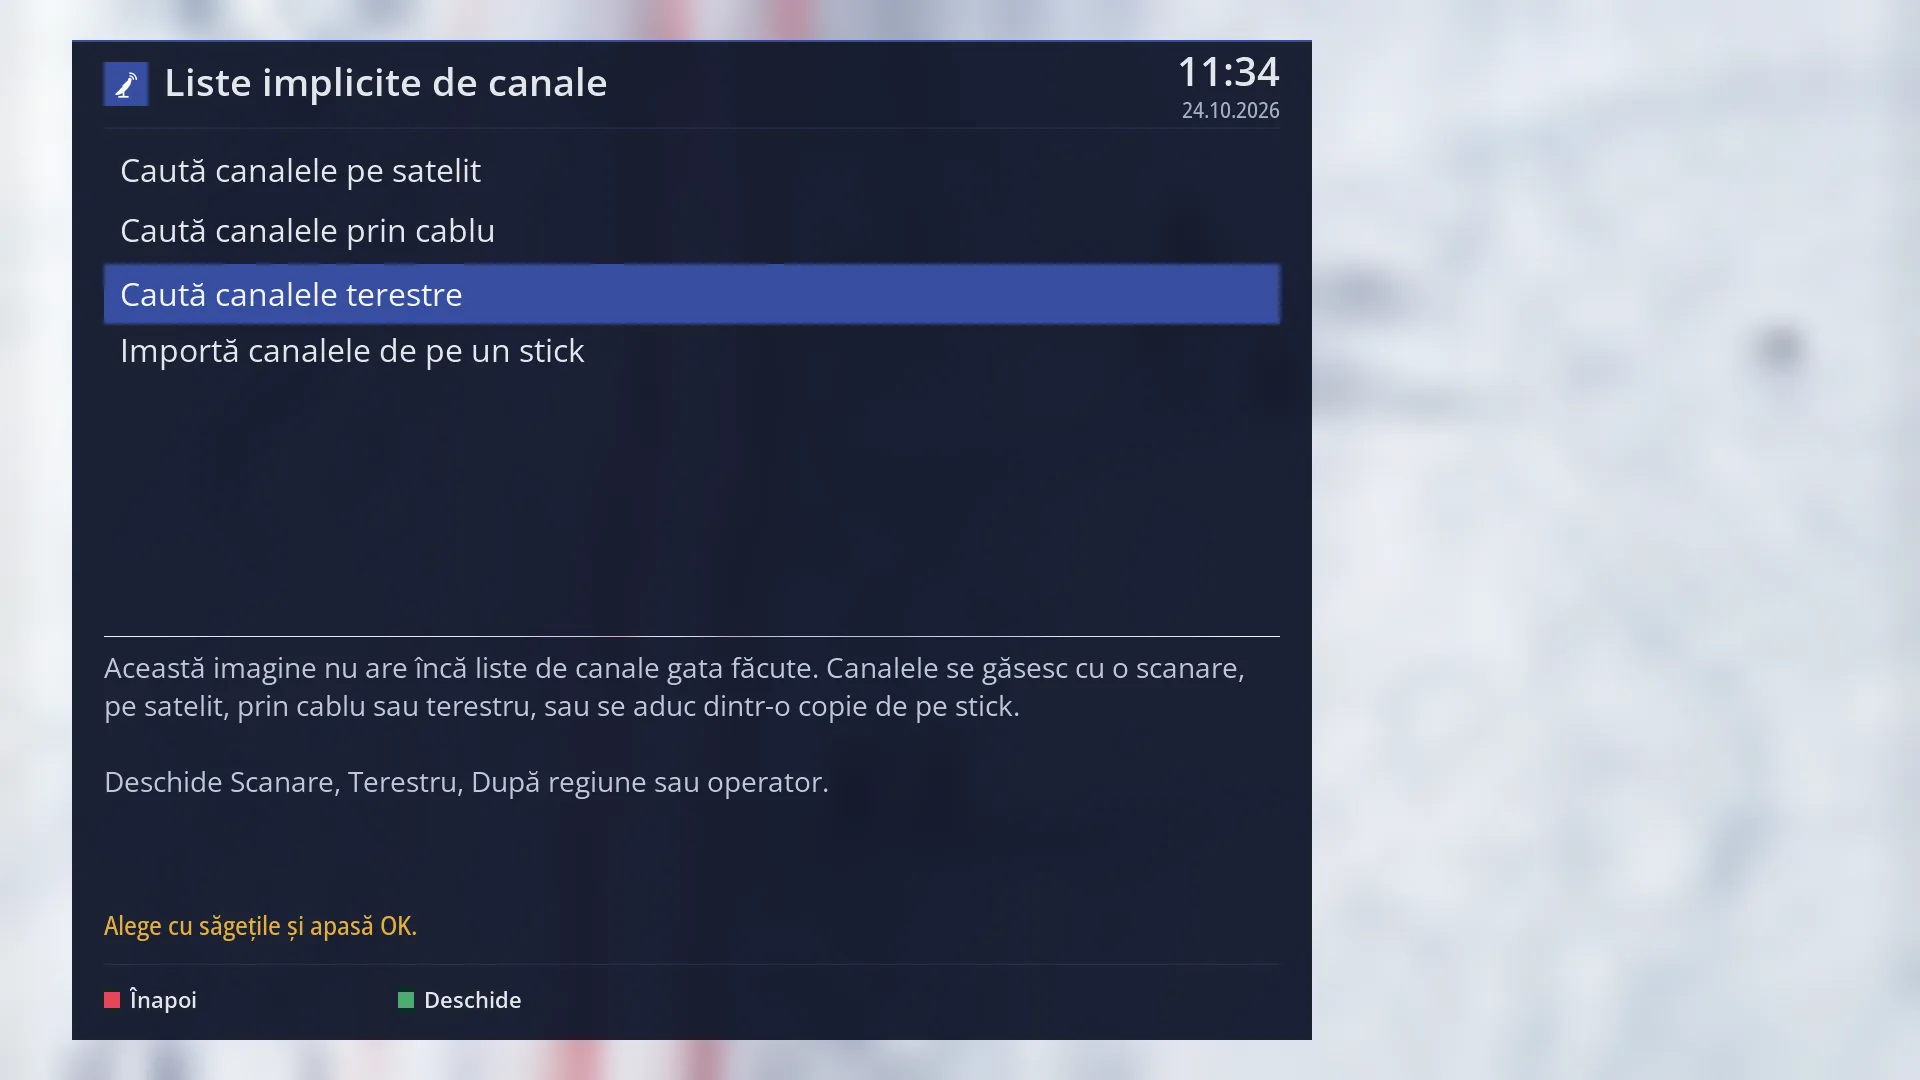
- 1 The selected row: “Search for terrestrial channels”.
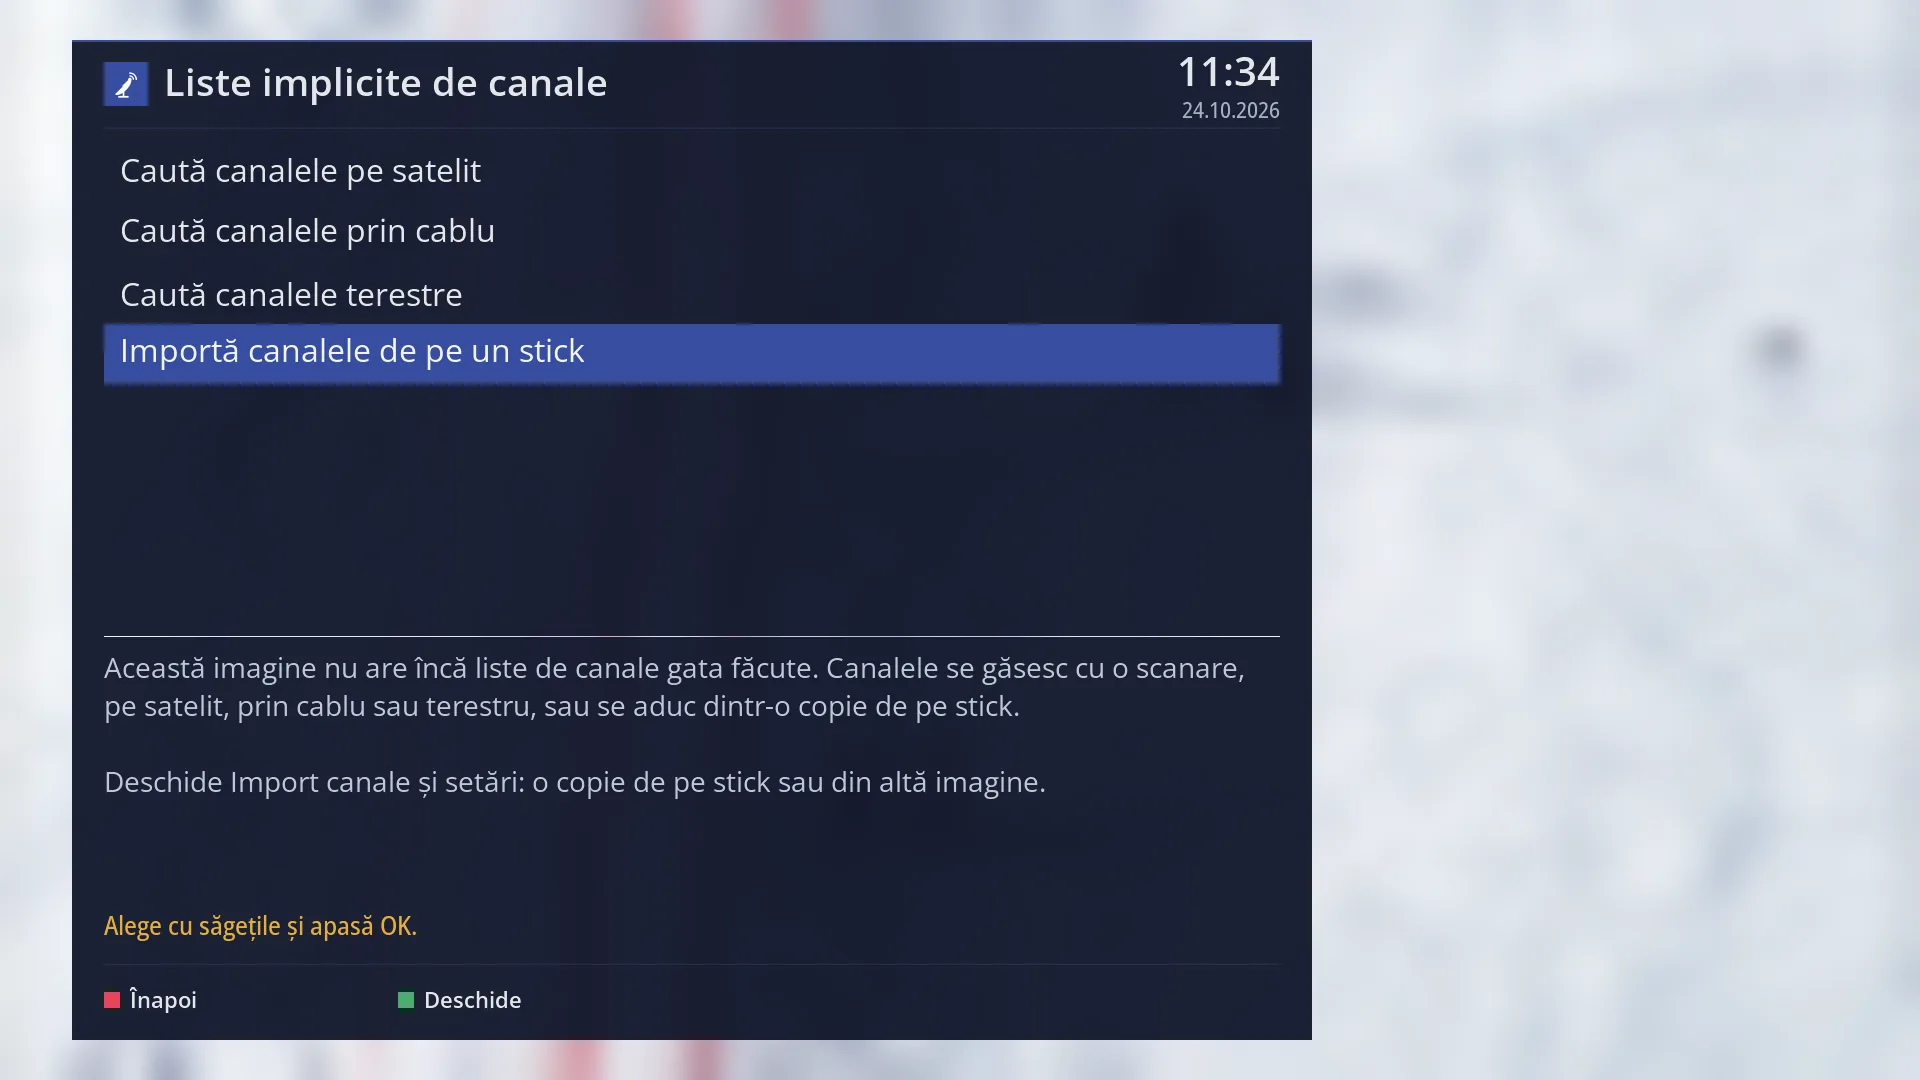
- 1 Import from a copy on a USB stick.
- 2 What opens: Import channels and settings.
What it is for
“Default channel lists” is where you start when the receiver does not have a channel list yet. It shows, row by row, all the ways to get a list: a satellite scan, a cable scan, a terrestrial aerial scan and an import from a copy on a USB stick.
The image does not have ready-made channel lists yet, so the screen says this clearly and takes you straight to the right type of search. If a future version brings ready-made lists, the row “Install the lists from the image” also appears at the top.
Scans only appear for the tuners your receiver has: without a cable tuner, for example, the cable row is missing. The import always appears.
The menu row is only visible when “Setup Mode” (OSD Preferences) is set to Intermediate (the factory setting) or Expert.
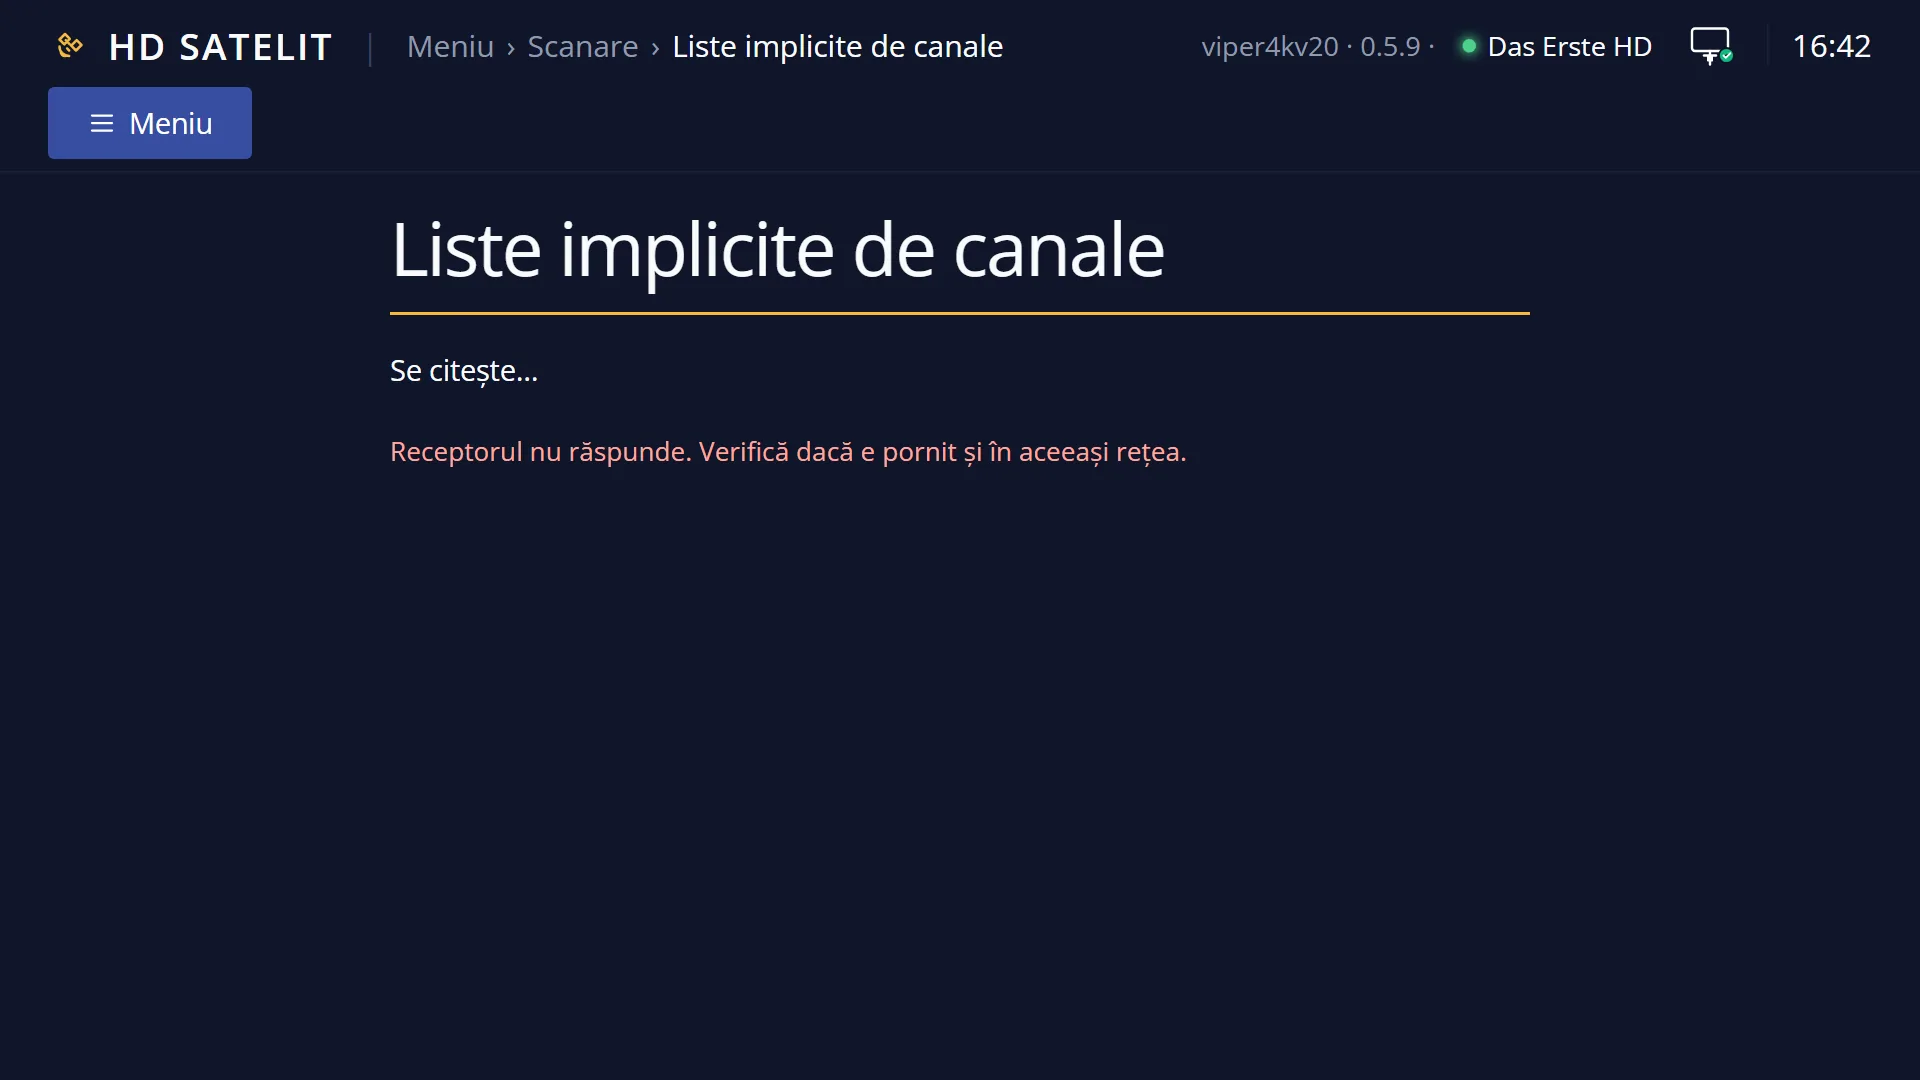
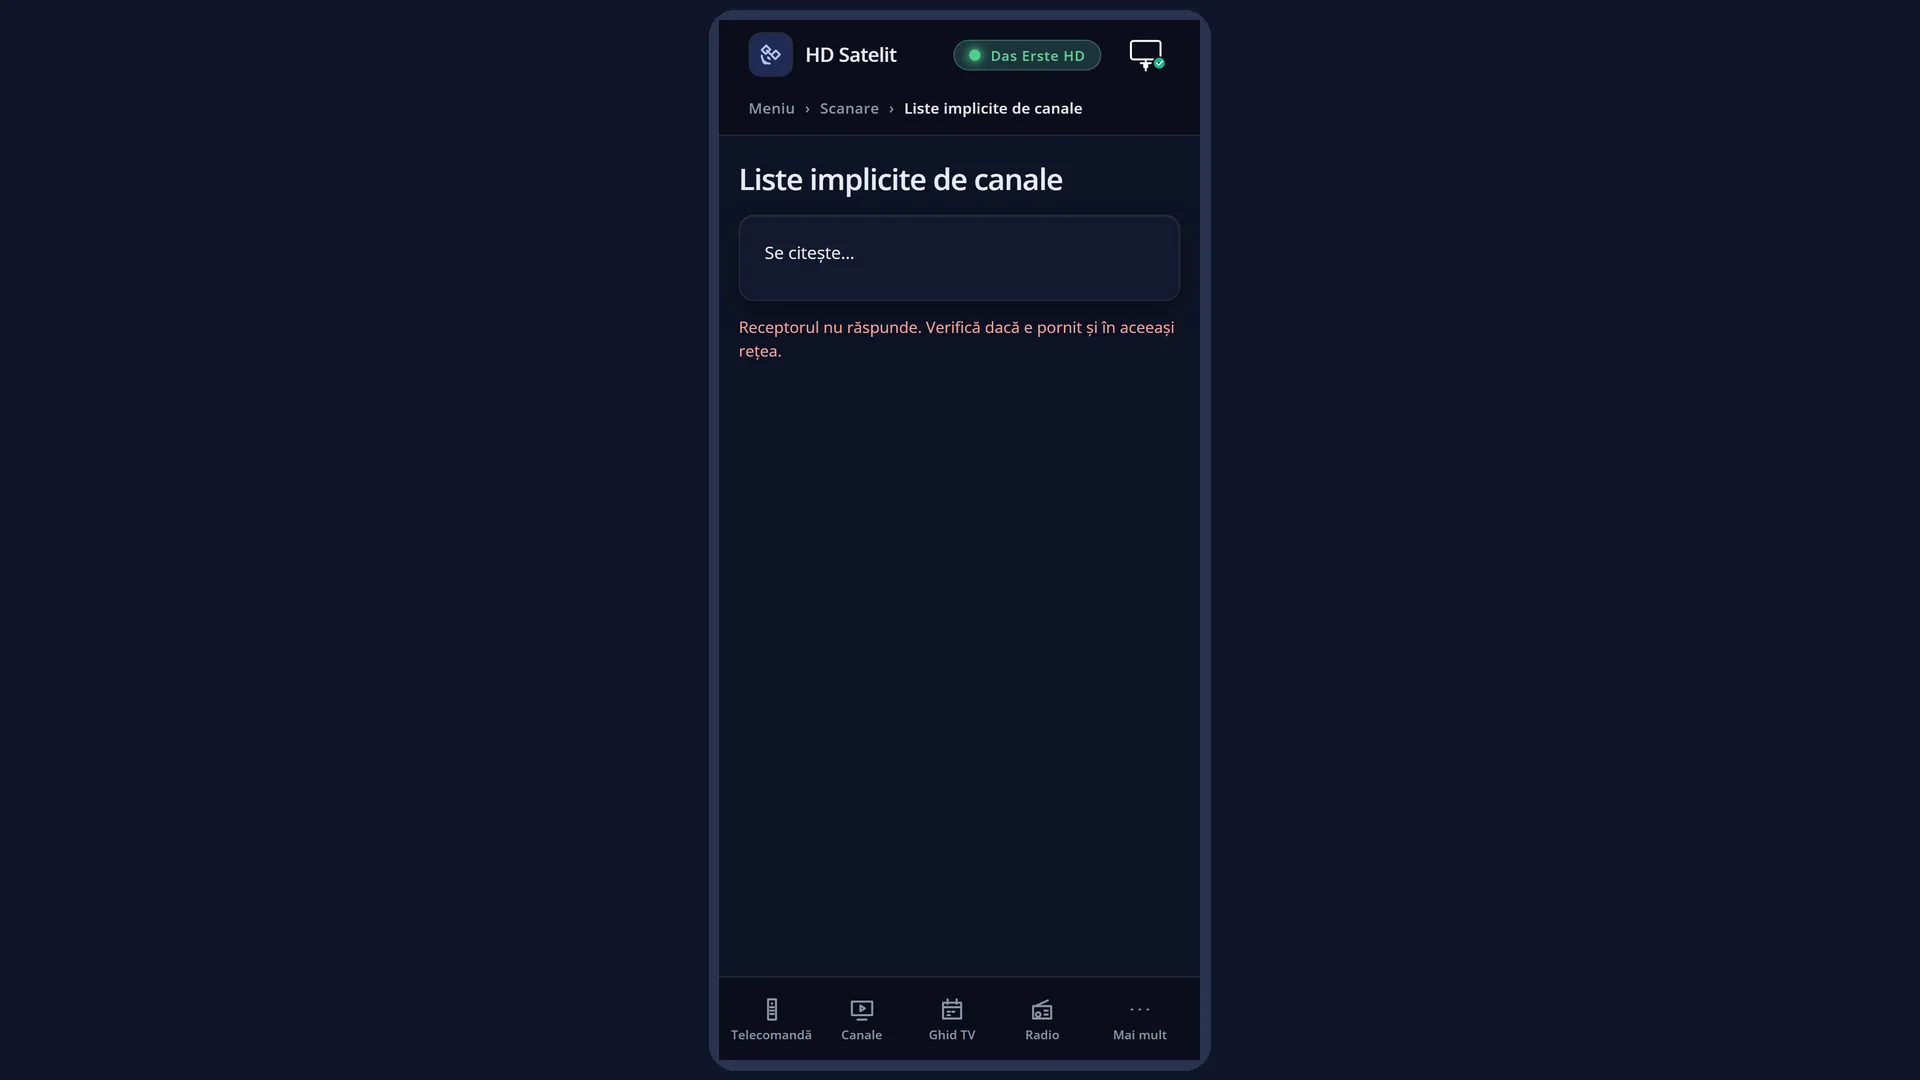
The same options are in the web interface, on the /liste-implicite page, each as a link to the web page for that search.
How to get here
Path: Main menu > Channel scan > Default channel lists
Keys on the remote: MENU 1 6
In the web interface: the /liste-implicite page.
What you see on the screen
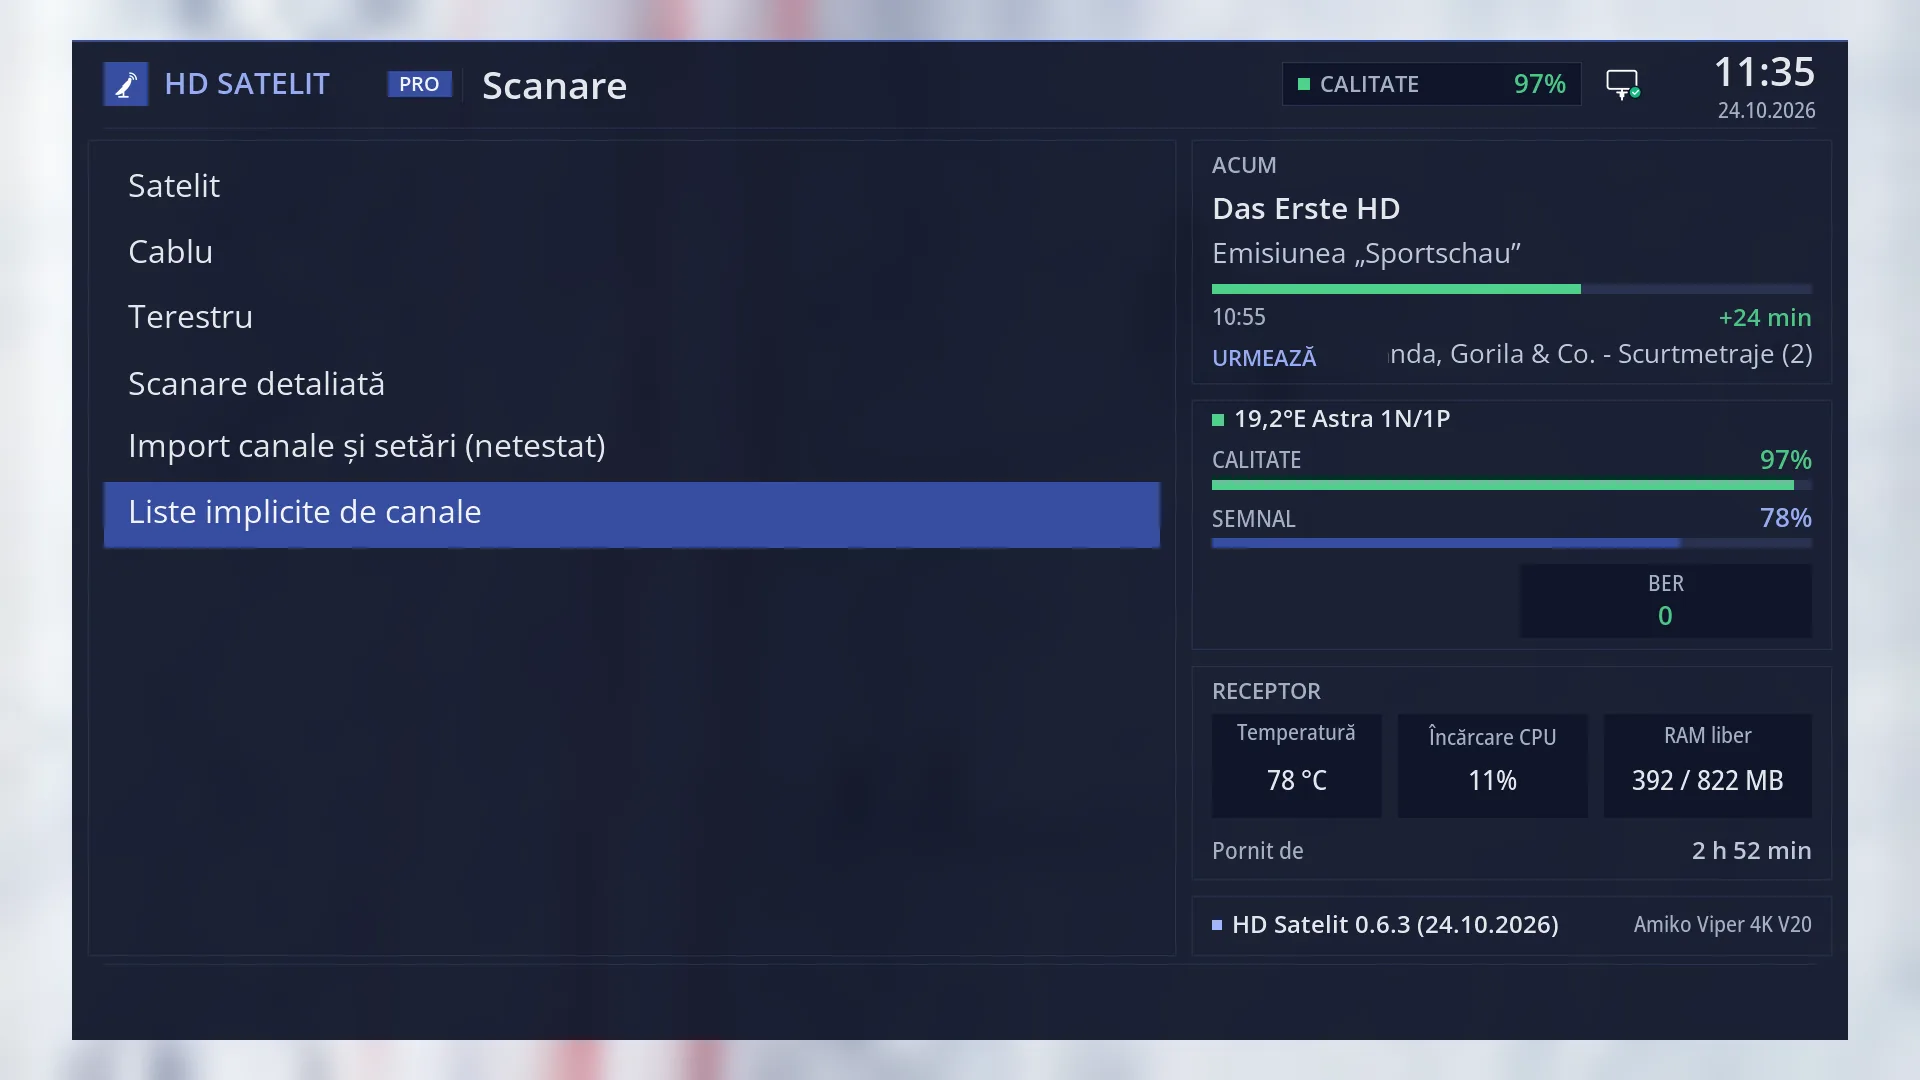
At the top, the title “Default channel lists”, the time and the date.
The list of rows: “Search for satellite channels”, “Search for cable channels”, “Search for terrestrial channels” and “Import channels from a USB stick” (scans only for the receiver's tuners). The selected row has a blue background.
Below the list, the introductory text: “This image does not have ready-made channel lists yet. Channels are found with a scan, by satellite, cable or terrestrial, or brought in from a copy on a USB stick.”, and underneath it the explanation of the selected row, for example “Opens Scan, Satellite, By satellite: all transponders of one satellite of the antenna.”.
Below that, in yellow, “Choose with the arrows and press OK.”.
At the bottom, the keys: RED “Back” and GREEN “Open”.
Rows and settings
| Row | Values | Default | What it does |
|---|---|---|---|
| Search for satellite channels | Opens the “By satellite” search: all transponders of one satellite on the dish. When you have a satellite dish. | ||
| Search for cable channels | Opens the cable “By provider” search: the providers in your country first. When you get your TV by cable. | ||
| Search for terrestrial channels | Opens the terrestrial “By region or provider” search. In this version only DVB-T multiplexes are found. When you have a terrestrial aerial. | ||
| Import channels from a USB stick | Opens “Import channels and settings”: a copy of the channels from a USB stick or from another image. When you have a channel list saved on a USB stick. | ||
| Install the lists from the image | Appears first only if the image has ready-made channel lists; it opens the wizard that installs them. It does not appear in this version. |
Keys
| UP / DOWN | Moves the cursor to another row; the explanation below the list changes. From the last row, DOWN goes to the first. |
| OK or GREEN | Opens the screen for the selected row (on screen: “Open”). |
| LEFT / RIGHT | They do nothing here. |
| RED or EXIT | Closes the screen and takes you back to the Channel scan menu. |
Step by step
Making your first channel list
- Press MENU 1 6.
- Choose the row that fits: satellite, cable, terrestrial or import from a USB stick.
- Press OK and follow the screen that opens; at the end, EXIT brings you back here.
The same from your phone
- Open the receiver's web interface and go to /liste-implicite.
- Tap the right link: the web page for the search or the import opens.
- Start the search or the import from there.
Problems and solutions
I cannot find the “Default channel lists” row in the Channel scan menu.
The row is only visible from the Intermediate setup mode upwards. Set Menu > Settings > Interface & Appearance > OSD Preferences > “Setup Mode” to Intermediate or Expert.
The “Search for cable channels” or “Search for terrestrial channels” row is missing.
The receiver does not have that tuner, so its search is not shown.
I expected a ready-made channel list.
This version of the image has no ready-made lists. The quickest way is a “By provider” scan (satellite or cable) or importing a copy from a USB stick.
Related topics
- Channel scan
- By satellite
- By provider (cable)
- By region or provider (terrestrial)
- Import channels and settings
- OSD Preferences (Setup Mode)
- Matching web page: /liste-implicite.
Differences between receivers
On the Amiko Viper 4K V20 all four rows are shown: the receiver has a satellite tuner and a combined cable and terrestrial tuner.