

Channel scan
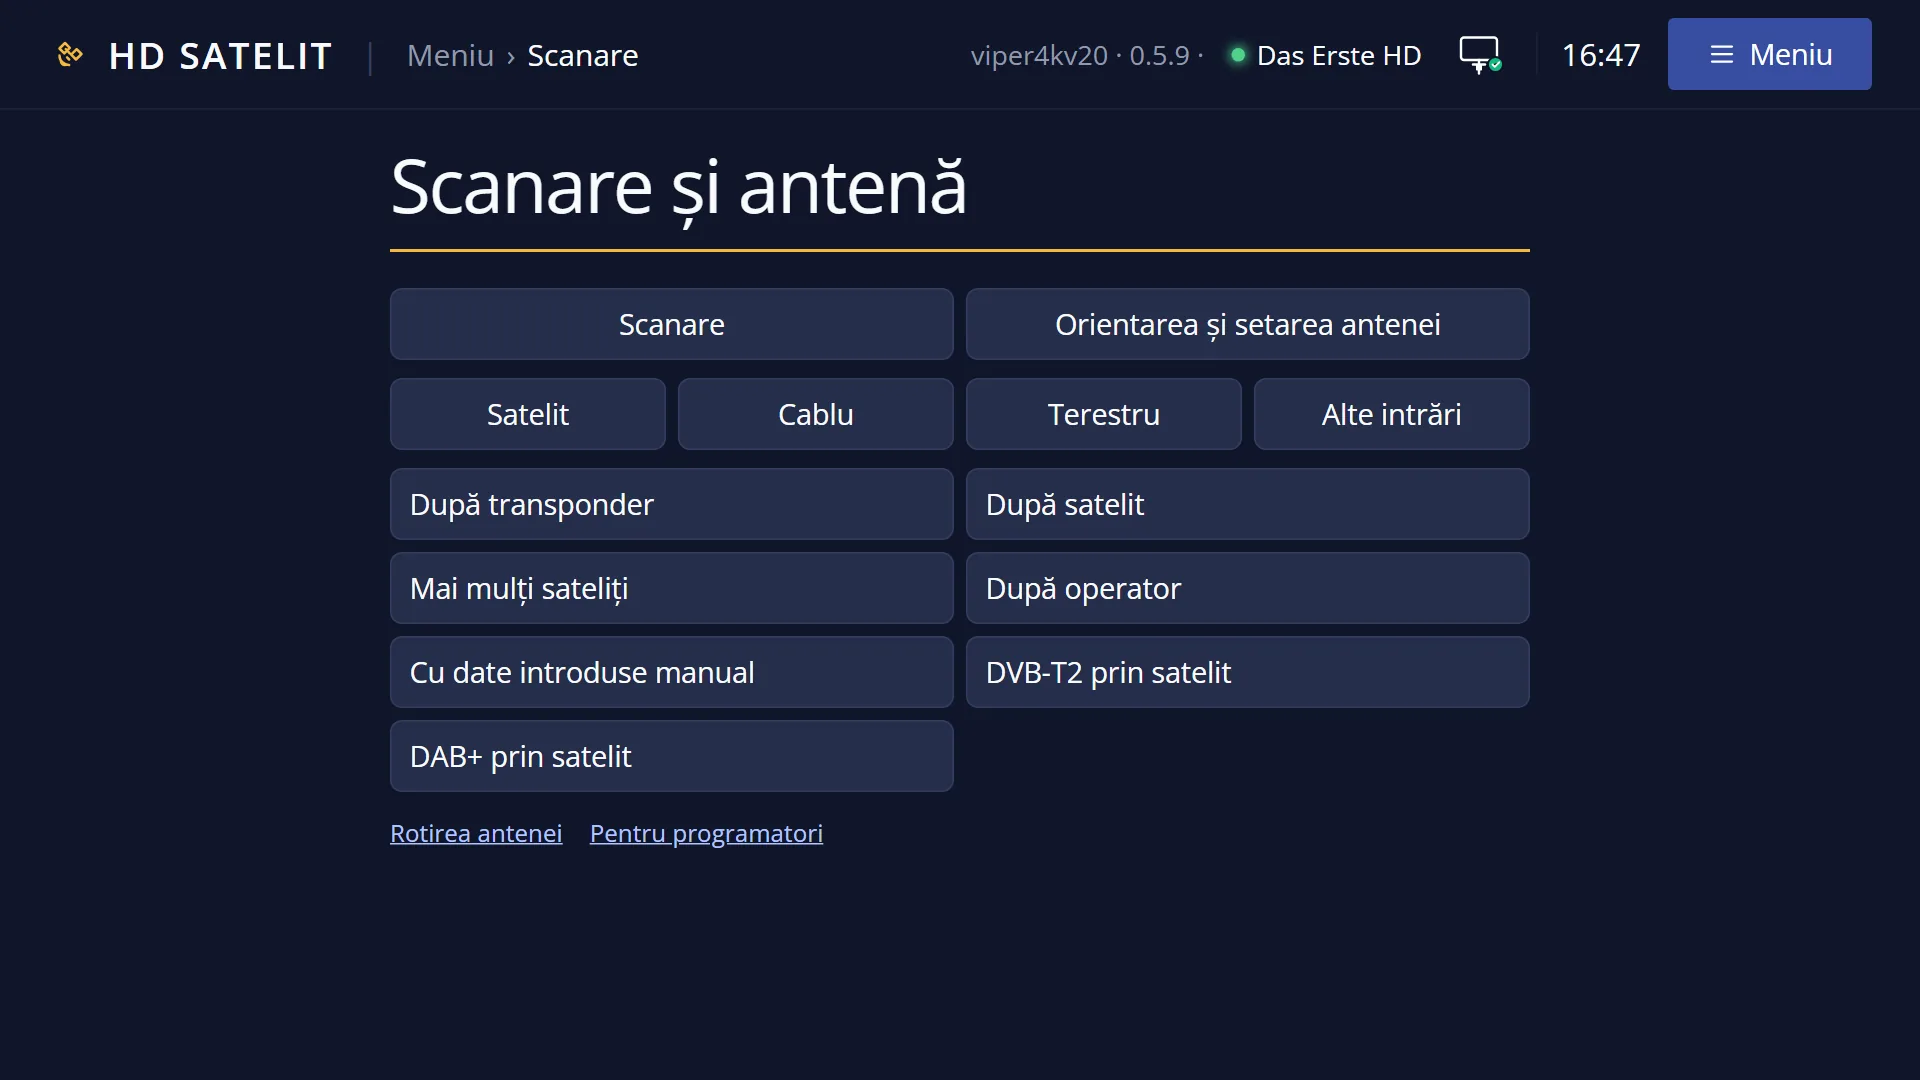
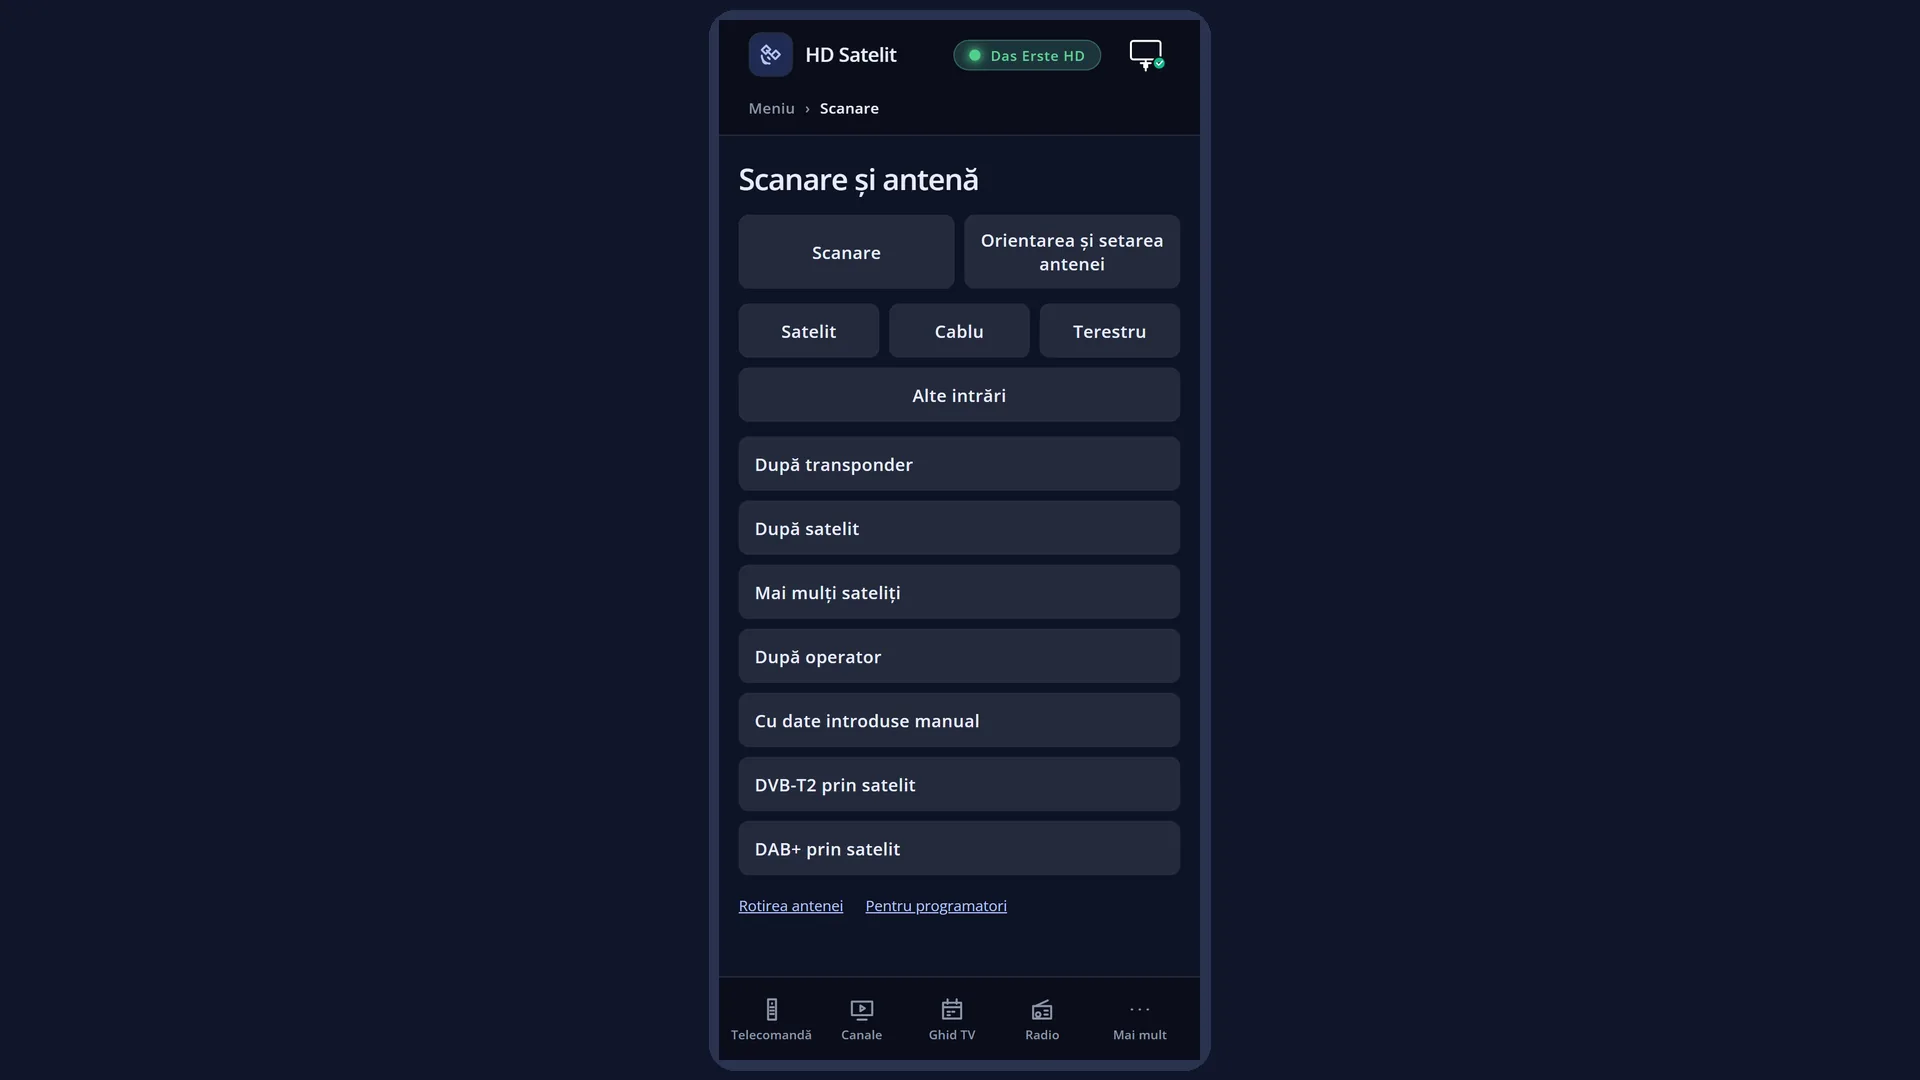
English screenshots coming: some of the pictures below still show the receiver and the web interface in Romanian. The rows, keys and steps described on this page are the English ones.
What it is for
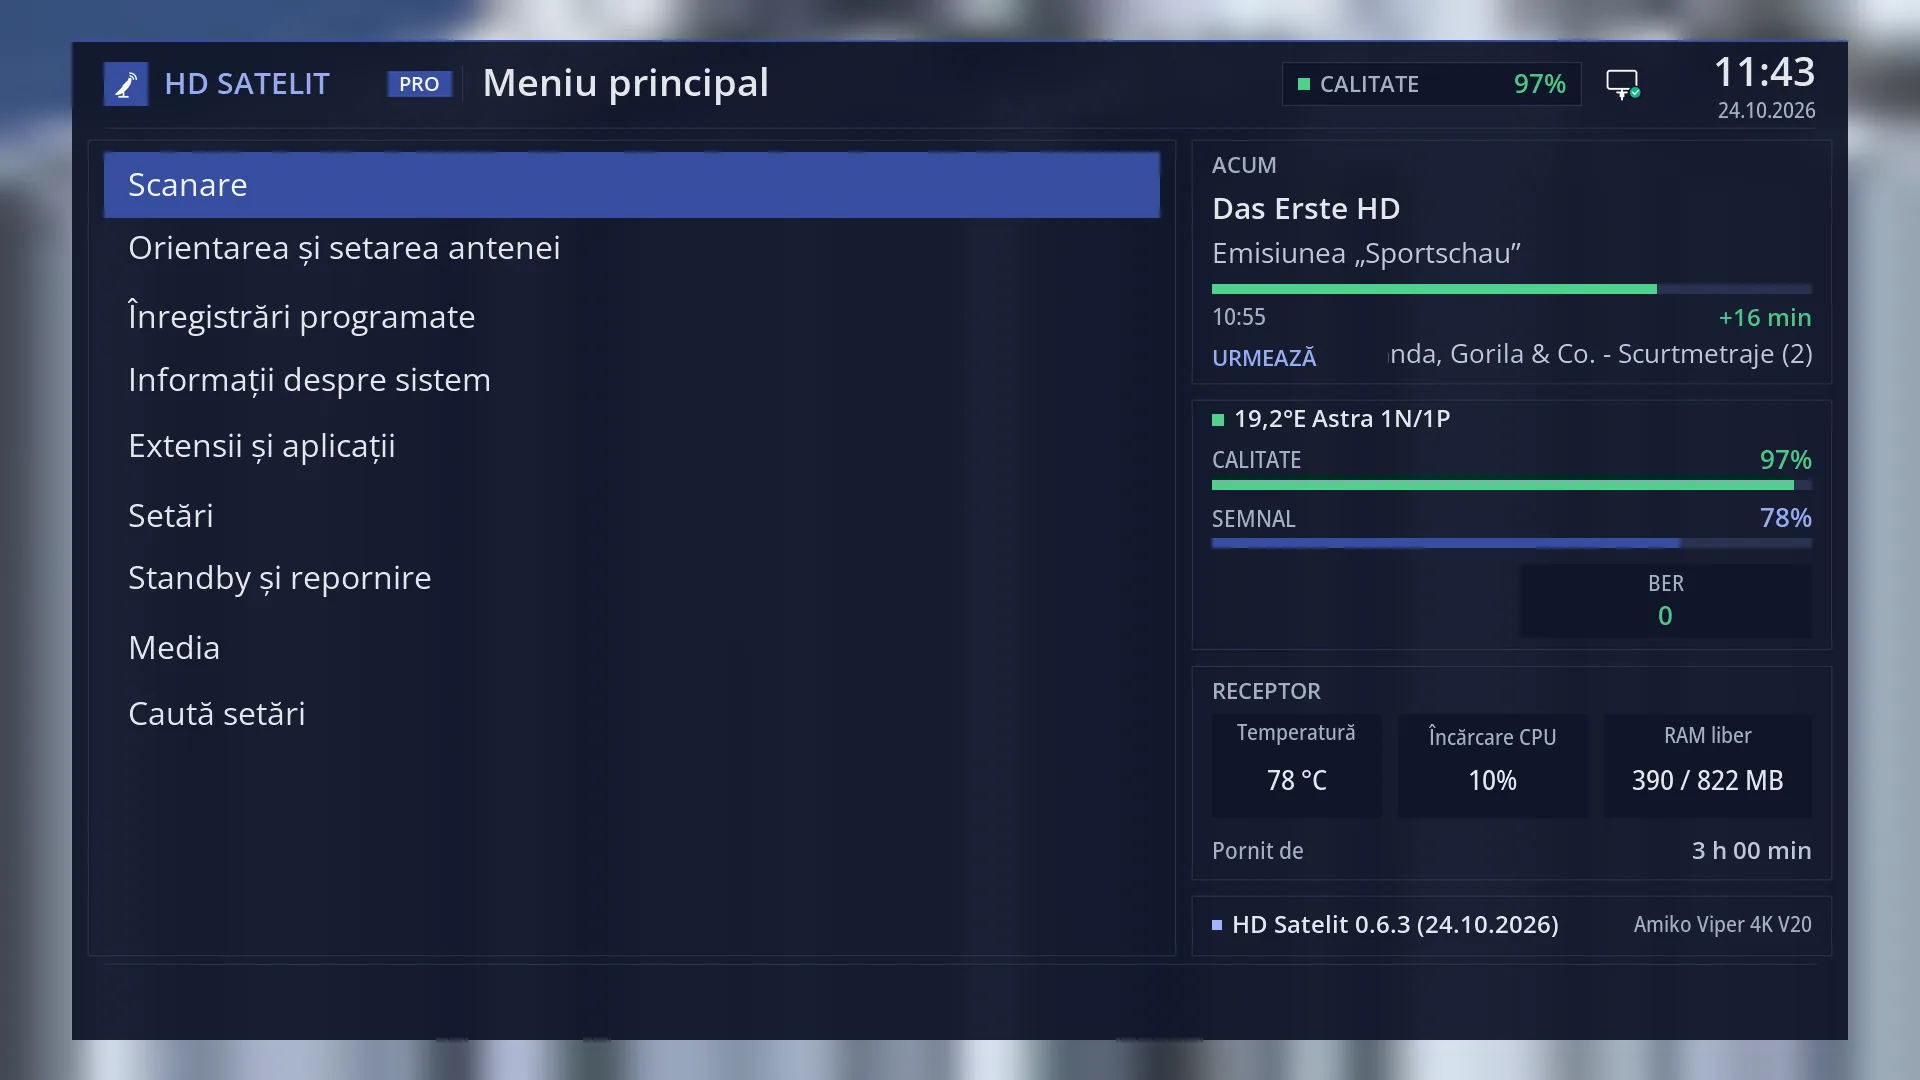
“Channel scan” is the first row in the main menu. It brings together all channel searches: by satellite, by cable and on the terrestrial aerial. It also includes the detailed scan of channels already found and loading channels from a copy on a USB stick.
Start here when you first set up the receiver, after you have moved or adjusted the dish, or when a channel has changed its frequency and no longer works.
Each type of search has its own screen with its own rows, but they all have the same layout: your choices at the top, what will be searched and how long it takes below the list, and the keys at the bottom. You start the search with GREEN.
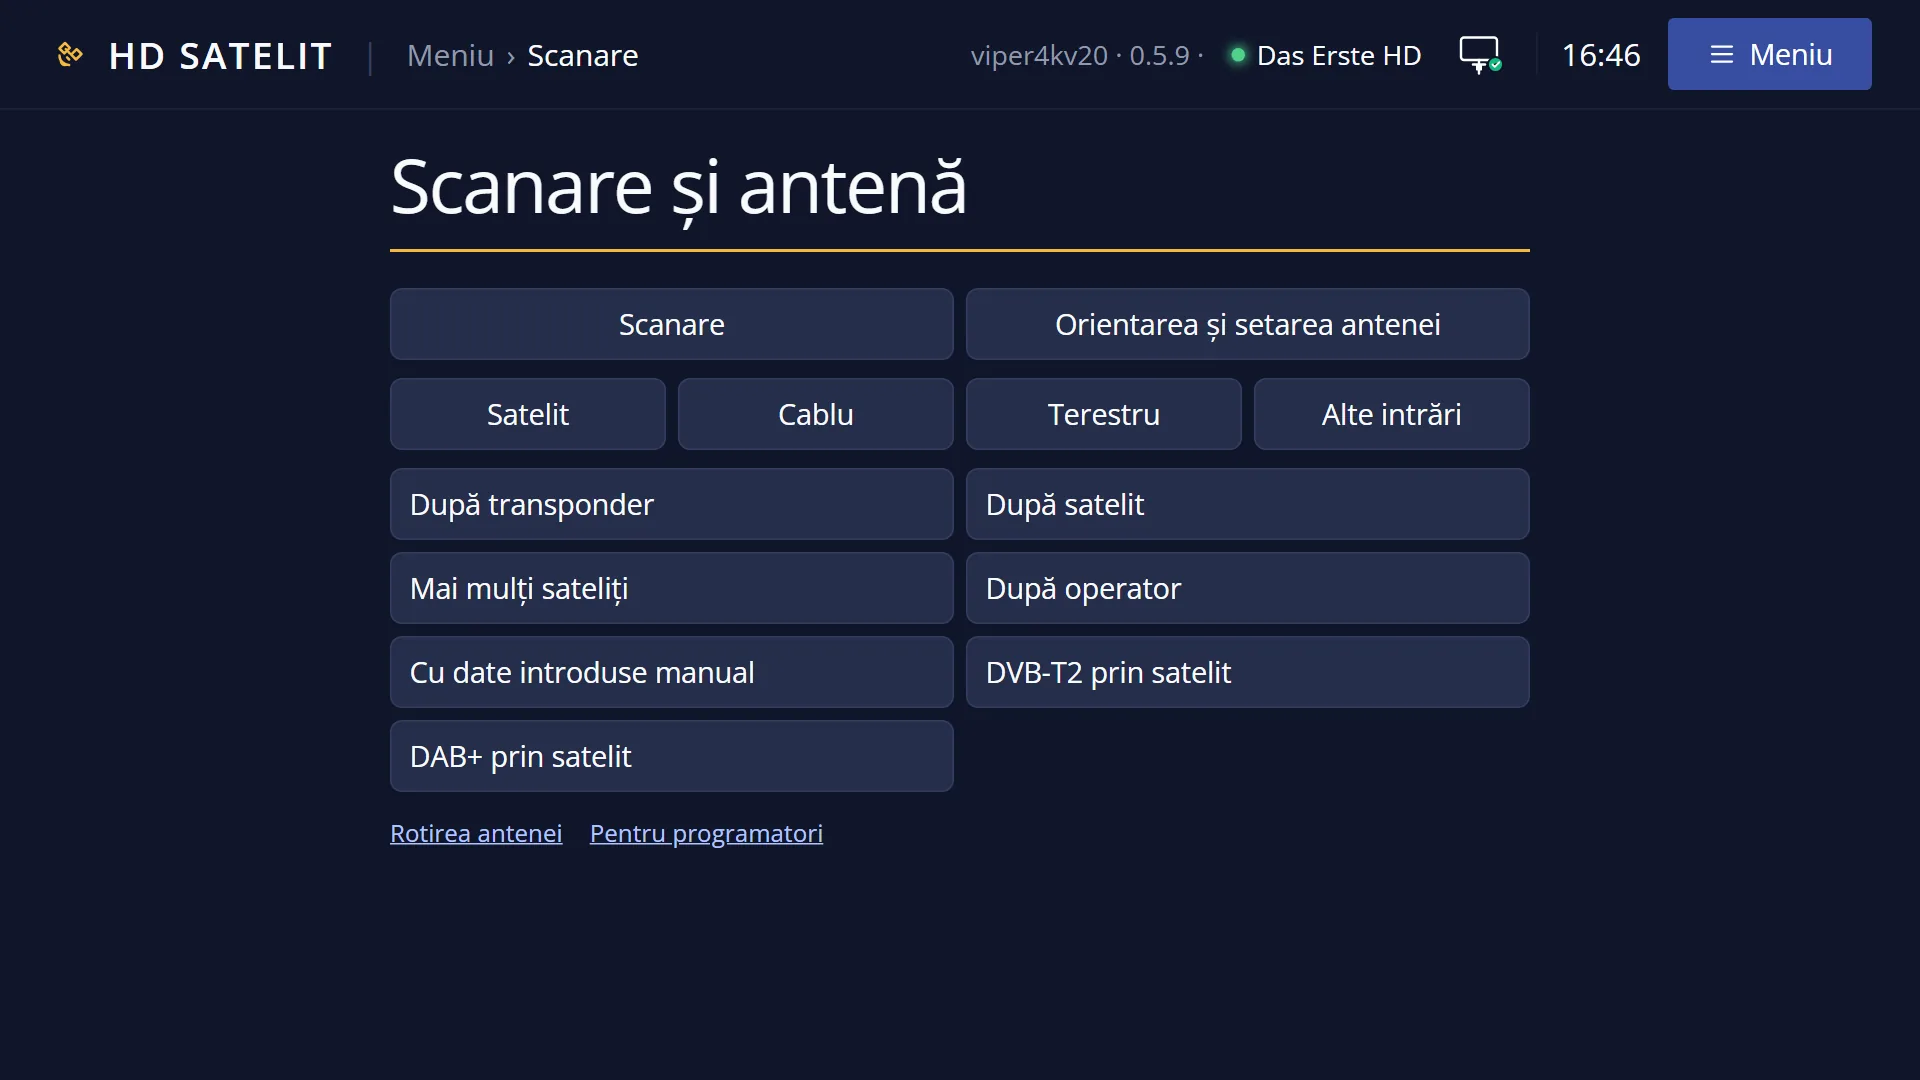
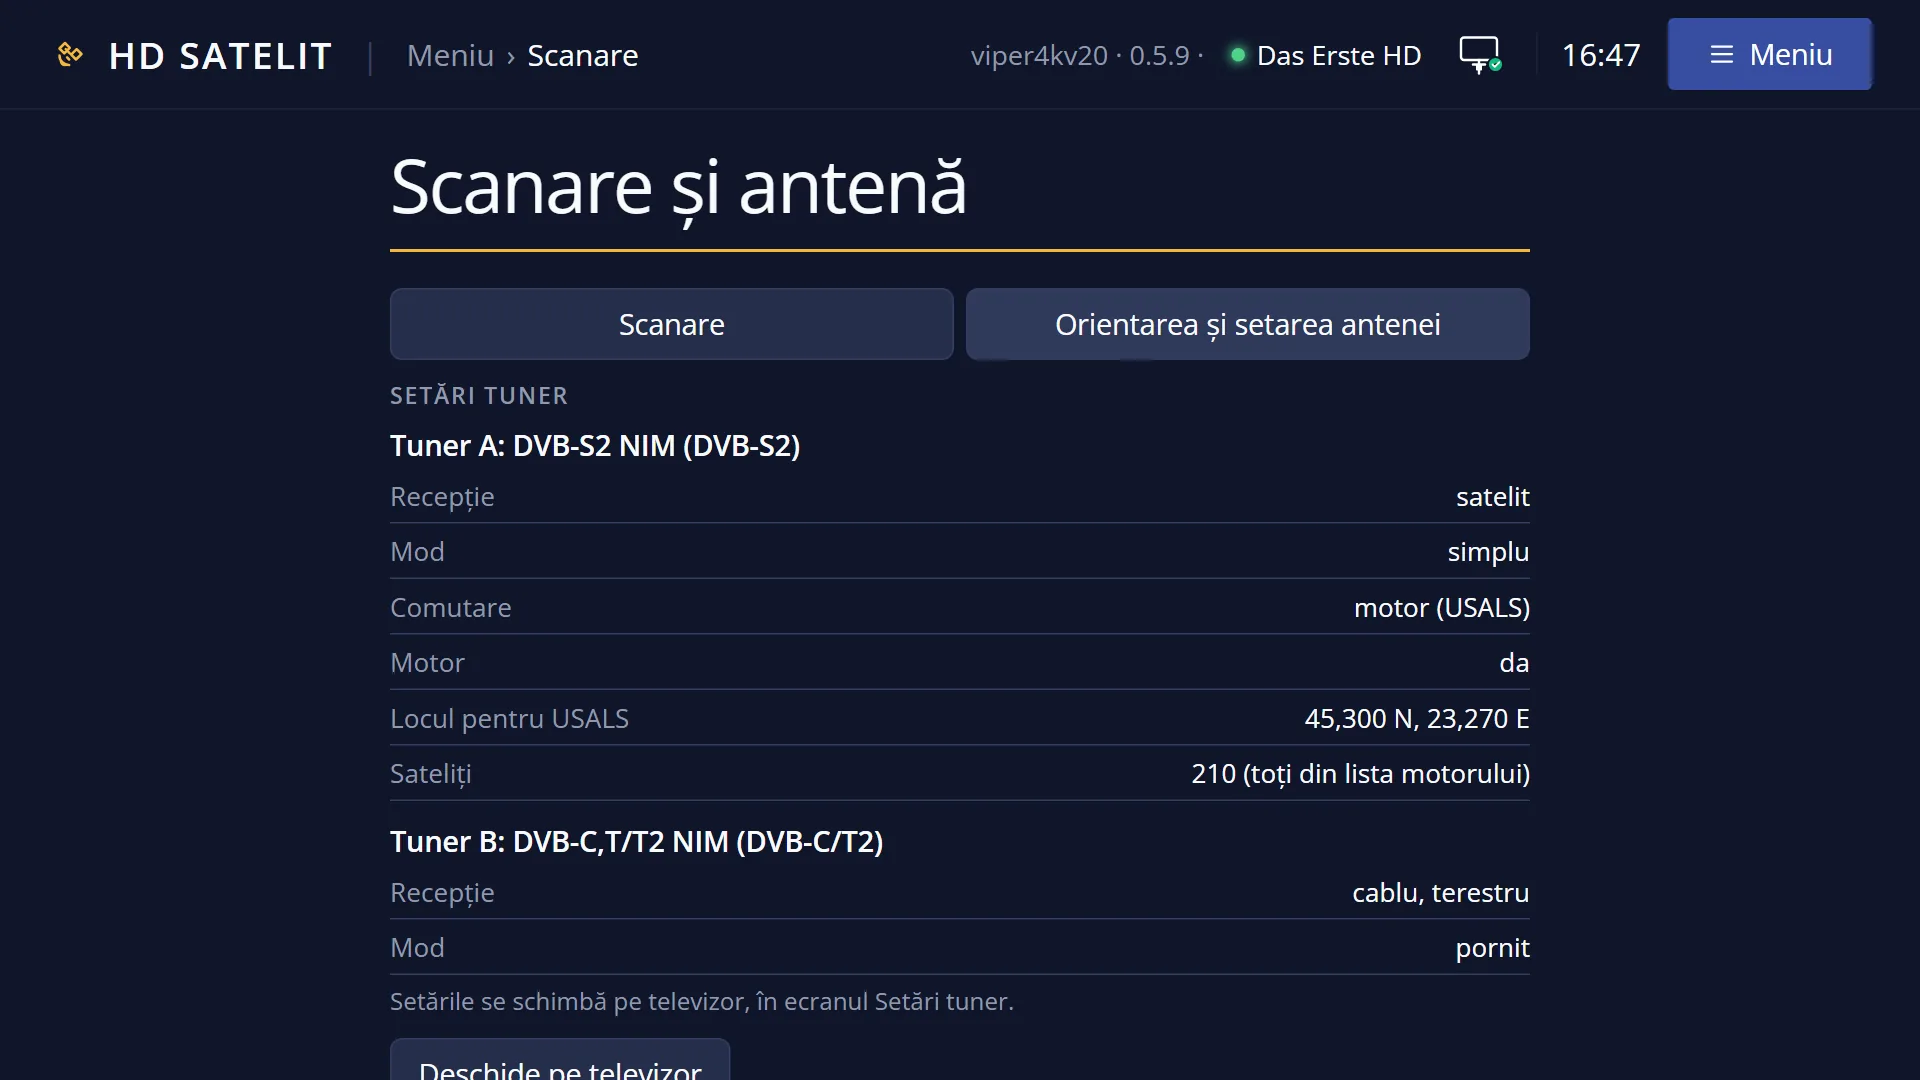
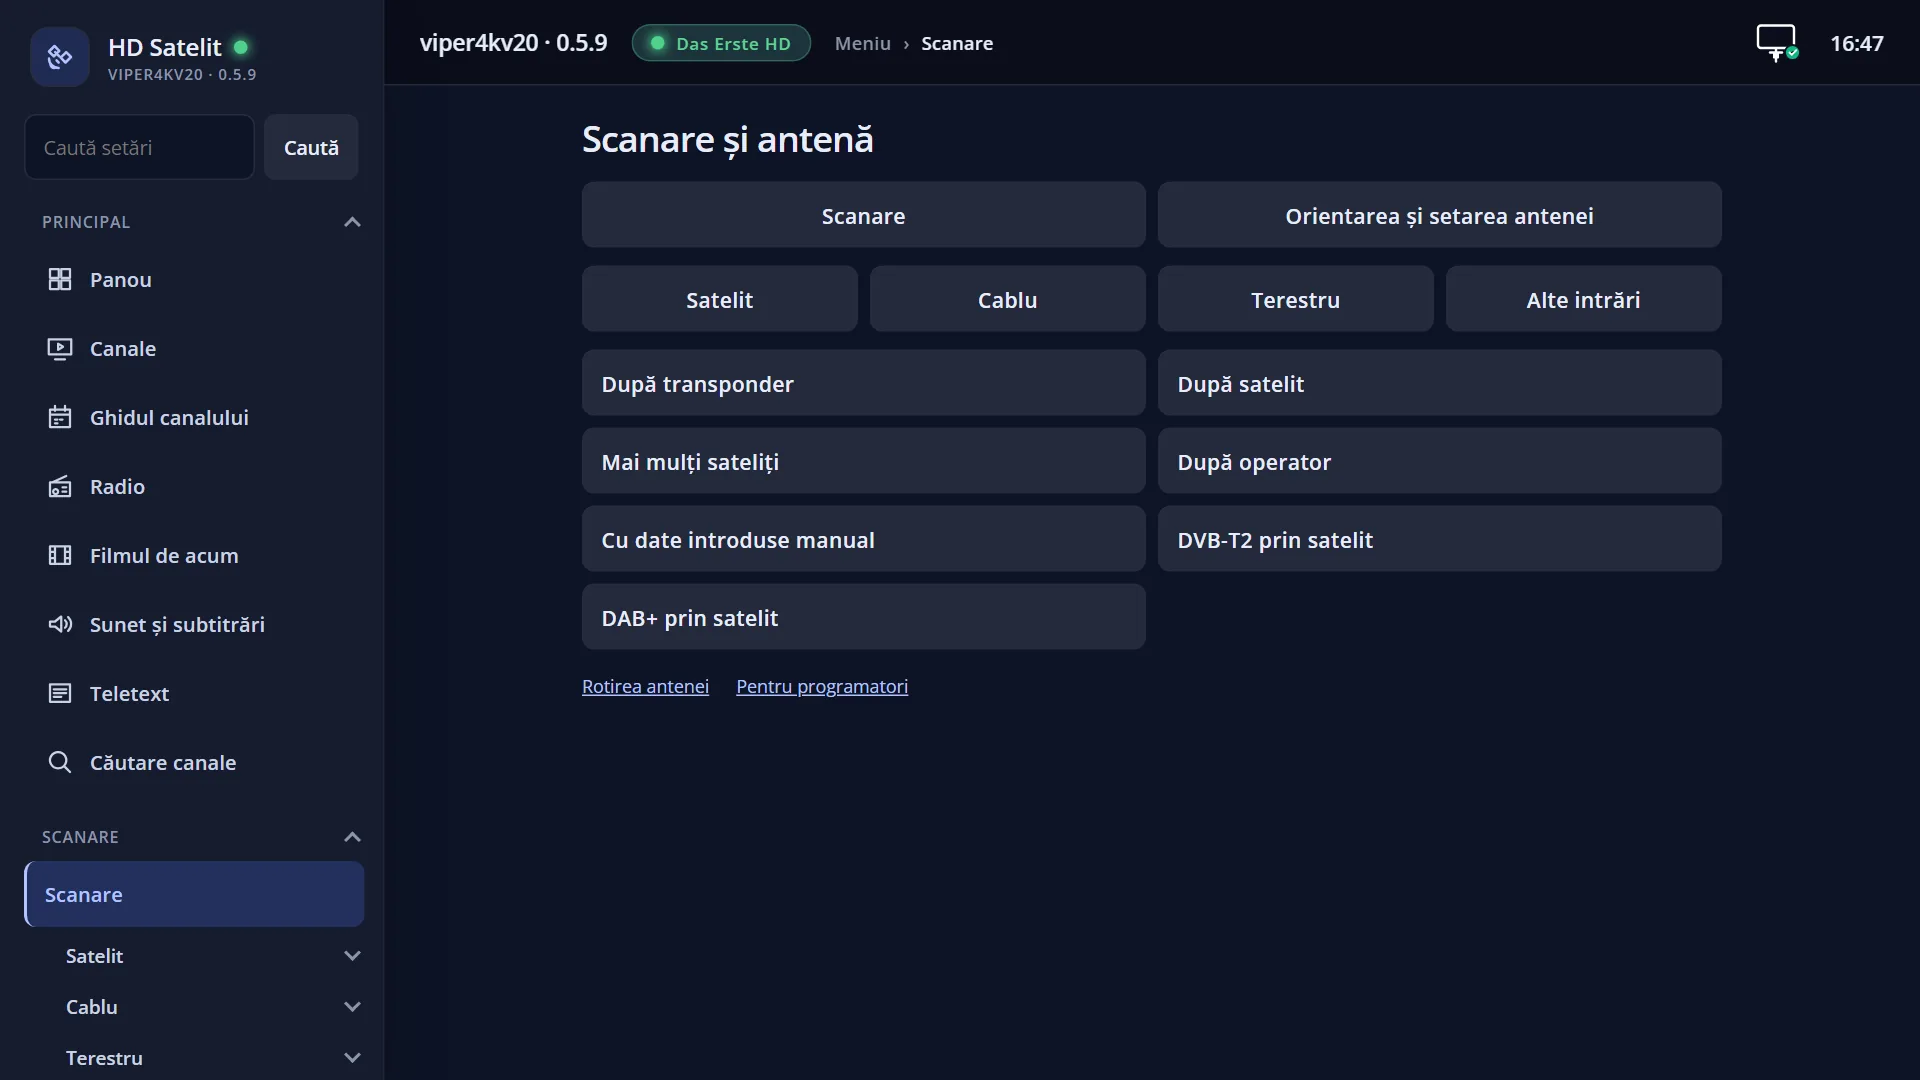
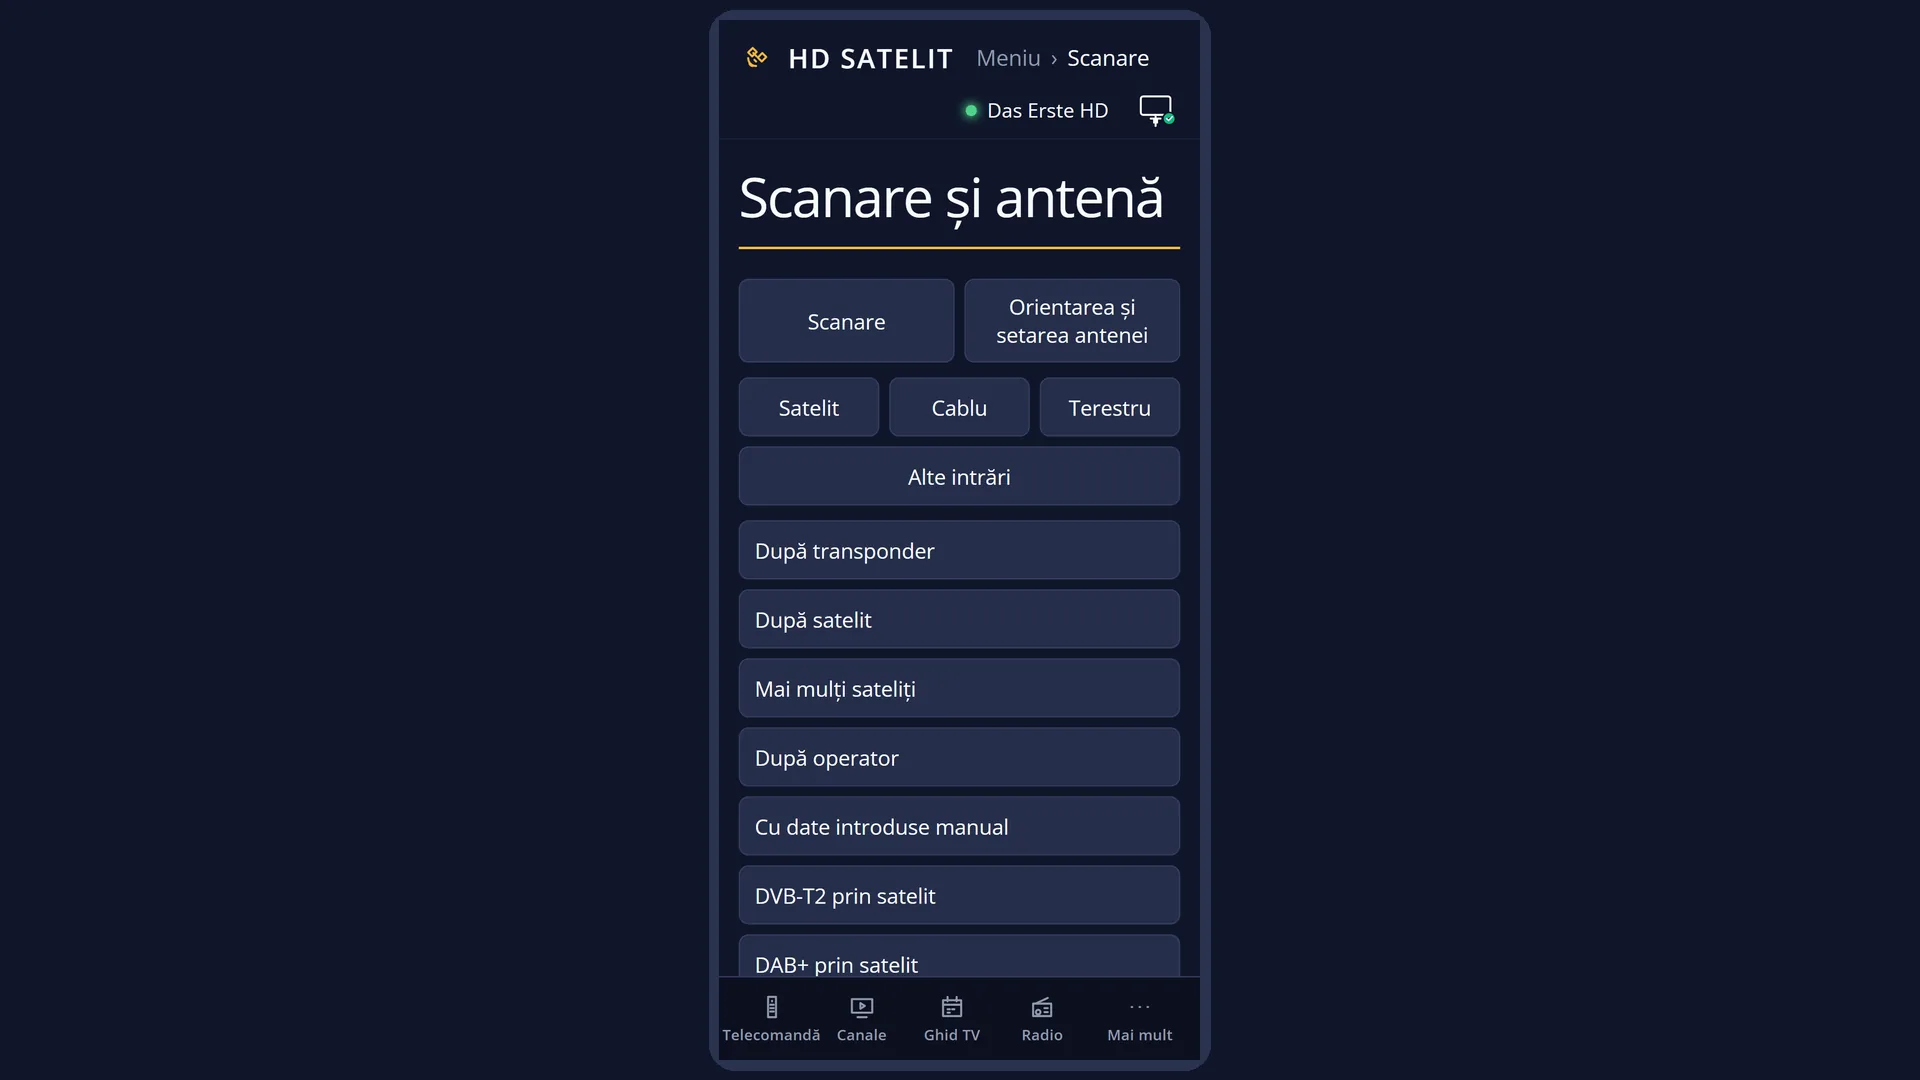
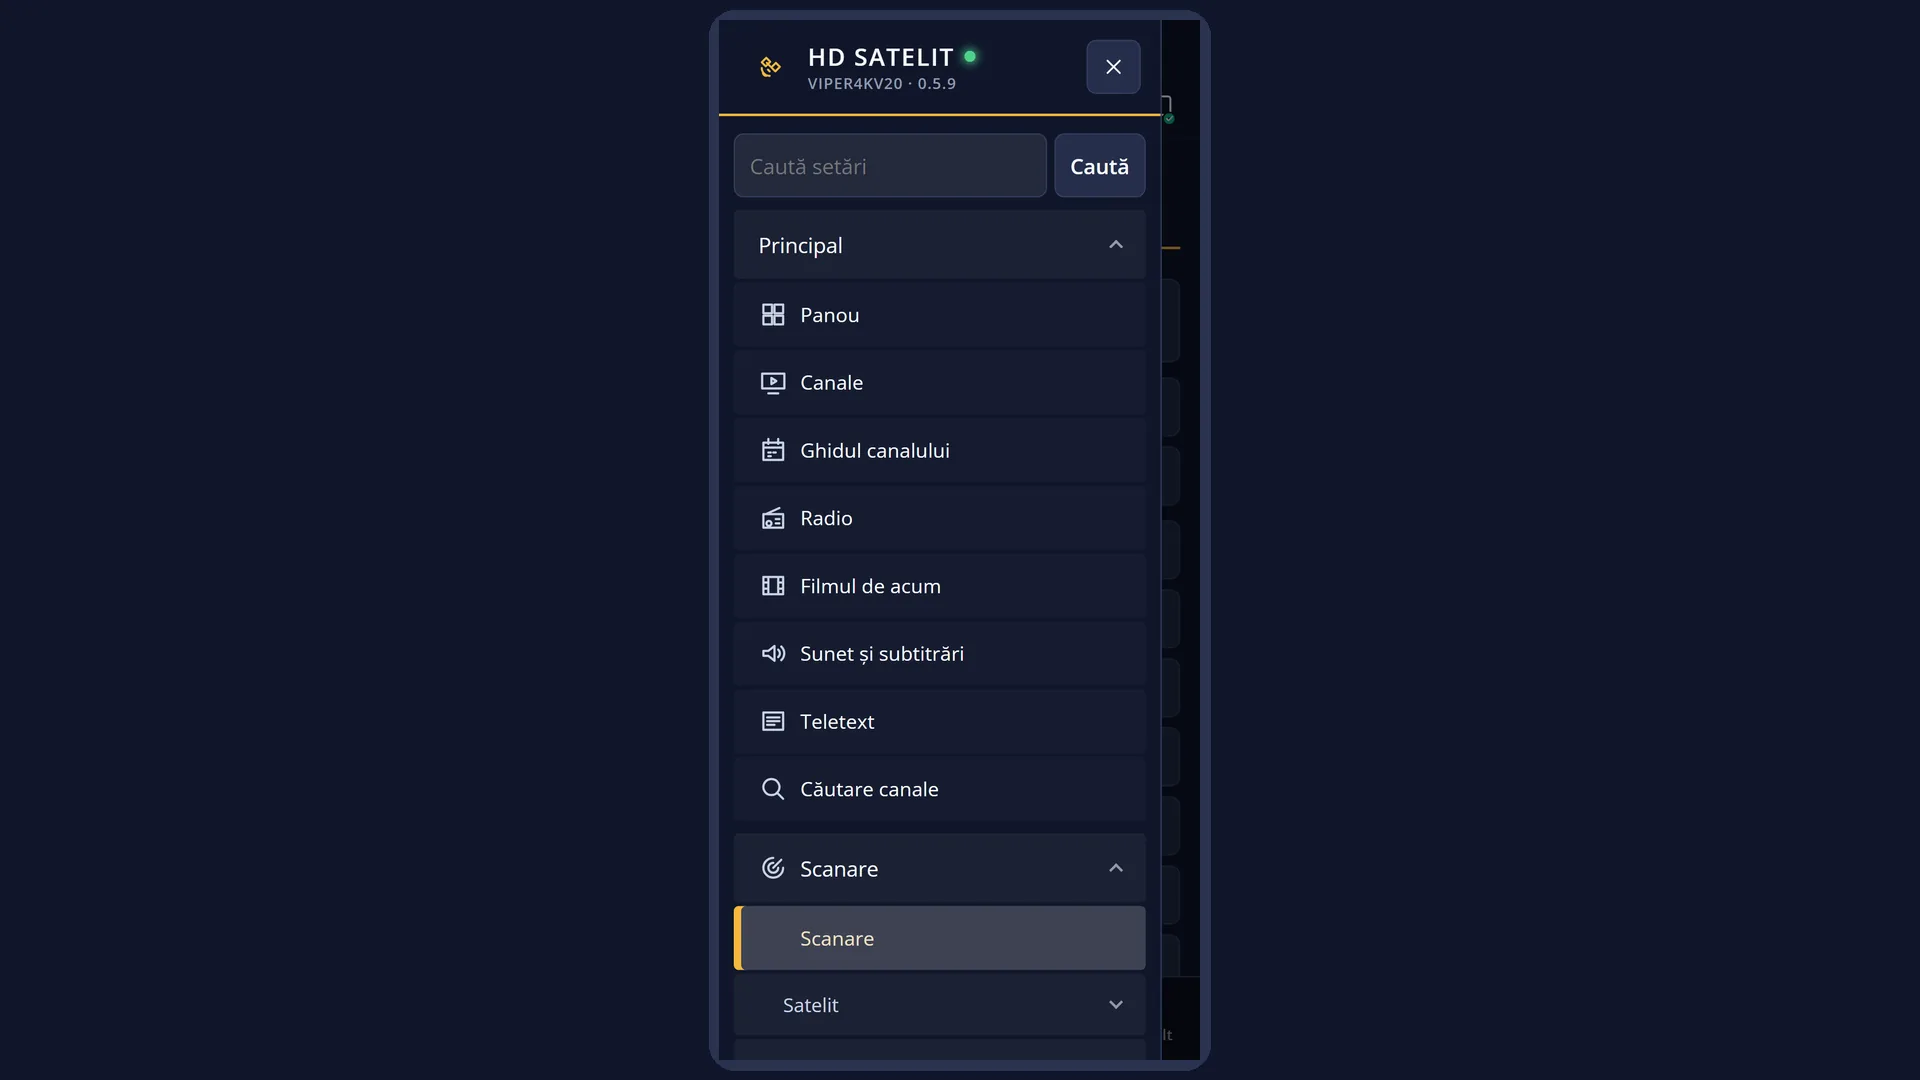
The whole section is also in the web interface, on the /scanare page: you choose the type, enter the values and start the search from your phone or computer, and the search runs on the TV.
How to get here
Path: Main menu > Channel scan
Keys on the remote: MENU 1
In the web interface: the /scanare page (title “Channel scan and dish”, “Channel scan” tab).
What you see on the screen
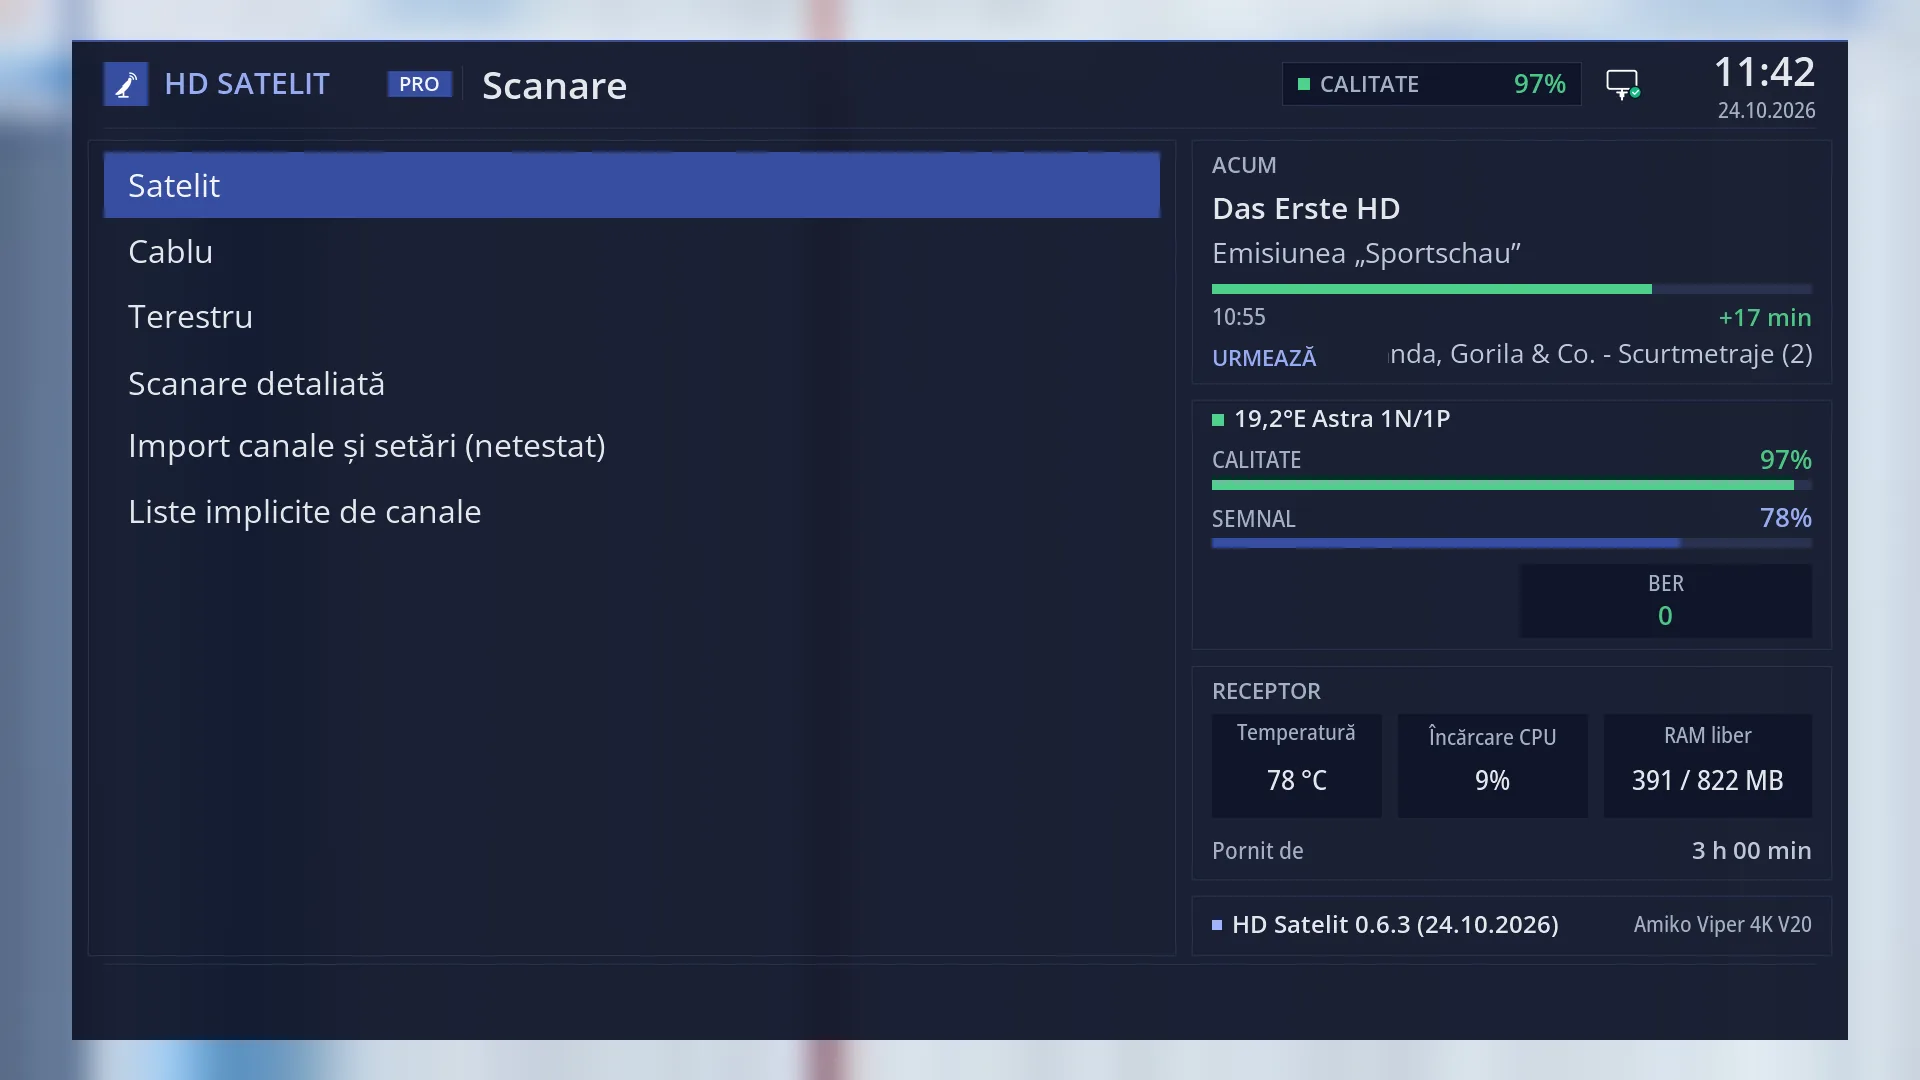
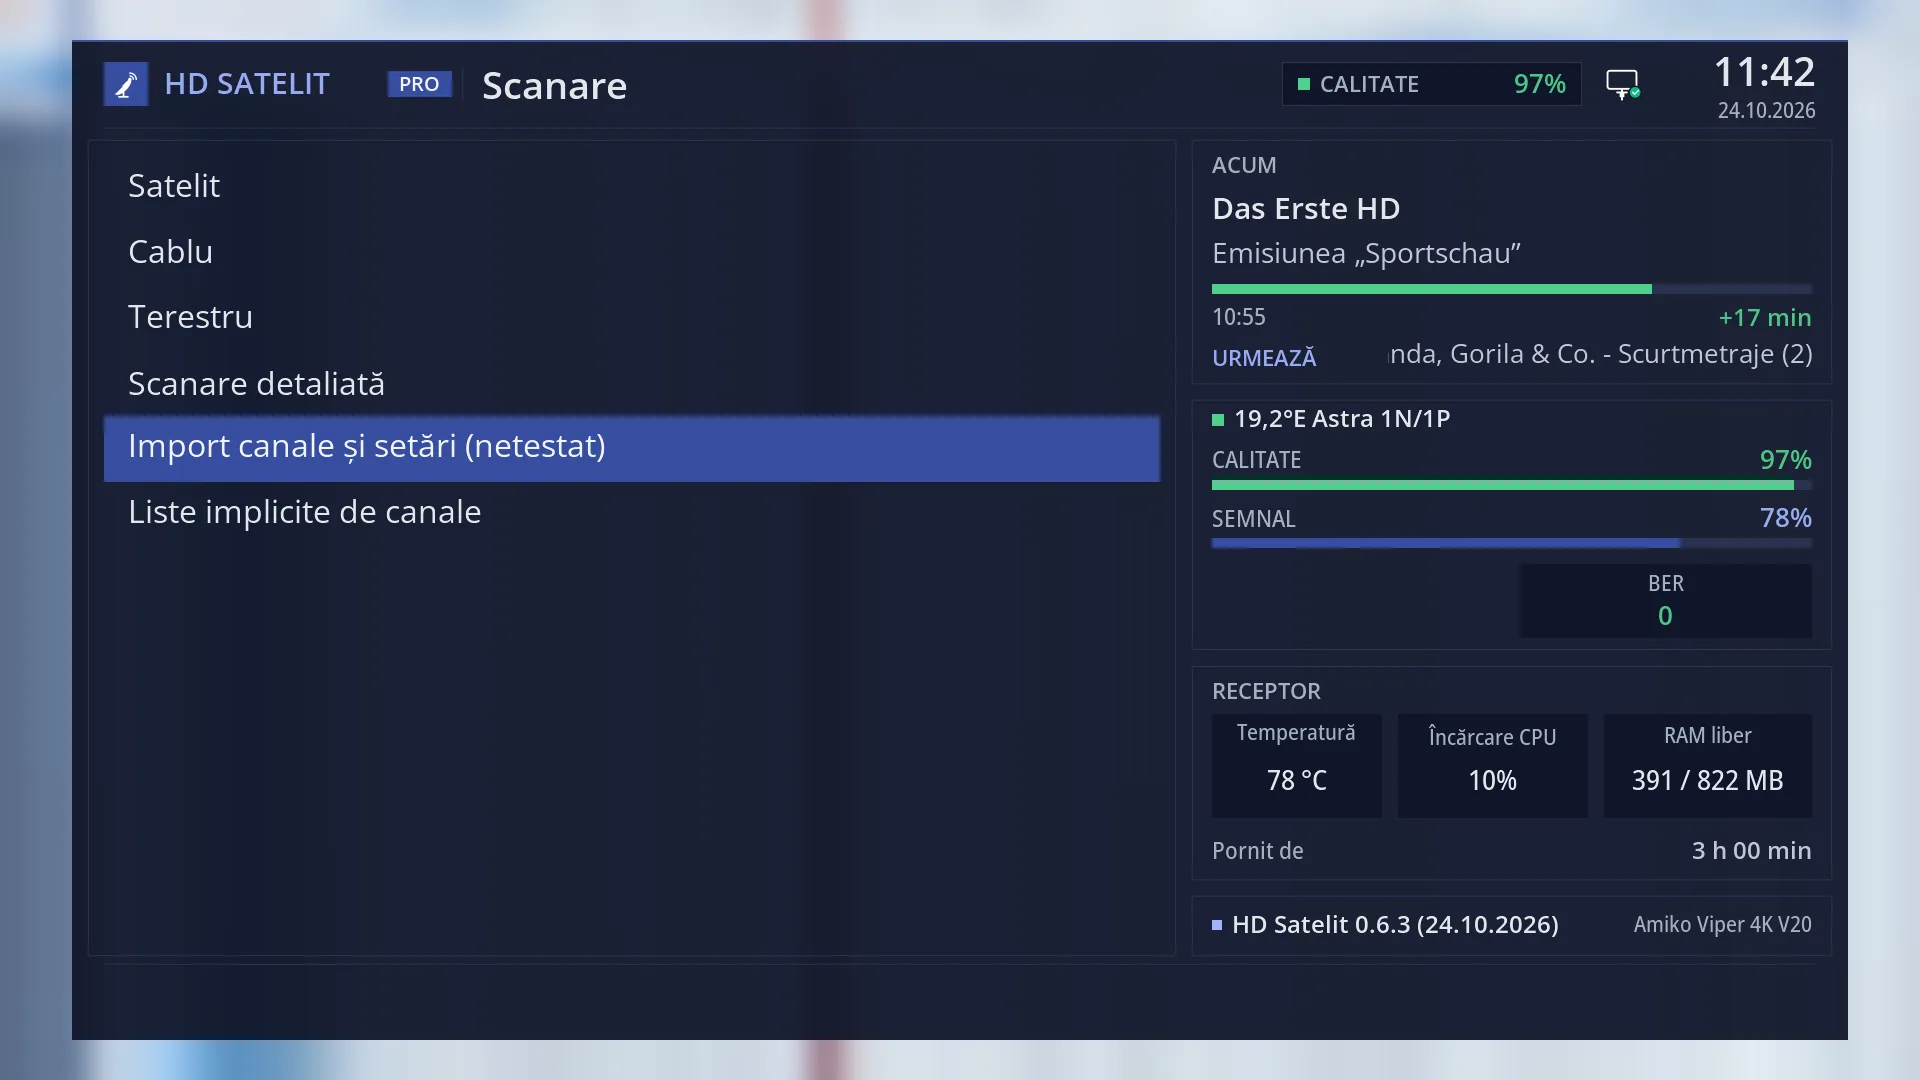
At the top: the title “Channel scan”, the clock and the date. In the Pro theme, “HD SATELIT” with the “PRO” label is shown on the left, and on the right you see the signal quality of the current channel (for example “Quality 97%”) and the network icon.
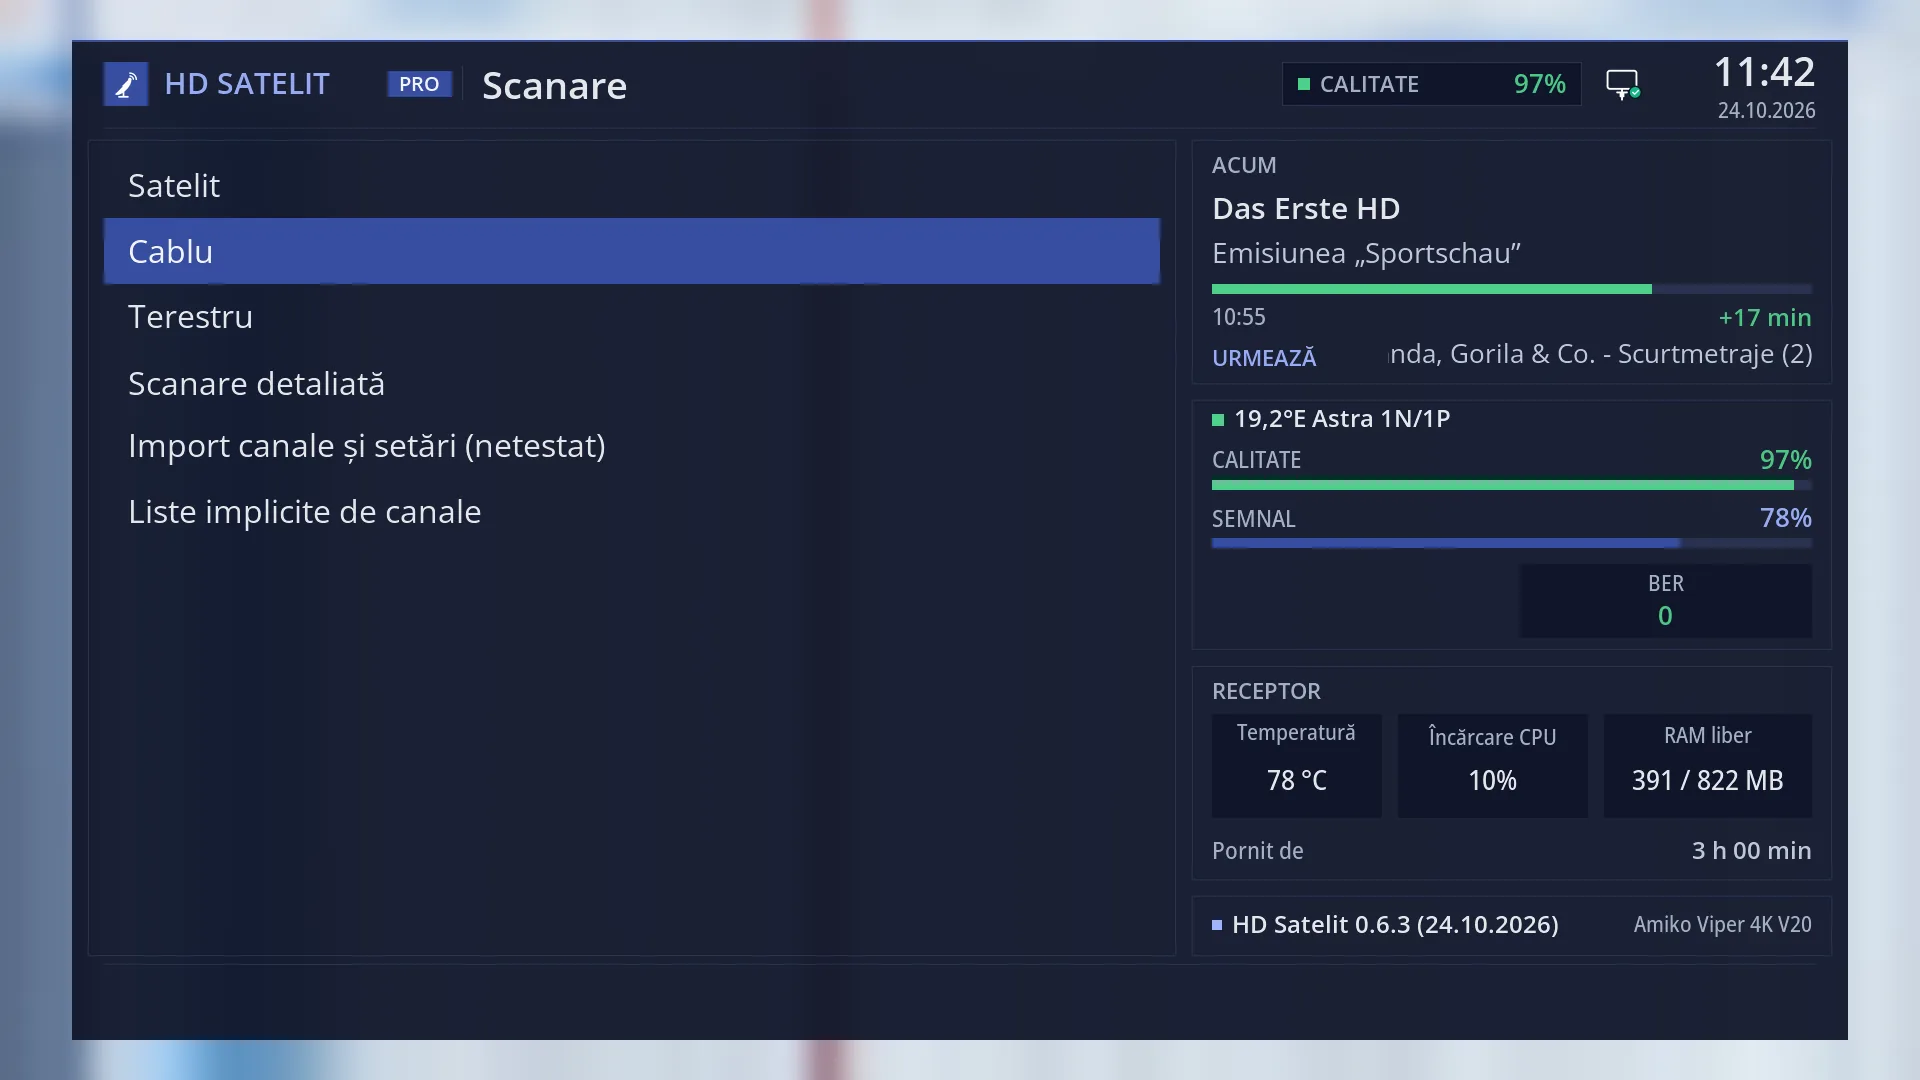
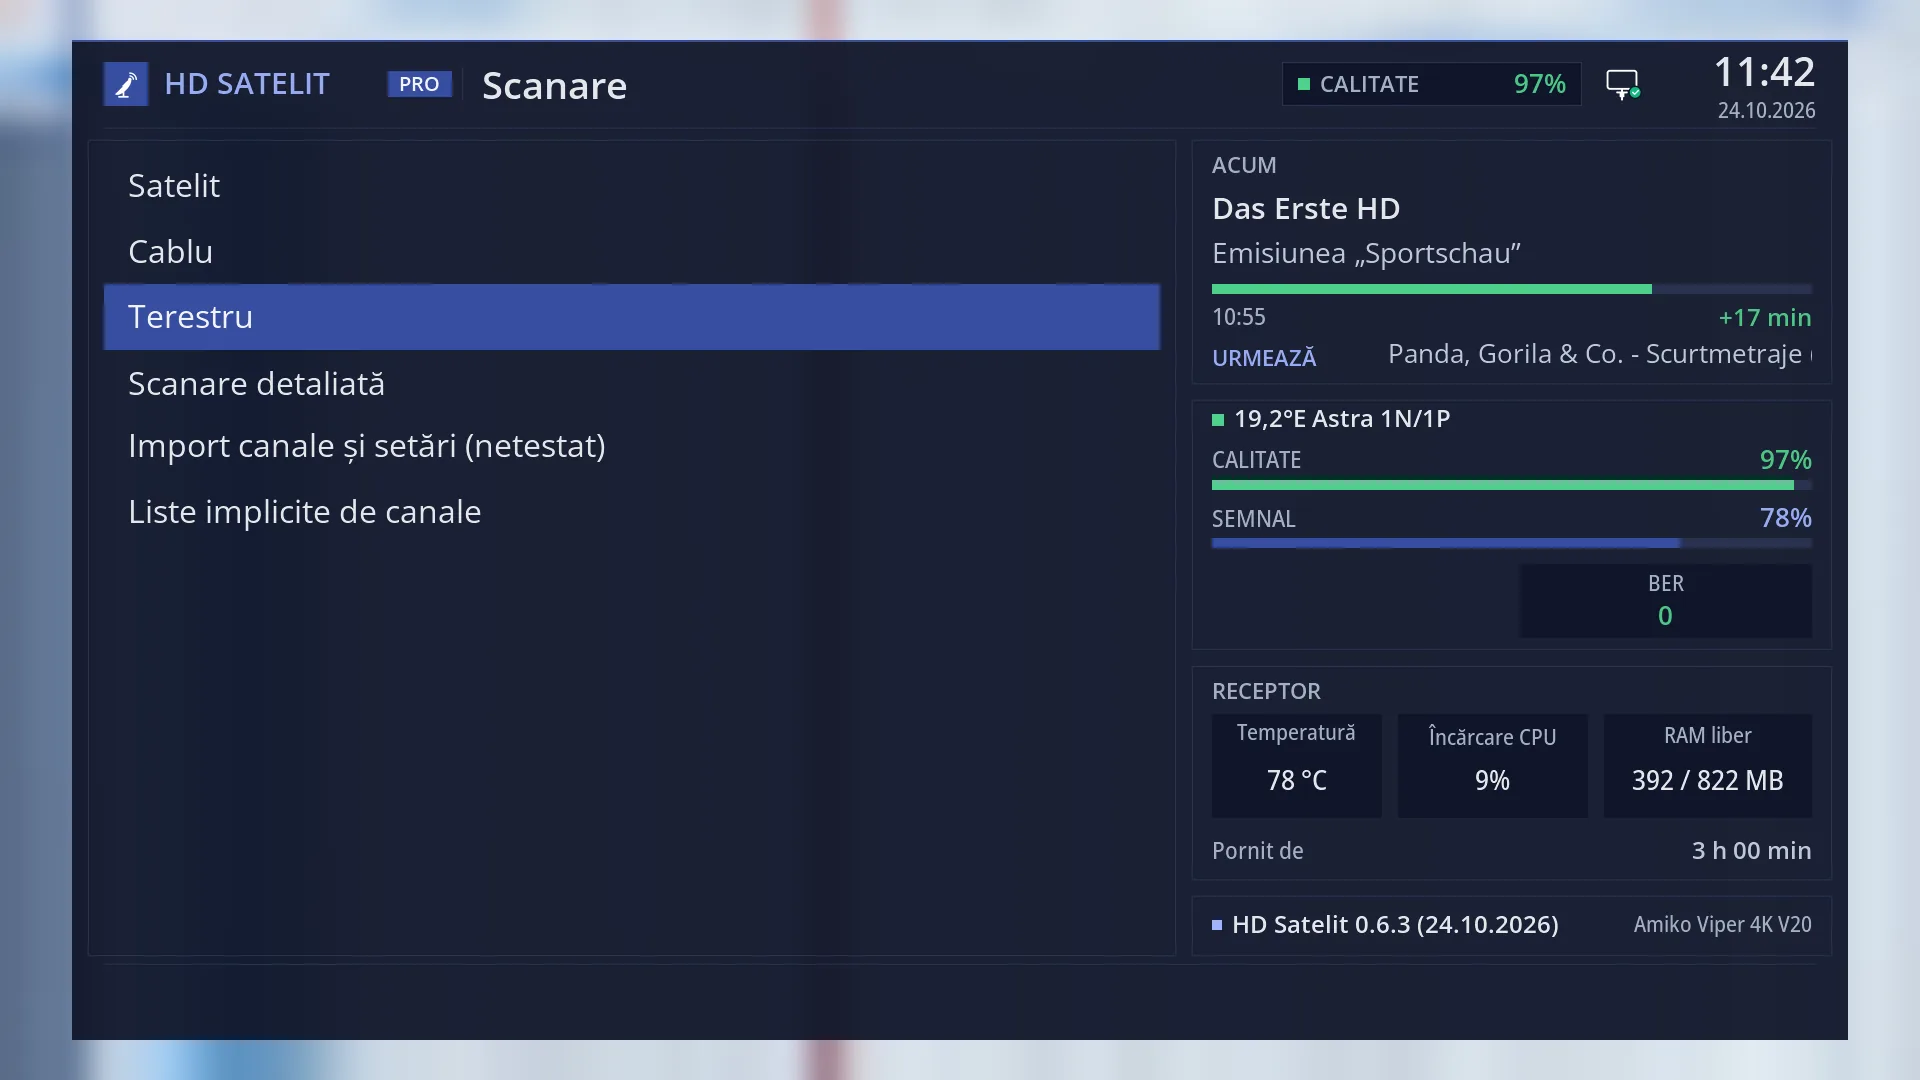
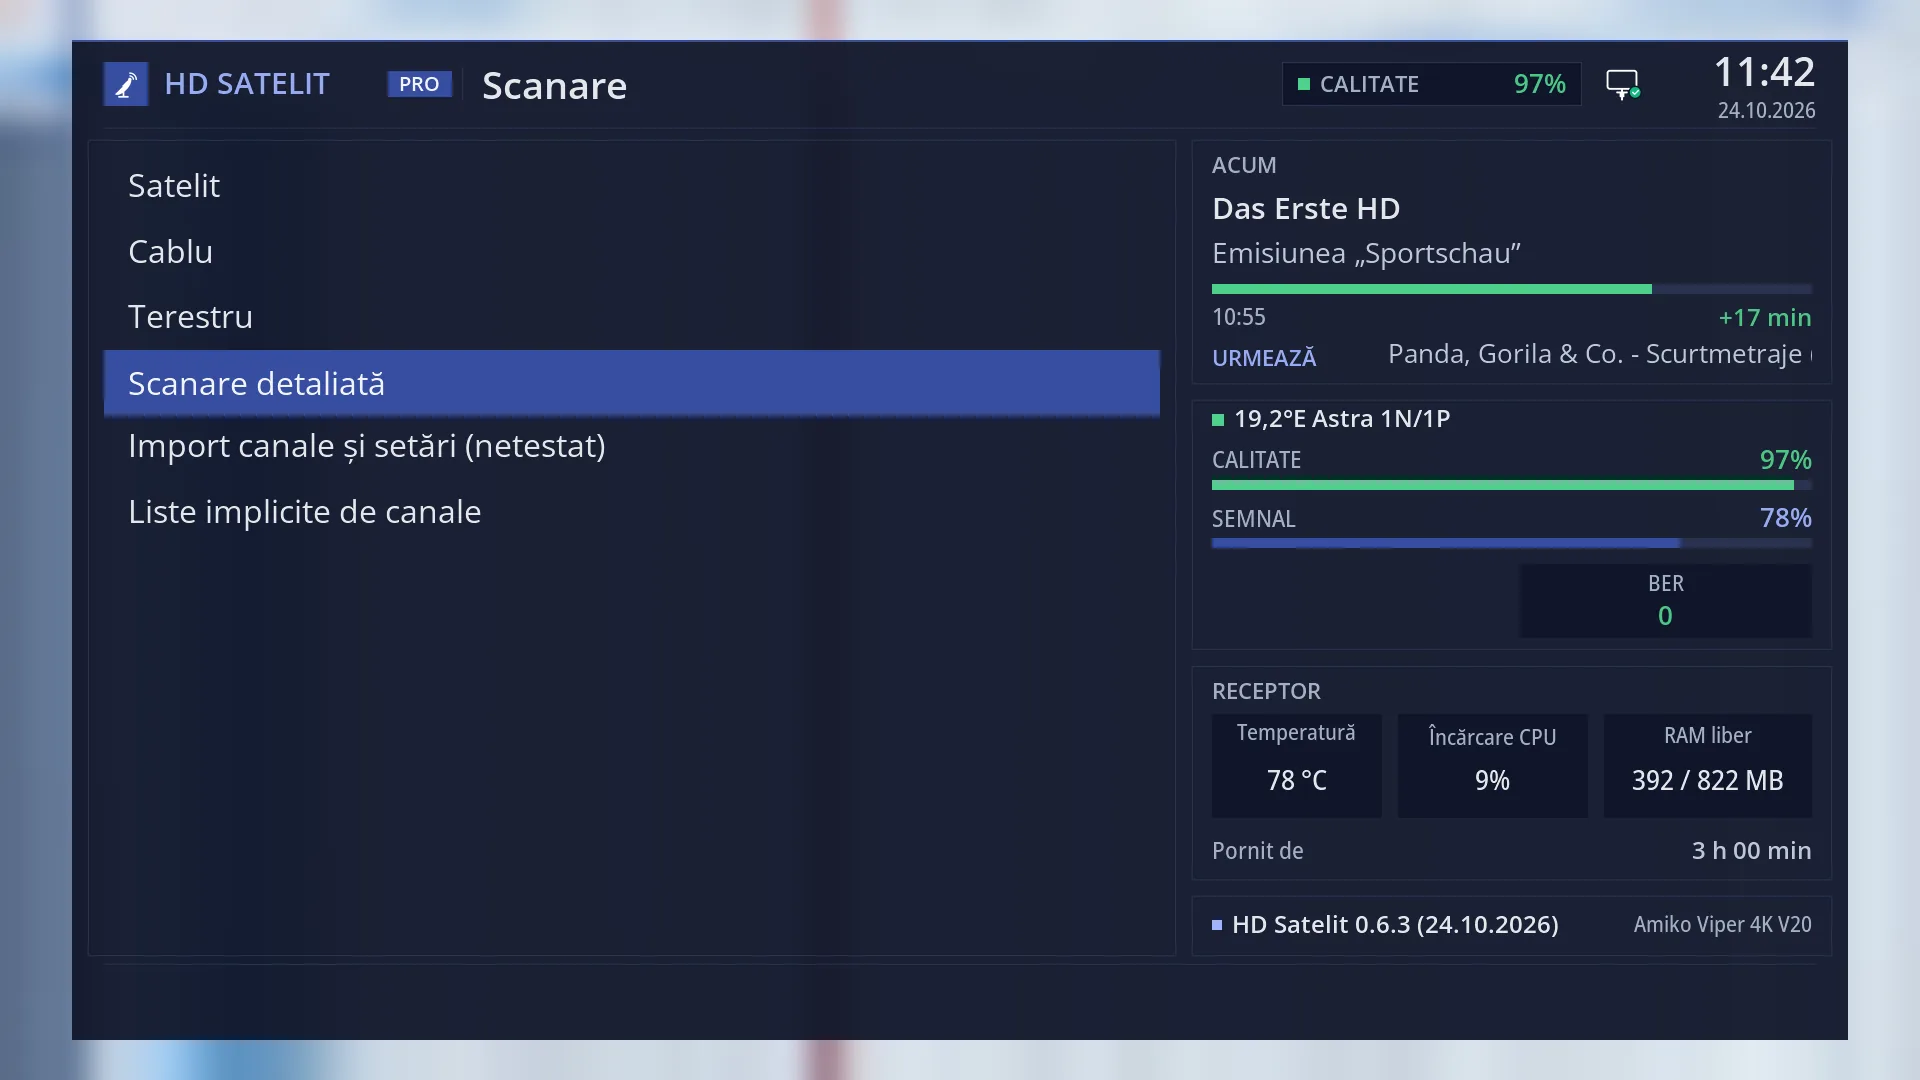
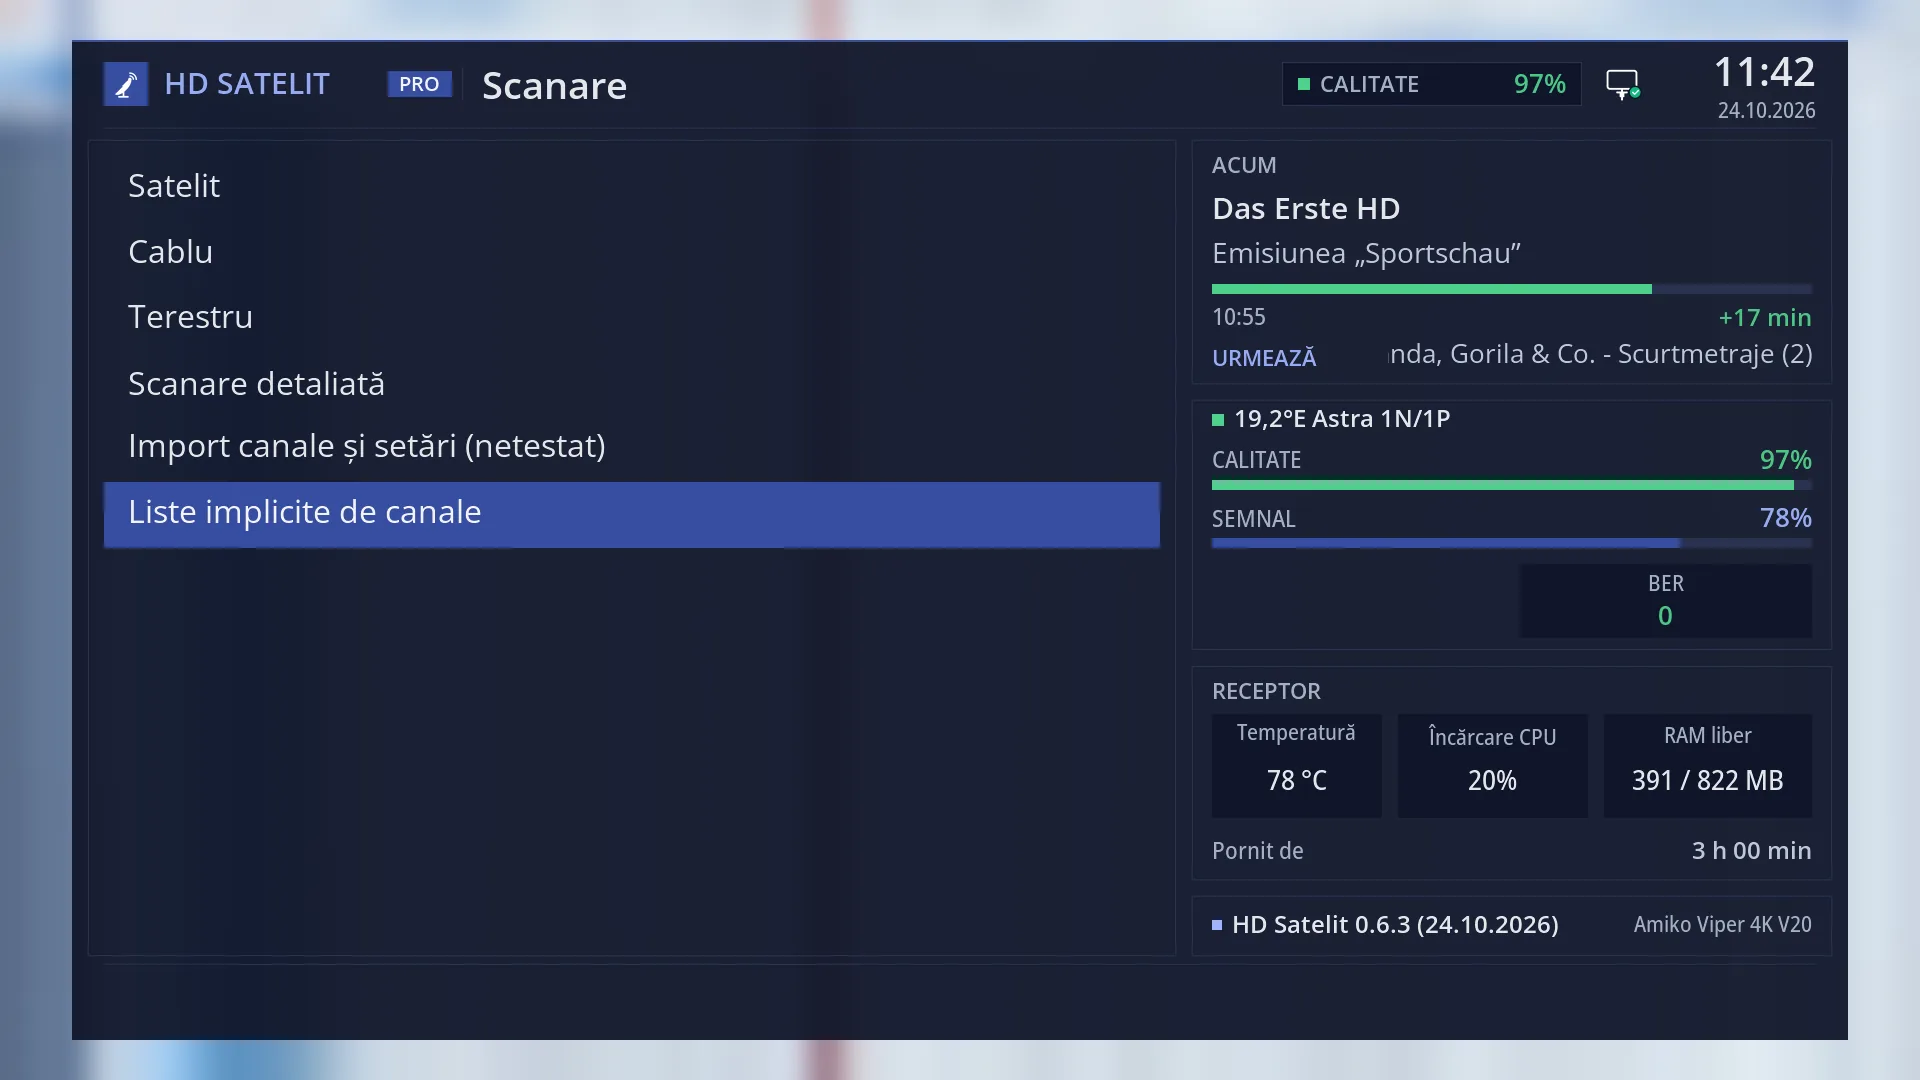
On the left, the list: “Satellite”, “Cable”, “Terrestrial”, “Detailed scan”, “Import channels and settings (NOT TESTED)” and “Default channel lists”. The selected row has a blue background.
The “(NOT TESTED)” label next to “Import channels and settings” means the function is finished but has not yet been tried on the receiver.
“Default channel lists” only appears when “Setup Mode” (OSD Preferences) is set to Intermediate (the factory setting) or Expert. On Simple, the list has five rows.
In the Pro theme, four boxes on the right update by themselves: the current and next programme (“NOW”, “Next”), the satellite of the channel with “Quality”, “Signal” and “BER”, the receiver status (“Receiver”: temperature, processor load, free memory, time since it was switched on) and the image version with the receiver name. They help you check the current signal before you search.
In the tile view (YELLOW key), each row is a tile with its icon, name and number.
Rows and settings
| Row | Values | Default | What it does |
|---|---|---|---|
| 1 Satellite | By transponder, By satellite, Several satellites, By provider, Enter data manually, DVB-T2 via satellite, DAB+ via satellite | The seven types of satellite search: one transponder, the whole satellite, several satellites at once, a provider's package, a transponder you enter by hand, and the searches for DVB-T2 television and DAB+ radio sent via satellite. When you first install the satellite dish or when a satellite channel stops working. | |
| 2 Cable | By frequency, Whole band, By provider, Manual, Automatic | The five types of cable search: one frequency from the list, the whole band, a provider's network, a transponder you enter by hand, and a starting frequency from which the receiver reads the whole network. When you get cable TV from a provider. | |
| 3 Terrestrial | By channel or multiplex, Whole band, By region or provider, Manual, Automatic | The five types of search on the terrestrial aerial. In this version, only DVB-T multiplexes are found (see the Terrestrial page). When you have a terrestrial aerial connected to the receiver. | |
| 4 Detailed scan | It does not search for new channels. It tunes to each channel already found, one at a time, and records what can only be seen while the channel is playing (resolution, frames per second, encoding, audio and subtitle tracks). Next time, it continues from where it stopped. After a scan, so that the channel list and the programme guide know more about each channel. | ||
| 5 Import channels and settings (NOT TESTED) | It loads the channel list, the dish settings and, if you choose, the timers and general settings from a copy on a USB stick, without any scan. When you have a copy of the channels from another receiver or from an earlier installation. | ||
| 6 Default channel lists | It shows the ways to get a channel list when the receiver does not have one yet: a satellite, cable or terrestrial scan, or an import from a USB stick. It only appears in the Intermediate or Expert setup mode. When you first set up the receiver and do not know where to start. |
Keys
| UP / DOWN | Move the cursor to the row above or below. From the last row, DOWN goes to the first row, and the other way round. |
| LEFT / RIGHT | Jump one page up or down. The submenu fits on one page, so you go to the first or last row. In the tile view, they move the cursor to the tile on the left or right. |
| OK | Opens the selected row: a submenu or a screen. |
| 1 ... 6 | Open the row with that number directly, without OK: 1 Satellite, 2 Cable, 3 Terrestrial, 4 Detailed scan, 5 Import channels and settings, 6 Default channel lists. |
| YELLOW | Switches the menu between list and tiles straight away. Your choice is remembered for all menus. |
| TTX (TEXT on screen) | Opens “Search settings”. |
| EXIT | Takes you back to the main menu. When you leave Channel scan, the receiver saves any changed settings straight away. |
| MENU | Closes the whole menu and takes you back to live TV. |
Step by step
First installation with a satellite dish
- First tell the receiver how the dish is connected: Menu > Dish alignment and setup > Tuner settings (MENU 2 1).
- Press MENU 1 1 (Channel scan > Satellite) and choose “By satellite” (key 2) for the satellite your dish points at, or “By provider” (key 4) for your package.
- Press GREEN and let the search finish. At the end, read the summary.
You have the channels on a USB stick from another receiver
- Insert the USB stick into the receiver.
- Press MENU 1 5 (Import channels and settings).
- Choose what to load and press OK on “Import now”.
Starting a search from your phone
- Open the receiver's web interface and go to /scanare.
- Choose the group (Satellite, Cable or Terrestrial) and the type of search, then fill in the rows.
- Press “Search now”. The “The search on the TV” card shows the progress of the search, even for one started from the remote.
Problems and solutions
I cannot see the “Default channel lists” row.
The row only appears from the Intermediate setup mode upwards. Set Menu > Settings > Interface & Appearance > OSD Preferences > “Setup Mode” to Intermediate or Expert.
What does “(NOT TESTED)” next to “Import channels and settings” mean?
The function is finished but has not yet been tried on the receiver. You can use it. If something does not work, a scan is still the safe way.
The satellite search finds nothing.
First check Tuner settings (MENU 2 1): the satellite must be the one your dish points at, and the DiSEqC switch, if you have one, must be set to the correct port. With “Signal finder” (MENU 2 6) you can see whether the dish receives a signal.
In the web interface, under “Other entries”, I cannot use the screen on the page.
Those screens are used on the TV. The “Open on the TV” button opens them there. Detailed scan, Import channels and settings and Default channel lists also have their own web pages (/scanare-detaliata, /import, /liste-implicite).
Related topics
Differences between receivers
On the Amiko Viper 4K V20, cable and terrestrial searches use the same tuner (tuner B, combined cable and terrestrial).