

New image from USB stick
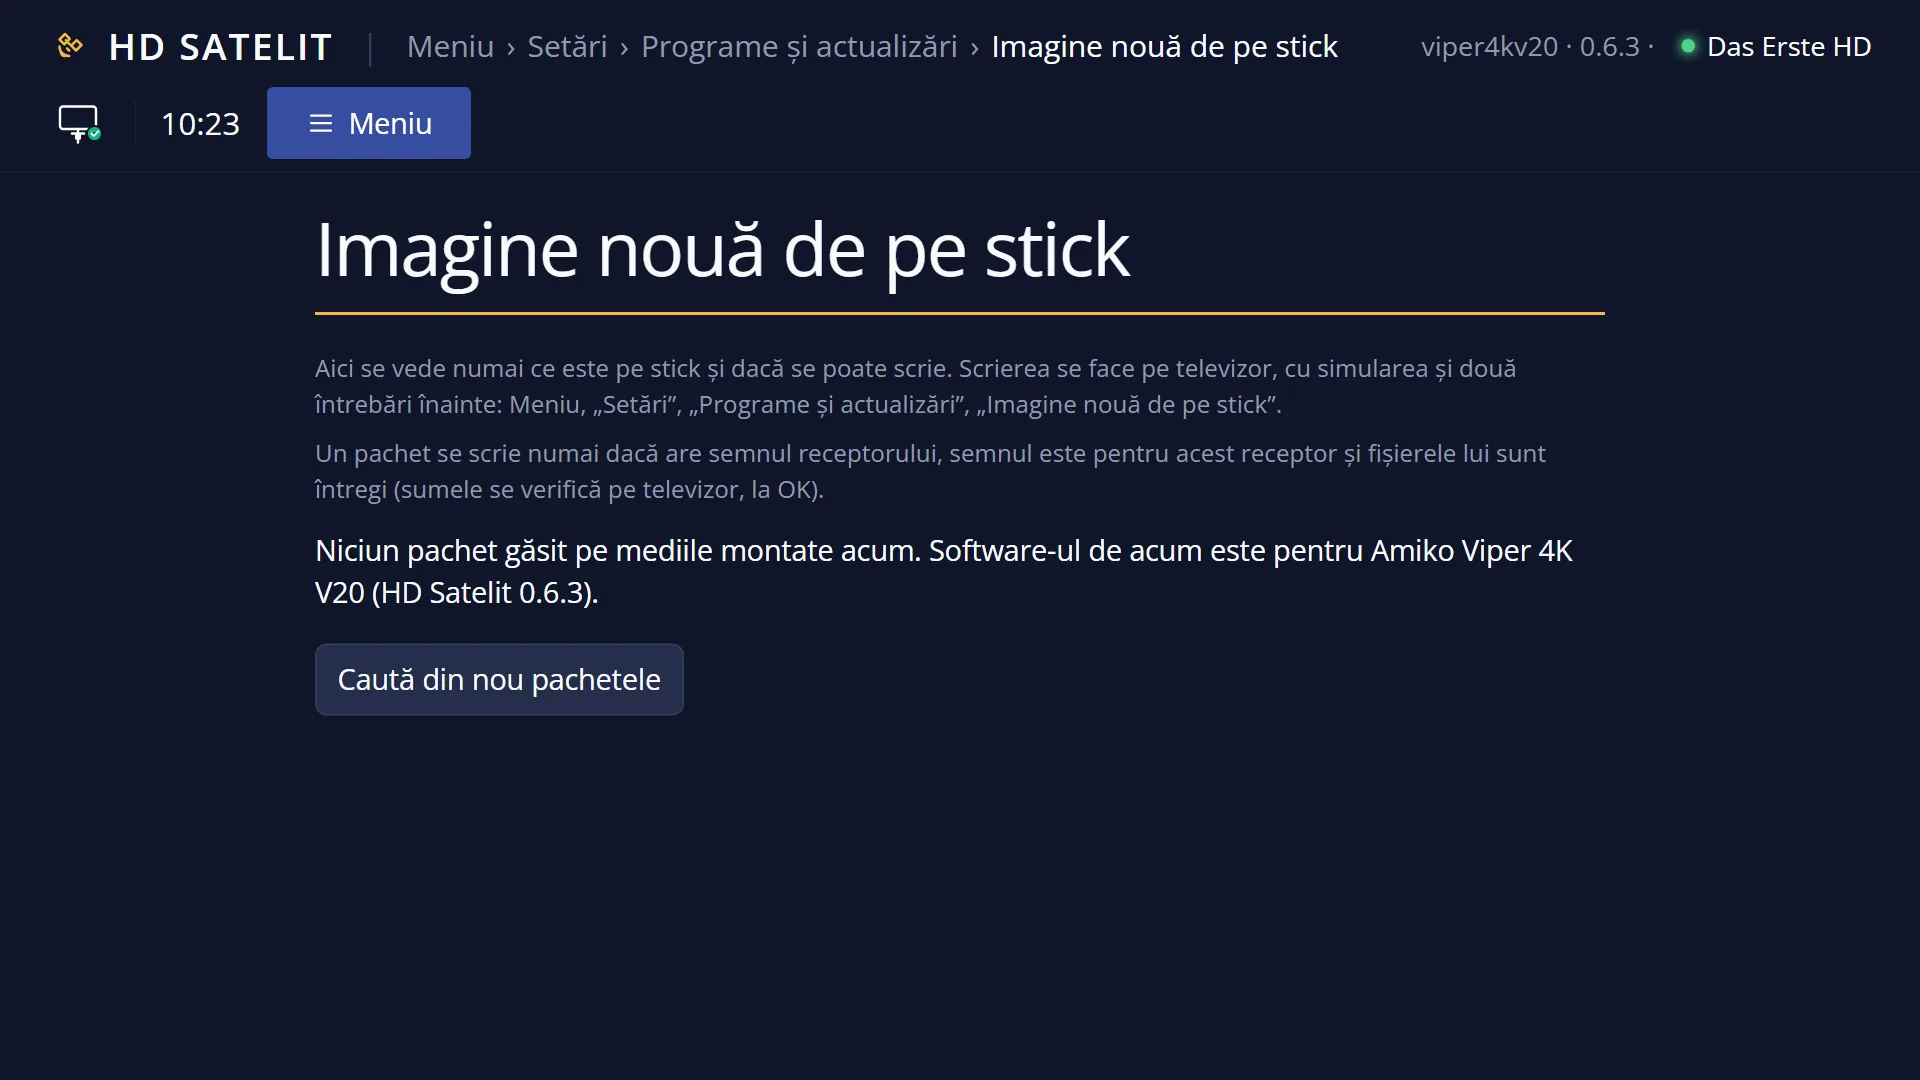
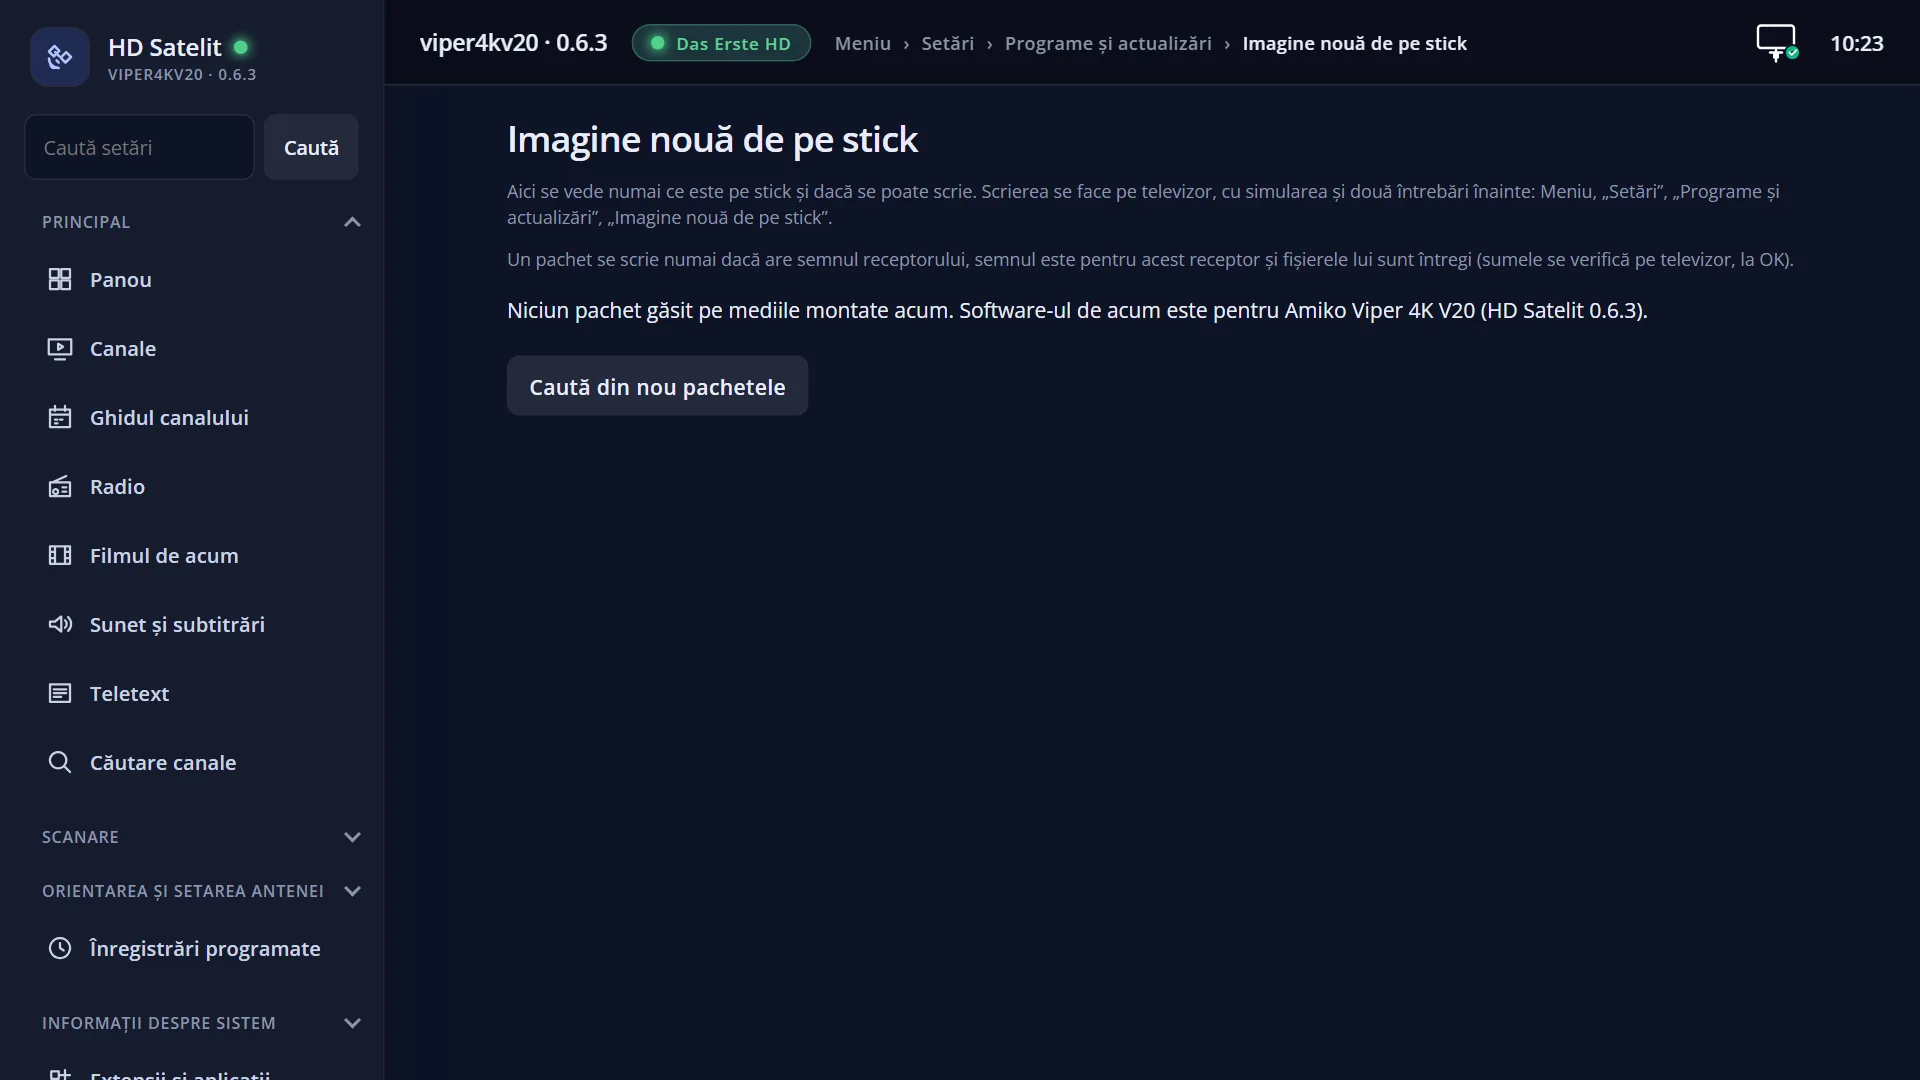
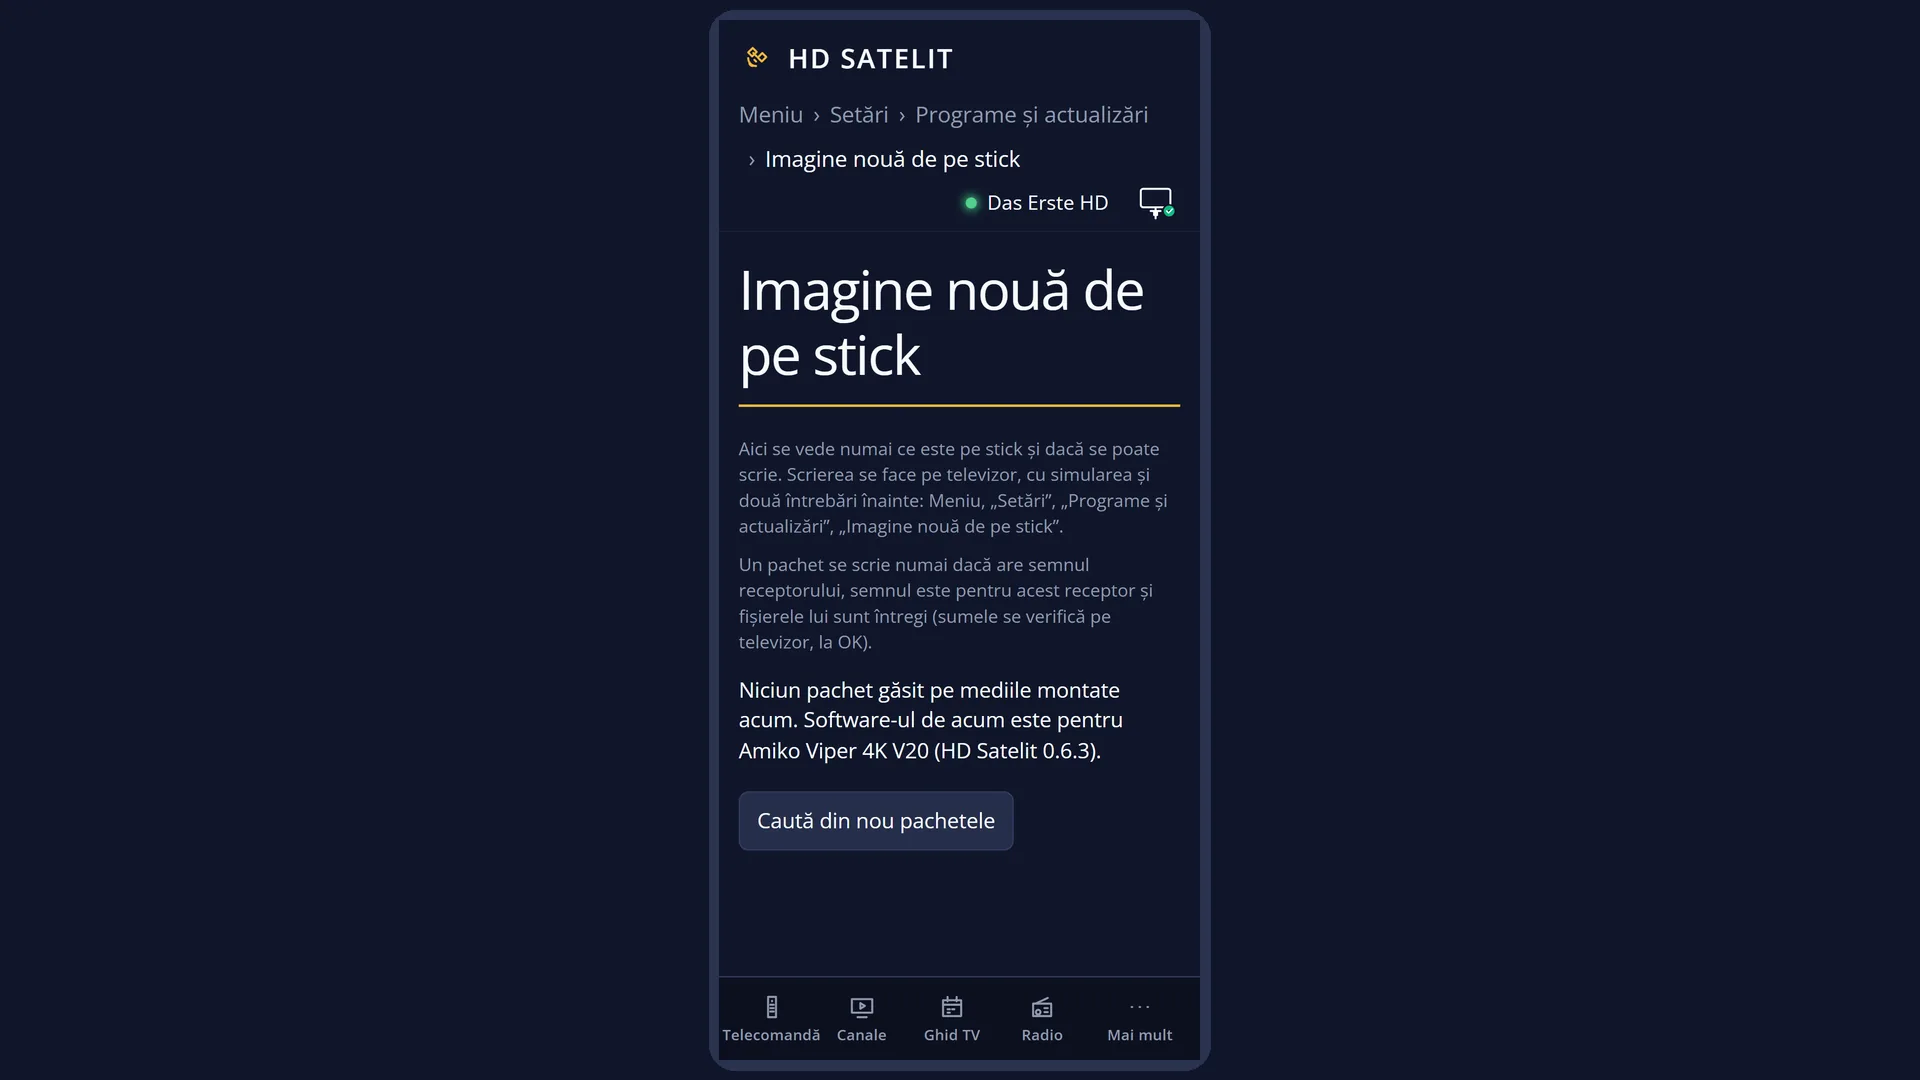
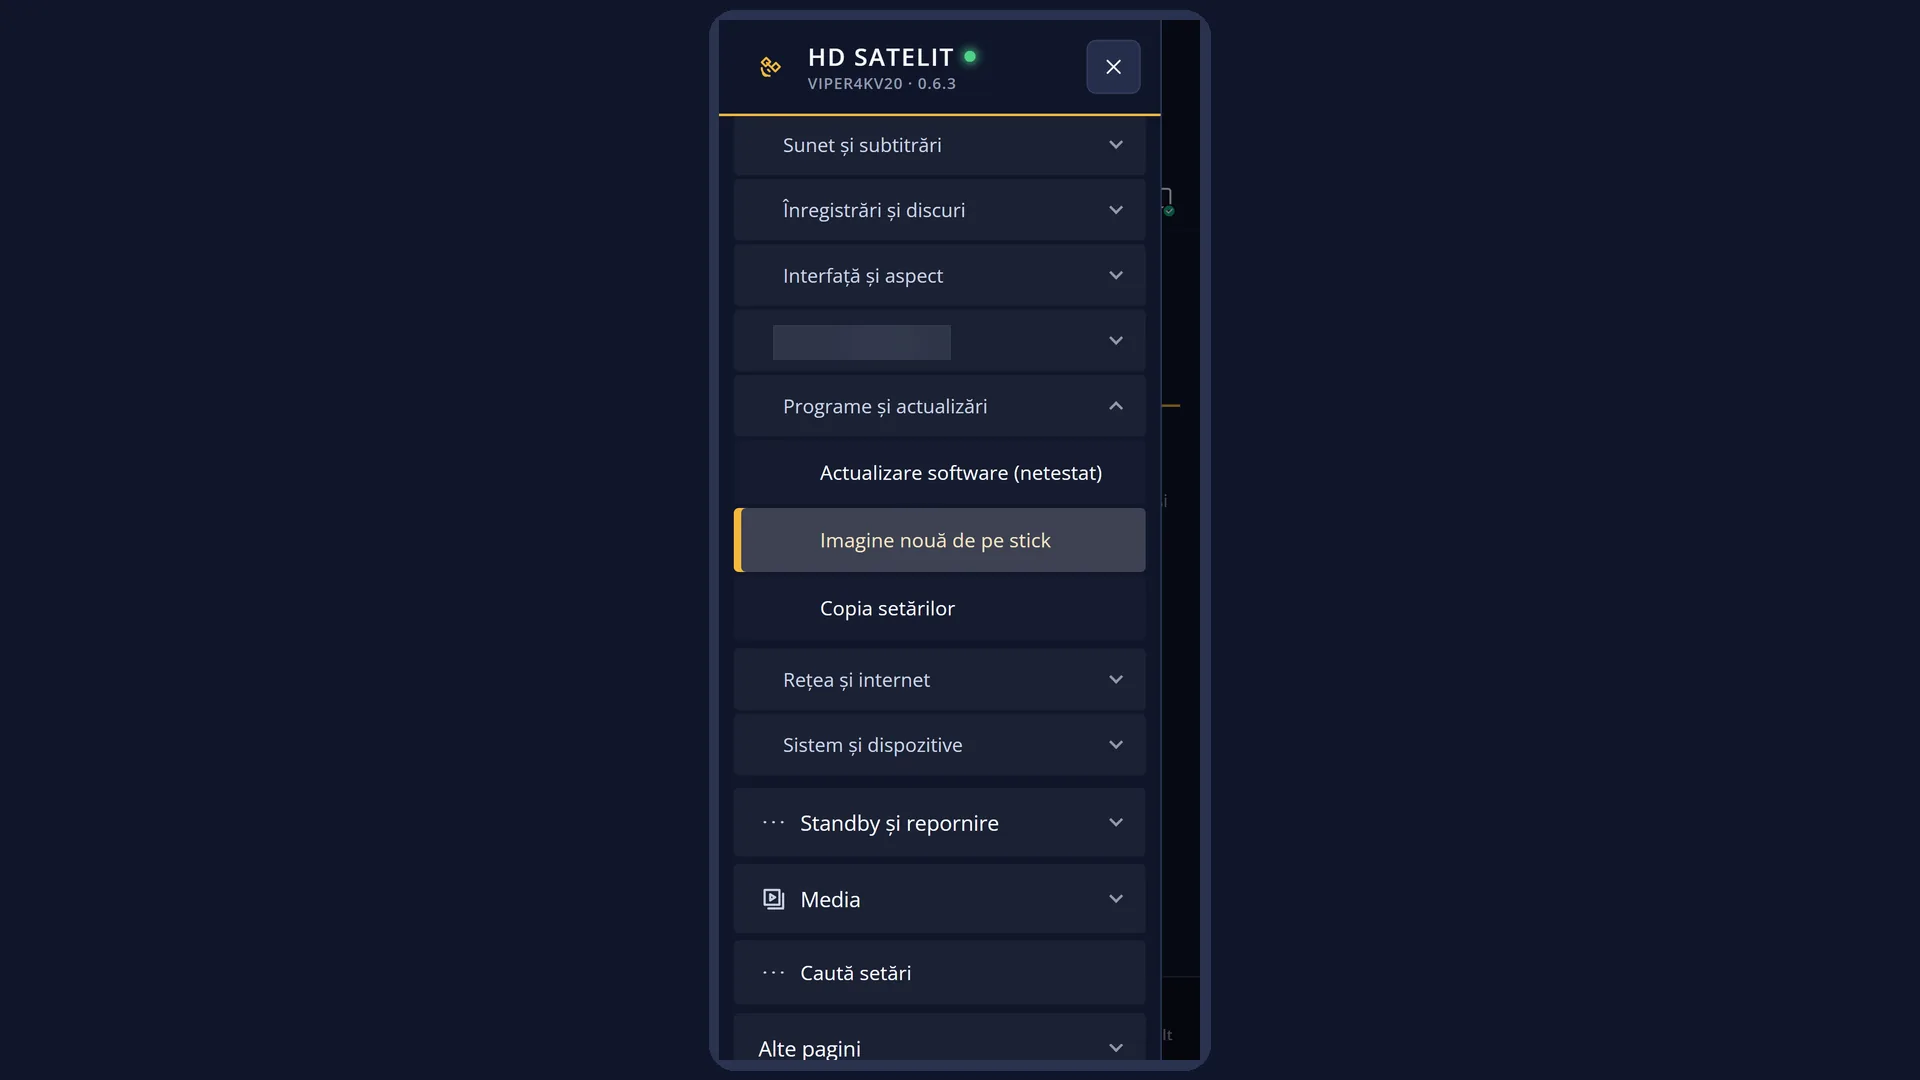
Screenshots are being added: so far 4 from the receiver and 6 from the web interface; the aim is at least 5 of each, with arrows and frames, and, where a setting changes what you see, a before and after comparison.
English screenshots coming: some of the pictures below still show the receiver and the web interface in Romanian. The rows, keys and steps described on this page are the English ones.
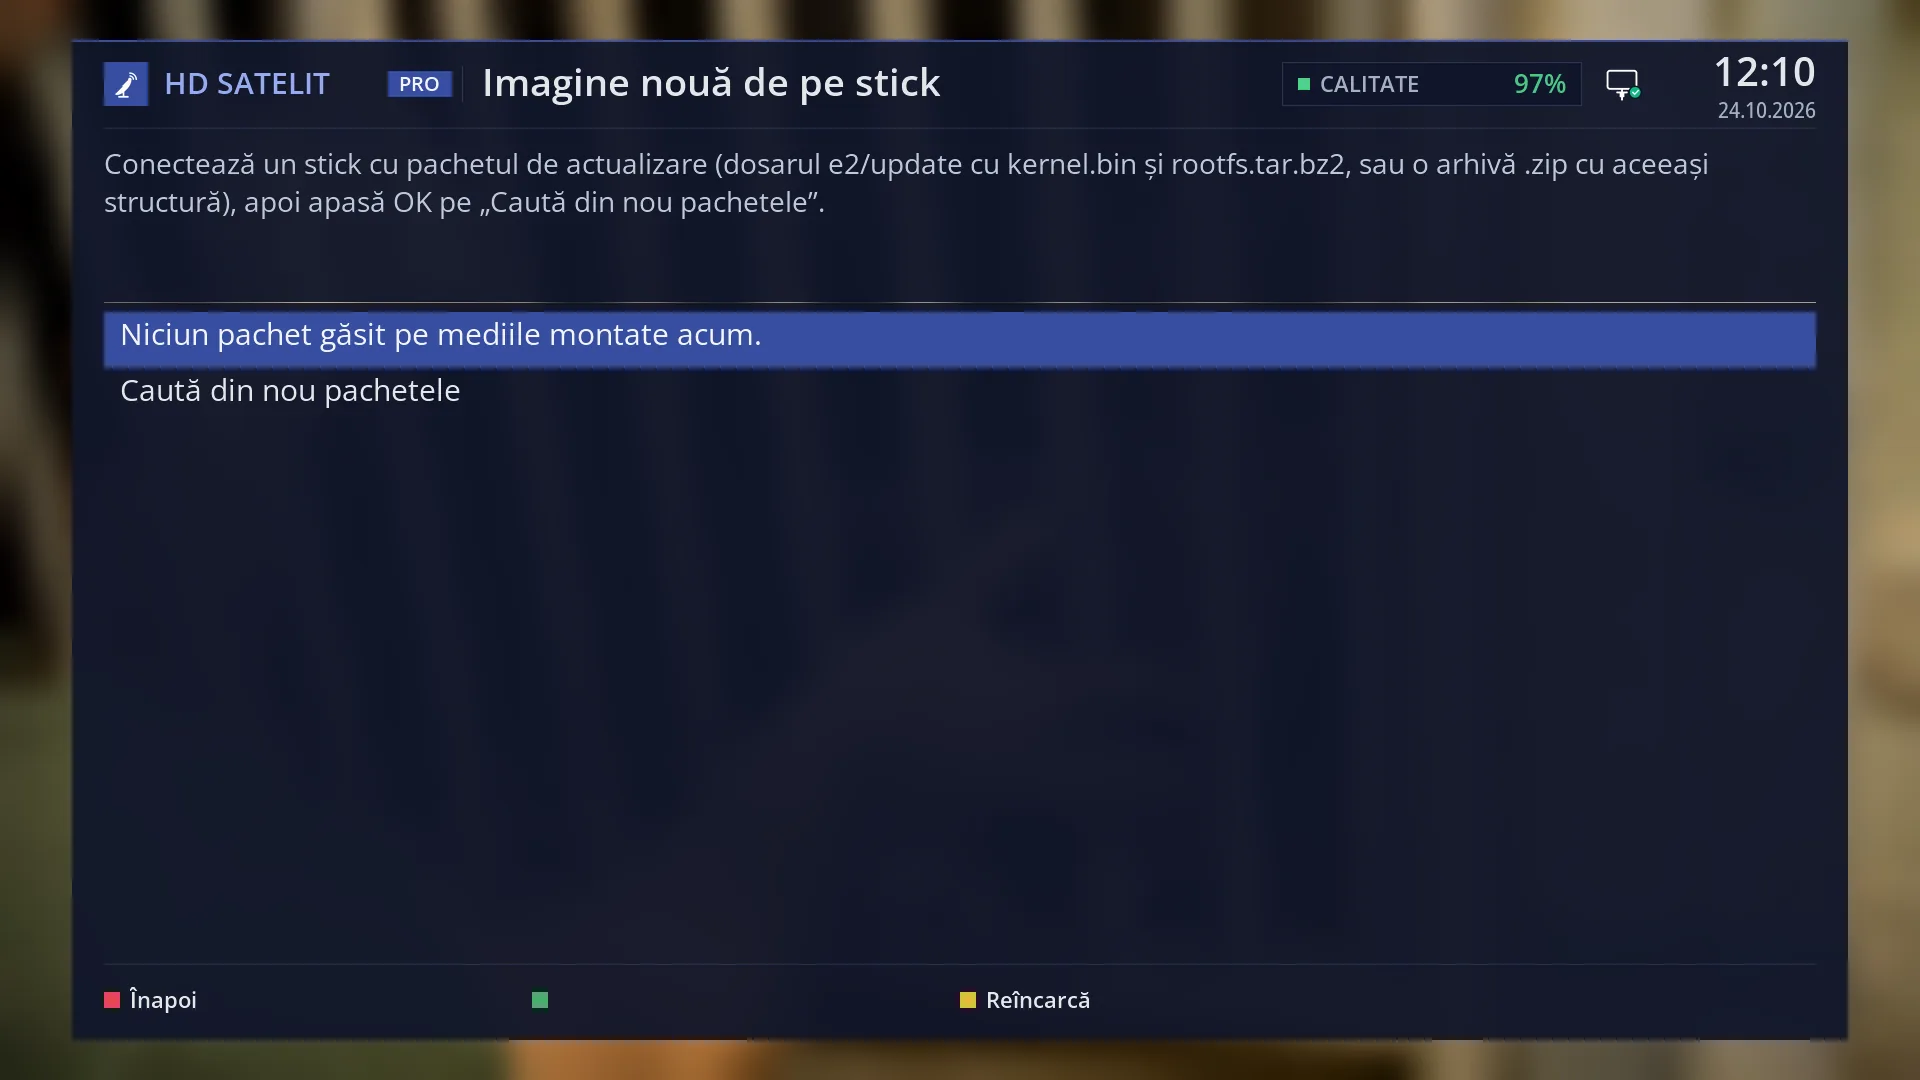
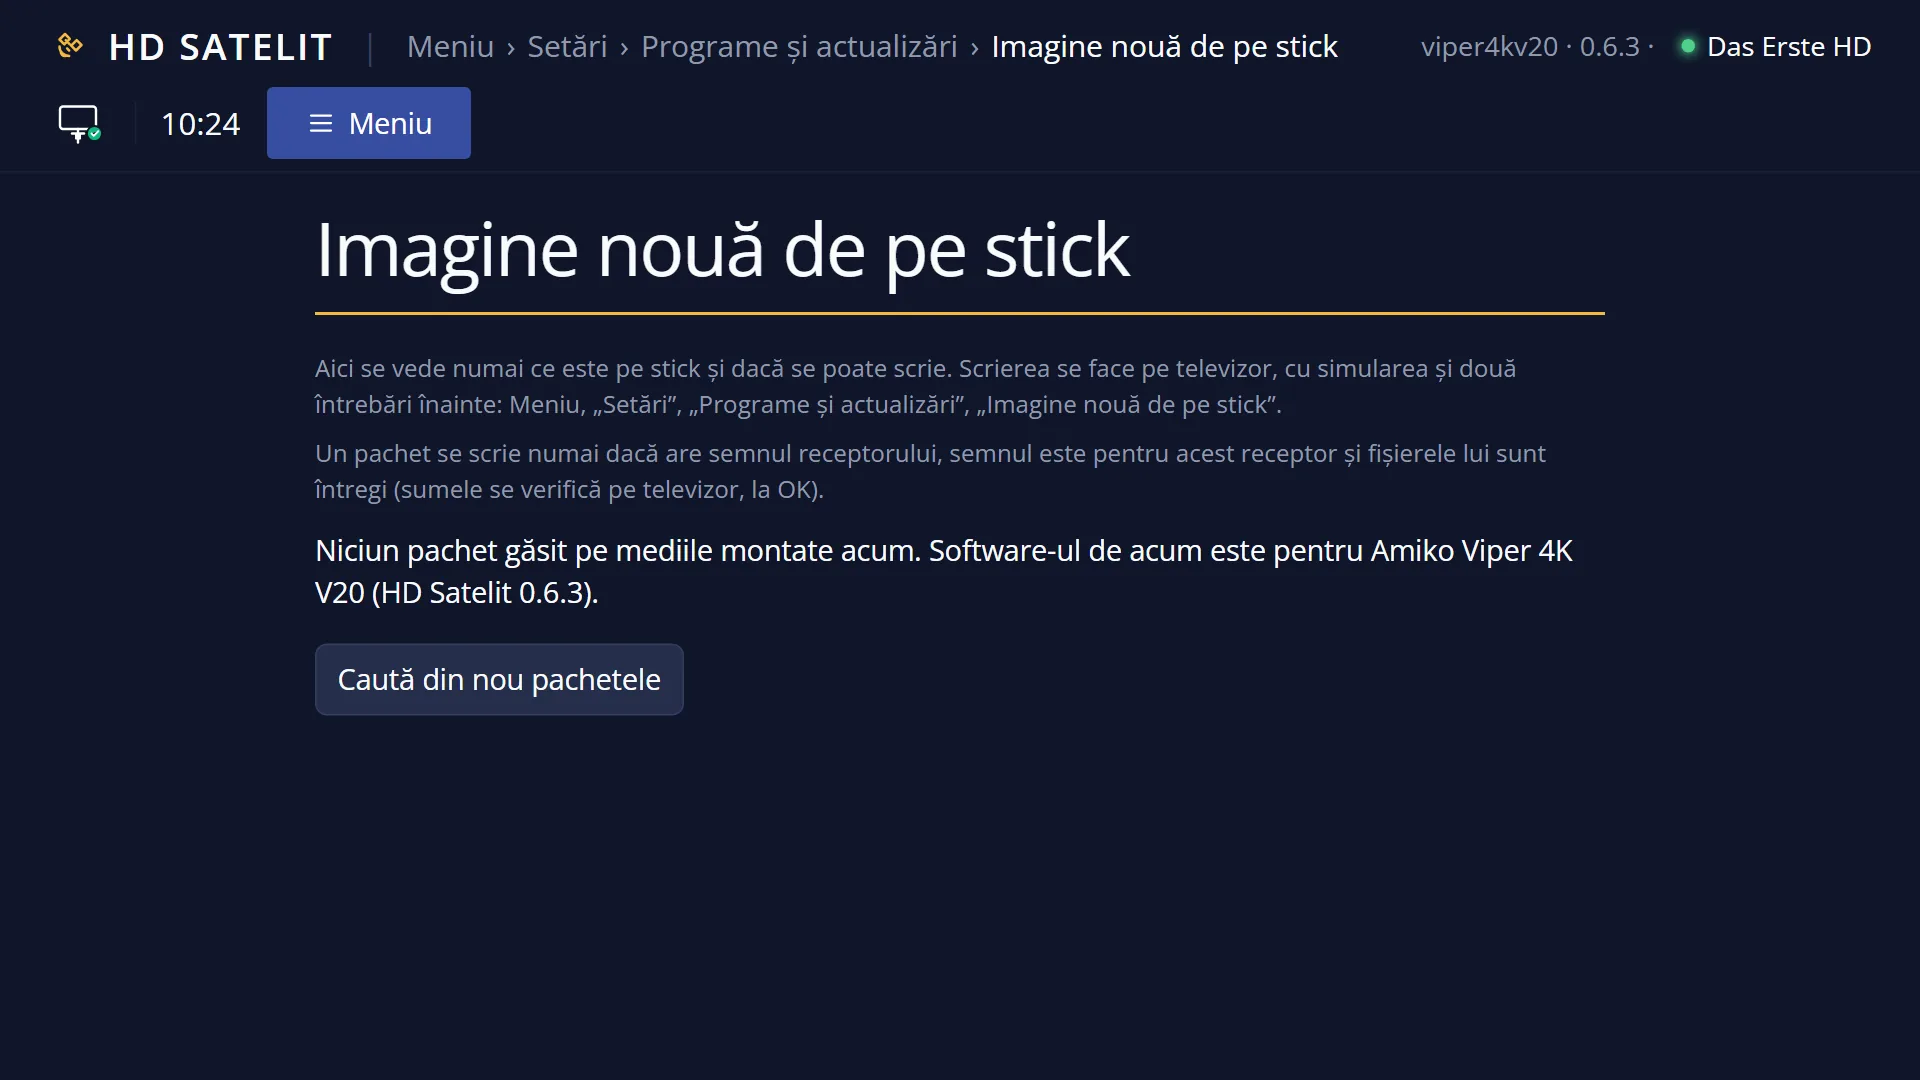
- 1 The screen title, signal quality, time and date.
- 2 The status line: what was found, or how to put the package on the USB stick.
- 3 The package list: here, no package found.
- 4 “Search for packages again” rebuilds the list.
- 5 The keys: RED back, GREEN check, YELLOW reload.
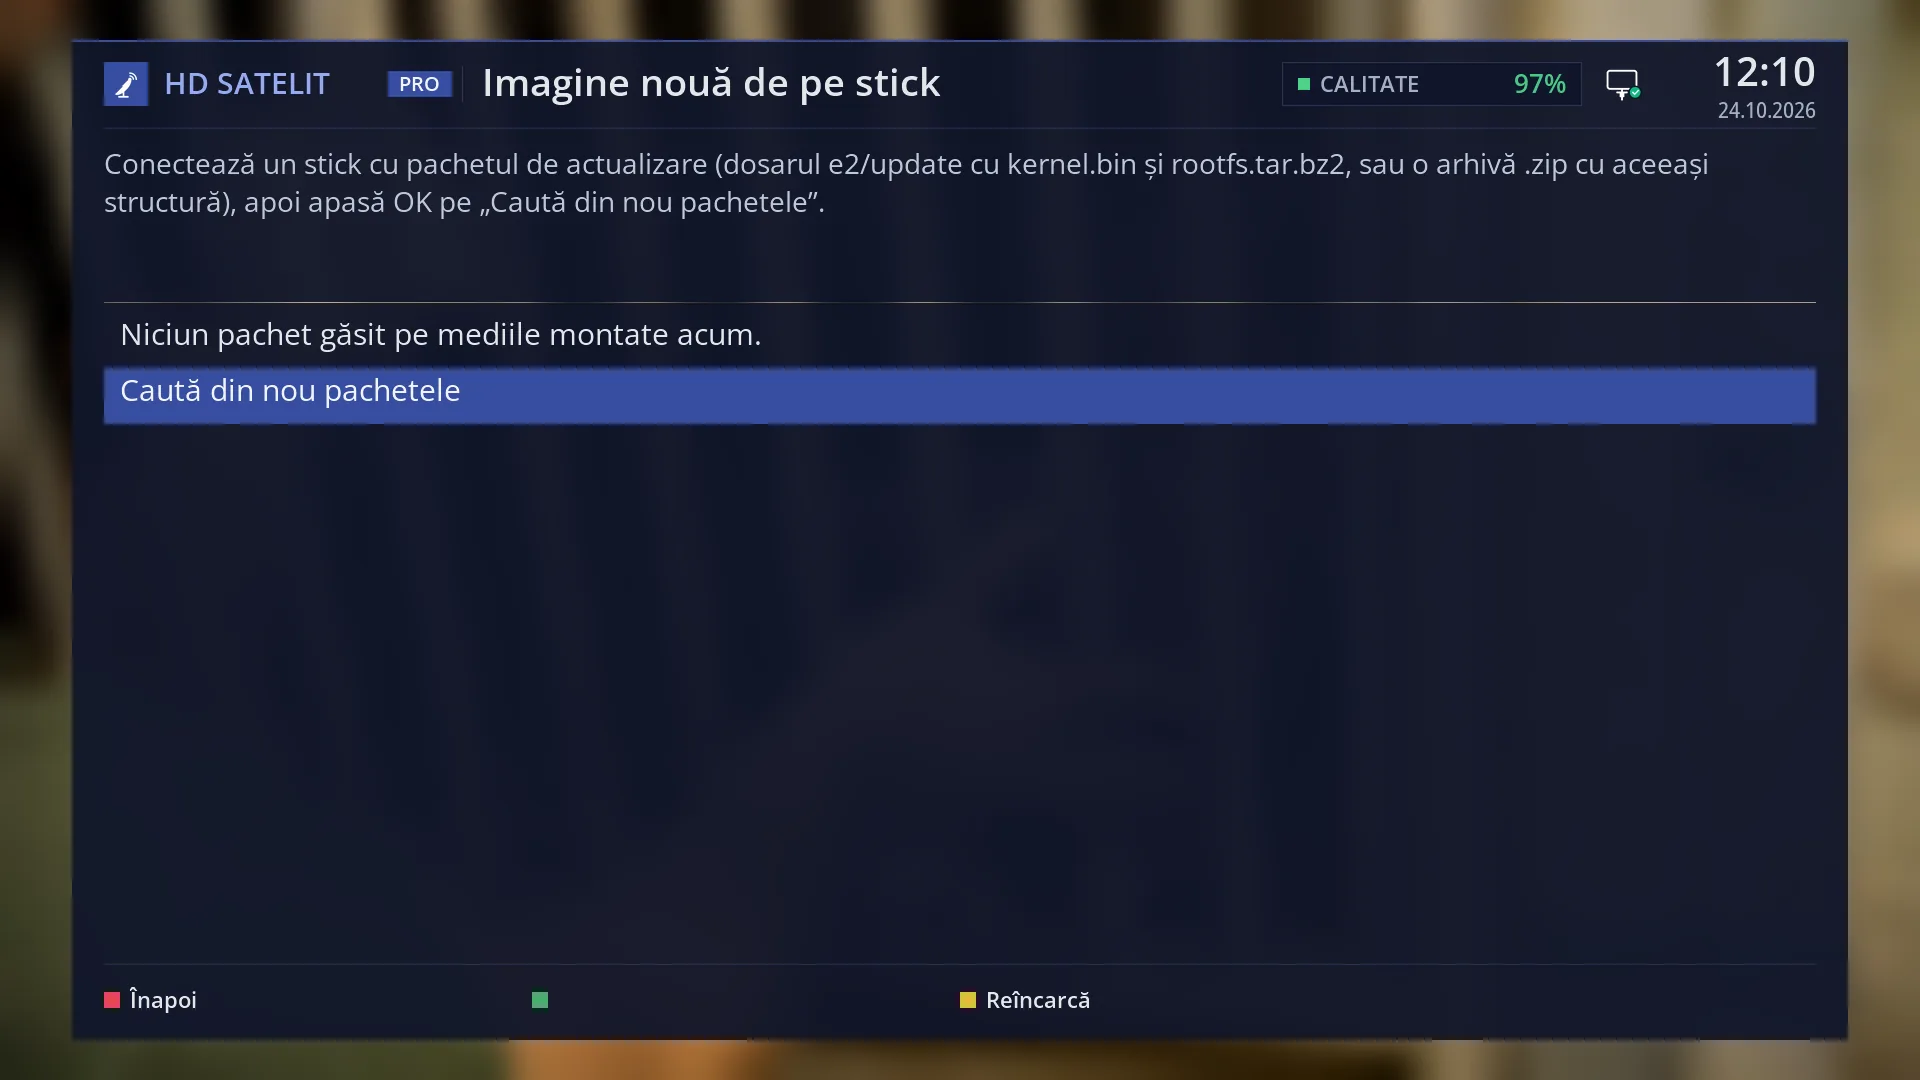
- 1 OK on the row searches for packages again.
What it is for
You can put a complete new image (the kernel and the system of the image) on the receiver from a USB stick. There are two ways, and it is worth knowing both.
The way from the installation steps on the website, with GREEN at MENU: unzip the archive to the root of the USB stick, insert the USB stick into the blue port, restart the receiver completely (MENU 7 4), press GREEN when the front display shows MENU, and the display shows UPDT while the receiver writes. This is the way for the archive downloaded from the website, and it works whatever image you have now.
The way from this screen (MENU 6 8 2): the screen looks on the USB stick for the e2/update folder or a .zip archive in the root of the USB stick, checks the package and writes it itself, after a simulation and two questions, without GREEN at MENU. However, it writes ONLY a package that has the receiver mark: the package must be made for this receiver and its files must be intact. A package without the mark (for example the e2/update folder of the archive from the website, or an image from someone else) stays in the list with “not written: no receiver mark” and is not written.
Both ways, writing replaces your current image, together with the settings and the channel list. First make a copy in “Settings copy” (MENU 6 8 3) on the same USB stick: after writing, with the USB stick in the receiver, it is restored by itself.
Normal new versions come over the internet, through “Software update” (MENU 6 8 1), without a USB stick.
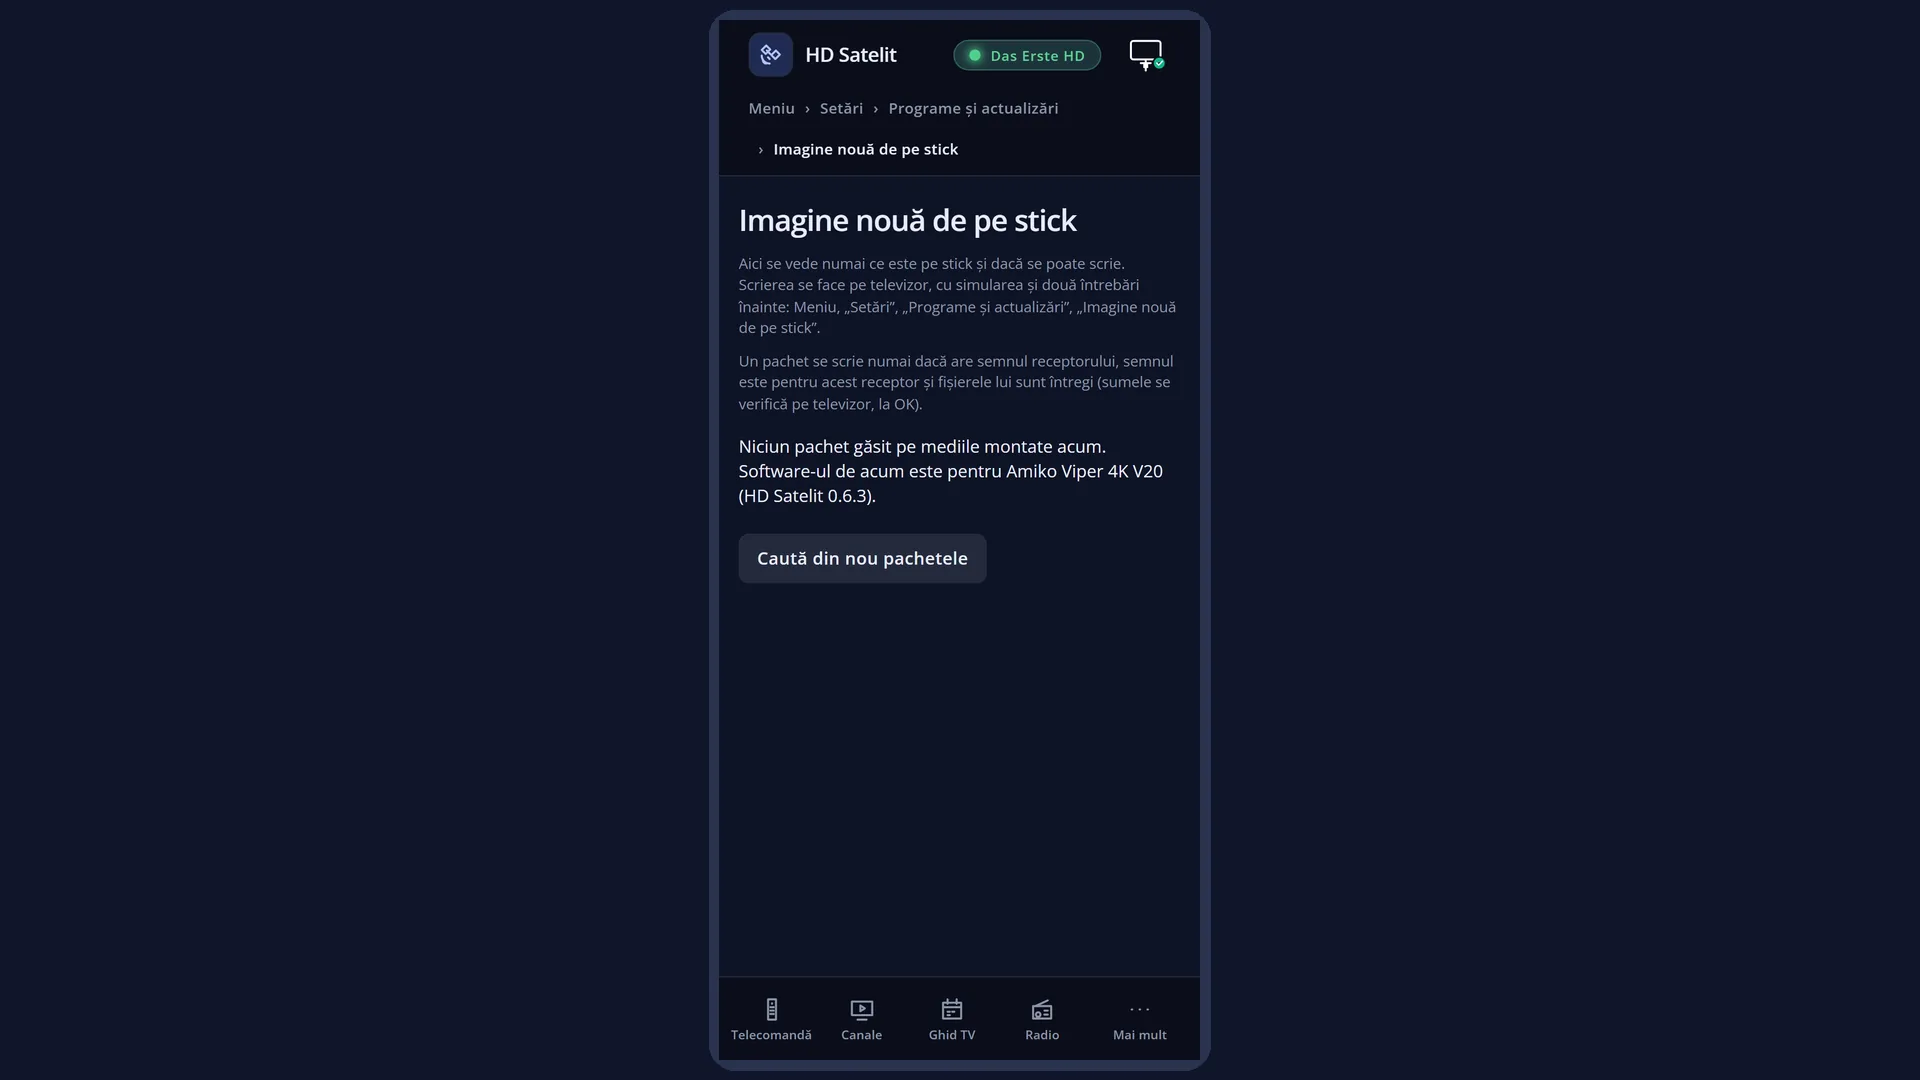
In the web interface, the /actualizare page shows the same packages and whether they can be written. Writing is only done from the TV.
How to get here
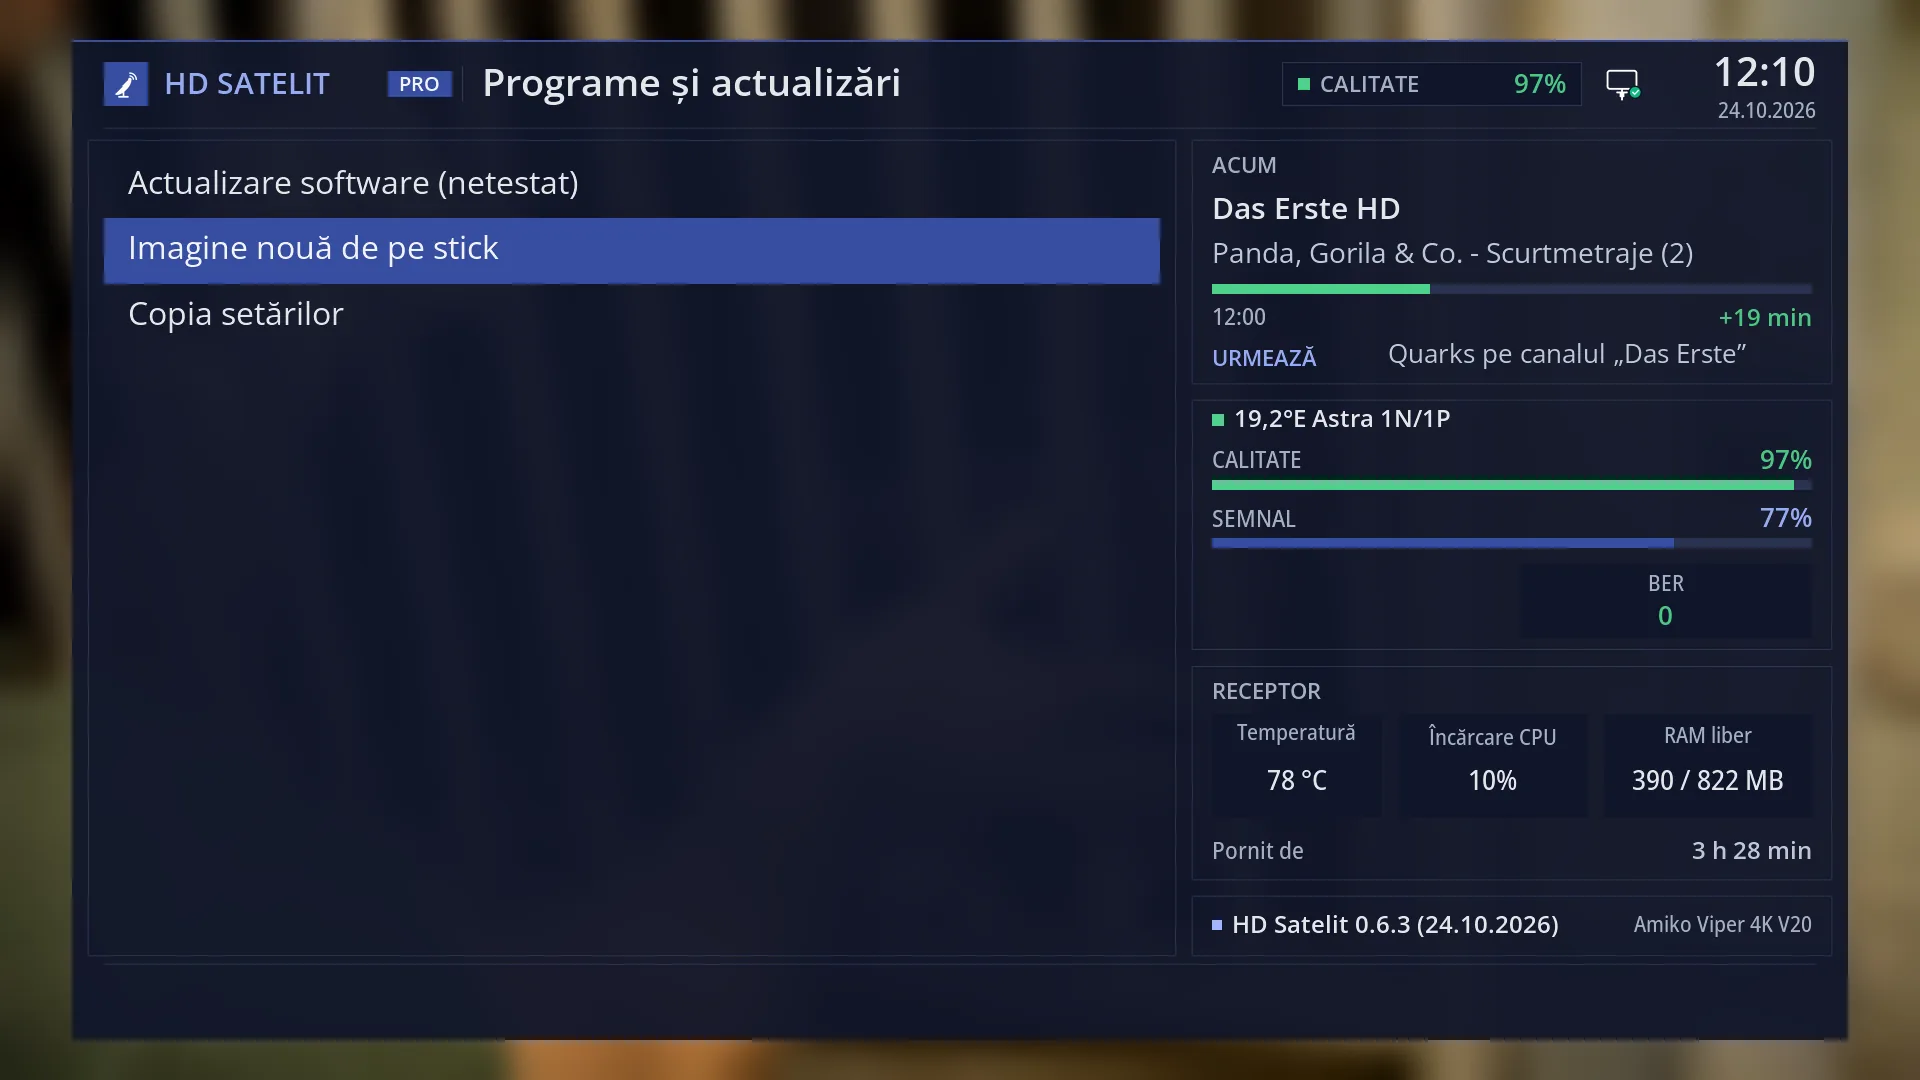
Path: Main menu > Settings > Software & Firmware > New image from USB stick (the second row).
Keys on the TV: MENU 6 8 2.
The way with GREEN at MENU has no screen in the menu: it starts when the receiver restarts completely (MENU 7 4), with the USB stick in the blue port.
In the web interface: the /actualizare page (read only).
What you see on the screen
At the top, the title “New image from USB stick” (in the Pro theme, also the signal quality), the time and the date.
Below the title, the status line: what was found (“Packages found: 1. Choose one and press OK to check it.”), what the screen is doing now or what happened. Without a package it says: “Connect a USB stick with the update package (the e2/update folder with kernel.bin and rootfs.tar.bz2, or a .zip archive with the same structure), then press OK on “Search for packages again”.”
The list of packages found on all inserted USB sticks and disks. Each row starts with the verdict (“for this receiver, checked at OK” or “not written: …”), then the package name (“the e2/update folder” or the name of the .zip archive), the version written in the package and the USB stick it is on. Without a package, the row is “No package found on the media mounted now.”. The last row is always “Search for packages again”.
During and after the simulation, the list is replaced by the text of the writing program (in small letters, in English), with “Exit code” at the top and a note at the end that nothing was written during the simulation, even if the text says “Successfully flashed”.
At the bottom, the keys: RED “Back”, GREEN “Check the package” or, after a successful simulation, “Write to receiver”, YELLOW “Reload”.
The windows: “Checking the package” (the question before the simulation), “The package is not written” (a package refused, with the reason), “Writing is stopped” (the package is not on a USB stick), “Last confirmation” (the question before writing) and, if the backup copy could not be made, “Continue without a copy?”.
Rows and settings
| Row | Values | Default | What it does |
|---|---|---|---|
| A package in the list | for this receiver, checked at OK, not written: no receiver mark, not written: for another receiver, not written: the package mark is damaged, not written: package damaged or changed, not written: the receiver cannot be checked | A package found: the e2/update folder in the root of a USB stick or disk (with the kernel and the system of the image), or a .zip archive in the root that contains the same folder. The amiko/viper4kv20 folder is not read here: it is used by the way with GREEN at MENU. The verdict comes from the package mark, compared with the receiver: which model it is for, which processor, which board and which memory layout it needs. OK or GREEN on a package “for this receiver” opens the question “Checking the package”. On a refused package it opens the window “The package is not written”, with the reason, and the top line says “Not written: … Nothing was written to the receiver.”. | |
| Search for packages again | Searches the inserted USB sticks and disks for packages again. The YELLOW “Reload” key does the same. After you insert the USB stick or copy the package onto it. | ||
| Checking the package | Yes, check the package, No | Yes, check the package | The question names the package and says that only a simulation is done now, with no writing at all. After “Yes”: the package is copied to a clean folder on the same USB stick (“Takes up to a minute”, so the USB stick needs as much free space as the package), the mark and the checksums of the files are checked again (“Takes a few seconds”), then the writing program runs a simulation. The files must be on a USB stick. Nothing is ever written from a memory card or from the receiver's memory (“Writing is stopped”). |
| Simulation result | The package was recognized correctly, ofgwrite did not recognise the package correctly | Recognised correctly: the writing program found the kernel, the system and their places in the receiver's memory, without any error. The top line says “The package was recognised correctly: the kernel, the system and their partitions were found. Press OK or Green to write it to the receiver.”, and GREEN becomes “Write to receiver”. Otherwise it says that the package is not written and shows the program's messages; GREEN does not appear. | |
| Last confirmation | Yes, write now, No | No | The last question: the new software is written now; do not unplug the receiver and do not remove the USB stick while it writes; the interface stops and the receiver restarts by itself at the end. It also says that the receiver has only one image in memory (no booting from several images), so if the new software does not start, it can only be repaired from a USB stick, through the receiver's update mode (Maintenance Mode), and which folder on the USB stick that mode looks in. If a recording is in progress, the top line shows “Note: a recording is in progress right now.”. |
| The copy made before writing | After “Yes, write now”, before writing, the screen copies the channels, bouquets, timers, settings and channel data to the USB stick, in a new folder with the date in its name (hds-backup-setari-…). This copy is NOT restored by itself: from it, “Import channels and settings” (MENU 1 5) brings back the channels, bouquets, timers and some of the settings by hand. For automatic restoring, first make a copy in “Settings copy” (MENU 6 8 3). If the copy cannot be made (USB stick full, damaged channel list), the question “Continue without a copy?” appears, with “No” selected. | ||
| Writing | The screen shows how many files were copied and “Writing has started (the interface may stop at any moment, that is normal).”, with the location of the writing log on the USB stick. The interface stops and the front display shows “UPD” while writing (the “Image update” message is on by default in the display settings). At the end the receiver restarts by itself with the new image. Only one write each time the screen is opened. |
Keys
| OK | On a package: checks it (or shows why it is not written). On “Search for packages again” or “No package found…”: searches again. After a successful simulation: opens “Last confirmation”. |
| GREEN | “Check the package” on the selected package; after a successful simulation, “Write to receiver” (opens “Last confirmation”). |
| YELLOW | “Reload”: searches for packages again and brings back the list. |
| RED or EXIT | “Back”: closes the screen. While the package is being copied and the checksums checked, closing stops the check. During the simulation the screen waits a few seconds and does not close. |
| UP / DOWN | In the list, they move the cursor. During and after the simulation, they scroll the program's text one page at a time. |
| UP / DOWN, OK, EXIT in the questions | In “Checking the package” and “Last confirmation”, the arrow keys choose between “Yes …” and “No”, OK confirms, EXIT means “No”. The window “The package is not written” closes with OK or EXIT. |
Step by step
Installing the archive from the website with GREEN at MENU (the installation steps)
- Take a USB stick of up to 32 GB, with a single FAT32 partition and at least 1 GB free. If it needs formatting, format it now, before the copy.
- Insert the USB stick into the receiver and make the copy: MENU 6 8 3, at “Copy location” choose the USB stick, then on “Make the copy now” press OK or GREEN.
- On the computer, download the archive, check the SHA-256 checksum and unzip it to the root of the USB stick: the amiko/viper4kv20 and e2/update folders and the two text files must be directly in the root, not in a folder named after the archive. Remove the USB stick safely.
- Insert the USB stick into the receiver's blue USB port (USB 3.0).
- Restart the receiver completely: MENU 7 4 (unplugging it also works, but is not needed).
- Watch the front display. When it shows MENU, press GREEN, with the remote pointed at the receiver.
- The display shows UPDT: the receiver writes the image for a few minutes. Do not press anything, do not cut the power and do not remove the USB stick.
- The receiver restarts by itself with the new image. The copy made in step 2 is restored by itself, without a question. If the USB stick has a copy from another image, answer “I found the channels and settings from another image. Shall I bring them over?”.
- Check the version: MENU 4 1 (About the image).
Writing a package that has the receiver mark from the menu
- First make the settings copy on the USB stick: MENU 6 8 3, “Make the copy now”.
- Put the package's e2/update folder on the USB stick (or its .zip archive, in the root of the USB stick) and insert the USB stick into the receiver.
- Press MENU 6 8 2. The package's row must start with “for this receiver, checked at OK”.
- Press OK and confirm “Yes, check the package”. Wait for the copying, the checksums and the simulation.
- When the top line says “The package was recognized correctly”, press GREEN “Write to receiver”.
- At “Last confirmation”, press UP to go to “Yes, write now” and press OK.
- The interface stops and the display shows “UPD”. Do not cut the power or remove the USB stick. The receiver restarts by itself with the new image, and the copy from the first step is restored by itself.
Checking what is on the USB stick from your phone
- Open the receiver's web interface and go to /actualizare.
- Each package has a box with the verdict (green: can be written; yellow: not written) and, if refused, the full reason.
- “Search for packages again” rebuilds the list. You do the writing on the TV, with MENU 6 8 2.
Problems and solutions
The display shows UPDT, but the receiver restarts in less than a minute and the old image is still there.
The receiver did not find the image in the folder it looks in, so it wrote nothing. Check on the computer that the amiko and e2 folders are directly in the root of the USB stick. If it still does not work, also copy the same three image files into a dinobot/u57 folder.
On the USB stick, the amiko and e2 folders ended up in a folder named after the archive.
Move them, together with the two text files, directly to the root of the USB stick and delete the empty folder left behind.
The display never gets to MENU, or the receiver starts the old image.
Restart the receiver once more (MENU 7 4 or by unplugging it) and press GREEN as soon as the display shows MENU, with the remote pointed at the receiver.
The USB stick is not read.
Use a USB stick of up to 32 GB, with a single FAT32 partition, inserted into the blue port.
The new image does not start and the receiver stays on the logo.
Write the image once more, the same way, from the USB stick. If it still does not start, restore the image you had before, also from the USB stick (see the problem below and “Receiver recovery” on the receiver's page on the website).
I want the previous image back.
It is done the same way, from the USB stick, with GREEN at MENU, using the files of the other image (the kernel, the system and the version file, if it has one). After the HD Satelit image, the receiver looks in the amiko/viper4kv20 folder, so put the files there, even if the other image's archive has them in a different folder (for example e2/update). First make the settings copy.
The channels were not brought over at the first start.
A copy from another image: Main menu > Channel scan > Import channels and settings (MENU 1 5), with the USB stick in the receiver. A copy made in “Settings copy”: MENU 6 8 3, choose the copy and press YELLOW.
The package shows “not written: no receiver mark” (for example the e2/update folder of the archive from the website).
The package does not have the receiver mark, so this screen does not write it and has written nothing. Write the archive from the website with GREEN at MENU, as in the installation steps.
The package shows “not written: for another receiver”.
The window says which receiver the package is for and which receiver you have. Get the archive made for the Amiko Viper 4K V20. See also “Software for another receiver”.
The package shows “not written: package damaged or changed” or “the package mark is damaged”.
A file was damaged while downloading or copying. Download the archive again, check the SHA-256 checksum and copy the package to the USB stick again.
You see “Writing is stopped: the image files are not on a USB stick” (or “are in the receiver's internal memory”).
The package must be on a USB stick inserted into the receiver, not on a memory card and not in the receiver's memory. Copy it to a USB stick and try again. Nothing was written.
You see “Not enough space on … to unpack.”.
The screen copies the package to the same USB stick before checking it, so the USB stick needs at least as much free space as the package. Free up space and try again.
After the simulation it says “ofgwrite did not recognise the package correctly”.
The package is not written. Copy it to the USB stick again and press YELLOW, then check it again. If it stays the same, install the image with GREEN at MENU.
You see “The backup copy could not be made (…). Continue without a copy?”.
Leave “No” (selected by default). Free up space on the USB stick or make the copy from MENU 6 8 3, then press GREEN again. With “Yes”, writing goes ahead and the channels and settings are lost.
The list says “No package found on the media mounted now.”, even though the USB stick has the image.
The screen only looks for the e2/update folder in the root of the USB stick and for .zip archives in the root; it does not read the amiko/viper4kv20 folder. Check the USB stick, insert it again and press YELLOW.
EXIT does not close the screen.
During the simulation the screen waits a few seconds until the program finishes. After that, EXIT works.
Related topics
- Installation steps on the Amiko Viper 4K V20: /receptoare/amiko-viper-4k-v20/descarca/
- Settings copy
- Restart Box
- Software update
- What's new
- Software for another receiver
- Channels from another image
- Import channels and settings
- Front display
- About the image
- Matching web page: /actualizare.