

VPN
English screenshots coming: some of the pictures below still show the receiver and the web interface in Romanian. The rows, keys and steps described on this page are the English ones.
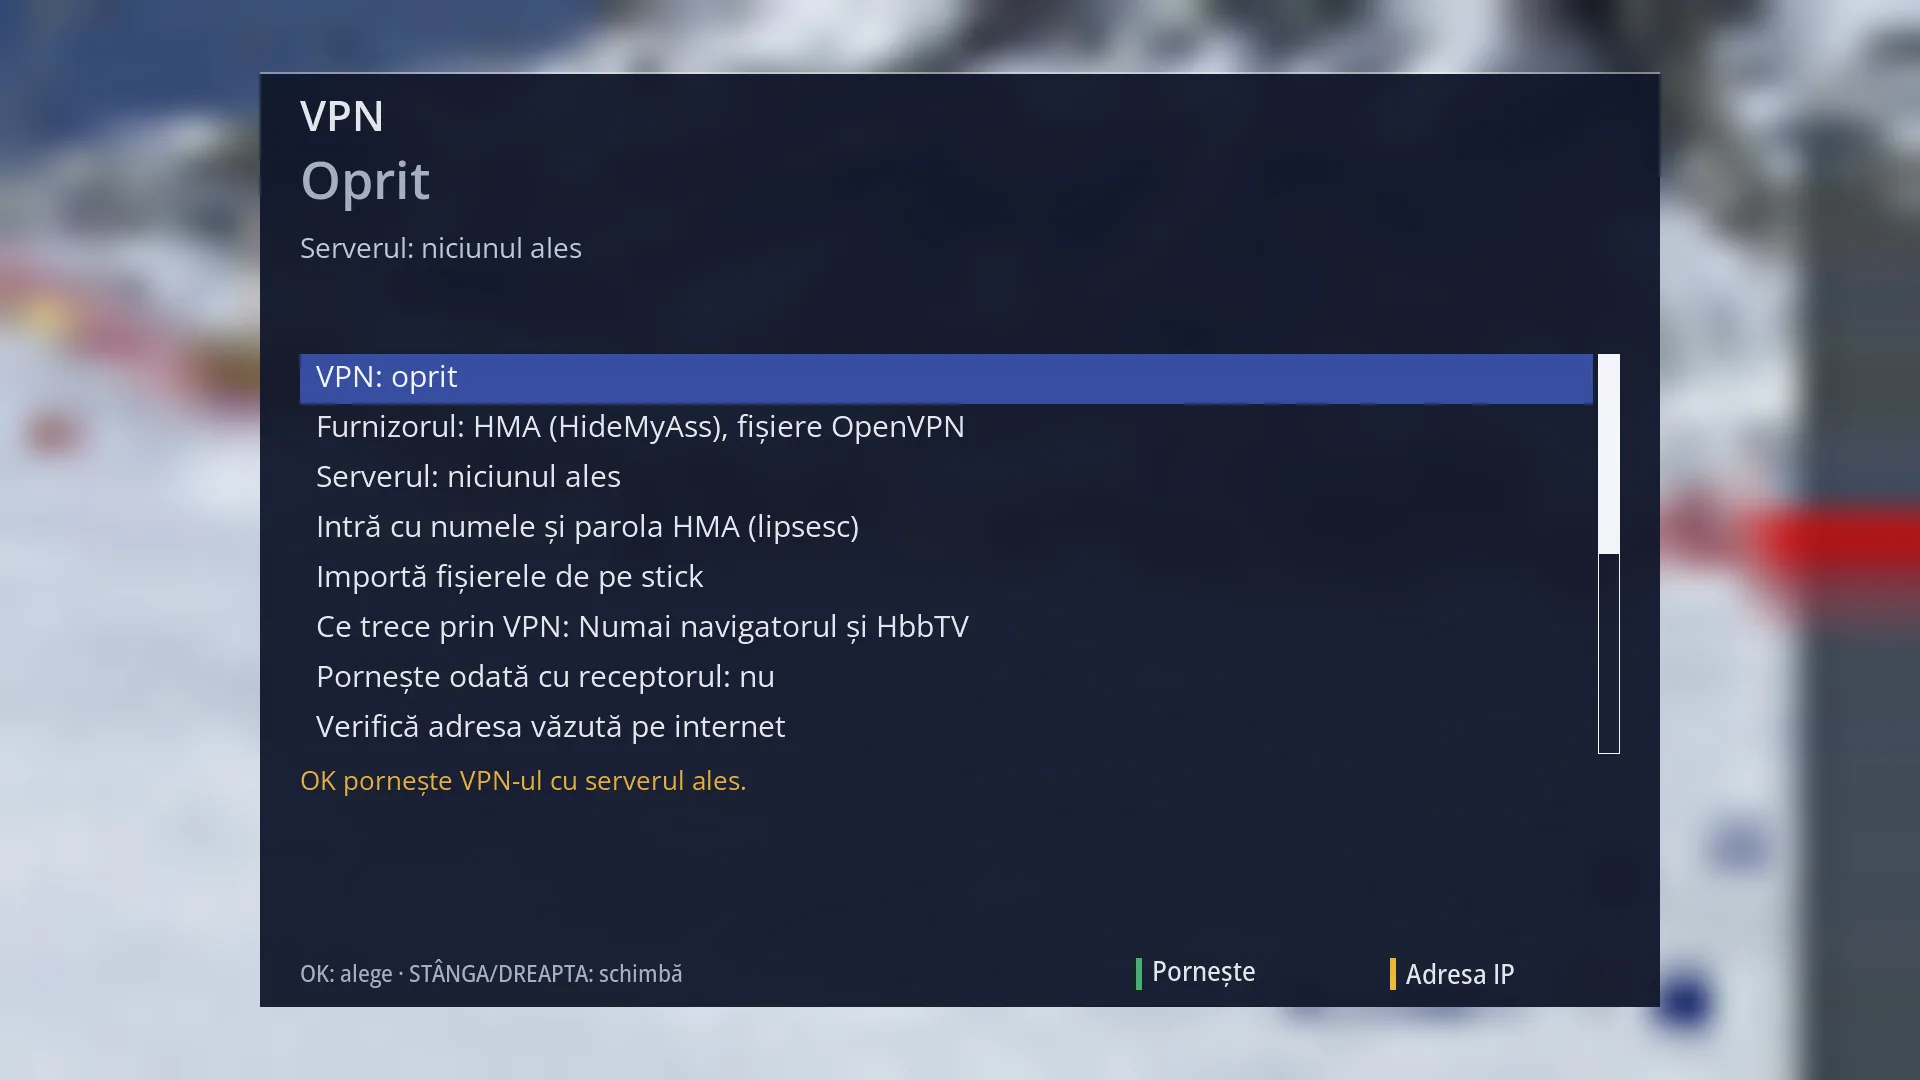
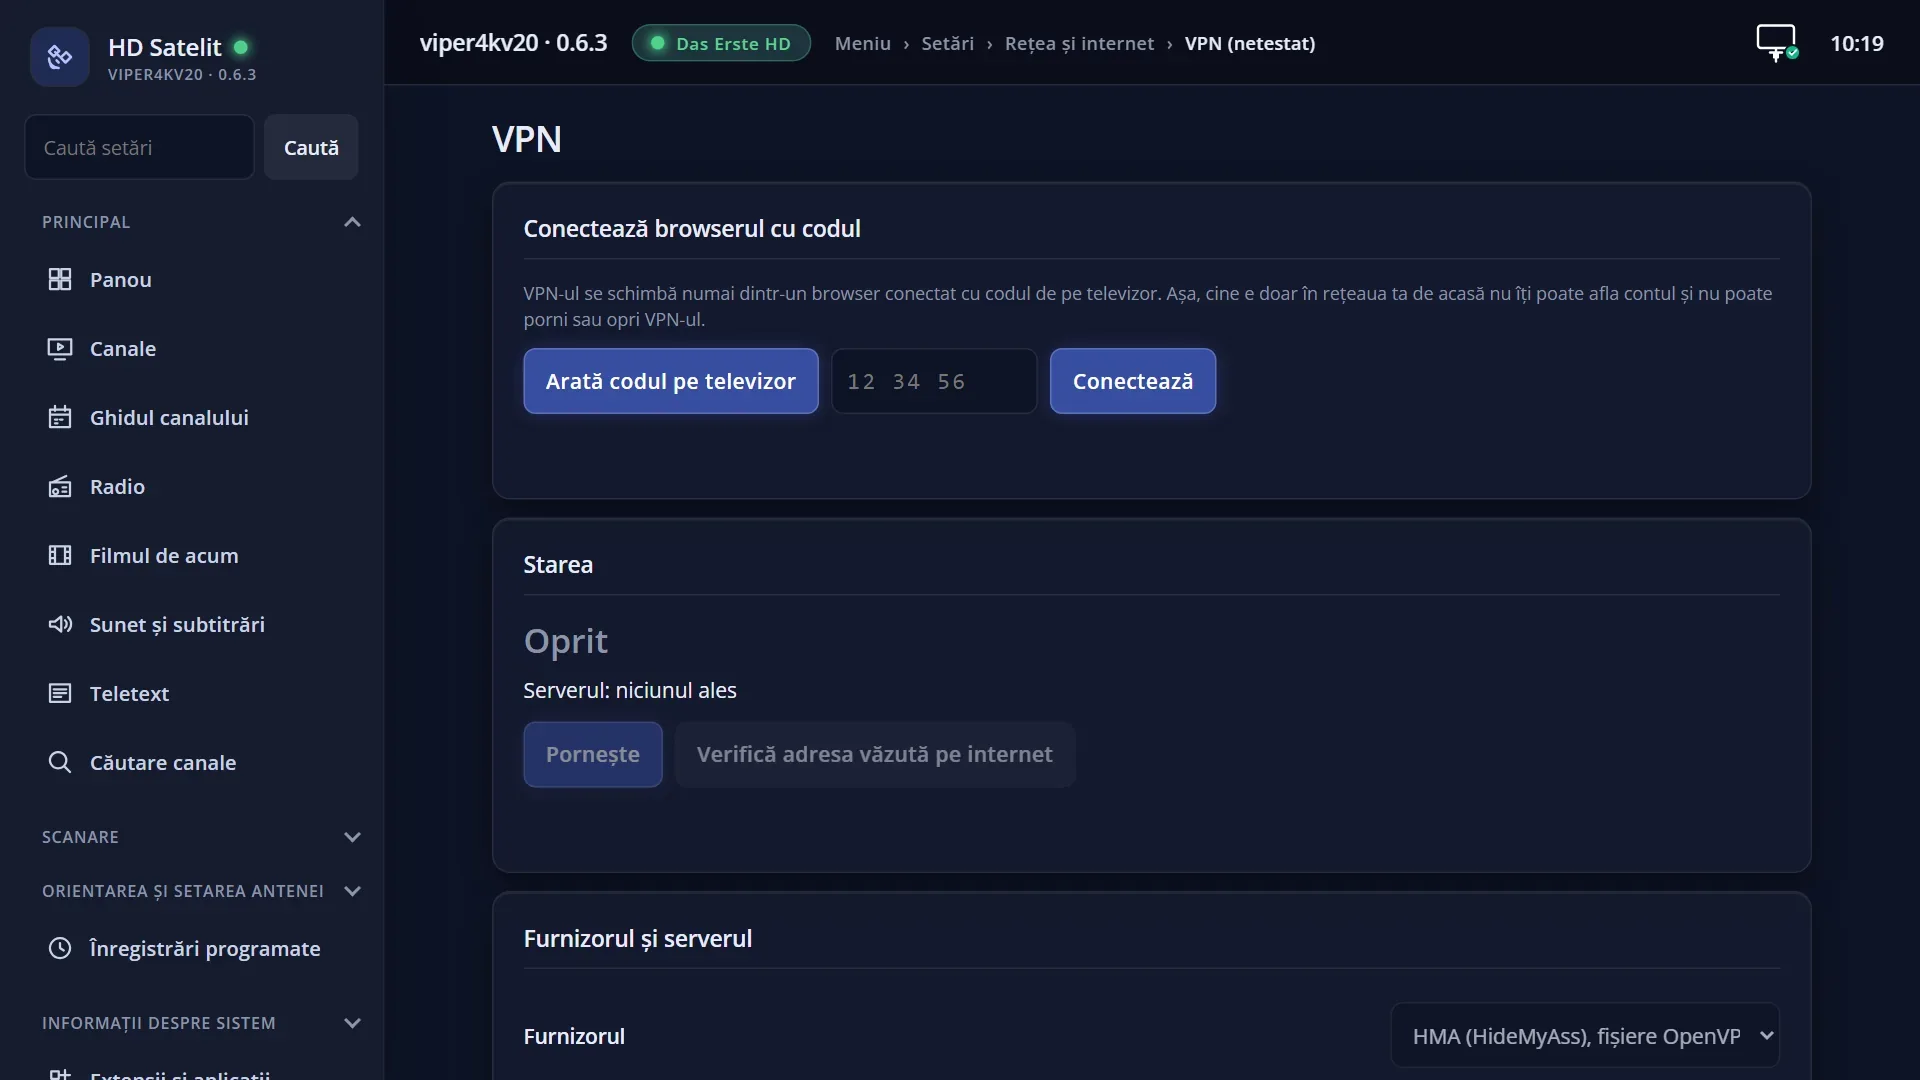
- 1 The large status: Off, Connecting..., Connected or a problem.
- 2 The server, what goes through the VPN and the address seen on the internet.
- 3 The rows: start, provider, server, account, import, what goes through the VPN, options.
- 4 The explanation of the selected row.
- 5 GREEN starts or stops the VPN, YELLOW finds the address seen on the internet.
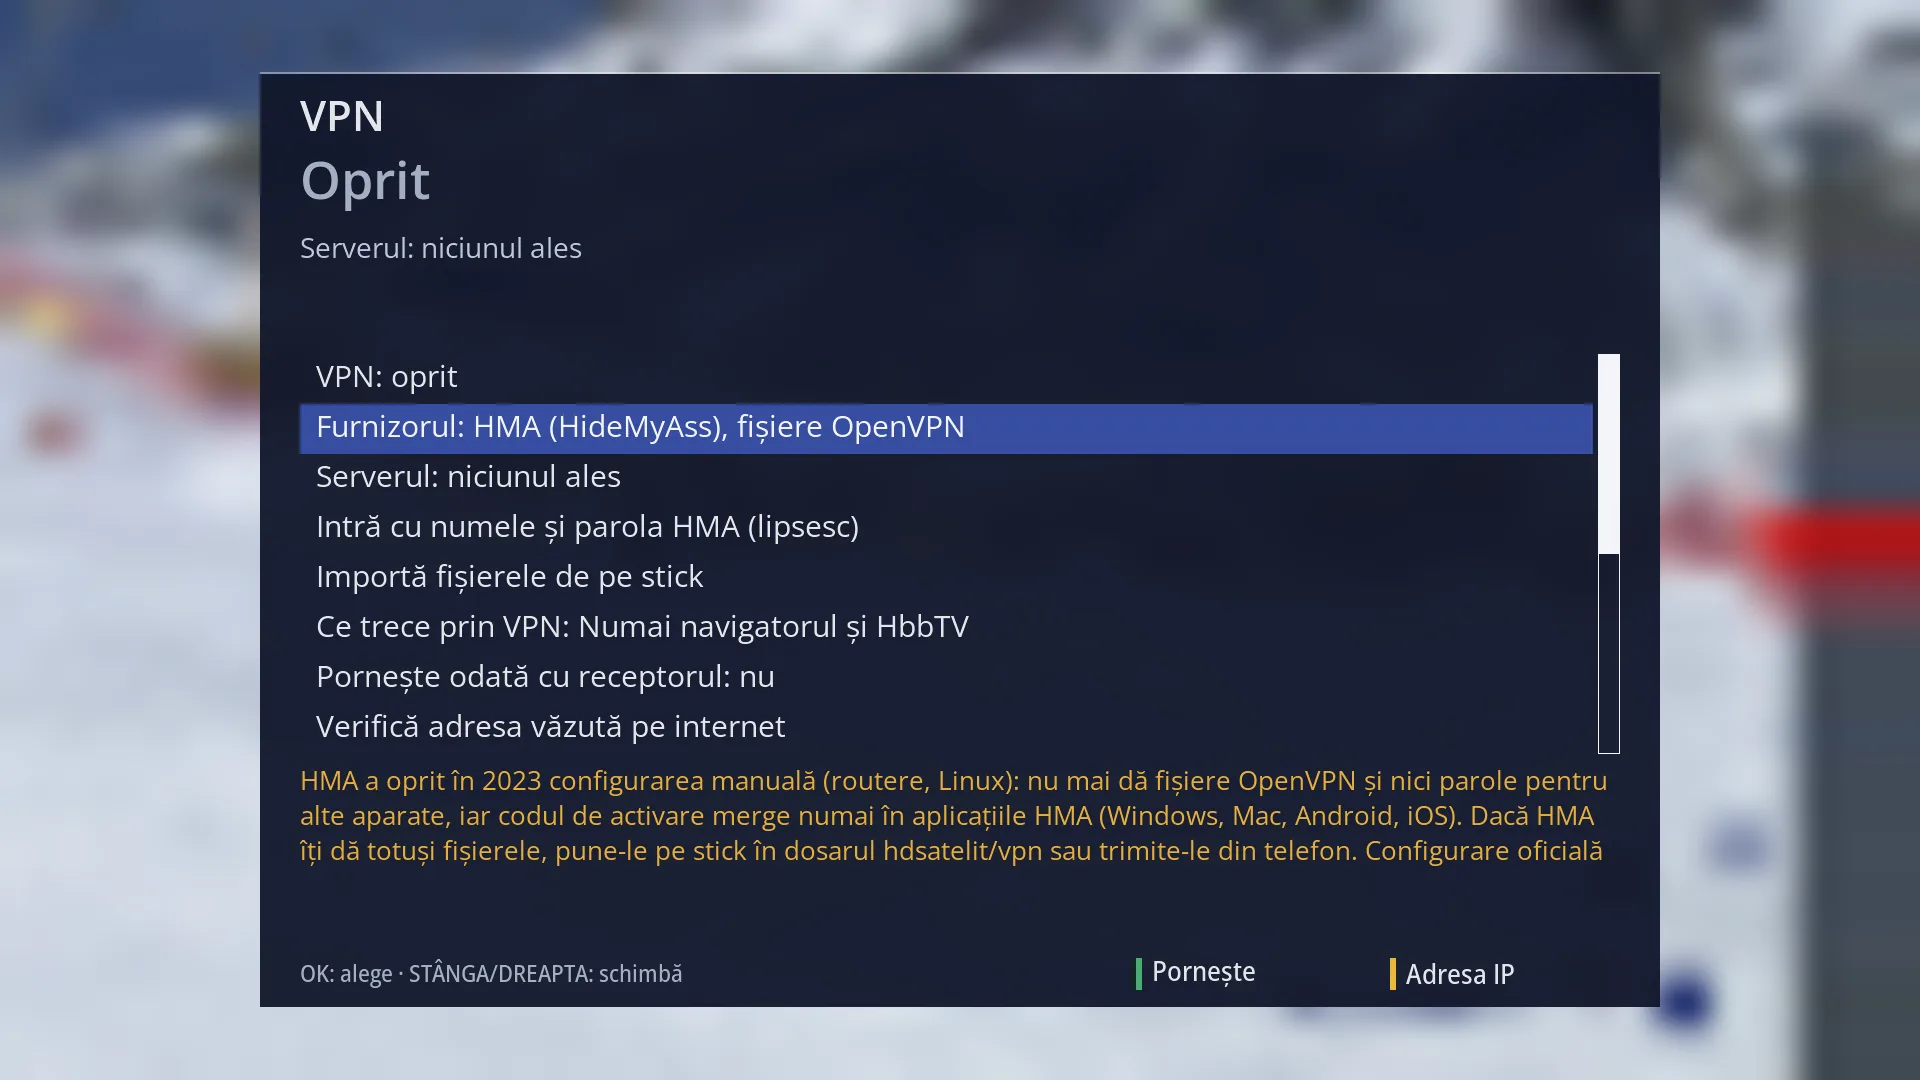
- 1 The selected row: “Provider: HMA (HideMyAss), OpenVPN files”.
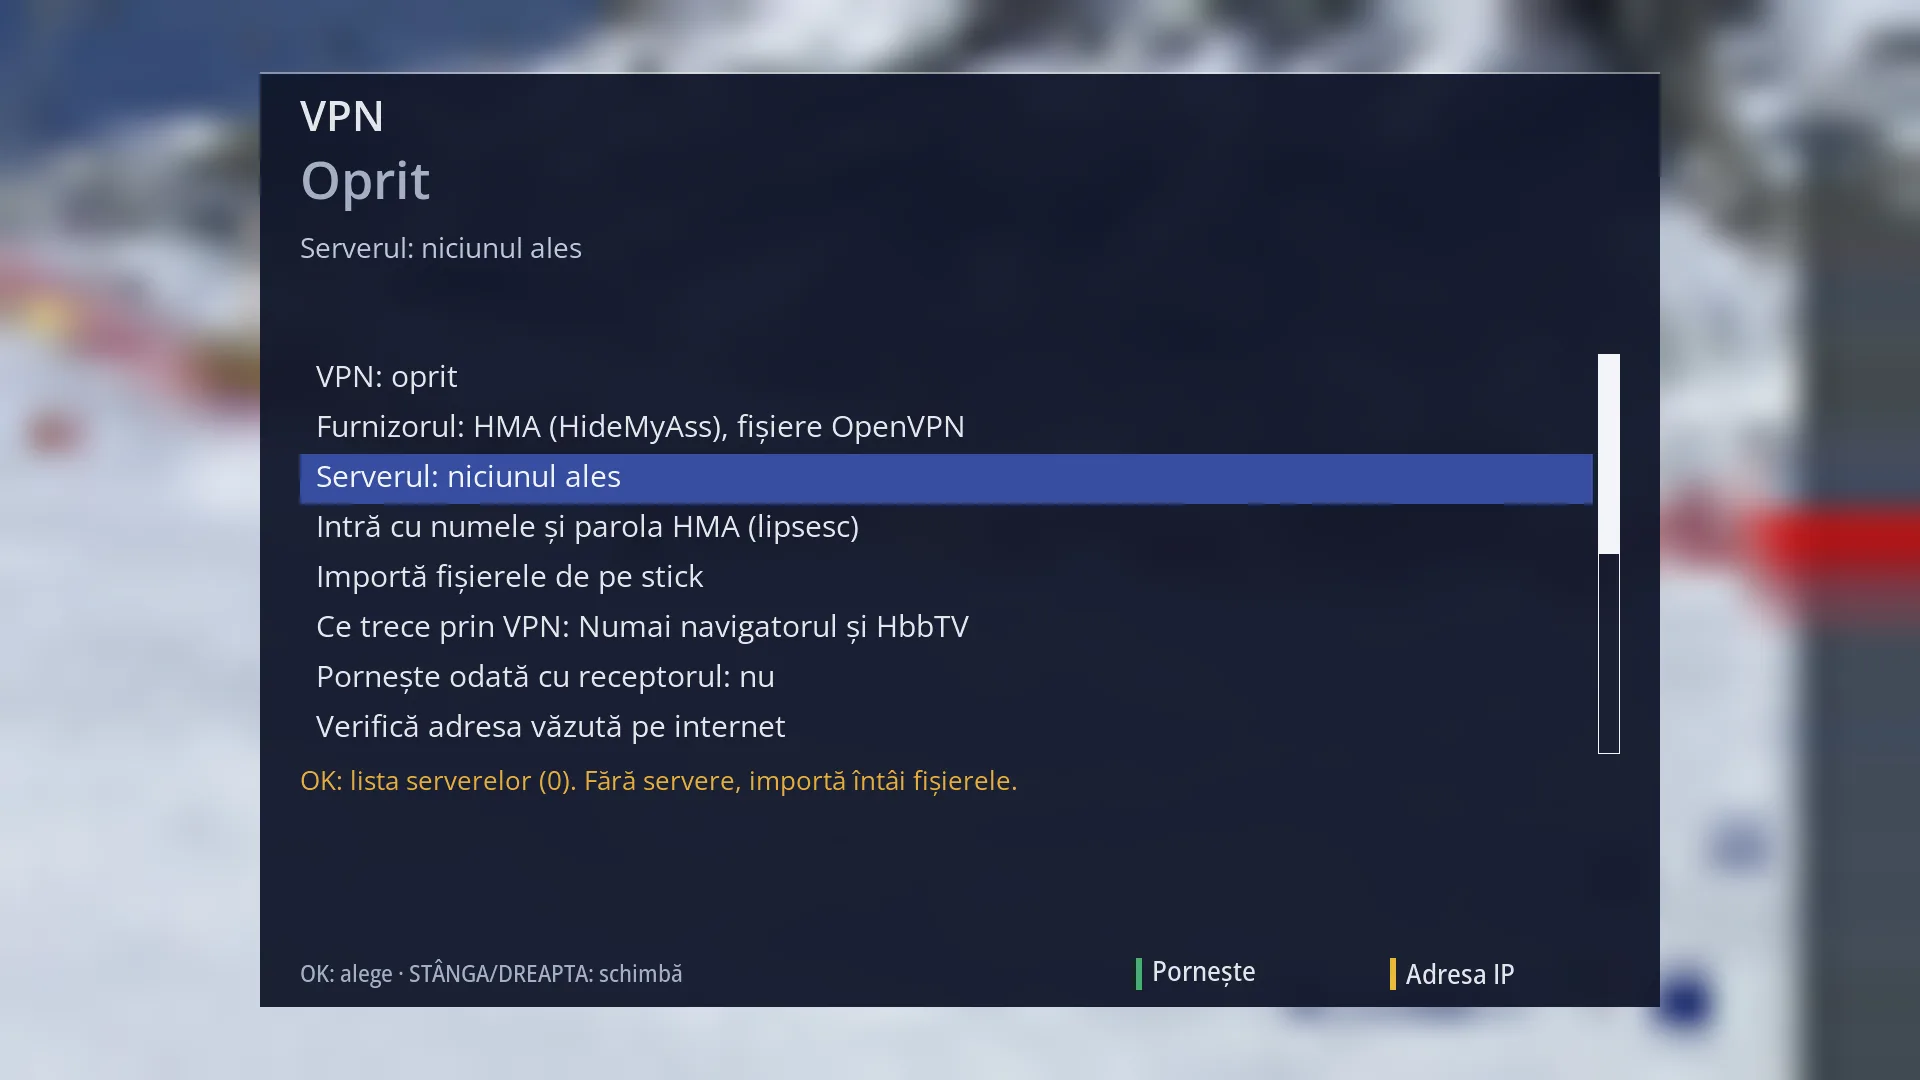
- 1 The selected row: “Server: none chosen”.
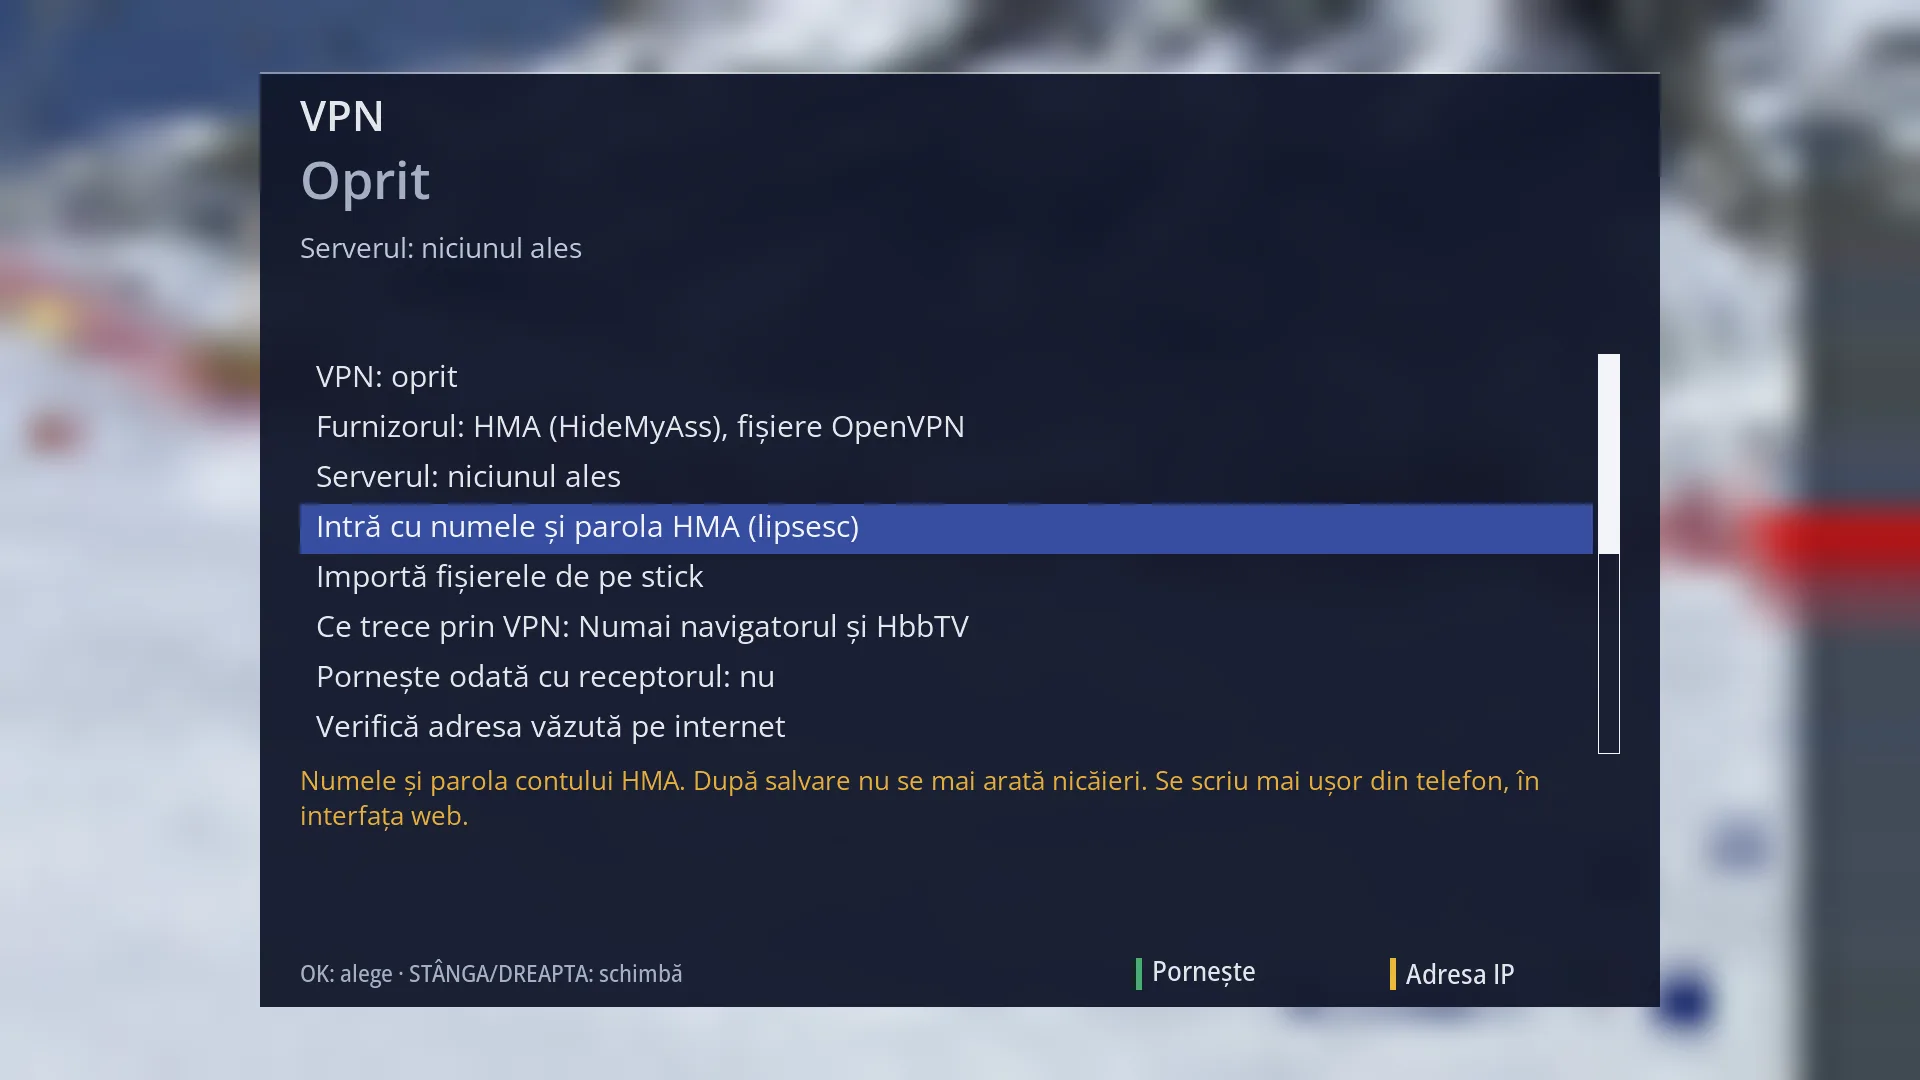
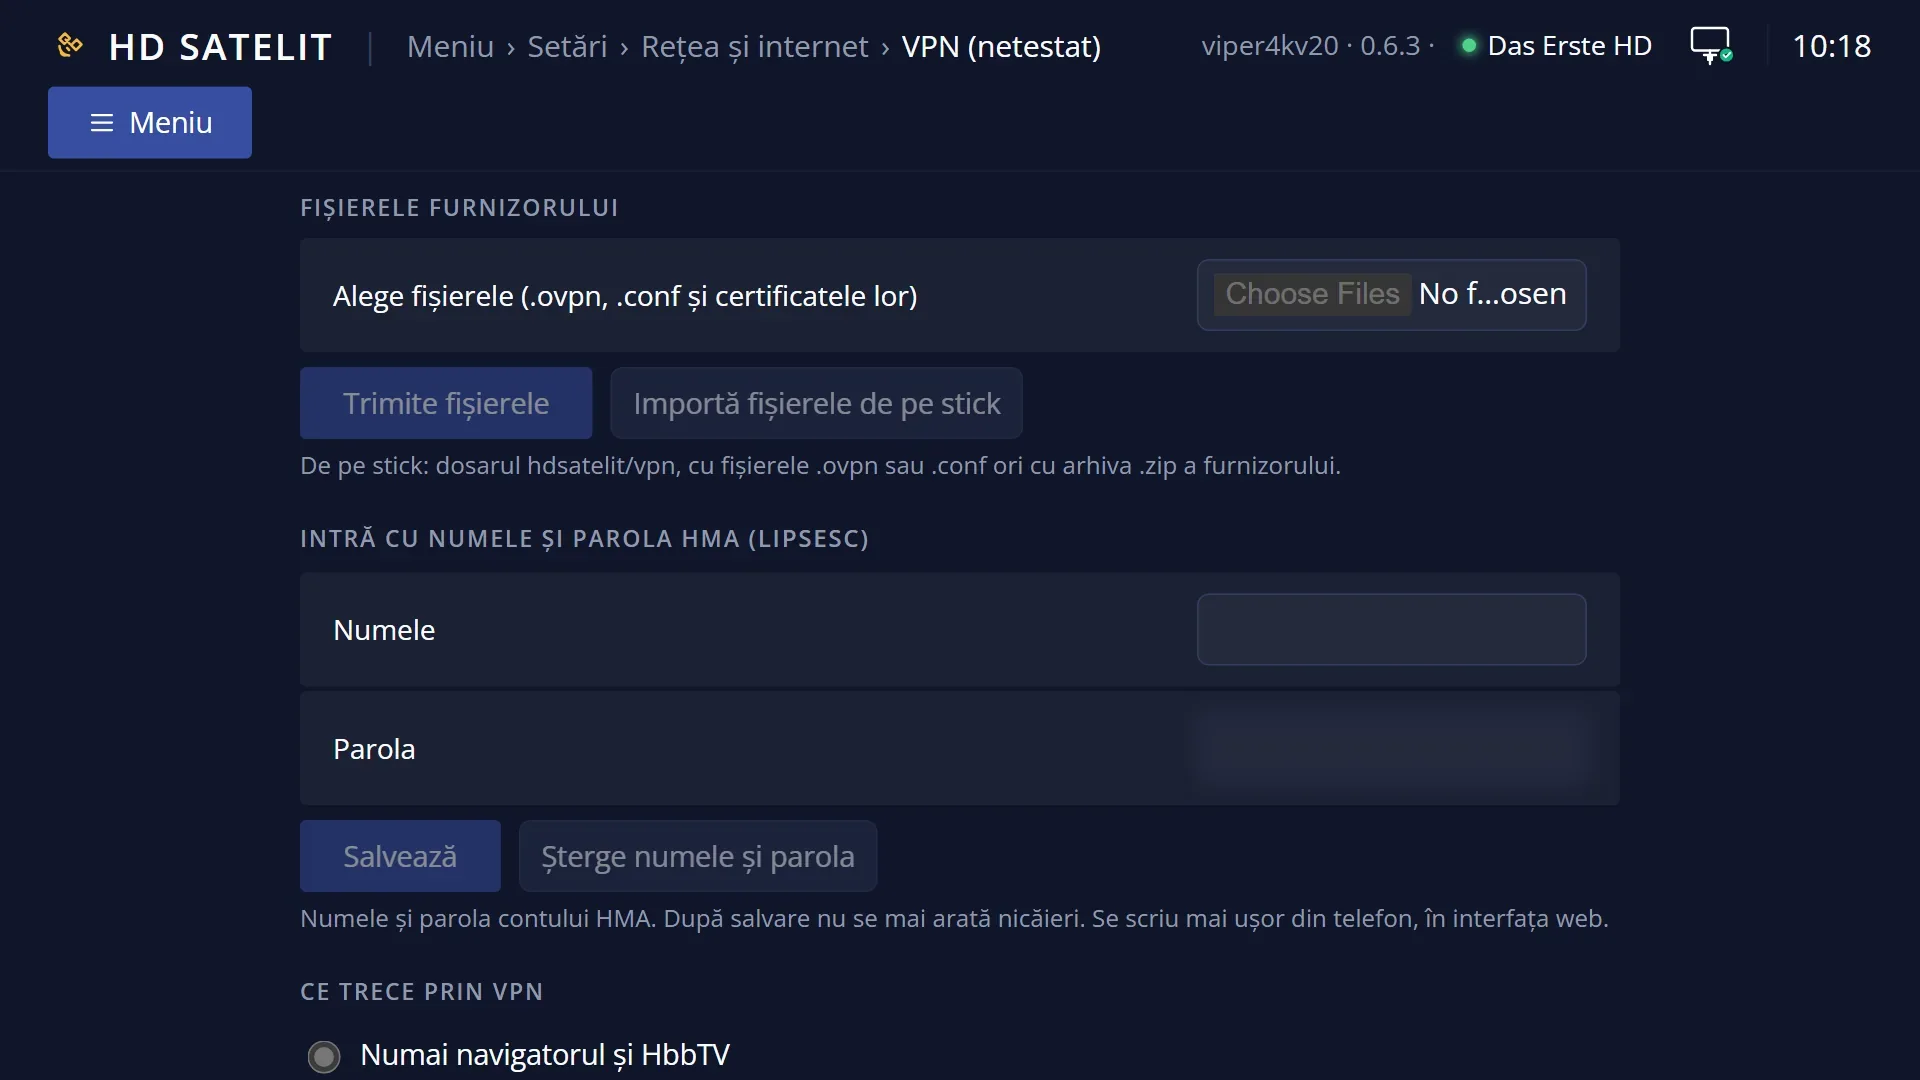
- 1 The selected row: “Sign in with your HMA name and password (missing)”.
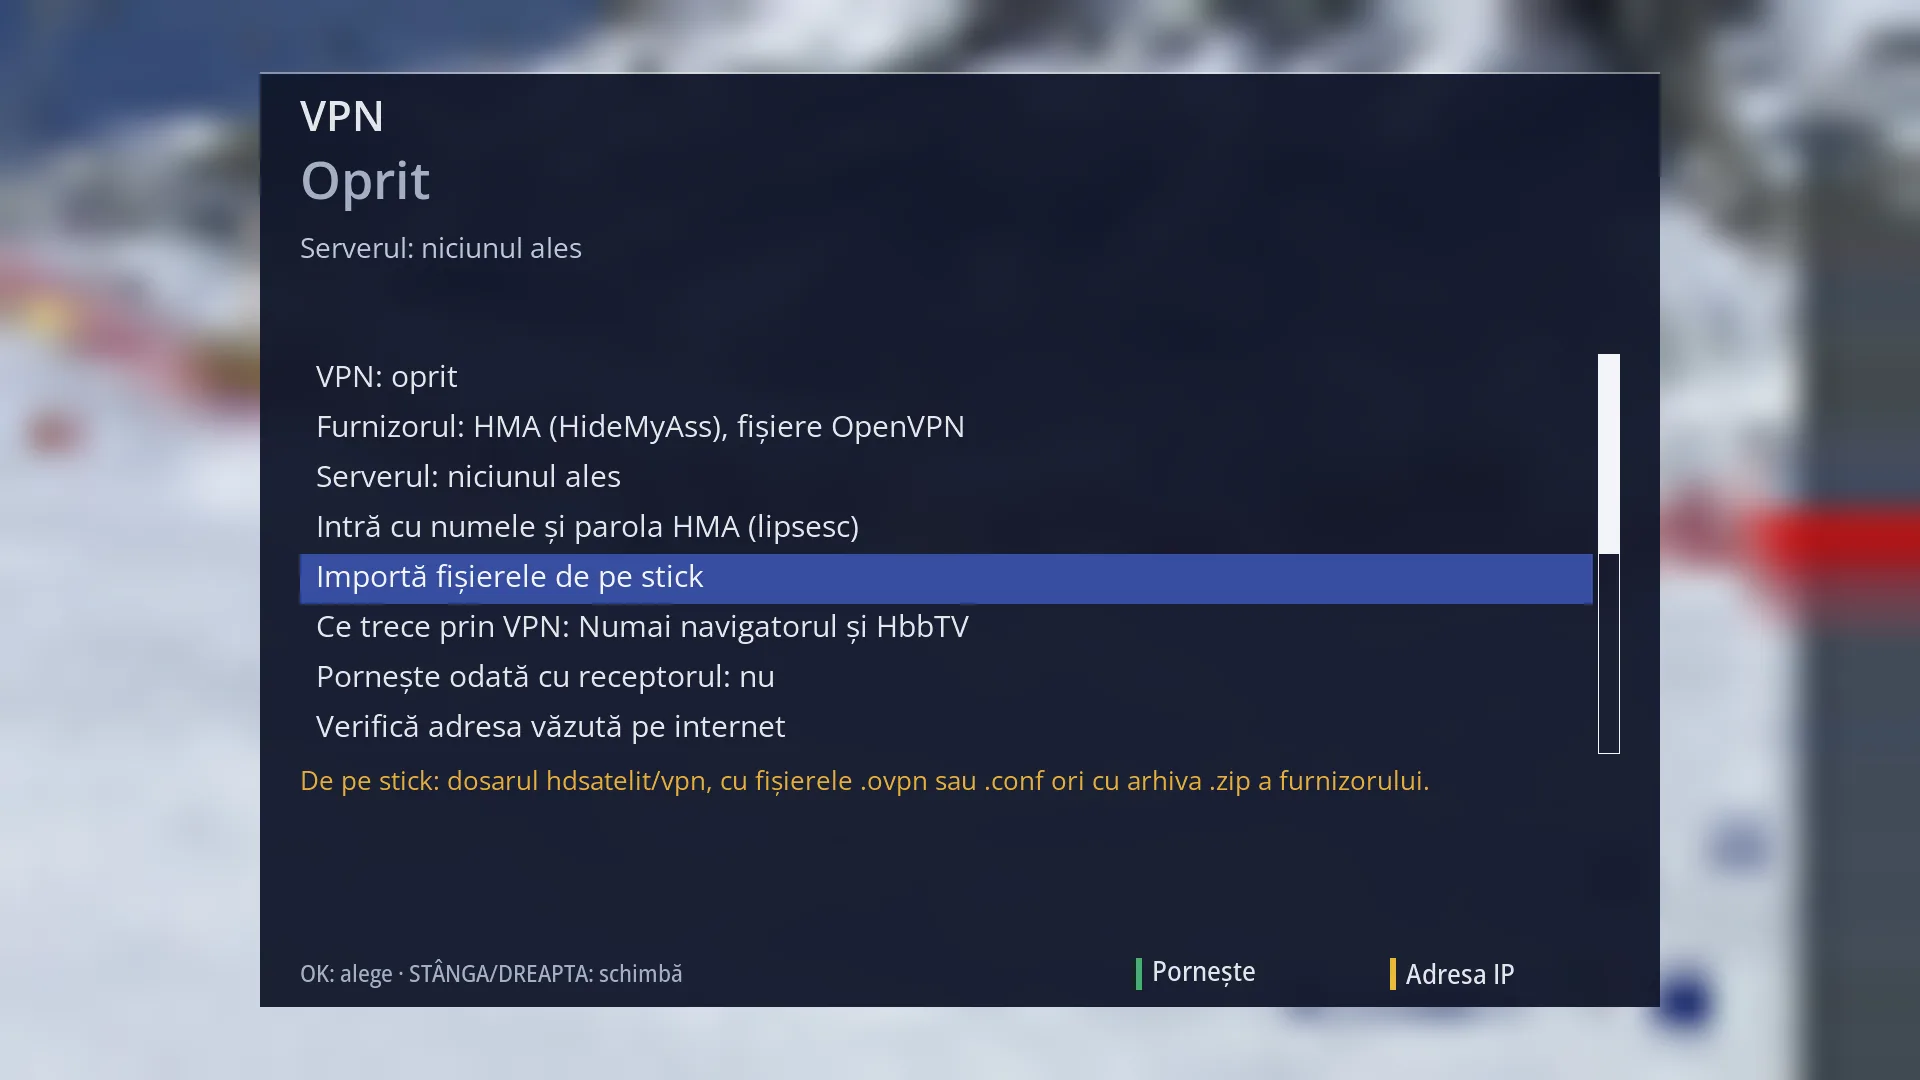
- 1 What to put on the USB stick: the hdsatelit/vpn folder with the provider's files.
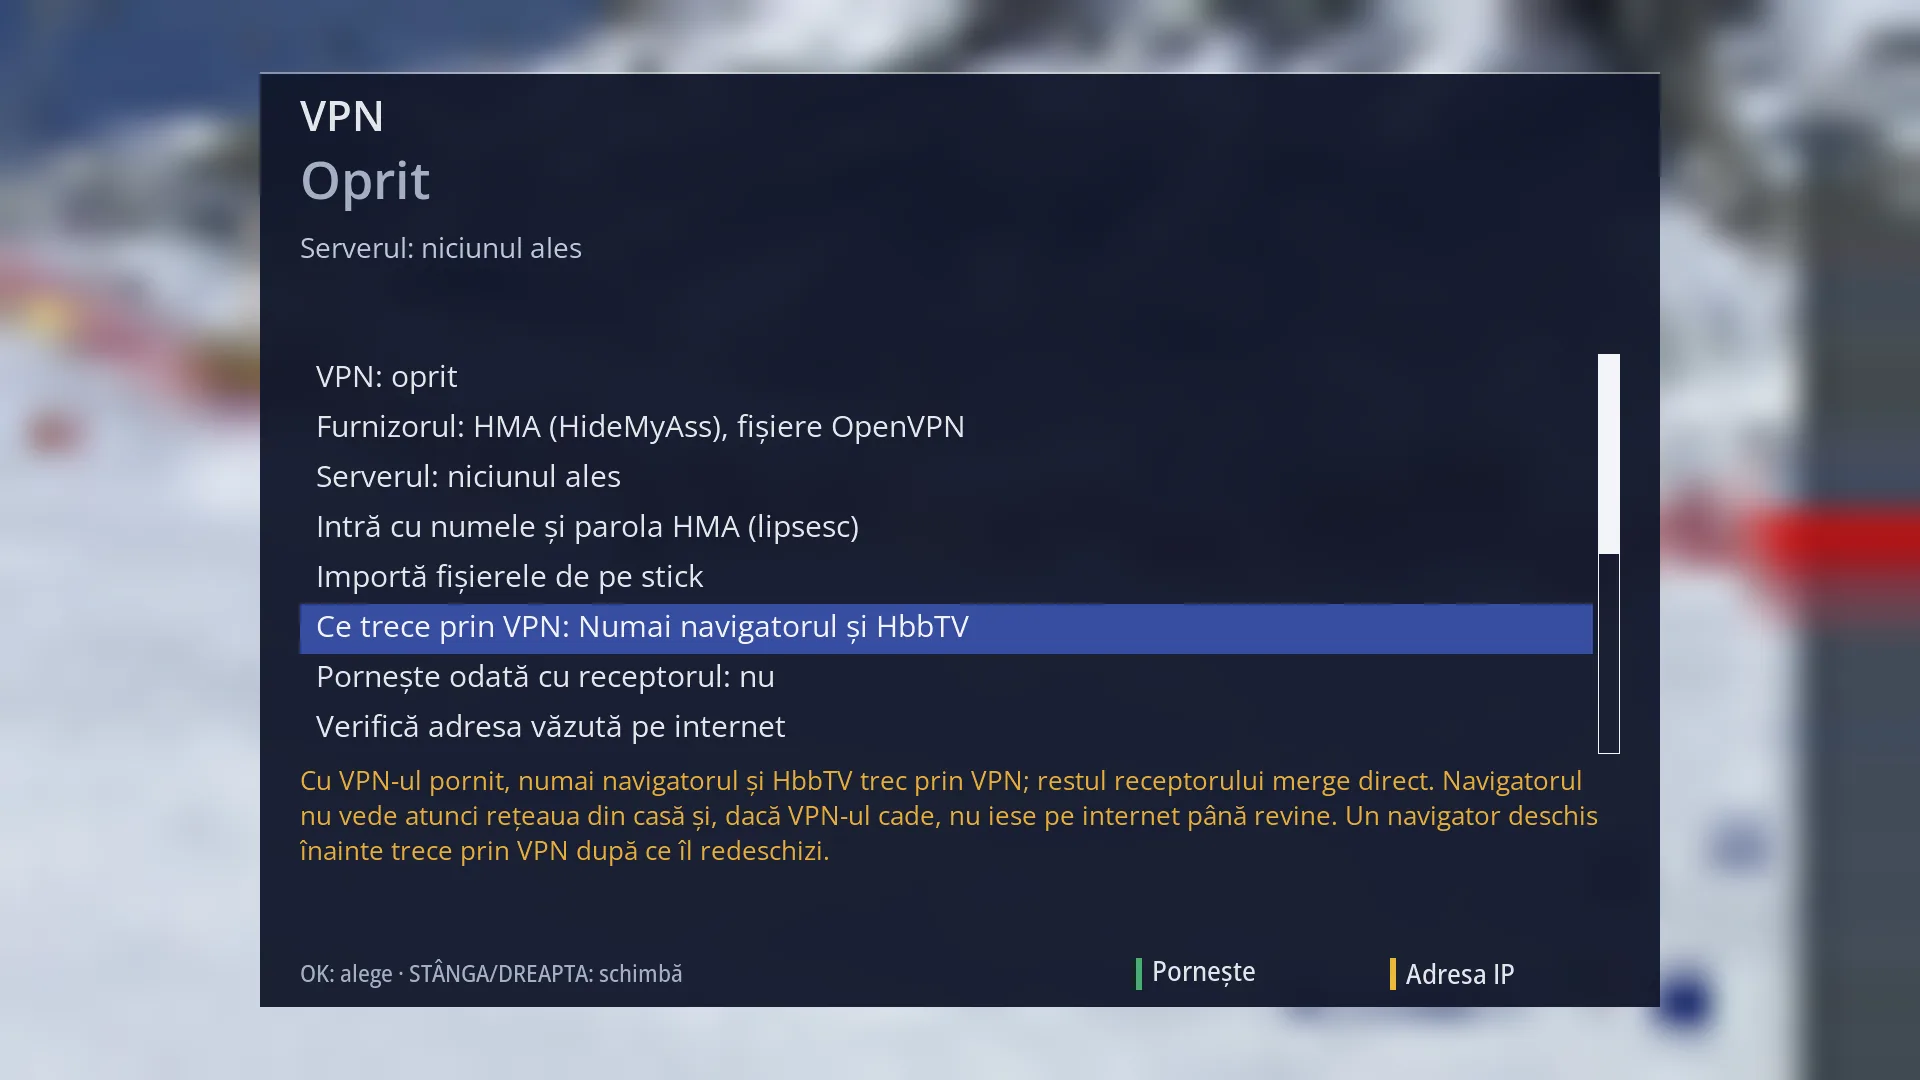
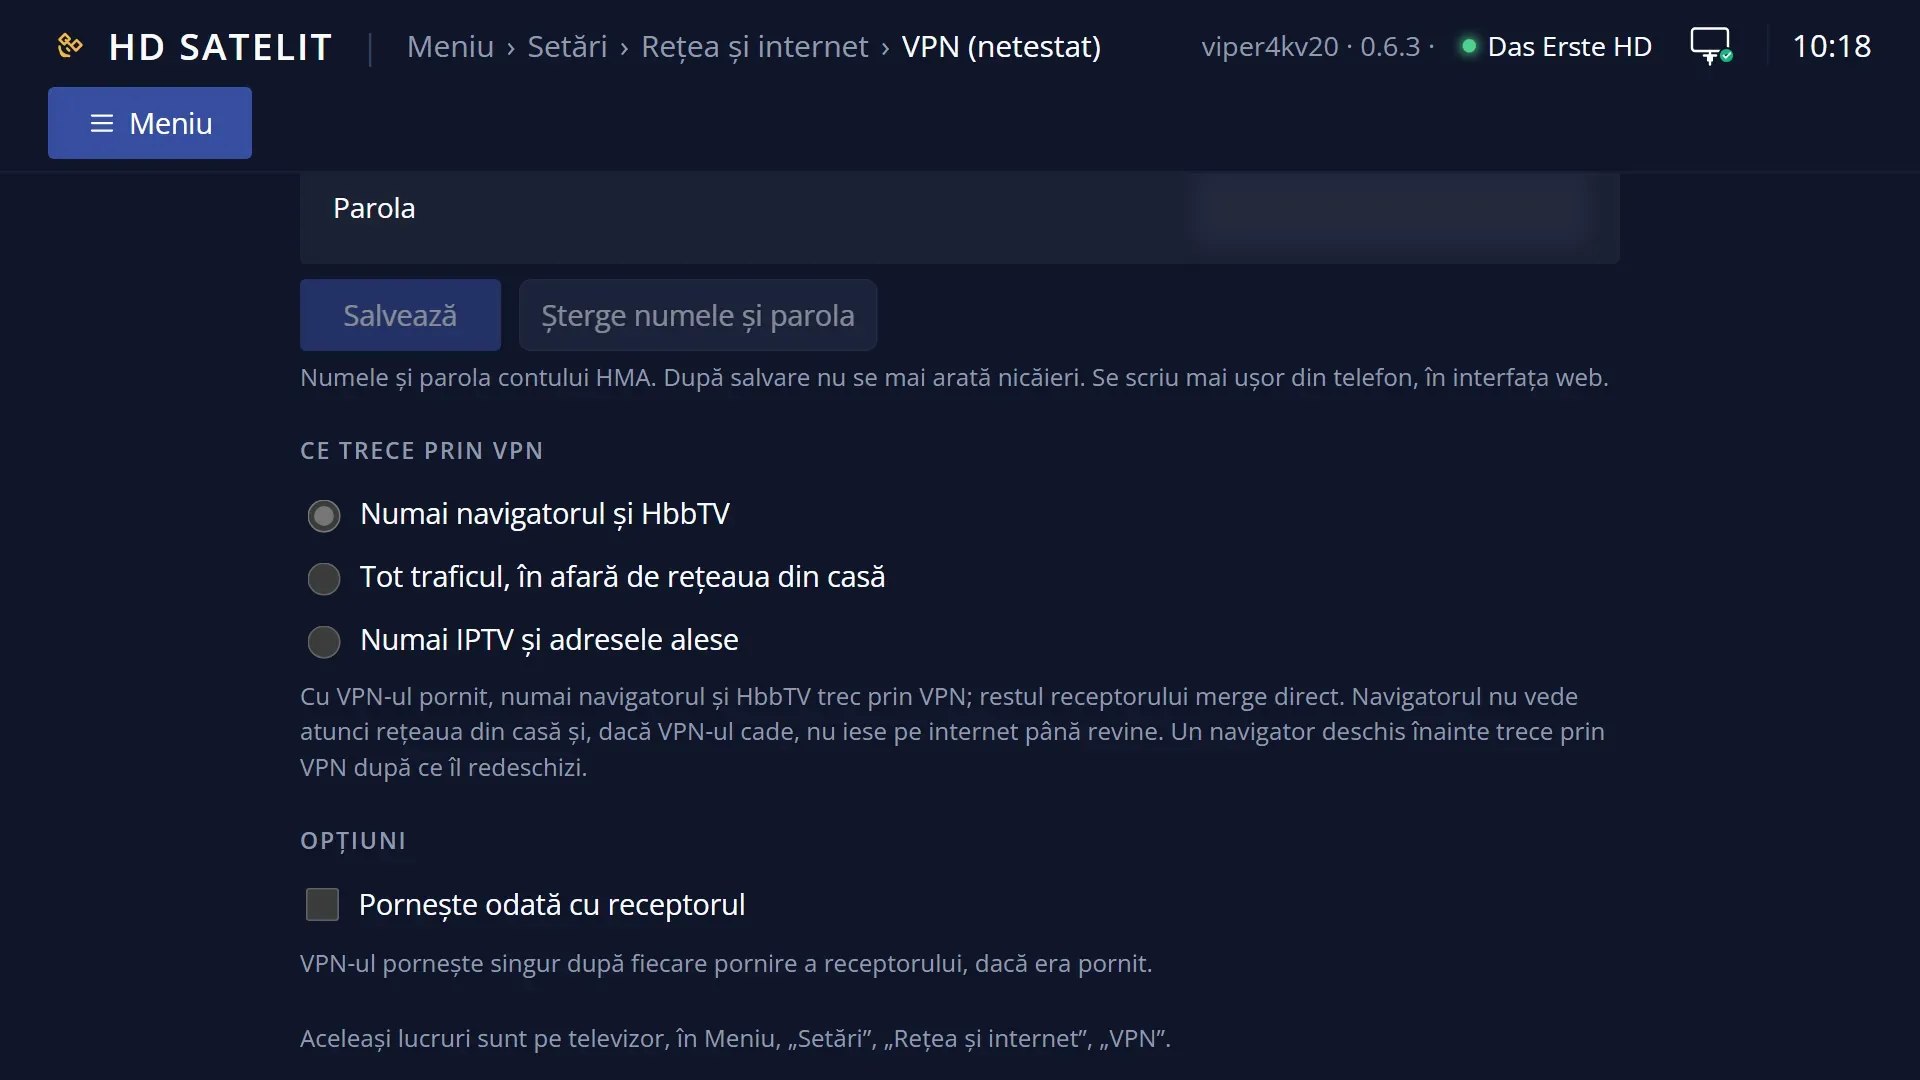
- 1 What the chosen mode means.
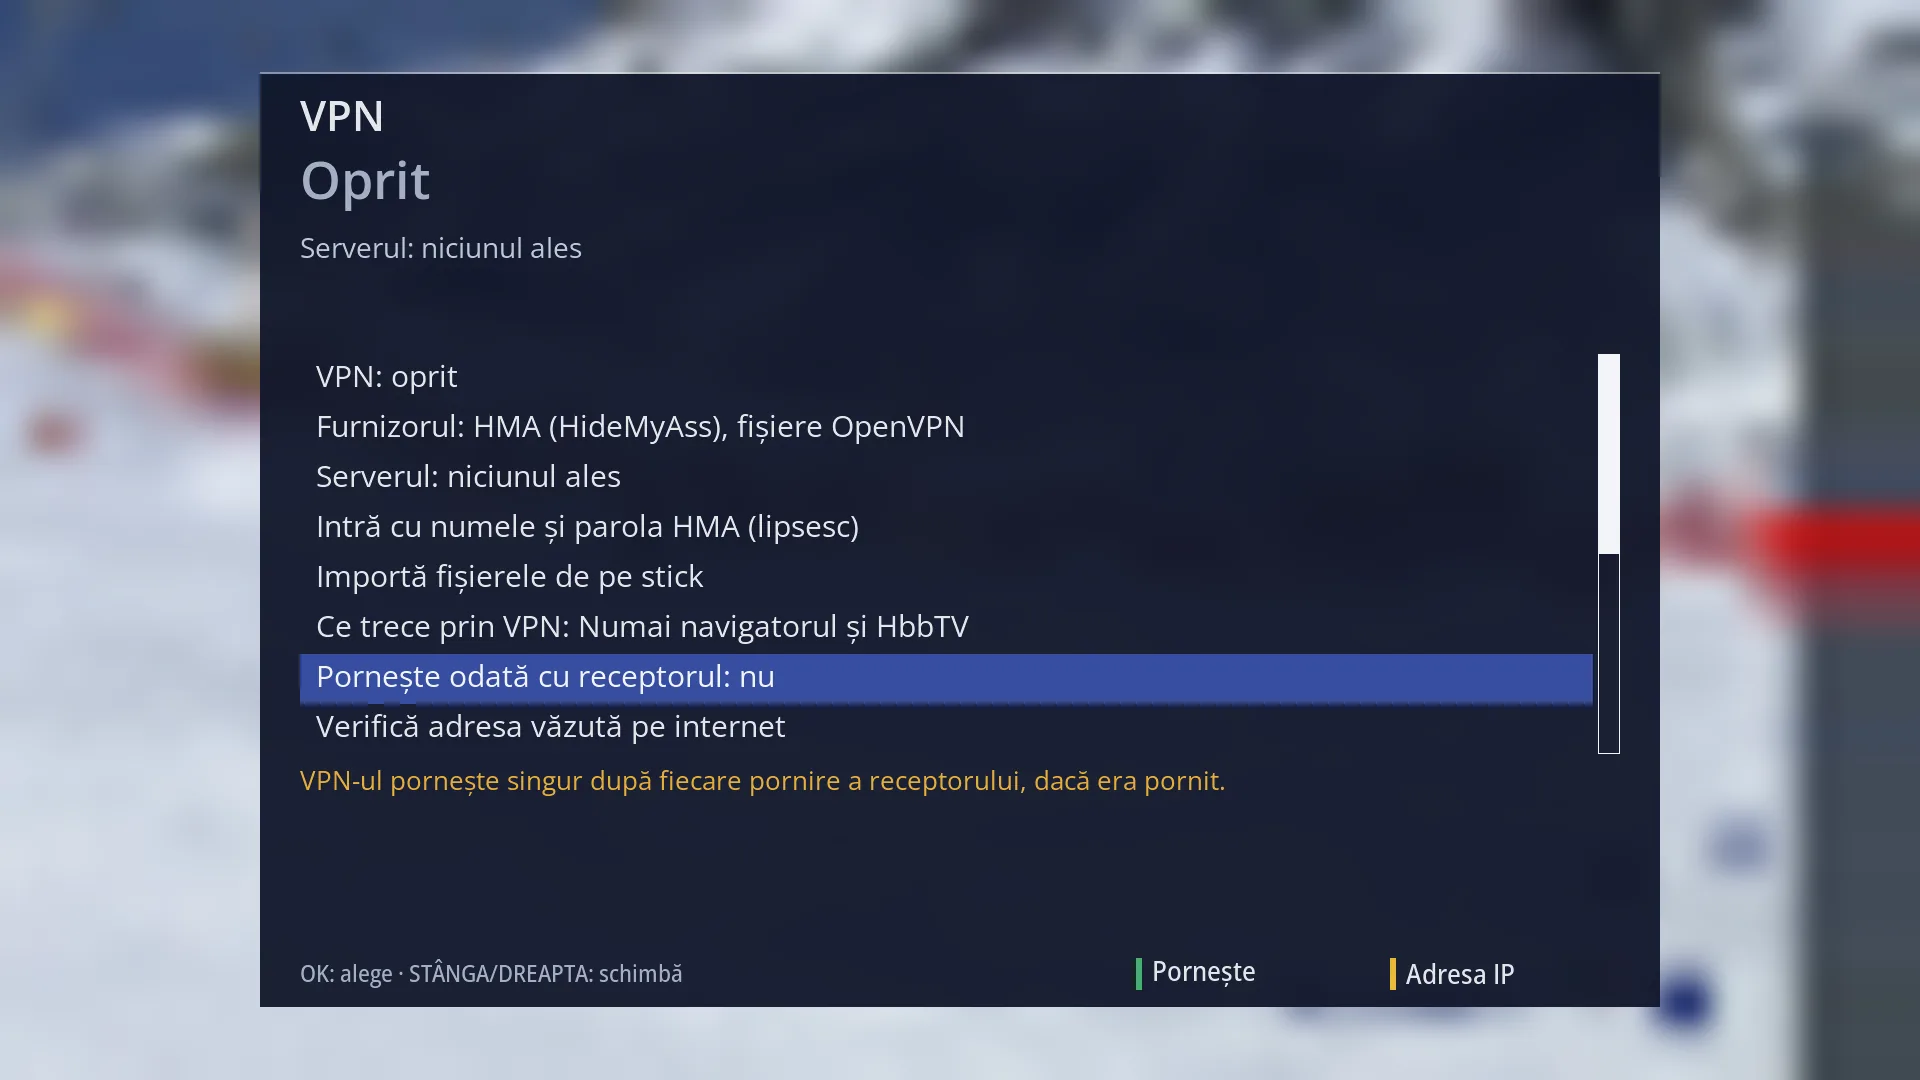
- 1 The selected row: “Start together with the receiver: no”.
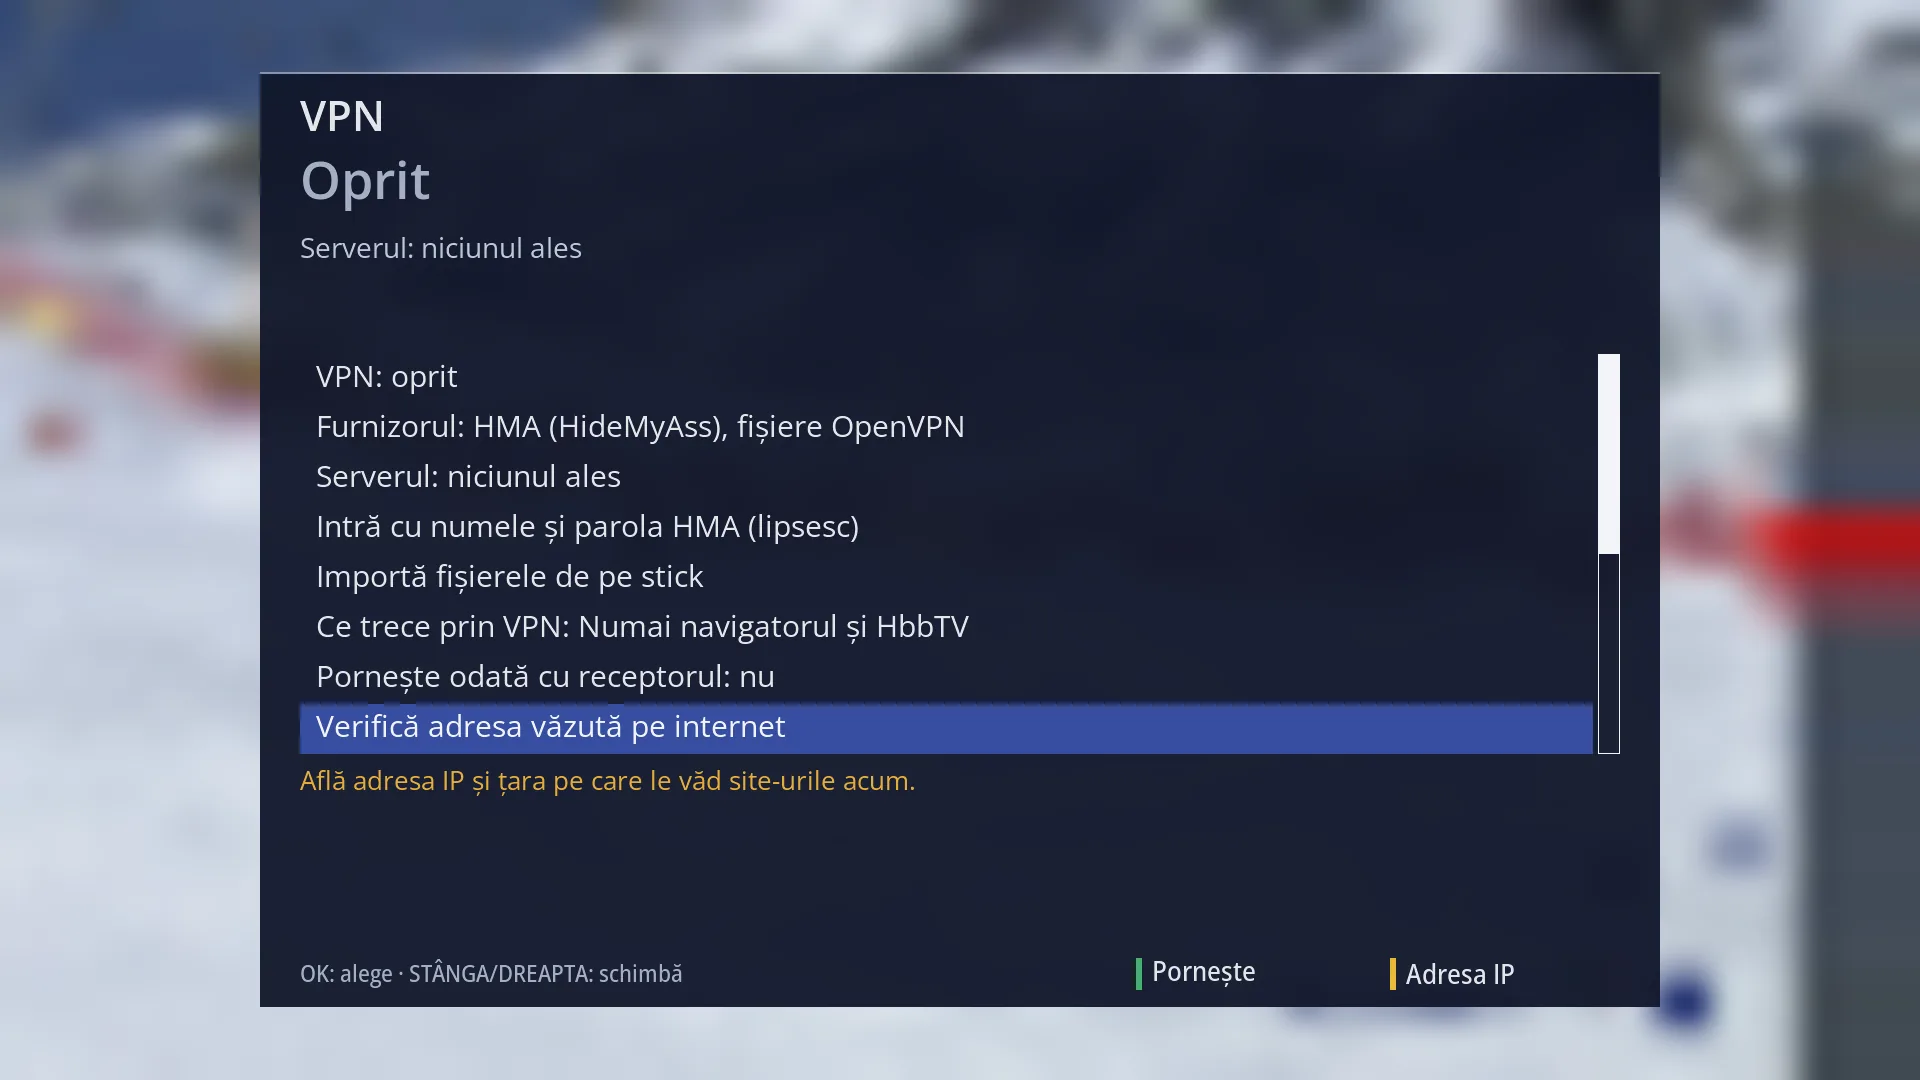
- 1 The selected row: “Check the address seen on the internet”.
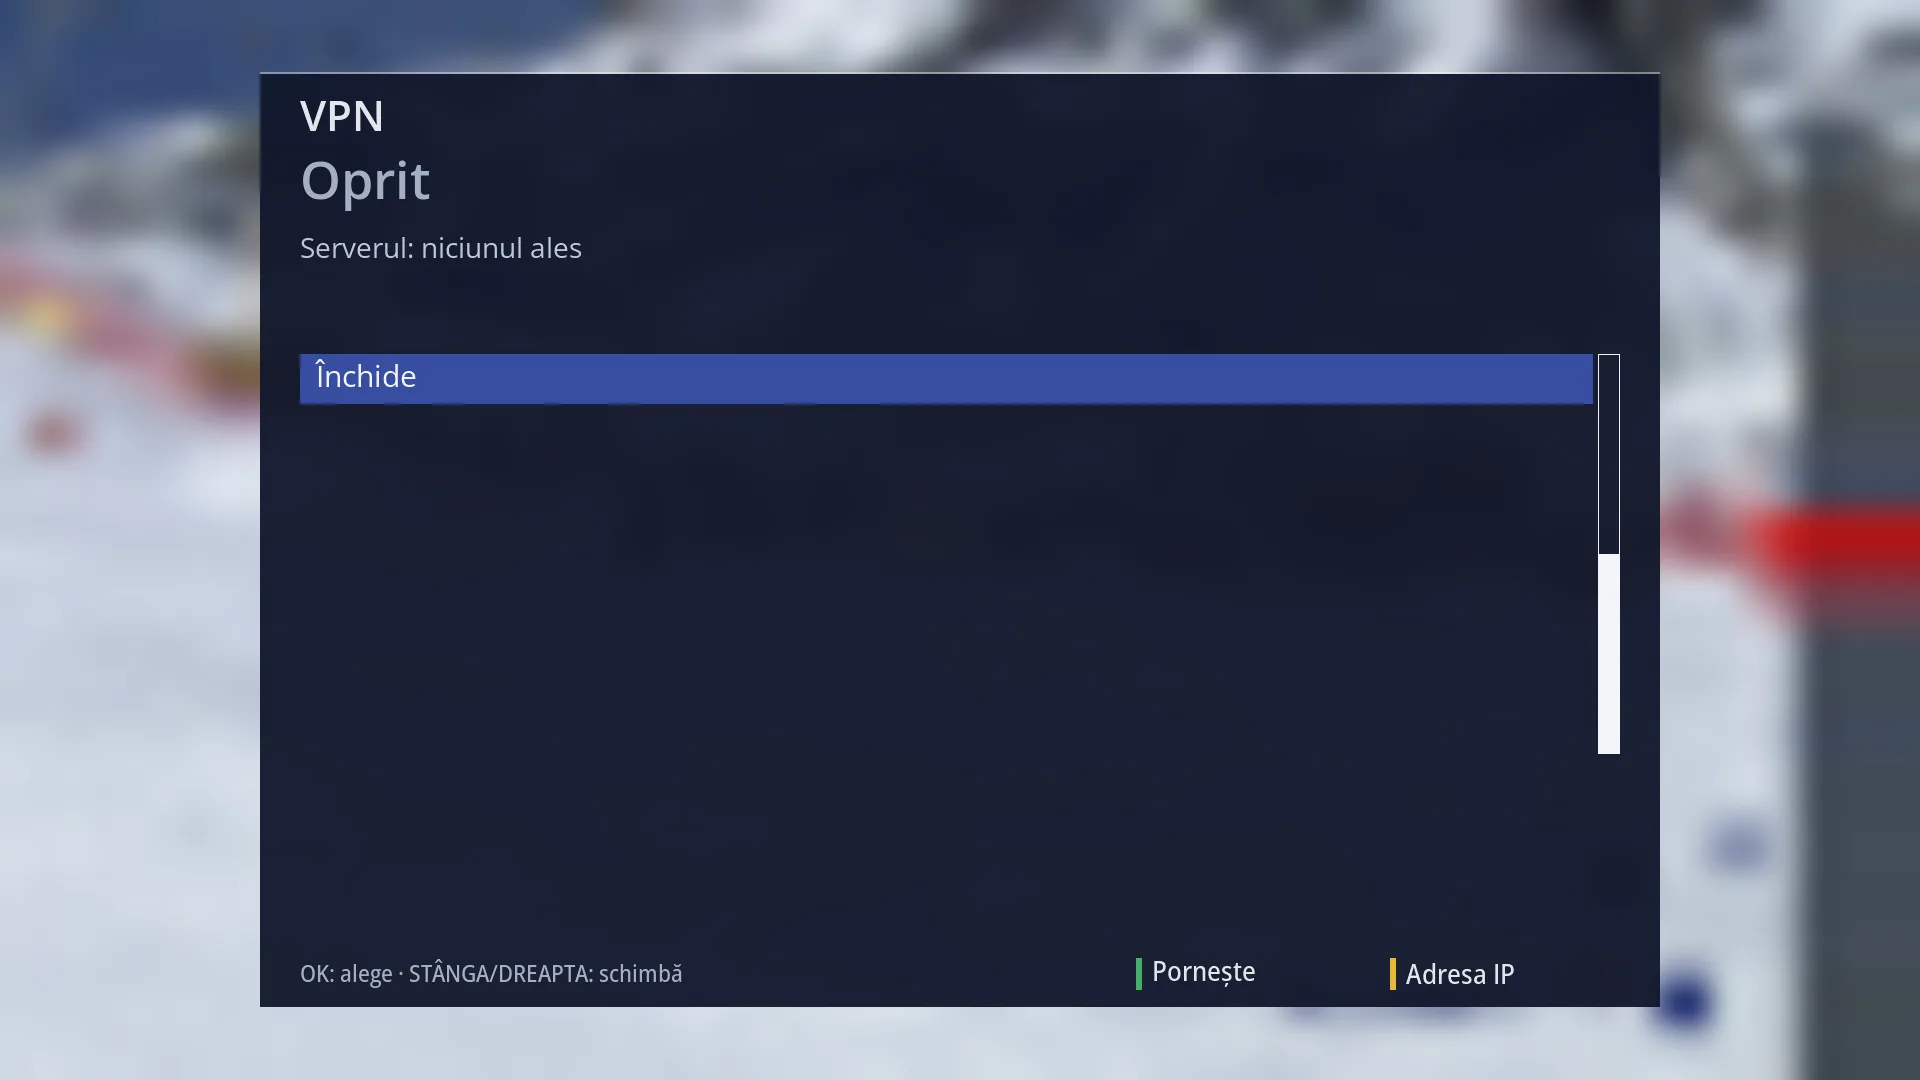
- 1 The selected row: “Close”.
What it is for
“VPN” connects the receiver to the internet through a VPN from a provider you choose: HMA (HideMyAss), NordVPN, Surfshark, Proton VPN, or any other provider with OpenVPN or WireGuard files. The VPN is off by default.
You choose what goes through the VPN: only the web browser and HbbTV apps (the default), everything the receiver sends to the internet, or only the IPTV sources from your lists and the addresses you enter. The home network (the web interface, phones, SSH) always stays direct.
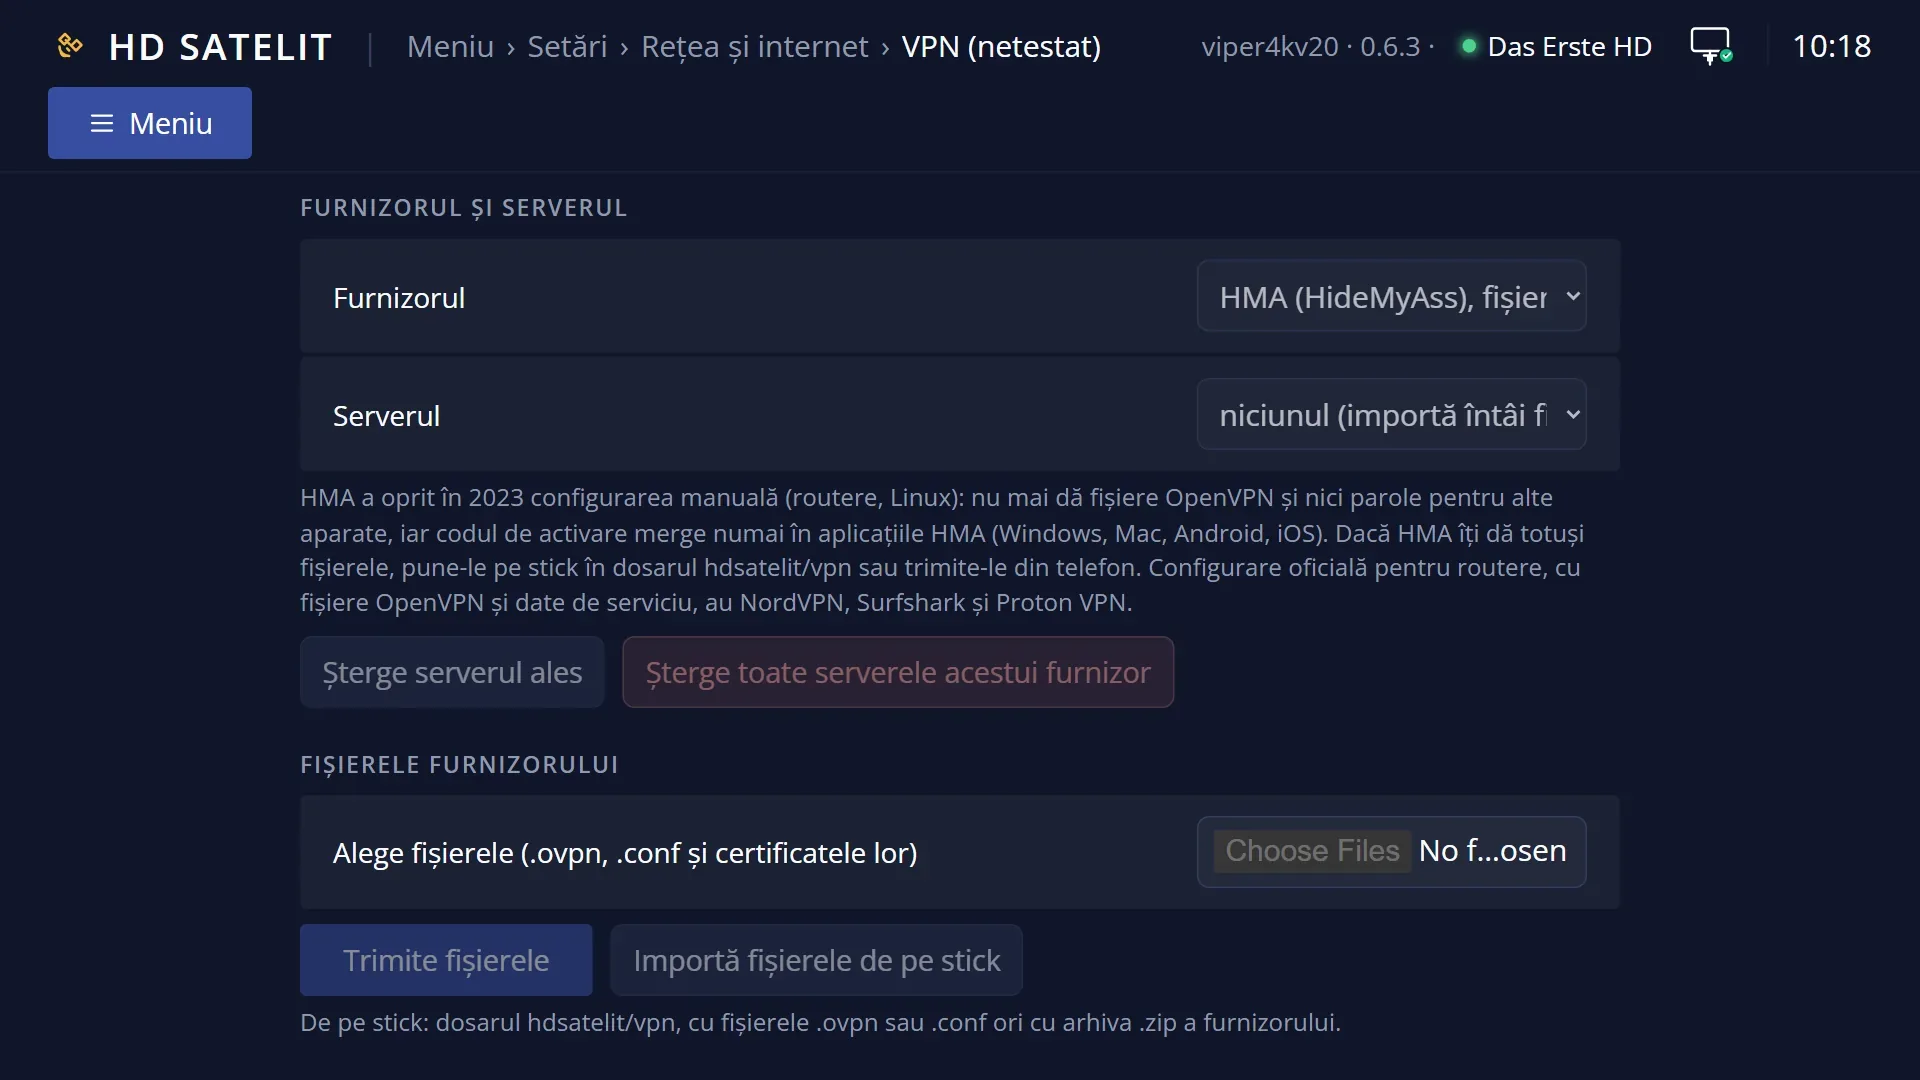
The servers come from the provider's files (.ovpn for OpenVPN, .conf for WireGuard), which you put on a USB stick or send from your phone. The image has no list of servers: each imported file becomes a server in the list.
You enter the account name and password (for OpenVPN providers) once, and after that they are not shown anywhere. They are not included in the settings copy either. On the screen and on the web page you only see whether they are “saved” or “missing”.
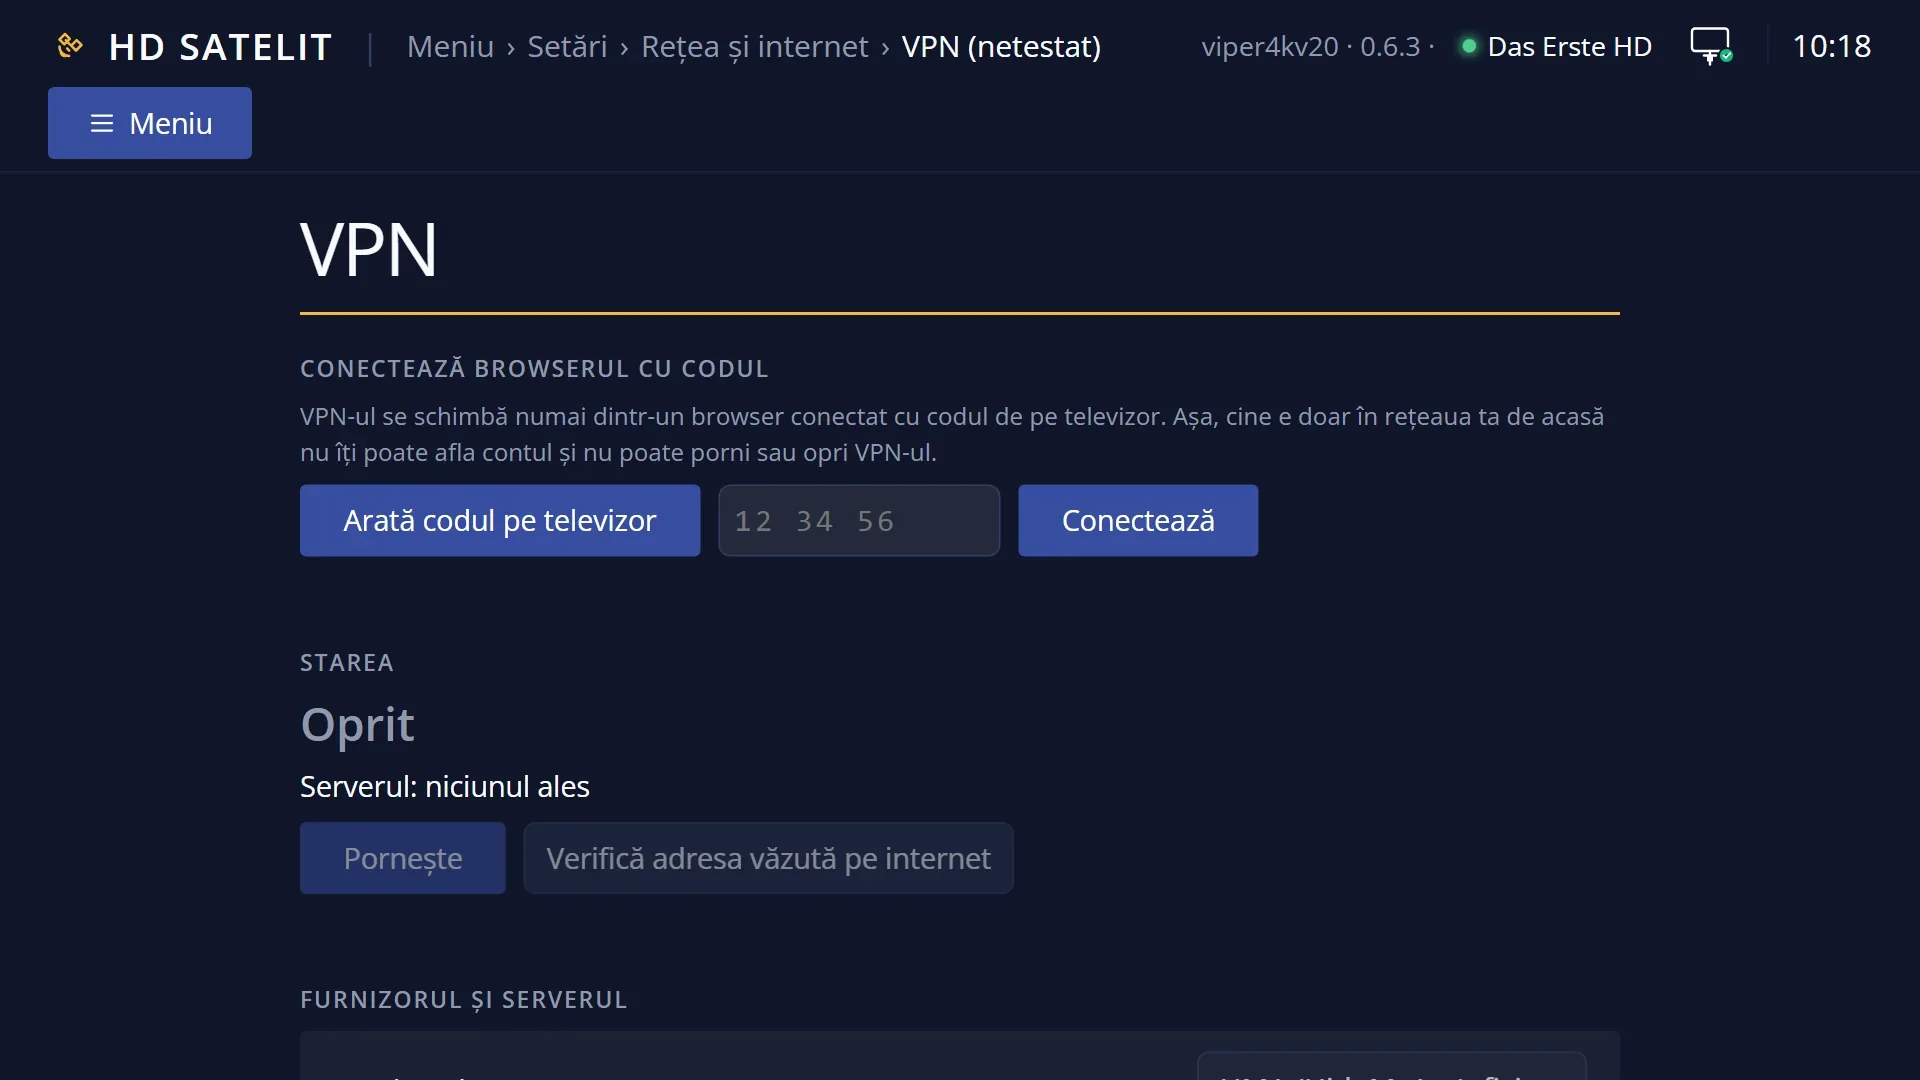
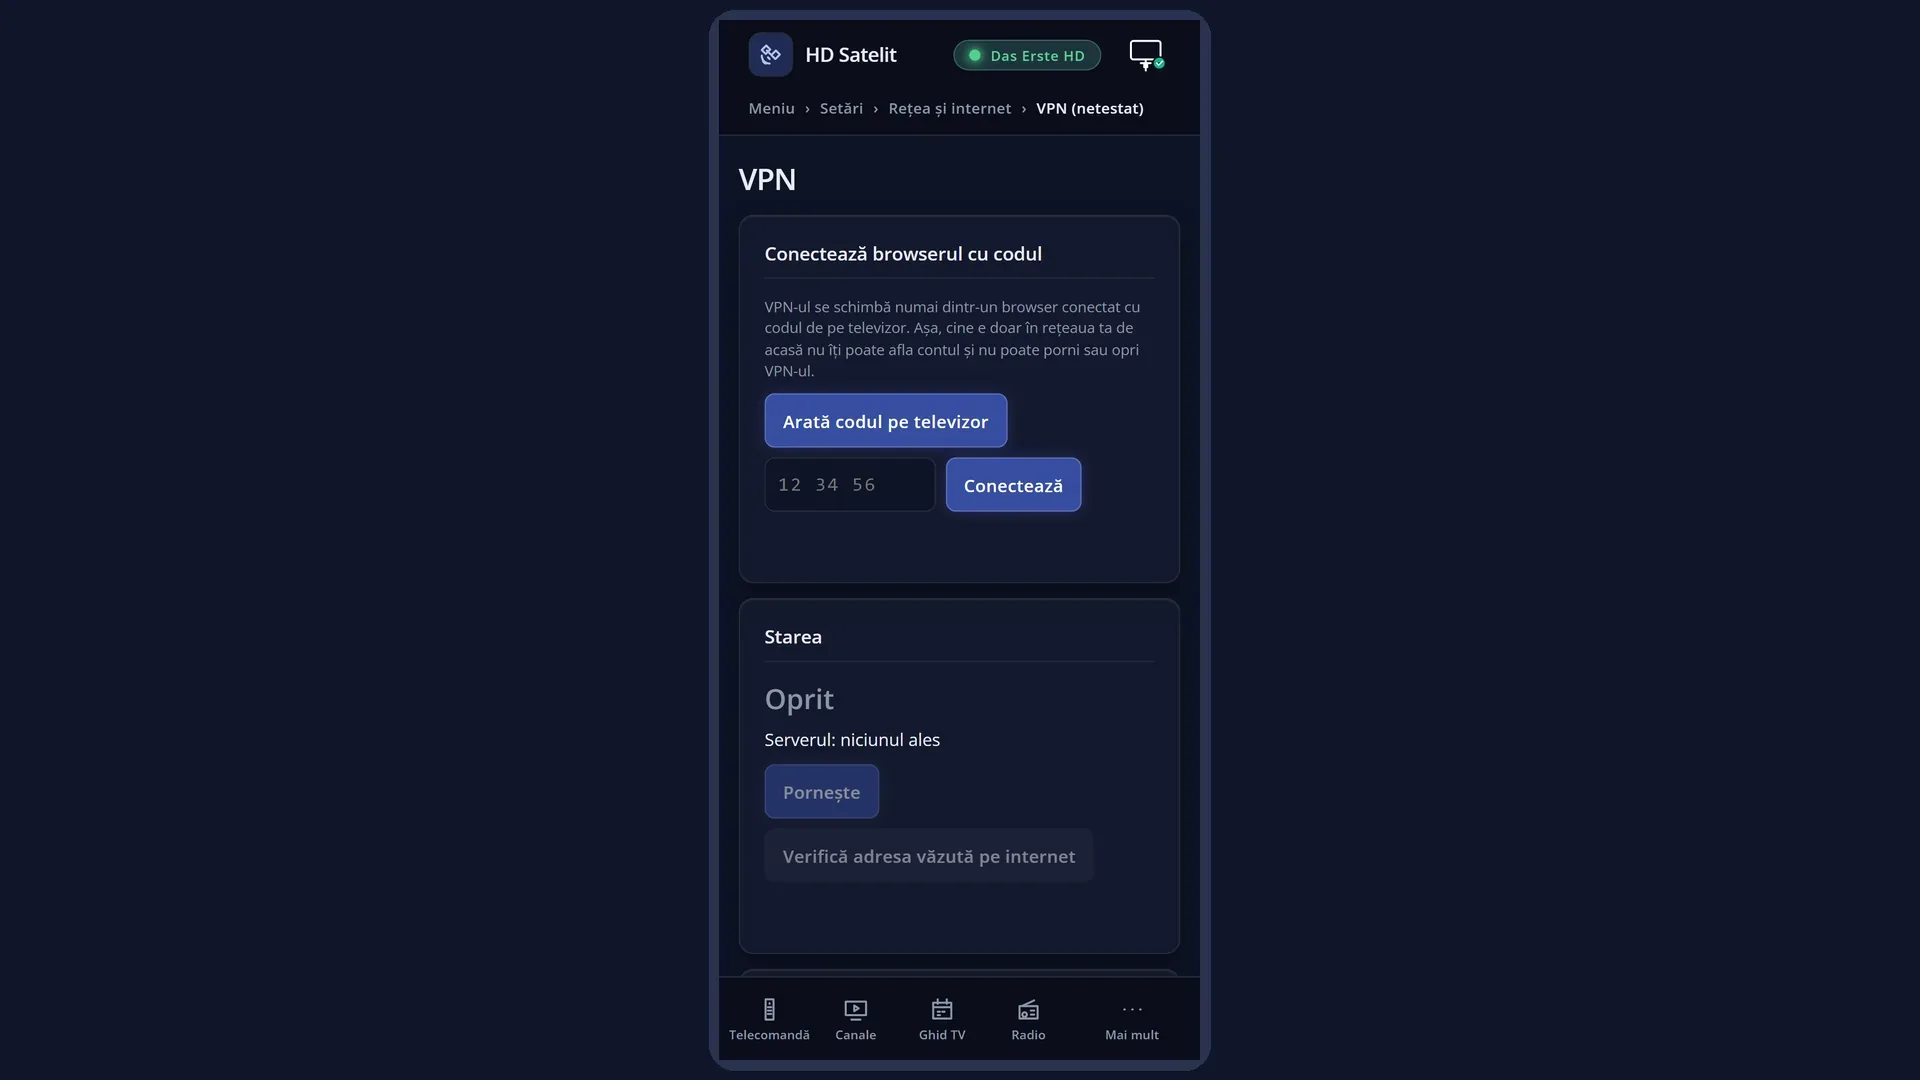
The same options are in the web interface, on the /vpn page. There it is easier to enter the name and password, and you can send the files straight from your phone. Changes only work from a browser connected with the code shown on the TV.
How to get here
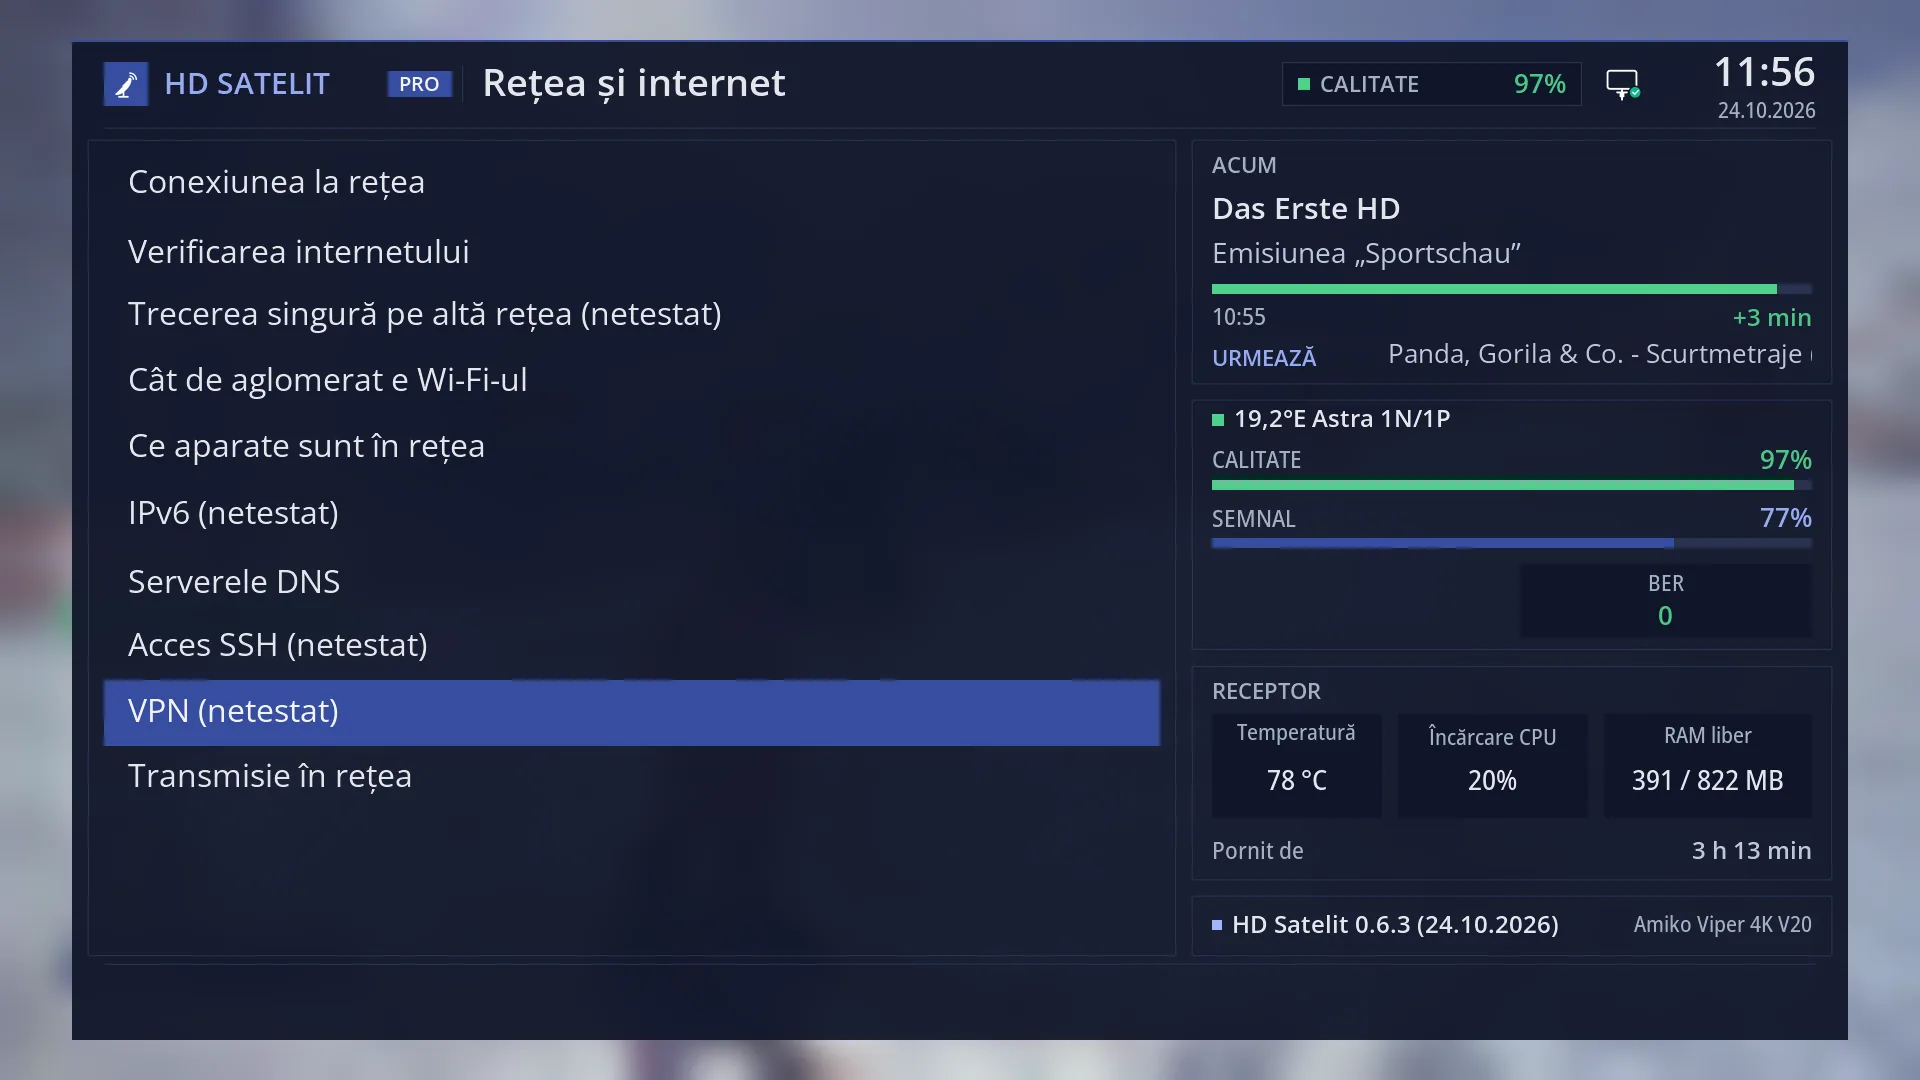
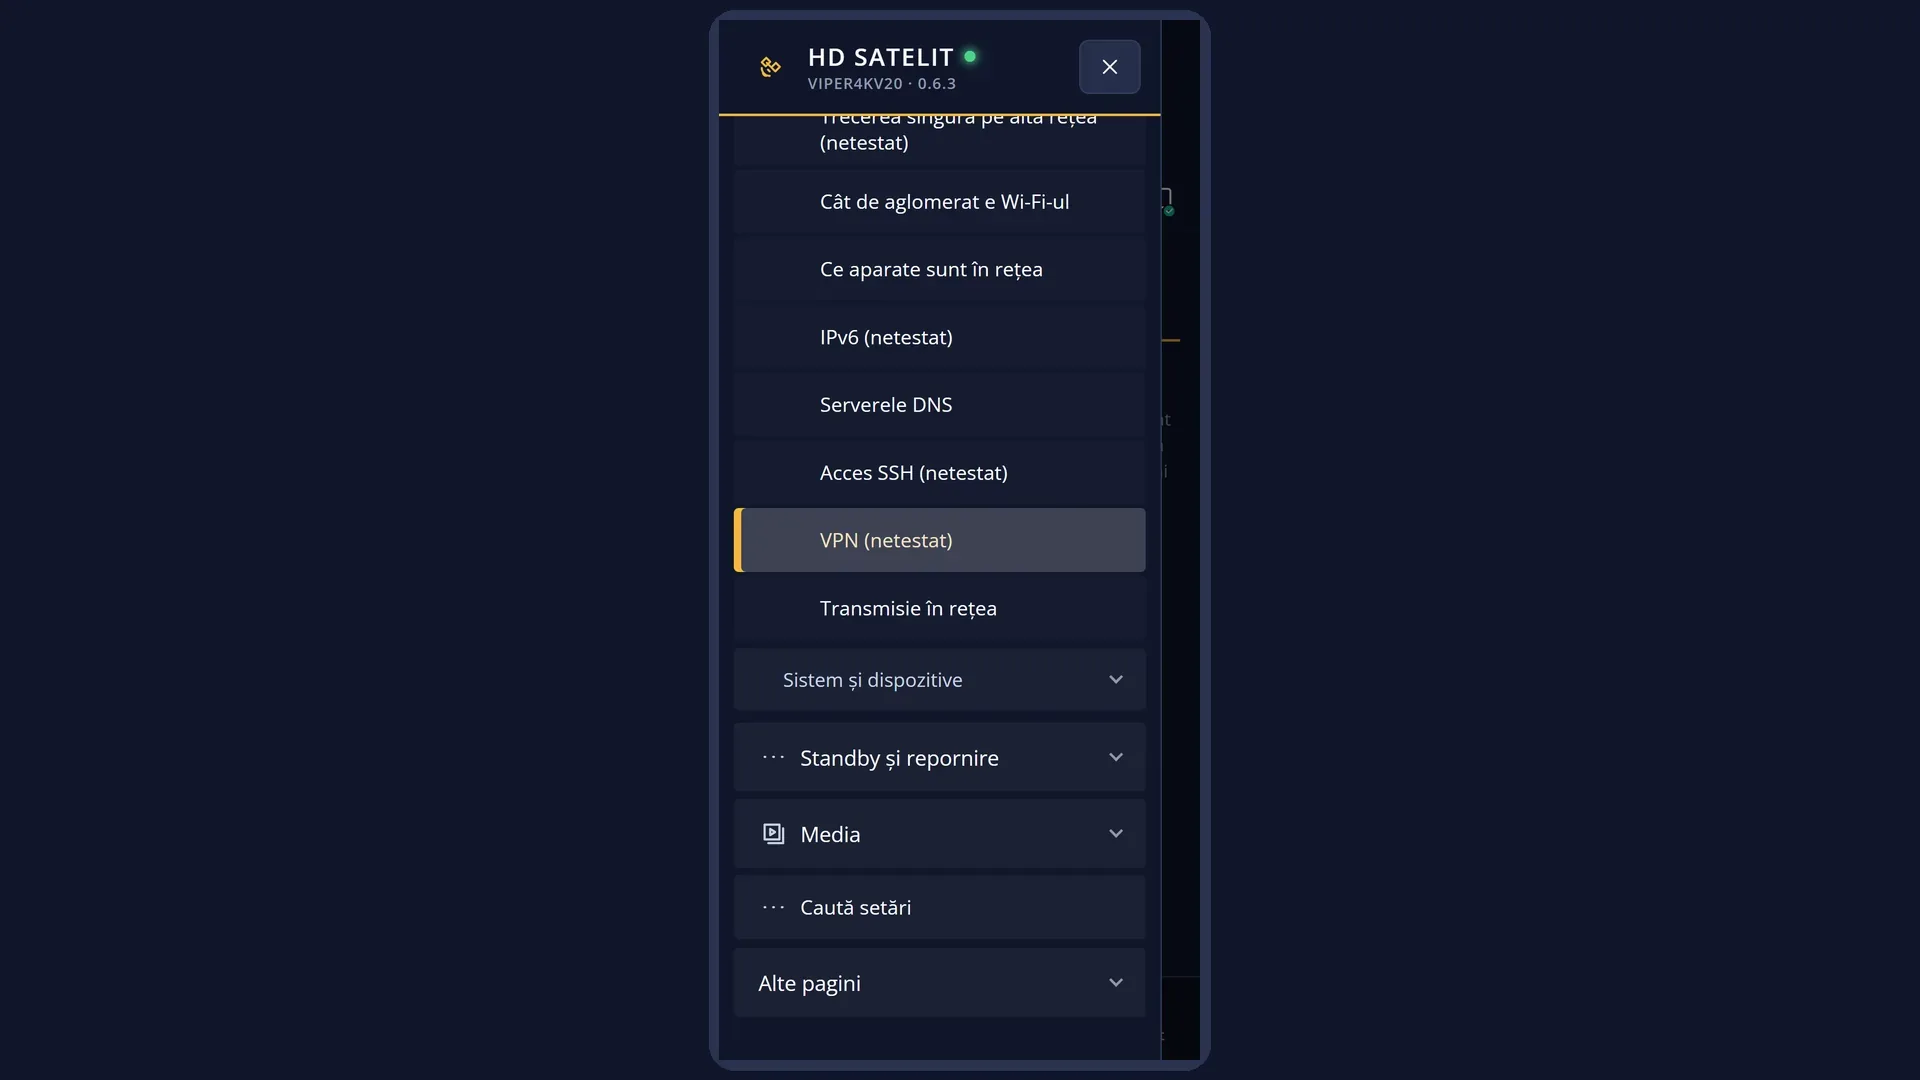
Path: Main menu > Settings > Network & Internet > VPN (the ninth row).
Keys on the remote: MENU 6 9 9 (with “Setup Mode” set to Intermediate, the default, or Expert. With Simple, it is the eighth row: MENU 6 9 8).
The row only appears when the image includes the VPN programs. The HD Satelit image for the Amiko Viper 4K V20 includes them.
In the web interface: the /vpn page.
What you see on the screen
A window in the middle of the screen, titled “VPN”.
Below the title, the status in large coloured text: “Off”, “Connecting...”, “Connected”, “Did not connect” or “No connection: the internet is blocked until the VPN is back” (with “Only the browser and HbbTV”: “No connection: the browser stays off the internet until the VPN is back”).
Underneath, the details: “Server: …” (or “Server: none chosen”), and with the VPN on, “Through the VPN: …”, the address seen on the internet with the city and country, or the reason for an error.
Then the list of rows (see “Each row”). Below the list, in yellow, the explanation of the selected row and, further down, the result of the last command.
At the bottom: “OK: choose · LEFT/RIGHT: change”, GREEN “Start” (or “Stop”, with the VPN on) and YELLOW “IP address”.
Rows and settings
| Row | Values | Default | What it does |
|---|---|---|---|
| VPN: off / on | off, on | off | OK starts the VPN with the chosen server or stops it (like GREEN). While it works, it shows “Starting the VPN...” or “Stopping the VPN...”. When the VPN is off, the internet works directly, through your network. If the connection drops, the receiver tries again by itself: after 10, 30 and 60 seconds, then every 5 minutes. With a wrong name or password, it stops trying. When you want to start or stop the VPN. |
| Provider | HMA (HideMyAss), OpenVPN files, NordVPN, OpenVPN files, Surfshark, OpenVPN files, Proton VPN, OpenVPN files, OpenVPN, own file, WireGuard, own file | HMA (HideMyAss), OpenVPN files | The VPN provider. LEFT / RIGHT changes it, OK opens the “VPN provider” list. The explanation below the list tells you where to get the files and details for each provider: for NordVPN, Surfshark and Proton VPN, from your account, under manual setup. The name and password are the service ones, not the account email and password. For HMA, the explanation says that the provider no longer gives out files for devices other than its own apps. When you have an account with another provider. |
| Server | none chosen, the imported servers | none chosen | The server the VPN goes out through. LEFT / RIGHT move to the next server, OK opens the list of servers. With no servers, it shows “There are no servers for this provider. Import the files first.”. When you want another country or a faster server. |
| Name and password (OpenVPN providers only) | saved, missing | missing | The row is called “Sign in with your HMA name and password”, “Service name and password” (NordVPN, Surfshark, Proton VPN) or “Account name and password”. OK opens the keyboard for “VPN account name”, then for “VPN account password (not shown again once saved)”. After saving, the row only shows “(saved)”. With WireGuard the row is not there: everything is in the file. Once, after you choose the provider. Again when you change your password with the provider. |
| Import the files from the USB stick | On the USB stick, create a folder “hdsatelit” with a folder “vpn” inside it, and put the provider's .ovpn or .conf files or .zip archive there (with the certificates next to them). Insert the USB stick and press OK. Each file becomes a server. The receiver only takes the safe settings from the files: settings that would start programs or open the receiver up on the network are refused, and their names are shown. The first time, and when the provider gives you new files. | ||
| What goes through the VPN | Only the browser and HbbTV, All traffic, except the home network, Only IPTV and the chosen addresses | Only the browser and HbbTV | Only the browser and HbbTV: only the web browser and HbbTV apps go through the VPN, the rest of the receiver works directly. The browser then cannot see the home network, and if the VPN drops it stays off the internet until the VPN is back (a browser opened earlier goes through the VPN once you reopen it). All traffic: everything that goes to the internet (HbbTV, IPTV, the browser, downloads) goes through the VPN. Only IPTV and the chosen addresses: only the IPTV sources from the lists and the addresses entered in the web interface. HbbTV and the browser do not go through the VPN. When you want to hide all the receiver's traffic or only certain sources. |
| Full block if the VPN drops | yes, no | no | Yes: if the VPN drops, the receiver stays off the internet until it is back. The home network keeps working. The row is not there with “Only the browser and HbbTV”, where the block is always on for the browser. When you do not want anything to go to the internet without the VPN. |
| Start together with the receiver | yes, no | no | Yes: the VPN starts by itself every time the receiver starts, if it was on before. When you want the VPN always on. |
| Check the address seen on the internet | Finds the IP address and country that websites see right now (like YELLOW), by asking a public service. While it works, it shows “Finding the address seen on the internet...”. The result appears in the details: “Address seen on the internet: …”. To see whether the VPN really works: the address must be the VPN server's, not yours. | ||
| Install the VPN programs | Only appears when the VPN program for the chosen provider is missing. After the question “Install the VPN programs from the HD Satelit extensions feed? It takes a few minutes.”, it installs them (“Installing the VPN programs (a few minutes)...”). | ||
| Delete the chosen server / Delete all servers of this provider / Delete the name and password | These only appear when there is something to delete. Each one asks first, with “No” already selected: “Delete the server …?”, “Delete all servers of this provider (5)?”, “Delete the name and password from the receiver?”. When you no longer want a server or a provider, or you give the receiver to someone else. | ||
| Close | Closes the screen, like EXIT. The VPN stays as it was. |
Keys
| UP / DOWN | Select the row. Its explanation appears below the list. |
| LEFT / RIGHT | On Provider, Server, What goes through the VPN, Full block and Start together with the receiver: change the value. On the other rows: jump one page of the list. |
| OK | Does what the selected row says: opens the list of providers or servers, the keyboard for the name and password, the import, or moves to the next value. While a command is running, it shows “Wait for what you started before to finish.”. |
| GREEN (“Start” / “Stop”) | Starts or stops the VPN. |
| YELLOW (“IP address”) | Finds the address seen on the internet. |
| EXIT | Closes the screen. The VPN stays as it was. |
Step by step
Starting the VPN for the first time (OpenVPN provider)
- From your provider account, get the OpenVPN files and the service name and password (the explanation of the “Provider” row tells you where to find them).
- Copy the files to the USB stick, into the hdsatelit/vpn folder, and insert the USB stick into the receiver.
- Press MENU 6 9 9, choose the provider with LEFT / RIGHT, then select “Import the files from the USB stick” and press OK.
- On “Server”, choose the server you want. On the name and password row, press OK and enter them (easier from your phone, on /vpn).
- Press GREEN. When the status shows “Connected”, press YELLOW and check the address seen on the internet.
Sending all traffic through the VPN
- Press MENU 6 9 9 and select the “What goes through the VPN” row.
- Press RIGHT until it shows “All traffic, except the home network”.
- If you want, set “Full block if the VPN drops” to yes.
Setting up the VPN from your phone
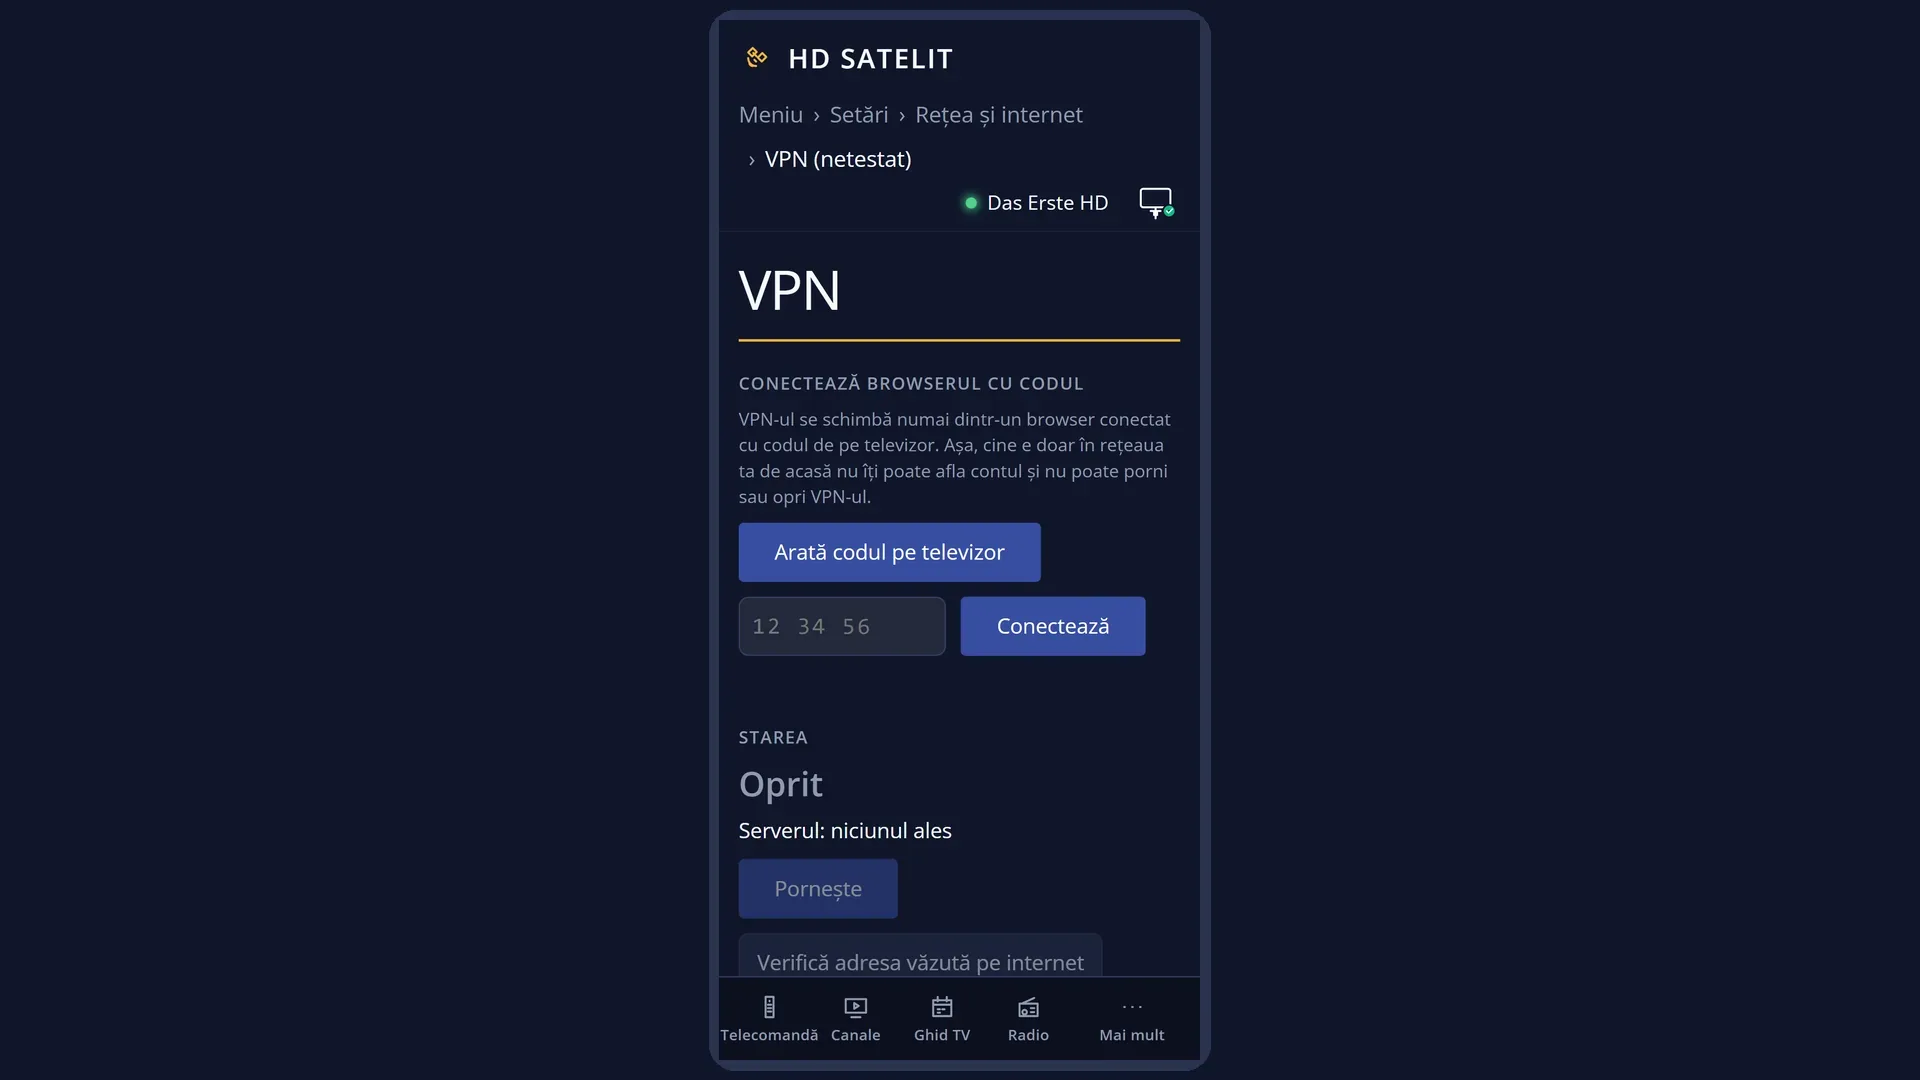
- Open the web interface in the browser connected with the code and go to /vpn.
- Under “Provider files”, choose the files on your phone and press “Send the files”.
- Under “Account name and password”, enter them and press “Save”. Then press “Start” under “Status”.
Problems and solutions
The status shows “Did not connect”.
Read the reason in the details. Usually the name or password is wrong (for NordVPN, Surfshark and Proton VPN you need the service ones, not the account email), or the server does not respond: choose another server.
“There are no servers for this provider. Import the files first.”
Put the provider's files on the USB stick, in the hdsatelit/vpn folder, and select “Import the files from the USB stick”, or send them from your phone on /vpn.
It shows “No connection: the internet is blocked until the VPN is back”.
The VPN has dropped, and “Full block if the VPN drops” is set to yes: nothing goes to the internet until it is back. Wait for it to reconnect by itself, choose another server or stop the VPN with GREEN.
The browser does not open anything, although everything else works.
With “Only the browser and HbbTV”, the browser only goes out through the VPN. Check the VPN status. A browser opened before the VPN started must be closed and opened again.
The address seen on the internet is still mine.
The VPN is not connected, or “What goes through the VPN” is set to “Only the browser and HbbTV” or “Only IPTV and the chosen addresses”, and the check does not go through the VPN. Choose “All traffic” if you want the whole receiver to go out through the VPN.
The “Full block if the VPN drops” row is missing.
With “Only the browser and HbbTV” the row does not exist: the browser never goes to the internet without the VPN anyway.
An imported file is refused.
The file asks for settings the receiver does not accept (starting programs, opening ports). The message names them. Get the standard file for routers or Linux from the provider.
“Stop the VPN first, then change the provider.”
You can only change the provider with the VPN off. Press GREEN (“Stop”), change the provider, choose the server and start it again.
I cannot change anything on the web page.
The VPN can only be changed from a browser connected with the code shown on the TV. Press “Show the code on the TV” and enter the code on the page.
Related topics
- Network & Internet
- Web browser
- HbbTV from the satellite signal
- IPTV (M3U / Stalker / Xtream)
- Matching web page: /vpn.