

DNS Server Settings
Screenshots are being added: so far 4 from the receiver and 5 from the web interface; the aim is at least 5 of each, with arrows and frames, and, where a setting changes what you see, a before and after comparison.
English screenshots coming: some of the pictures below still show the receiver and the web interface in Romanian. The rows, keys and steps described on this page are the English ones.
What it is for
DNS servers (name servers) turn internet names (for example hdsatelit.com) into addresses. The receiver uses them every time it opens something from the internet: the programme guide and channel lists from the internet, updates, the web browser and the exact time.
With DHCP on (the factory setting), the servers usually come from the router and you have nothing to do here. This screen is for when you want servers other than the router's, or when pages do not open even though the receiver is connected to the router.
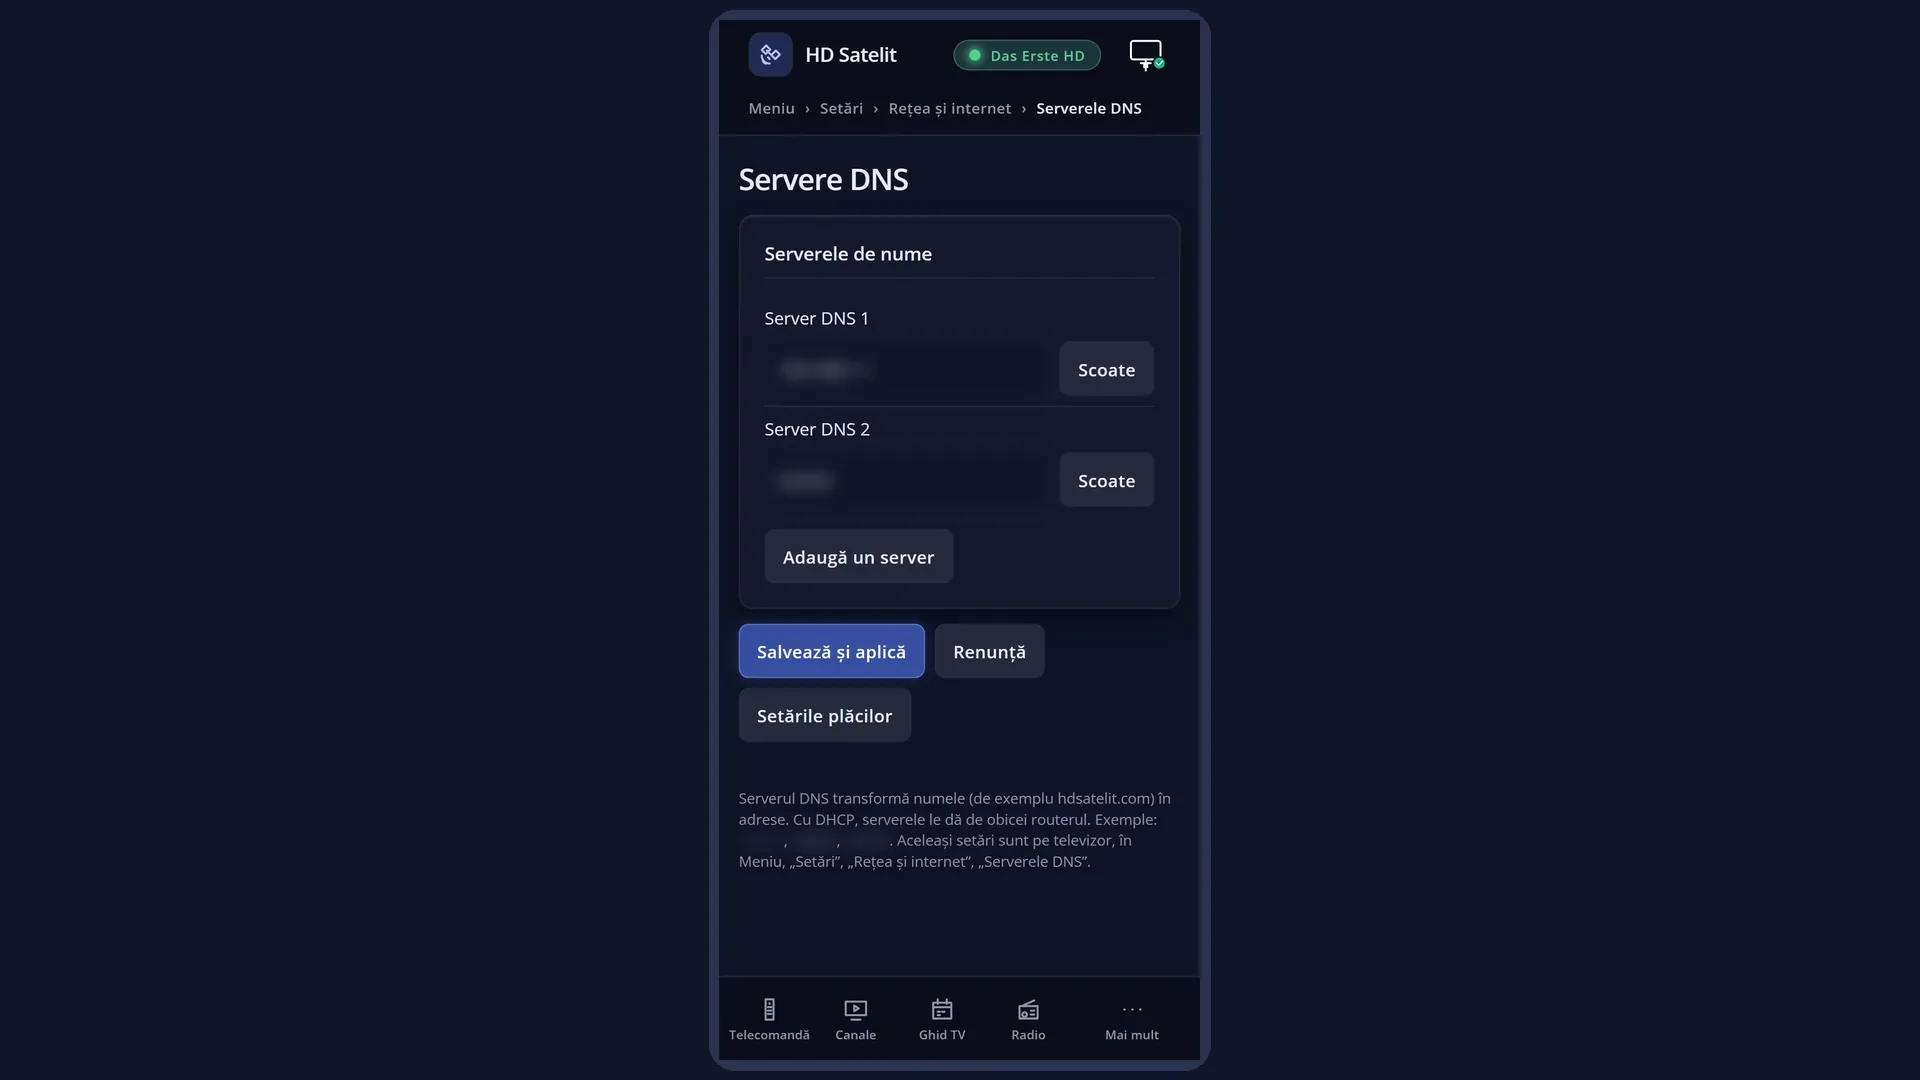
On this screen you see the list of servers, add one, delete one and save the list. The same list is also in the web interface, on the /dns page.
How to get here
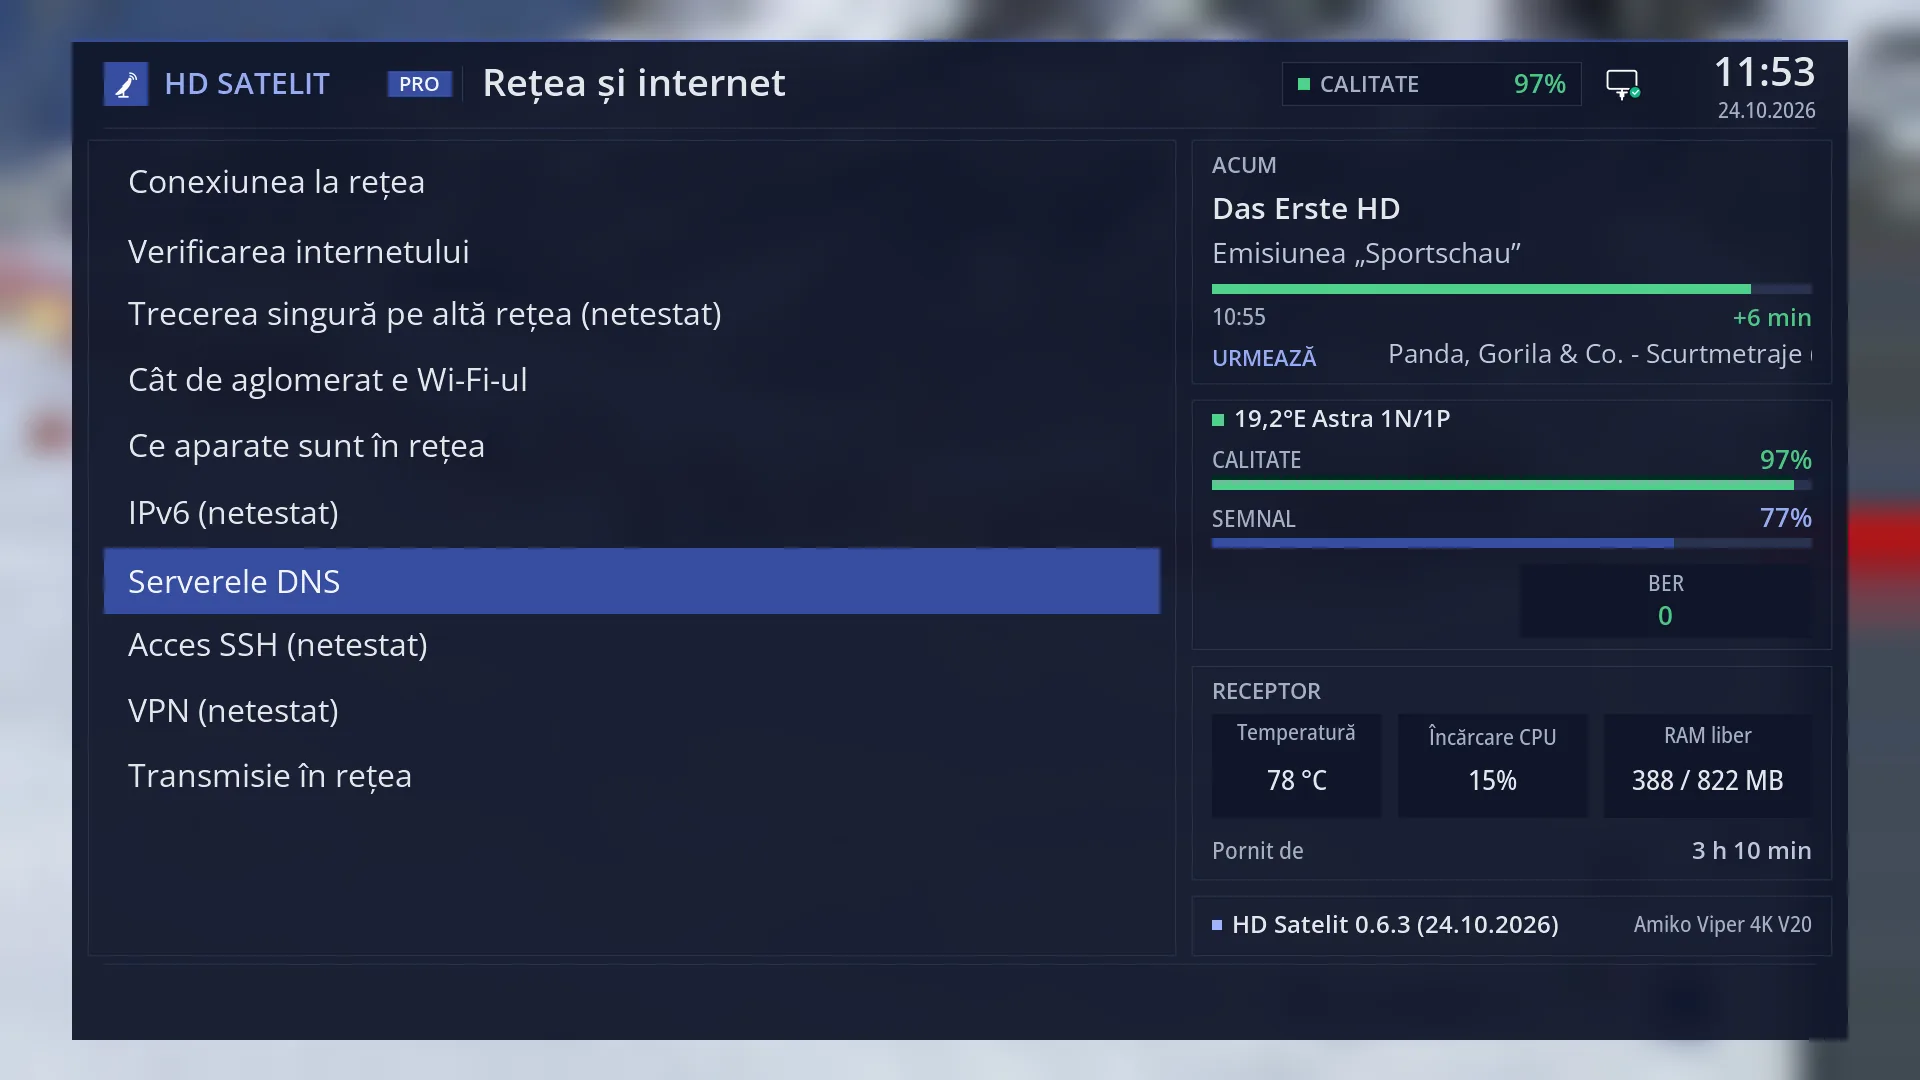
Path: Main menu > Settings > Network & Internet > DNS Server Settings (the seventh row).
Keys on the remote: MENU 6 9 7 (with “Setup Mode” set to Intermediate, the factory setting, or Expert; on Simple the row is not shown).
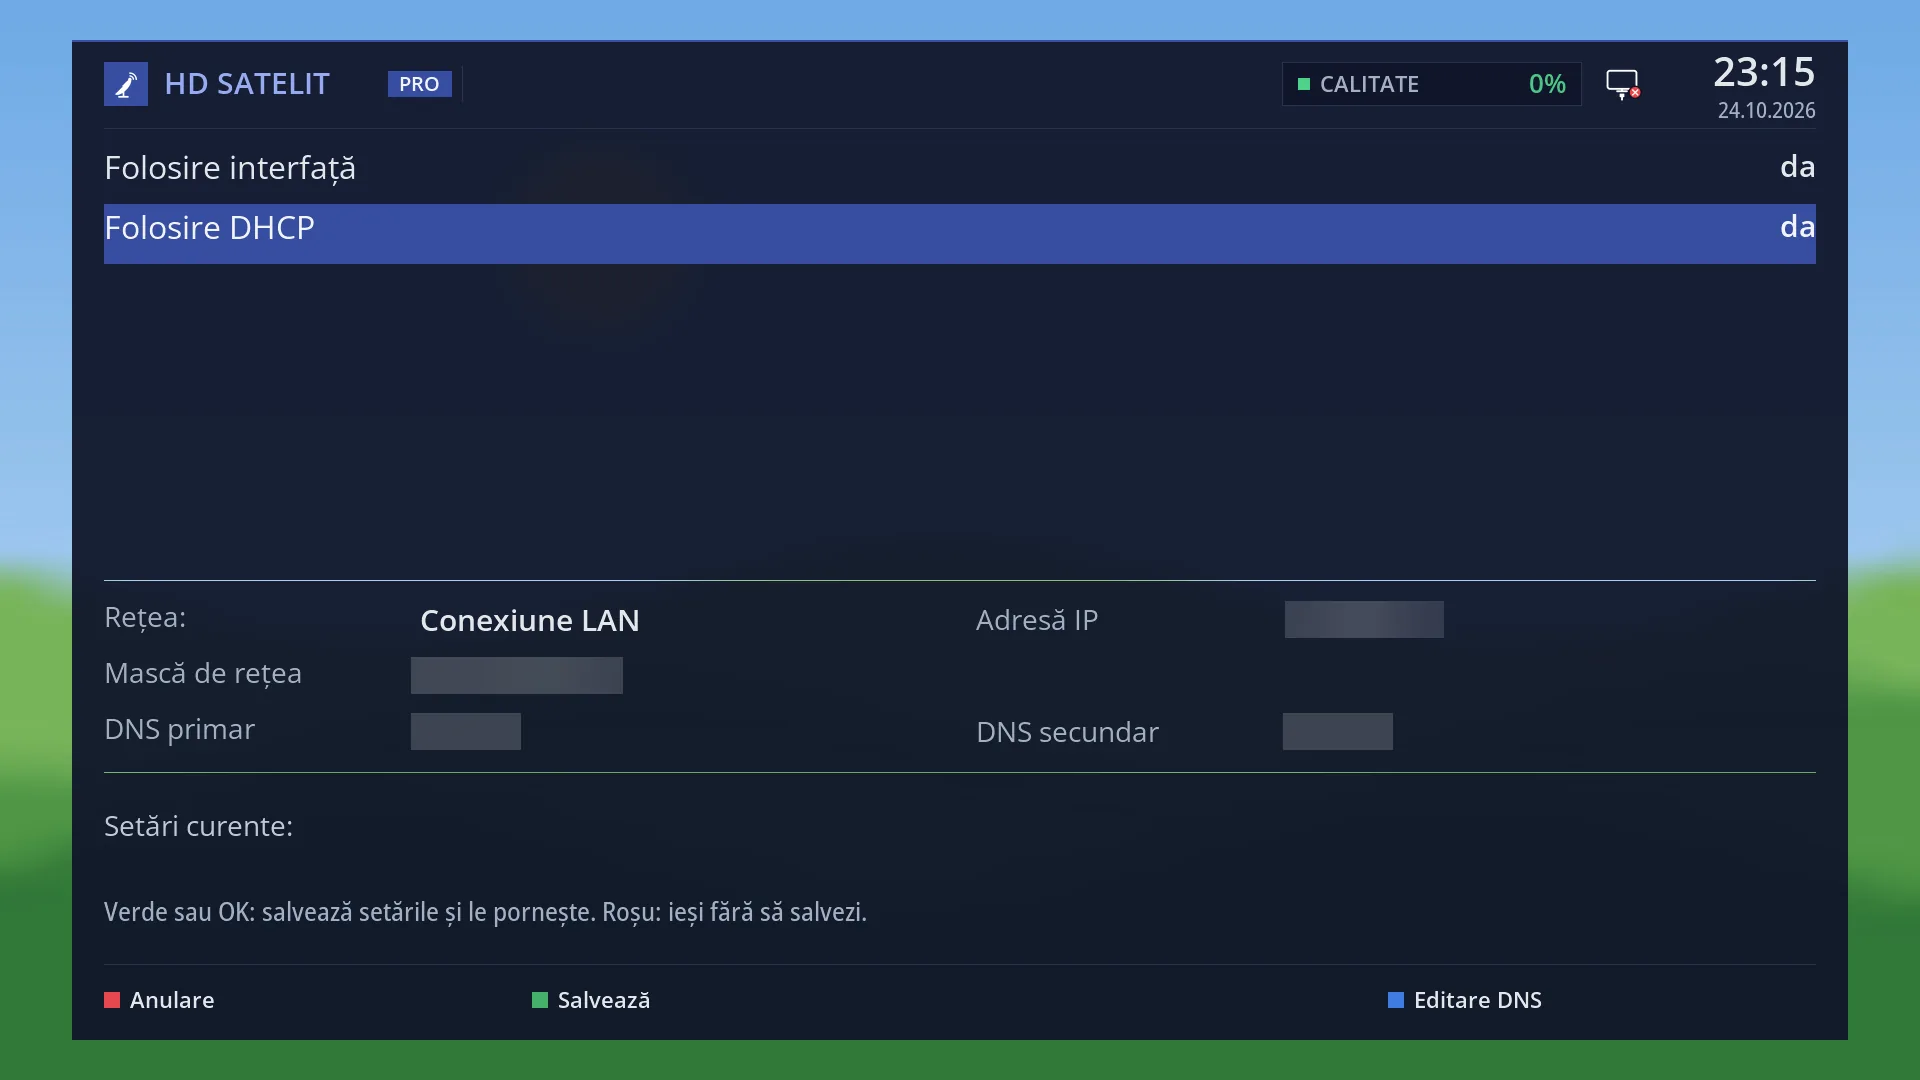
You can also get there from Network Connection Setup: MENU 6 9 1, the network card, OK, “Nameserver settings”; or in “Adapter settings”, press BLUE (“Edit DNS”).
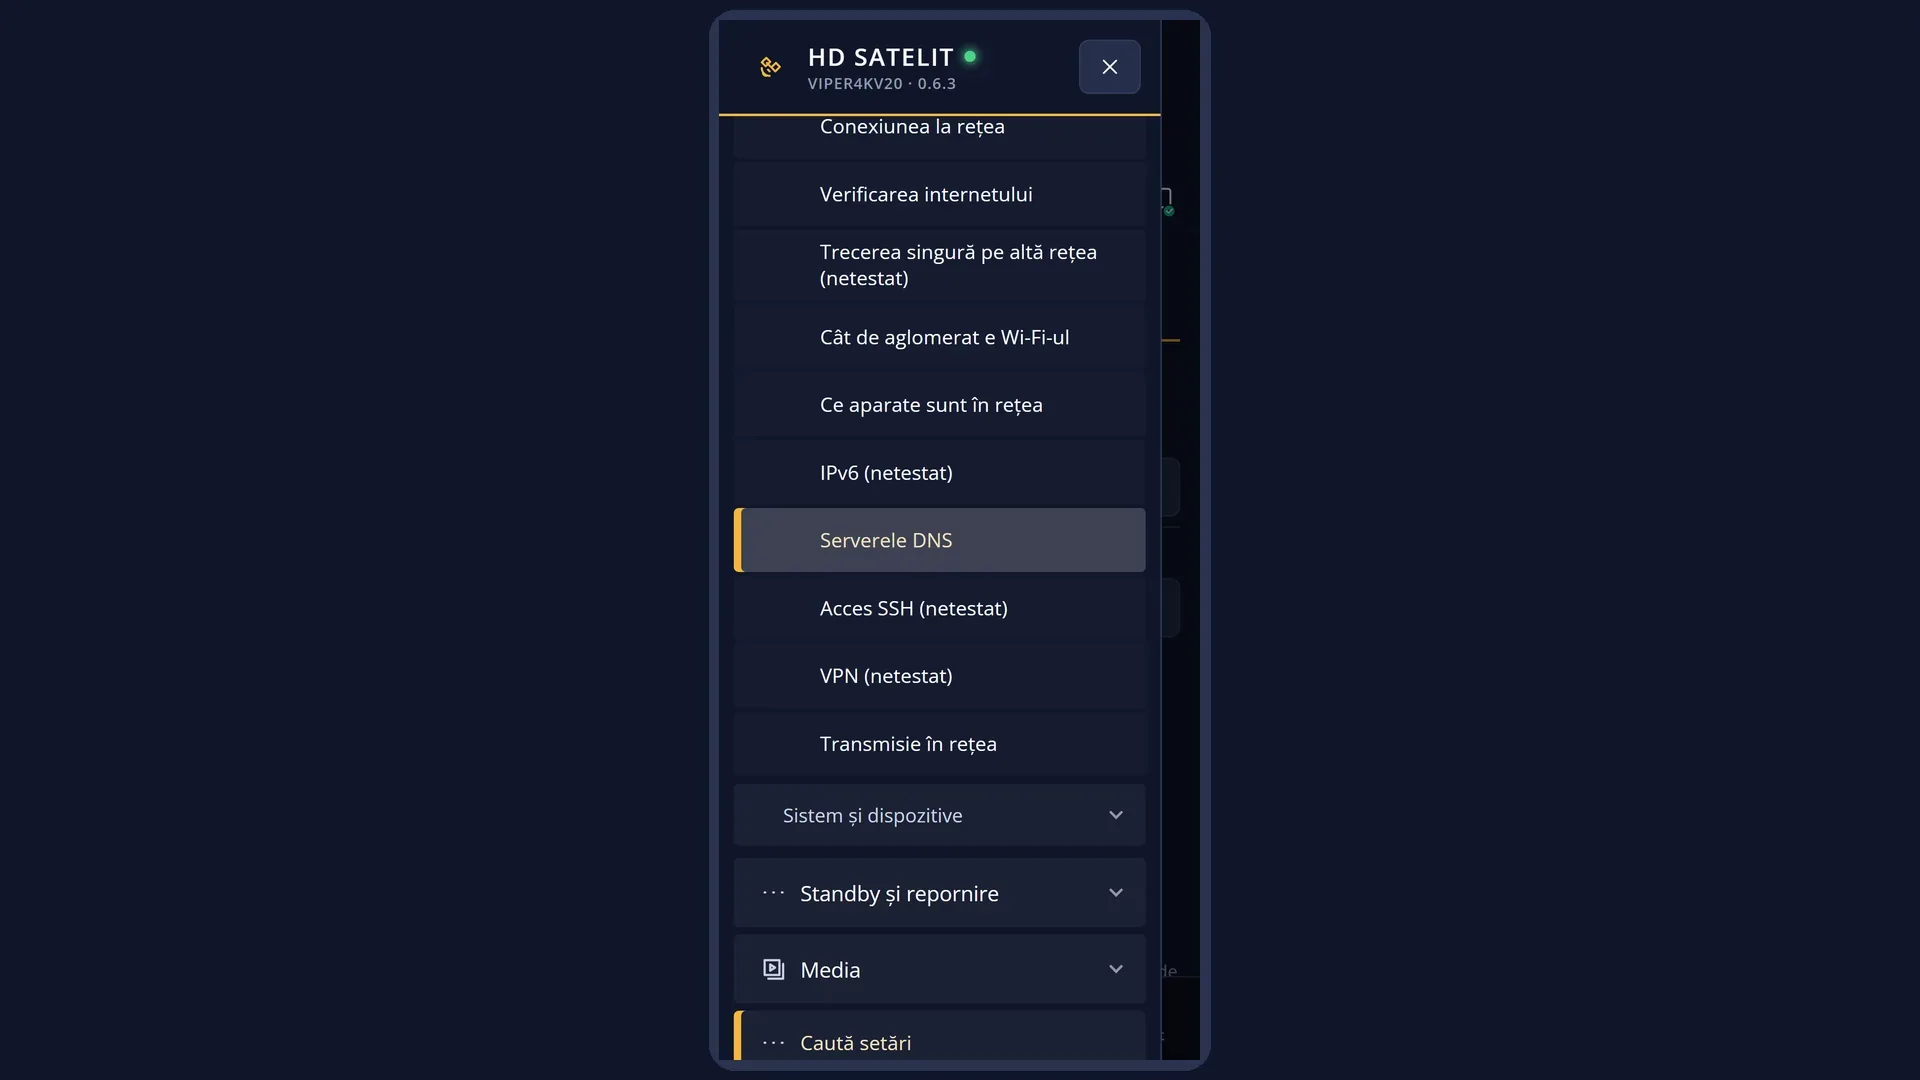
In the web interface: the /dns page (and the “The DNS servers” button in the “Network card settings” card, on /retea).
What you see on the screen
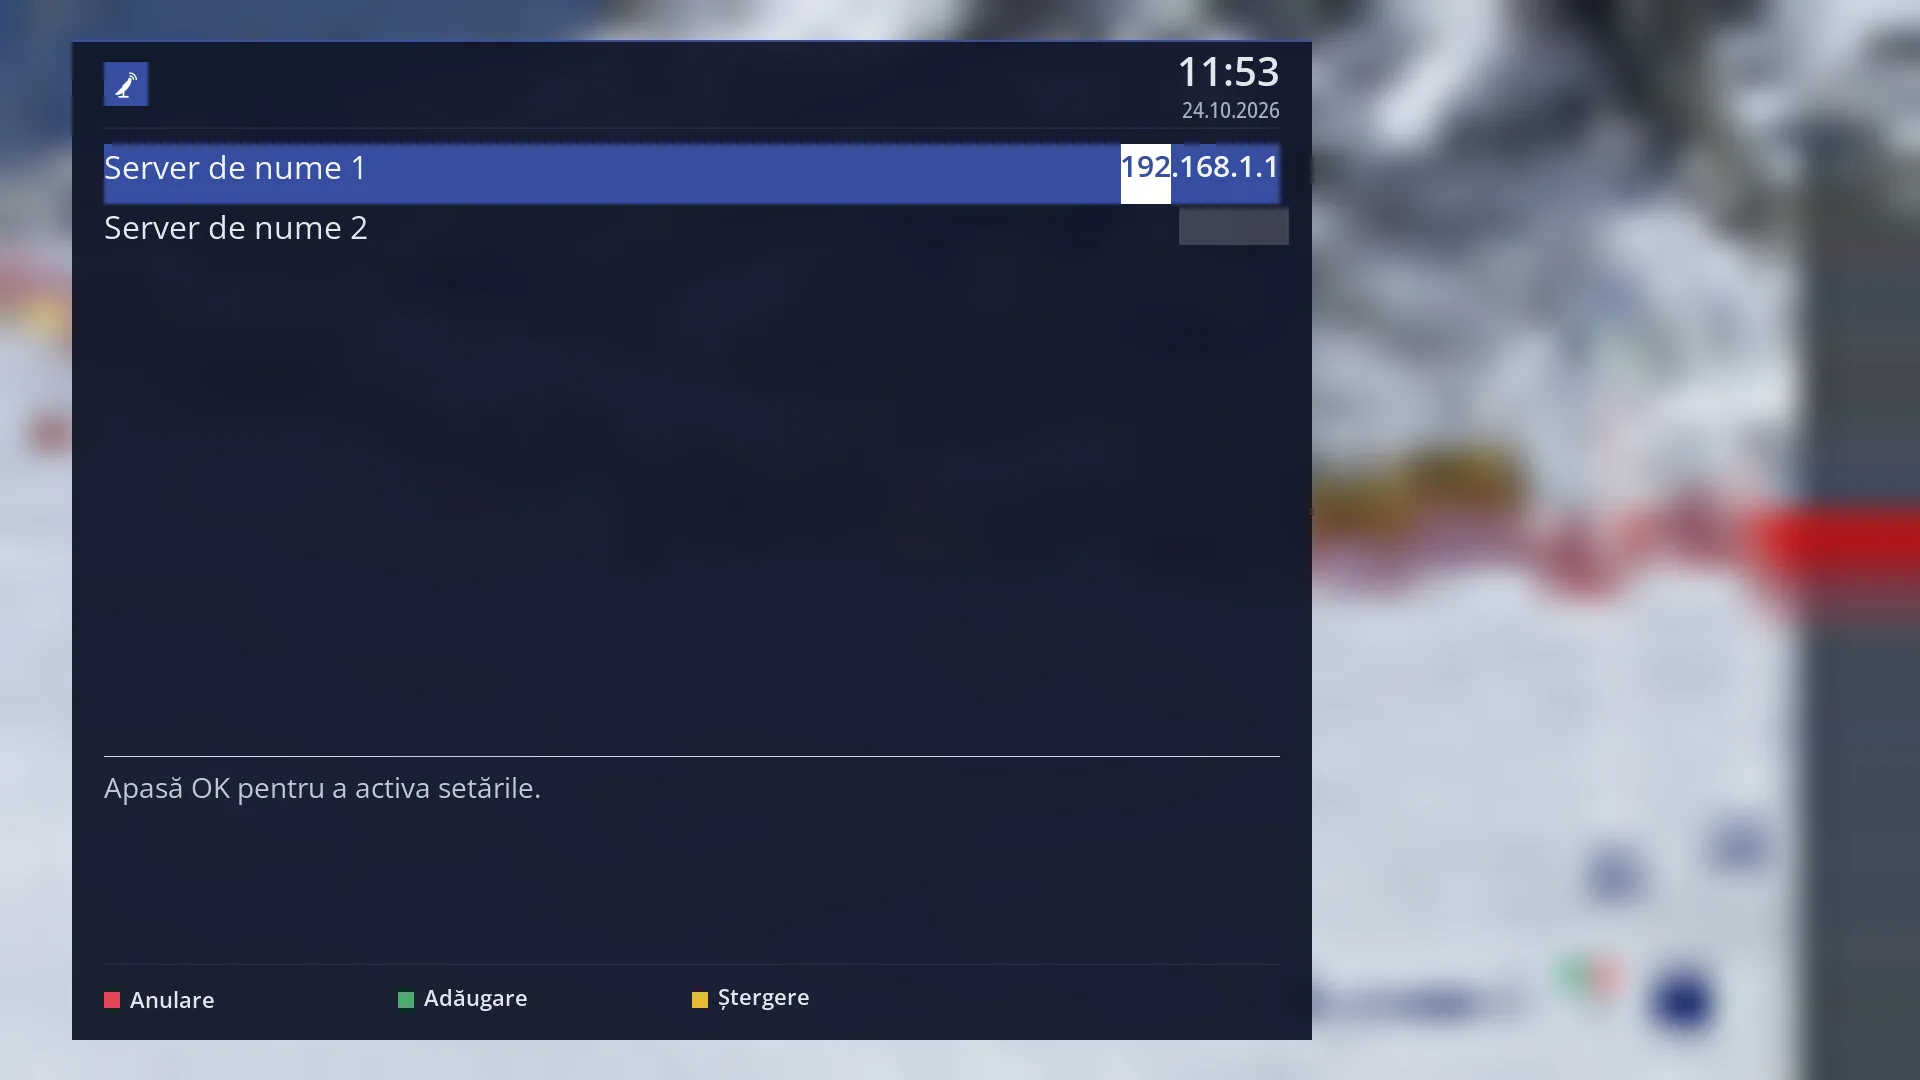
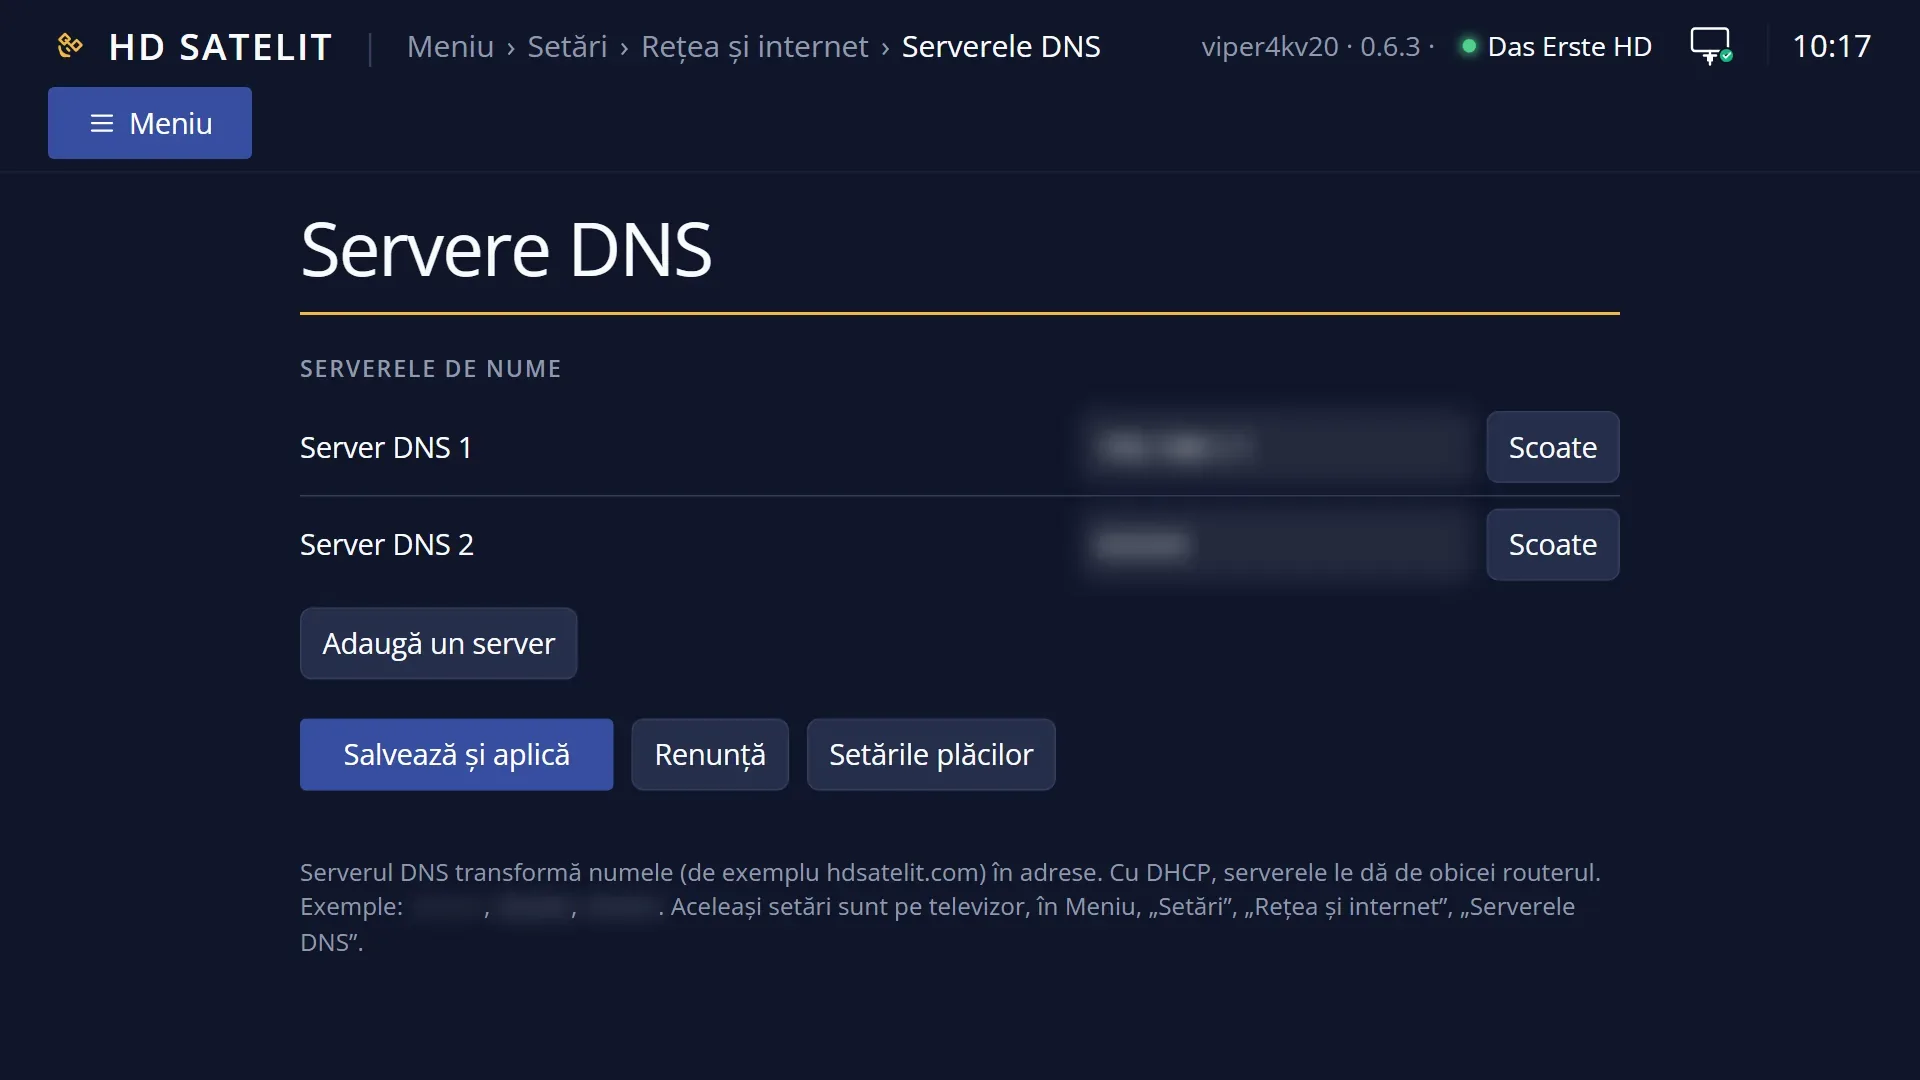
The list of servers, one per row: “Nameserver 1”, “Nameserver 2” and so on, each with its address on the right, written as four numbers separated by dots (for example the router's address). The screen has no title above the list.
Below the list: “Press OK to activate the settings.”.
At the bottom, the keys: RED “Cancel”, GREEN “Add” and YELLOW “Delete”.
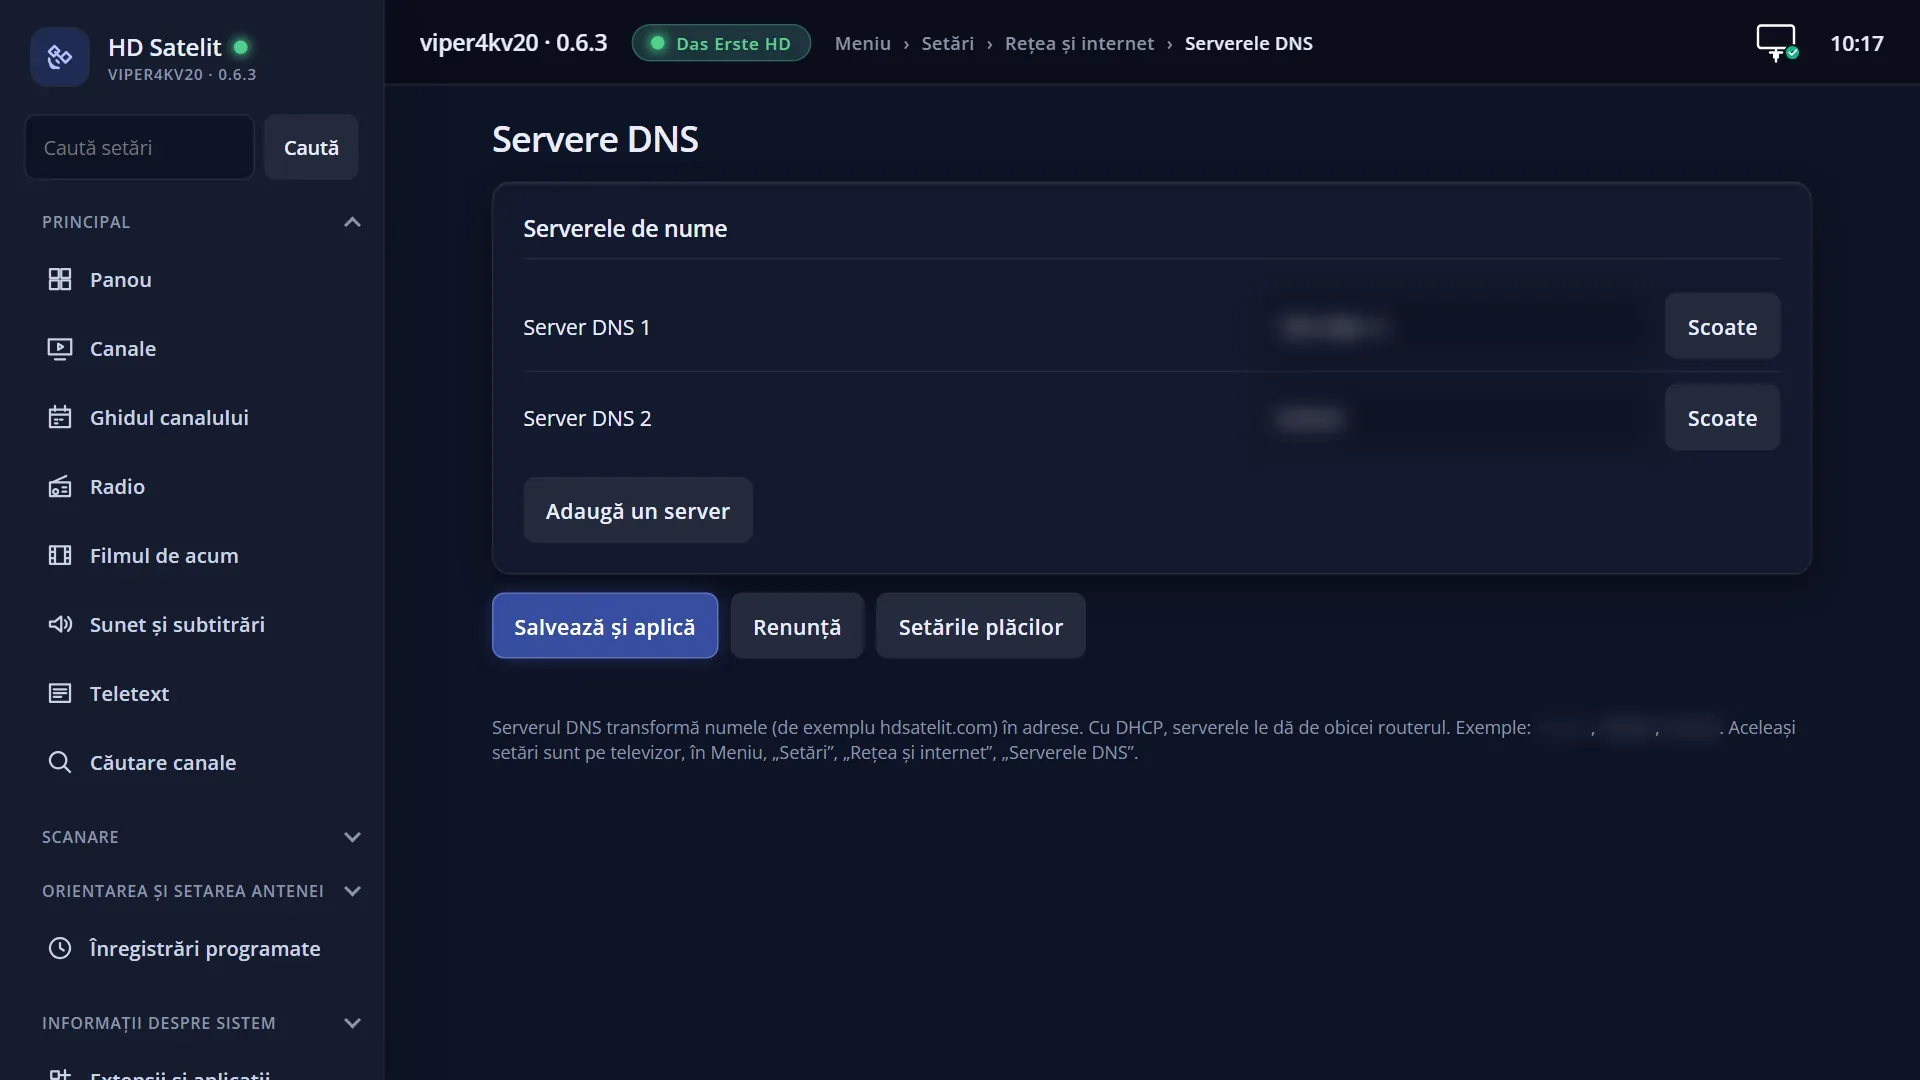
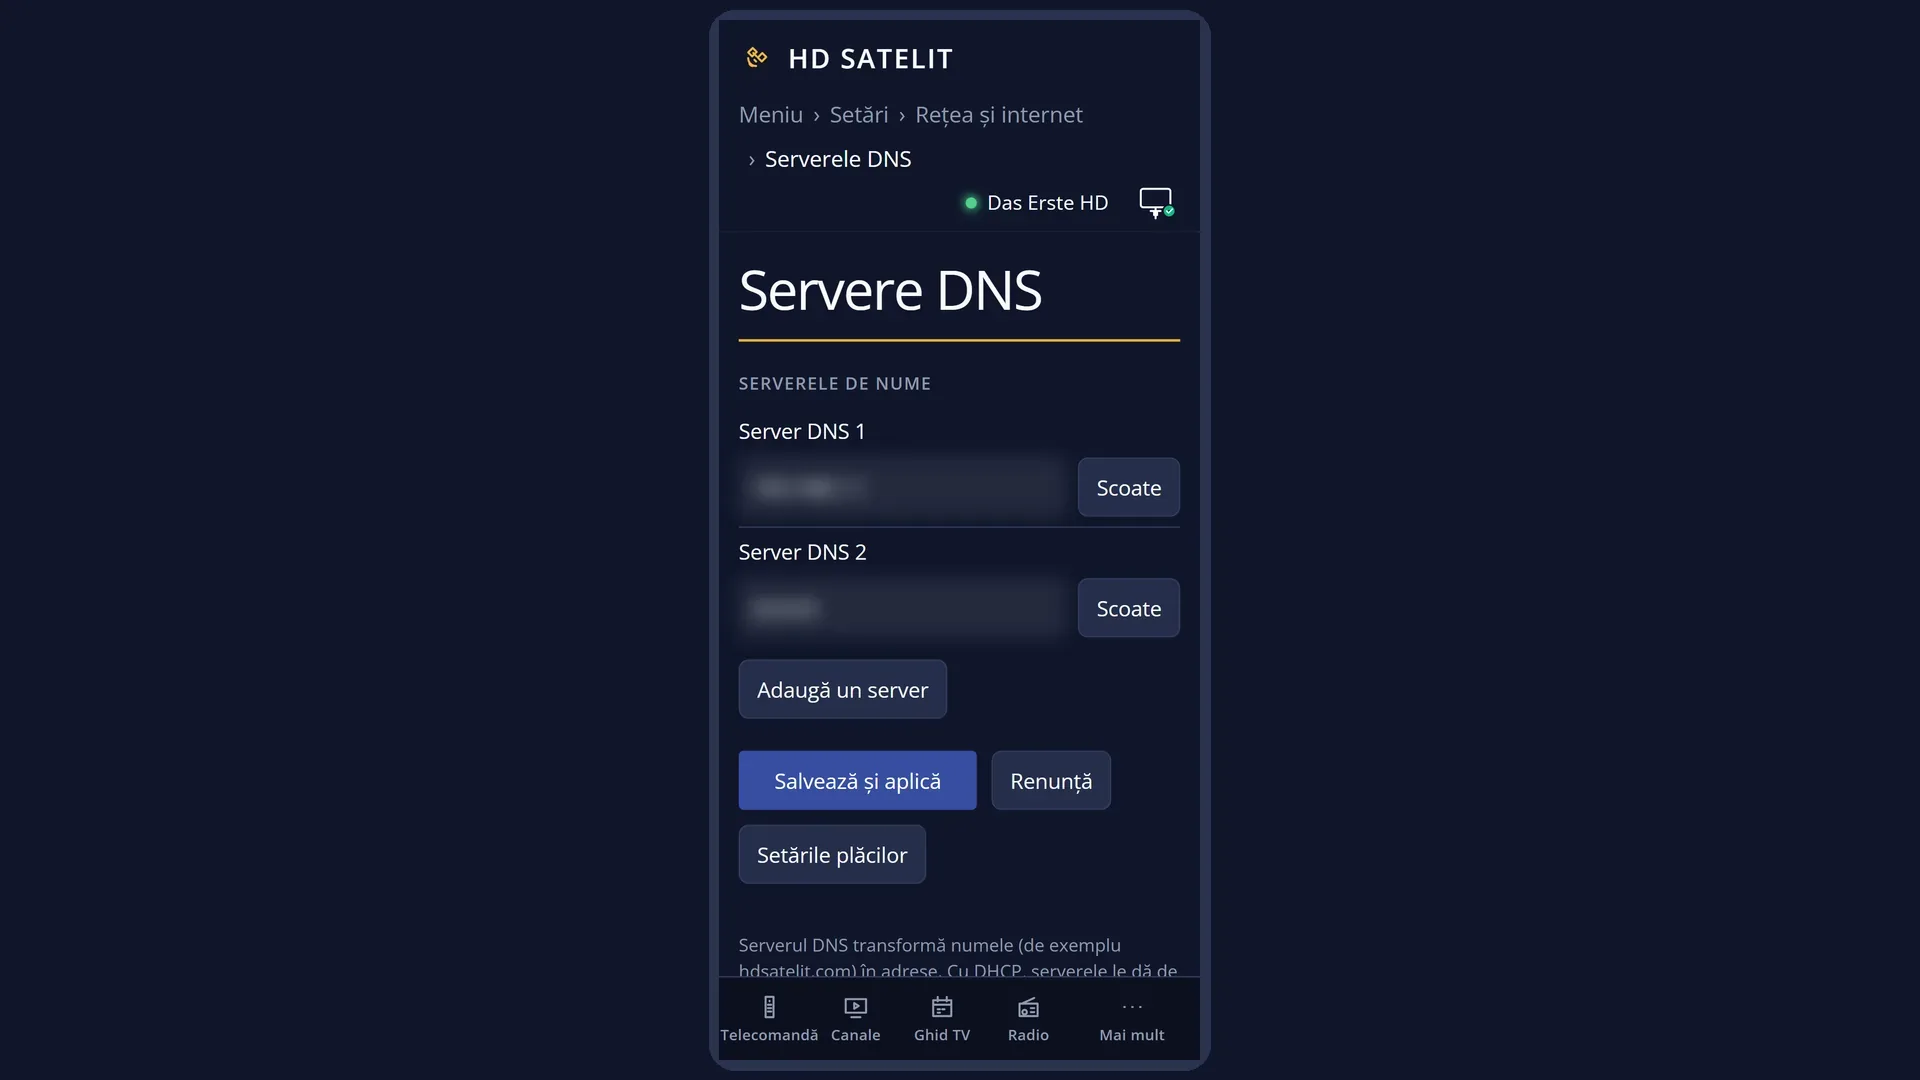
In the web interface, the “DNS servers” page has the “The name servers” card, with “DNS server 1”, “DNS server 2”... each in a box with a “Remove” button next to it, then the buttons “Add a server”, “Save and apply”, “Cancel” and “Settings of the network cards”. With no server, it says “There is no DNS server. Without it, the receiver cannot find internet addresses by name.”.
Rows and settings
| Row | Values | Default | What it does |
|---|---|---|---|
| Nameserver 1, 2, ... | an address made of four numbers | the servers given by the router (with DHCP) | The address of a DNS server. The receiver asks the first one first and moves on to the next when the first does not answer. You enter the address with the digit keys on the remote; LEFT / RIGHT move from one number to the next. When the router does not give good servers, or you want a public DNS server, for example your provider's or a free one. |
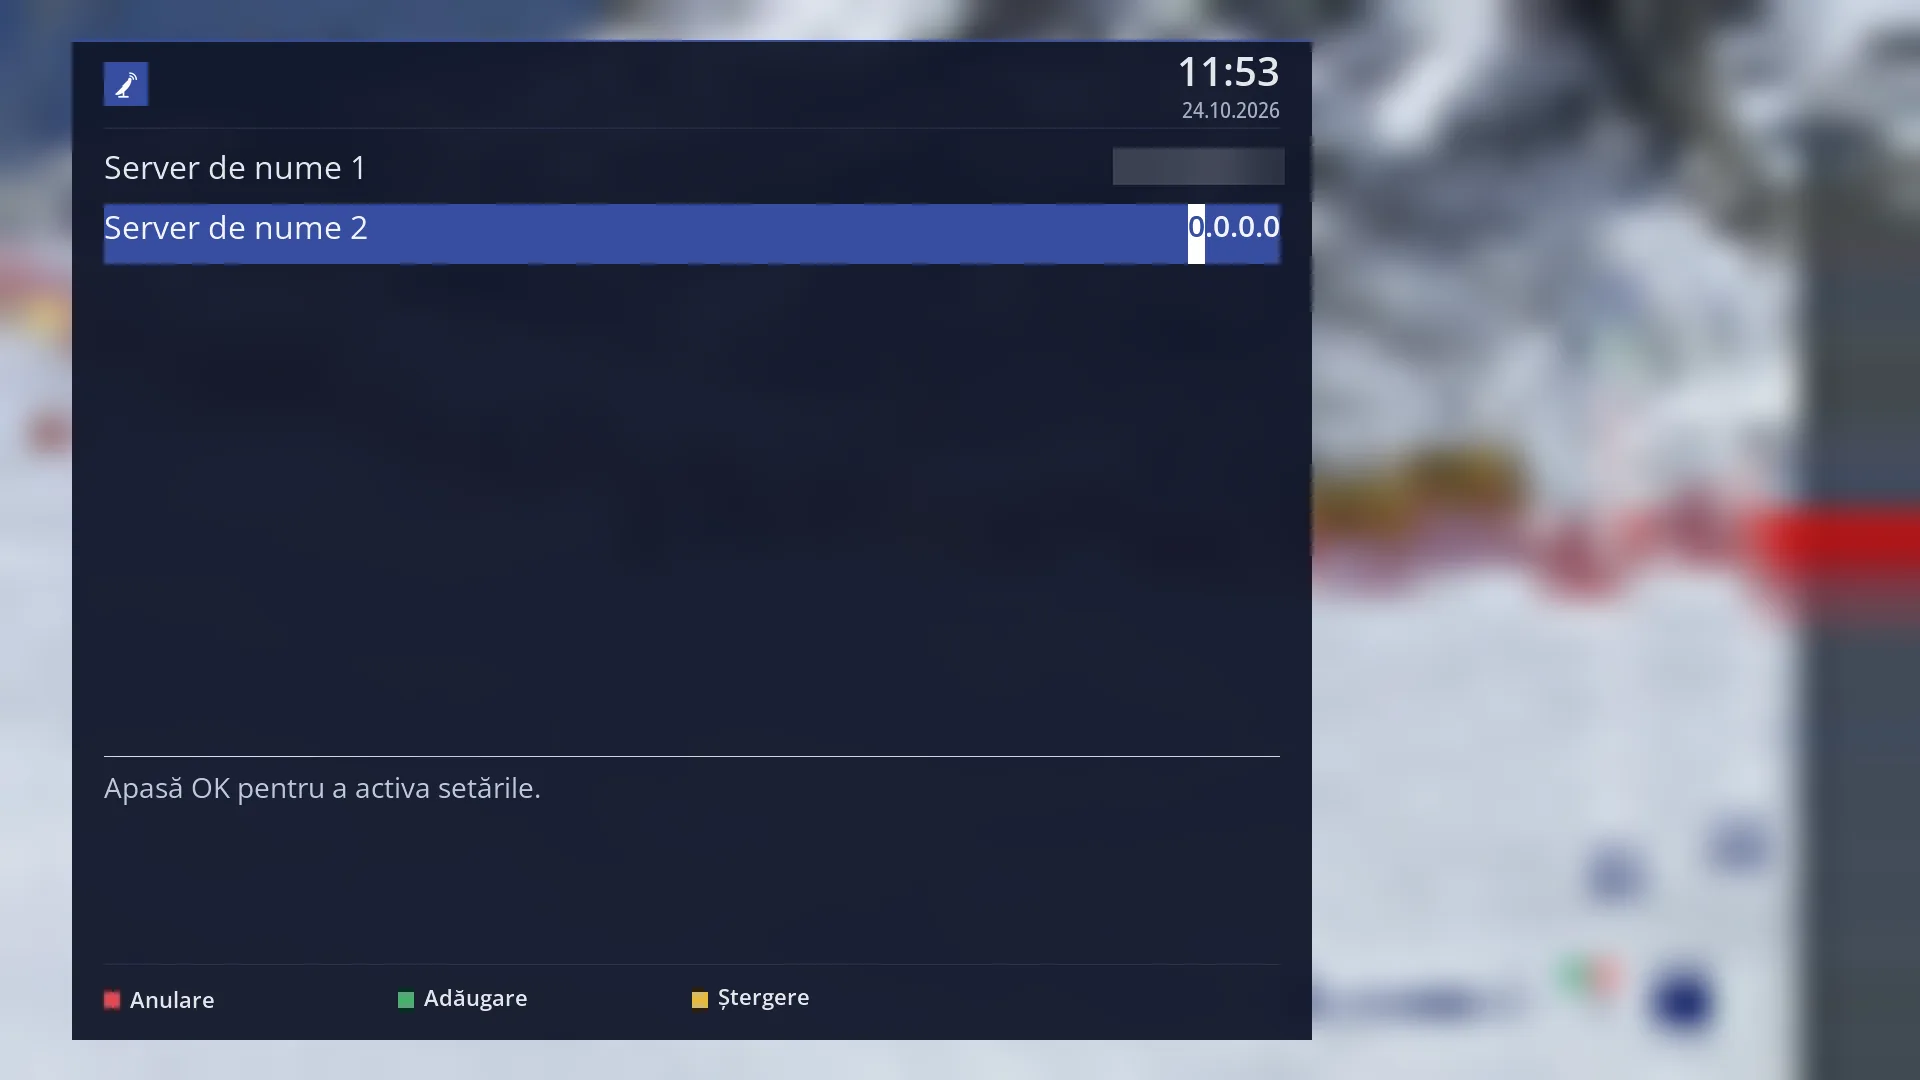
| Add (GREEN) | Adds a new row at the end of the list, with the address 0.0.0.0, which you then fill in. In the web interface you can have at most 10 servers. When you want another backup server. | ||
| Delete (YELLOW) | Removes the server under the cursor from the list. When a server no longer answers, or you added a row by mistake. |
Keys
| UP / DOWN | Select the server. |
| 0 ... 9 | Enter the digits of the address. |
| LEFT / RIGHT | Move from one number of the address to the next. |
| OK | Saves the list and uses it immediately, then closes the screen. |
| GREEN (“Add”) | Adds a new server, 0.0.0.0, at the end. |
| YELLOW (“Delete”) | Removes the selected server. |
| RED (“Cancel”) or EXIT | Close the screen without saving and restore the previous list, even if you added or deleted rows. |
Step by step
Change the first DNS server
- Press MENU 6 9 7.
- On “Nameserver 1”, enter the new address with the digit keys; move from one number to the next with LEFT / RIGHT.
- Press OK. The list is saved and the receiver uses it immediately.
Add a backup server
- Press MENU 6 9 7, then GREEN: a new row with 0.0.0.0 appears.
- Move to it with DOWN and enter the address.
- Press OK.
Change the servers from your phone
- Open the web interface and go to /dns.
- Enter the address in a server's box or press “Add a server”; “Remove” deletes one.
- Press “Save and apply” and confirm the question “Save the DNS servers?”. “Cancel” changes nothing.
Problems and solutions
The receiver is connected to the router, but nothing from the internet opens.
The DNS servers may be missing or not answering. Run “Network test” (MENU 6 9 1, the network card, OK): if “Nameserver” shows “unconfirmed”, check the list here and enter the router's address or that of a public DNS server.
I pressed GREEN and a row with 0.0.0.0 appeared.
That is the new row: enter the address on it, or delete it with YELLOW before pressing OK. A 0.0.0.0 server is of no use.
I cannot find the “DNS Server Settings” row in Network & Internet.
The row is only shown with “Setup Mode” set to Intermediate or Expert (Menu > Settings > Interface & Appearance > OSD Preferences). You can also reach it from Network Connection Setup: the network card, OK, “Nameserver settings”.
I deleted all the servers on the web page.
The page asks first: “Without any DNS server, the receiver can no longer find internet addresses by name.”. If you saved anyway, add at least one server (for example the router's address).
The web page says “The address … is not a DNS server address.”
The address is not written correctly: it must be four numbers between 0 and 255, separated by dots.
Related topics
- Network & Internet
- Network Connection Setup (Adapter settings, Network test)
- Internet check
- Matching web page: /dns.