

IPTV (M3U / Stalker / Xtream)
Screenshots are being added: so far 5 from the receiver and 4 from the web interface; the aim is at least 5 of each, with arrows and frames, and, where a setting changes what you see, a before and after comparison.
English screenshots coming: some of the pictures below still show the receiver and the web interface in Romanian. The rows, keys and steps described on this page are the English ones.
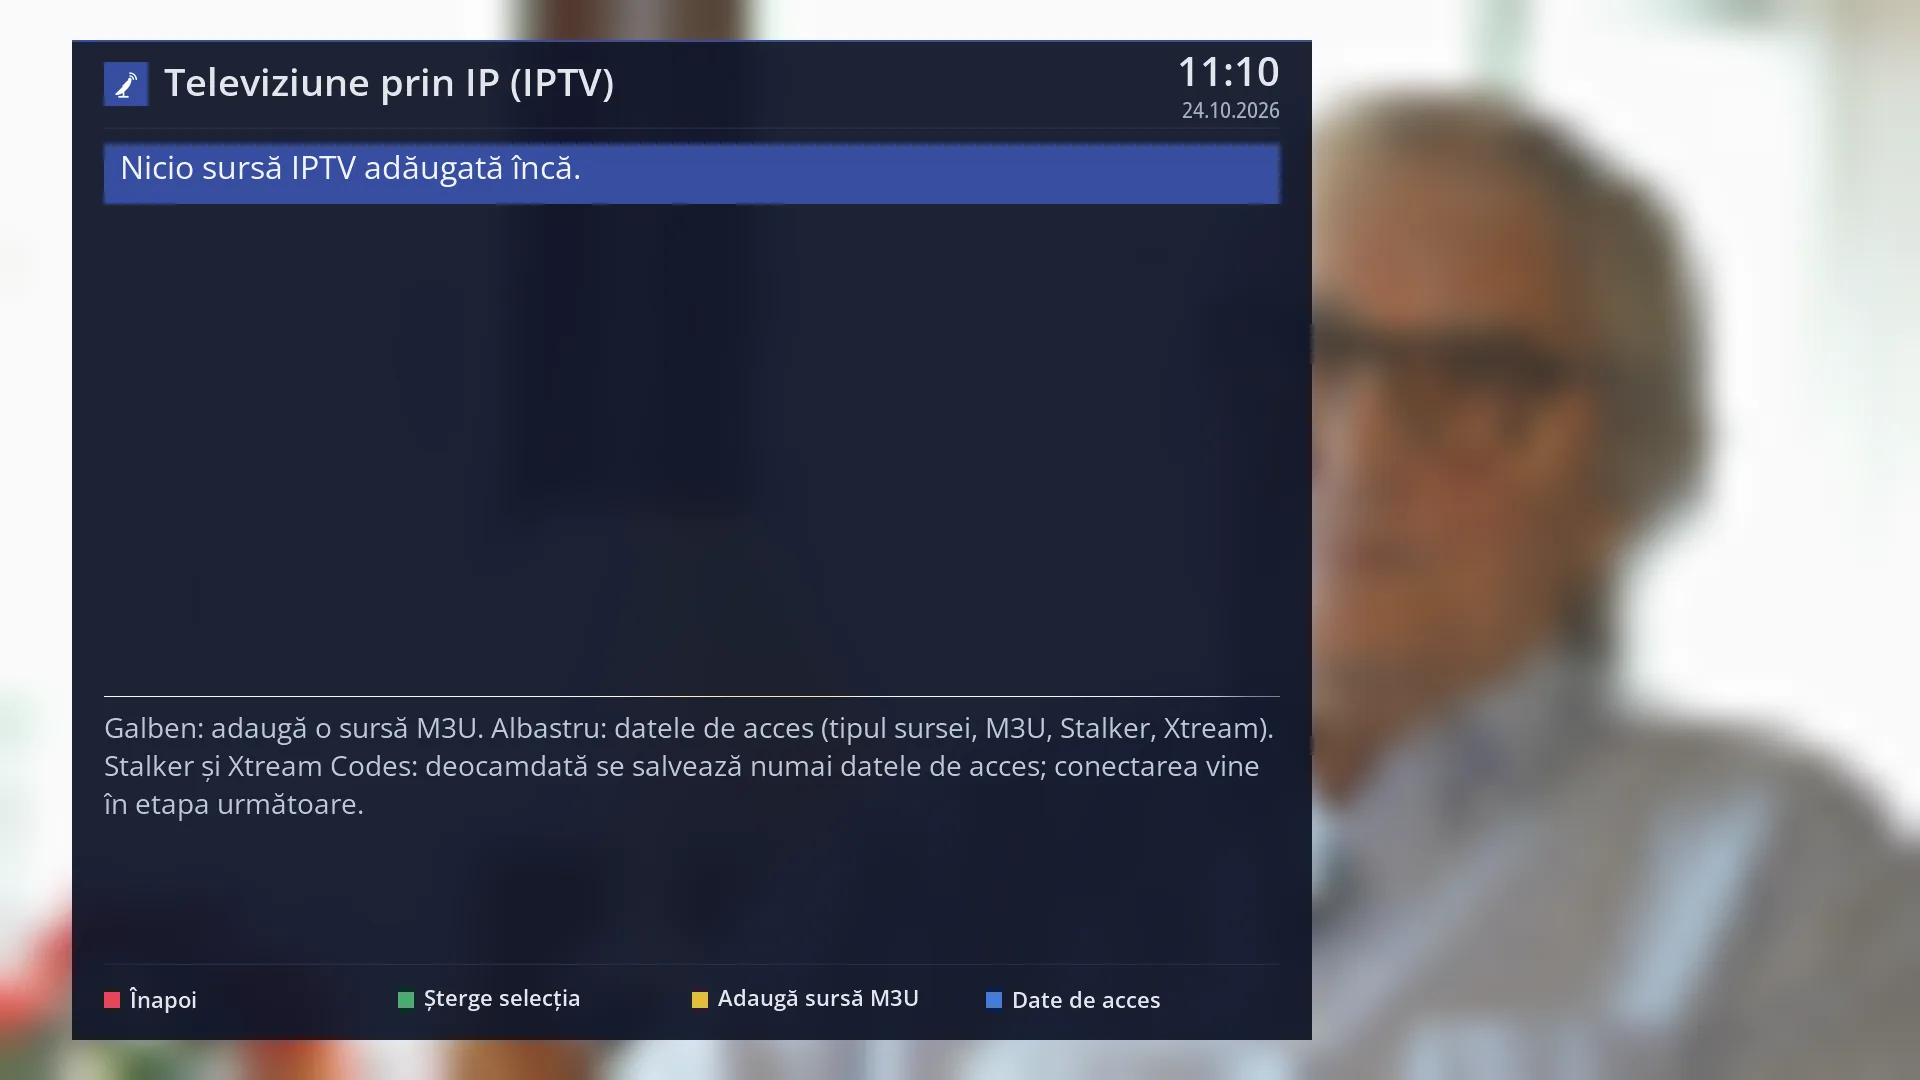
- 1 The screen title.
- 2 The added sources, or “No IPTV source added yet.”.
- 3 The guide: what YELLOW and BLUE do and what works for now.
- 4 RED back, GREEN deletes the selected source, YELLOW adds an M3U list, BLUE access details.
What it is for
Television over IP (IPTV) comes from a provider on the internet, not from the dish. It comes in one of three forms: a channel list (an M3U or M3U8 file on a USB stick, on a disk or at an internet address), a Stalker portal, or an Xtream Codes account with a server, a username and a password.
The screen is marked “(in progress)”. In this version it stores the sources and the access details. The M3U lists you add stay in the screen's list. For the Stalker portal and the Xtream Codes account, only the details are saved. Their channels do not appear in the channel list yet, and the connection to the portal or the server will come in a later version.
Use it now to note down your sources, so they are ready when the feature is finished. For internet channels that already work, use DVB-I.
How to get here
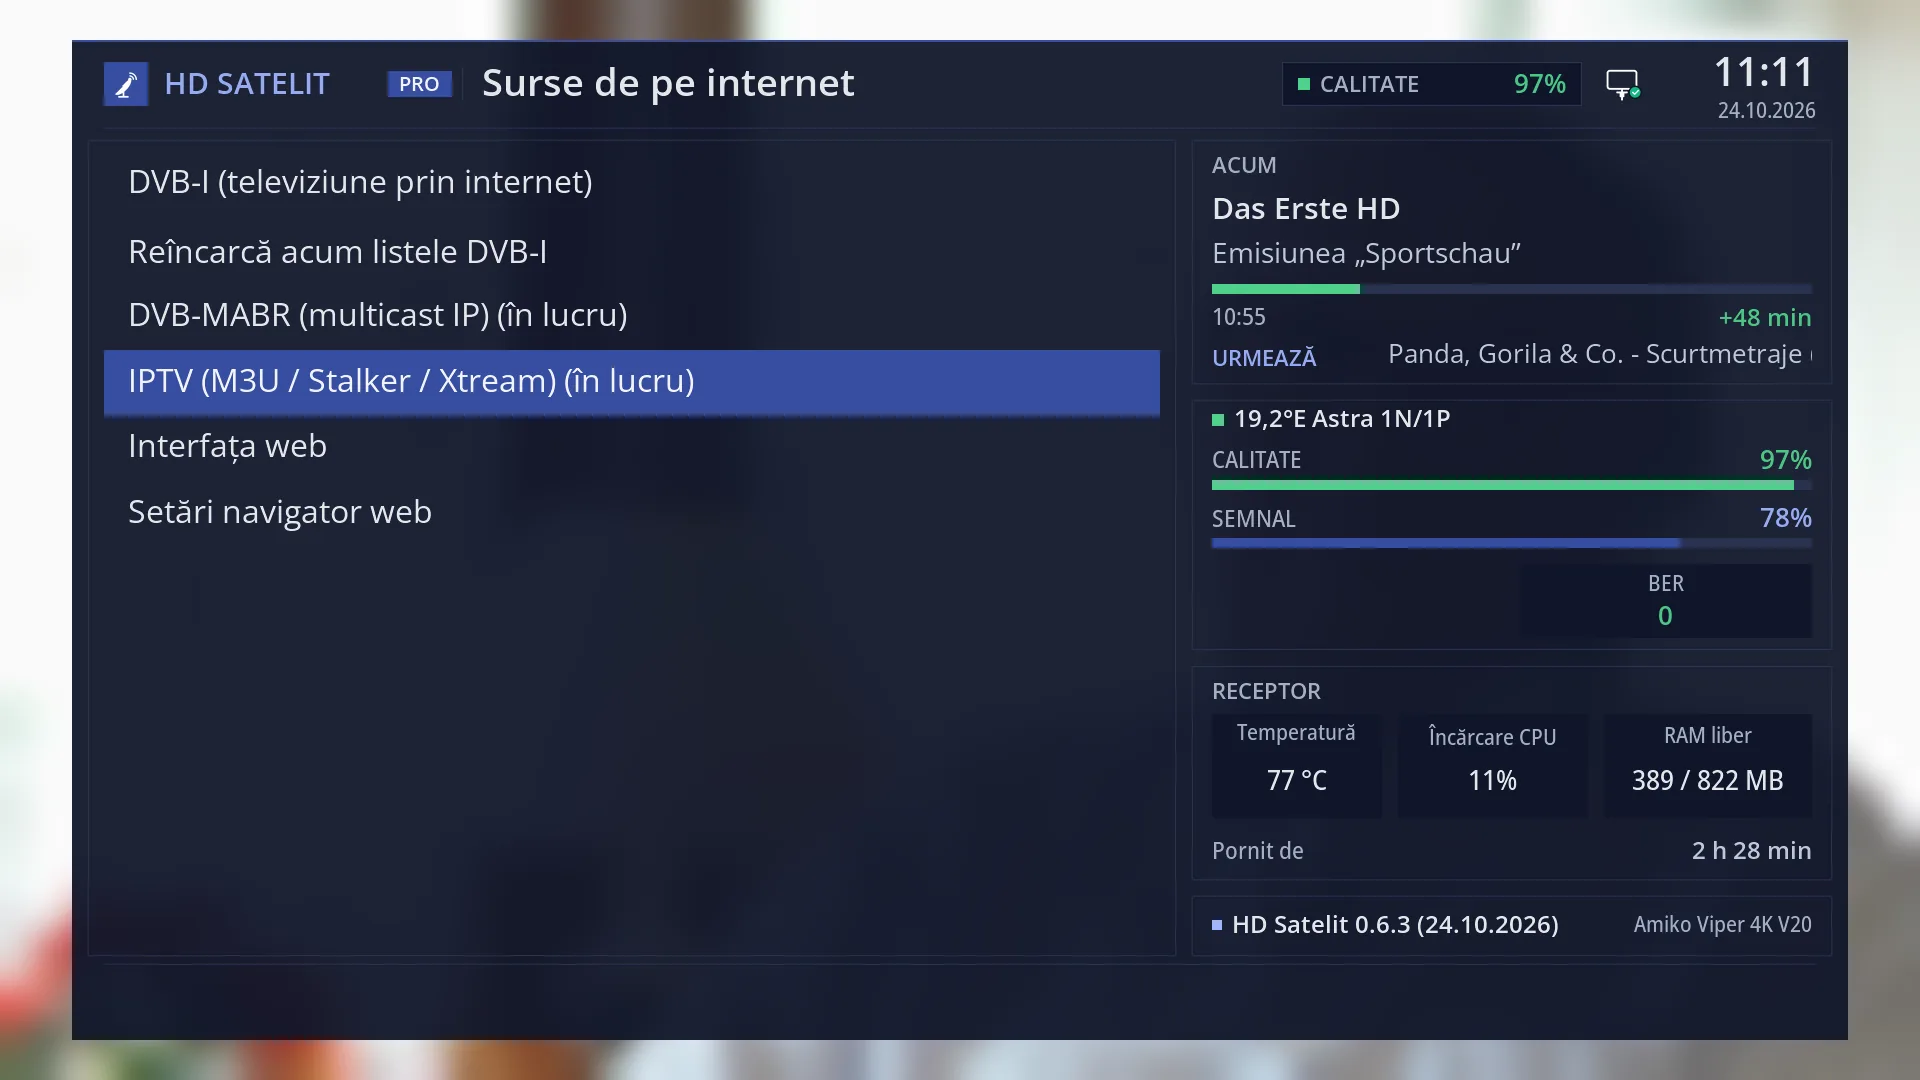
The path: Main menu > Settings > Internet Sources > IPTV (M3U / Stalker / Xtream).
Keys on the remote: MENU 6 2 4 (with the Simple setup mode, the row is the third one: MENU 6 2 3).
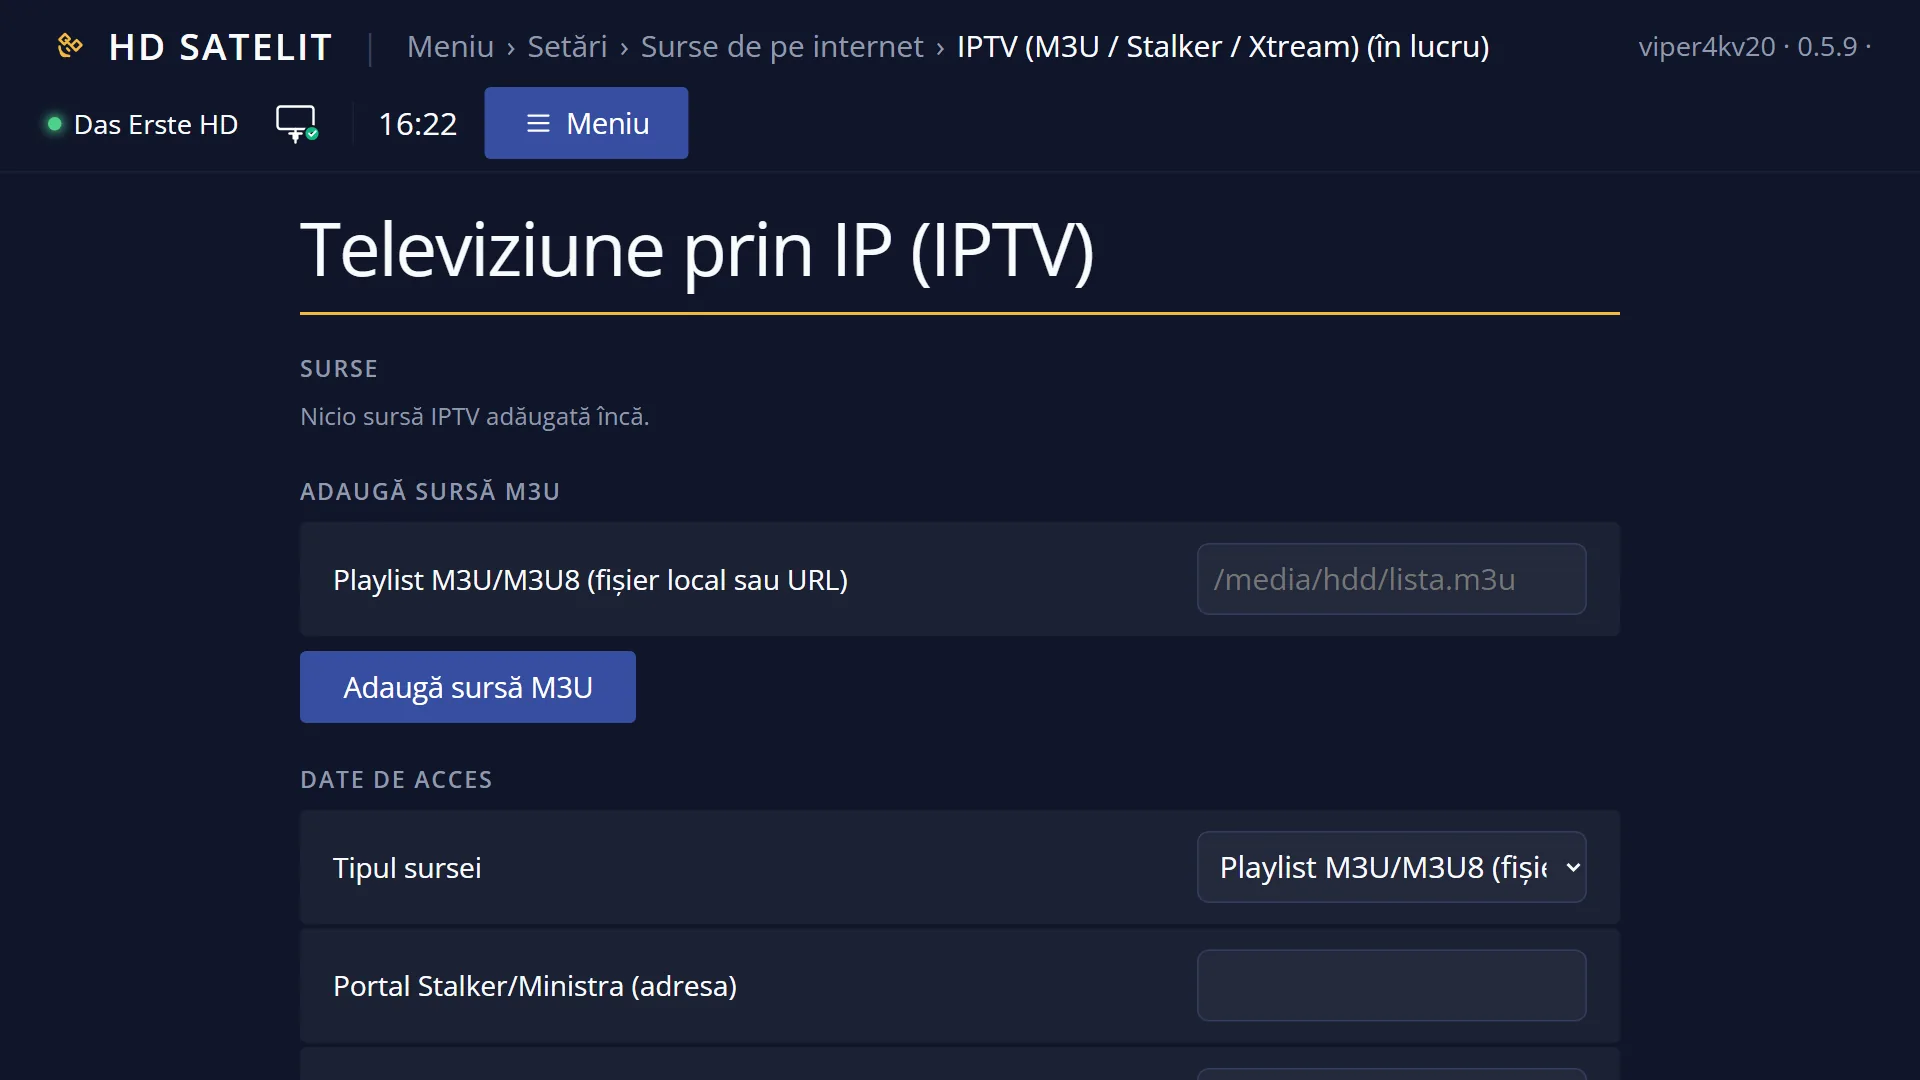
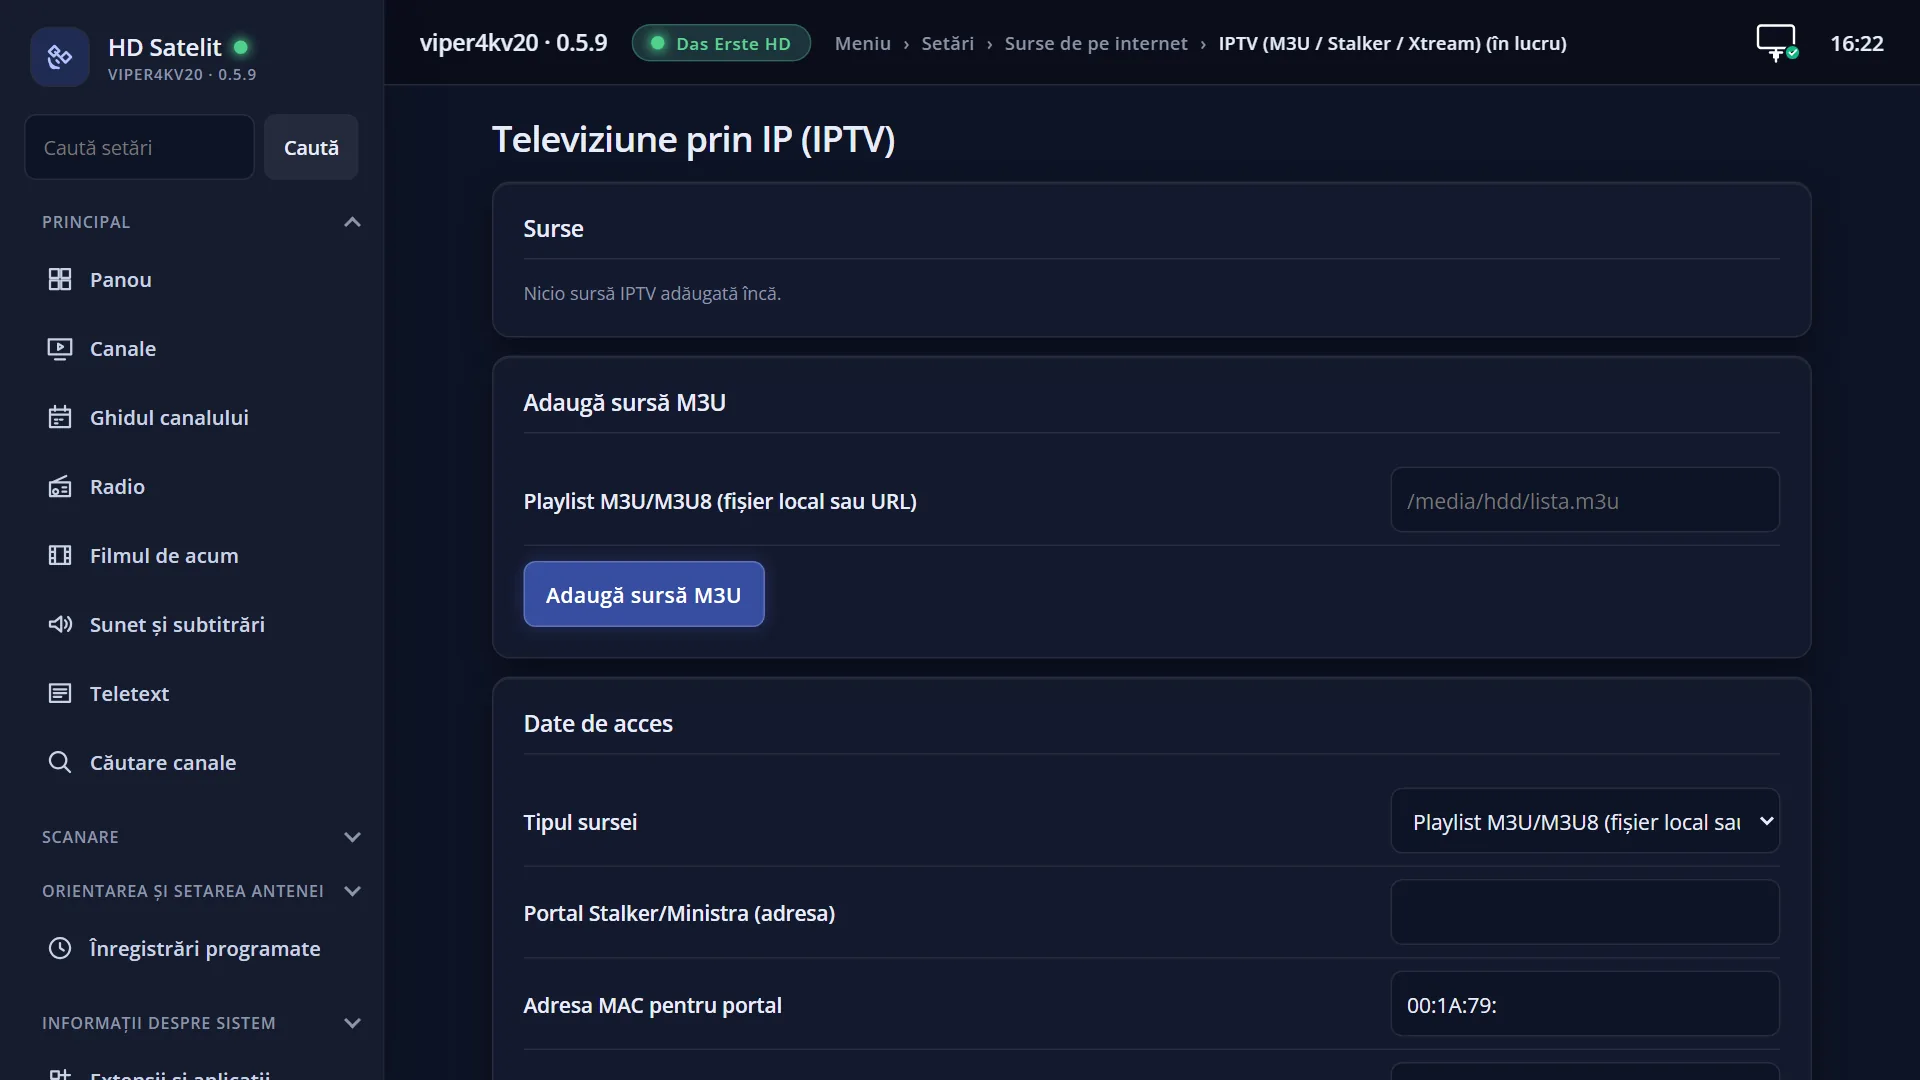
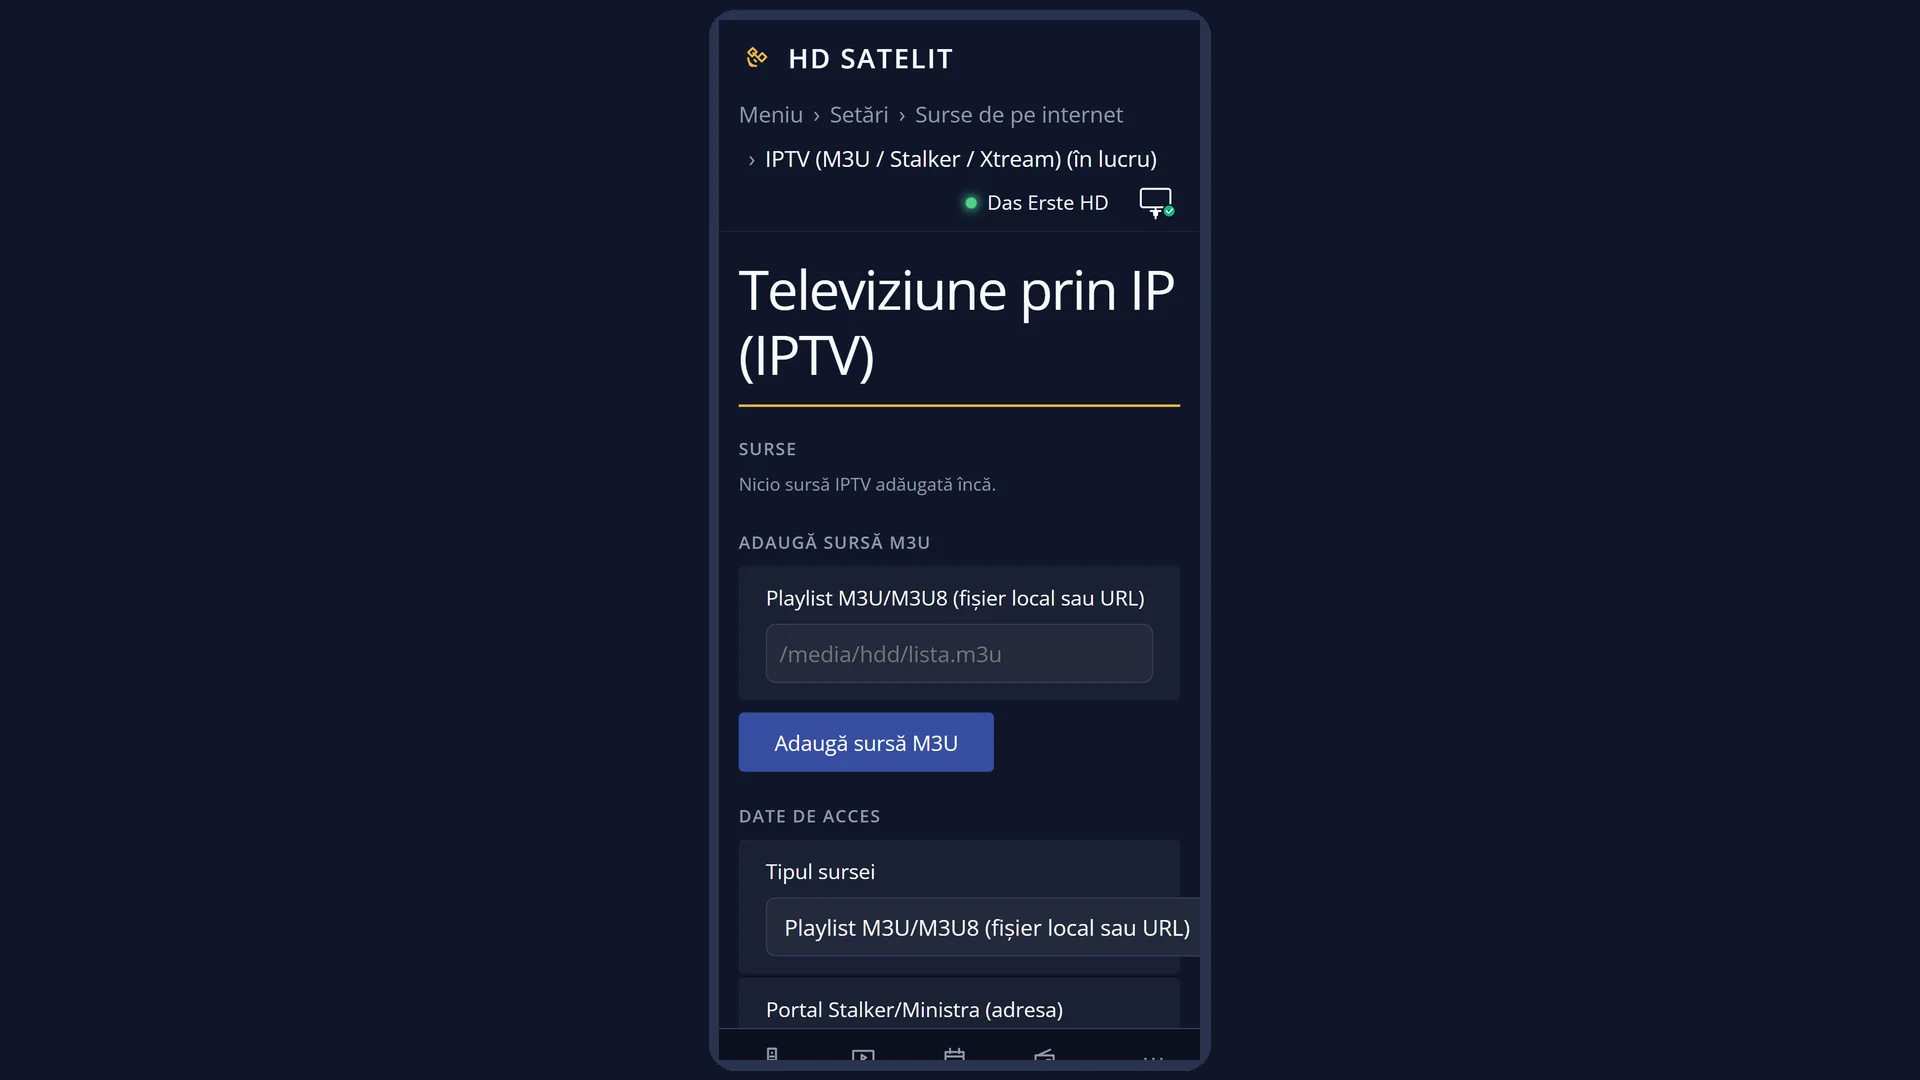
In the web interface: the /iptv page (“Television over IP (IPTV)”), with the “Sources”, “Add M3U source” and “Access details” boxes. Long details are easier to type there, from a phone or a computer.
What you see on the screen
At the top, the title “Television over IP (IPTV)” and the clock.
The list of sources: one row per source, in the form “[M3U] lista.m3u” (the type of source and the file name). With no sources, it says “No IPTV source added yet.”.
Below the list, the guide: “Yellow: add an M3U source. Blue: the access details (source type, M3U, Stalker, Xtream).”, and a note that for Stalker and Xtream Codes only the access details are saved for now.
At the bottom, the colour keys: RED Back, GREEN Clear selection, YELLOW Add M3U source, BLUE Access details.
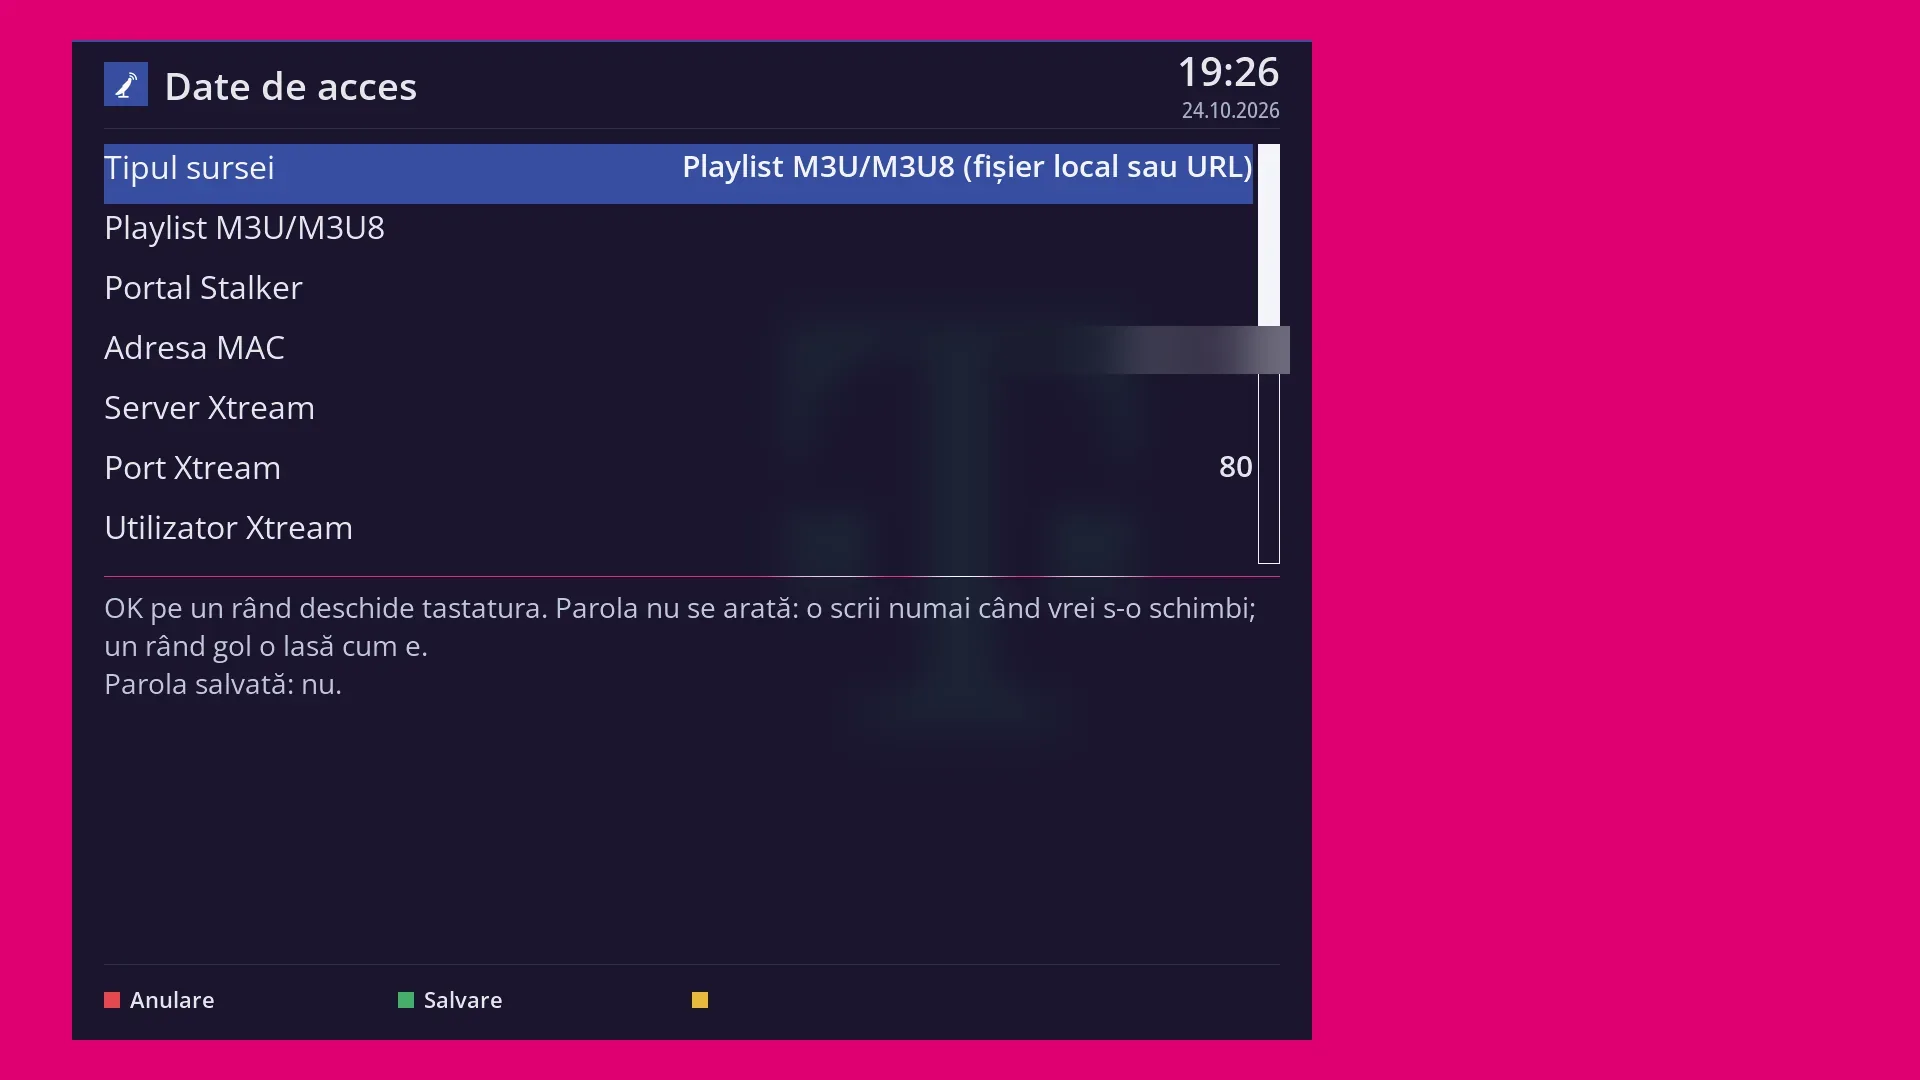
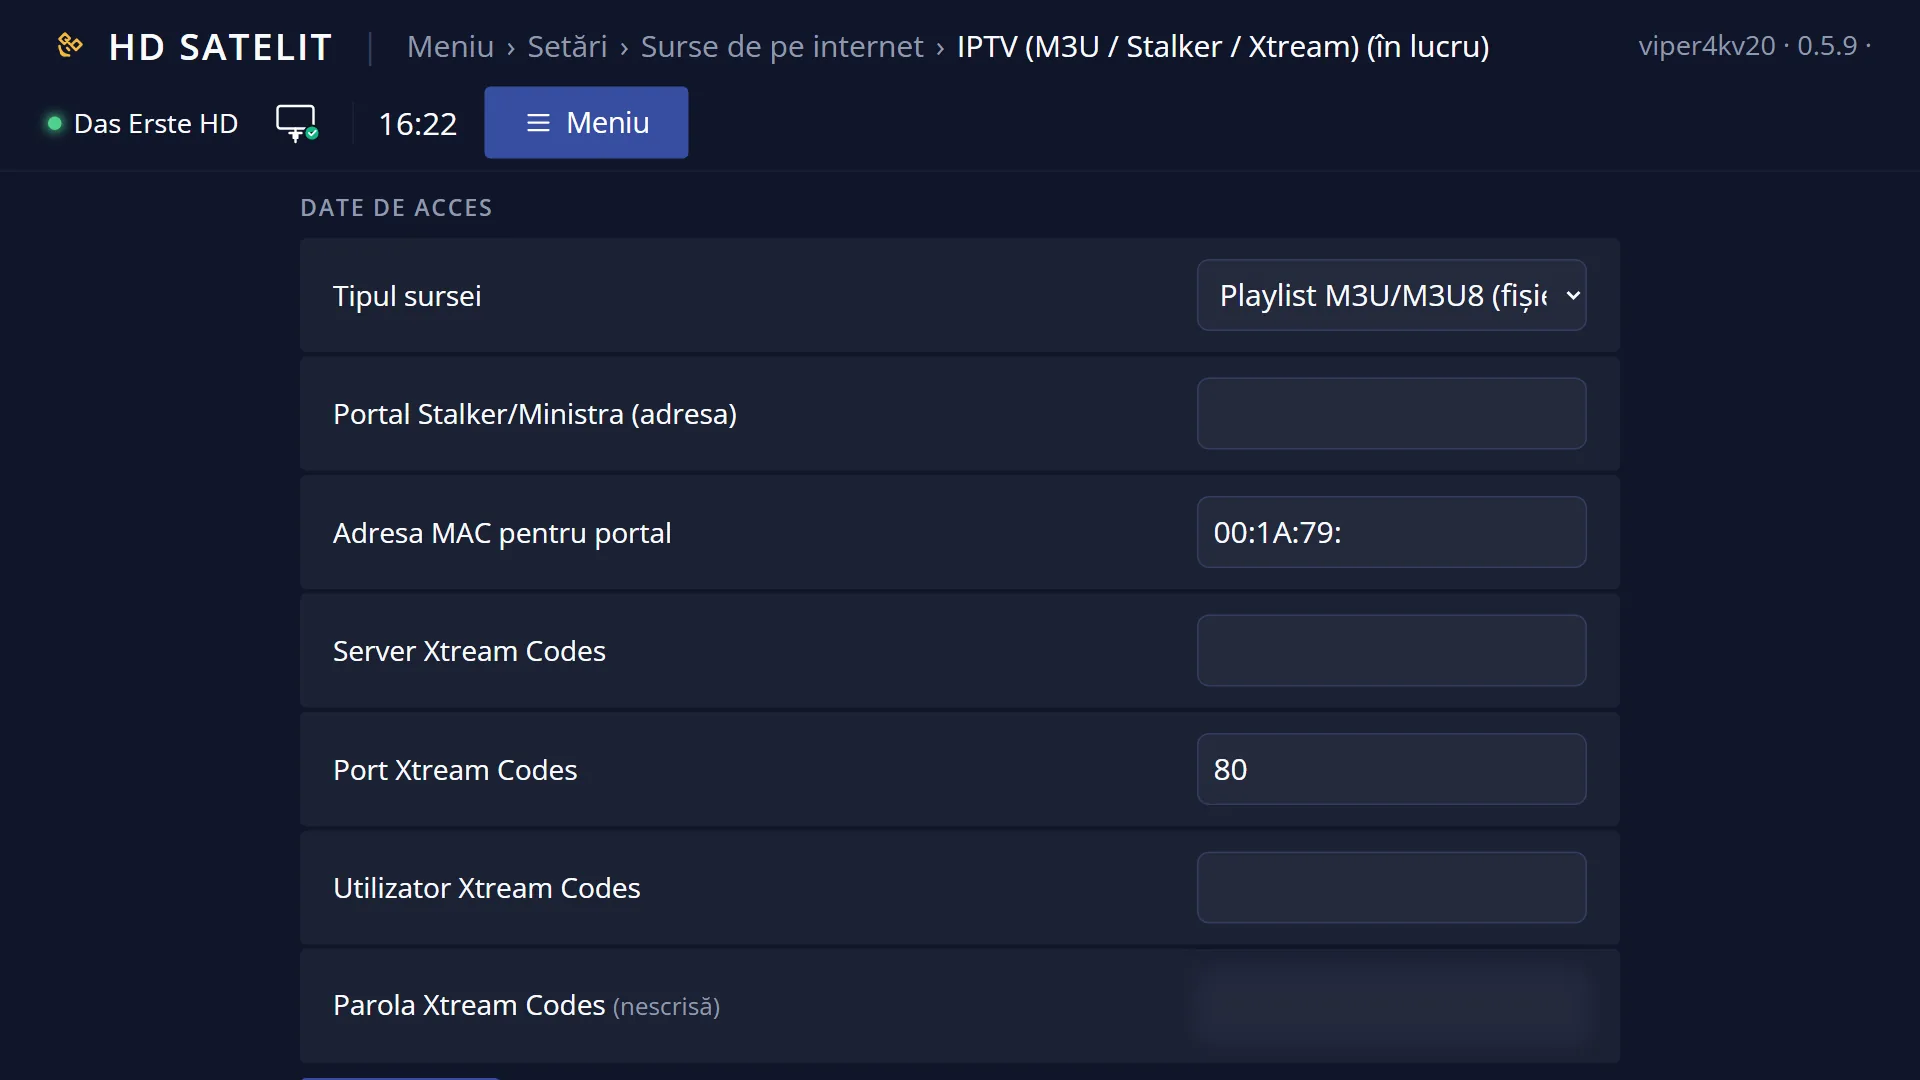
The “Access details” screen (BLUE): eight rows, with the name on the left and the value on the right. Below them is a guide on how to type each value and “Saved password: yes.” or “Saved password: no.”. At the bottom: RED Cancel, GREEN Save and, only when a password is saved, YELLOW Delete password.
Rows and settings
| Row | Values | Default | What it does |
|---|---|---|---|
| A source in the list, for example “[M3U] lista.m3u” | no source | An M3U list added with YELLOW. GREEN removes the selected one straight away, without asking. You can have up to 100 sources. When the list no longer works or you added it by mistake. | |
| Access details: Source type | M3U/M3U8 playlist (local file or URL), Stalker/Ministra portal, Xtream Codes account | M3U/M3U8 playlist (local file or URL) | The type of source you have from your provider. LEFT and RIGHT change the choice. When your provider has given you a portal or an account, not a list. |
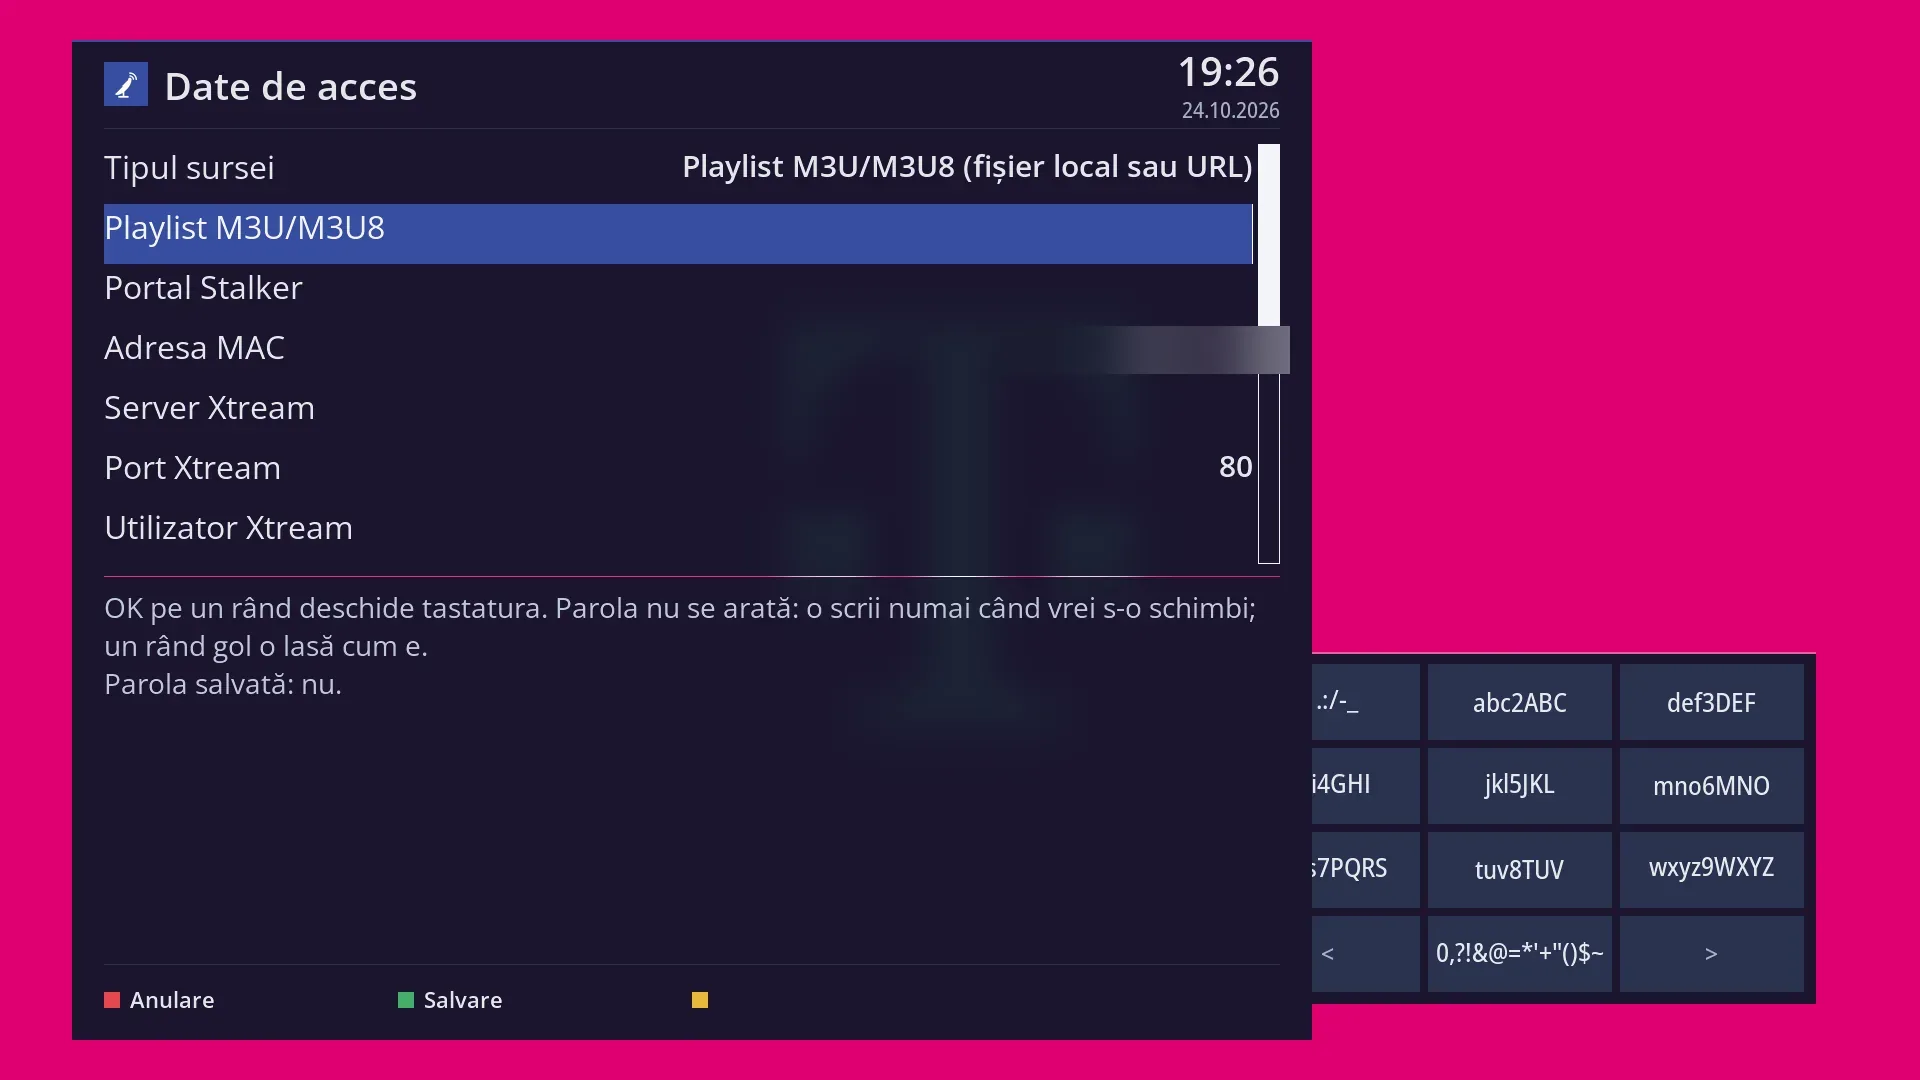
| Access details: M3U/M3U8 playlist | empty | The path of the file (for example on a disk or a USB stick) or the internet address of the list. OK opens the keyboard. YELLOW on the main screen suggests the same value. When you get a new list. | |
| Access details: Stalker portal | empty | The portal address given by your provider, without spaces. OK opens the keyboard. When you have a subscription on a portal. | |
| Access details: MAC address | only the start of the address, “00:1A:79:” | The MAC address registered with the portal provider: six pairs of digits and letters from A to F, separated by colons. A wrong format is rejected. When the portal provider asks you for a specific address. | |
| Access details: Xtream server | empty | The server address of the Xtream Codes account, without spaces. When you have an Xtream Codes account. | |
| Access details: Xtream port | 1-65535 | 80 | The server port, digits only. When your provider gives you a different port. |
| Access details: Xtream user name | empty | The account username, without spaces. When you have an Xtream Codes account. | |
| Access details: Xtream password | empty | The account password. It is never shown: the row starts empty, and what you type appears as asterisks. What you type replaces the saved password when you press GREEN; an empty row leaves it as it is. YELLOW deletes it, after asking you. When you enter it for the first time or your provider has changed it. |
Keys
| UP / DOWN | Moves the cursor to the source or row above or below. |
| RED (Back) | Closes the screen. The sources have already been saved with each change. |
| GREEN (Clear selection) | Removes the selected source from the list, without asking. |
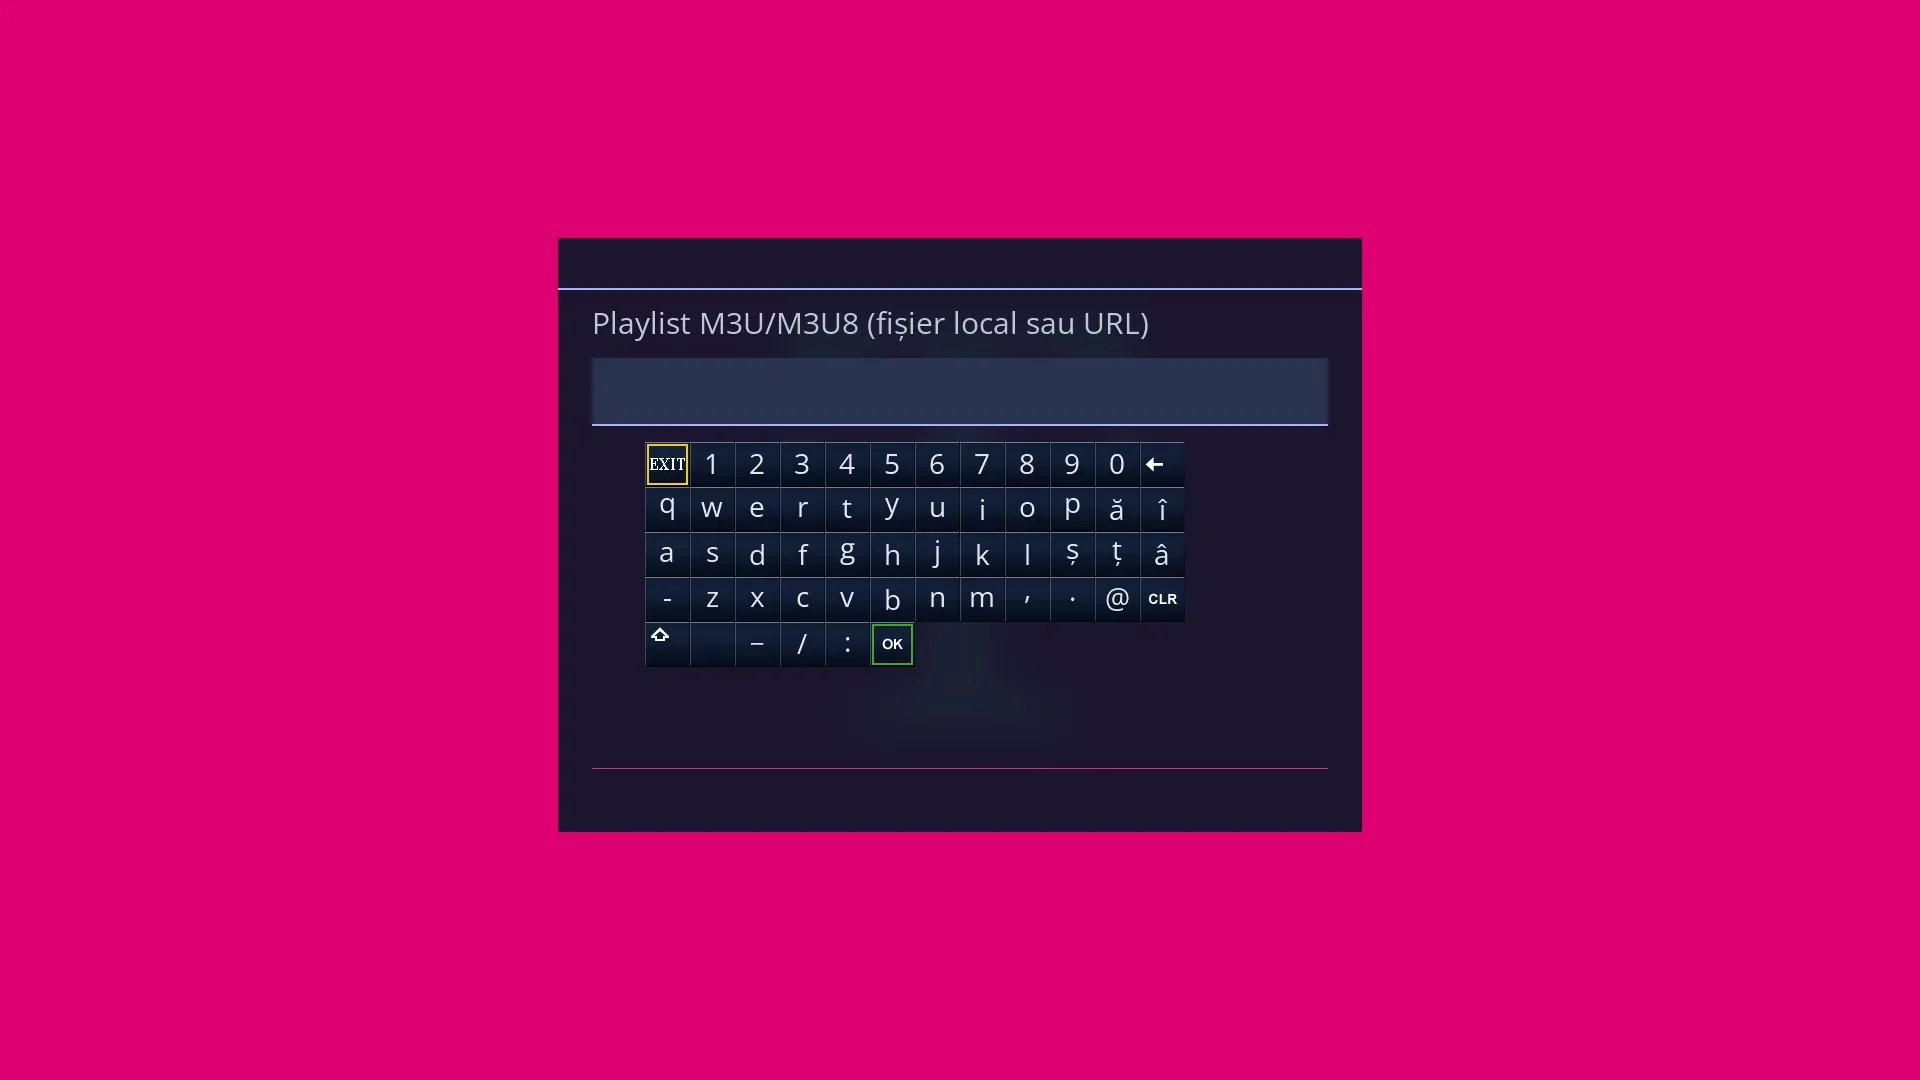
| YELLOW (Add M3U source) | Opens the “M3U/M3U8 playlist (local file or URL)” keyboard, with the last path you typed. After you confirm, the source is added to the list. |
| BLUE (Access details) | Opens the “Access details” screen. |
| EXIT | Closes the screen, like RED. |
| In “Access details”: OK | On a text row it opens the keyboard; wrong text is rejected straight away with “The value is not valid for …”. On “Source type” it does nothing: you change the choice with LEFT / RIGHT. |
| In “Access details”: GREEN (Save) / RED (Cancel) / EXIT | GREEN checks the changed rows once more and saves; RED and EXIT restore what was there before. |
| In “Access details”: YELLOW (Delete password) | Only shown when a password is saved: it asks “Delete the Xtream Codes password saved on the receiver?” and, if you choose Yes, deletes it. |
Step by step
Adding an M3U list
- Press MENU 6 2 4.
- Press YELLOW and type the file path or the address of the list.
- Confirm: the list appears on the screen as “[M3U] …”.
Noting down the details of an Xtream Codes account
- Press BLUE.
- On “Source type”, choose “Xtream Codes account” with LEFT or RIGHT.
- Go down to the server, port, username and password; on each one press OK and type what your provider gave you.
- Press GREEN. Below the list it says “Saved password: yes.”.
Problems and solutions
I added a list or an account, but the channels do not appear in the channel list.
The screen is “(in progress)”: the sources and details are saved, but the receiver does not make channels from them yet. The feature will come in a later version.
It says “The value is not valid for MAC address.” (or for another row).
The MAC address has the form of six pairs separated by colons; the port has digits only (1-65535); the addresses, the username and the password have no spaces.
I cannot see the password I typed.
The password is not shown anywhere, neither on the TV nor on the web page. Below the list it only says whether it is saved.
It says “Type the path or address of the M3U list first.”.
The keyboard was confirmed empty. Press YELLOW again and type the path or the address.
I deleted a source by mistake.
GREEN removes it without asking. Add it again with YELLOW.
Related topics
- Internet Sources
- DVB-I Setup (TV over Internet)
- DVB-MABR (IP Multicast)
- Typing text from your phone
- The matching web page: /iptv (the “Sources”, “Add M3U source” and “Access details” boxes).