

Scheduled recordings (Timer key)
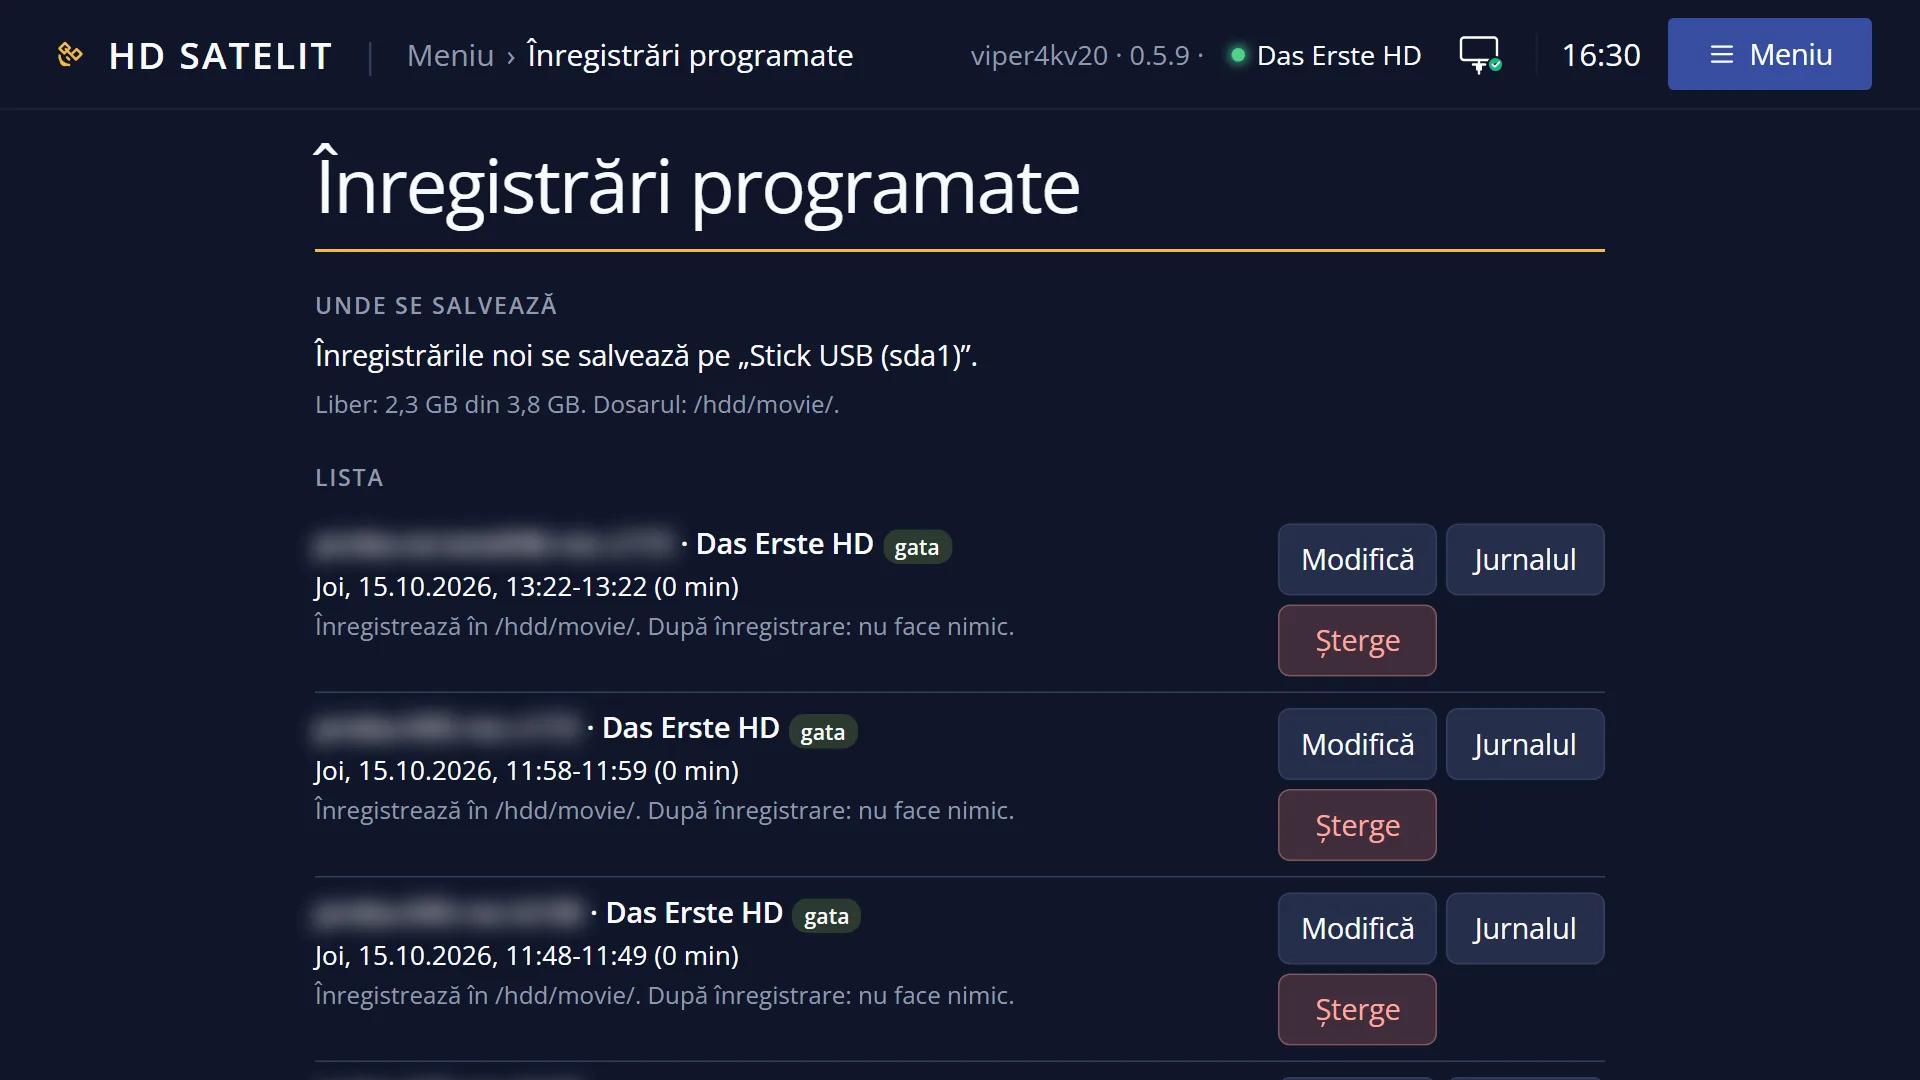
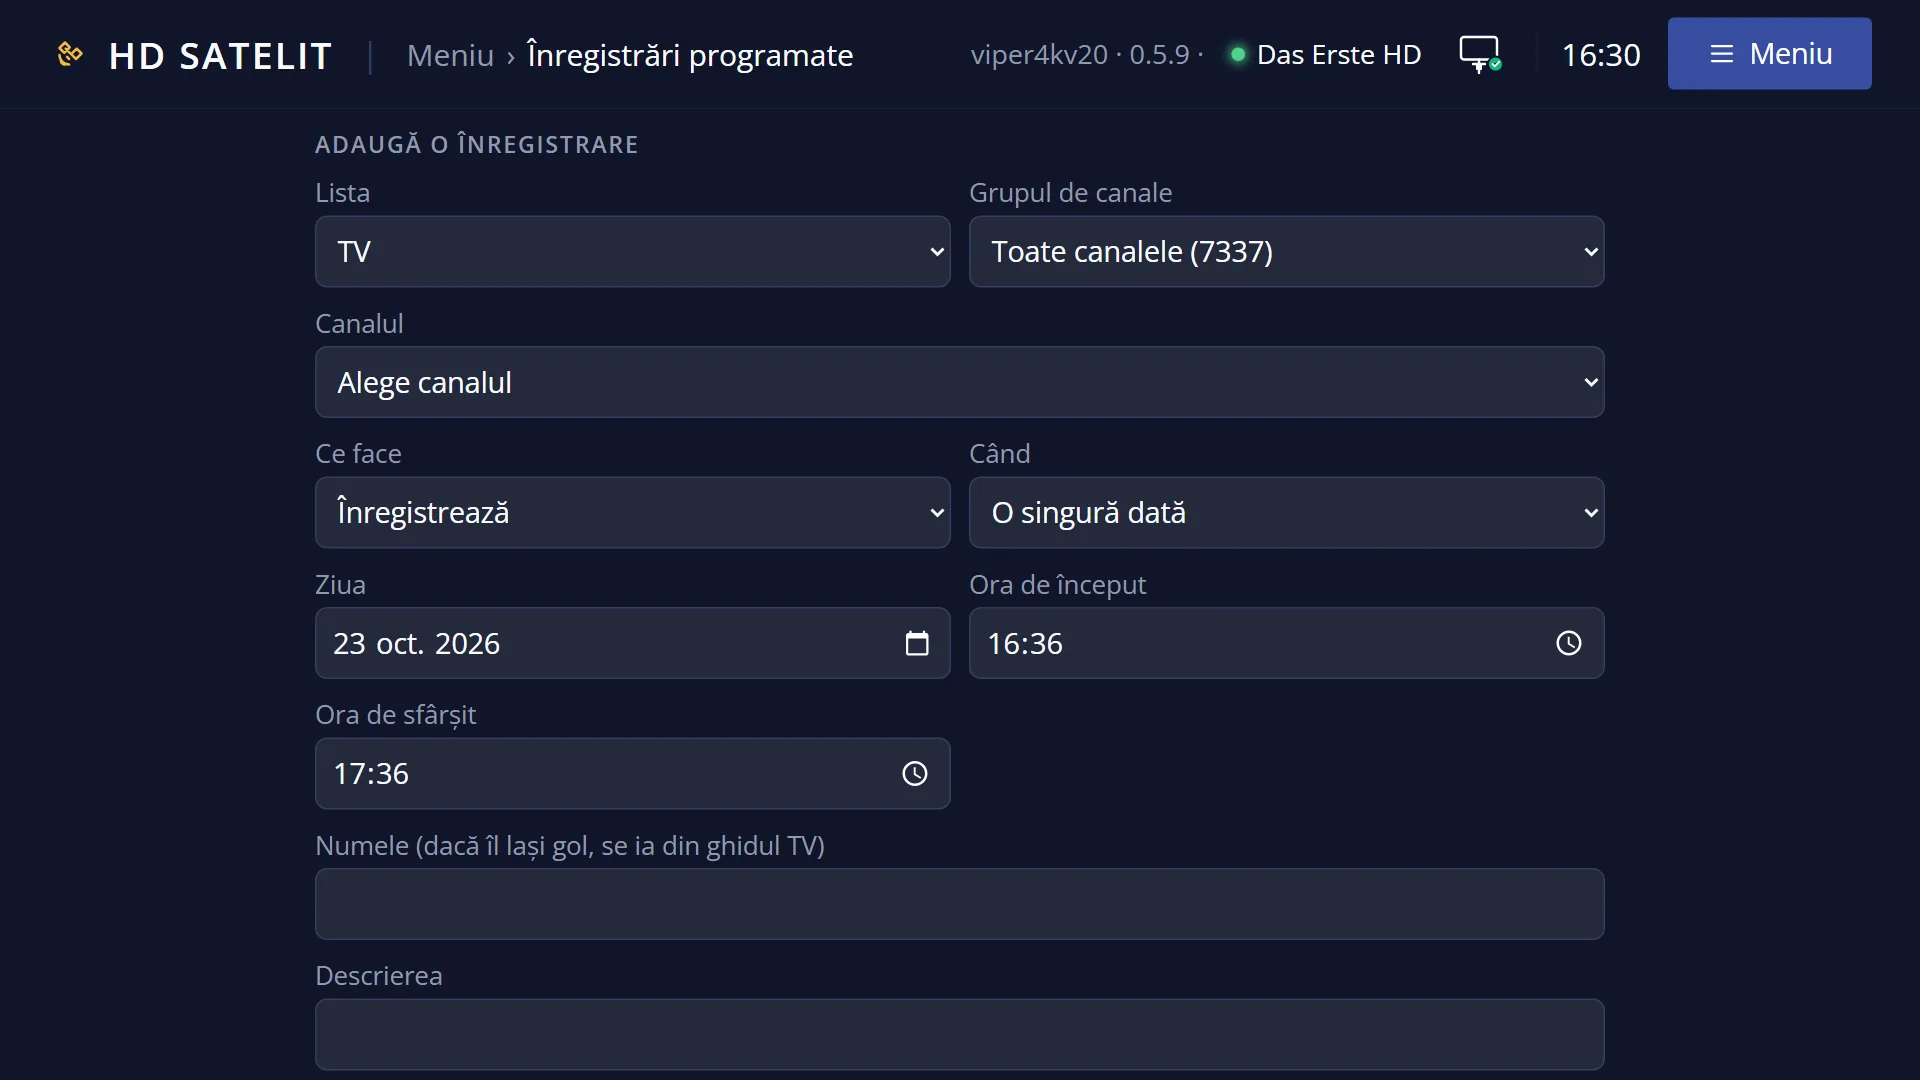
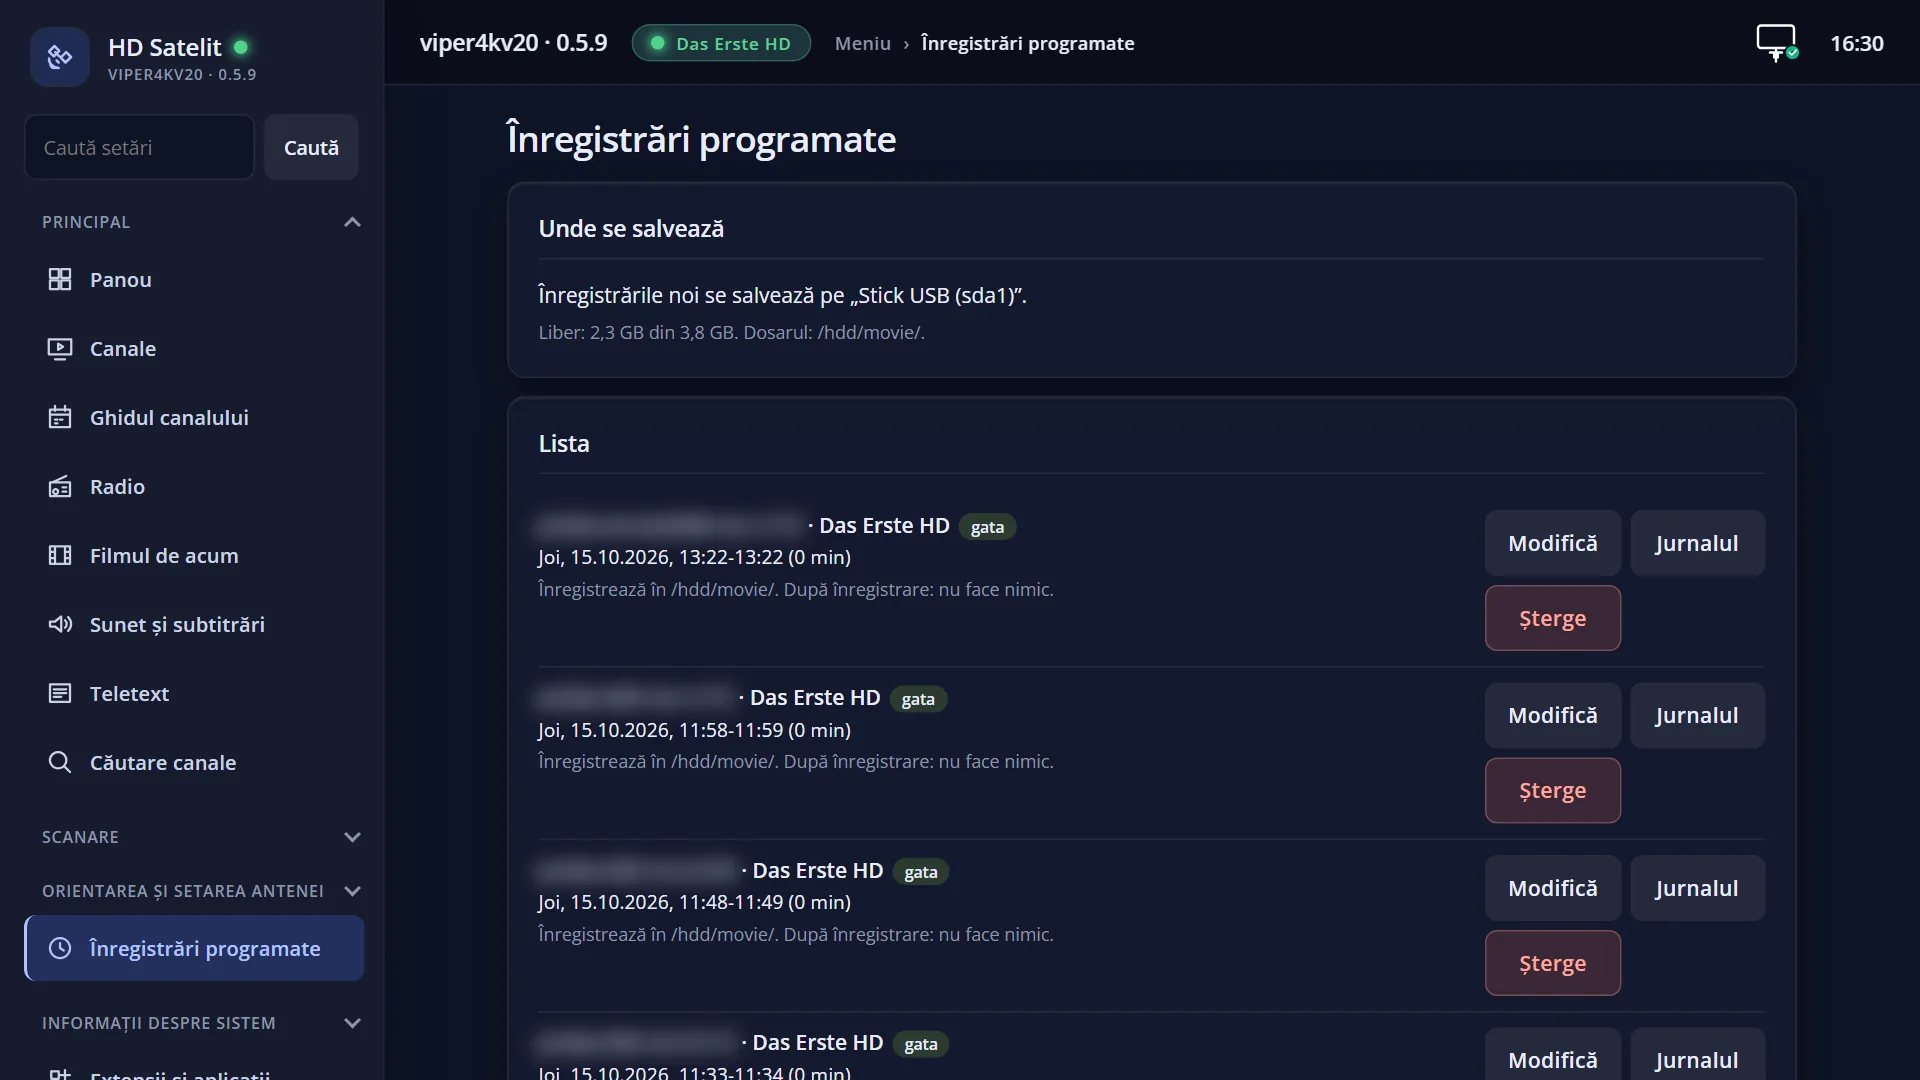
Screenshots are being added: so far 1 from the receiver and 7 from the web interface; the aim is at least 5 of each, with arrows and frames, and, where a setting changes what you see, a before and after comparison.
English screenshots coming: some of the pictures below still show the receiver and the web interface in Romanian. The rows, keys and steps described on this page are the English ones.
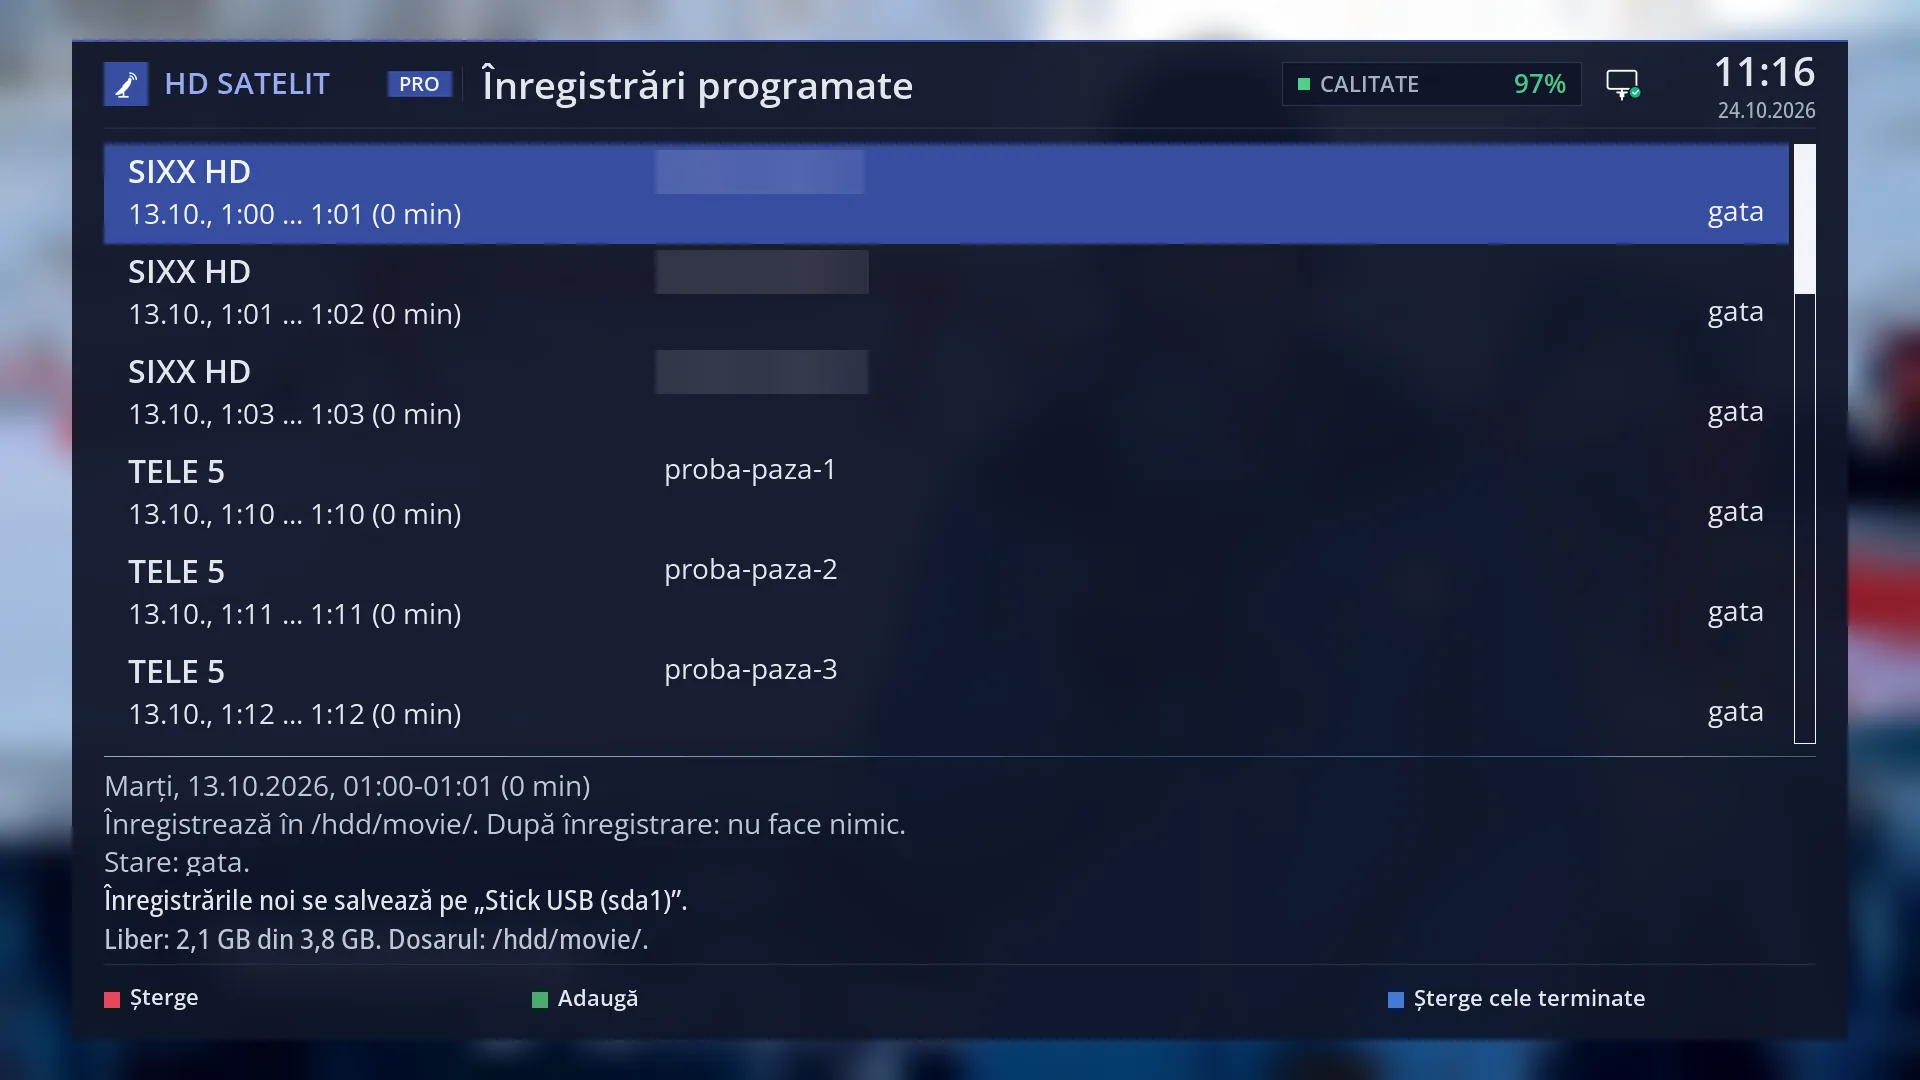
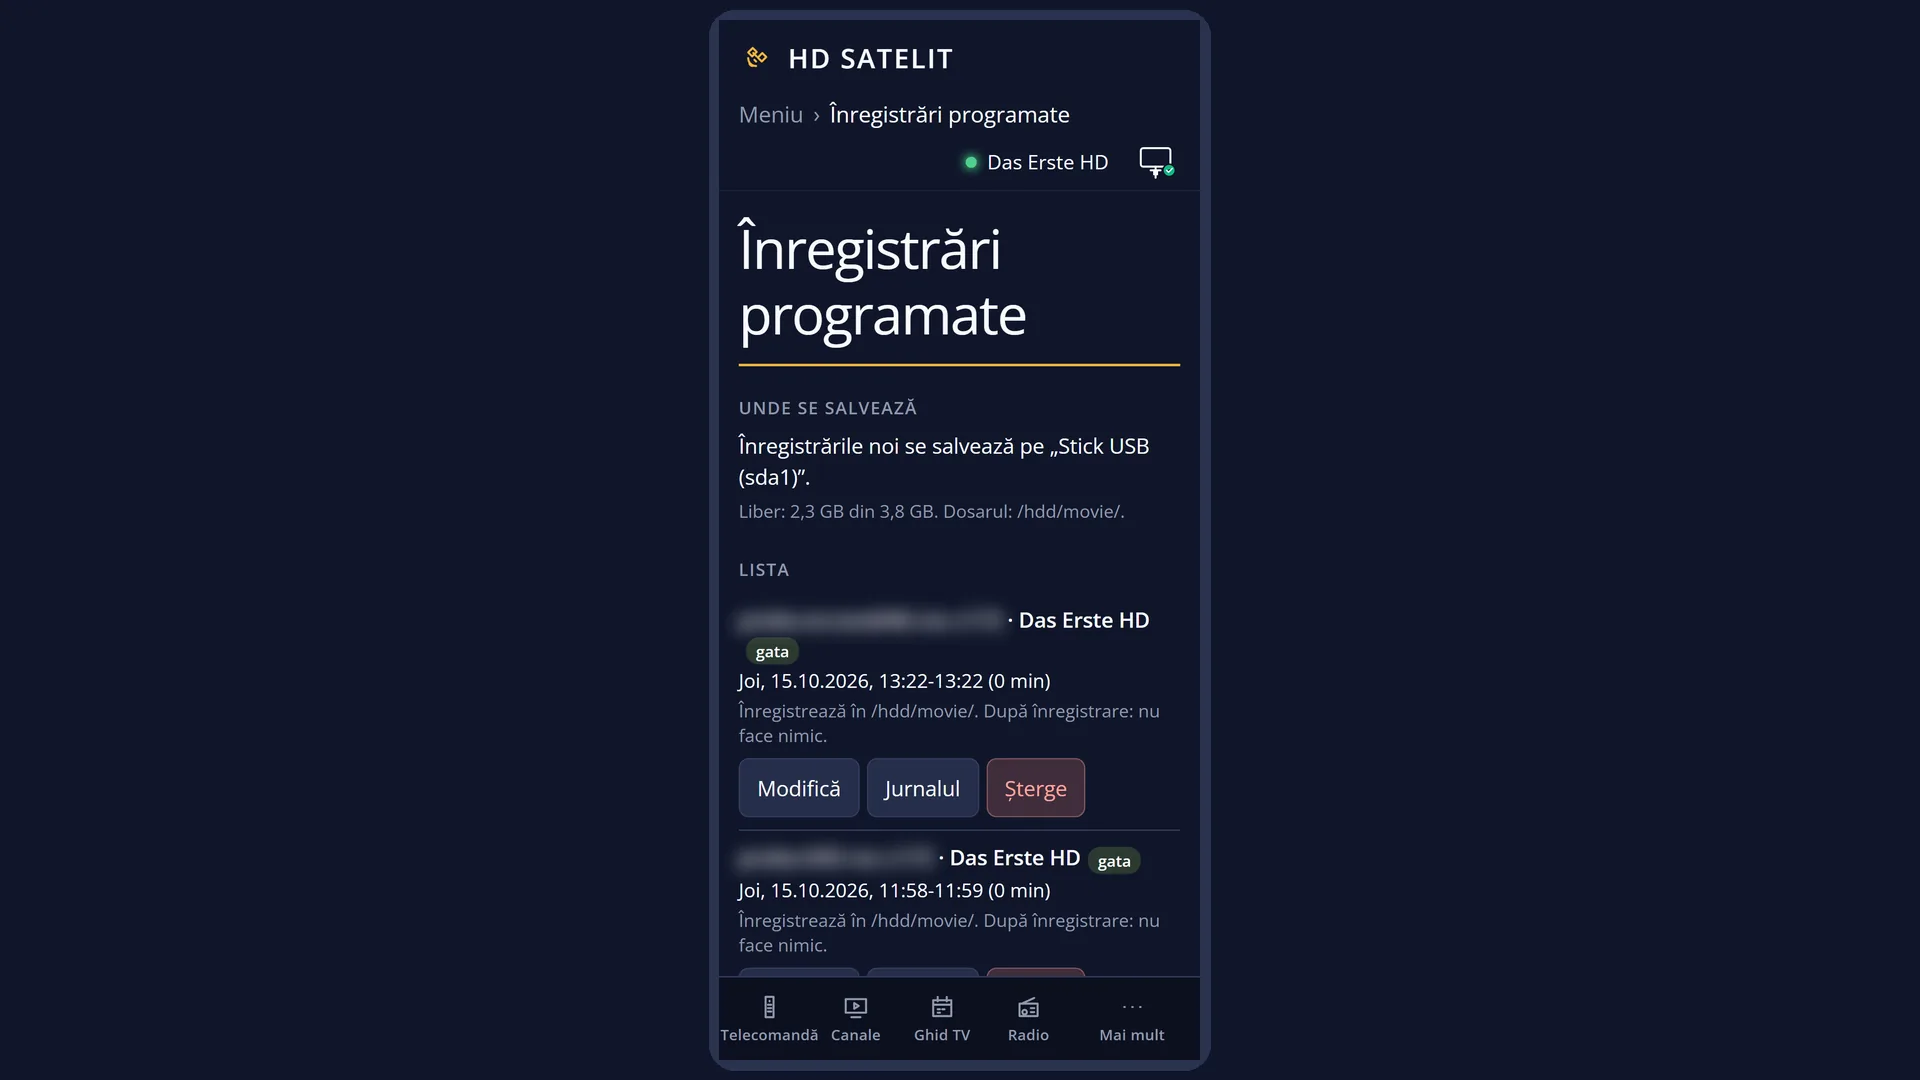
- 1 The list of recordings, with the status of each one on the right.
- 2 Details of the selected recording.
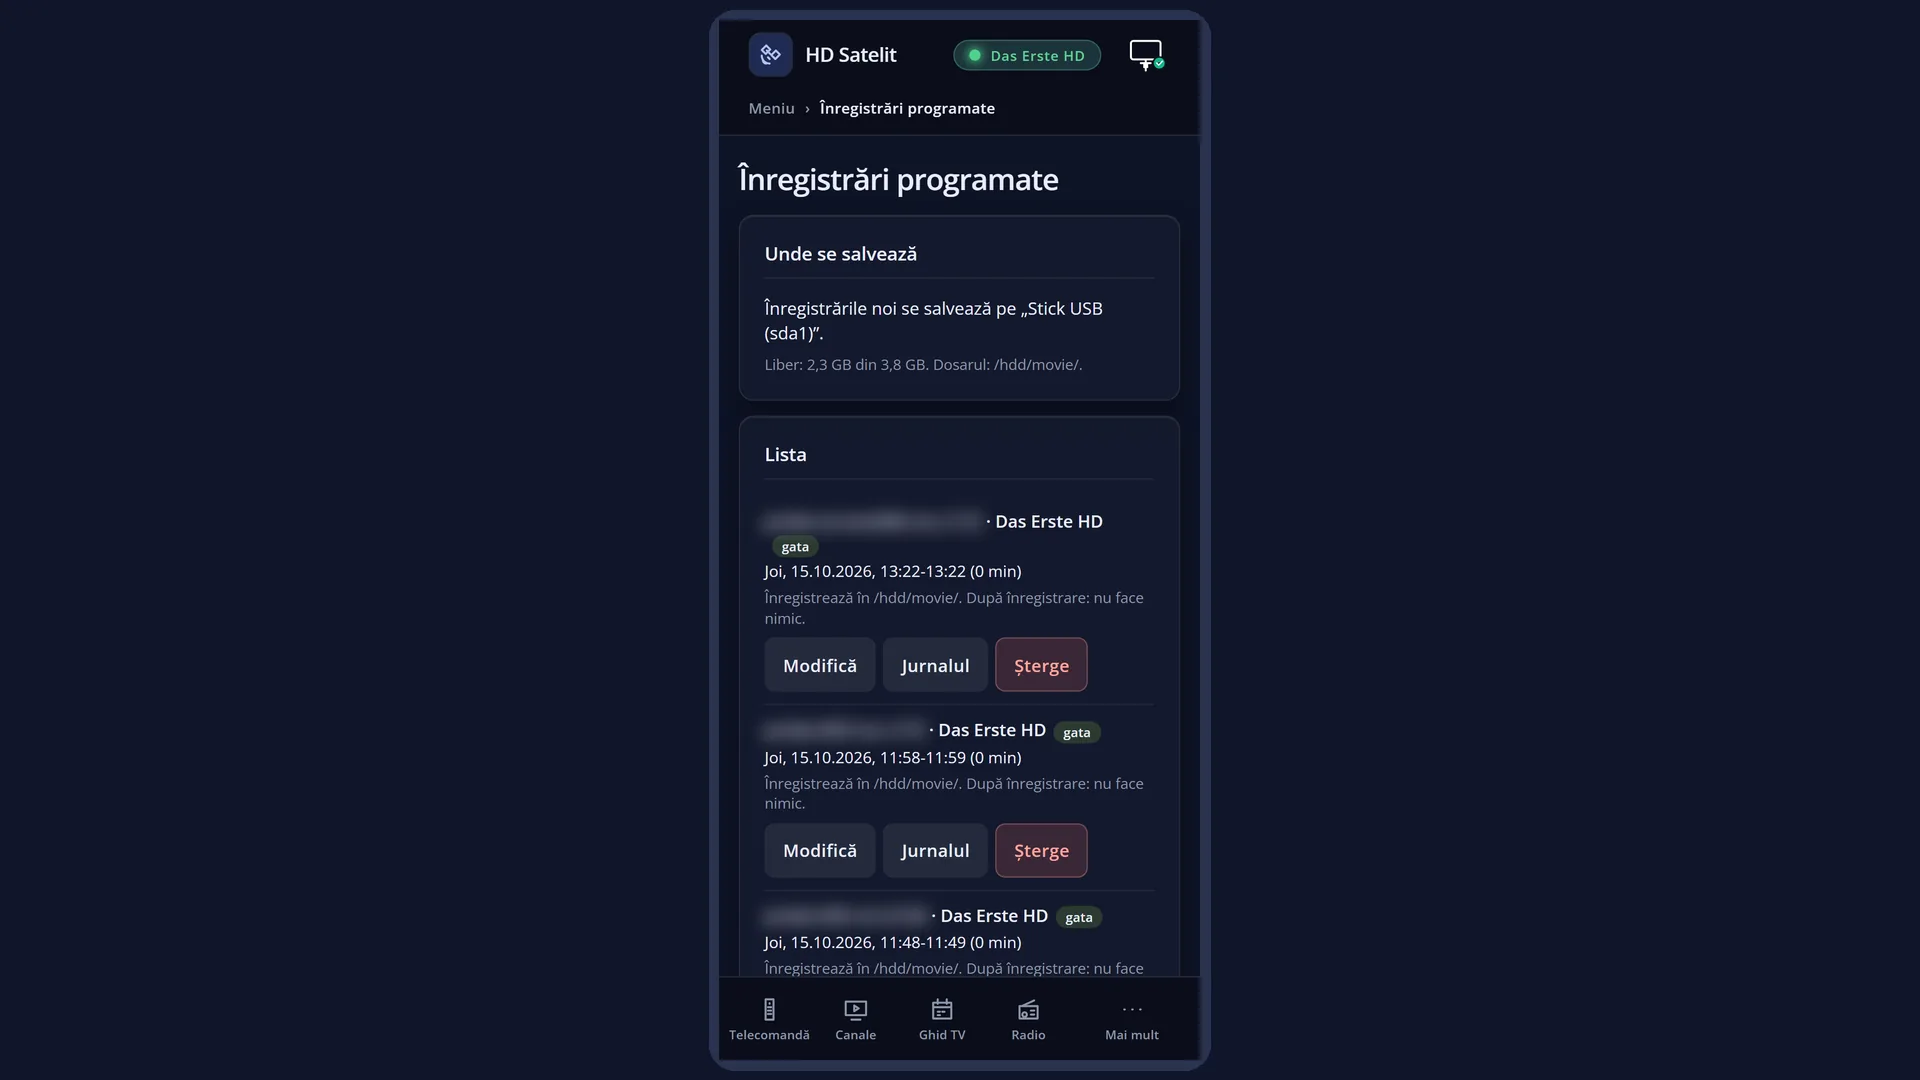
- 3 Where new recordings are saved and how much free space there is.
- 4 GREEN adds a recording on the channel you were watching.
What it is for
The TIMER key on the remote opens the “Scheduled recordings” list directly, without going through the menu. It is the same list as MENU 3. It shows the status of each recording, where recordings are saved and how much free space there is.
It is the quickest way to schedule what comes next on the same channel while you are watching a programme: press TIMER, then GREEN. The new window already contains the channel and the current programme.
From here you can also quickly check whether tonight's recording is set, whether the USB stick is connected and whether there is still space on it.
Everything you do in the list (adding, changing, stopping, deleting, the log) is explained row by row on the “Scheduled recordings” page.
How to get here
How to get there: press TIMER while you are watching TV or listening to radio, with no menu or list open.
Keys while watching: TIMER.
It also works when the programme is paused (timeshift). It does not work from menus, from the channel list or while a recording or film is playing: close them first with EXIT (or STOP).
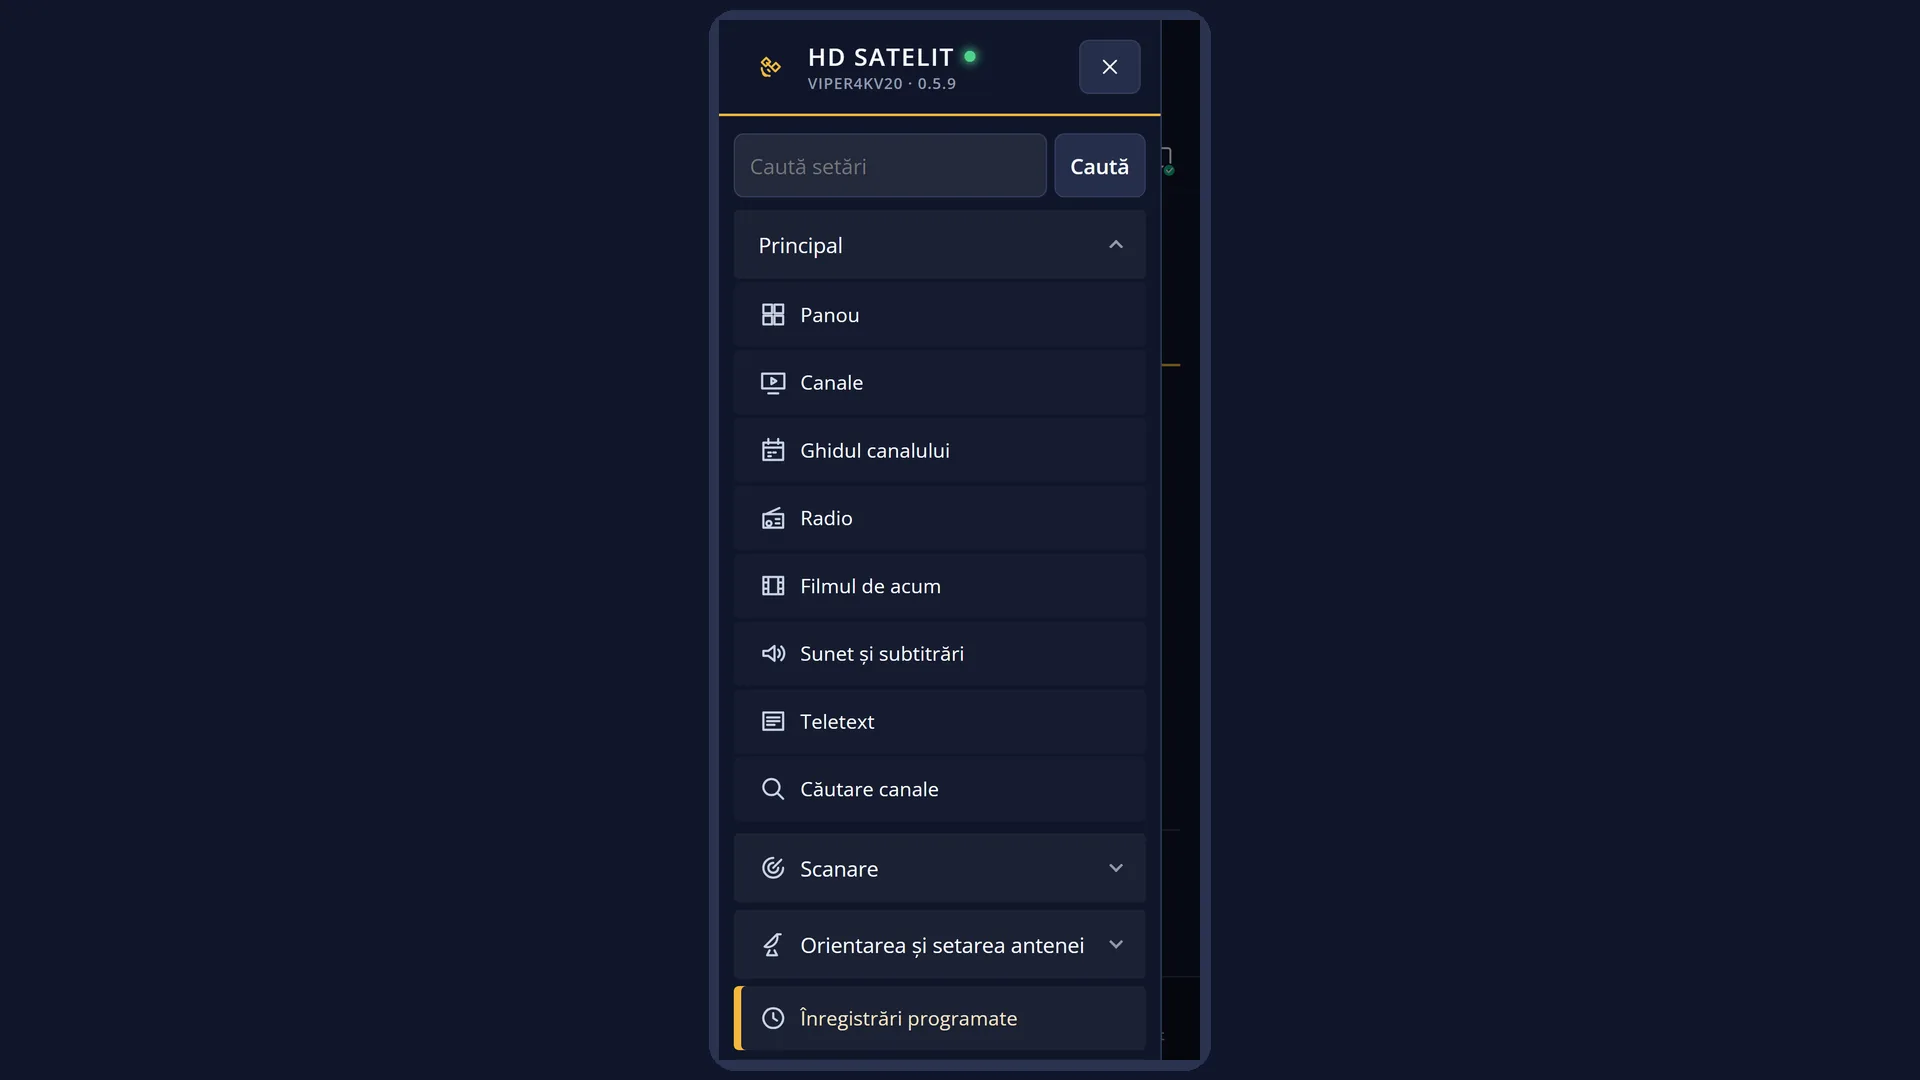
The same screen: Main menu > Timers & Recordings (MENU 3). In the web interface: the /temporizatoare page.
What you see on the screen
The “Scheduled recordings” screen opens over the channel picture. The channel keeps playing in the background.
The list of recordings: the channel and name, then the day and times (for example “Today, 21:00 ... 22:30 (90 min)”), and the status on the right.
Below the list, the details of the selected recording on three lines (when, what it does, status). Underneath, where new recordings are saved, with the free space (for example “Free: 2.3 GB of 3.8 GB.”), or, in yellow, a note that there is nowhere to record.
At the bottom, the keys you can use right now: RED “Delete”, GREEN “Add”, YELLOW “Stop” or “Start”, BLUE “Delete finished”.
Rows and settings
| Row | Values | Default | What it does |
|---|---|---|---|
| Status of each recording (on the right of the row) | waiting, about to start, recording..., zapped, done, disabled, does not start | waiting, for a new one | Waiting: it will start at its set time. About to start: the receiver is preparing it. Recording...: it is running now. Zapped: the receiver switched to the channel without recording (“Only switch channel”). Done: it has finished. Disabled: you stopped it with YELLOW (it has a red X). Does not start: the time has passed and the attempt failed; the reason is shown below the list. The receiver changes the status; you stop or restart it with YELLOW. |
| Location of new recordings (bottom line) | the disk and the free space, yellow: there is nowhere to record, several disks: you are asked at the first recording | the disk chosen in “Recordings location”, or chosen automatically at the first recording | Shows where new recordings will go and how much free space is left. It turns yellow when no suitable USB stick or hard disk is connected; OK then opens the menu with “Recordings location”. When you want recordings on a different disk: OK > “Recordings location”. |
| Position of finished Timers in Timerlist (in OSD Preferences, MENU 6 6 5) | at beginning, at end | at beginning | At beginning: all are sorted by start time, so finished ones are at the top. At end: finished ones move to the bottom, and the upcoming ones stay at the top. When you often press TIMER to see what is coming up and do not want to scroll past the old ones. |
Keys
| TIMER (while watching TV or listening to radio) | Opens the “Scheduled recordings” list. |
| UP / DOWN, LEFT / RIGHT | The recording above or below; the page above or below. |
| OK or MENU | The short list of what you can do: Edit, Stop or Start, Delete, Recording log, Add a recording, Delete finished, Recordings location. If the list is empty, OK opens a new recording directly. |
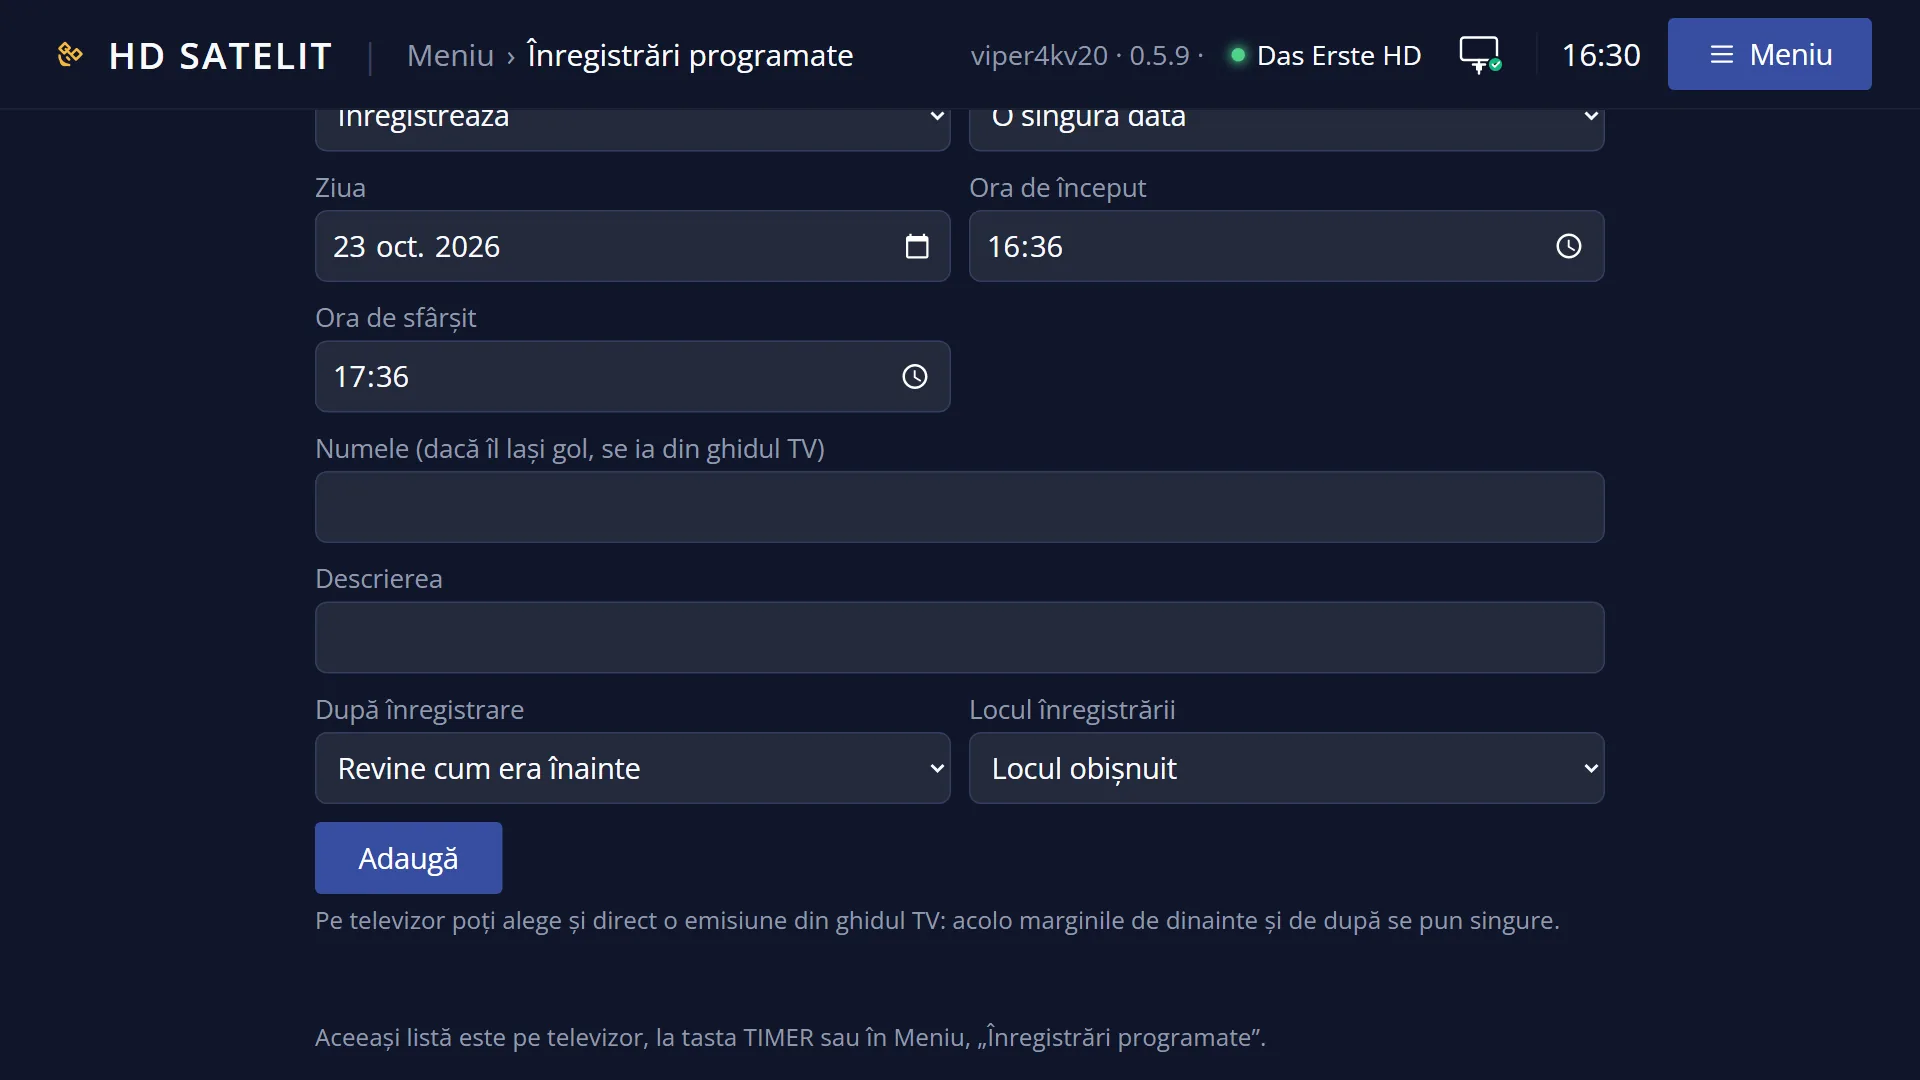
| GREEN | “Add”: a new recording on the channel you were watching, with the current programme from the guide (without a guide: starting in 5 minutes, for one hour). |
| RED | “Delete”: deletes the selected recording after asking you. |
| YELLOW | “Stop” or “Start” the selected recording again. |
| BLUE | “Delete finished”: removes them from the list (the files stay on the disk). |
| INFO | The log of the selected recording. |
| EXIT | Closes the list; you are back on the channel you were watching. |
Step by step
Scheduling the next programme on the current channel
- While you are watching the channel, press TIMER.
- Press GREEN: the new window contains the channel and the current programme.
- Change “Start time” and “End time” to the next programme (or, more simply, choose the programme in the TV guide with EPG) and press GREEN.
- Press EXIT to go back to the channel.
Checking that tonight's recording is set
- Press TIMER.
- Find the recording in the list: it should say “waiting” on the right, not “disabled”.
- Read the bottom line: where recordings are saved and how much space there is. If it is yellow, connect the USB stick or hard disk.
Problems and solutions
TIMER does nothing.
The key only works during live TV or radio. First close the menu, the channel list or the player (EXIT, STOP), then press TIMER again.
When I press GREEN, the new window has a different channel from the one I want.
GREEN takes the channel you were watching. Go down to “Channel” and press OK to choose another one.
The bottom line is yellow.
No suitable USB stick or hard disk for recordings is connected. Connect one; OK > “Recordings location” selects it.
A recording shows “does not start”.
The cause is shown below the list; INFO opens the log. The most common causes: the disk is missing or the tuner cannot receive the channel.