

HD Satelit Setup Wizard
Screenshots are being added: so far 2 from the receiver and 7 from the web interface; the aim is at least 5 of each, with arrows and frames, and, where a setting changes what you see, a before and after comparison.
English screenshots coming: some of the pictures below still show the receiver and the web interface in Romanian. The rows, keys and steps described on this page are the English ones.
What it is for
The setup wizard appears by itself the first time the HD Satelit image starts (after a fresh install, with no old settings). On two pages you choose the menu language and the HDMI picture resolution, then you see a short overview of what the receiver can do.
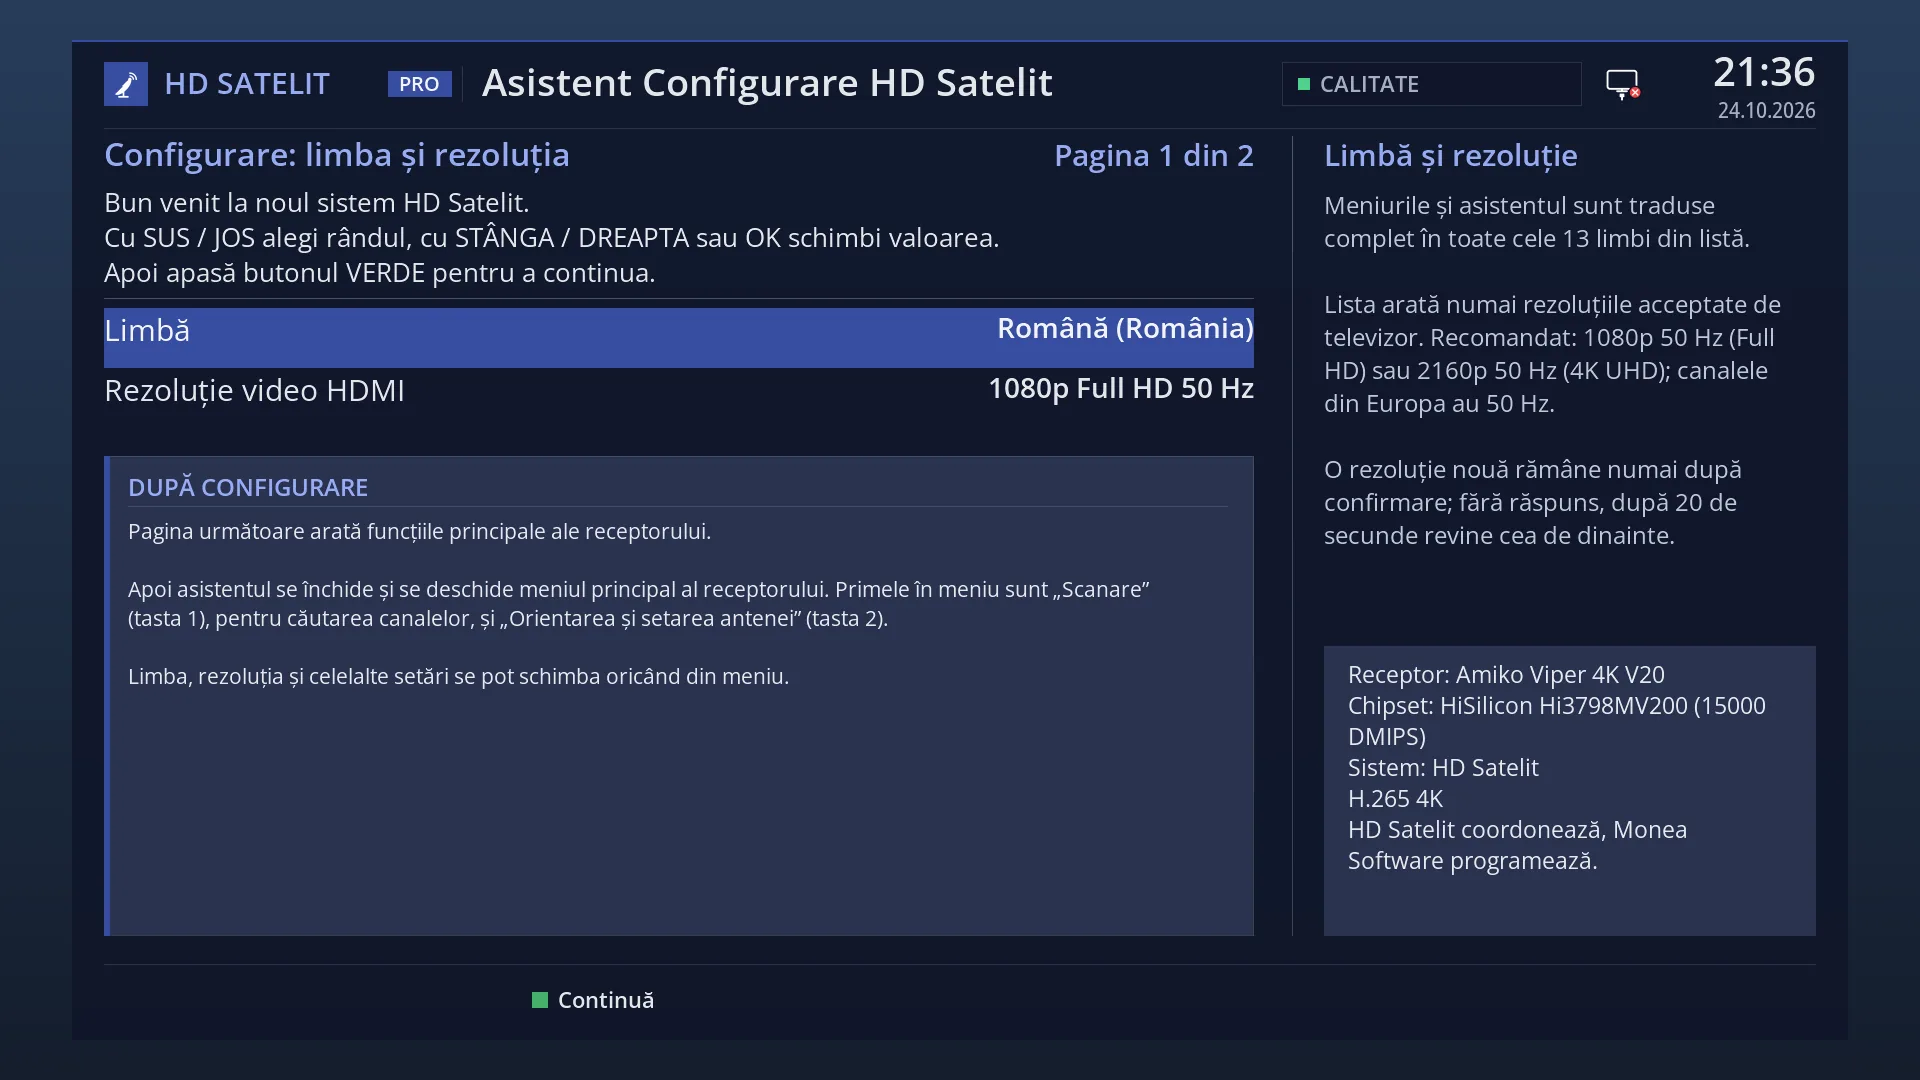
Page 1, “Setup: language and resolution”: the language changes straight away, so you can read the rest in your own language. The resolution list shows only the modes your TV accepts. A new resolution is kept only after you confirm that the picture looks right. If you do not answer, the previous one comes back after 20 seconds.
Page 2, “HD Satelit receiver features”: the main features of the receiver, in groups. GREEN or OK closes the wizard and opens the main menu, where the first rows are “Channel scan” (key 1) and “Dish alignment and setup” (key 2).
The wizard does not touch the dish, the channels or the network: you set these up from the main menu afterwards. Once you have finished it, it does not start again. You can change the language and the resolution from the menu at any time.
How to get here
Path: it appears by itself the first time the image starts.
It cannot be opened from the menu. You can change what you choose here later in Menu > Settings > Interface & Appearance > System Language and in Menu > Settings > Video & Display Settings.
What you see on the screen
At the top: the title “HD Satelit Setup Wizard”, the clock and the page number: “Page 1 of 2”.
At the top left: the page title and a few lines about what you do on it (for example “UP / DOWN picks the row, LEFT / RIGHT or OK changes the value.”).
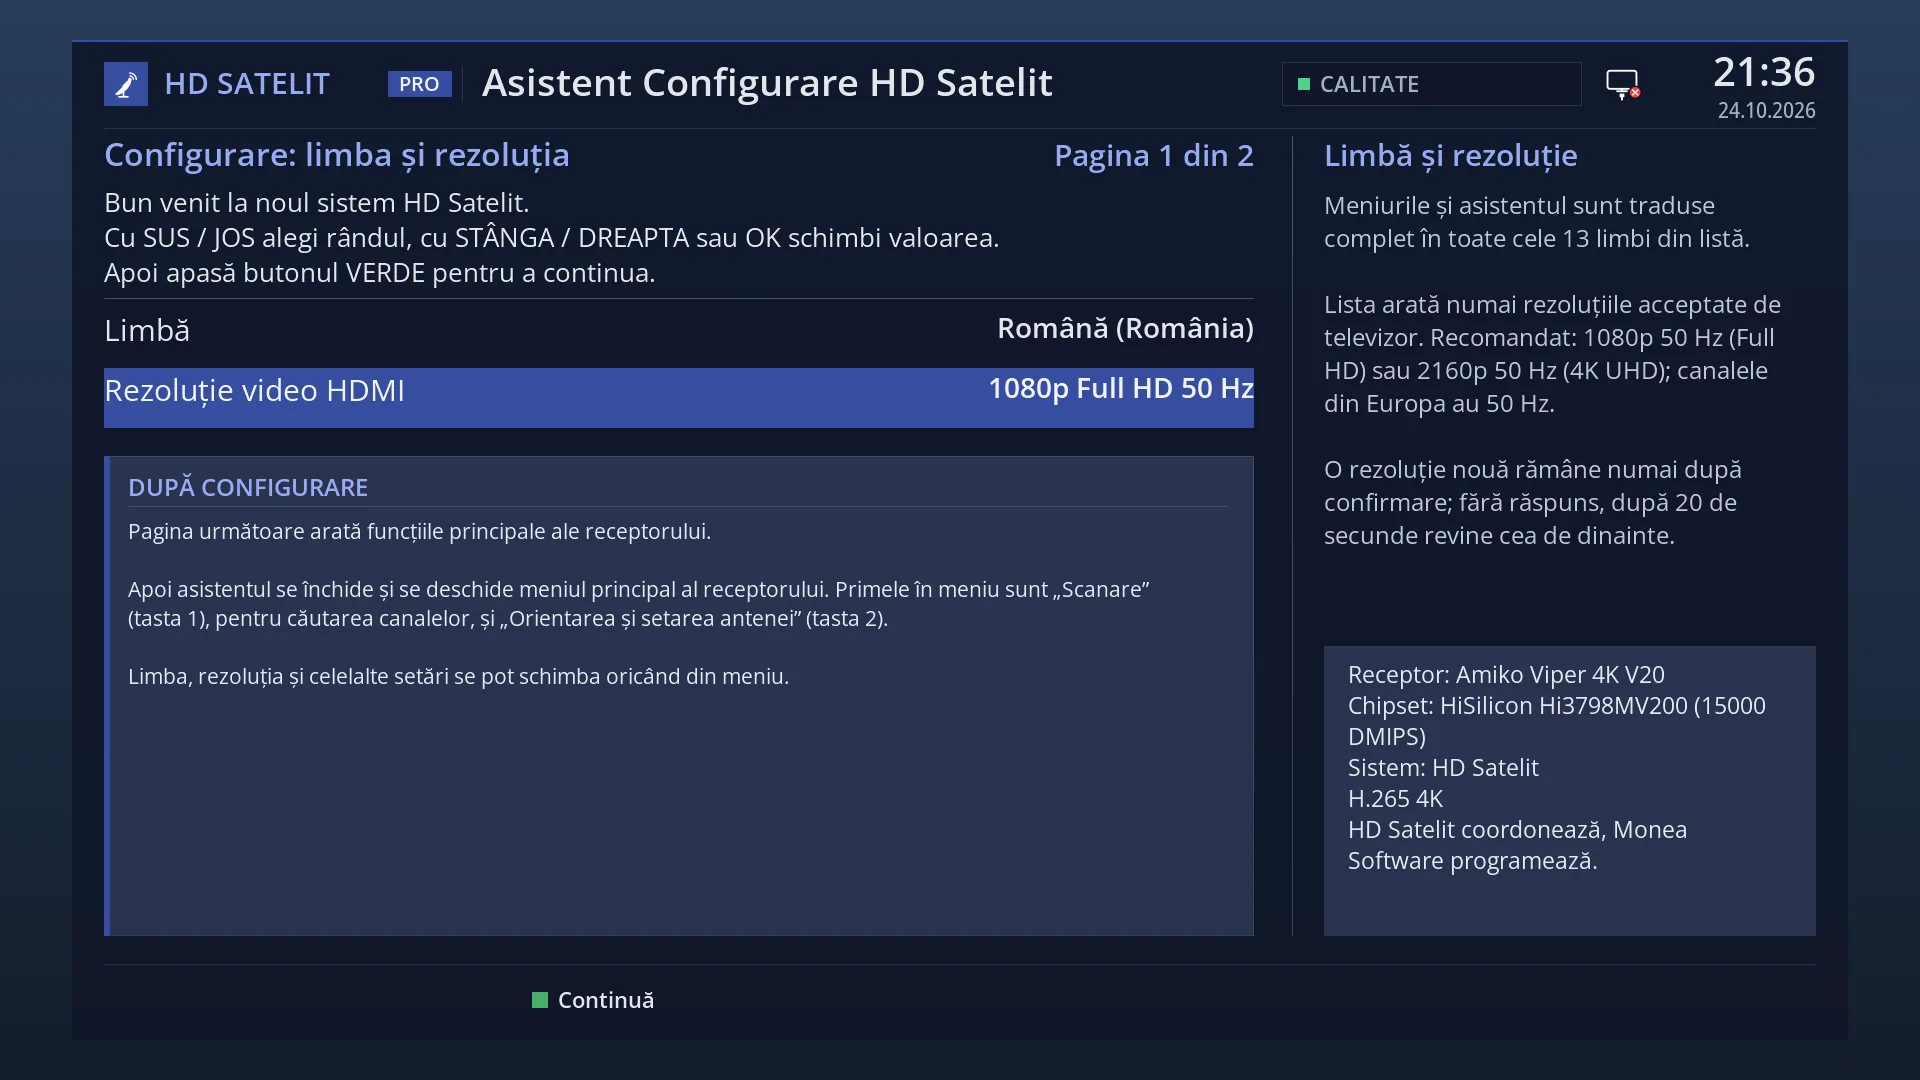
Below that, the rows to set. On page 1: “Language” and “HDMI video resolution”, with the value on the right. The selected row is blue. On page 2 the same two rows only show what you chose, with no cursor.
Underneath, a large box: on page 1 “AFTER SETUP”, with what comes next; on page 2 “Main features of the receiver”, the list of features in groups (Channels and reception, Subtitles and translation, Web browser and HbbTV, Phone and web interface, Radio and front display, Settings and safety), which scrolls.
On the right: the page help (“Language and resolution” on page 1, “What comes next” on page 2) and, below it, the receiver box: the receiver name, the processor, “System: HD Satelit”, which video it can play (for example “H.265 4K”) and “Coordinated by HD Satelit, programmed by Monea Software.”.
At the bottom, the colour keys: on page 1 only GREEN “Continue”; on page 2 RED “Back” and GREEN “Main menu”.
Rows and settings
| Row | Values | Default | What it does |
|---|---|---|---|
| Language | Română (România), English (UK / US), Deutsch (Deutschland), Magyar (Magyarország), the other languages of the image, in alphabetical order | Română (România) | The language of all menus. Romanian is first in the list, the others follow in alphabetical order of their names. The wizard texts change straight away as you move through the values. The language is saved on the receiver when you press GREEN. When you want the menus in a language other than Romanian. |
| HDMI video resolution | 2160p 4K UHD 50 Hz, 2160p 4K UHD 60 Hz, 1080p Full HD 50 Hz, 1080p Full HD 60 Hz, 1080i Full HD 50 Hz, 1080i Full HD 60 Hz, 720p HD 50 Hz, 720p HD 60 Hz | 1080p Full HD 50 Hz (or the mode already set on the receiver) | How the receiver sends the picture over HDMI. The list contains only the modes the receiver can output and the TV accepts. The 4K modes appear only on 4K receivers and 4K TVs. Recommended: 1080p 50 Hz (Full HD) or 2160p 50 Hz (4K UHD), because European channels broadcast at 50 Hz. When you have a 4K TV or when the picture does not look right. |
| The question “Does the picture look right?” | Yes, No | No | It appears after you press GREEN, only if you chose a different resolution. The receiver switches to the new mode and restarts the channel so you can see the picture. Yes keeps the new mode and goes to page 2. No, or nothing for 20 seconds, puts back the previous mode: “The new video setting was not confirmed. The previous setting is back.”. When no channel is playing, the question is “The new mode is used when a channel starts. Keep it?”. |
| Feature list (page 2) | The main features of the receiver, in groups. The same list is also in “About the image” and in the web interface. It is for reading only, nothing is changed here. |
Keys
| UP / DOWN (page 1) | Choose the row: “Language” or “HDMI video resolution”. |
| LEFT / RIGHT (page 1) | Go to the previous or next value of the selected row. For the language, the texts change straight away. |
| OK (page 1) | Opens the list of all values for the selected row (its title is “Language” or “HDMI video resolution”). UP and DOWN choose, OK sets the value, EXIT closes the list without any change. |
| GREEN (page 1) | “Continue”: saves the language on the receiver, tries the new resolution (with the confirmation question) and goes to page 2. |
| EXIT (page 1) | Does nothing: the wizard can only be closed from page 2, after the language has been saved. |
| UP / DOWN, LEFT / RIGHT, CH+ / CH- (page 2) | Scroll the feature list. |
| GREEN or OK (page 2) | “Main menu”: the wizard finishes and does not start again. The main menu opens over the TV picture. |
| RED or EXIT (page 2) | “Back”: takes you back to page 1, to language and resolution. |
Step by step
Go through the wizard at first start
- On page 1, with “Language” selected, press LEFT or RIGHT (or OK for the list) until you reach the language you want.
- Press DOWN and choose the resolution. If you are not sure, leave “1080p Full HD 50 Hz”.
- Press GREEN. If you changed the resolution, answer Yes to “Does the picture look right?” only if the picture really looks right.
- On page 2, read the features, then press GREEN: the main menu opens.
Search for channels right after the wizard
- In the main menu that has opened, press 2 if the dish is not aligned yet or has a special LNB or switch.
- Press 1 (Channel scan) and choose the type of search: Satellite, Cable or Terrestrial.
- If you have channels from a previous image on a USB stick, the receiver asks you by itself whether to bring them over.
Problems and solutions
After choosing a resolution, the TV is black or says there is no signal.
Do not press anything: after 20 seconds the receiver puts back the previous mode by itself. Then choose another mode (for example 1080p 50 Hz).
The message “The receiver did not accept the new video mode. The previous setting is back.” appears.
The receiver cannot output that mode. Choose another one from the list.
The resolution list is short or has no 4K.
The list shows only what the TV accepts. Check that the TV is switched on and the HDMI cable is good (an old cable can block 4K), then change the resolution later in Menu > Settings > Video & Display Settings.
EXIT does not close the wizard.
This is by design: the wizard closes only from page 2, with GREEN or OK, so that the language is saved.
The wizard appears again at startup.
It was not completed (for example, the receiver was switched off on page 1). Go through it until you press GREEN on page 2.
I chose a language I do not understand by mistake.
On page 1 the top row is the language: press UP, then LEFT until you reach “Română (România)”, which is first in the list. After the wizard: Menu > Settings > Interface & Appearance > System Language (MENU 6 6 4).
Related topics
- Main menu (opens after the wizard)
- Channels from another image (the question after the wizard)
- Channel scan
- Dish alignment and setup
- System Language
- Video & Display Settings (resolution)
- Settings copy (restored by itself at first start)
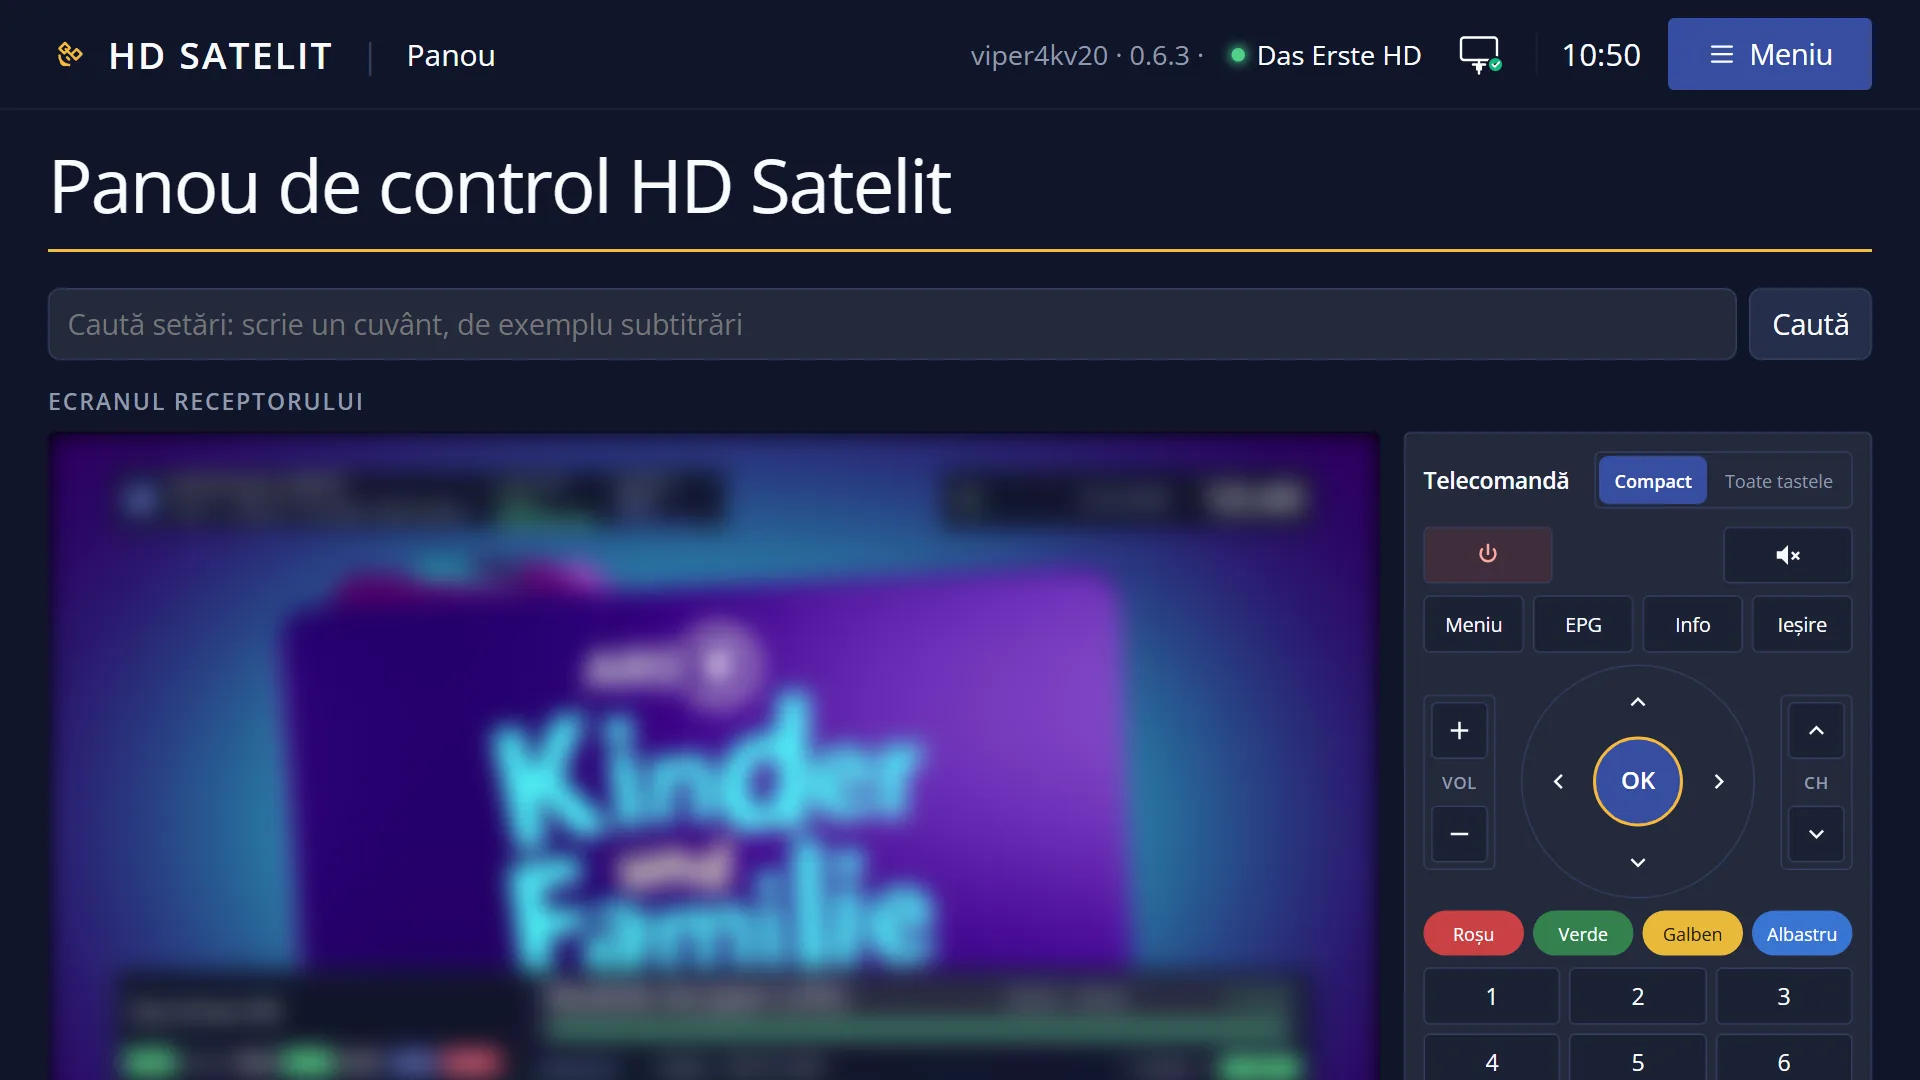
- The wizard has no matching web page: it runs before the interface.
Differences between receivers
The 2160p (4K) resolutions appear only on receivers that can output them (for example Amiko Viper 4K V20) and only with a 4K TV. The receiver box shows “HDR10” only where the receiver supports it. It does not appear on the Amiko Viper 4K V20.